Teaching a Capstone Course (Part 2) (B.T.S)
Welcome to a new semester- Spring’23! Here we are to learn more about how the continuation and PART 2 of this course. This blog shares a behind-the-scenes of my Capstone course- Part 2, I got to structure and teach Part 1 in Fall’22 (feel free to read more about Part 1). Here are quick sections of the blog you can jump to read about.
Changes to Part 2 | Recap Presentations | Lecture: Design Ideation-Shruthi Chivukula | Gallery Walks | Peer/Desk Critique Model | Story-boarding Exercise | Gallery Walk- Miro Version | Interaction Flows + Peer Critique | Gallery Walks (#4 and #5)- Prototype Showcase | Poster Wireframing + Tiled Poster Gallery Walk | Final Capstone Fair
My Designer Intentions
A thesis/ capstone class is designed for “individual” designers to apply their design knowledge imparted as a part of their coursework and external design practice in one project over two semesters. As the instructor of record and designer of the course, here are some of my designer intentions for why I incorporate certain practices in this class:
Incorporate feedback mechanisms in as many ways as possible and provide accessible avenues (e.g. gallery walks, desk critique, office hours, circulating peers during gallery walks)
Balance working in silos during a capstone project with class engagements (e.g. gallery walks, resource sharing, group ideations)
Provide forms of external motivation to keep students on track with their progress (e.g. learning contracts, presentations)
Introduce surprise elements and forms of activities to keep students excited in often a silos process (e.g. “one-thing” presentation, changing forms of feedback/responsibilities)
Add assignments as a part of the class that will help students get feedback on their every step (e.g. poster reviews, gallery walks)
Changes done to Part 2
At the end of the semester in Fall’22 (Part 1), I asked students about what things worked and general feedback about the class. Here, I am providing a summary of things I decided to improve (myself and based on observed students’ reactions):
Reduction/ Close to the removal of weekly “Reflections” or Check-ins as it was not providing students too much benefit given the high peer engagement during class and other assignments embedded in the class.
Introduction of the “Presentation” component in the grading system as Part 2’s learning objective is also to make it possible for students to present their work in a professional manner and through digital artifacts (videos, posters, etc.). This is an extension of their practice of talking about their work through Gallery Walks.
Increase in avenues for resource sharing to help with design production (such as design conceptualization, sketching, poster designs, and presentations) instead of reflections.
Adding a requirement to submit students’ “Gallery Walk” presentation to have a record of their weekly progress instead of weekly reflections in Part 1.
Alternating gallery walk presentations and desk-critique/peer reviews throughout the semester to balance the energy of the students between engaging with the whole class and communicating with a peer or two.
Recap Presentations
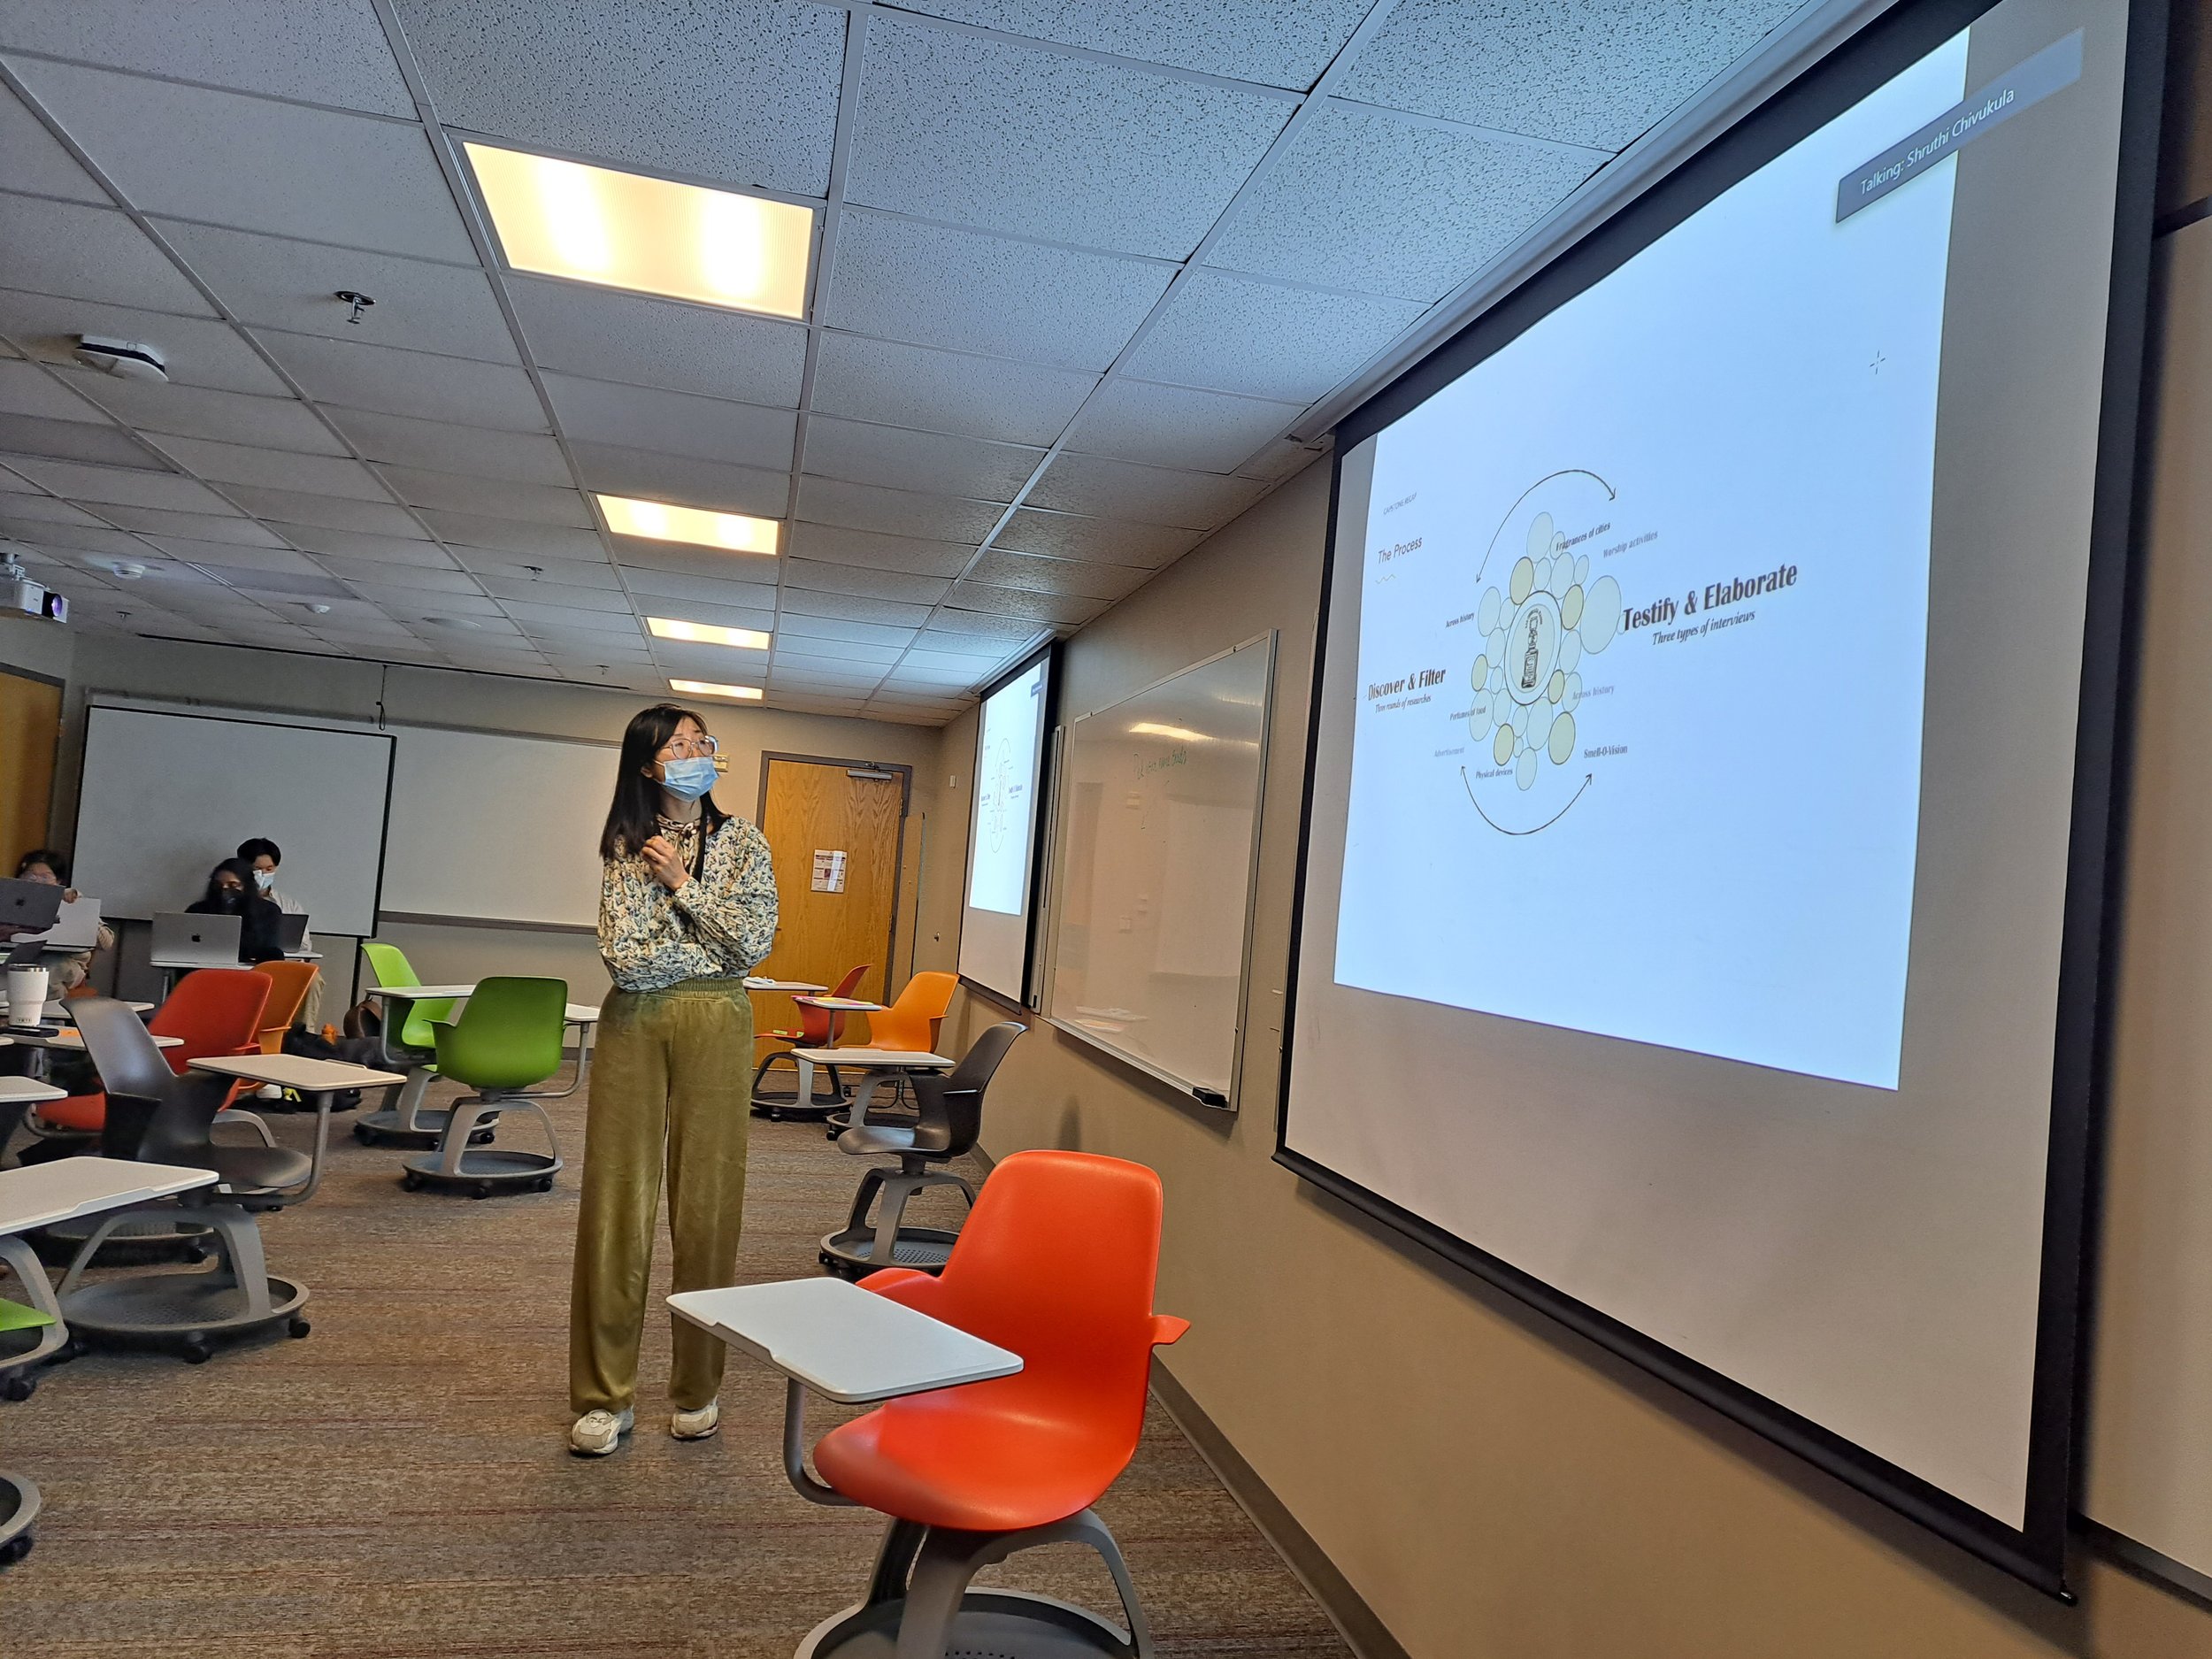
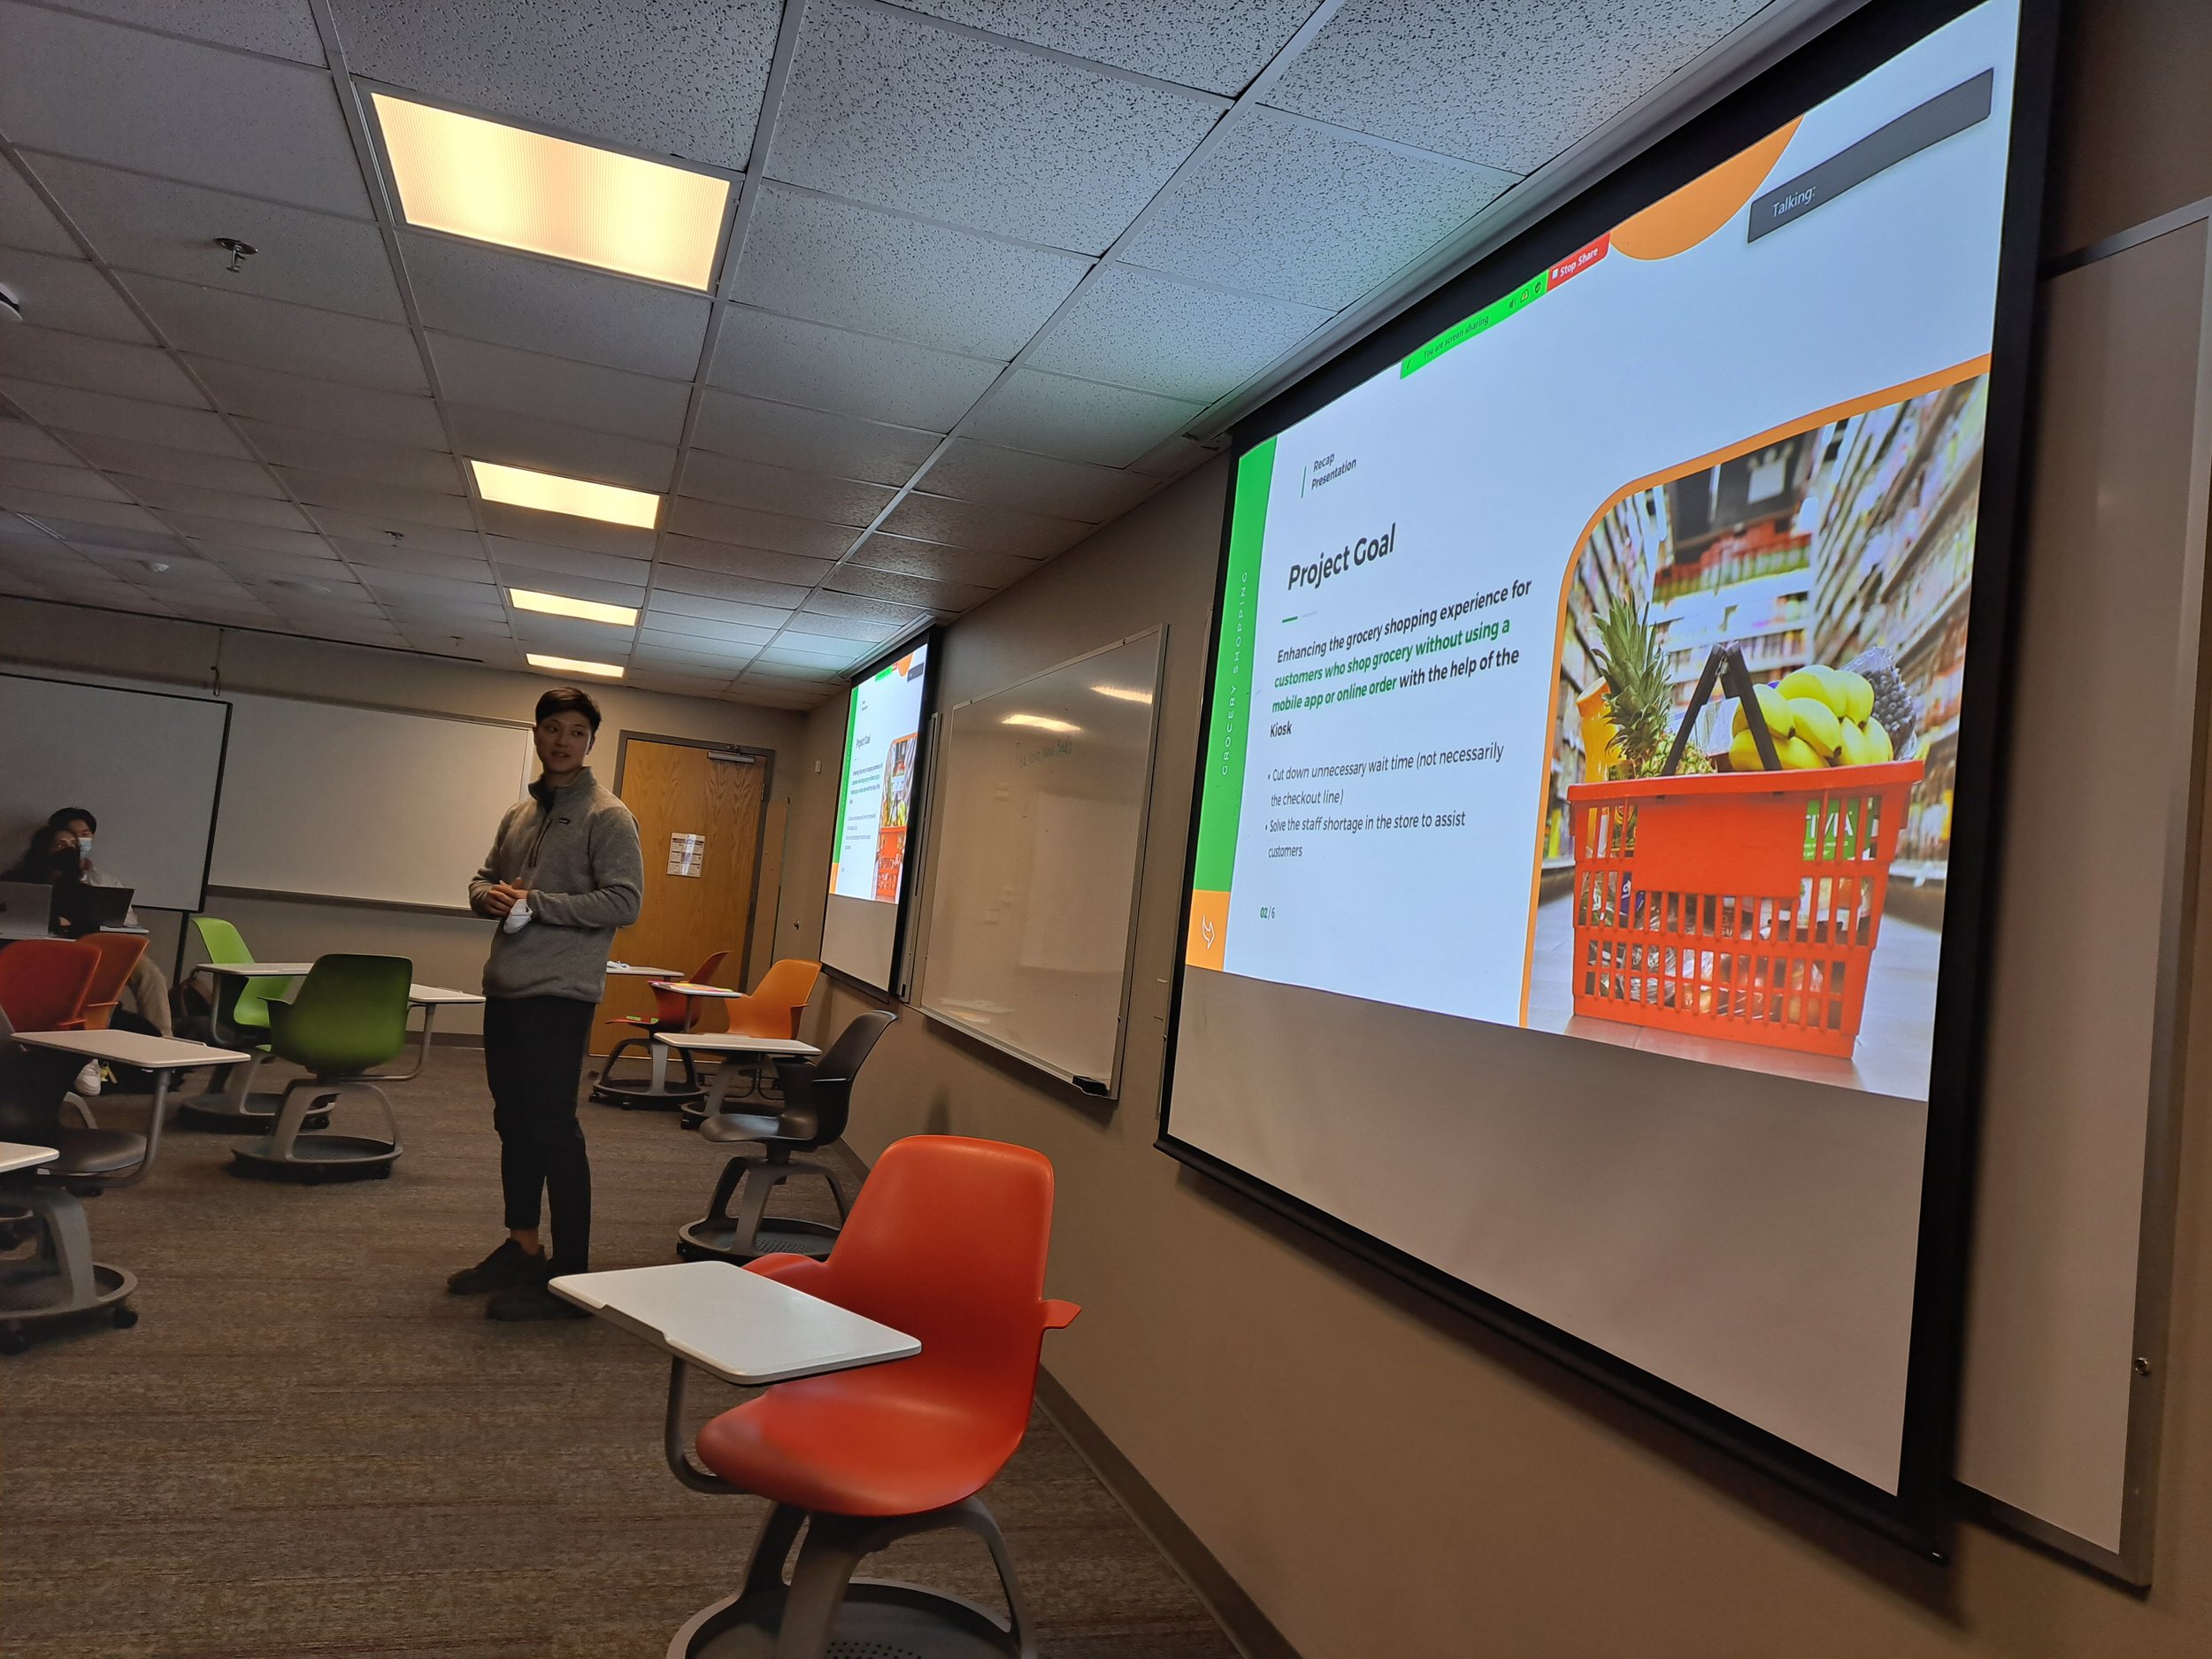
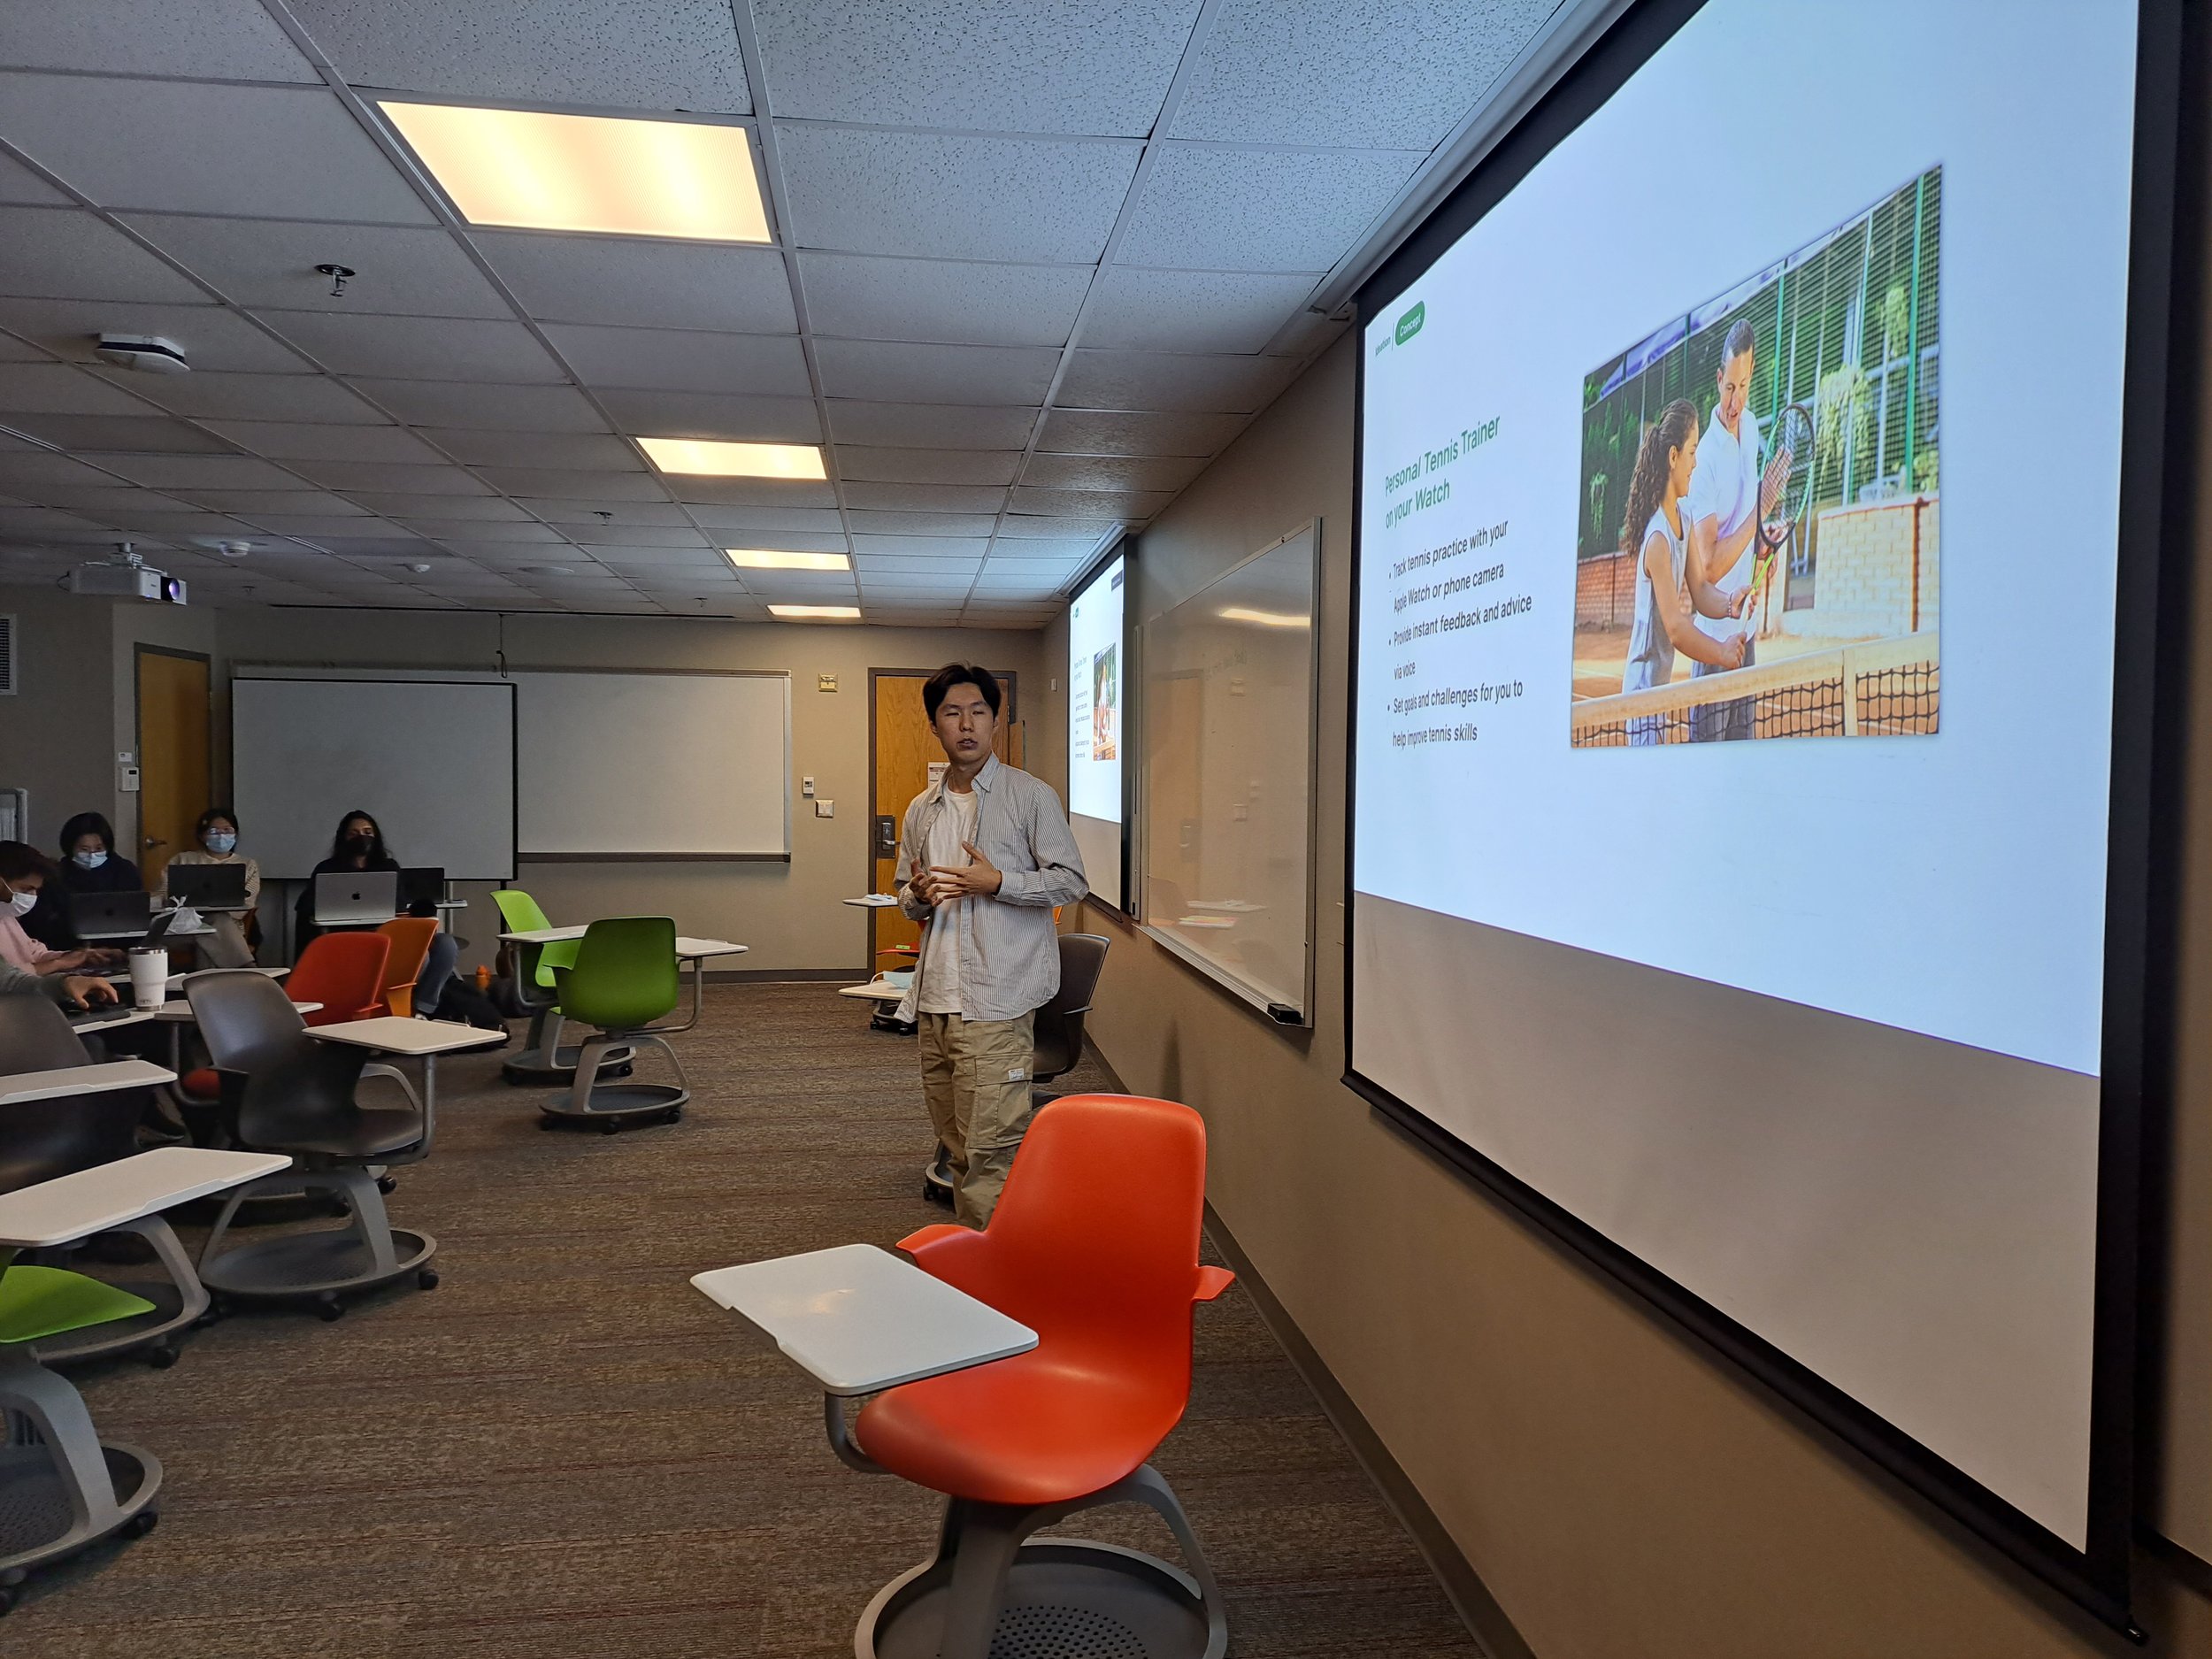
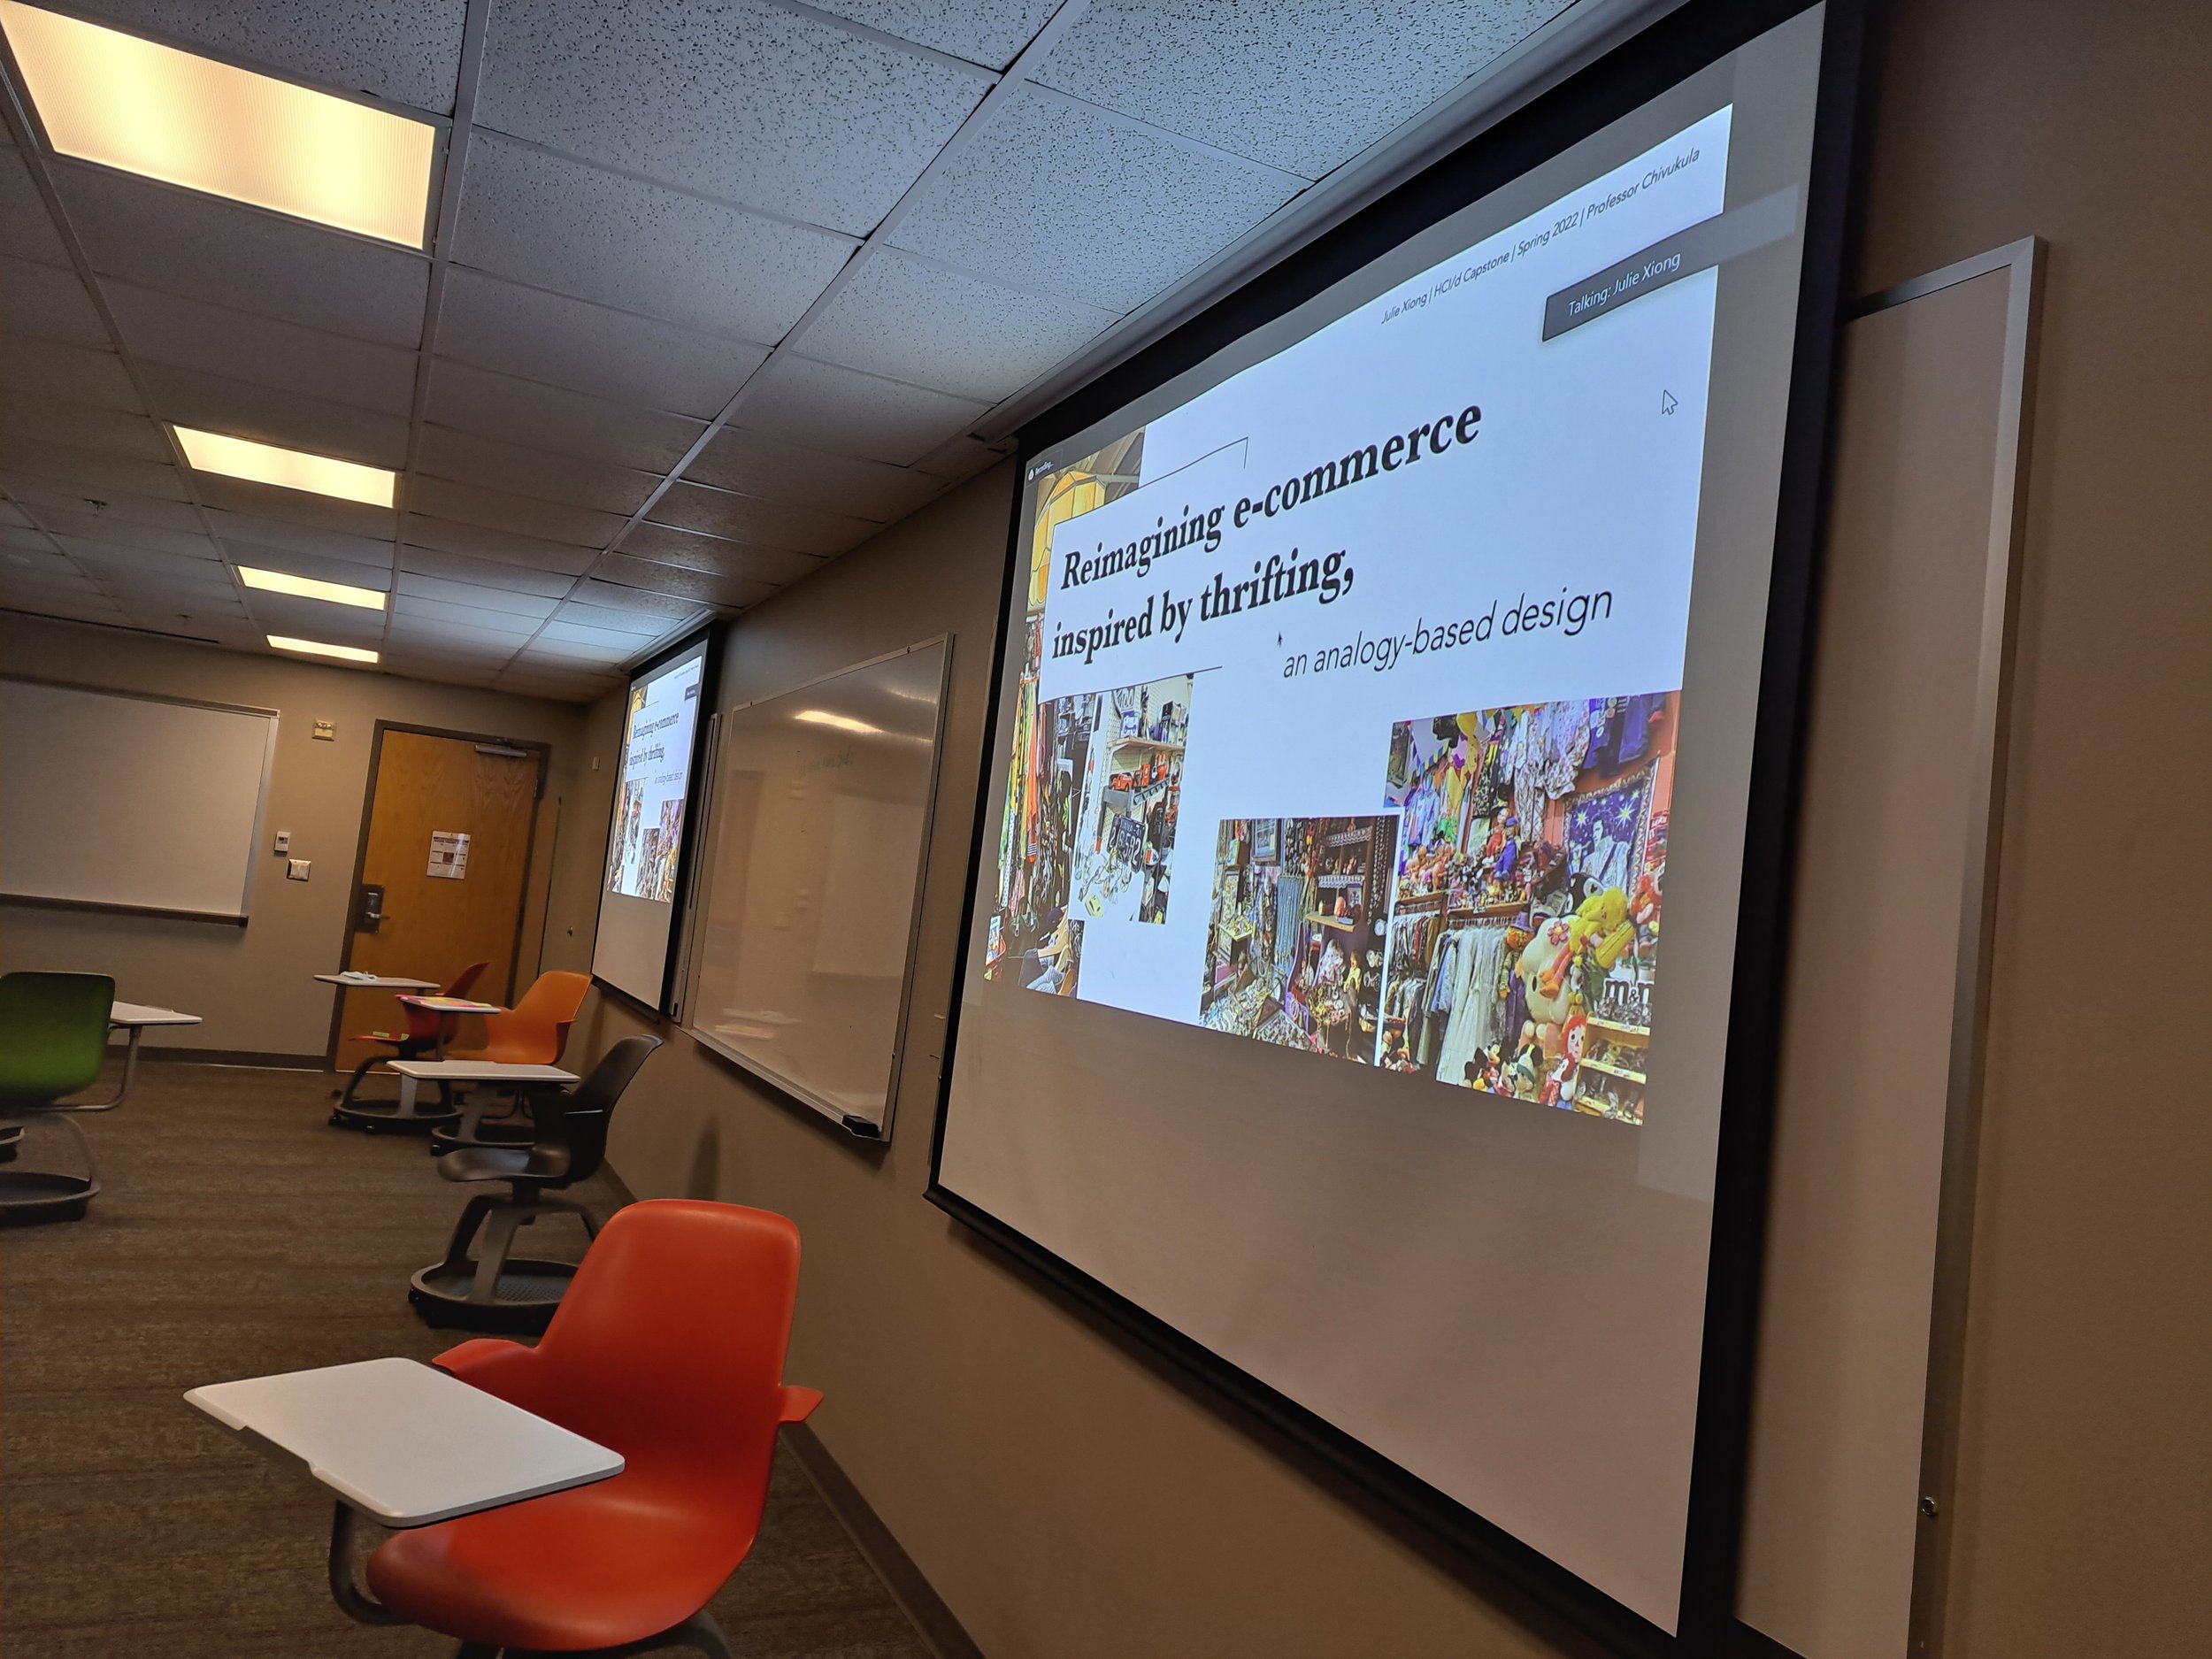
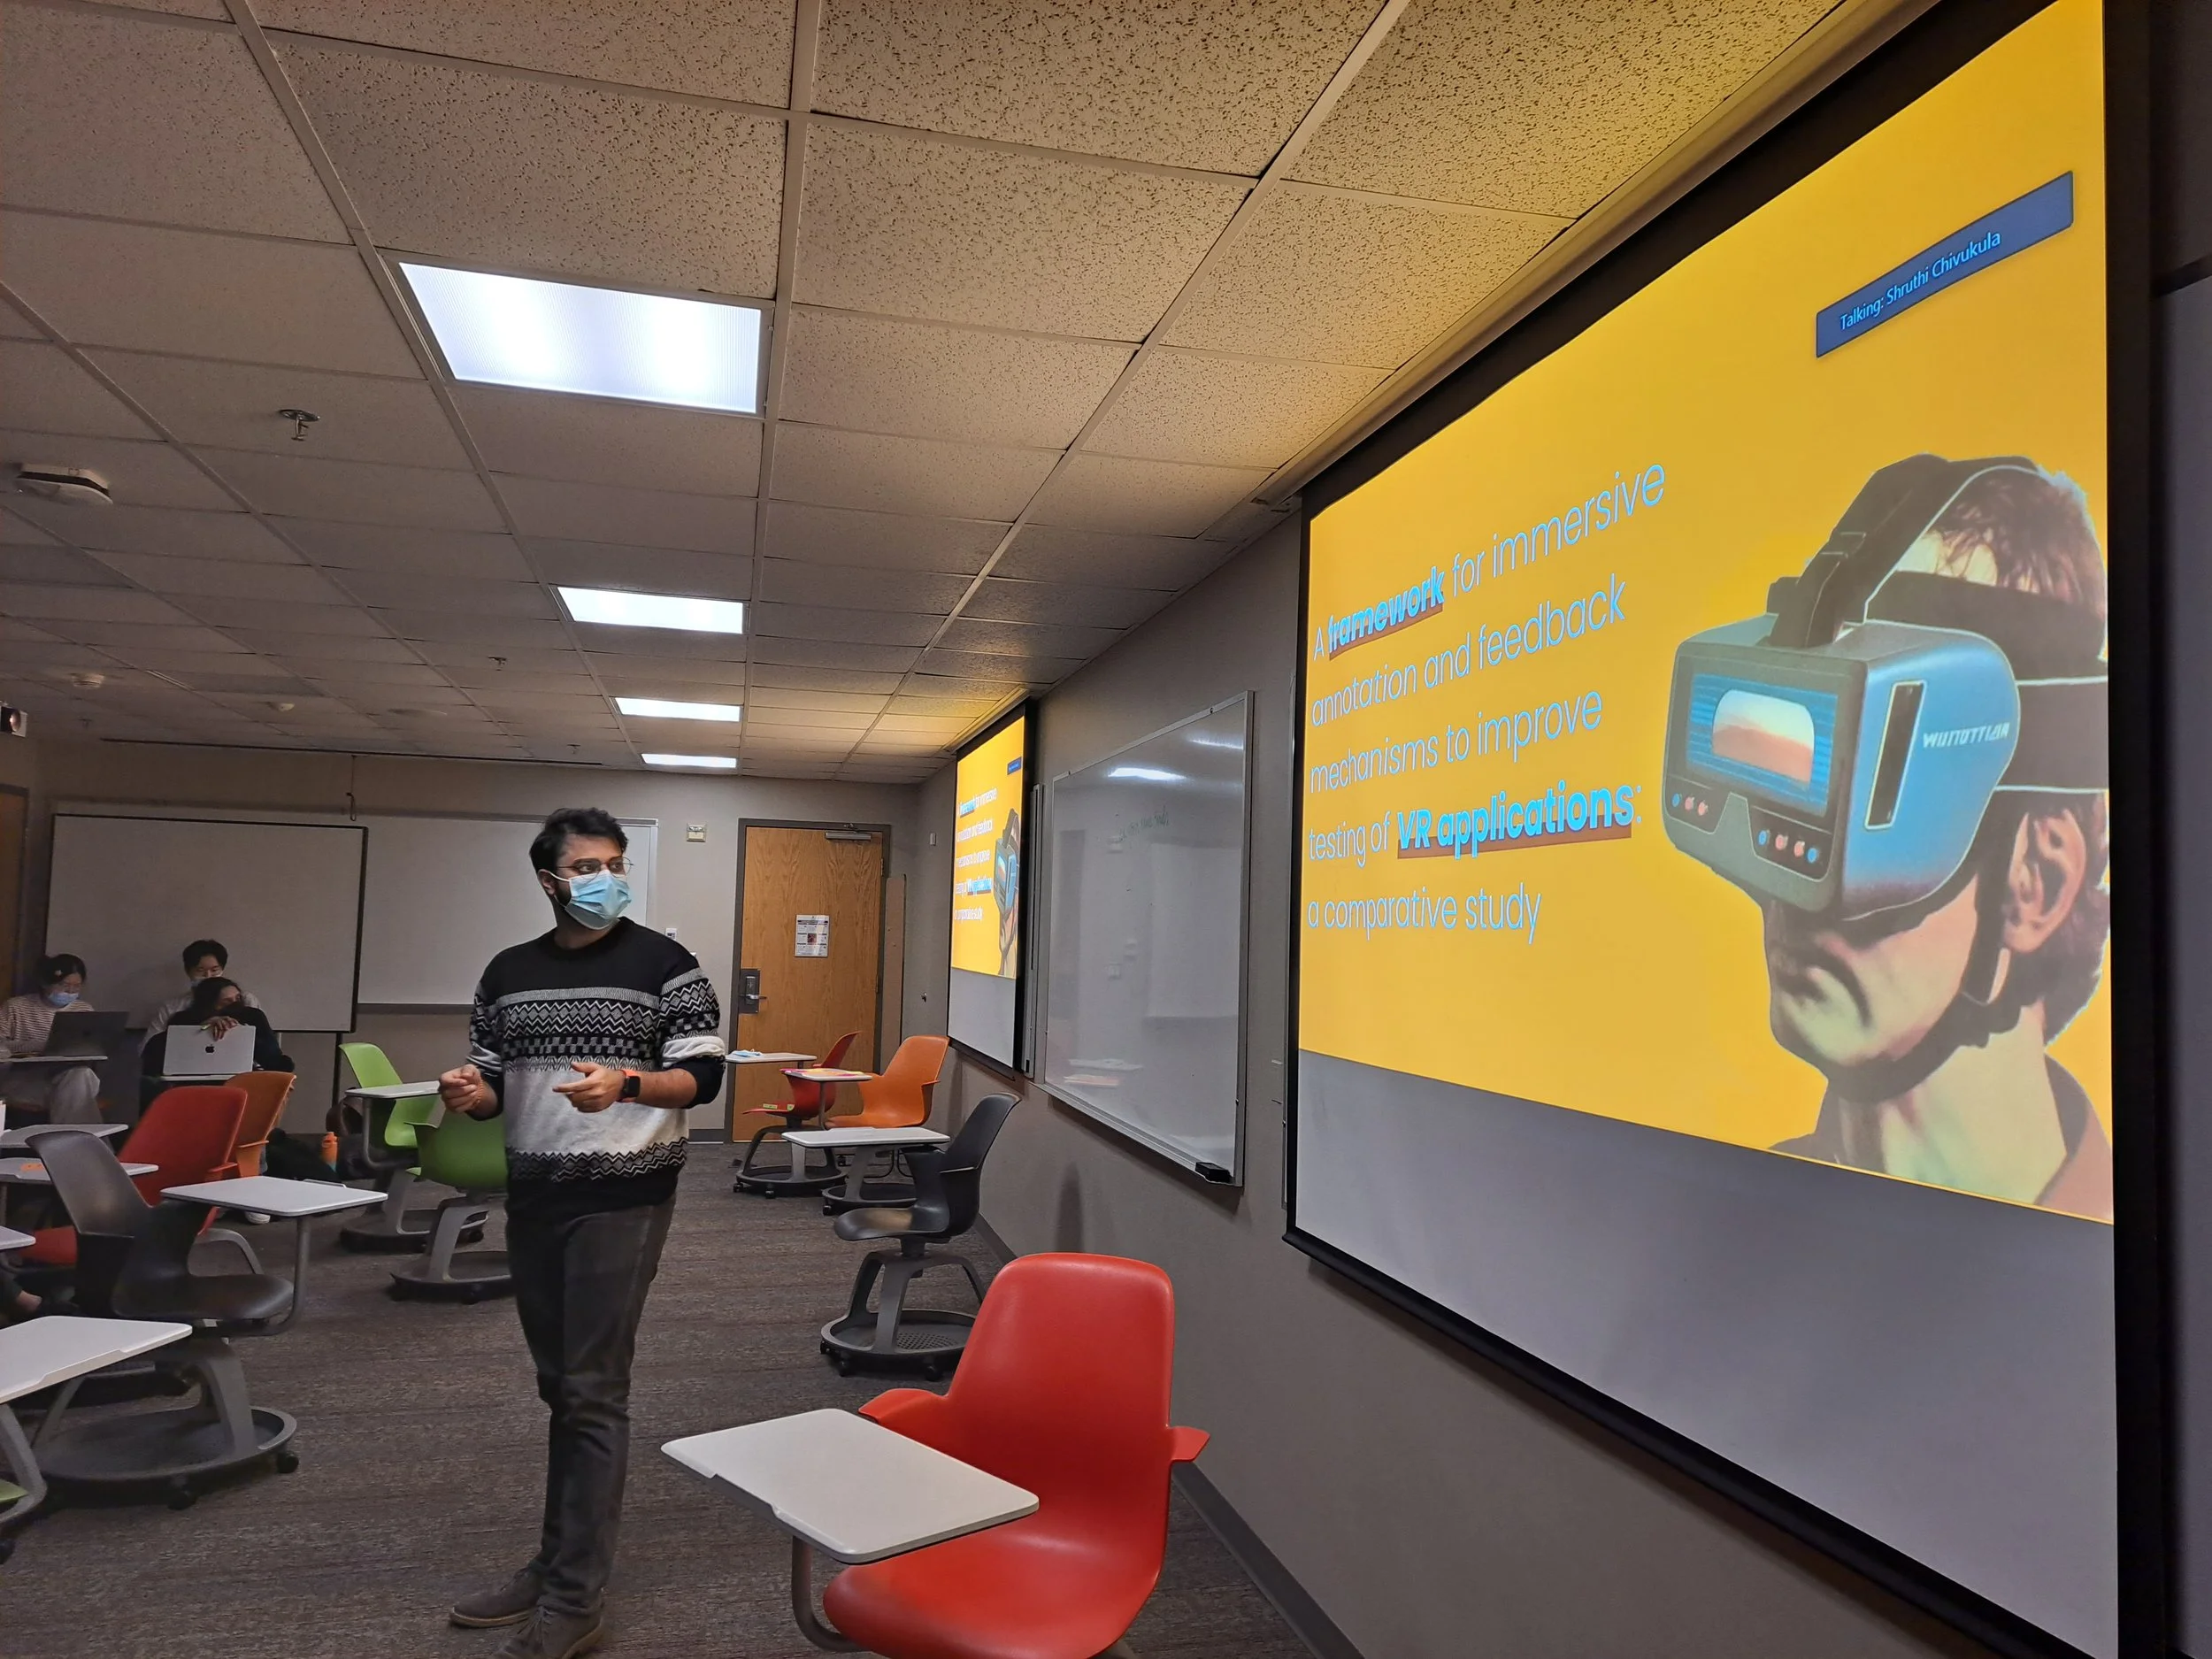
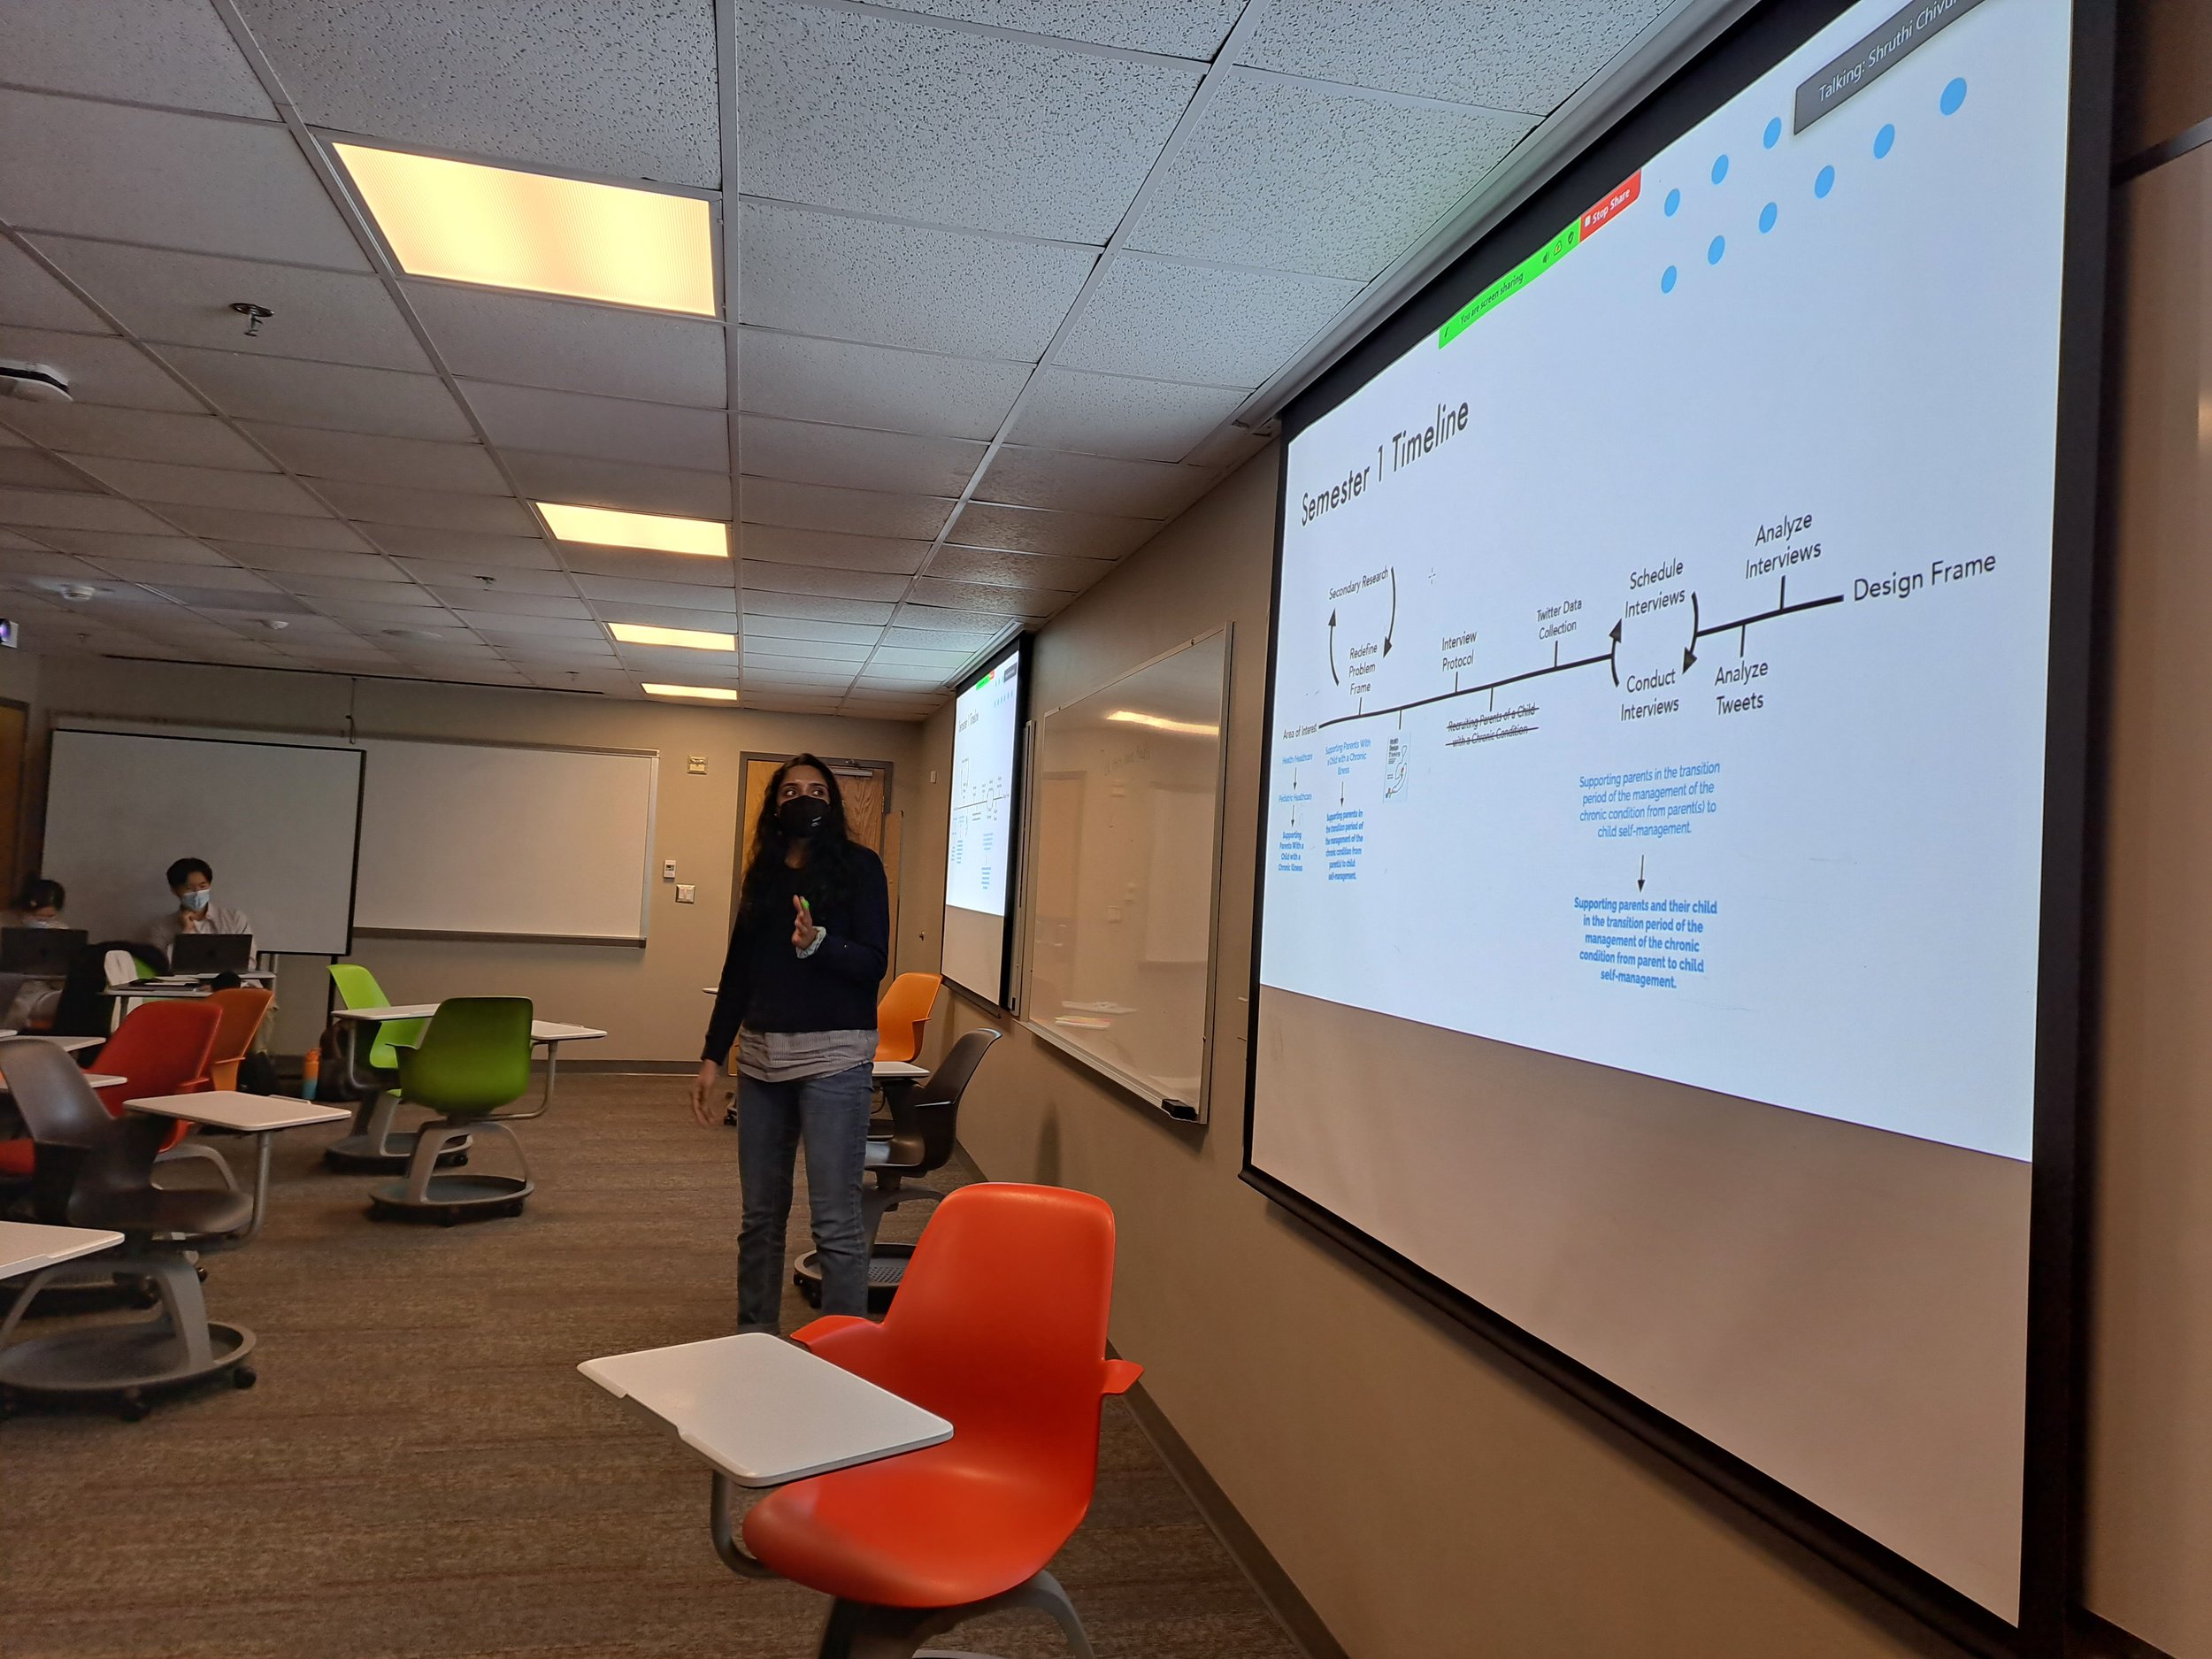
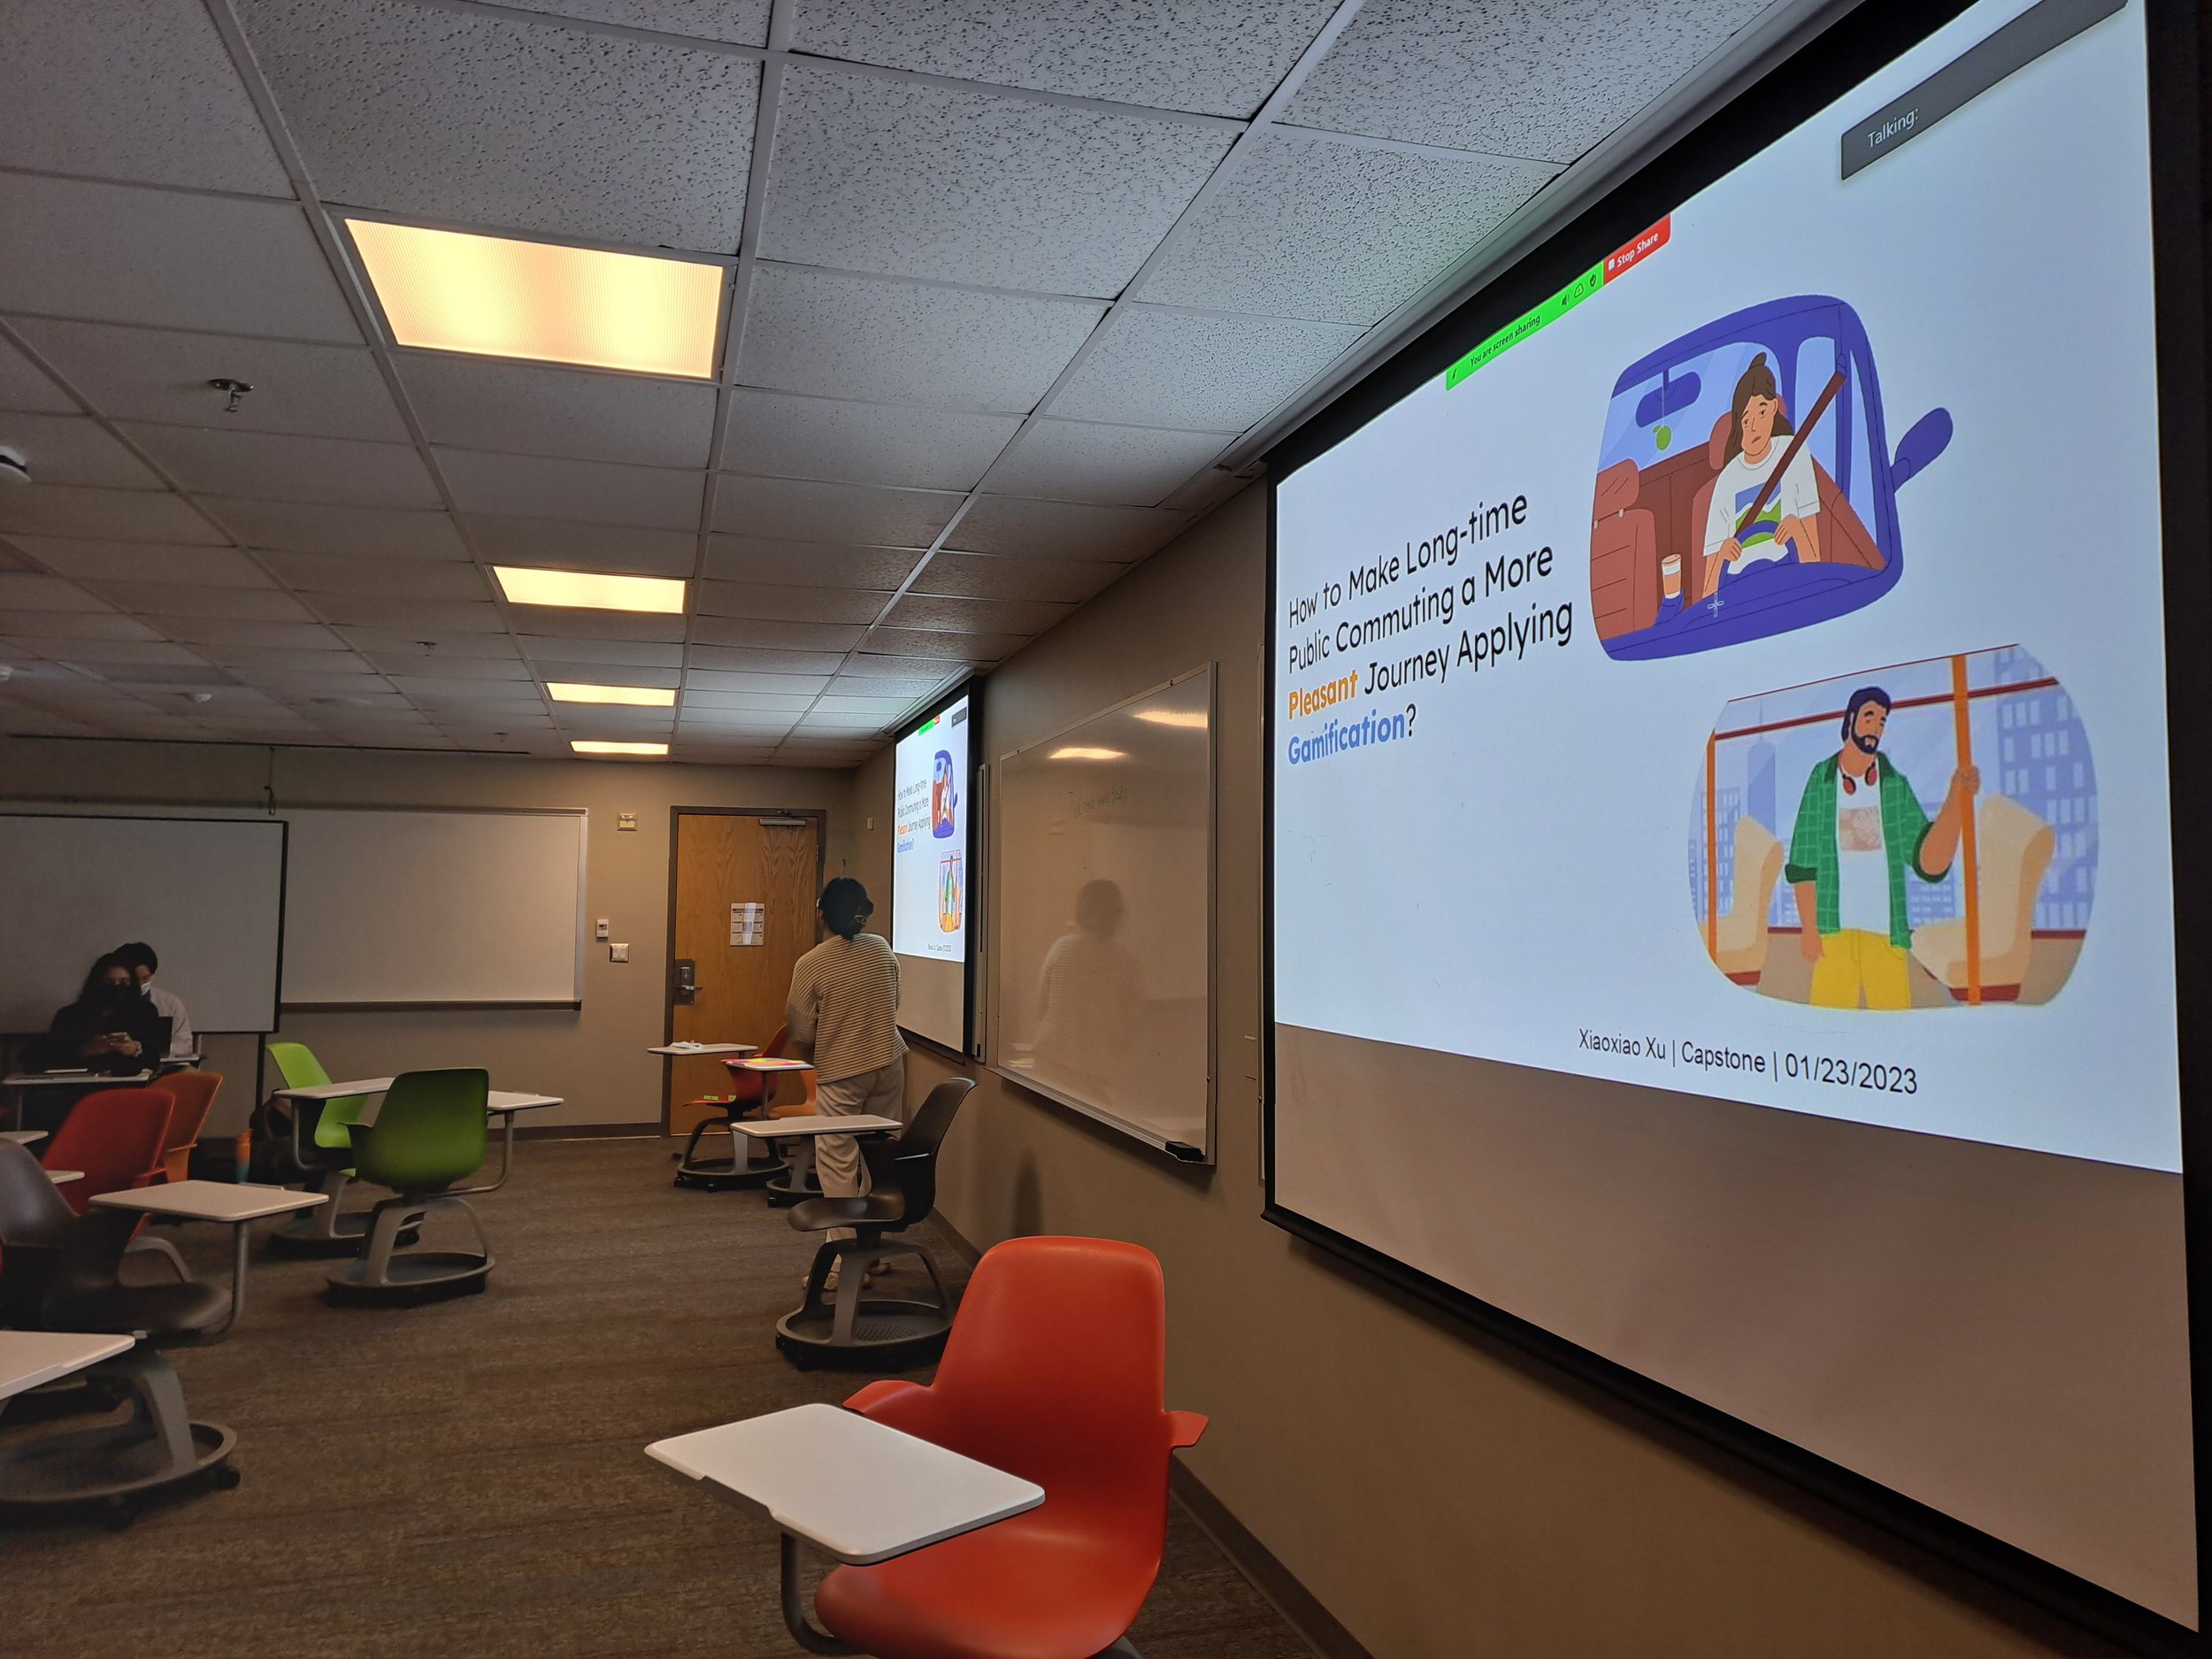
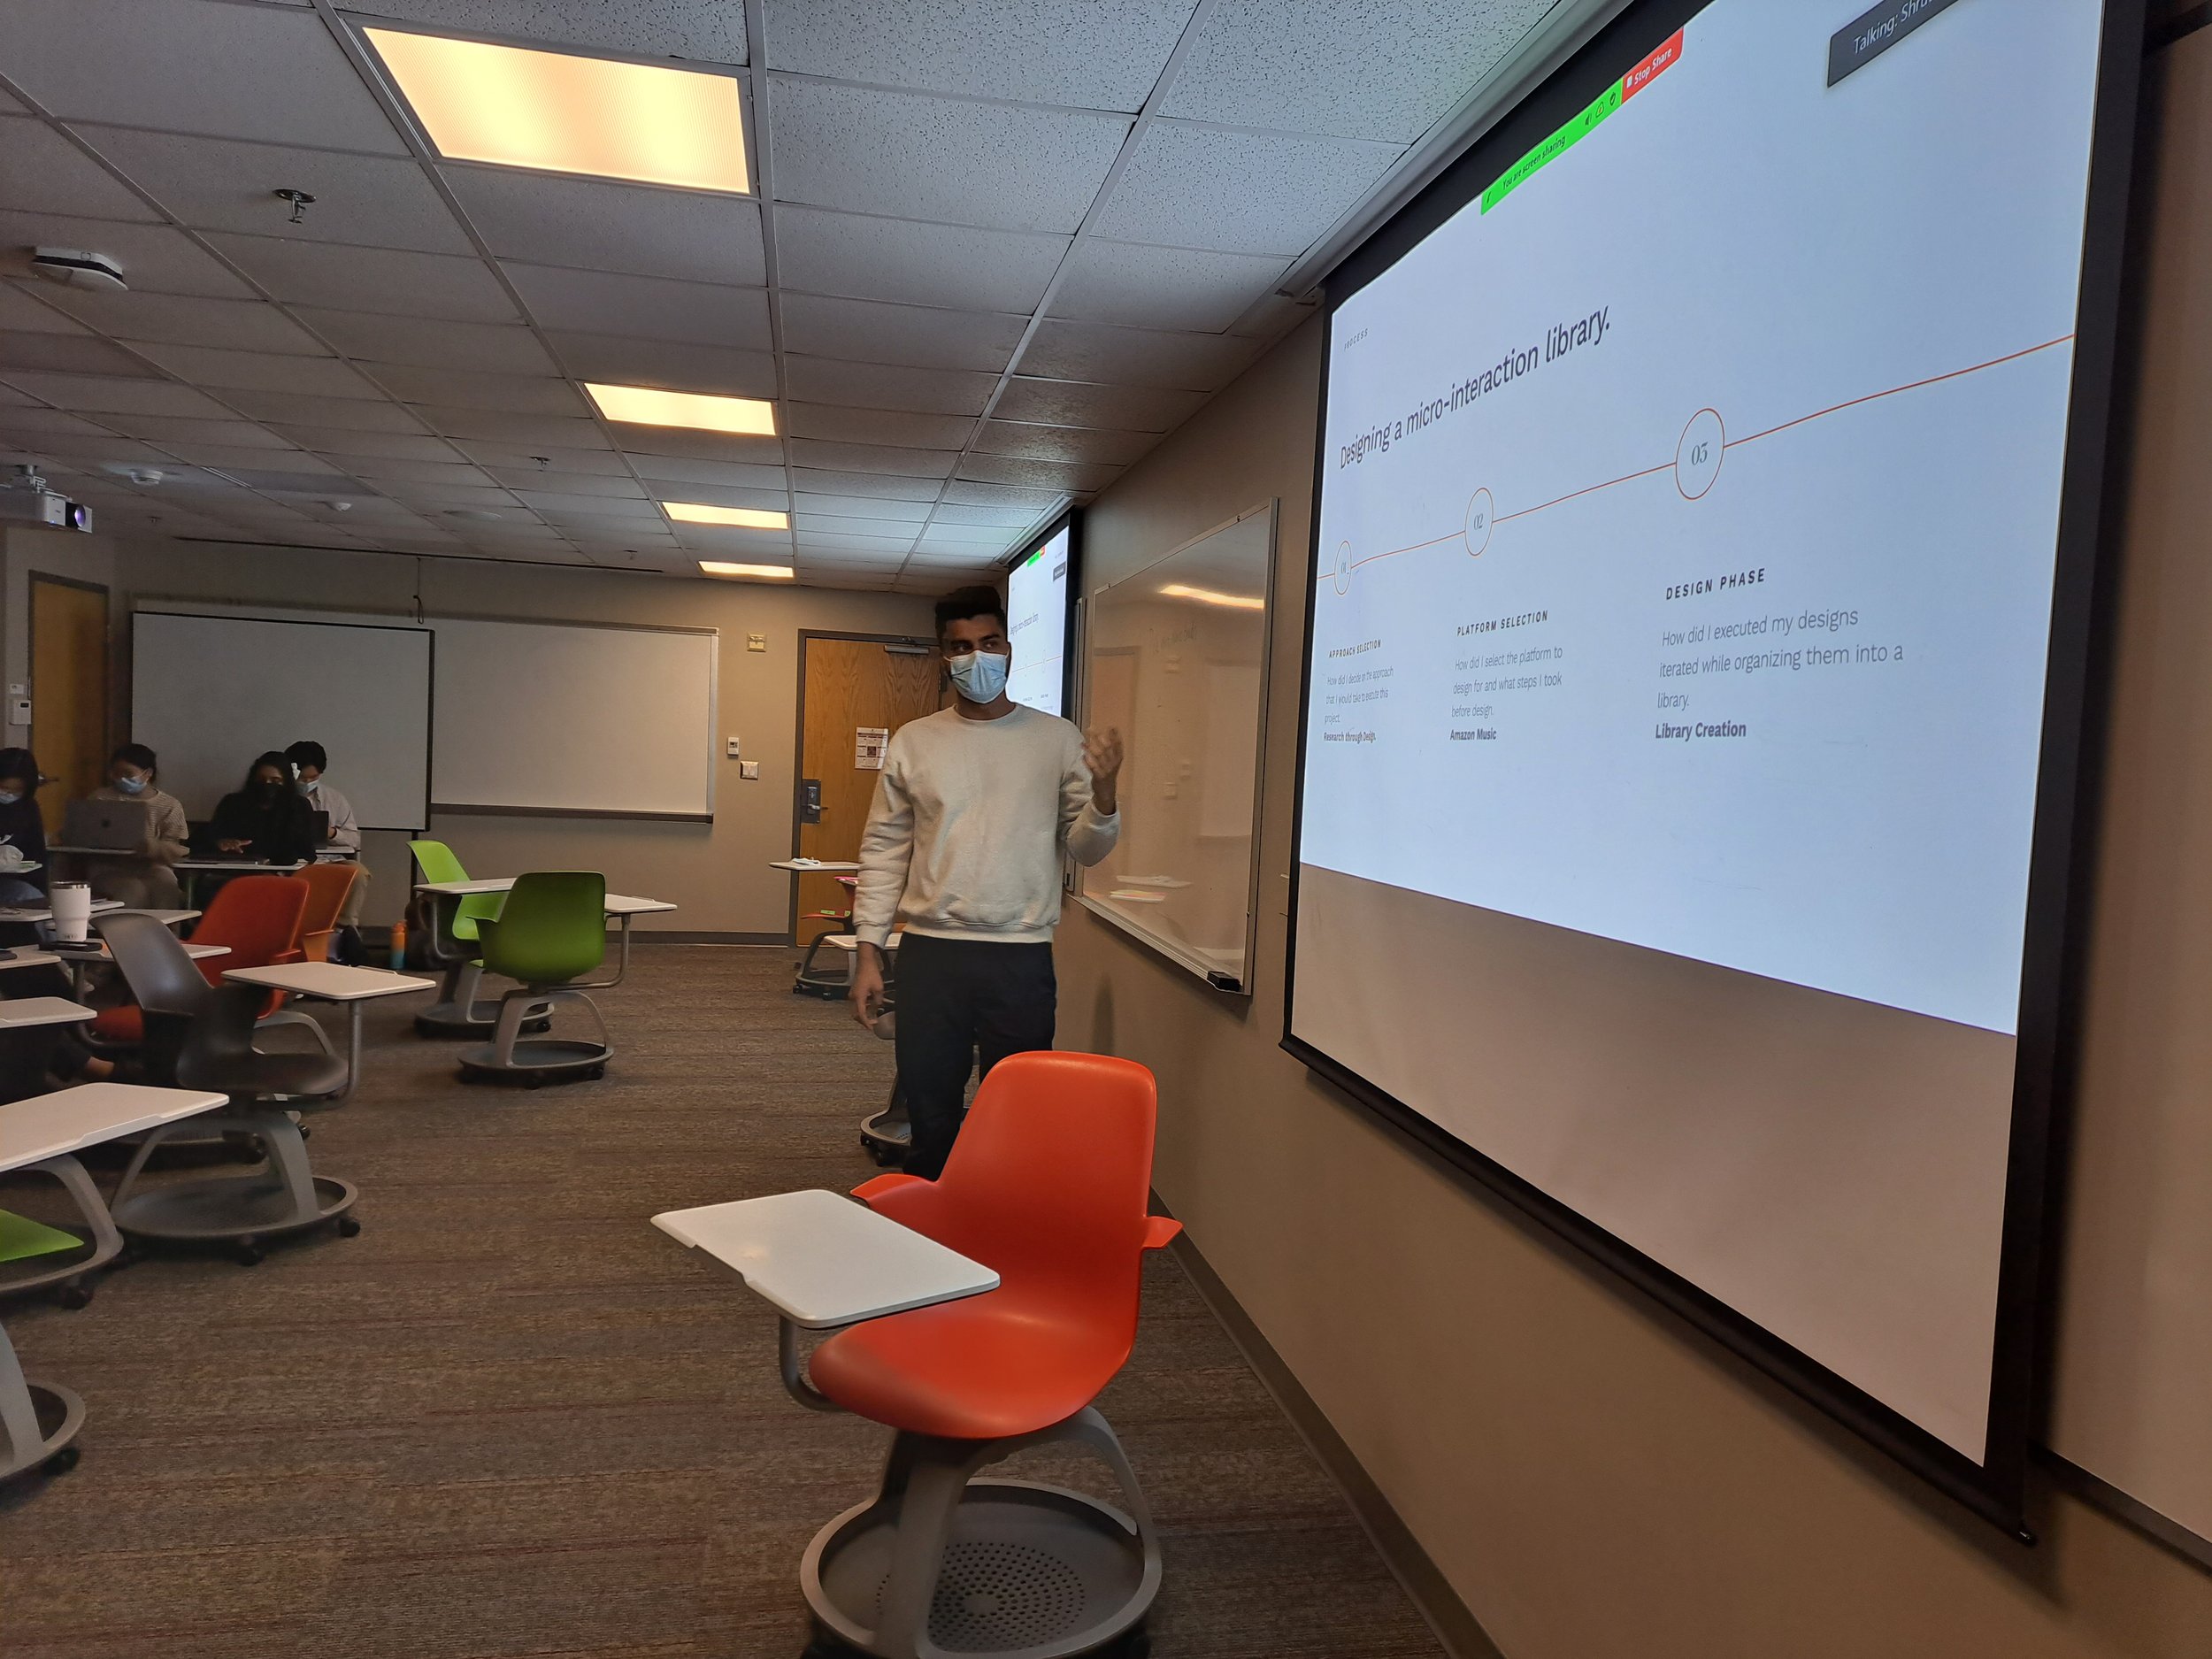
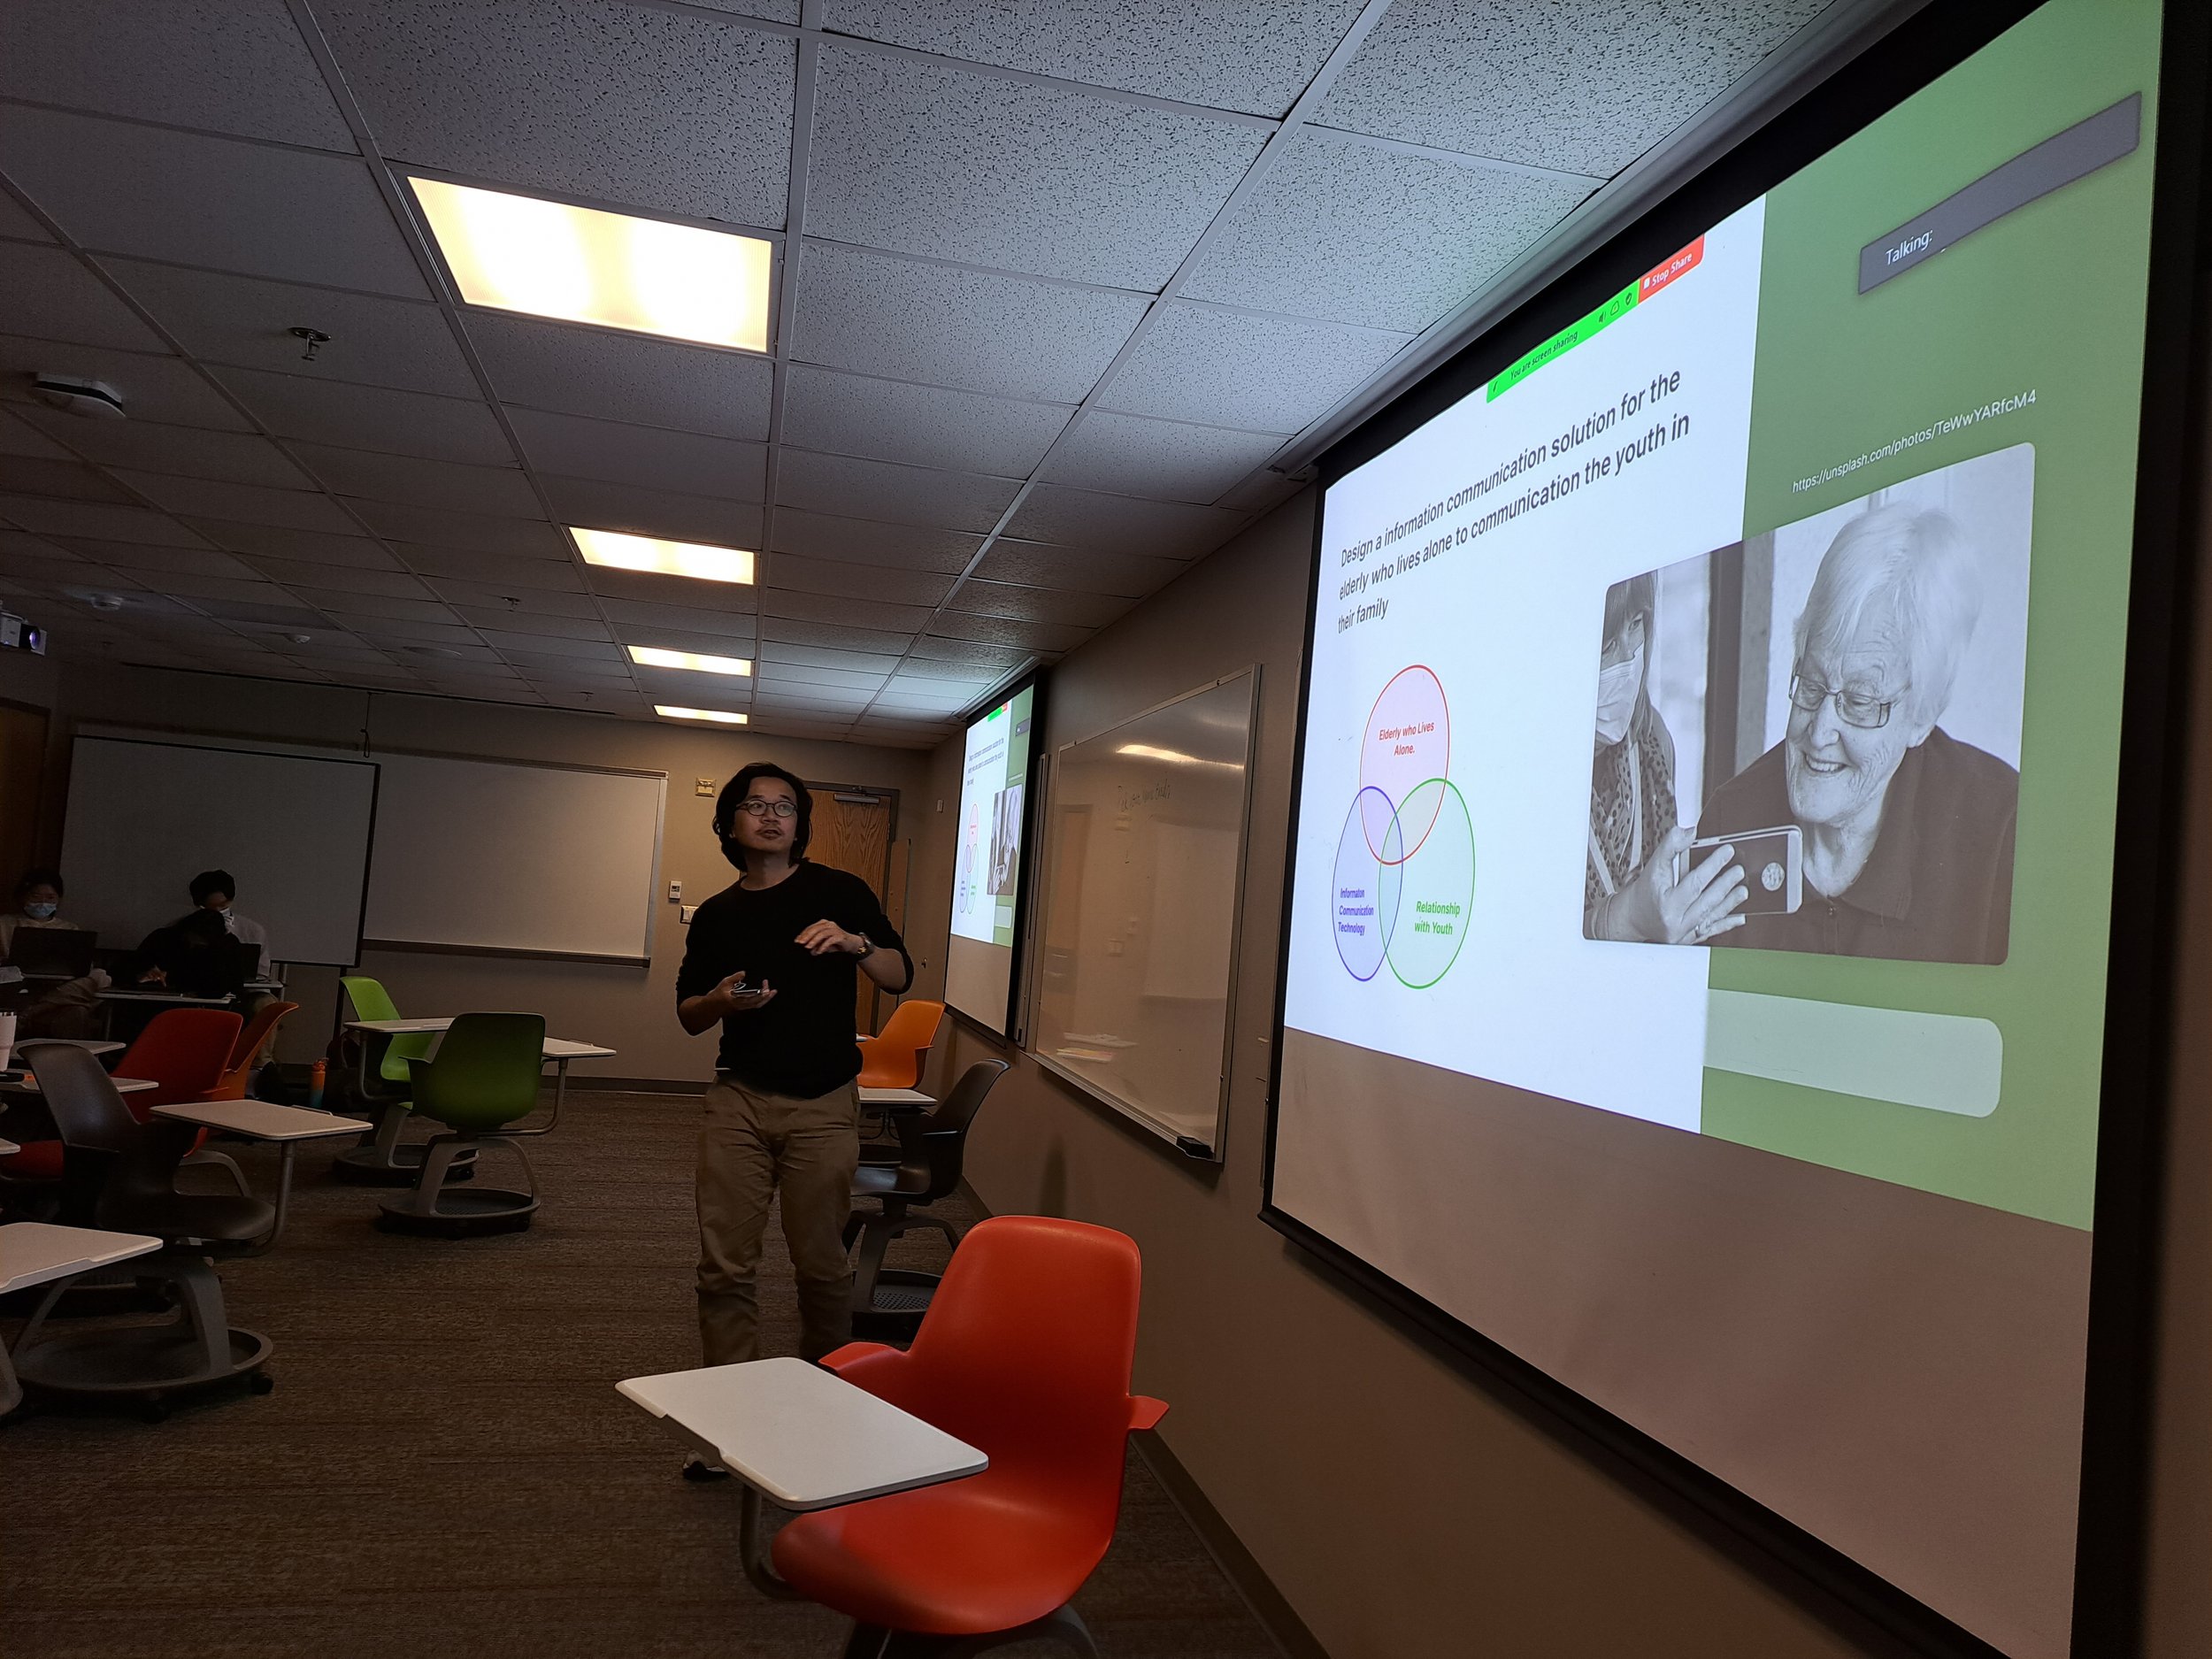
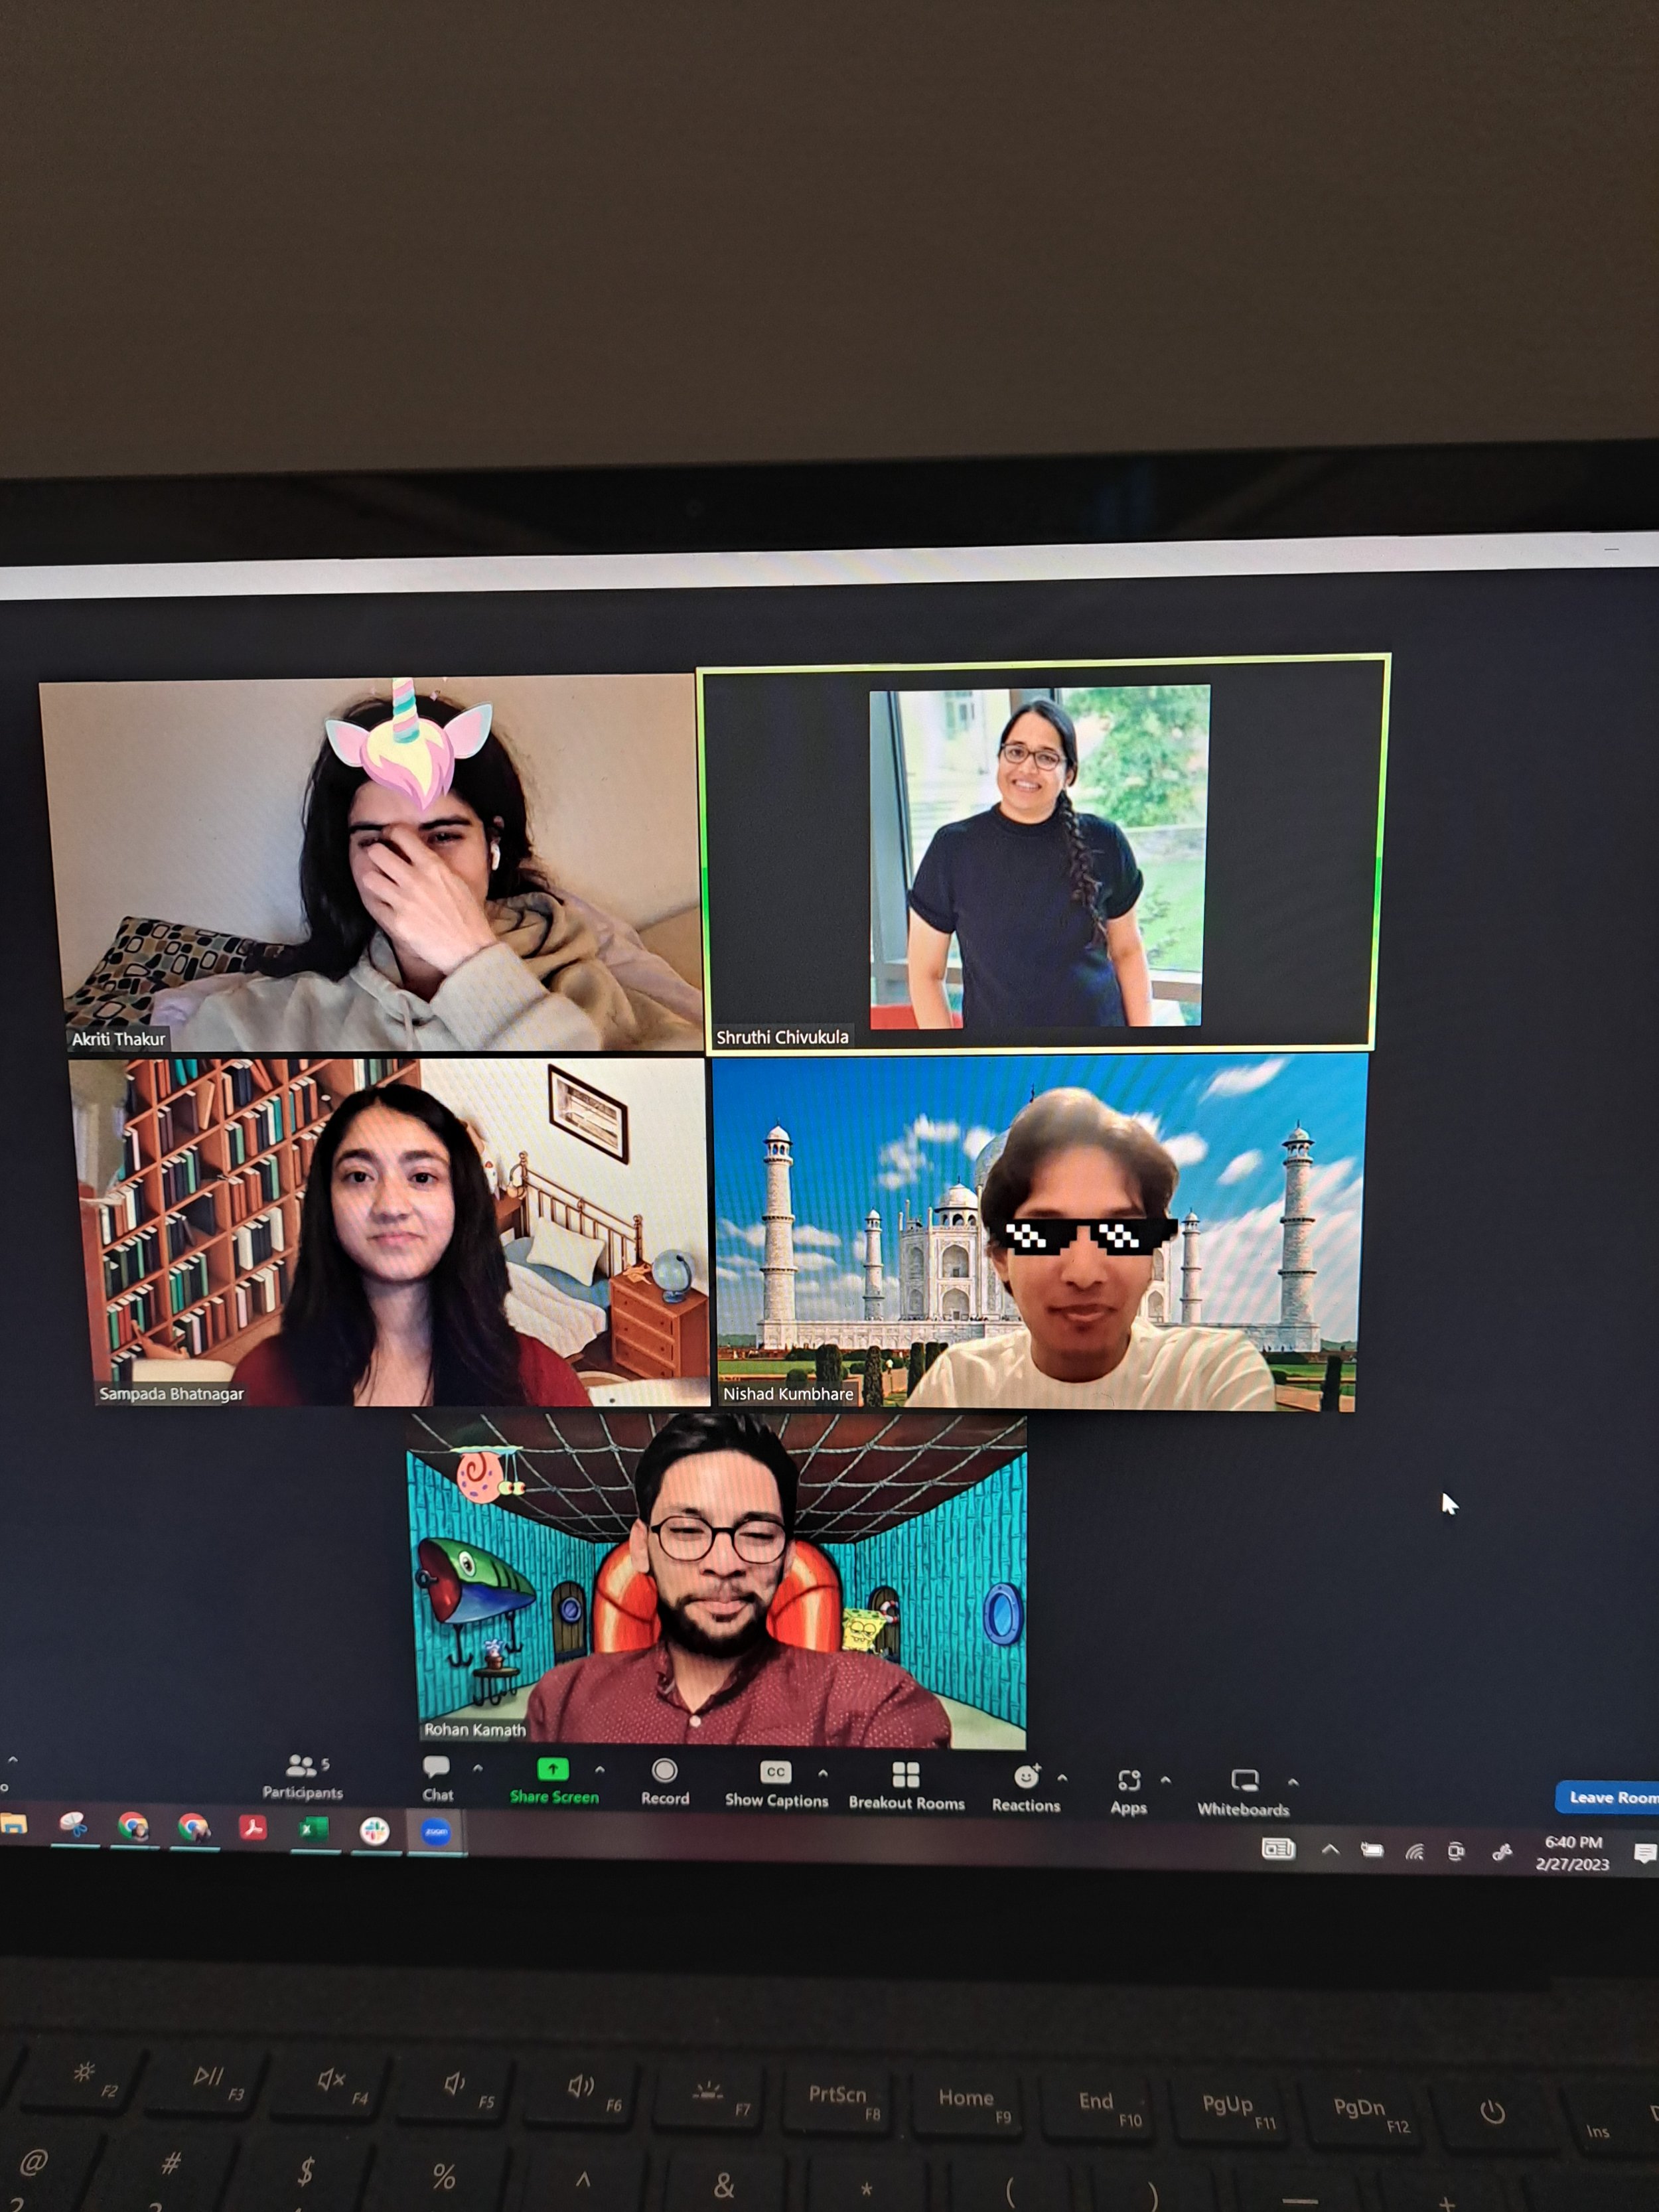
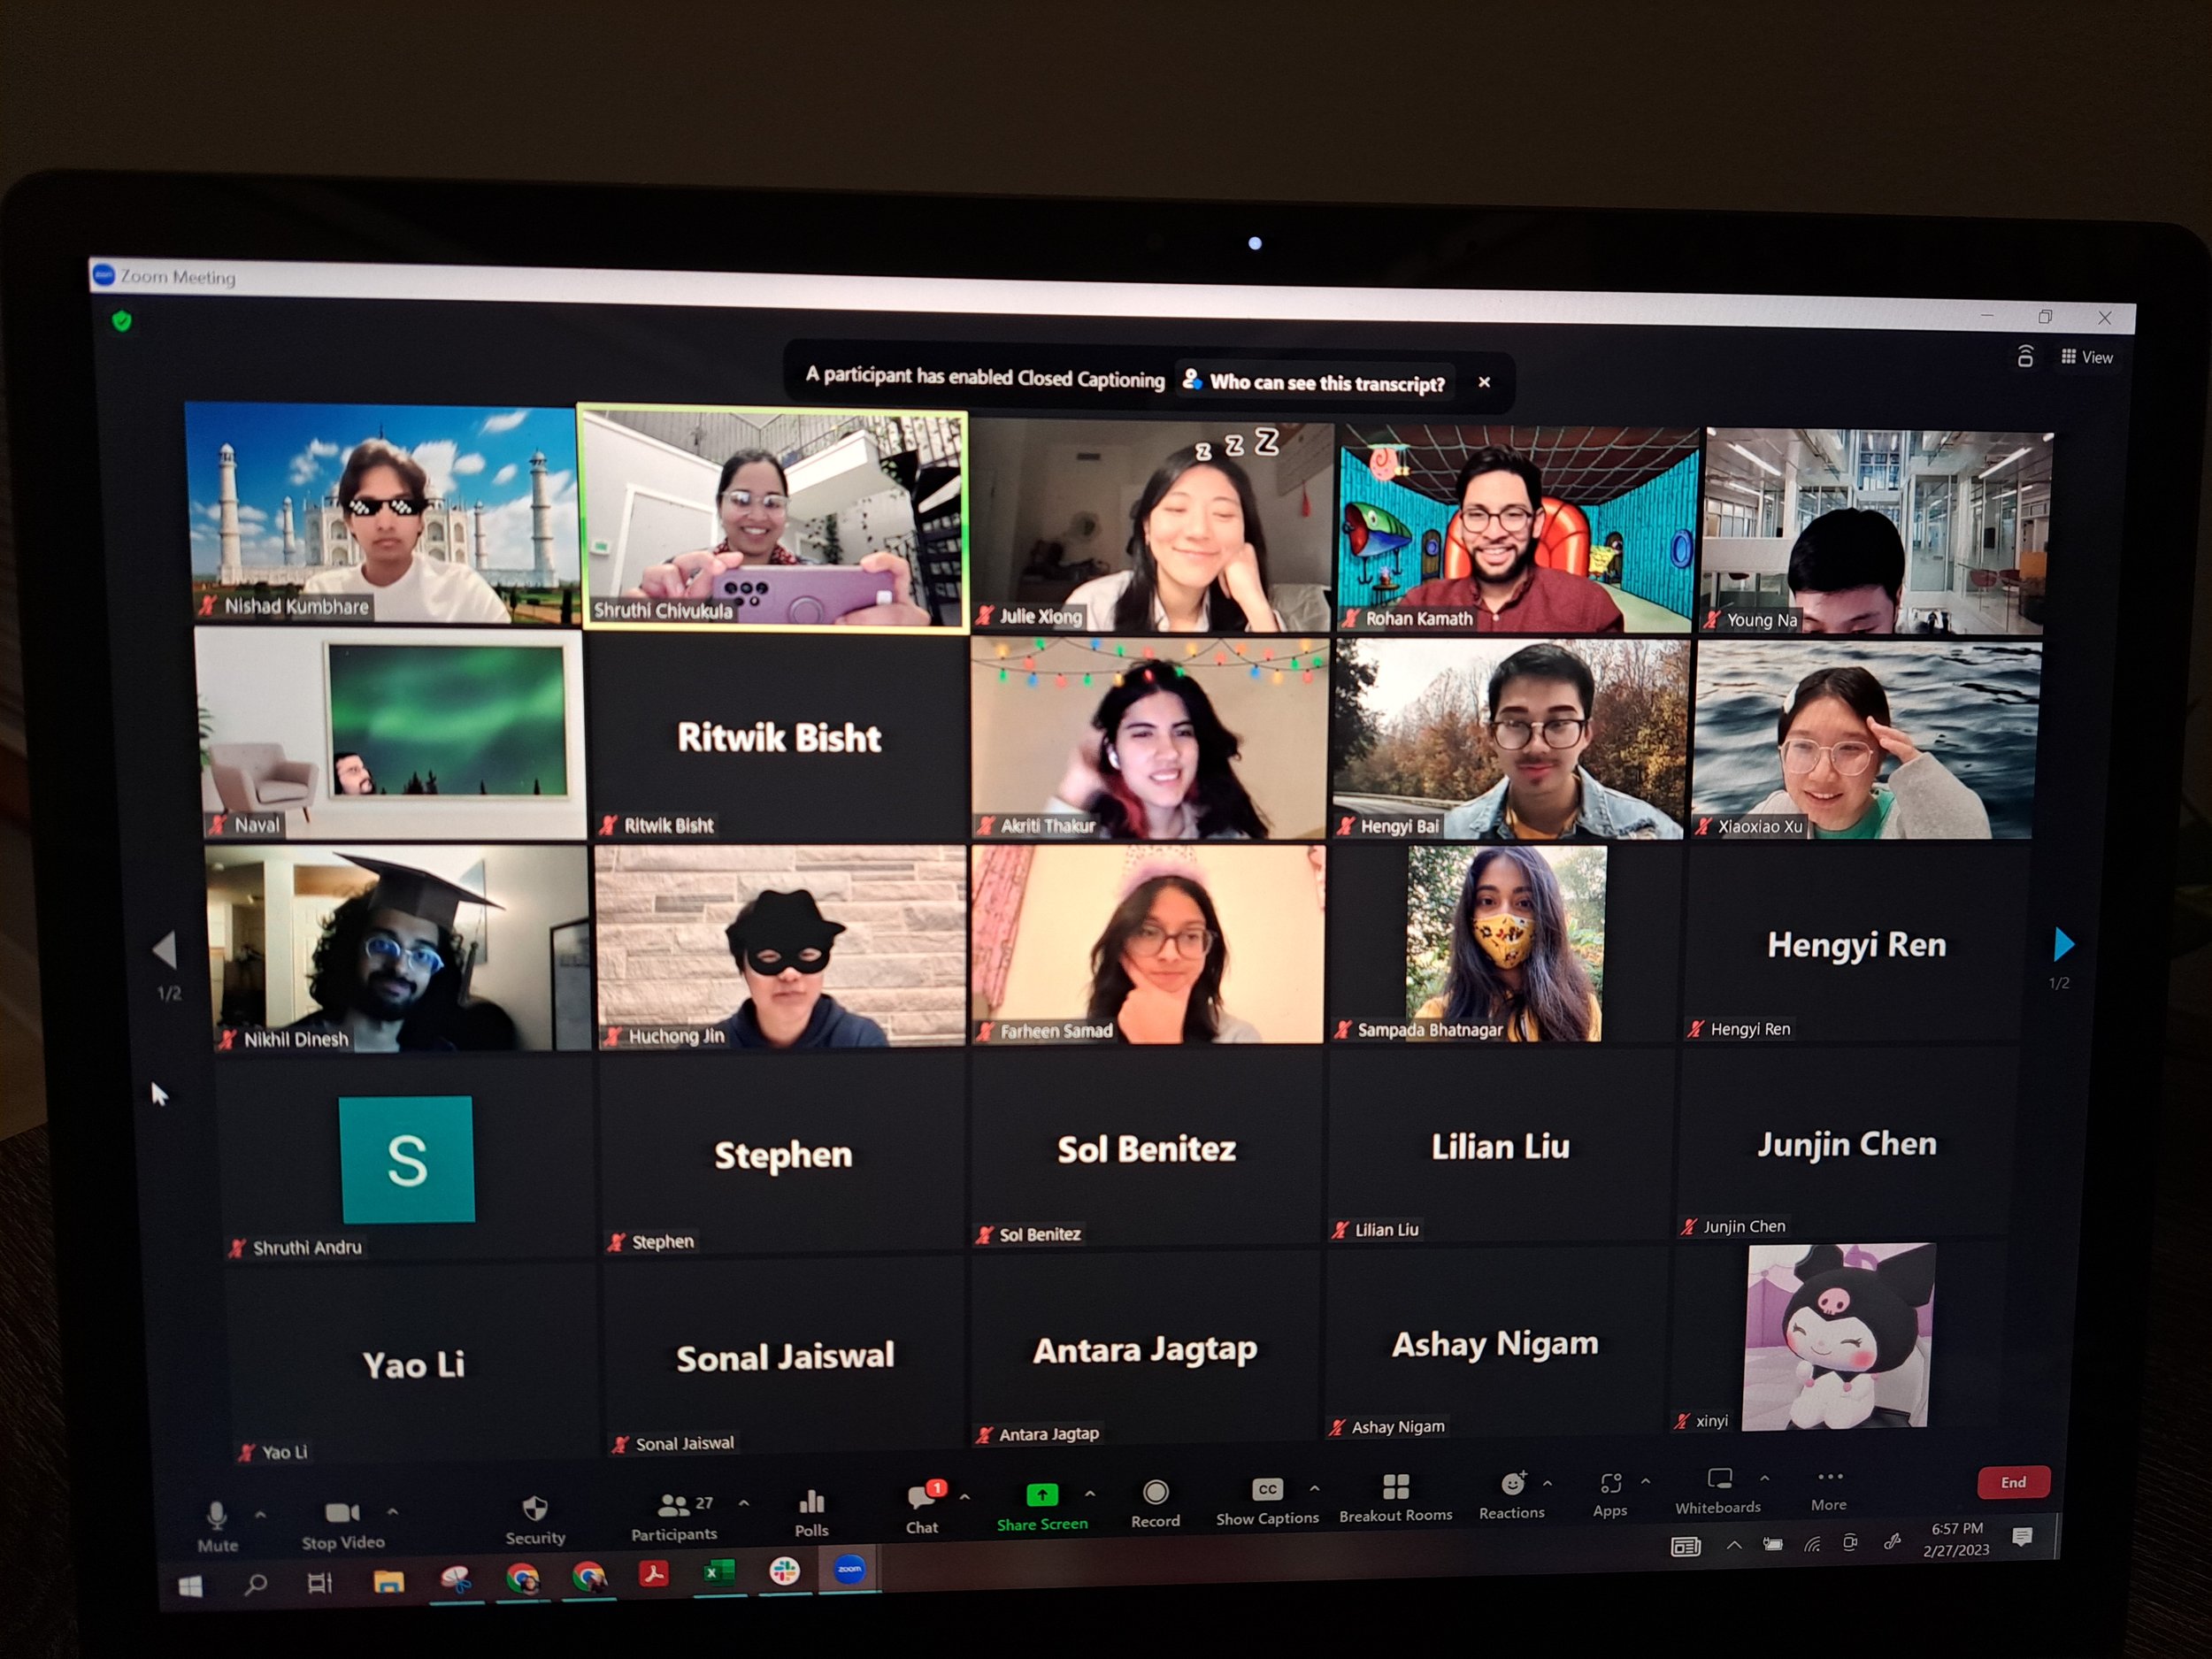
It is already Week 3 into the semester. The students have submitted their learning contracts for this semester already and we are easing into the semester with them doing a 5 mins “Recap Presentations” of what they have done in Thesis-Part 1 and what they plan on doing for this semester. It was good to remind ourselves of the range of projects students were engaging and also to know that a couple of students continued their efforts during the winter vacation as well. Here are some snaps students presenting a recap:
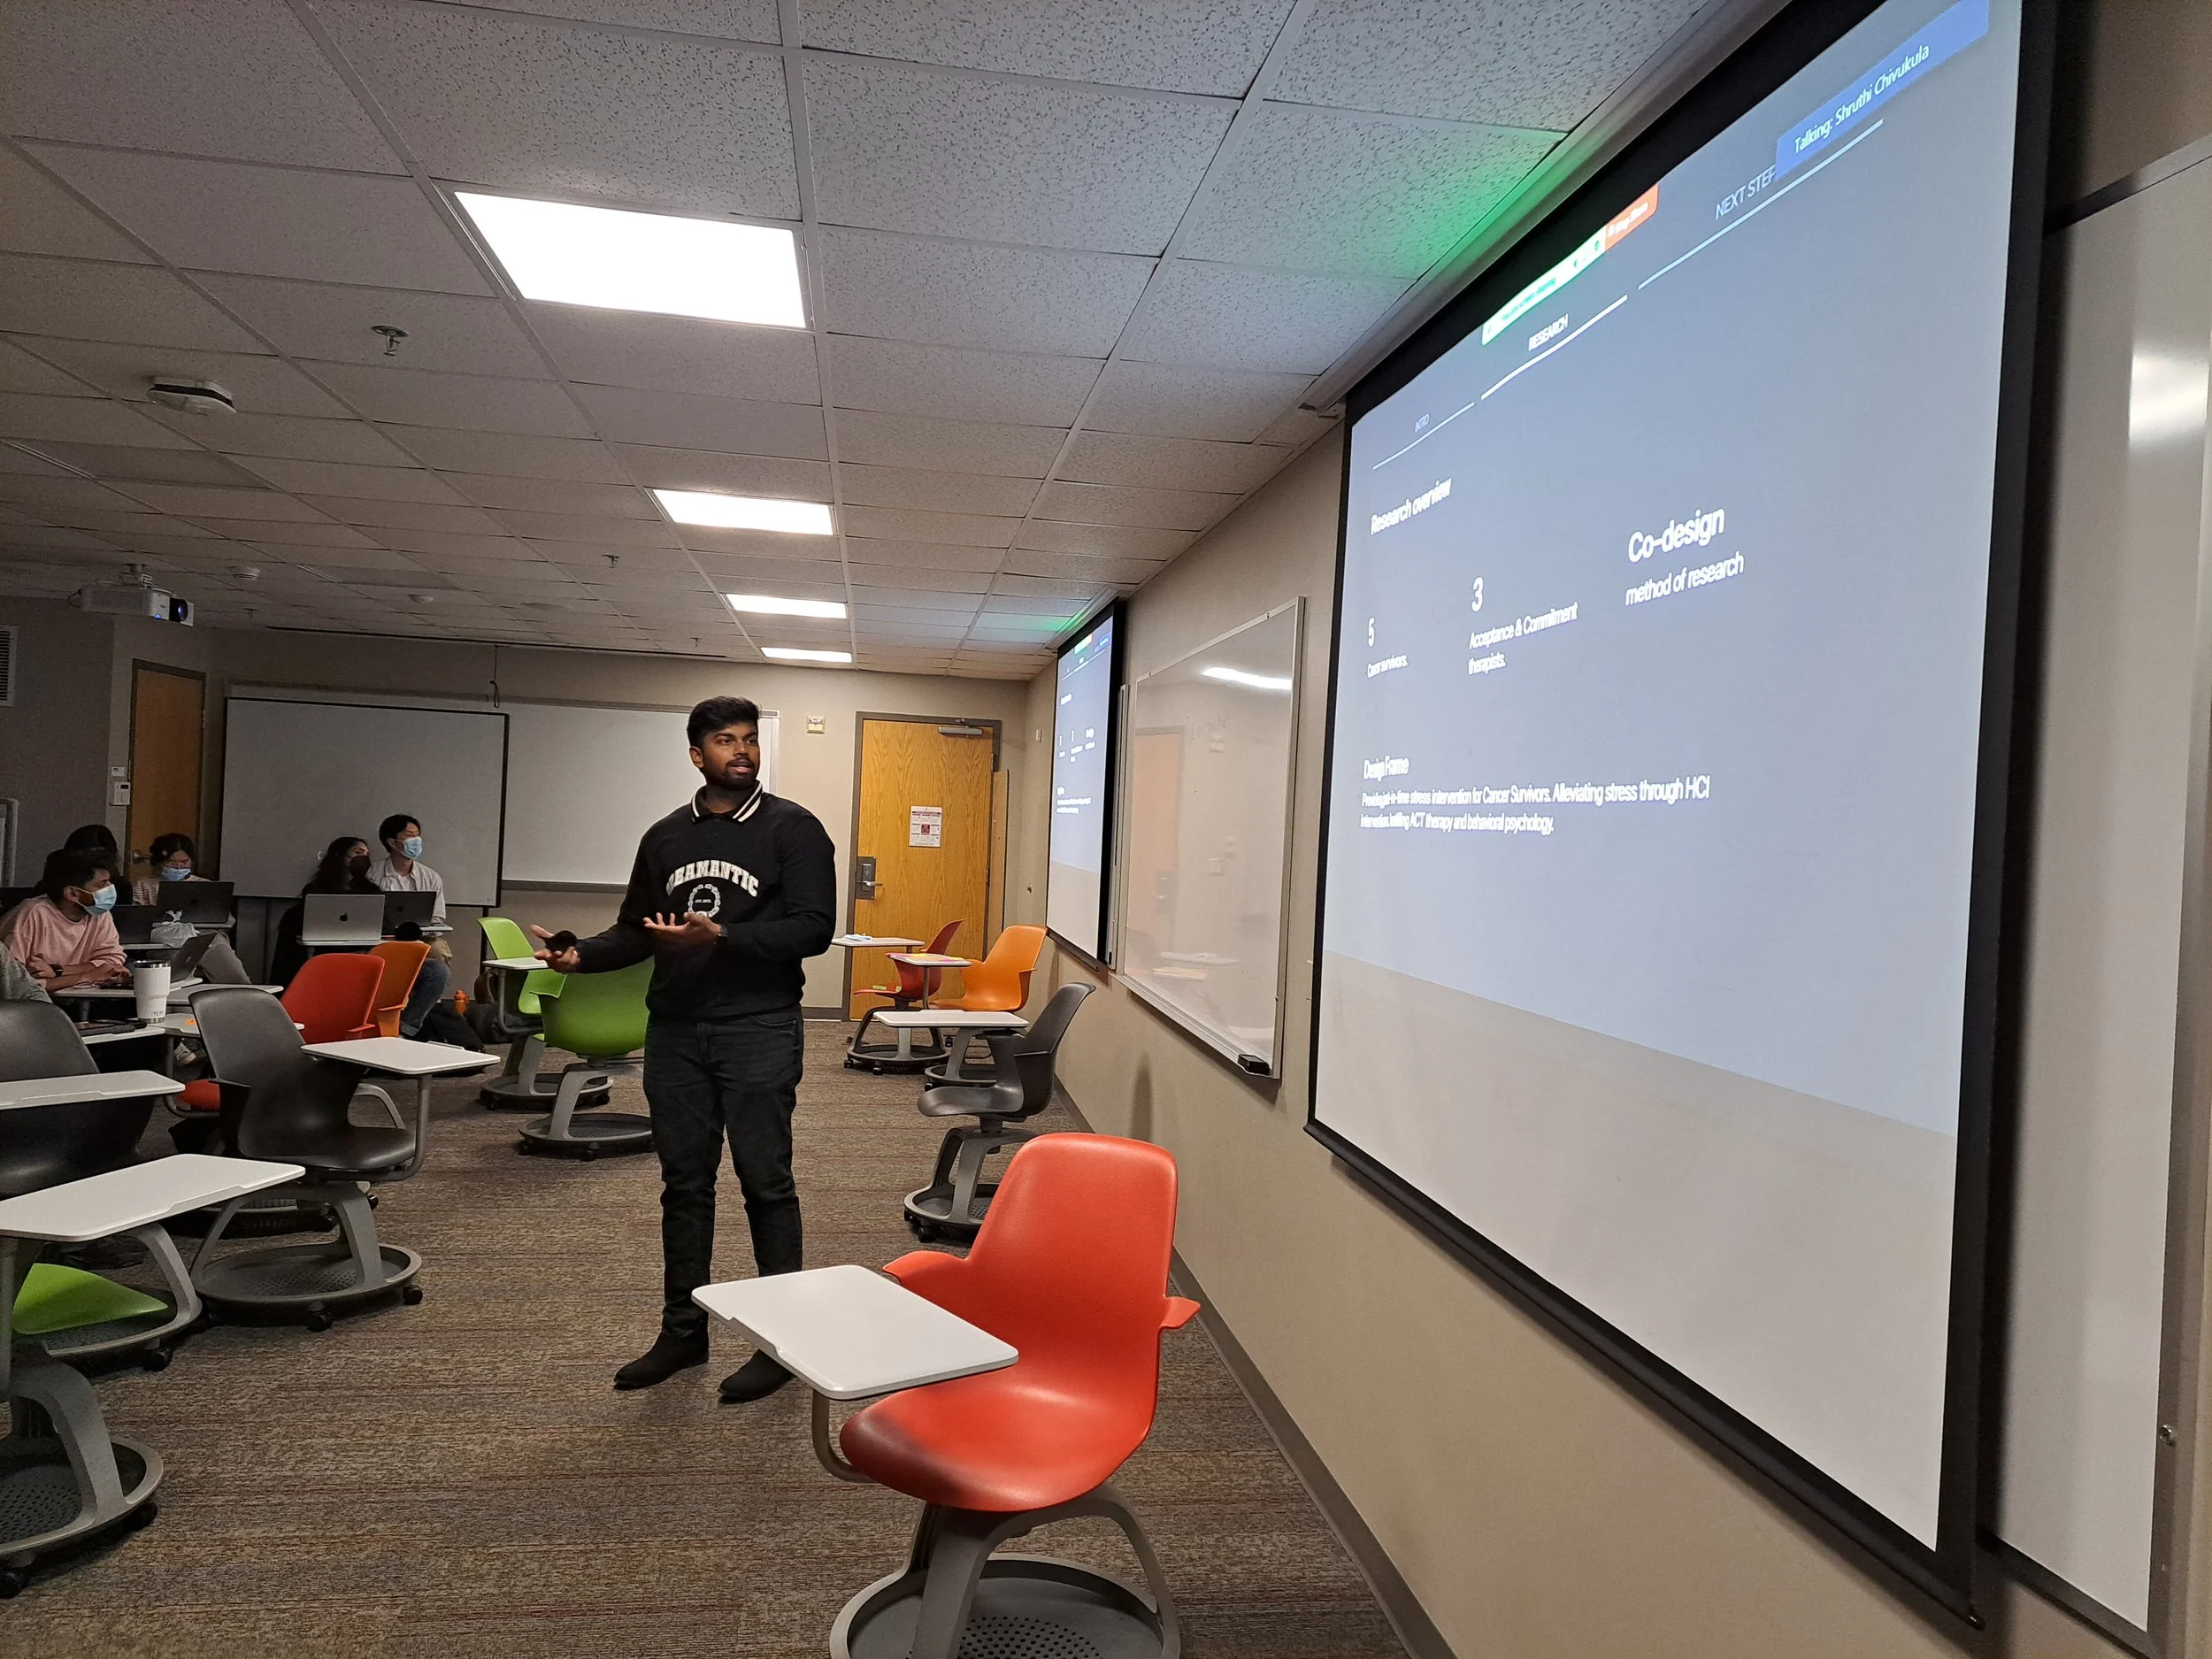
Lecture on Design Ideation by Shruthi Chivukula
Based on the Recap Presentations, it was evident that most of the students had design ideation as a part of their plan for this semester. This was the semester that students would explore, build, iterate, and discard a range of concepts that they would build to address their design frame (watch related lecture here). So, I have decided to introduce some ways in which students can think about the theory or application of design ideation. This lecture was completely designed and given from techniques I use during my ideation process. If anyone is interested in furthering a conversation on this topic, reach out to me at <Email in the footer>. I have the video linked below from my lecture.

Slide deck from MIRO used for the lecture.
What was this lecture about?
This lecture is NOT about brainstorming techniques that are often circulated as beneficial techniques to be used in group settings such as starbusting, crazy 8’s, step-ladder techniques, concept relays, etc.
This lecture is about anchors and mindsets around design ideation for INDIVIDUAL HCI/d designers.
This lecture is based on the ideology of how an individual designer can take inspiration from their own ideation process employing a range of techniques I introduced around creative design ideation.
This lecture 4 different ideation techniques (discussed in detail below) to generate a pool of ideas for a given design frame.
At the end, lecture introduced design prompt generators out there for “Designing maketh a designer” practice for novice design students.
What are some techniques around individual design ideation? Here are four techniques discussed in the lecture video around generating a pool of ideas, that could in-turn work as inspirations in a designer’s concept-building process.
Matrix Free Flow: This is a technique I personally use a lot to expand designing for a range of tech domains (for example, VR, AR, Wearables, tech fashion accessories, etc.) based on my design frame, in order to later translate these potential ideas into the product you ought to design (for example, an app) for creative features, interaction paradigms, visual aesthetics, and values/ virtues of designs. You create a matrix with columns catering to different tech domains, and each row could be for a range of users, situations/contexts of use, time of the day, scenarios, values and so on. This creates an expansive matrix to free-flow ideation.
Ideation Triggers or Cards: This is a technique to take inspiration or guidance for ideation from domain-specific card sets or worksheets to generate solutions. Google them based on your design frame, you get millions in our current times.
Analogies and Metaphors (FBS): This is a technique which I learnt and adopted from engineering design based on Analogy-based Design which de-structures a certain artifact based on F(Function), B(Behavior), and S(Structure). You then take these individual aspects to transfer or create analogies for your design product at hand. Another aspect of this is to use Metaphors as a form to begin ideation to take inspiration from nature, real-world actions, and humanistic perceptions.
Counterfactual Artifacts: This is a post-humanist technique to ideate and speculate beyond boundaries about what is not ideally taken as a norm. This technique builds on this concept I was reading in Ron Wakkary’s book called “Things We Could Design: For More Than Human-Centered Worlds” called material speculation. The concept is to re-think about materiality and functions of artifacts in our everyday life to build counterfactual artifacts.
The full lecture or conversation with my students can be viewed here:
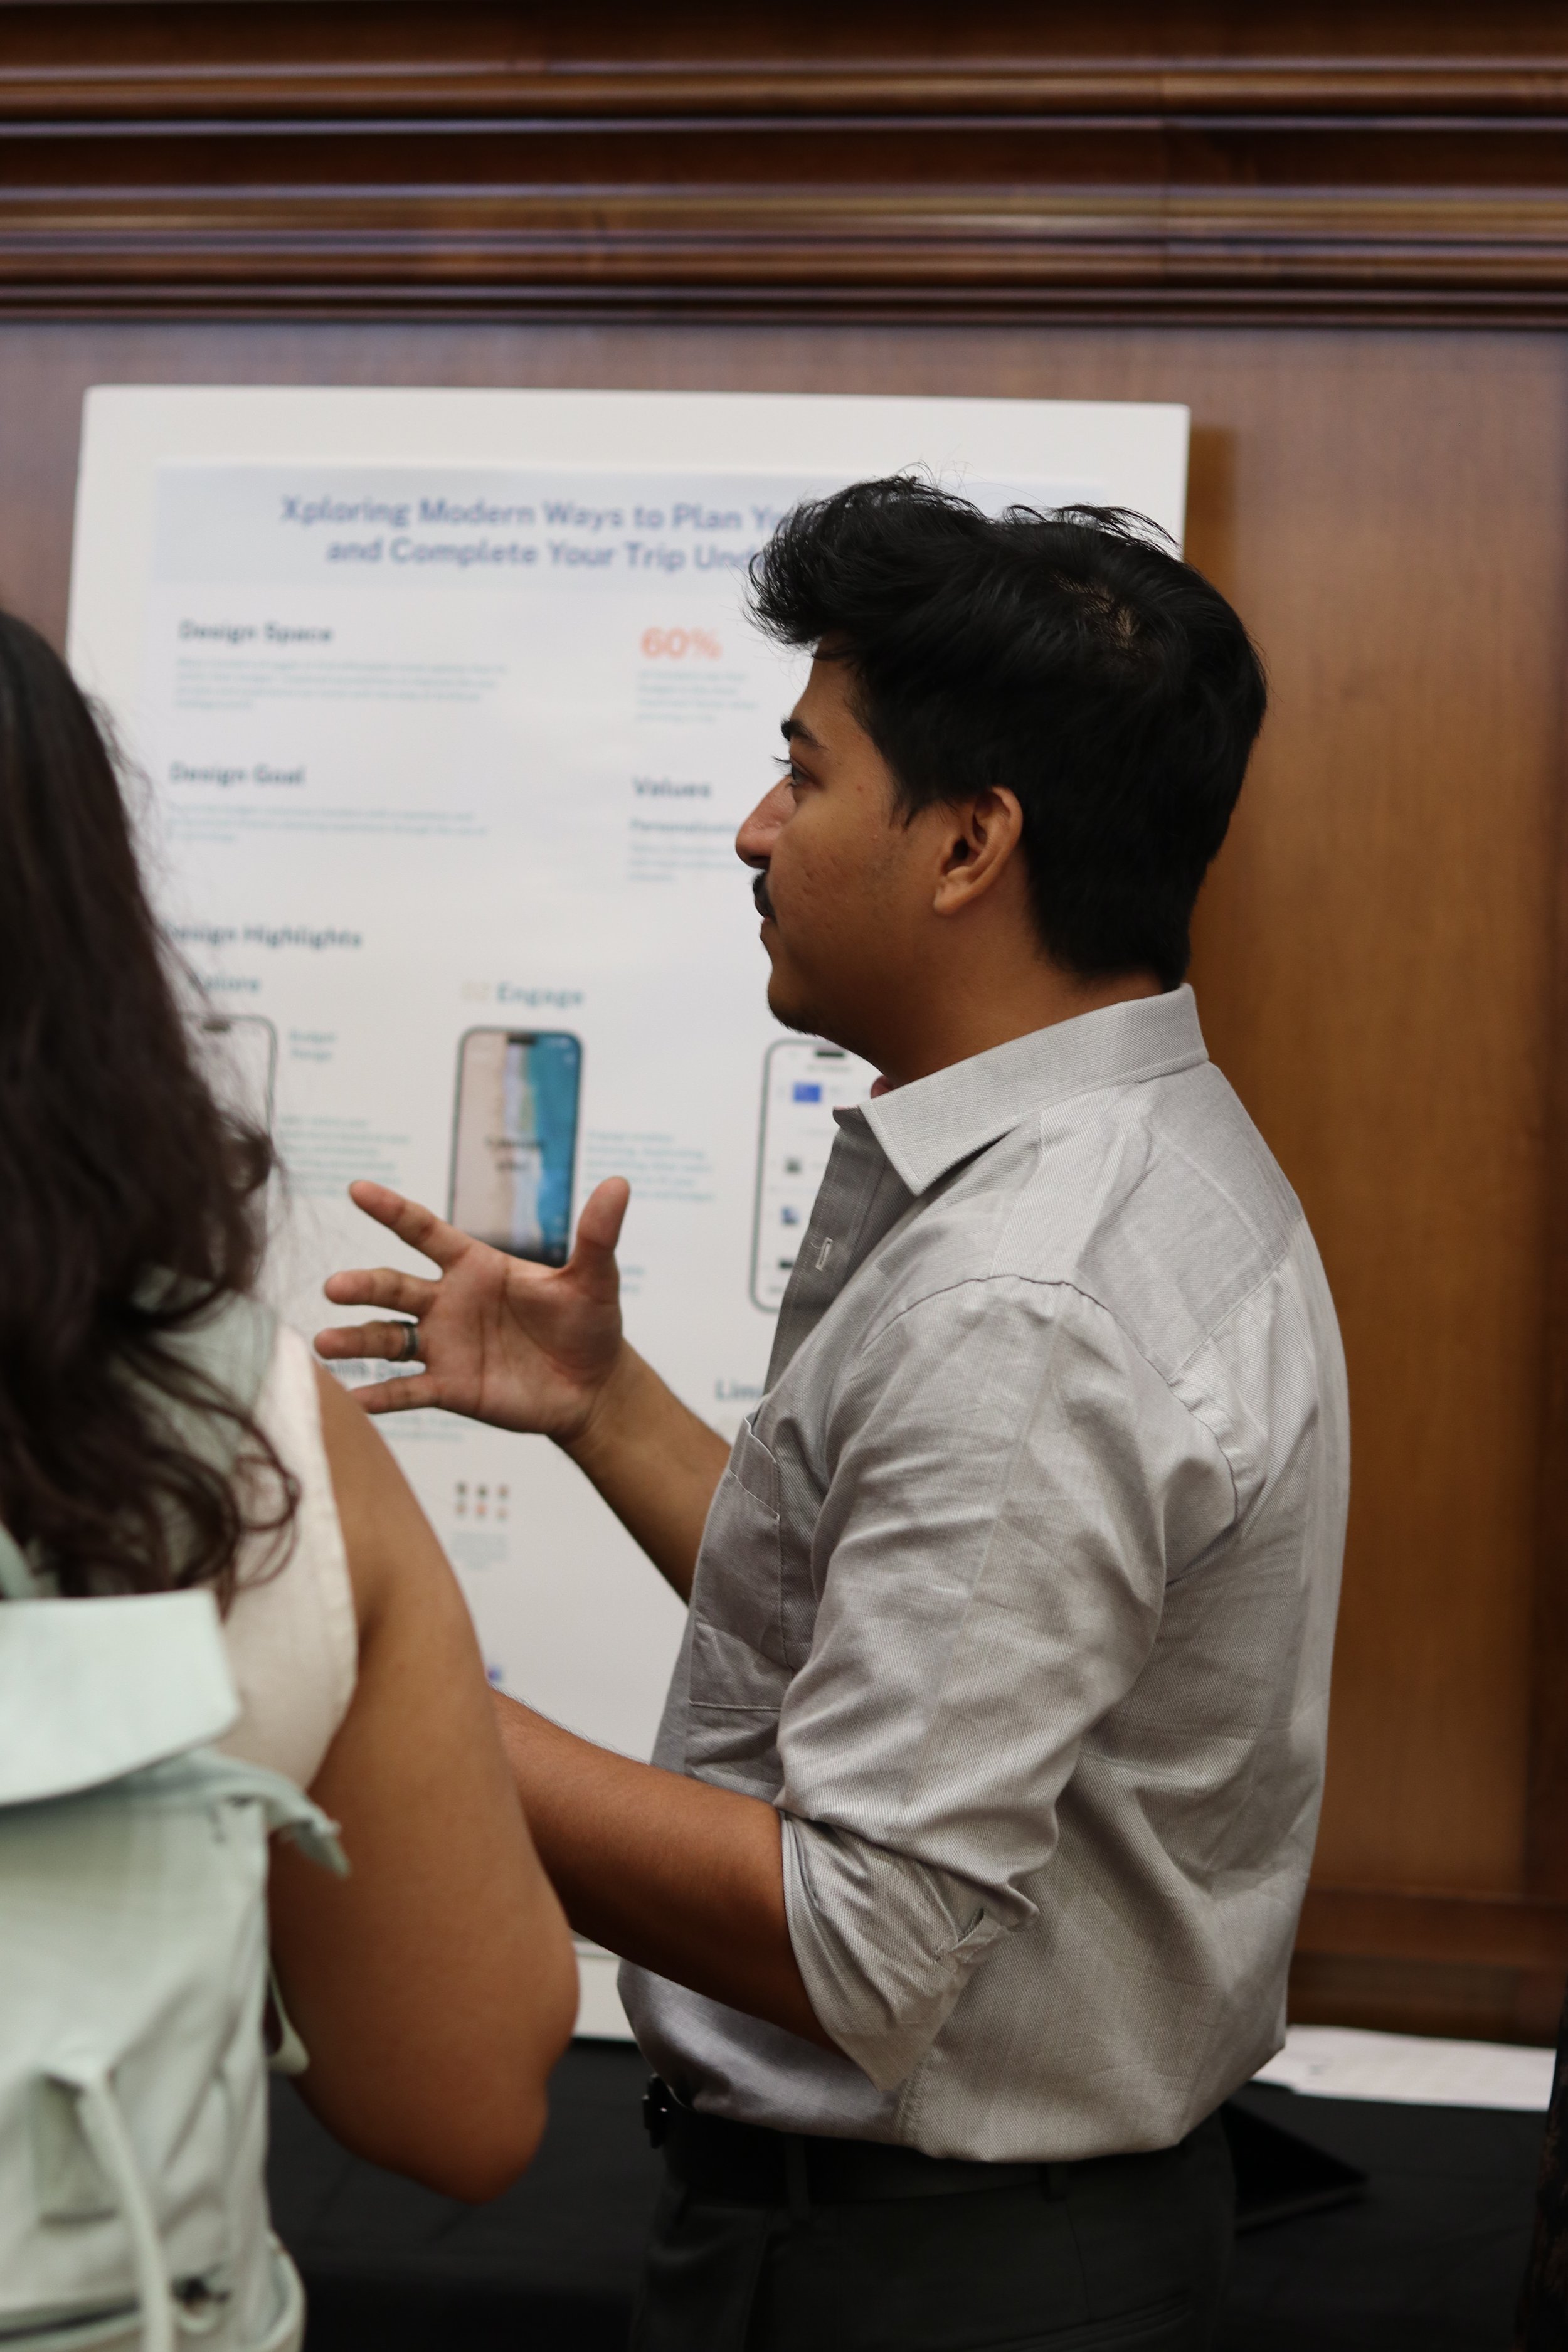
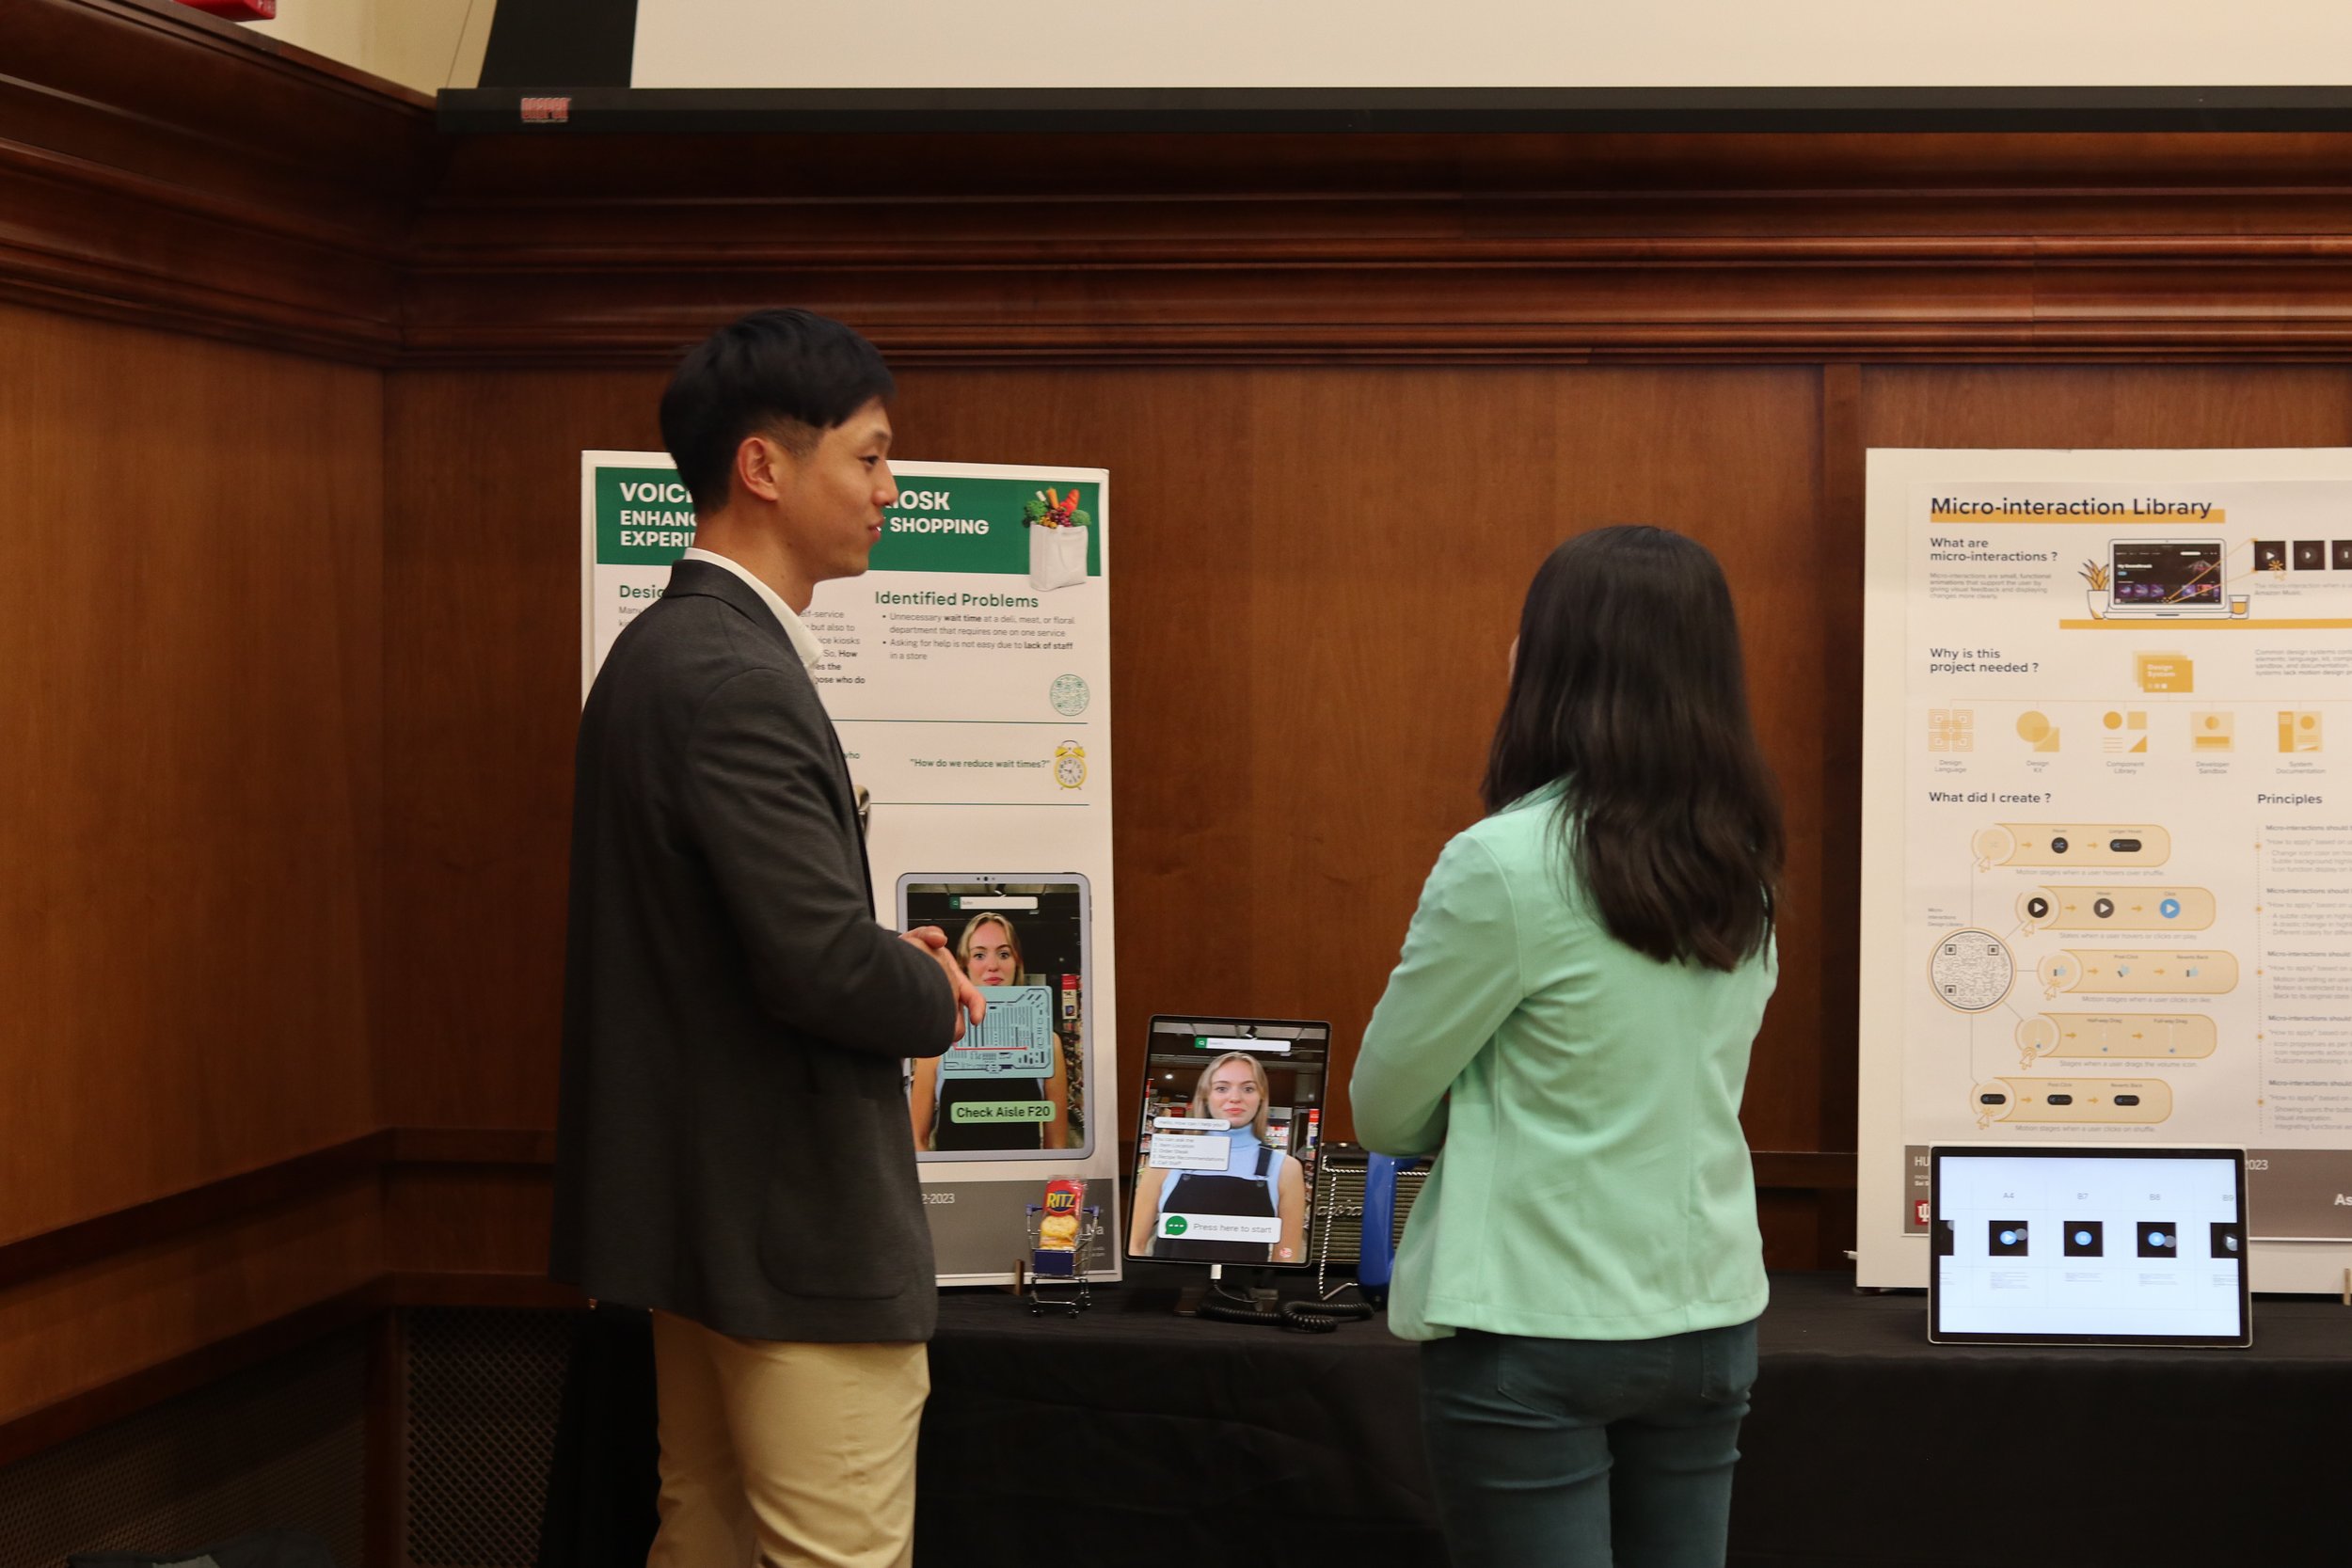
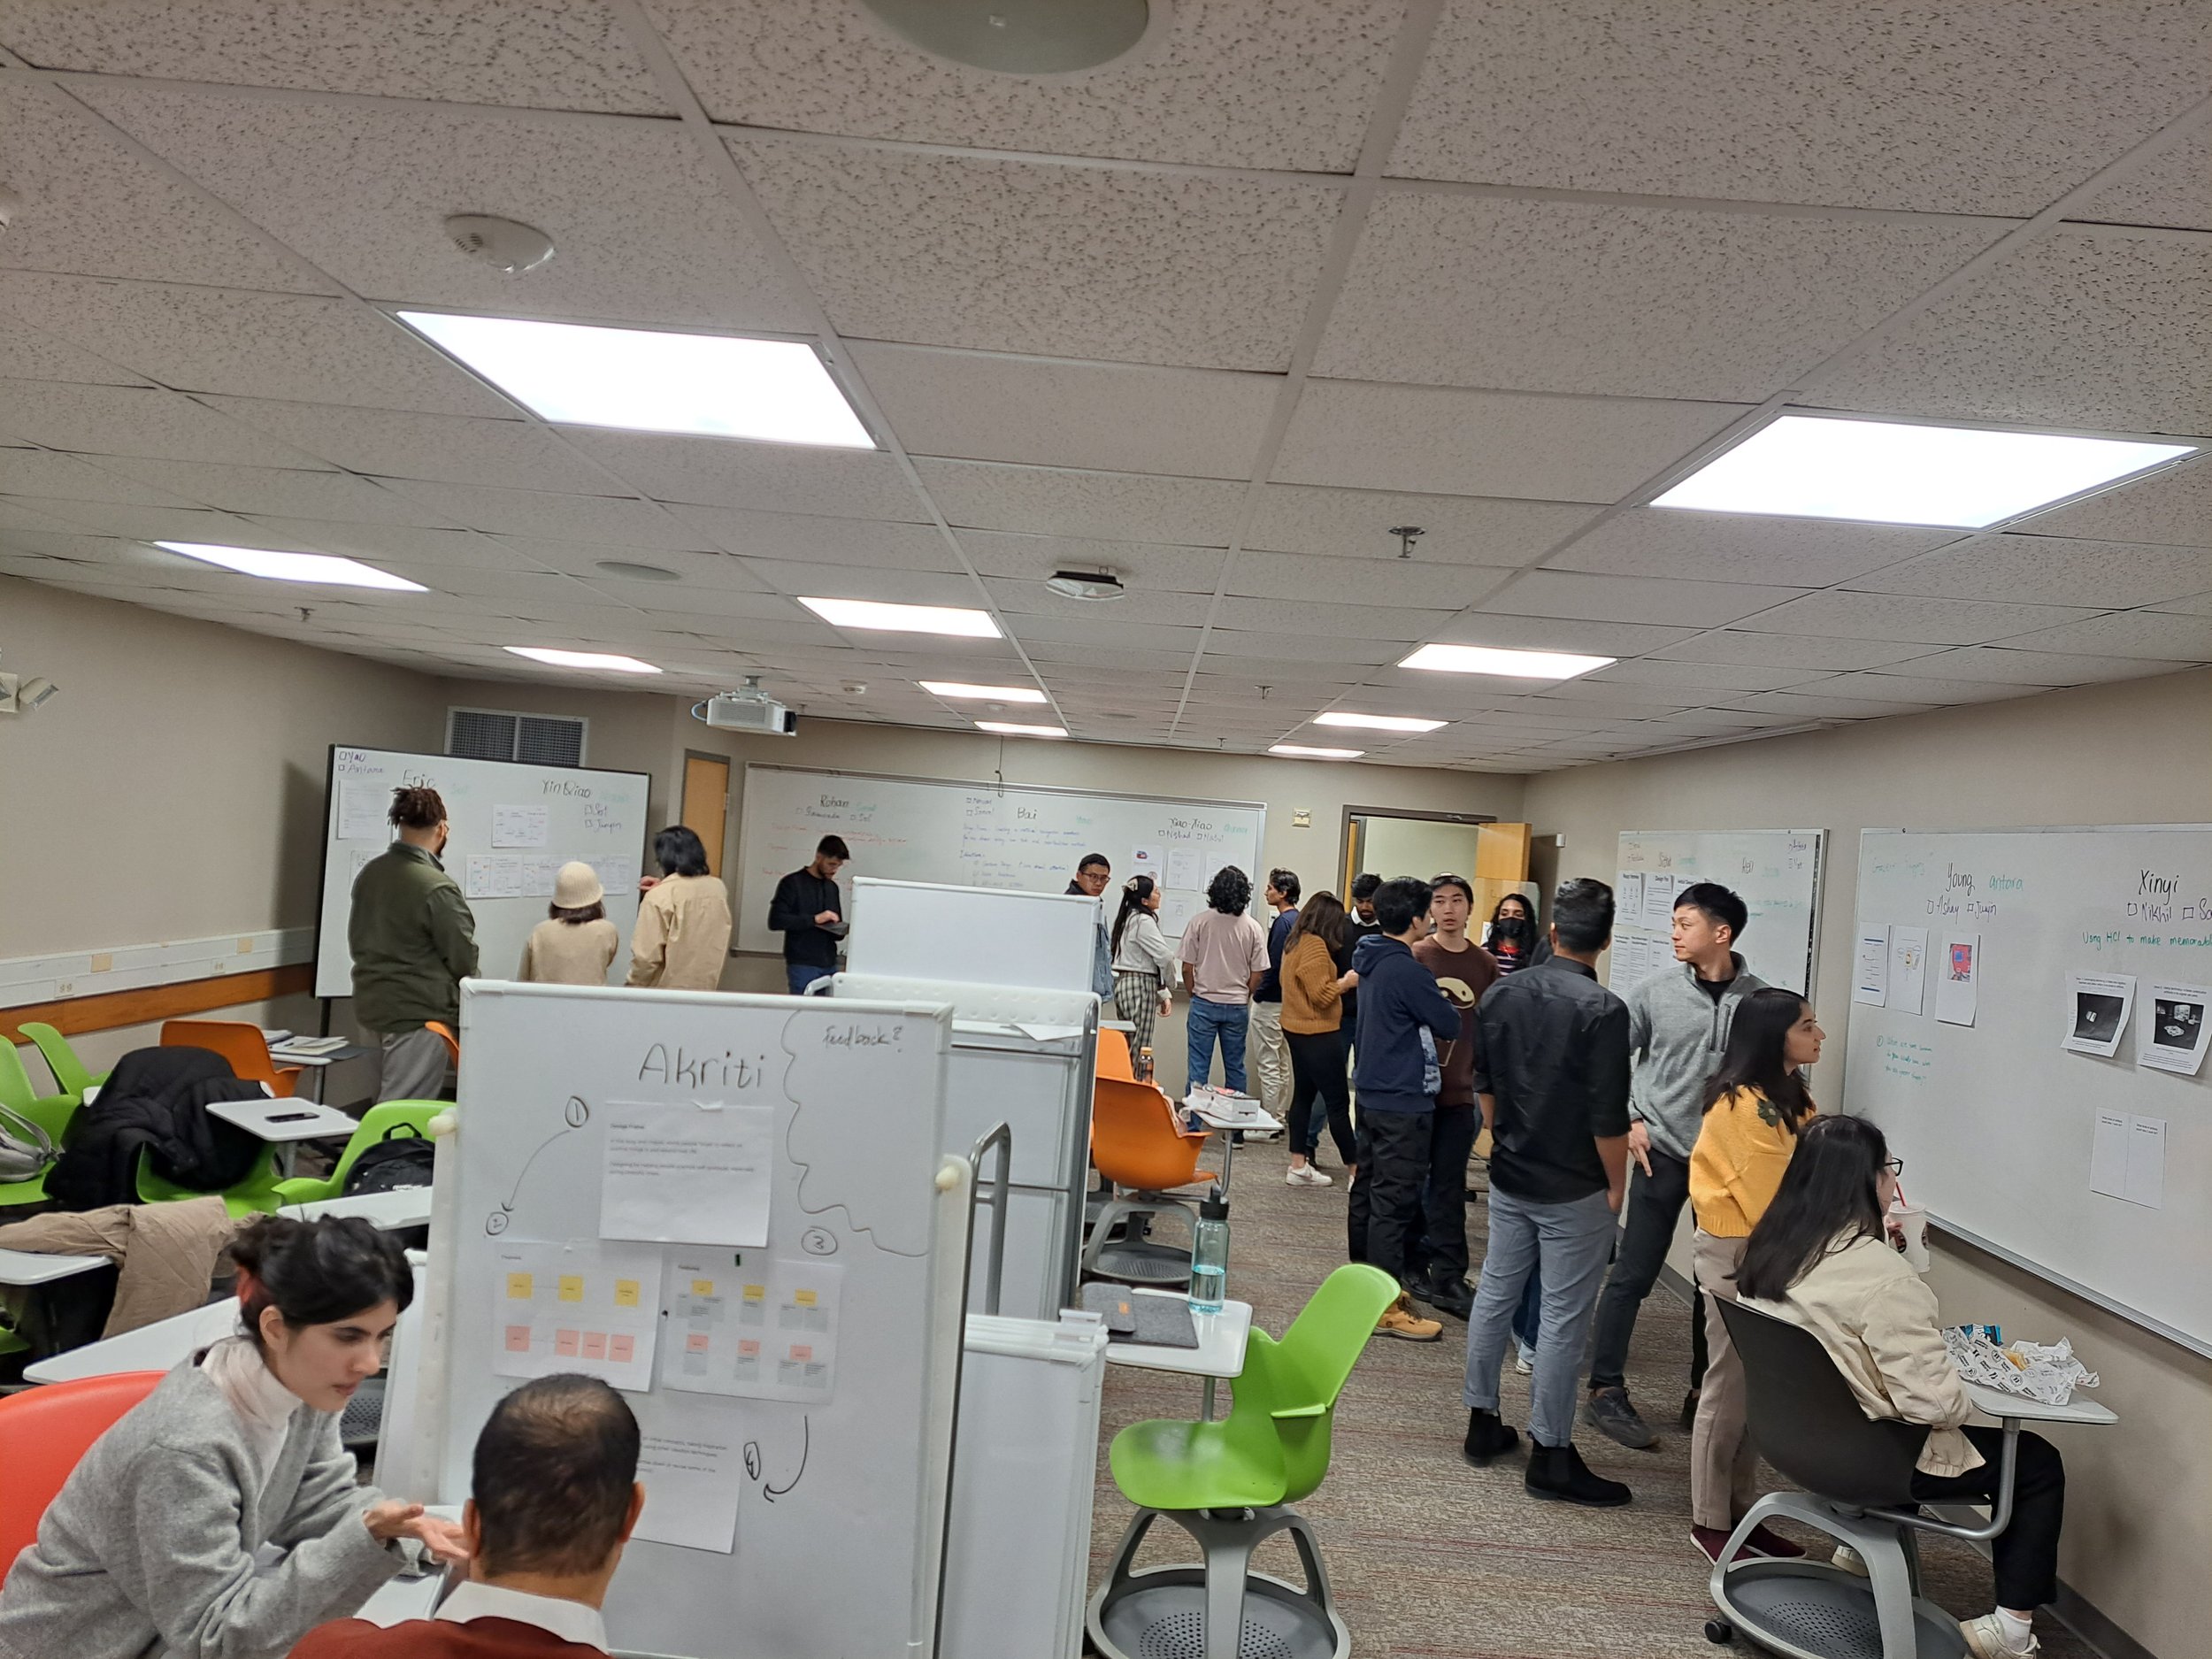
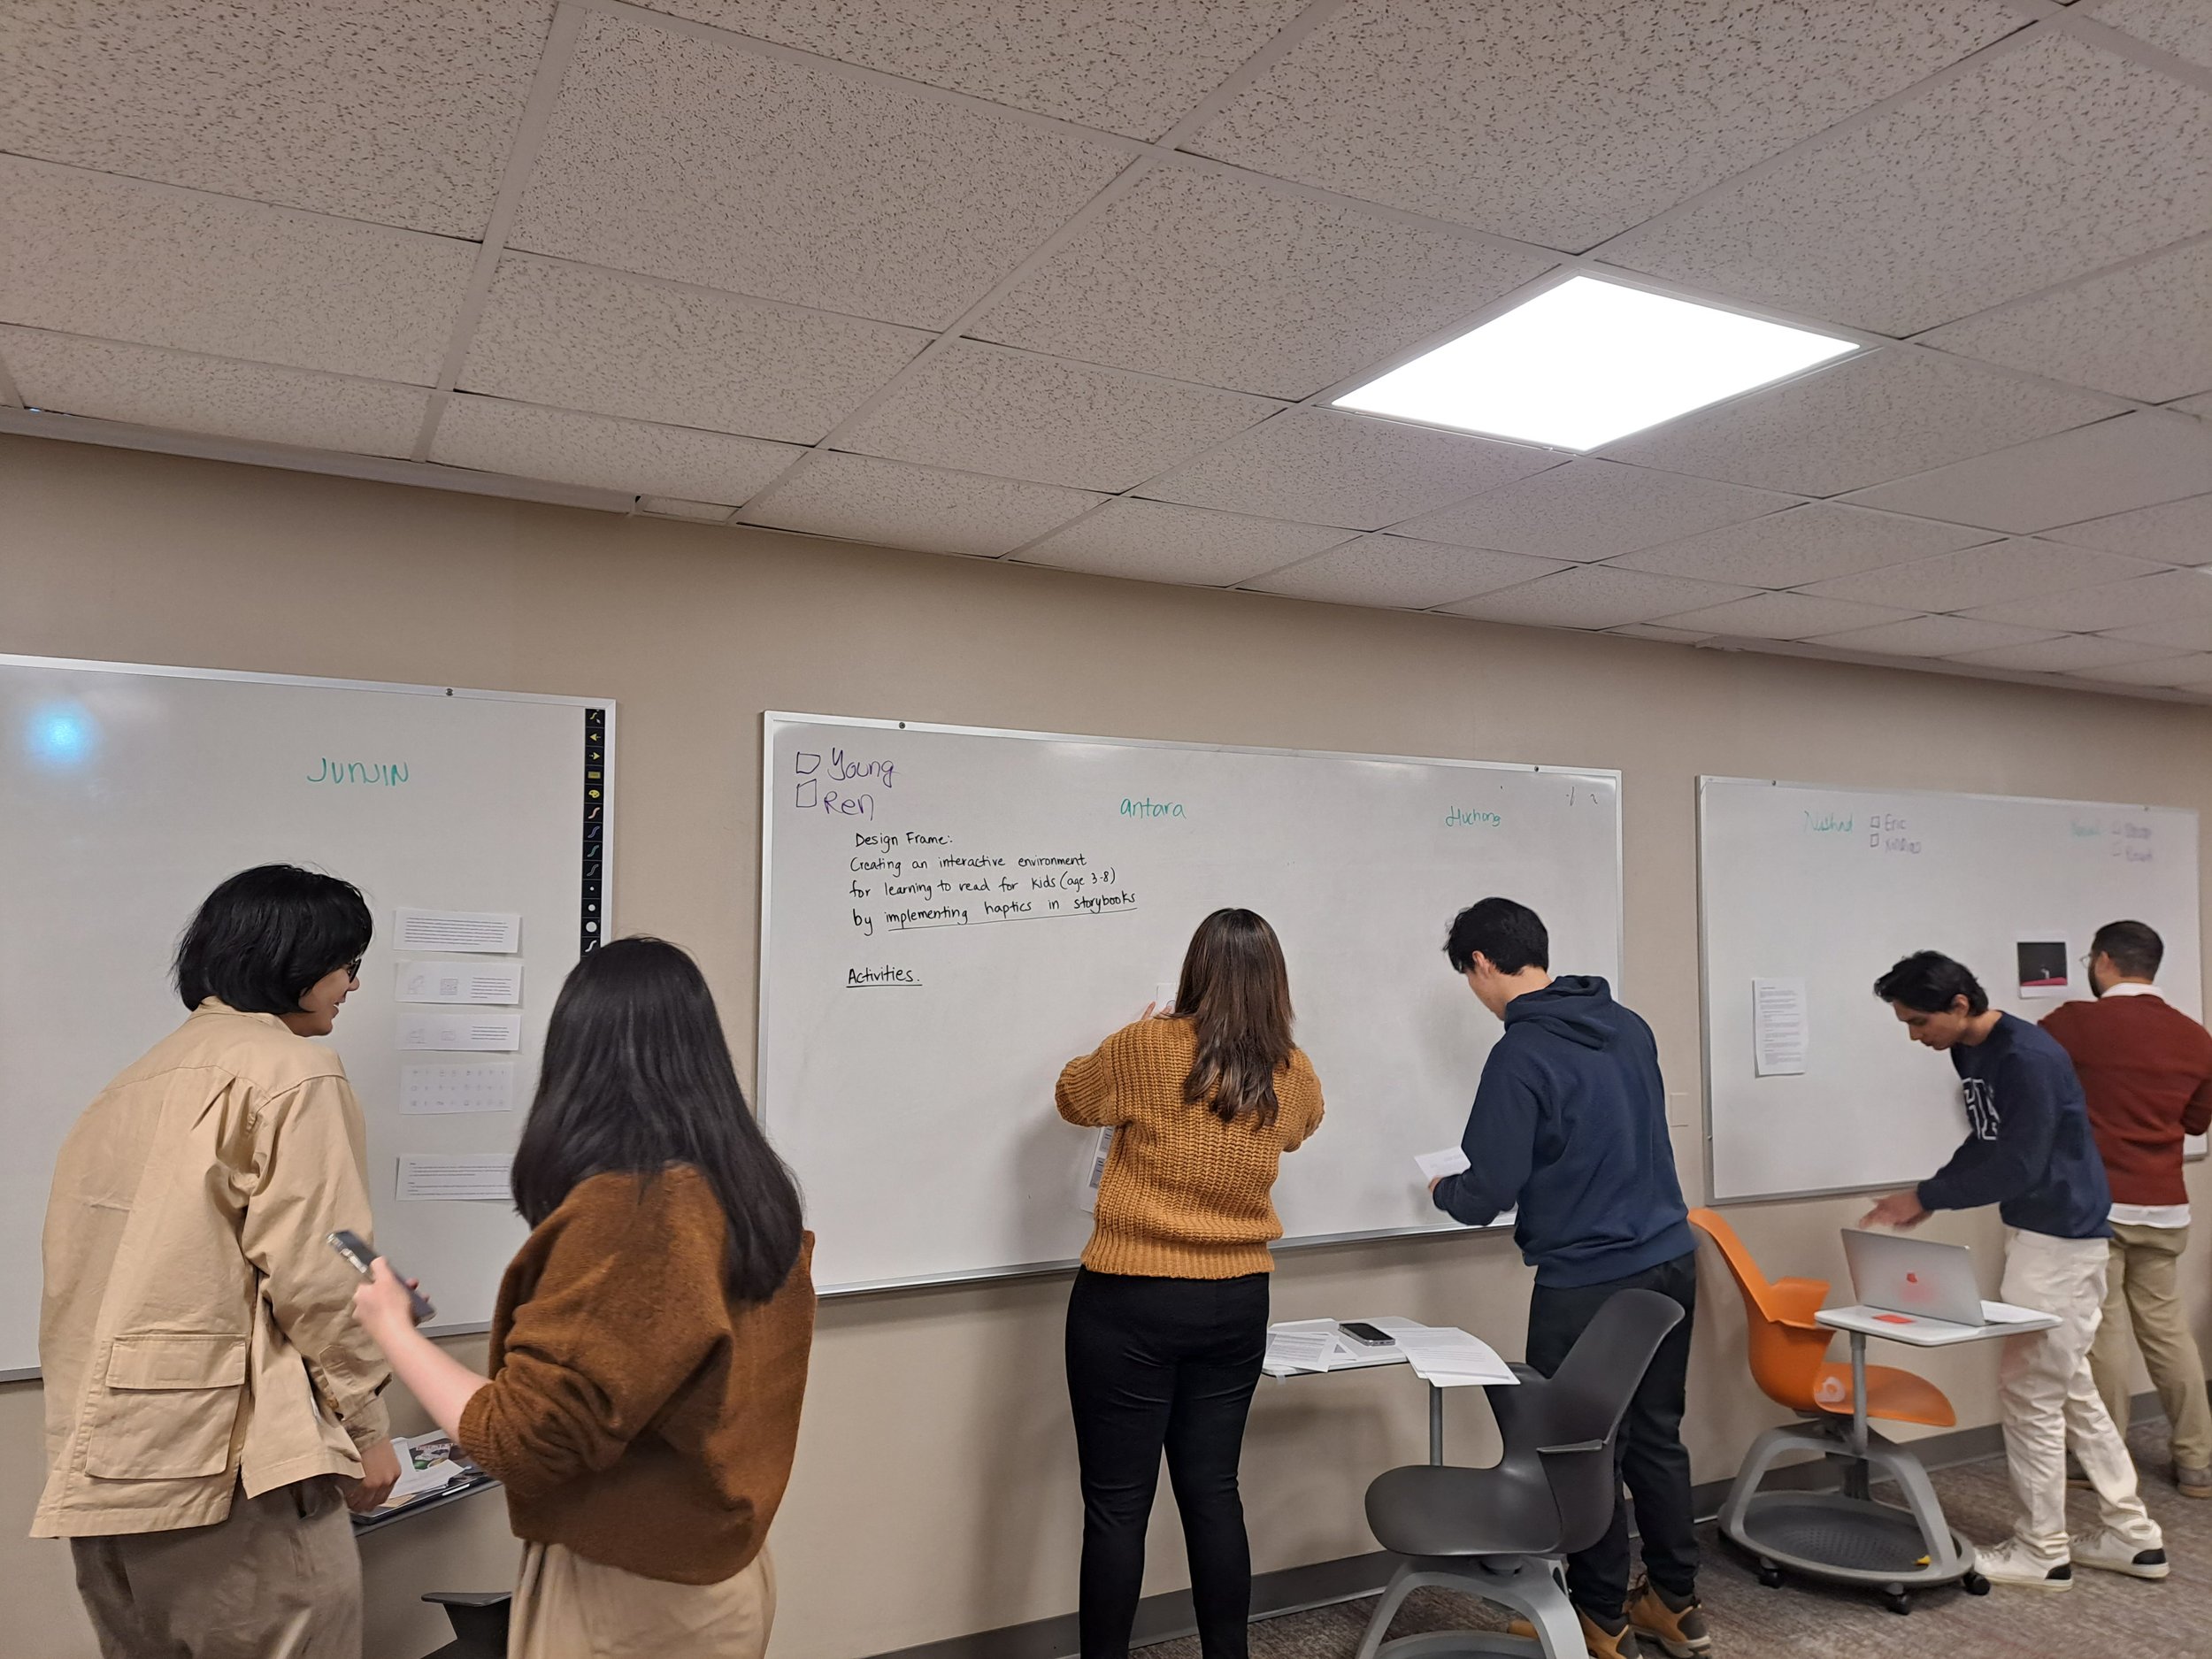
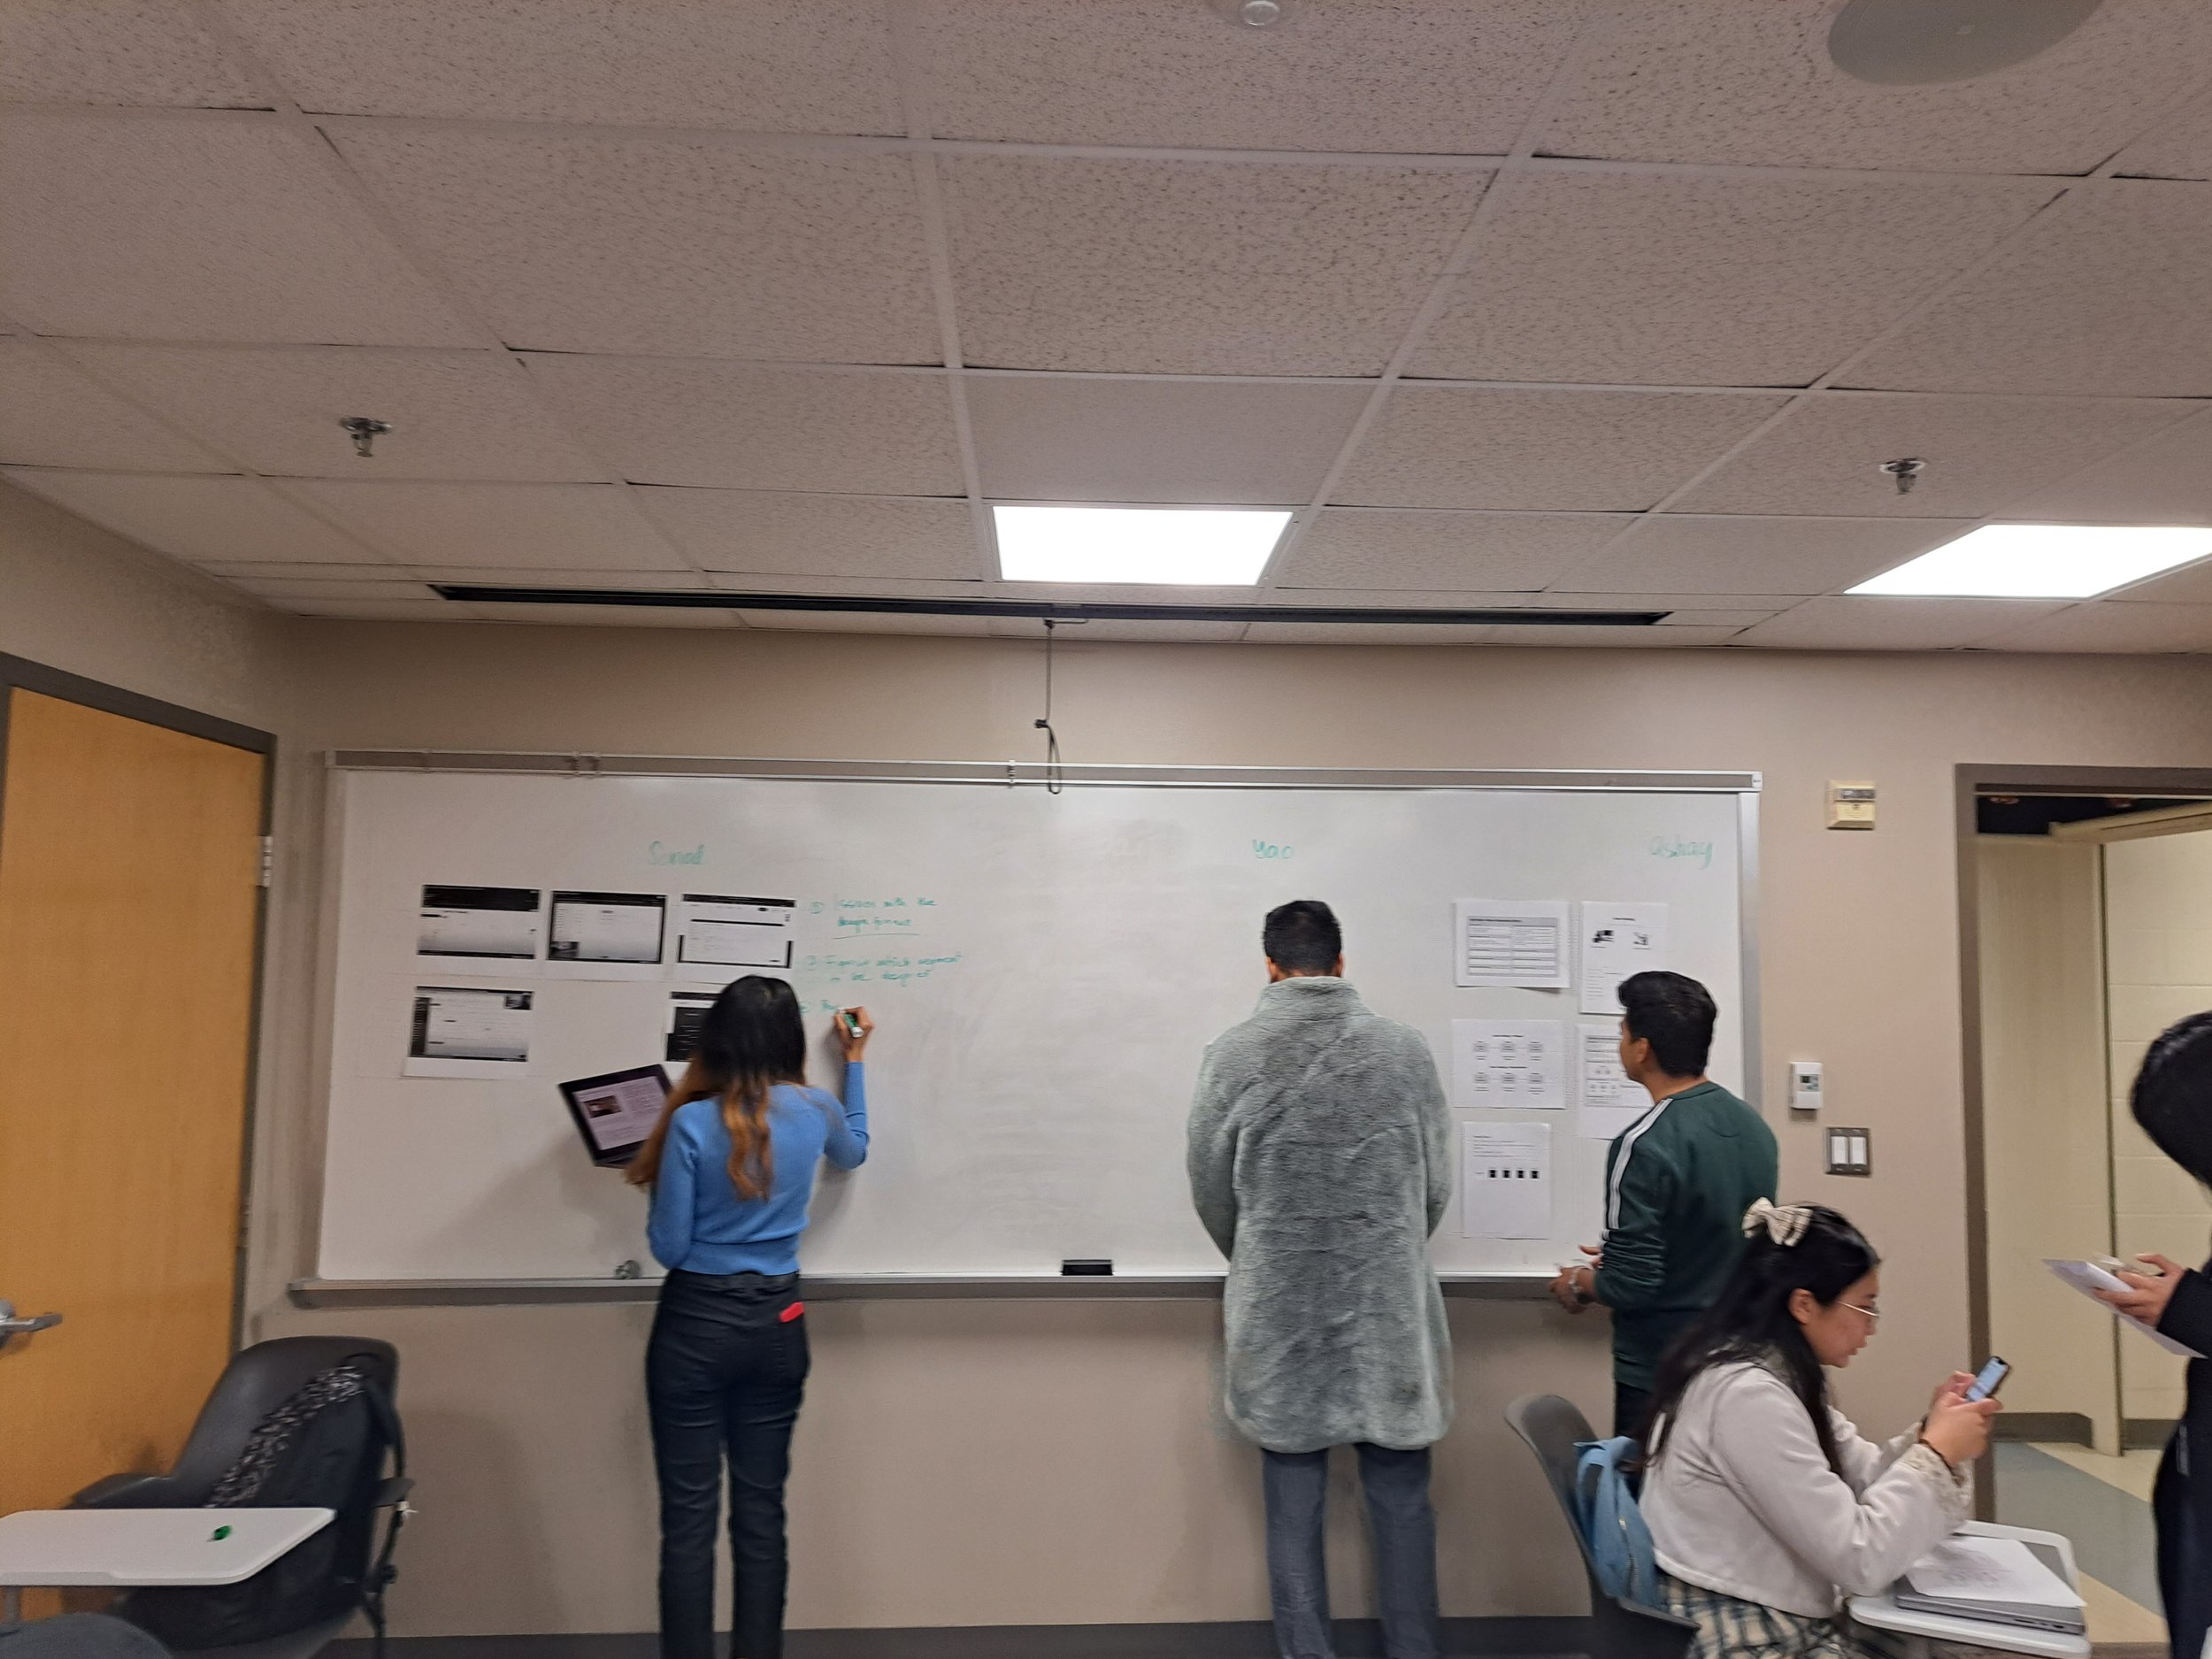
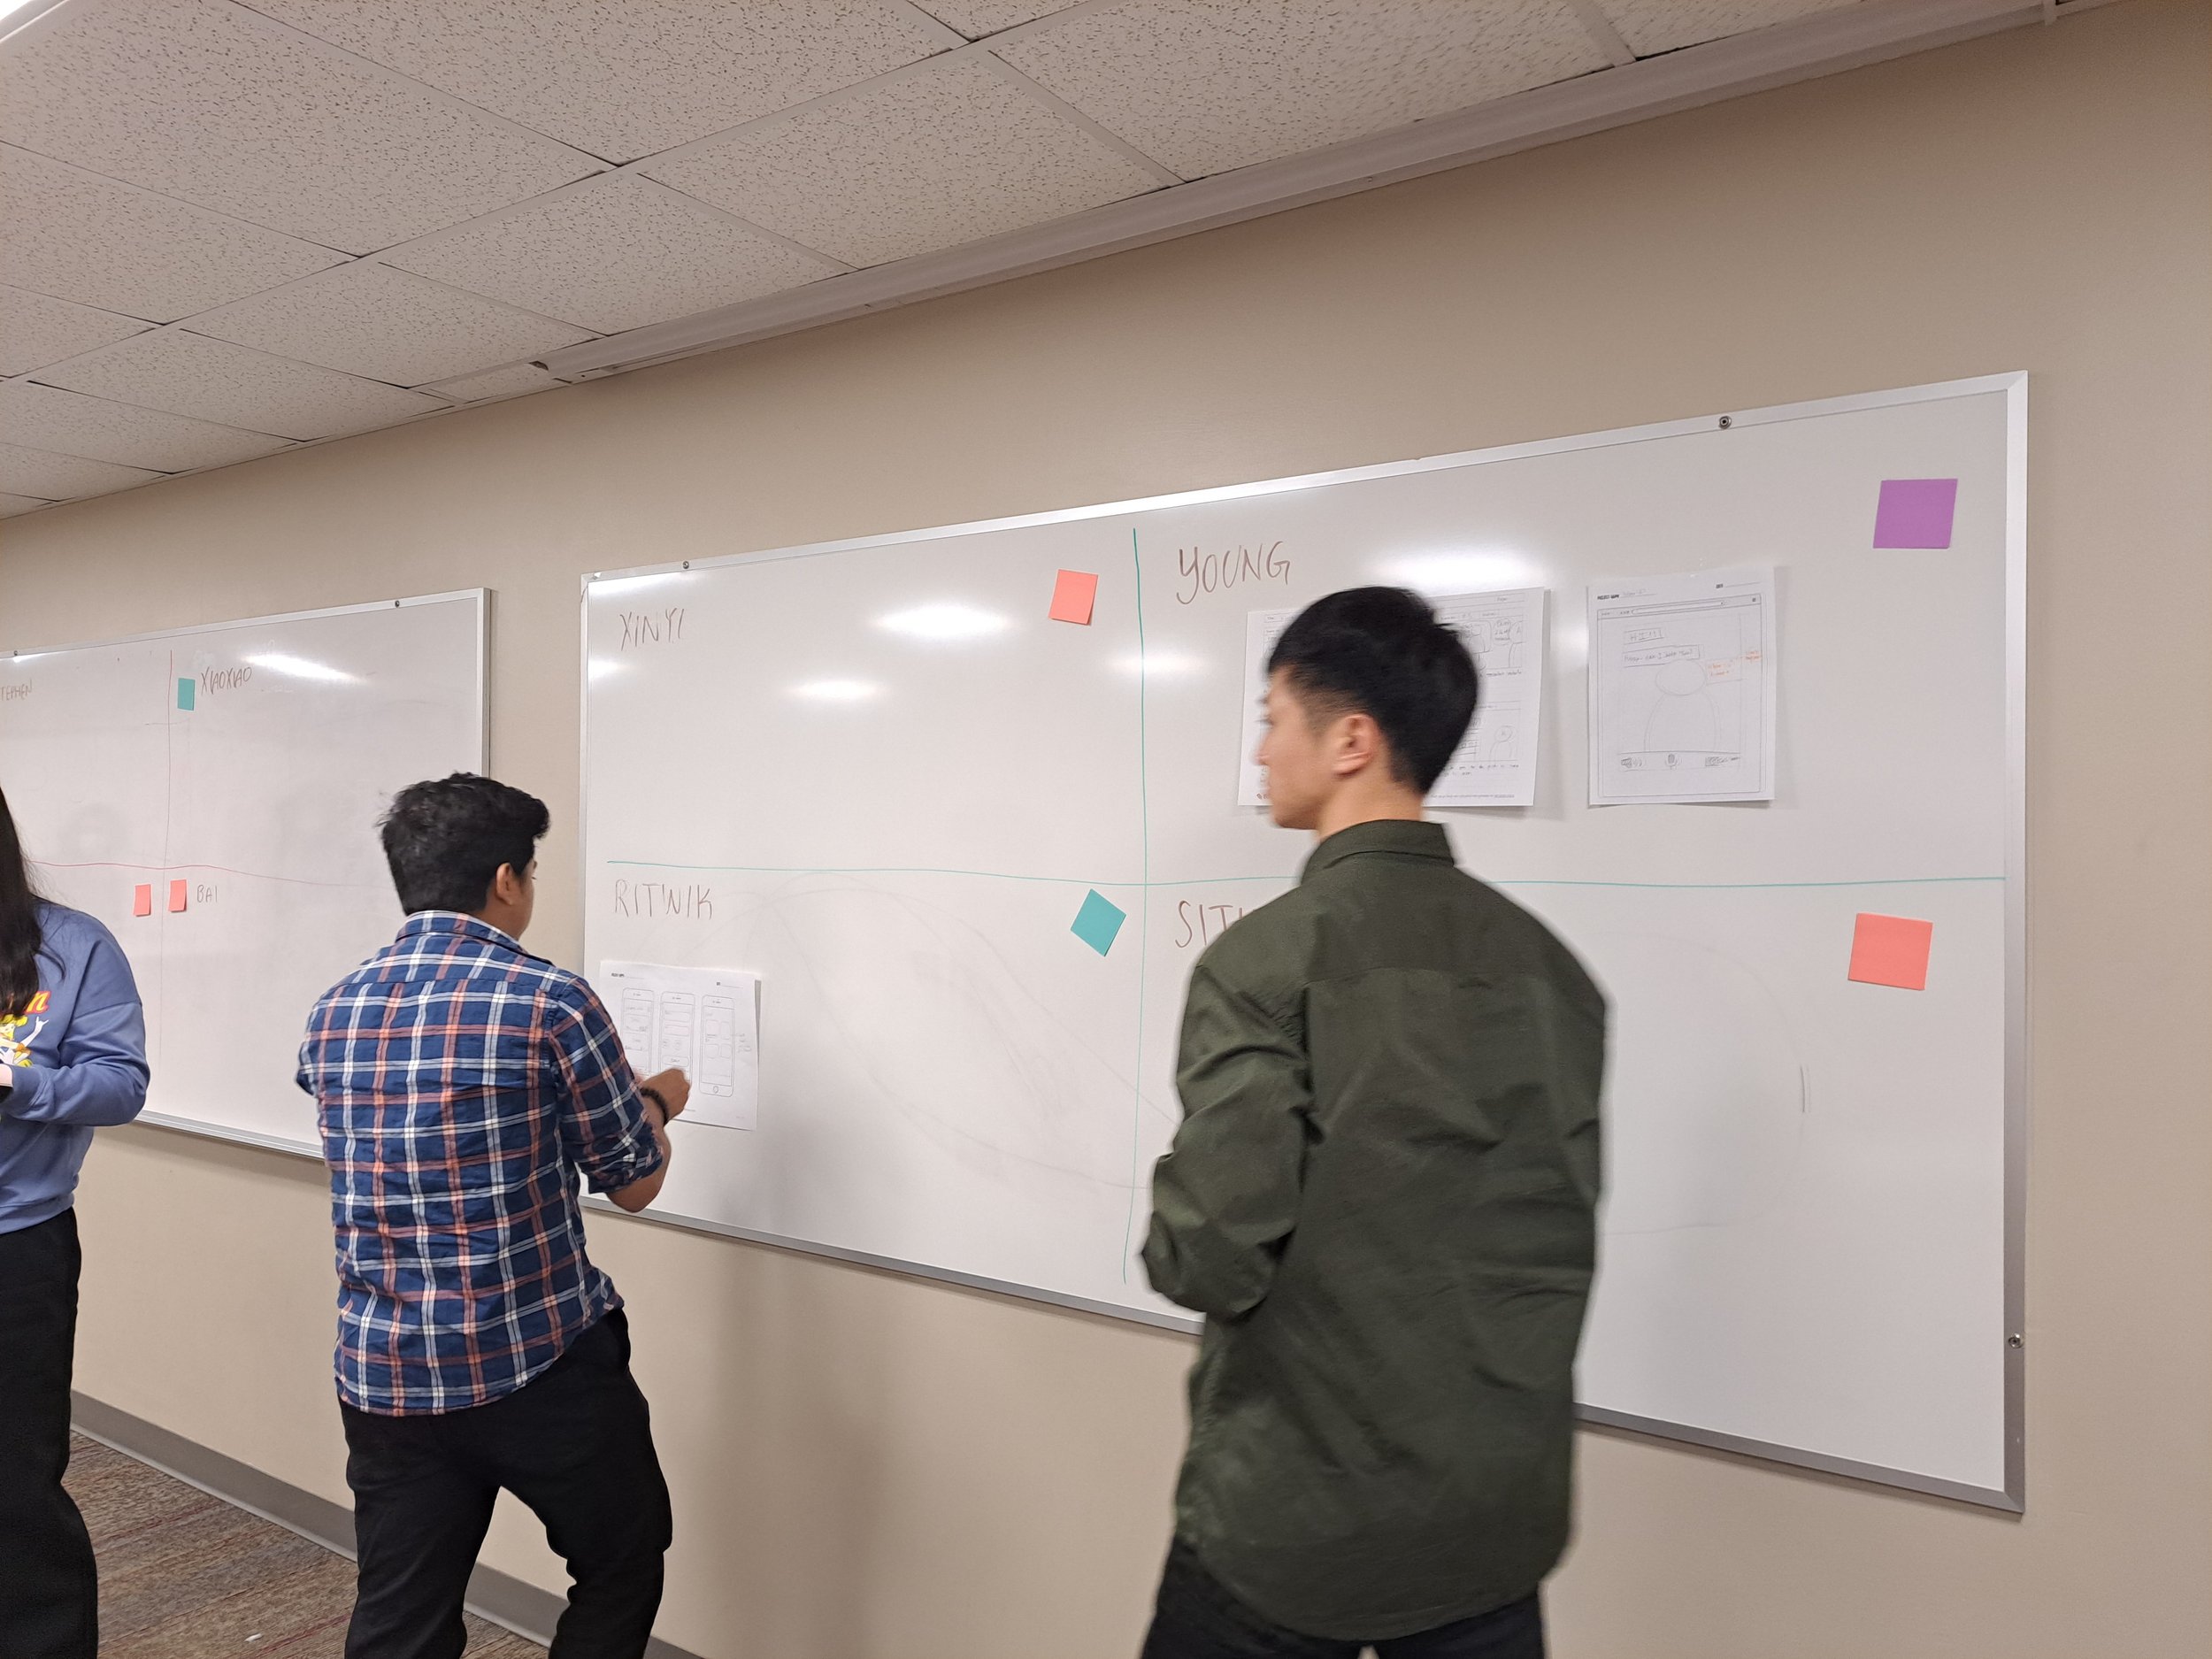
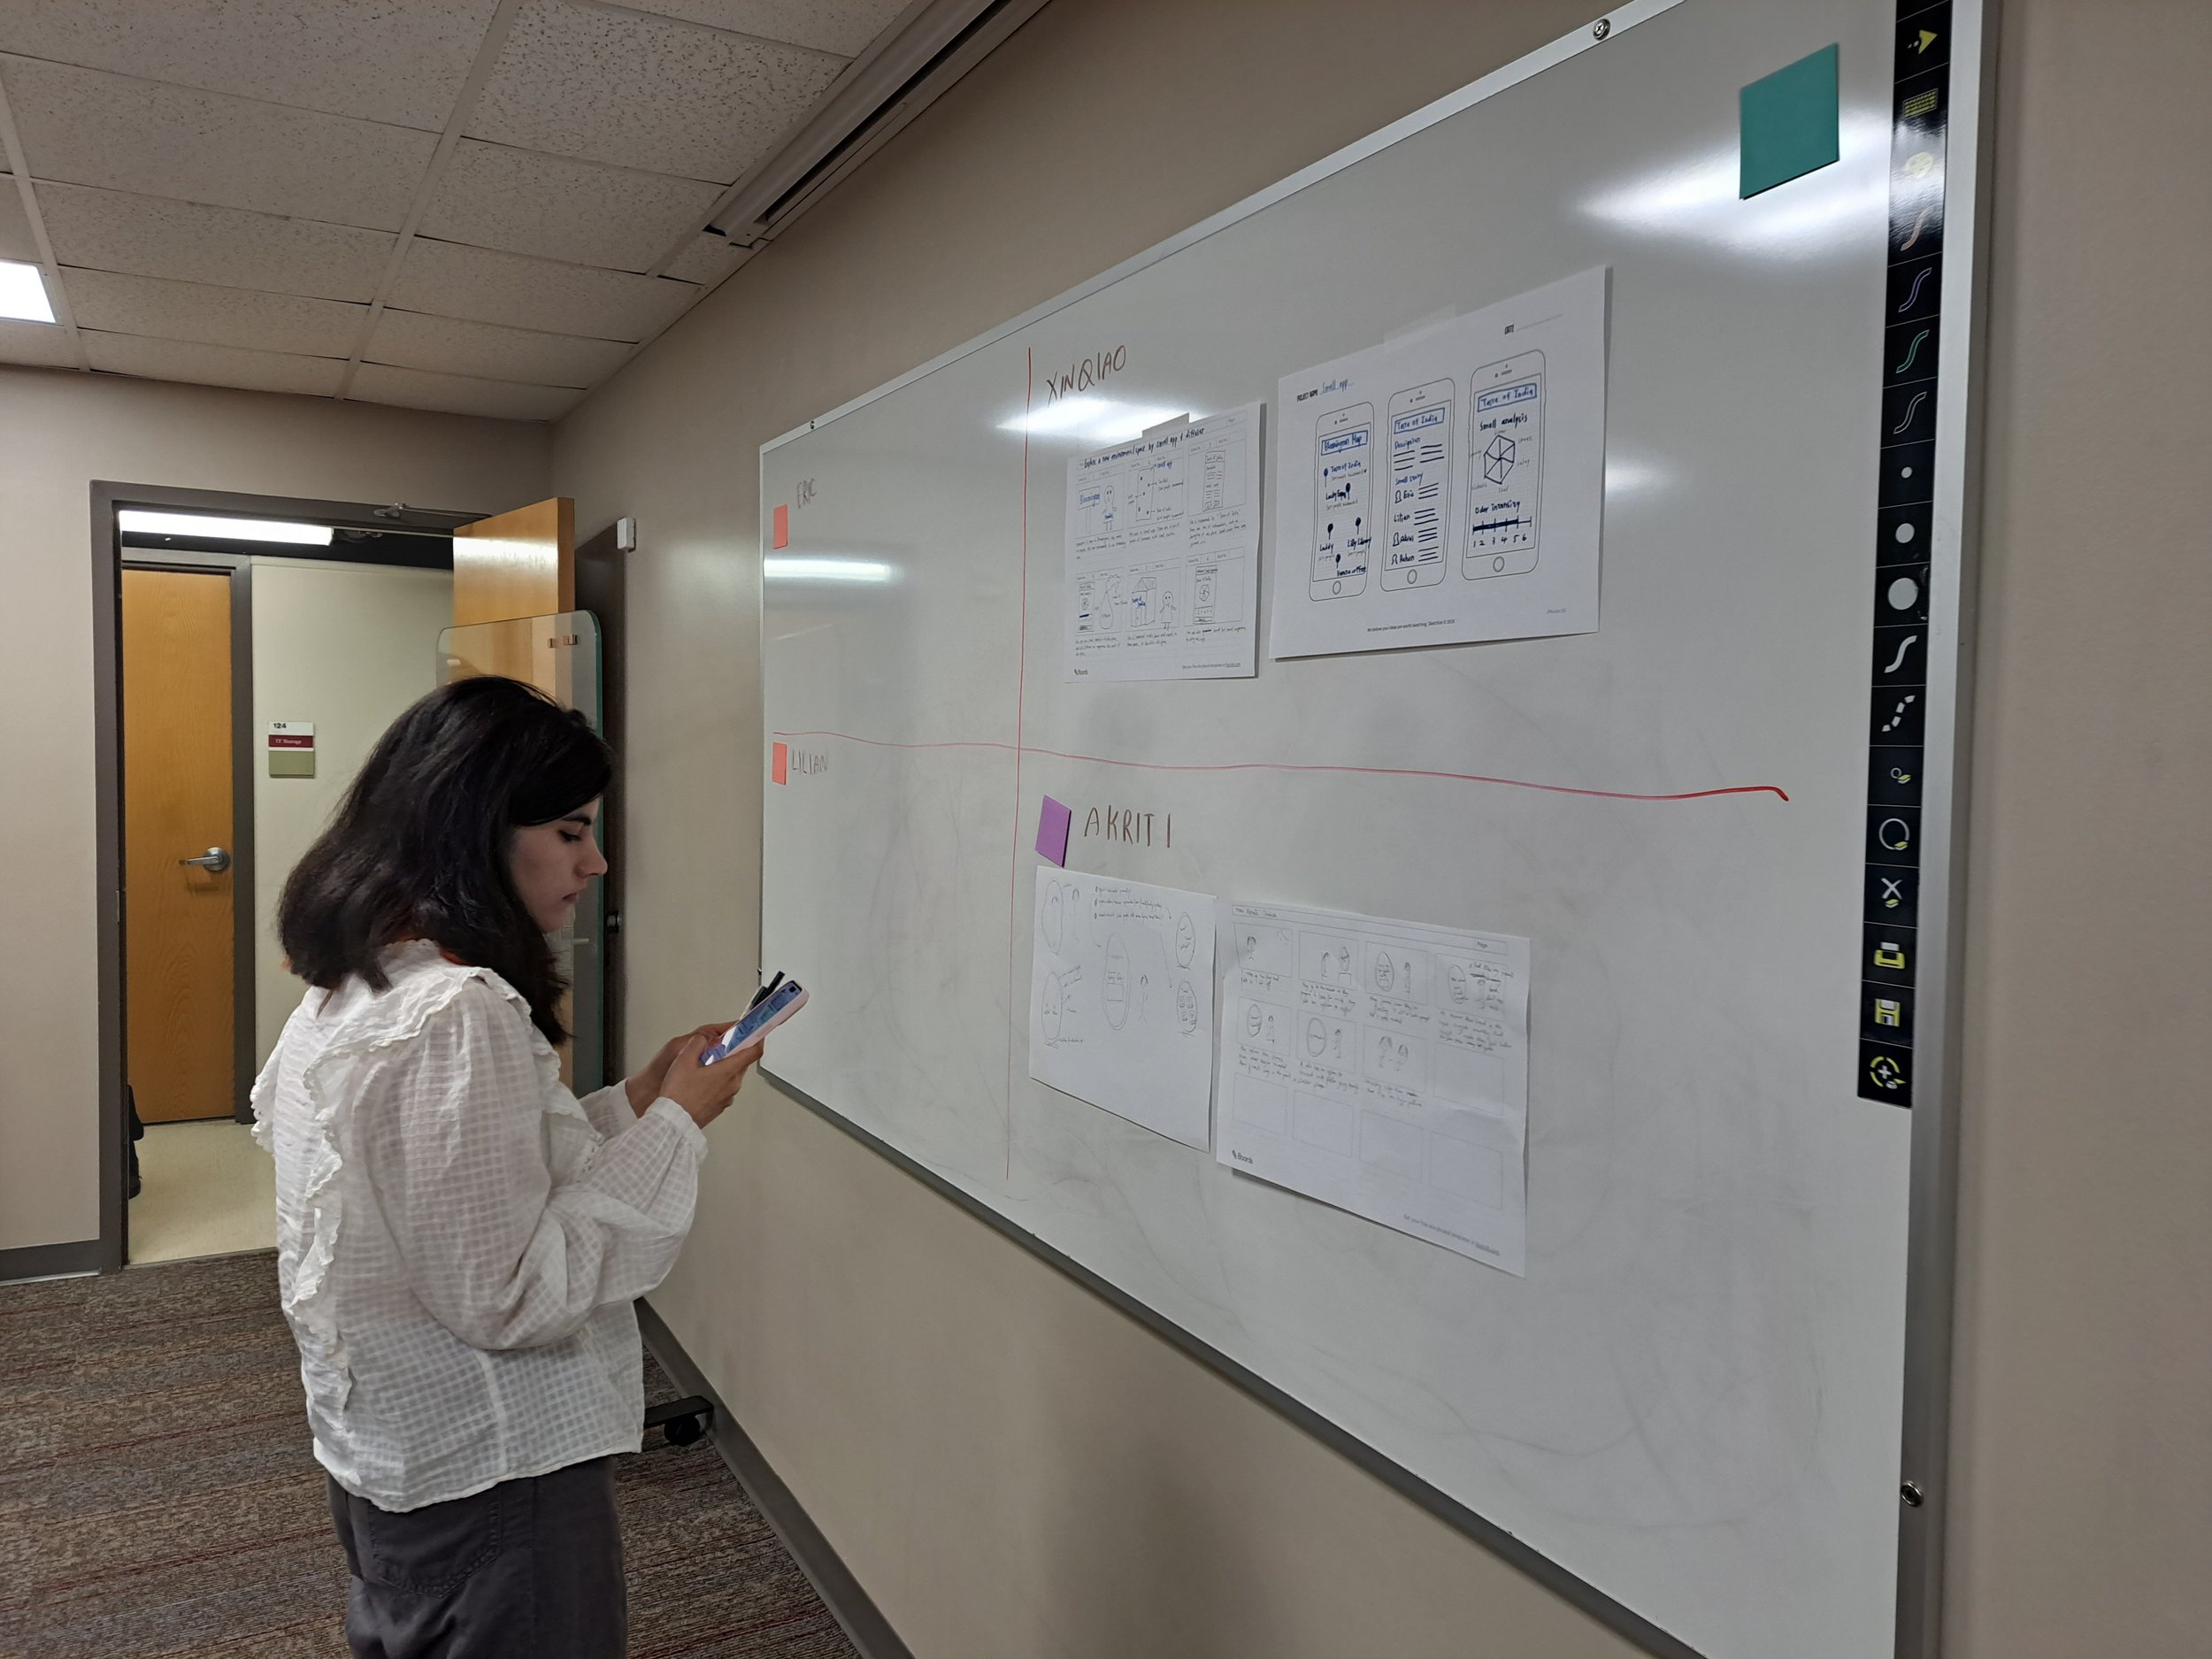
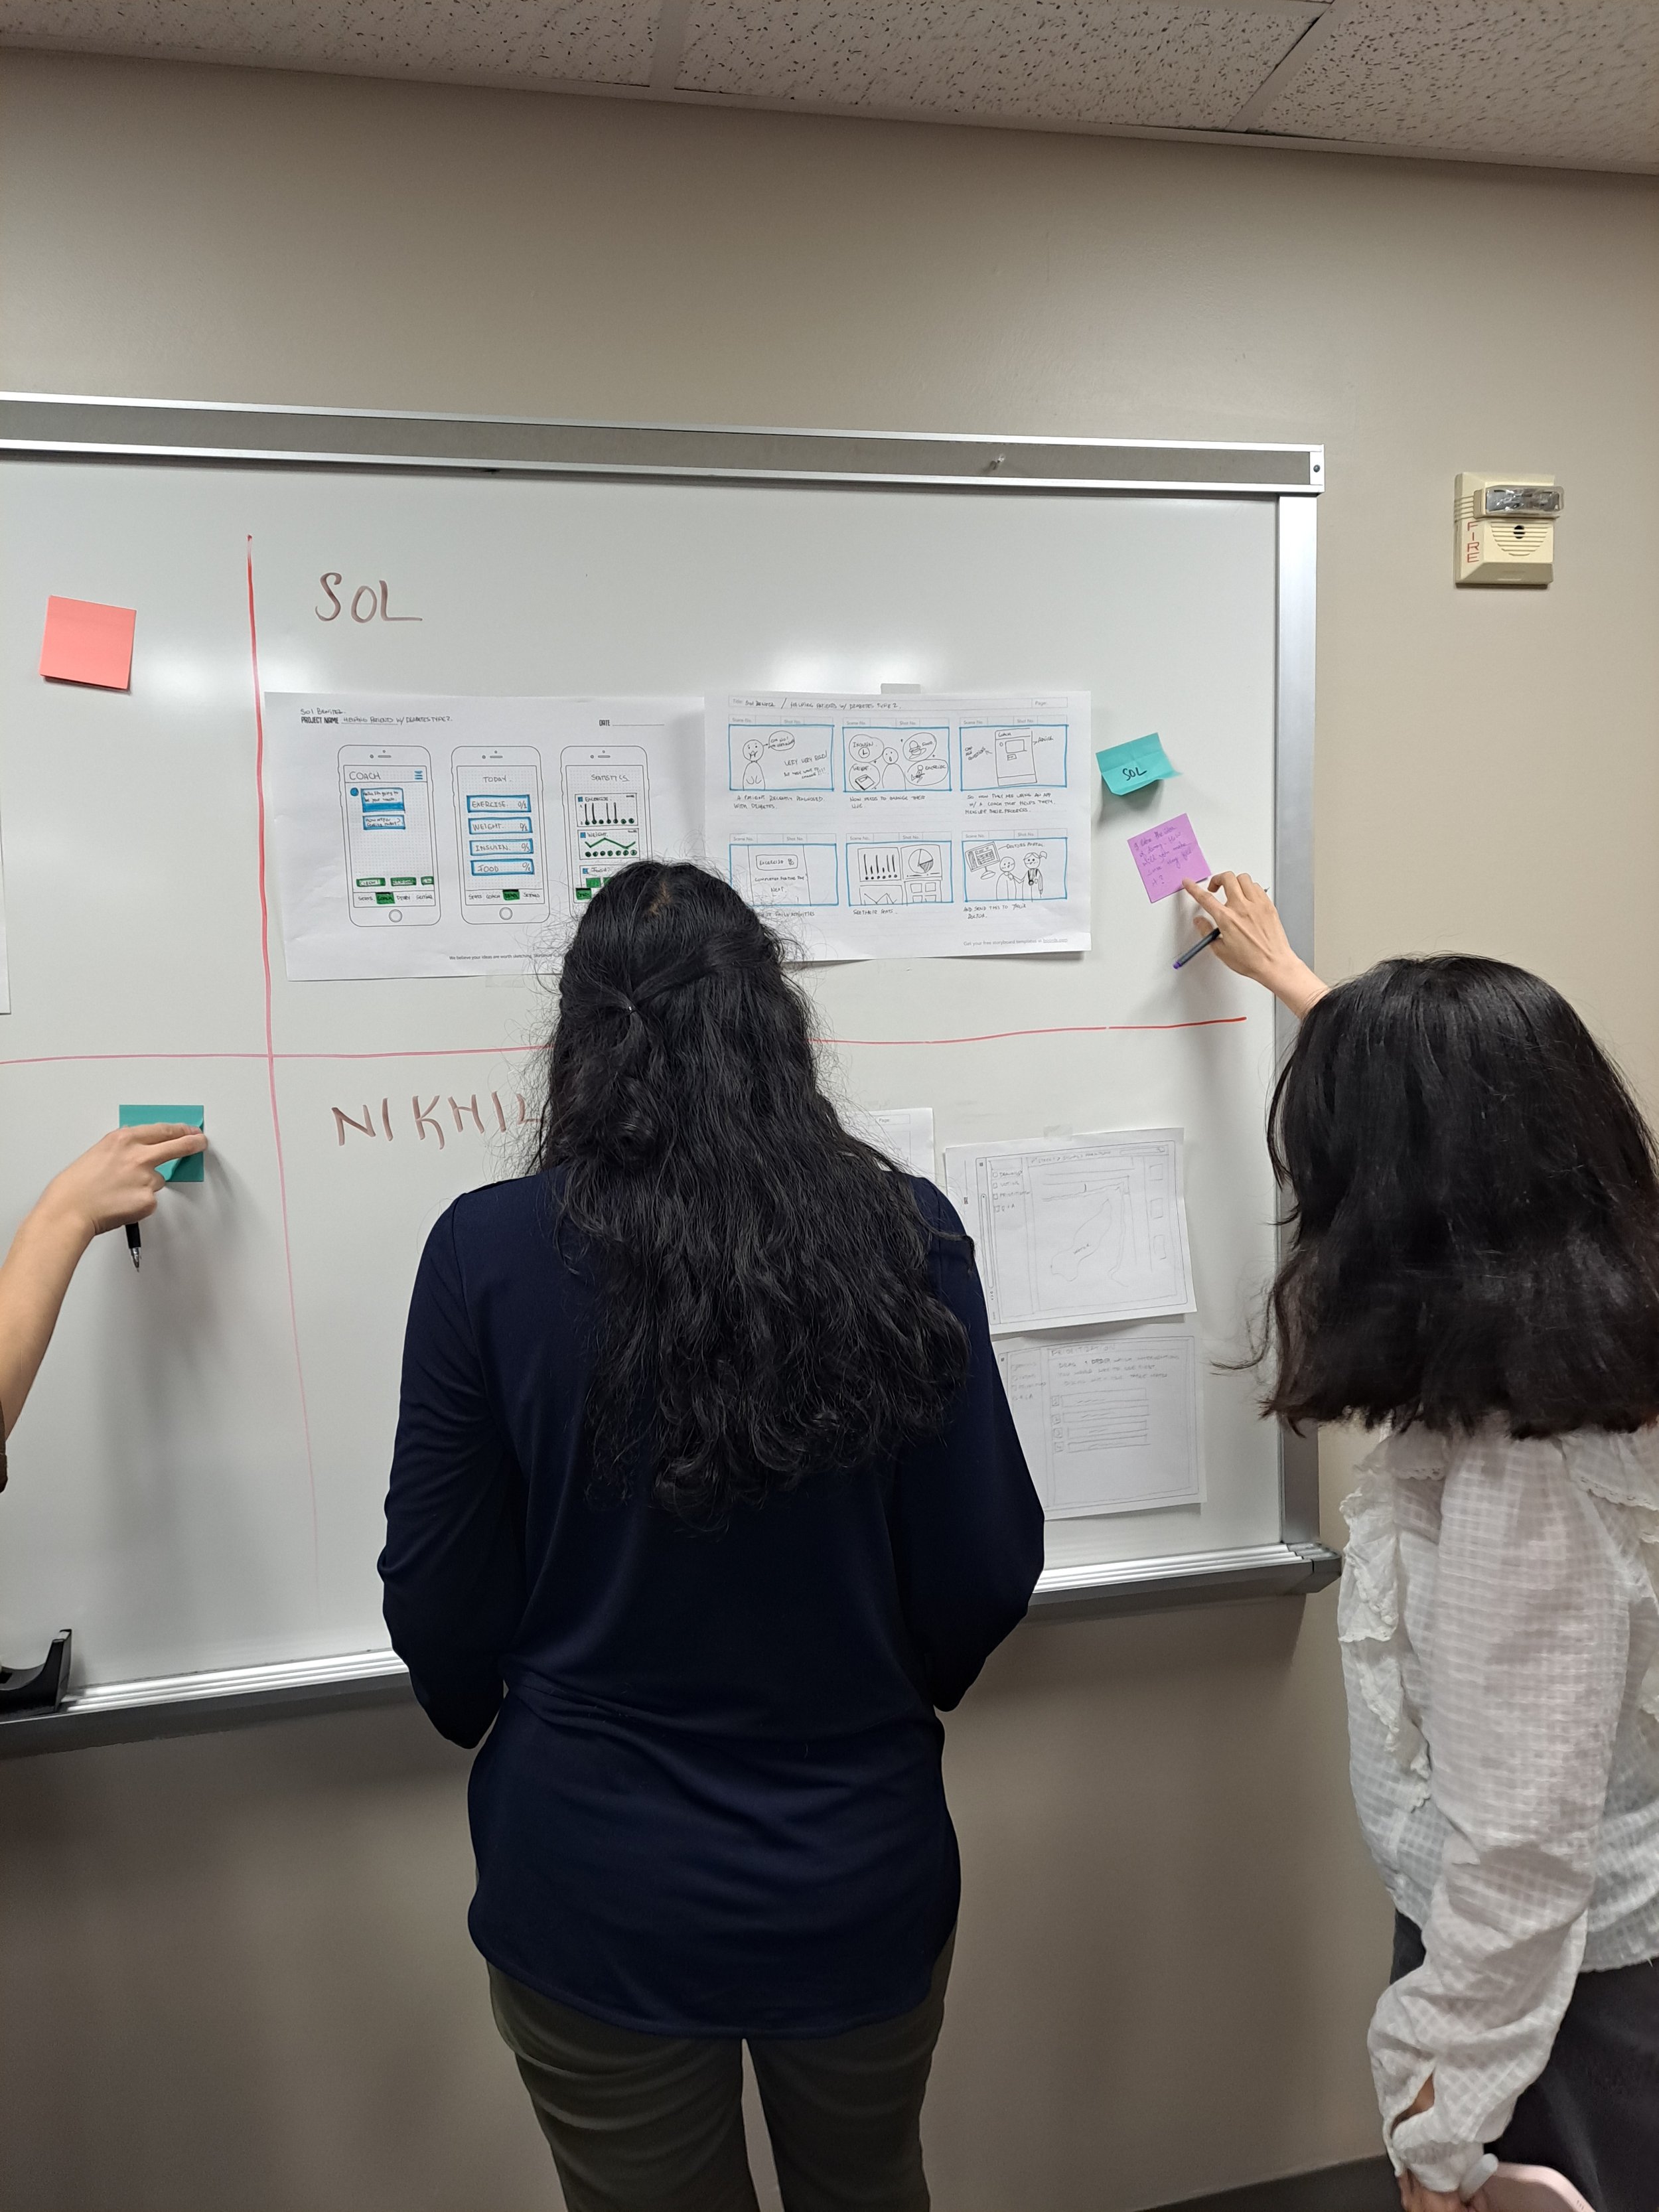
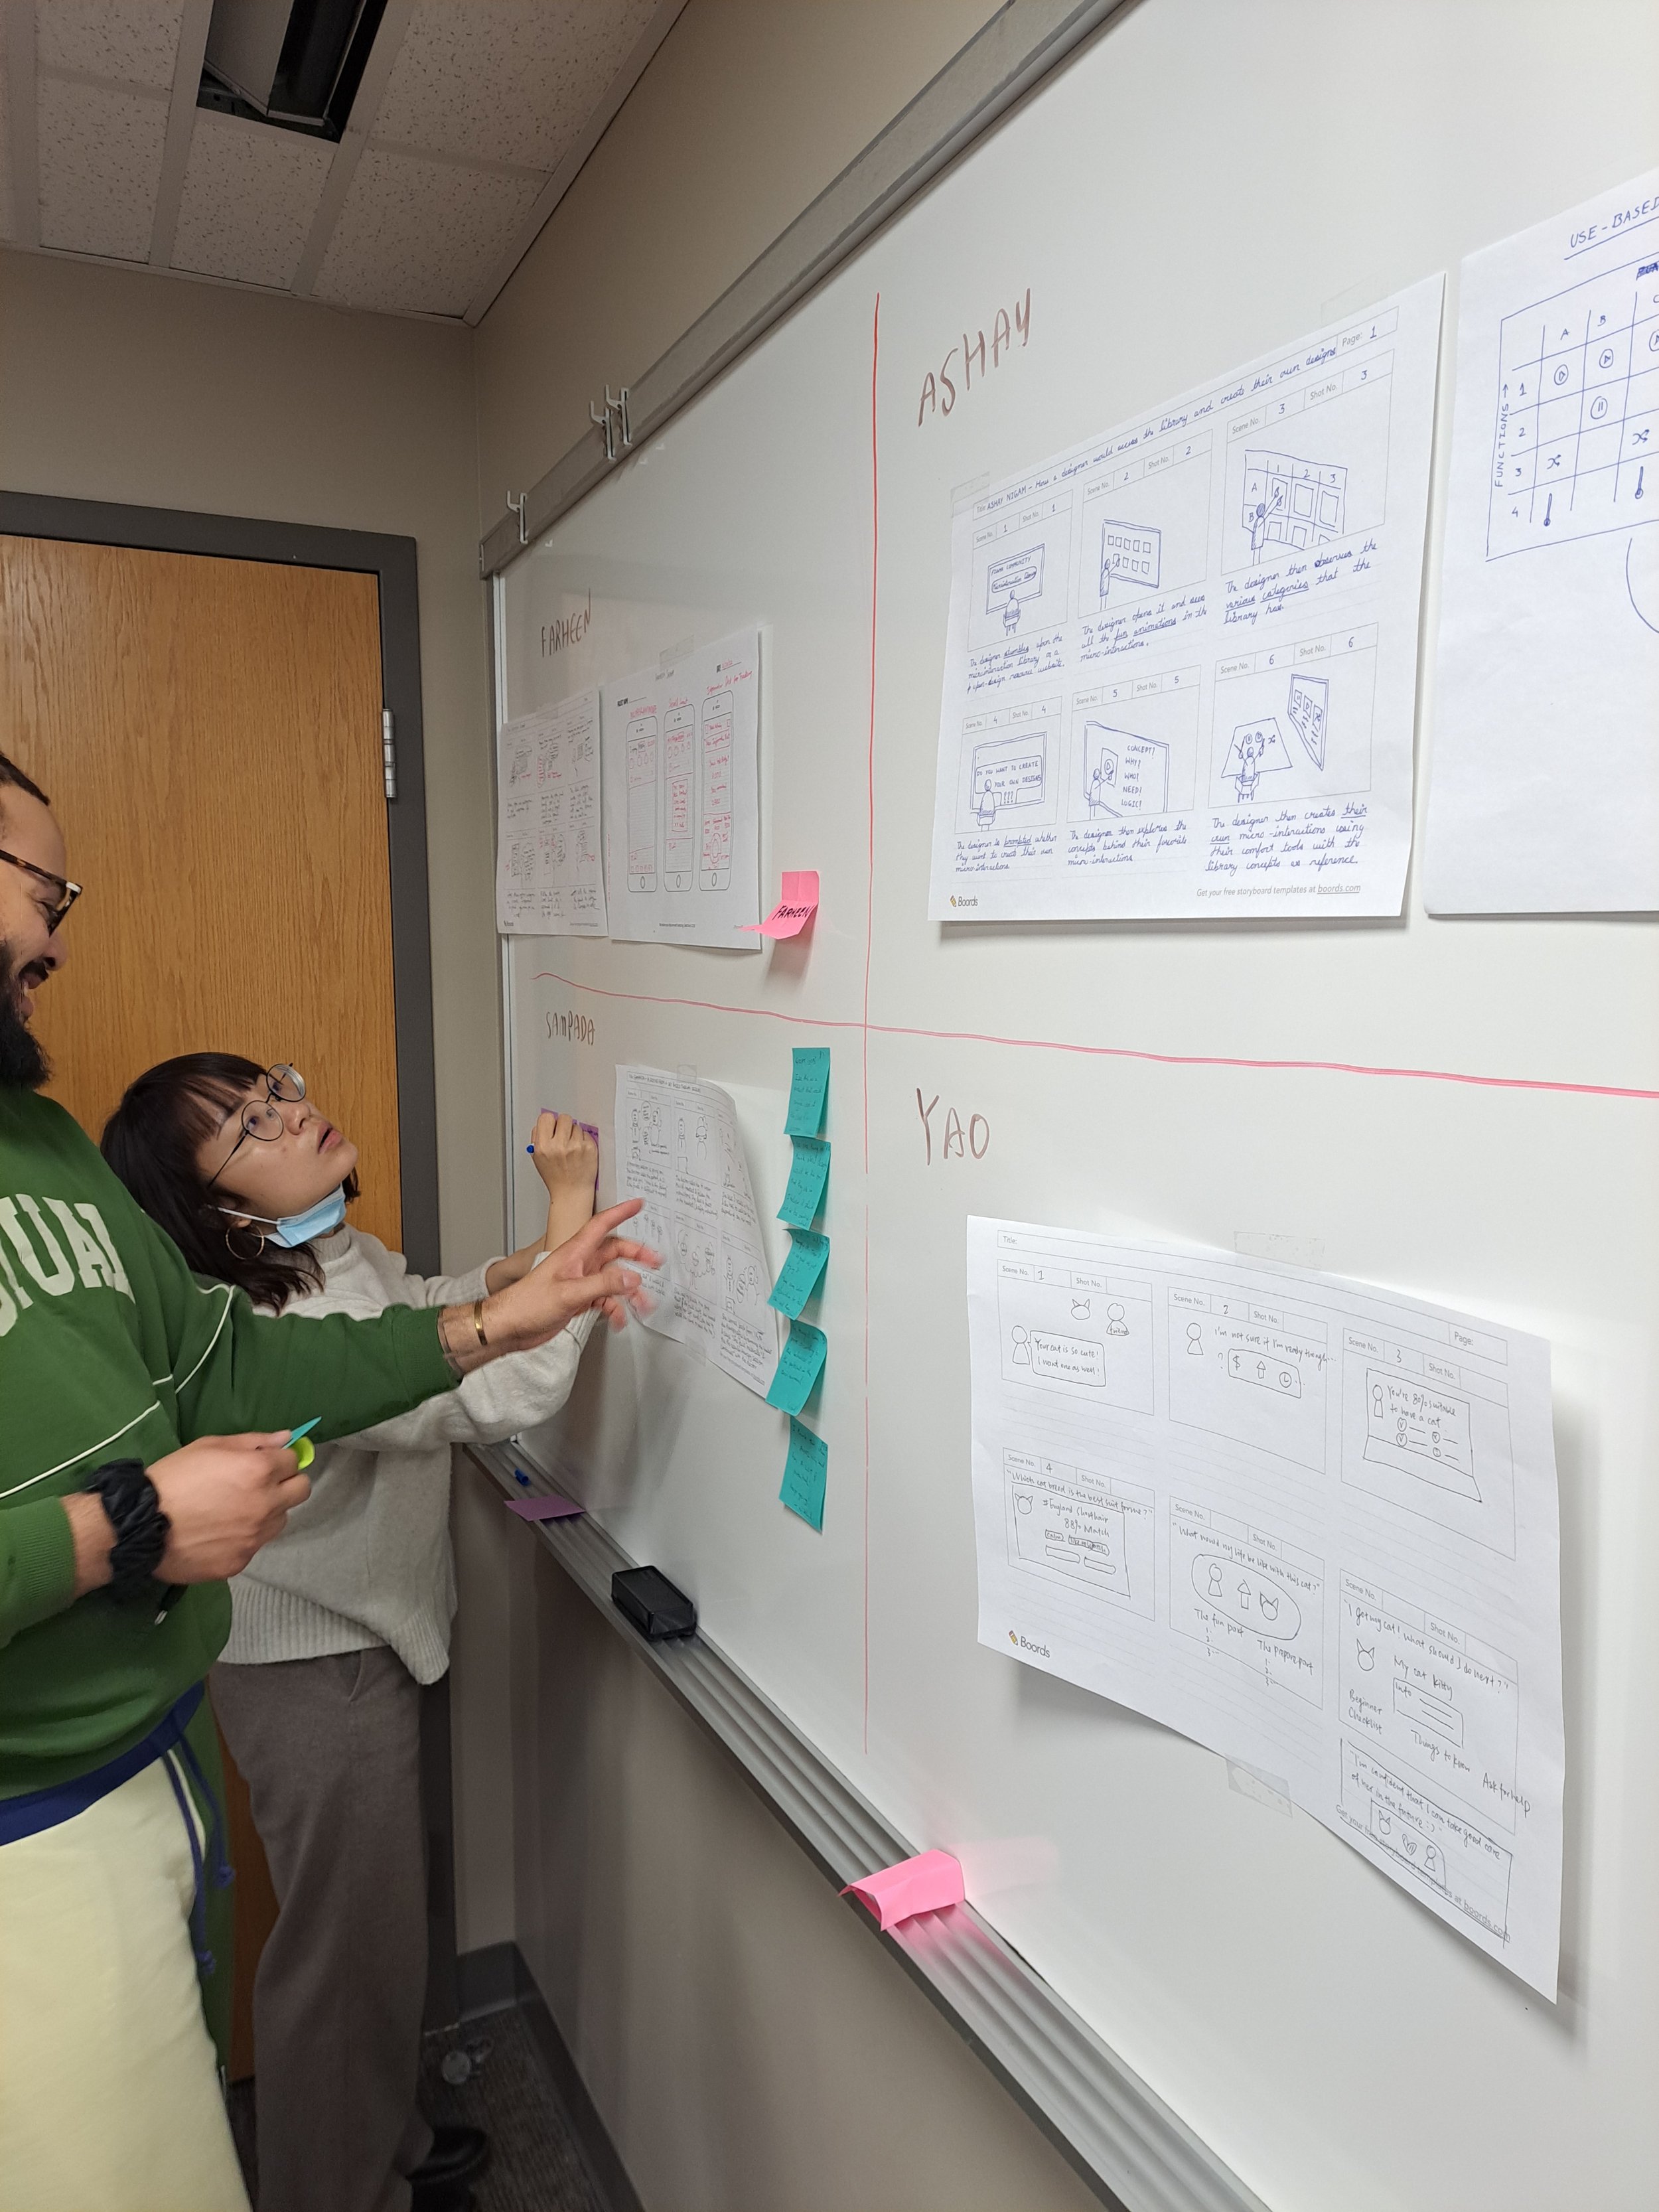
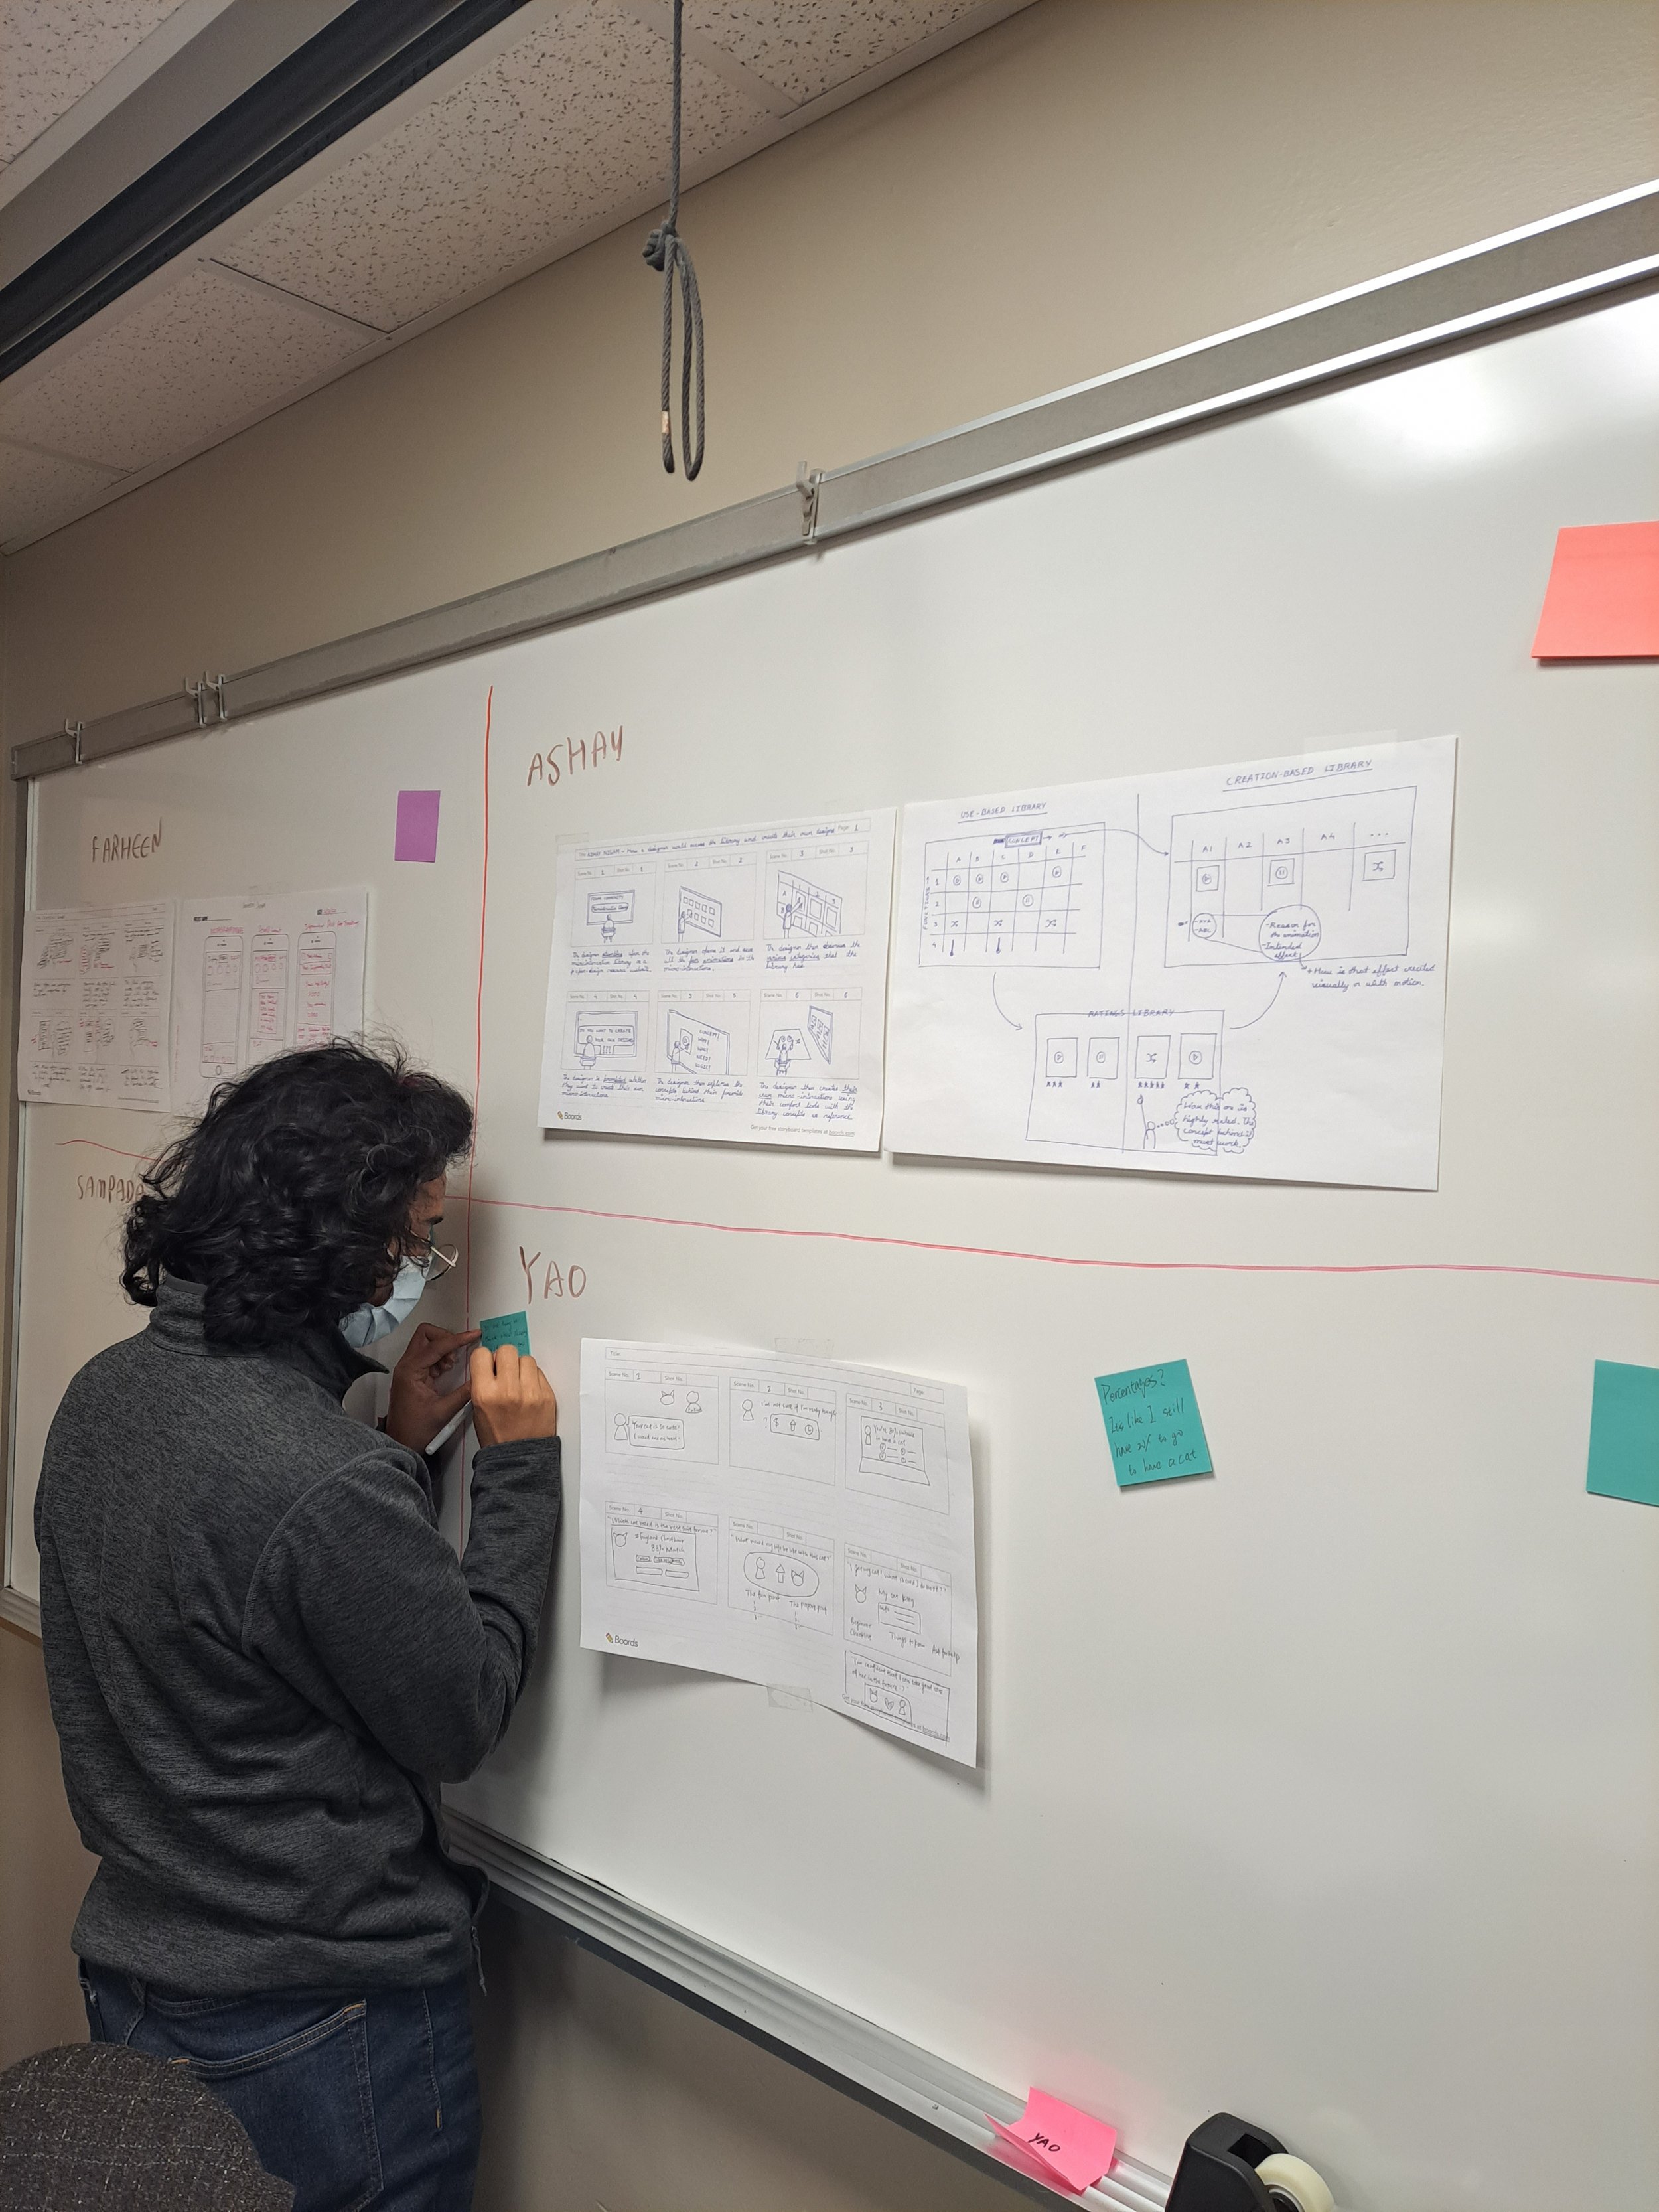
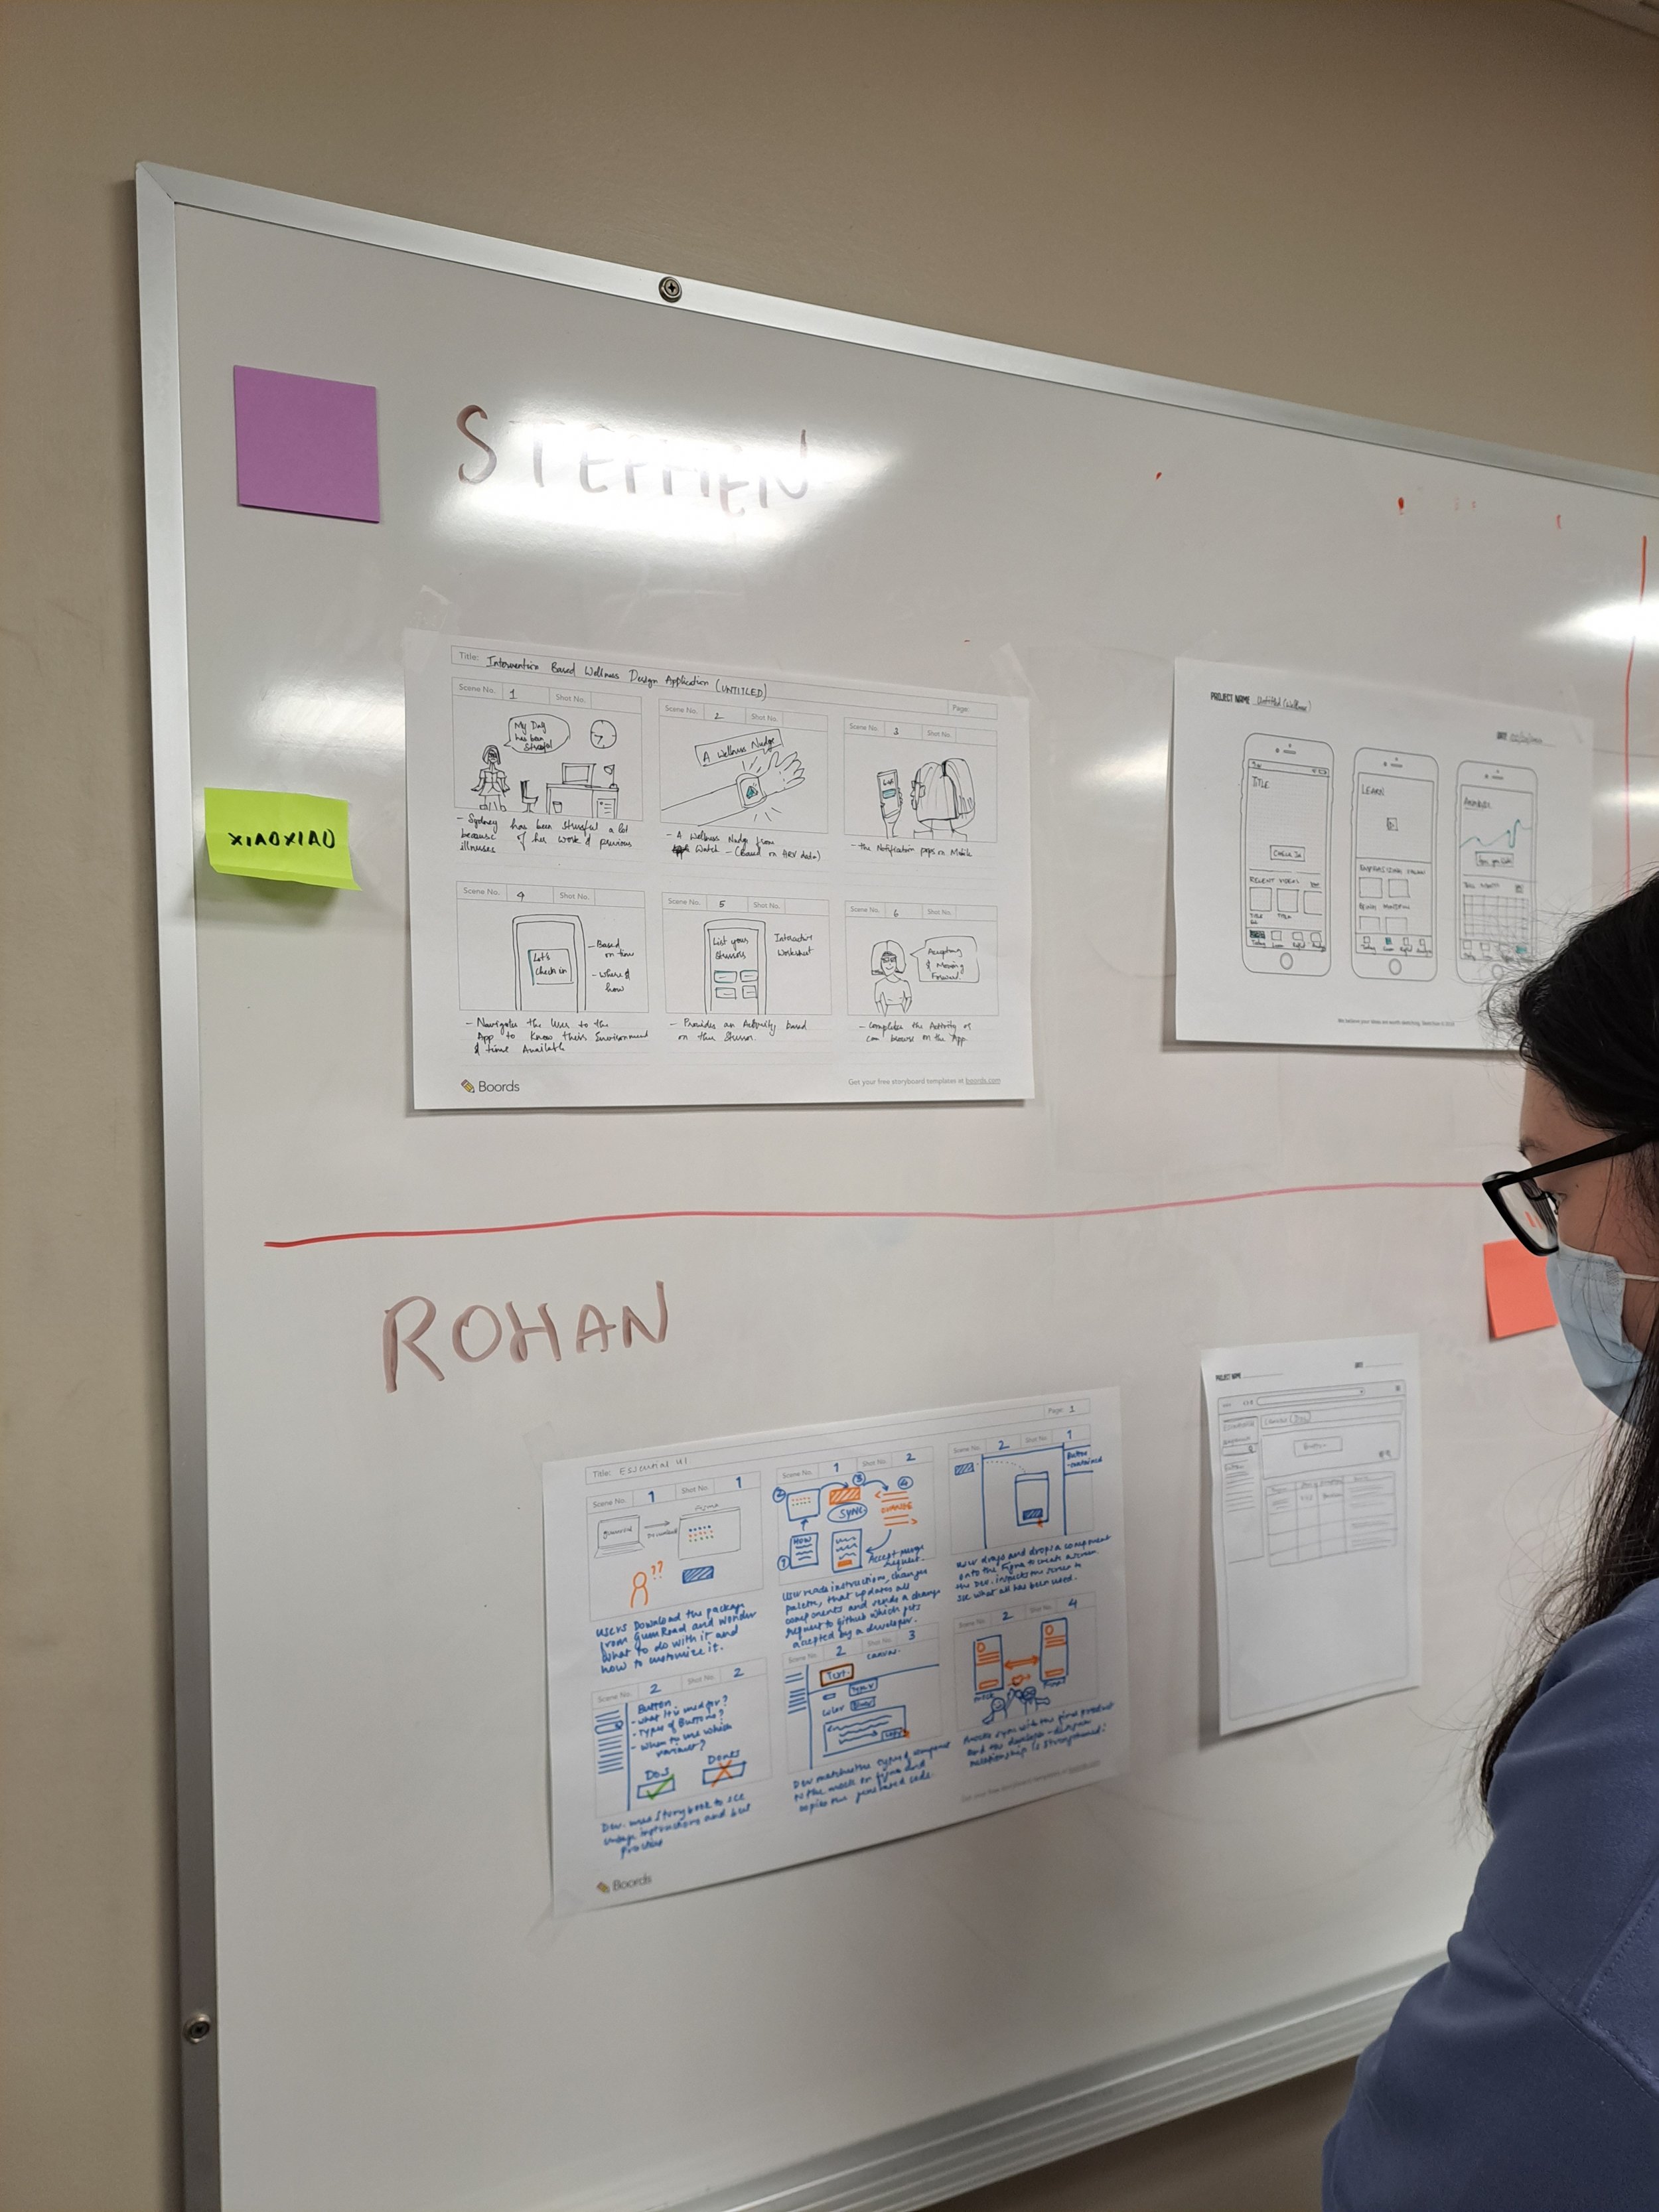
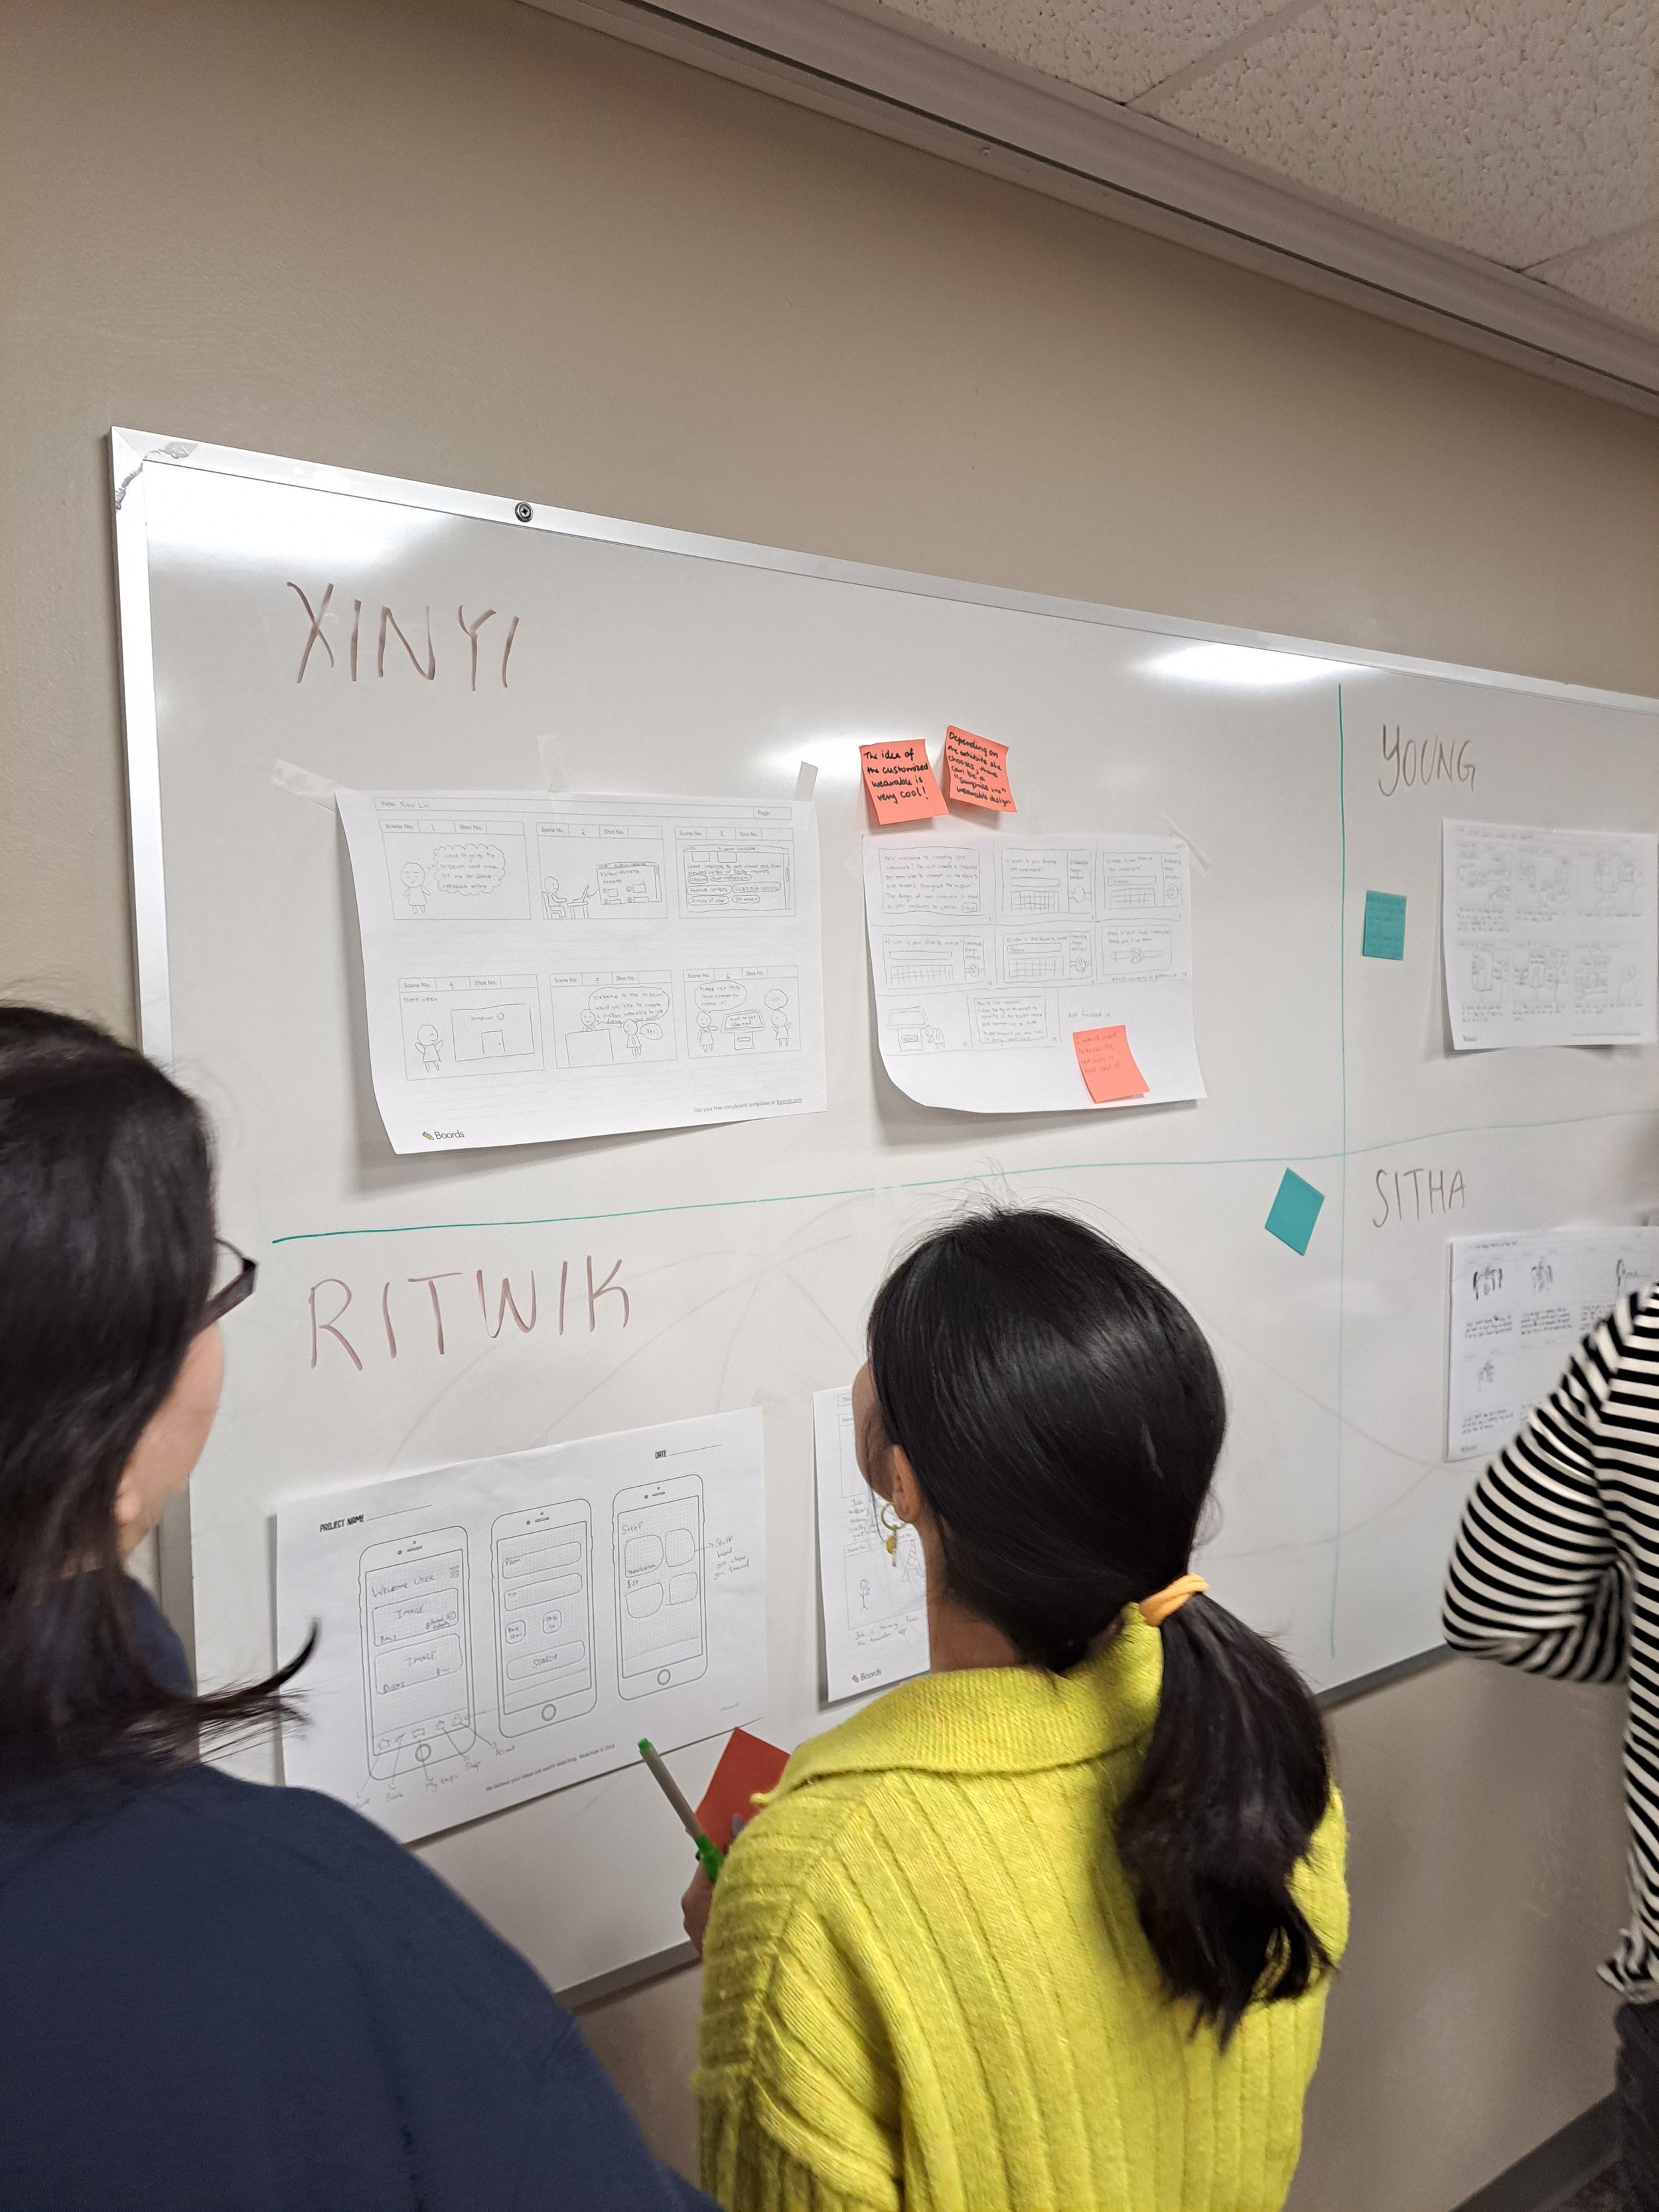
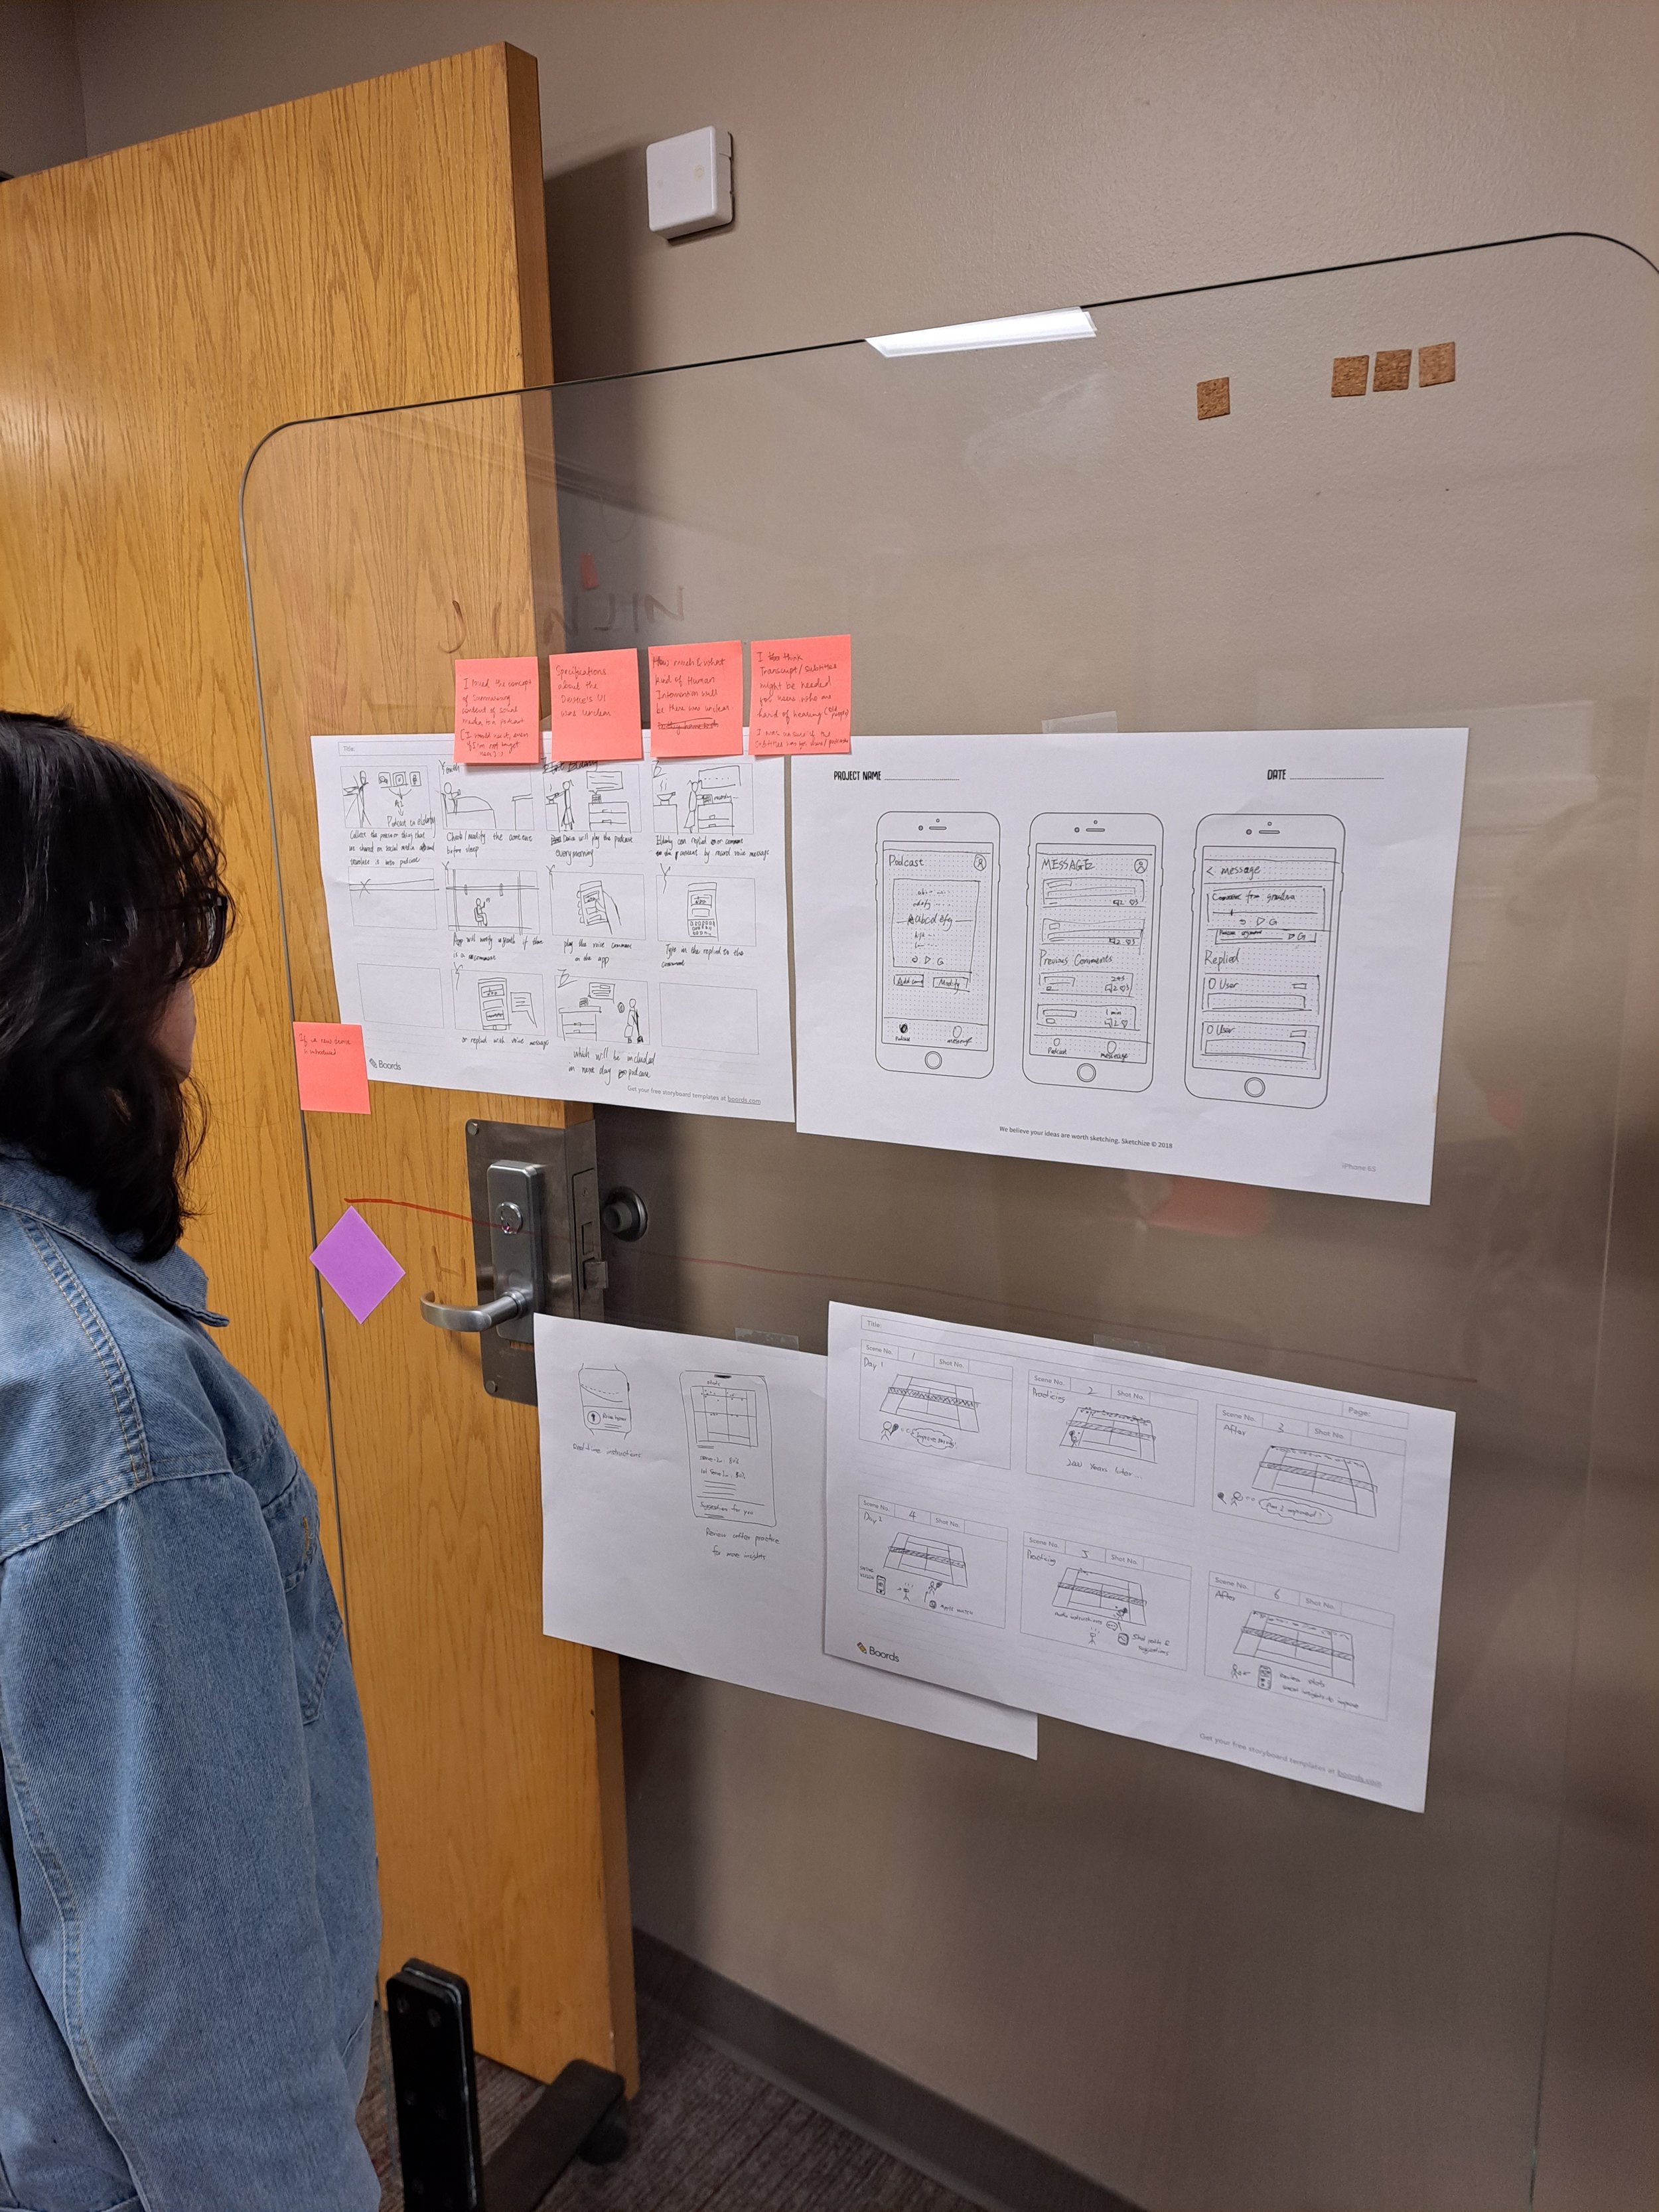
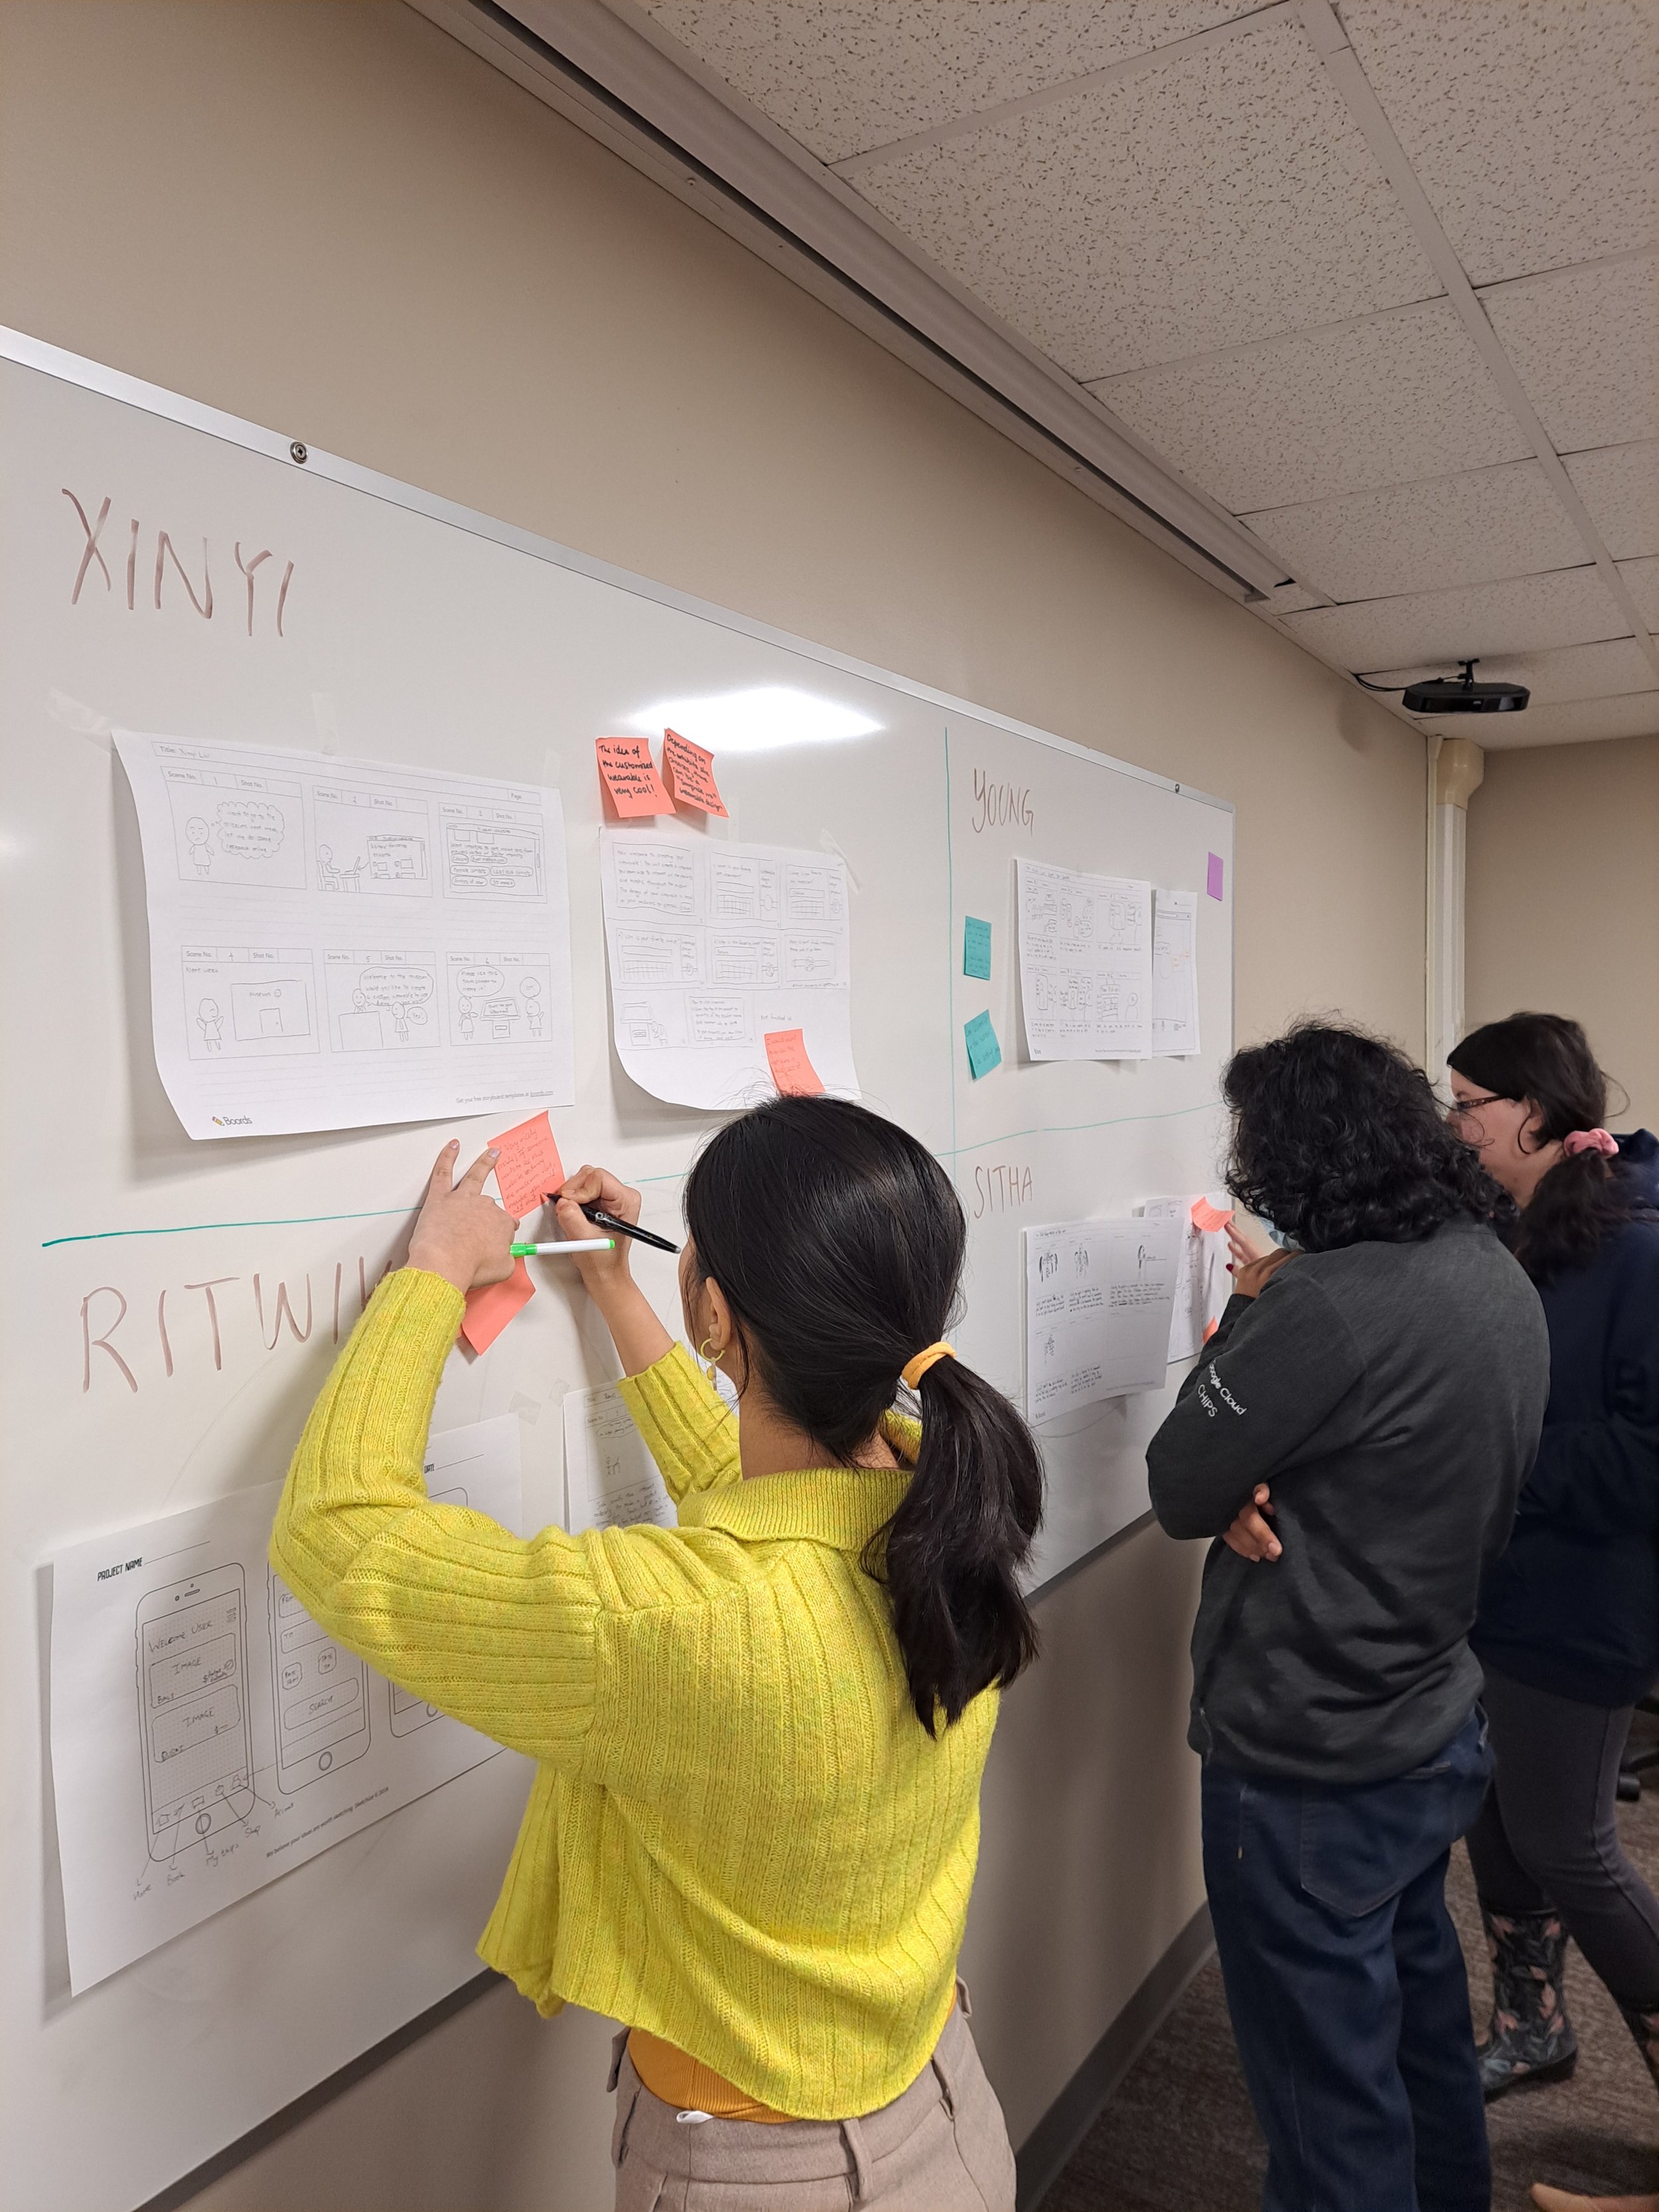
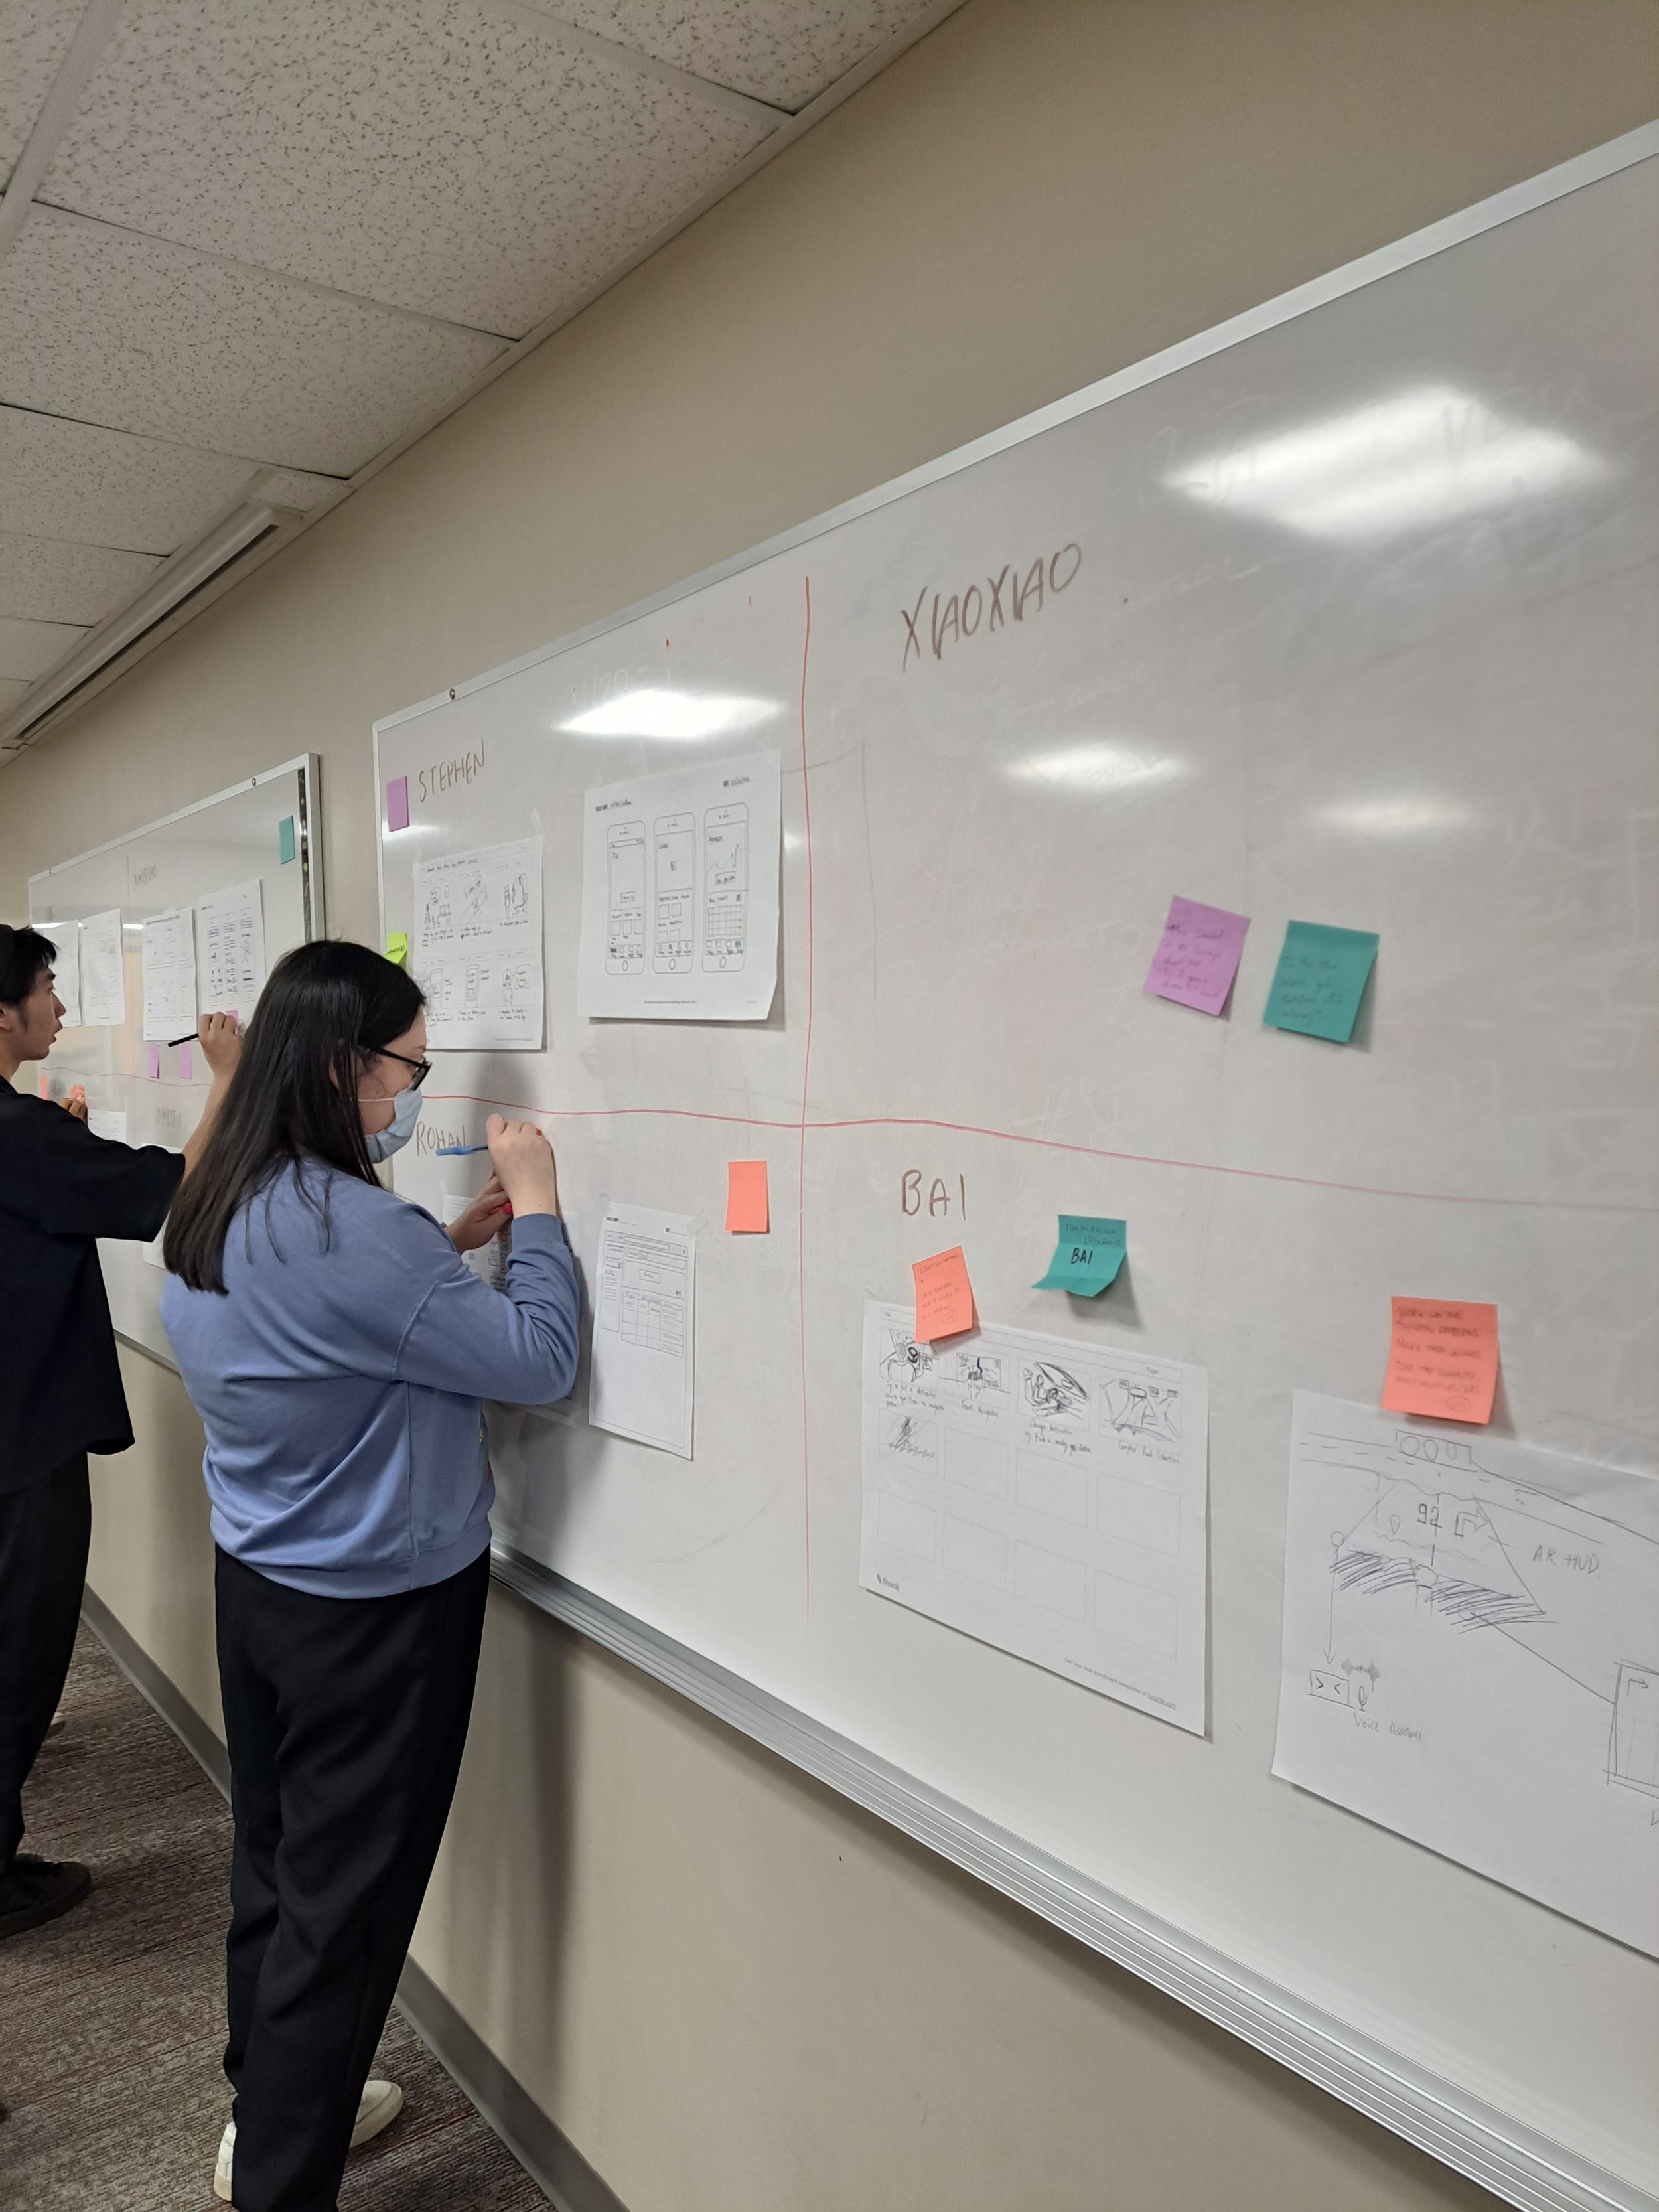
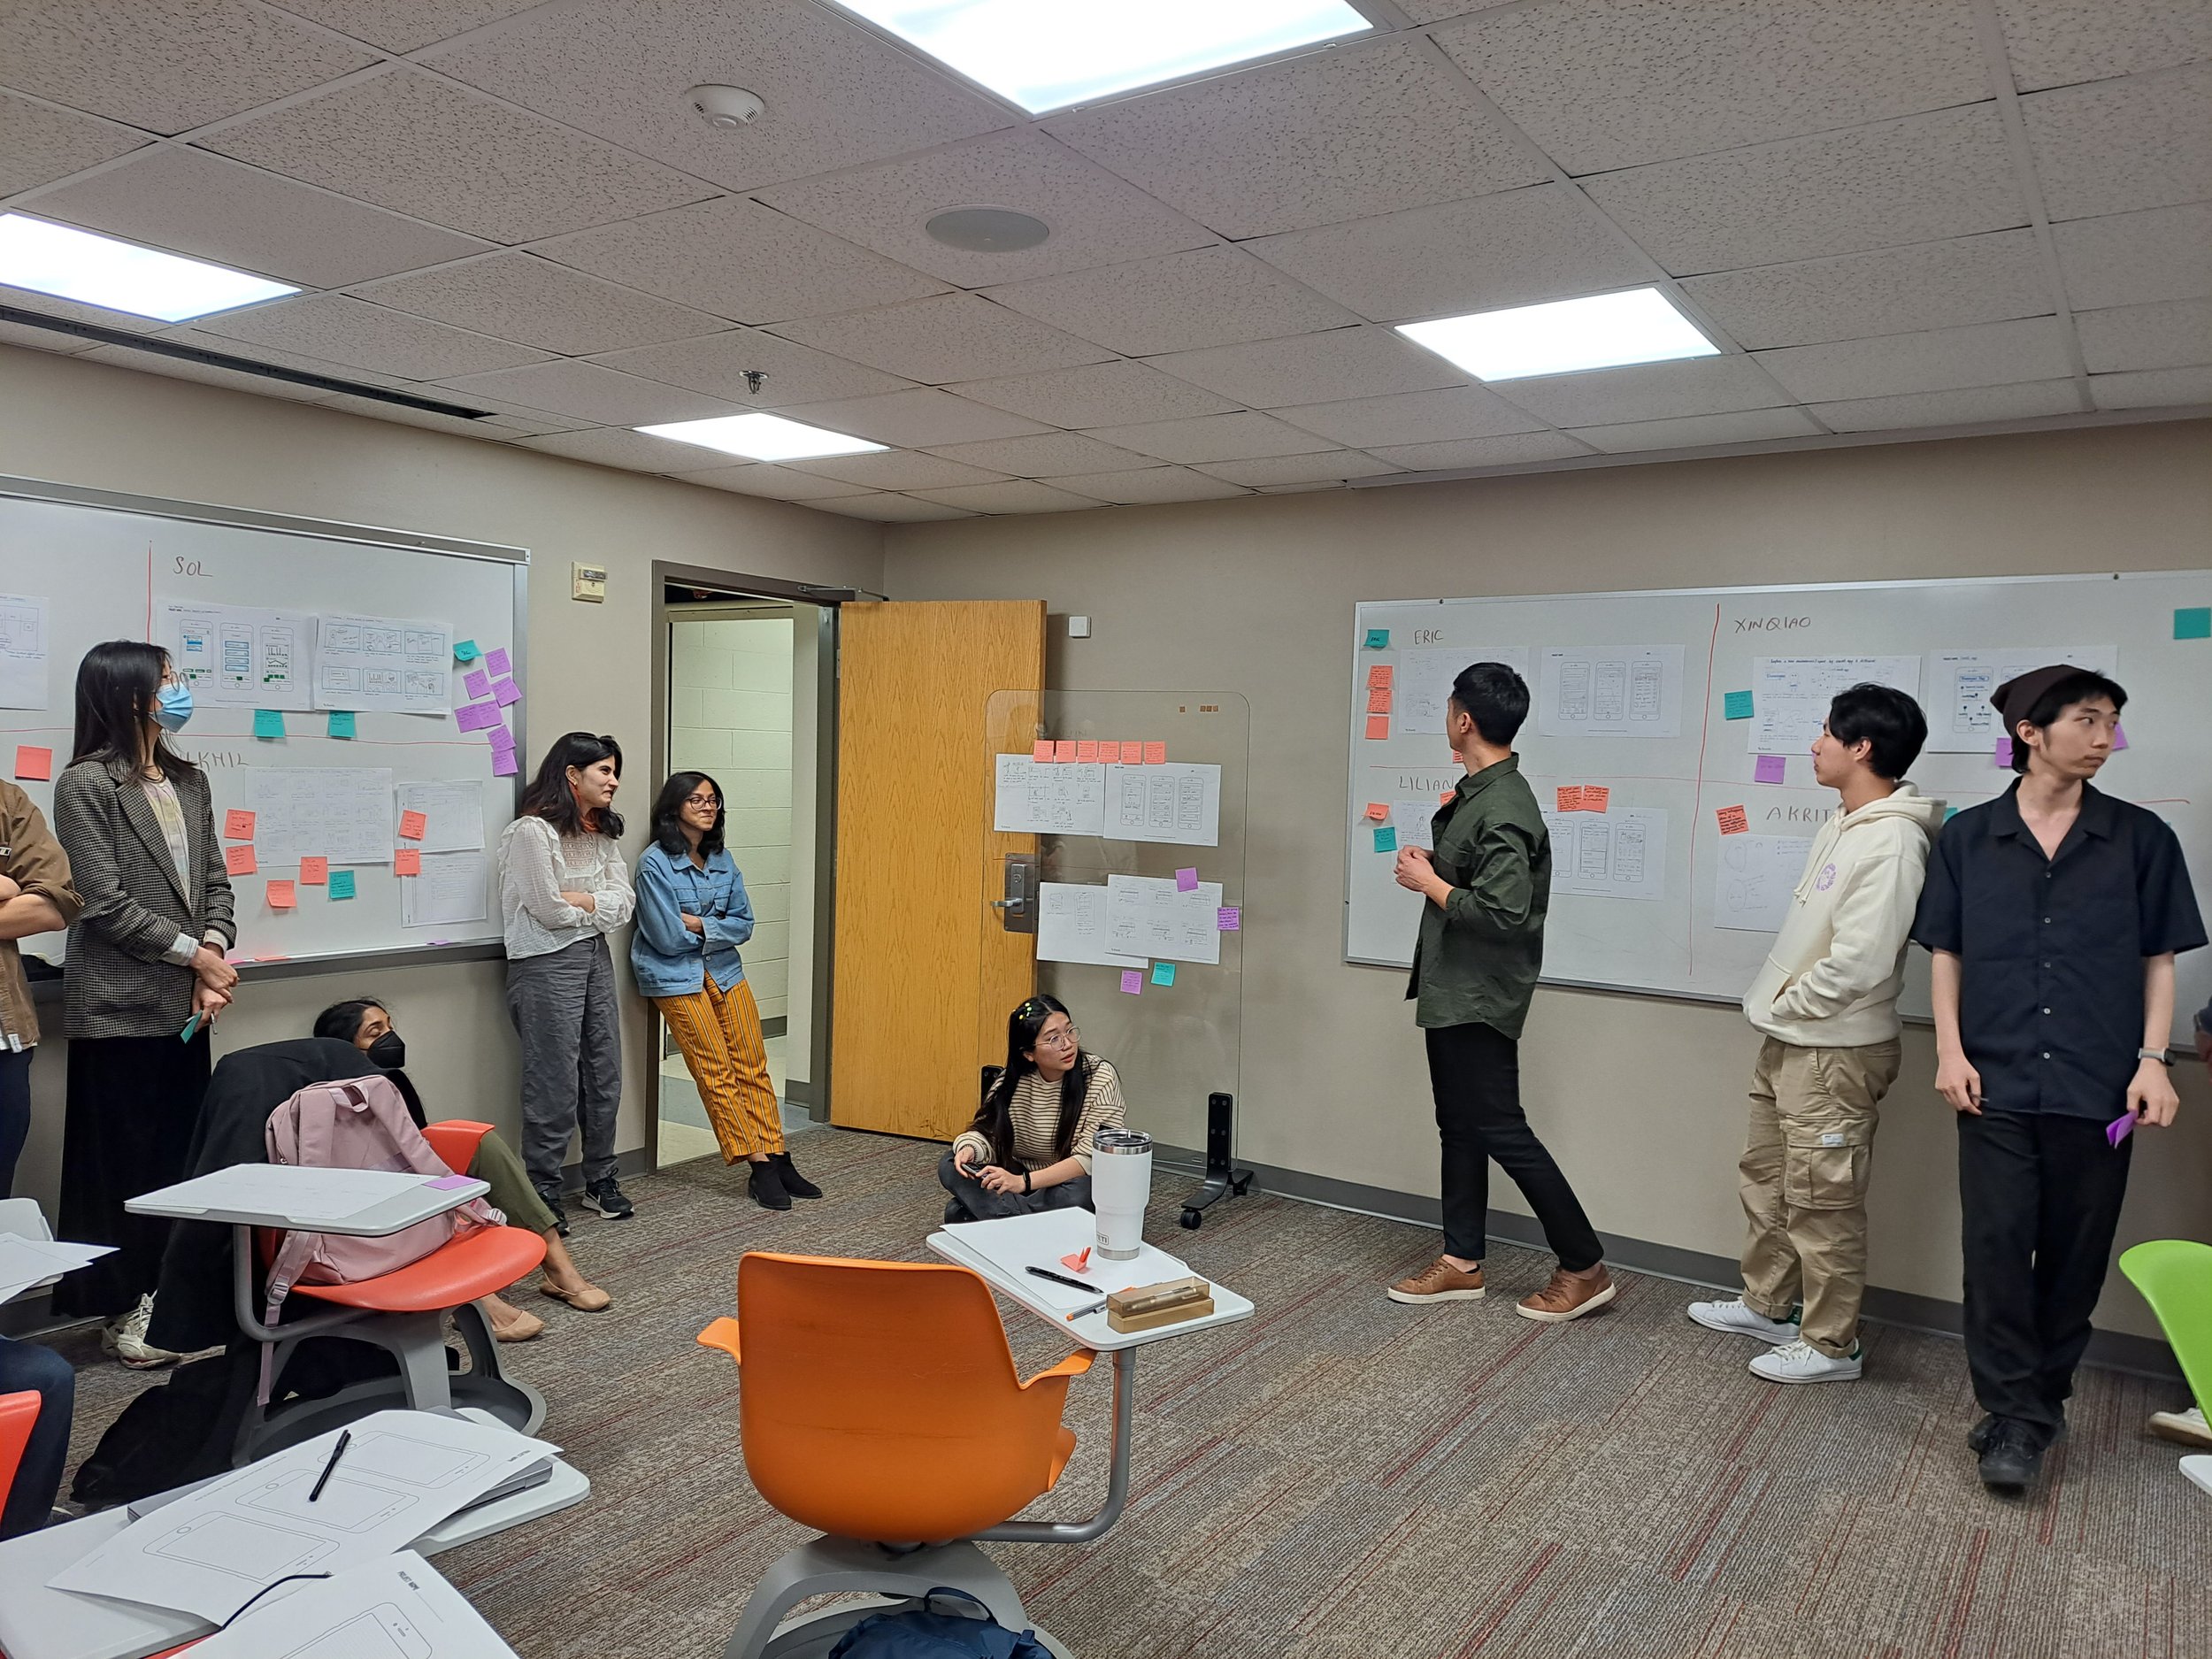
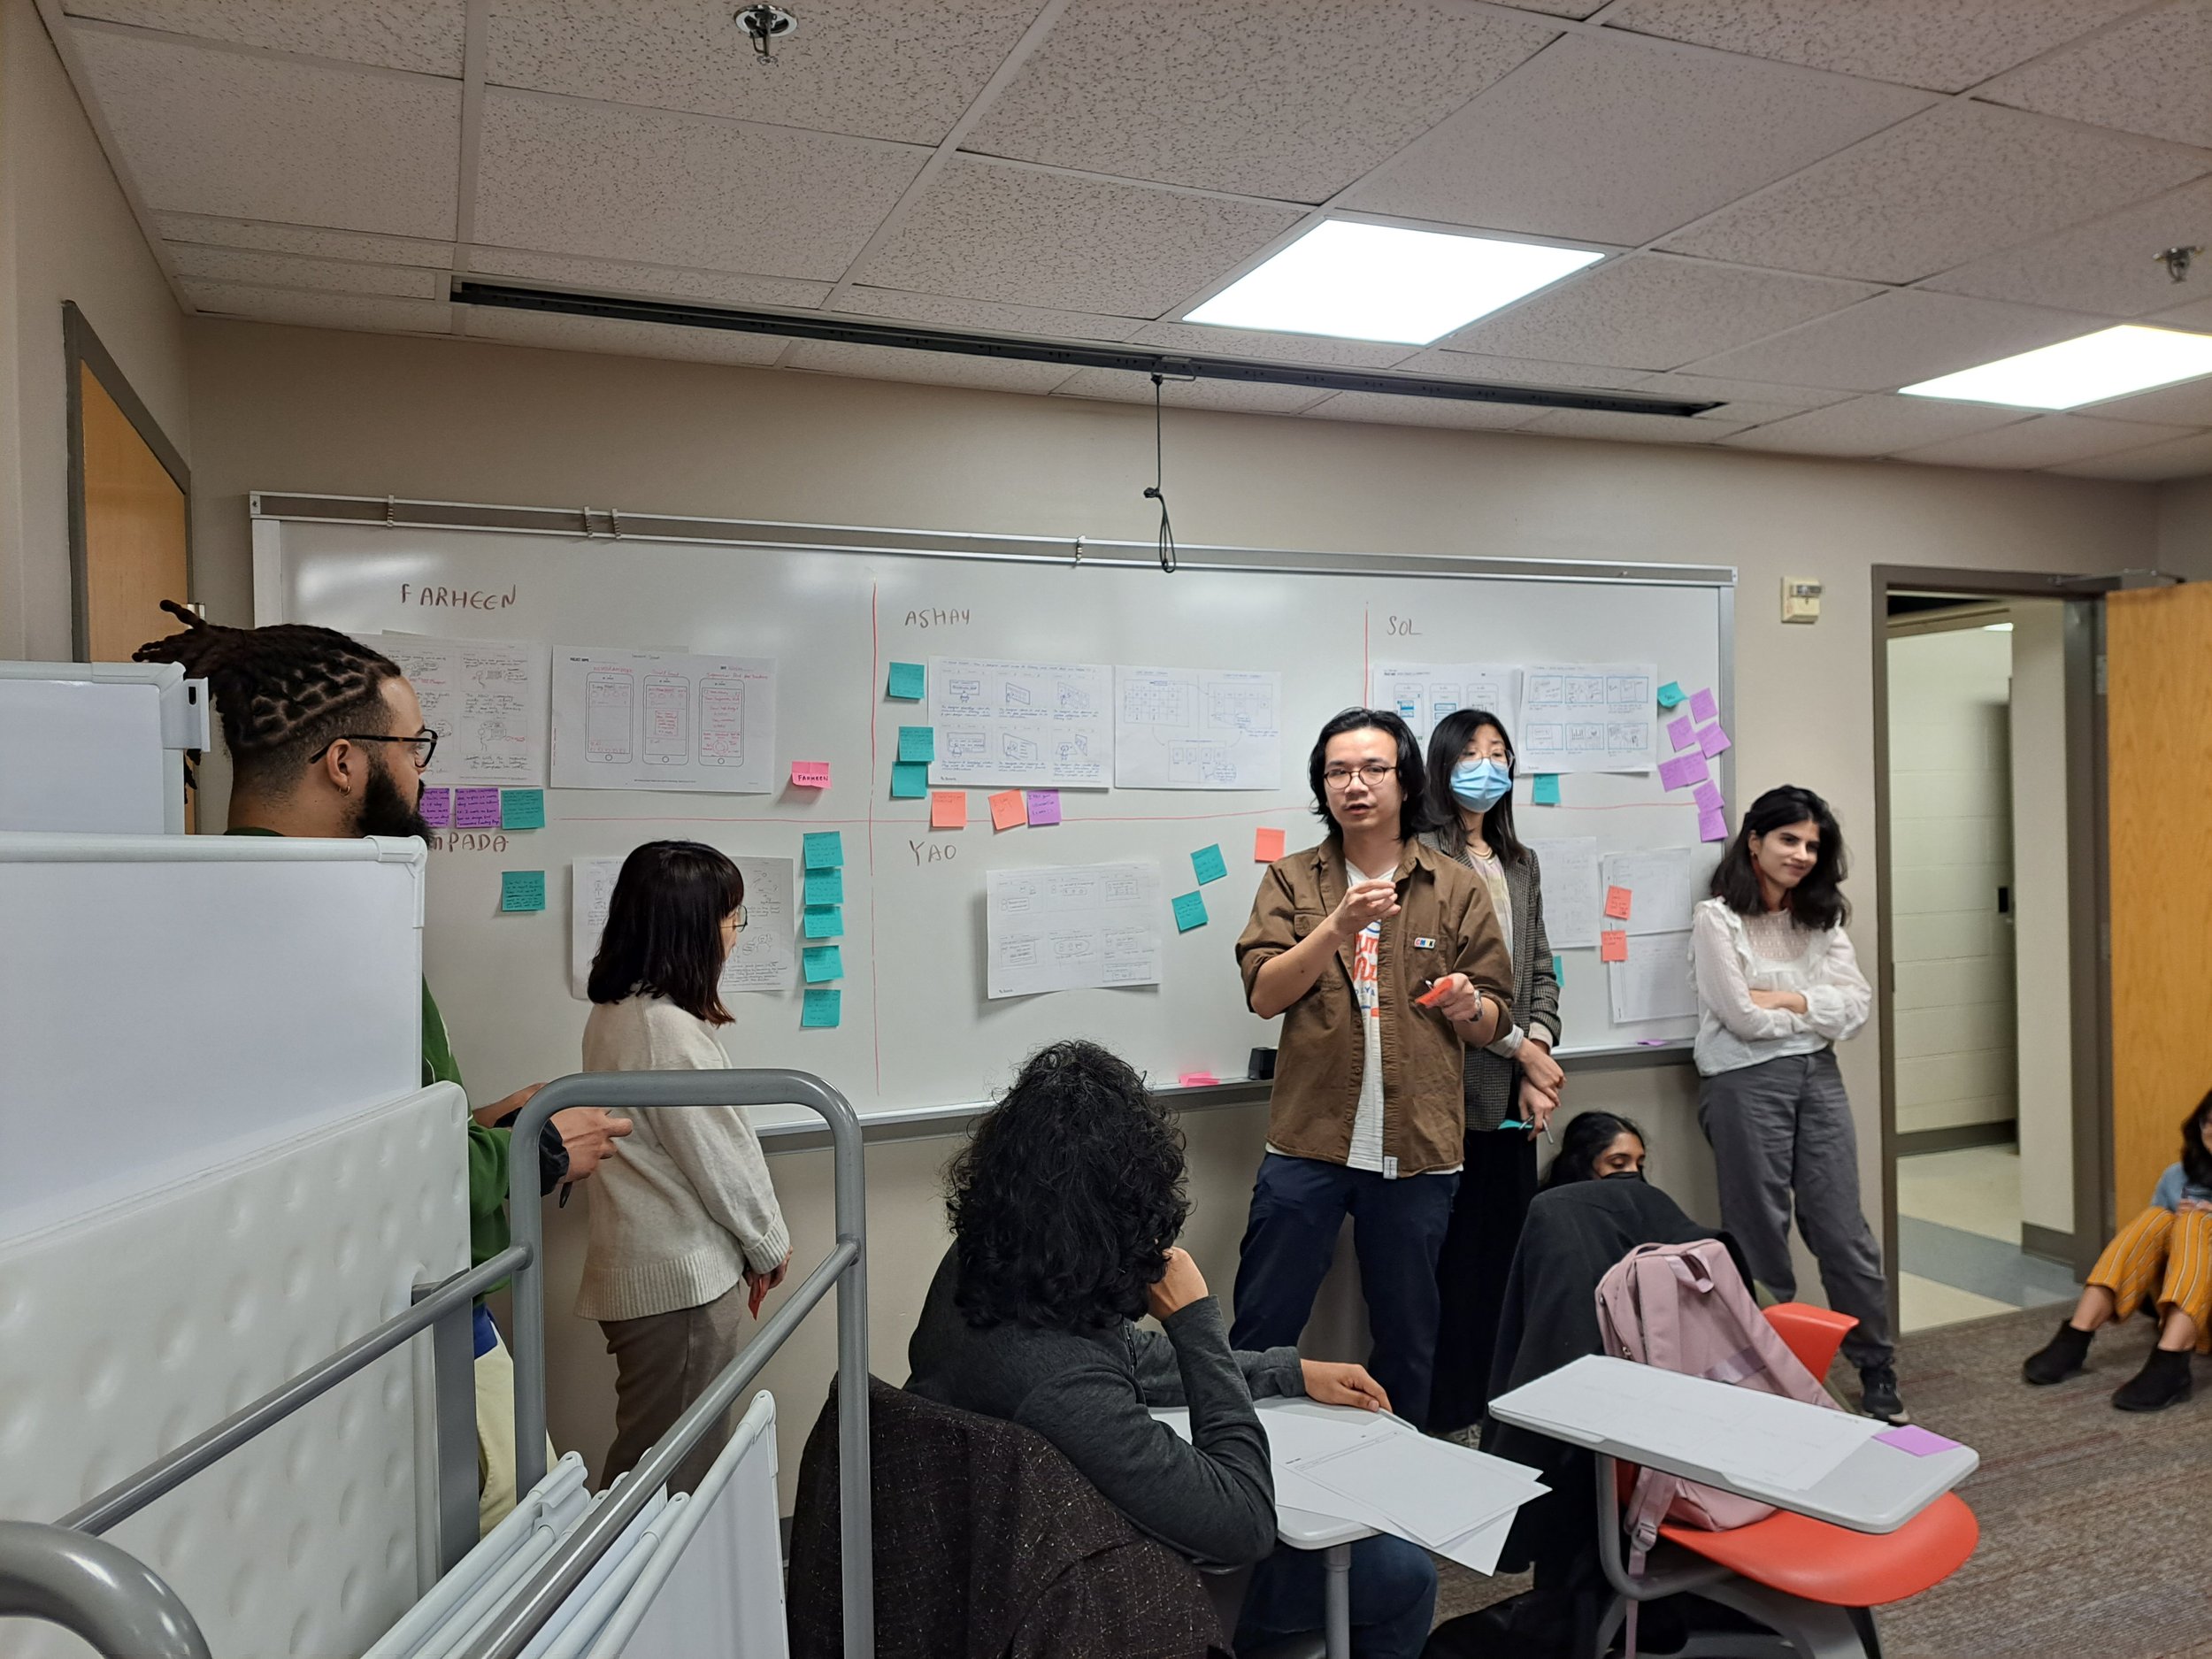
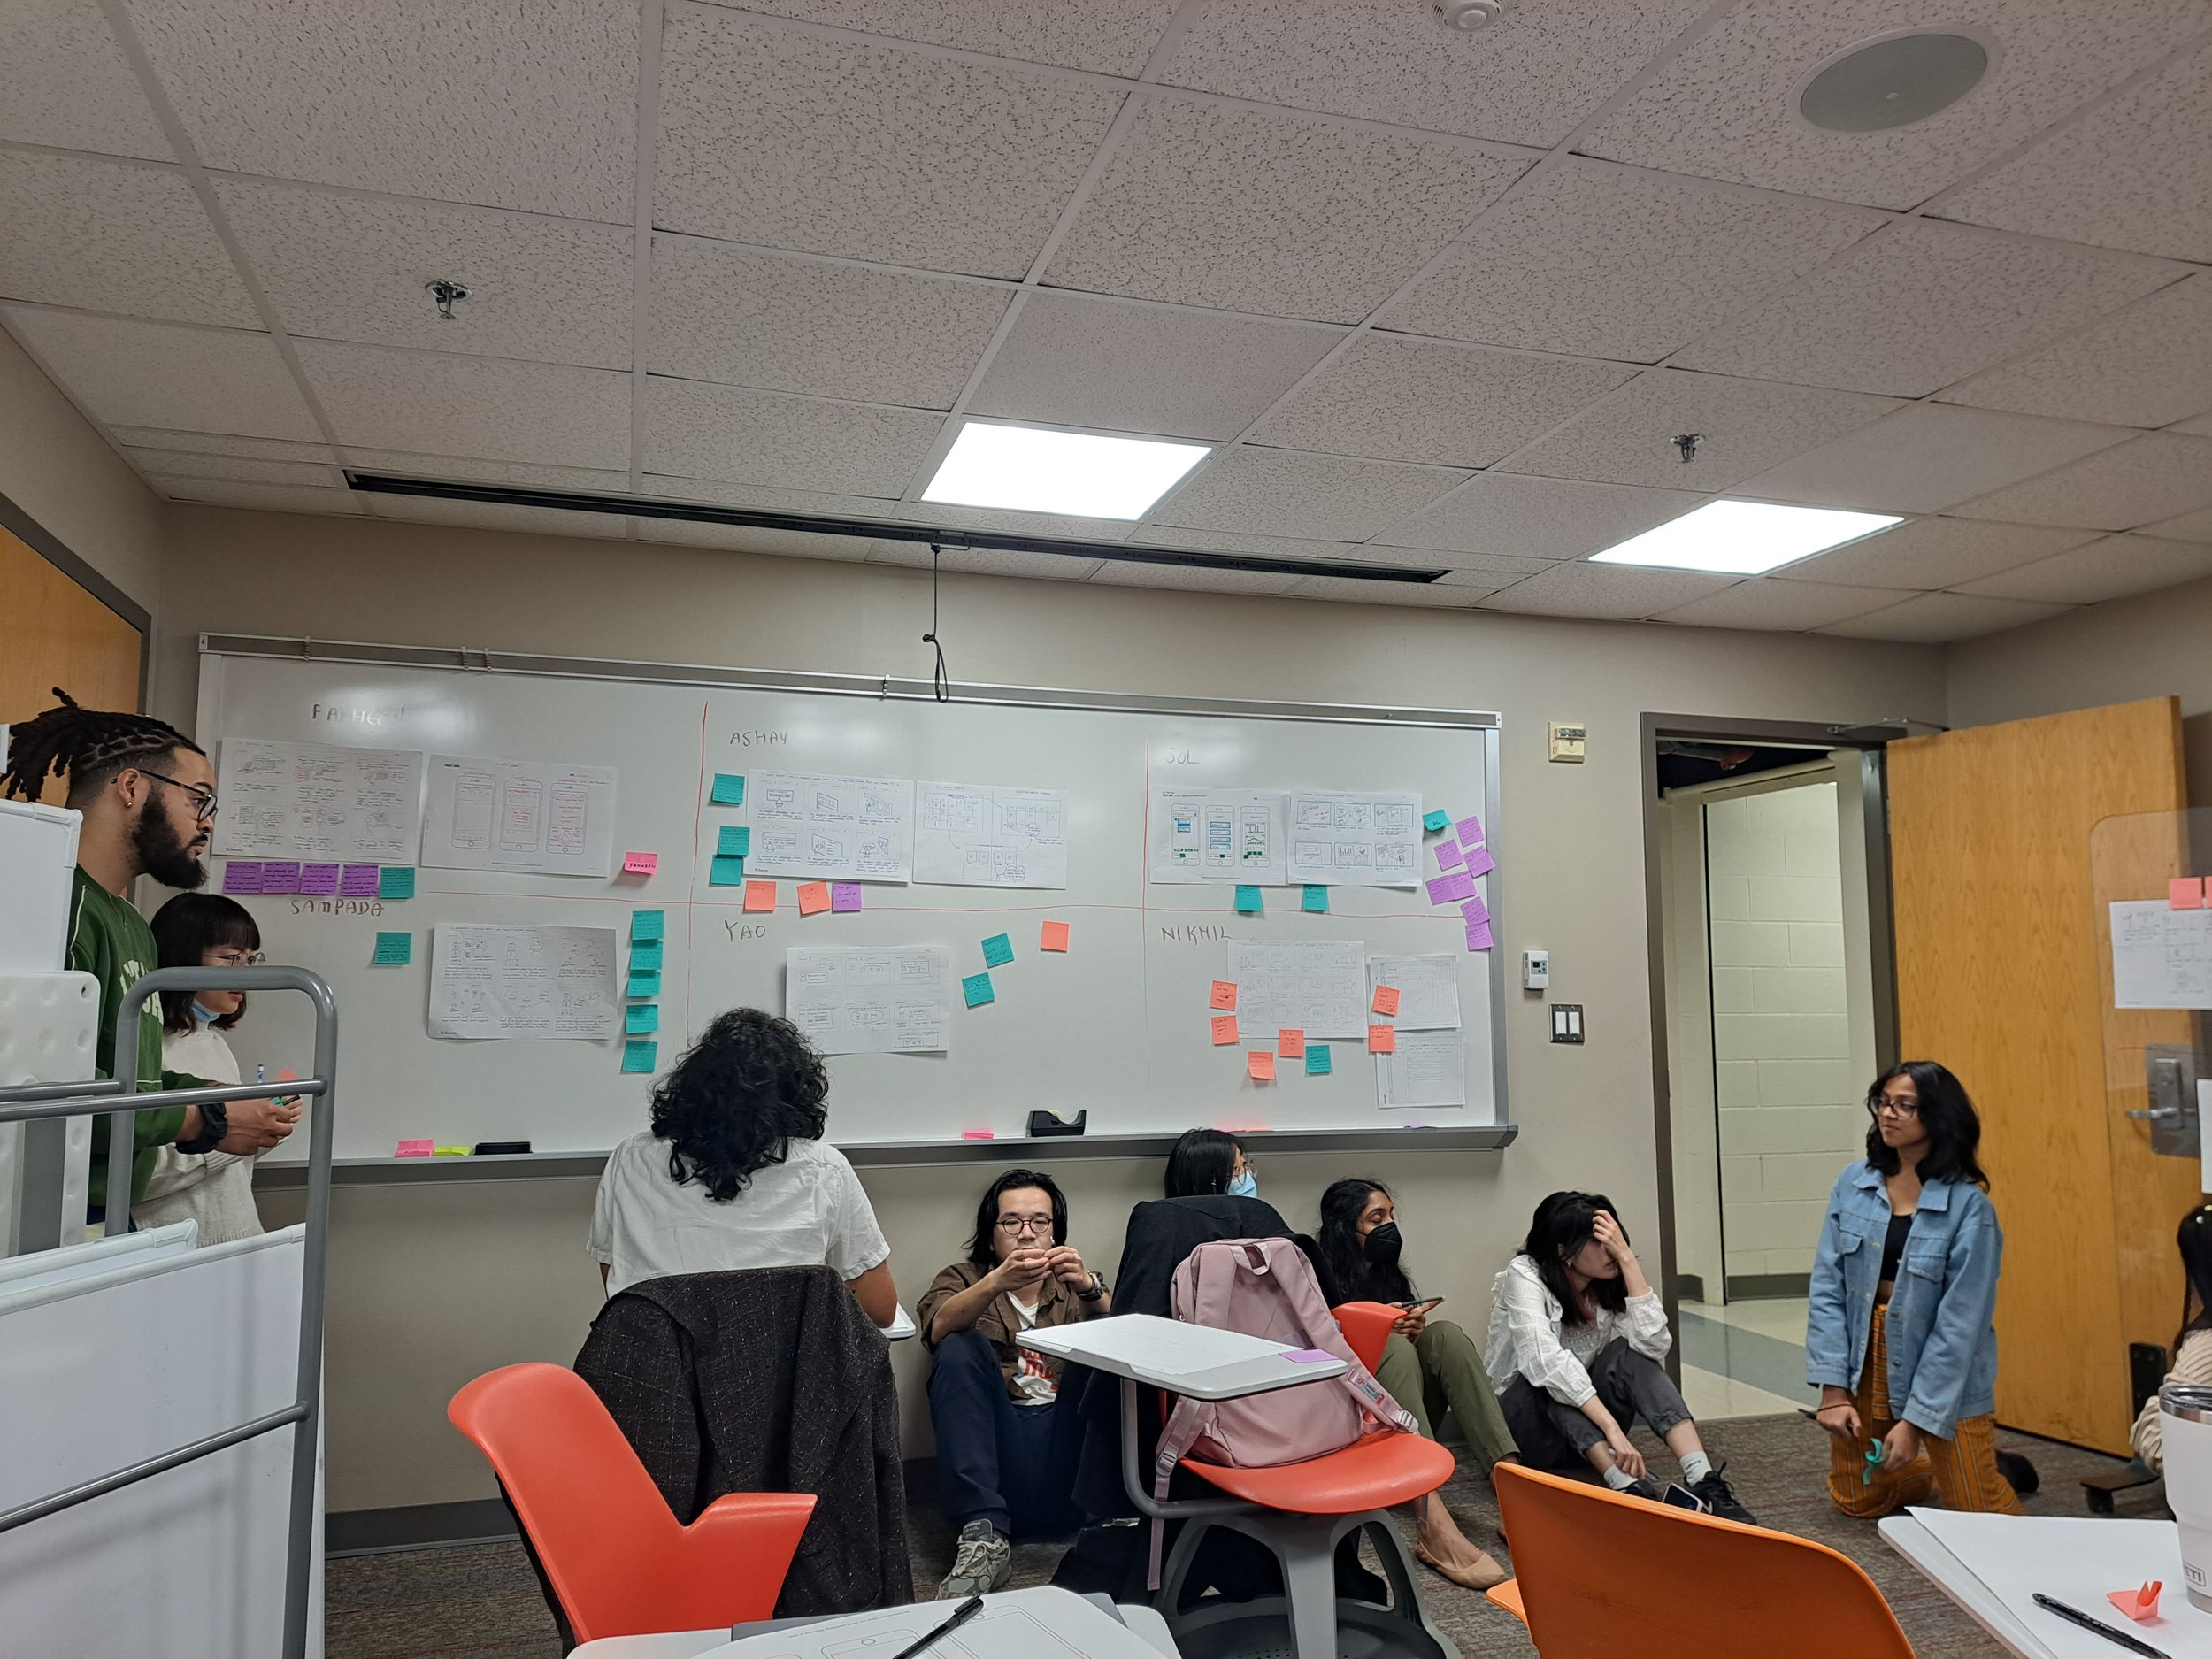
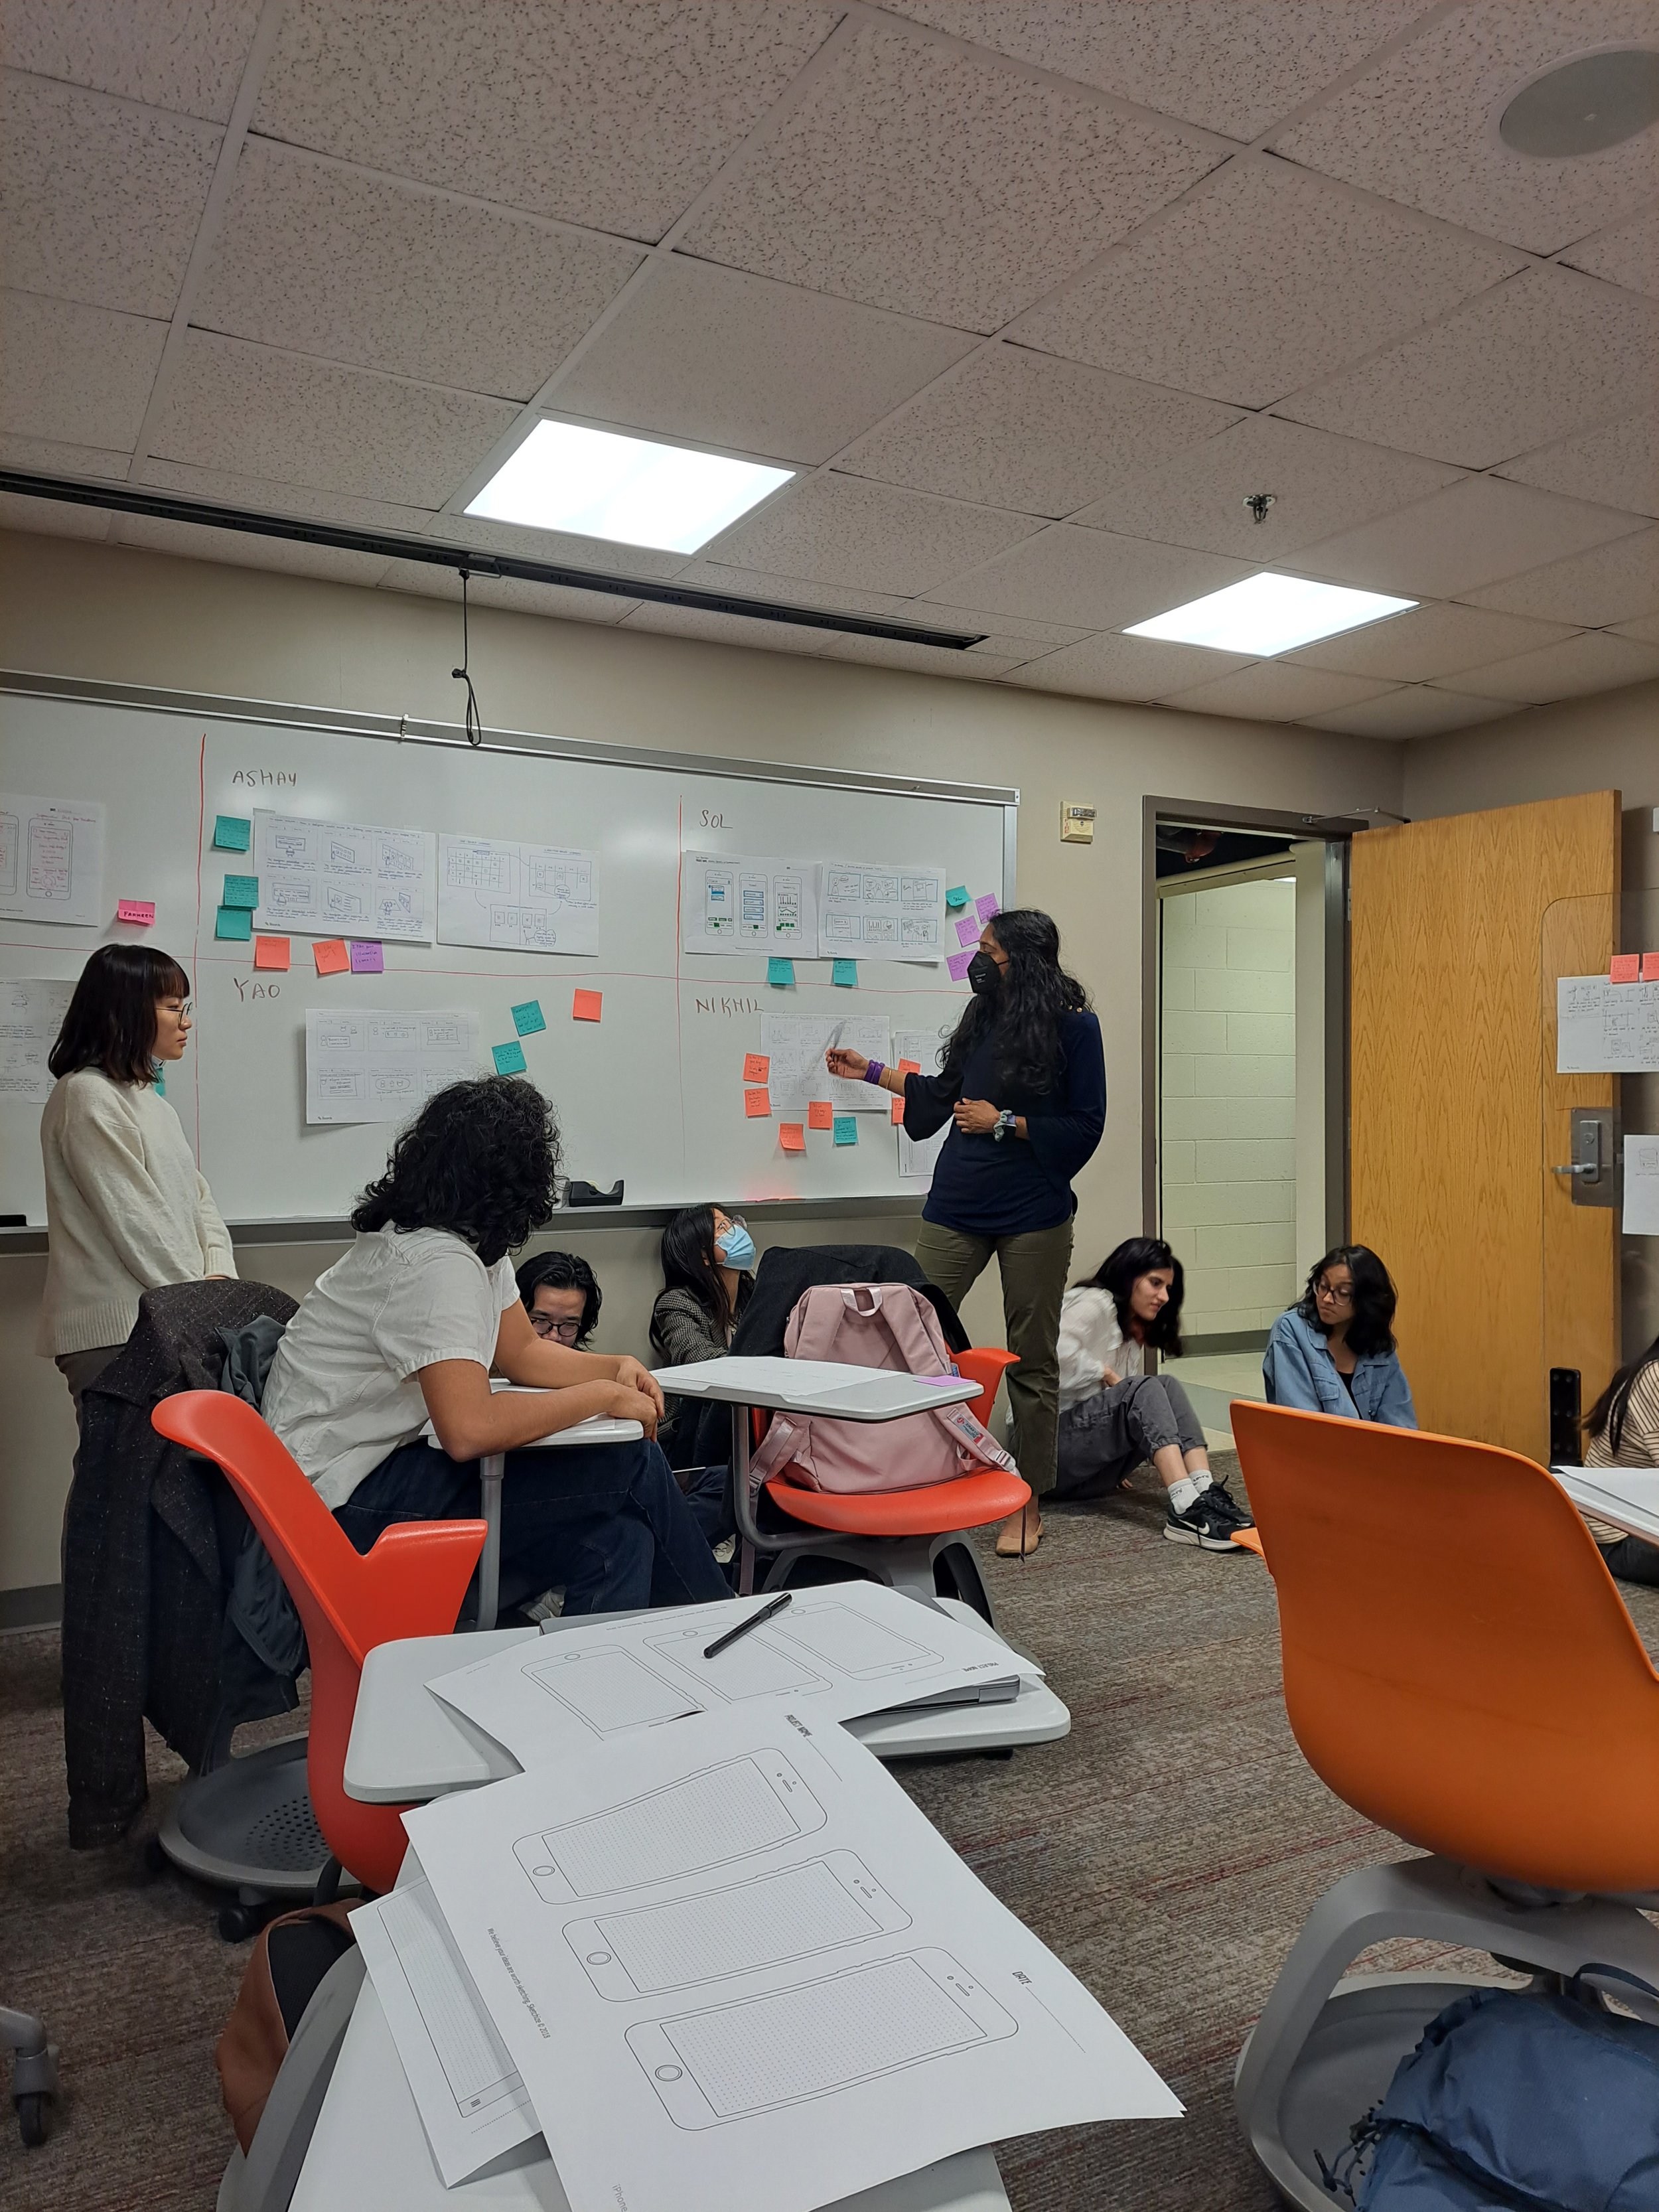
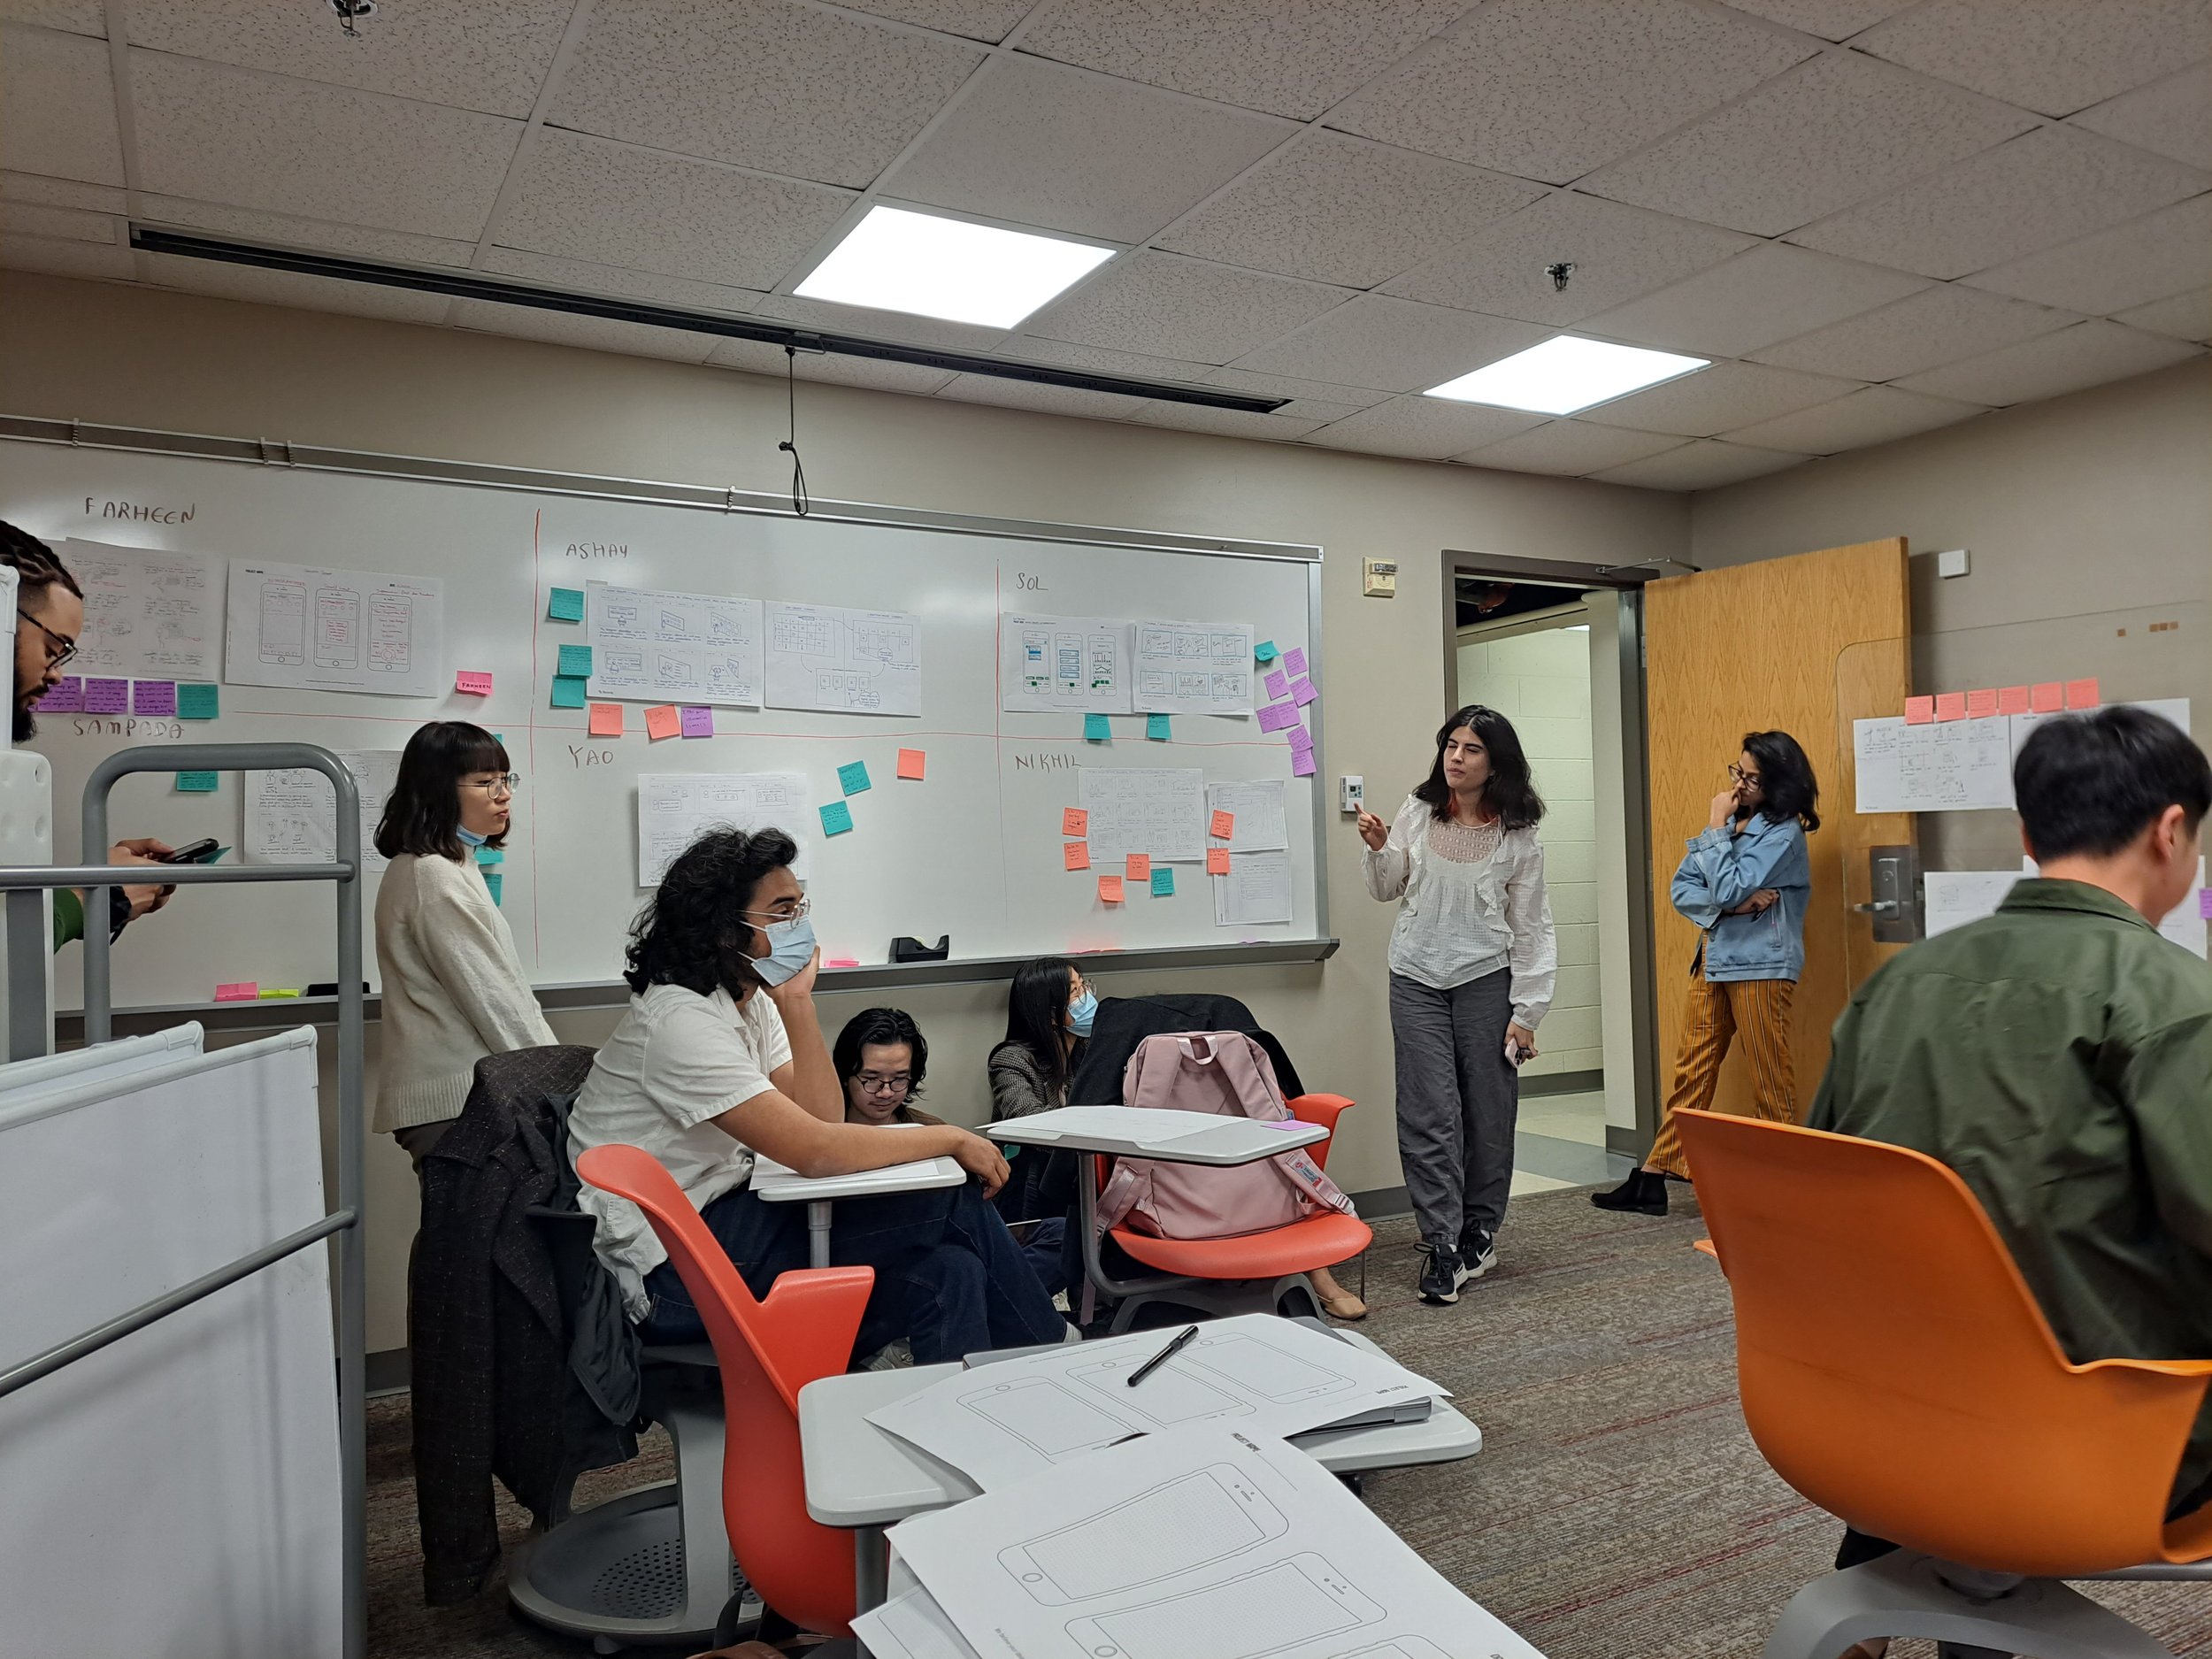
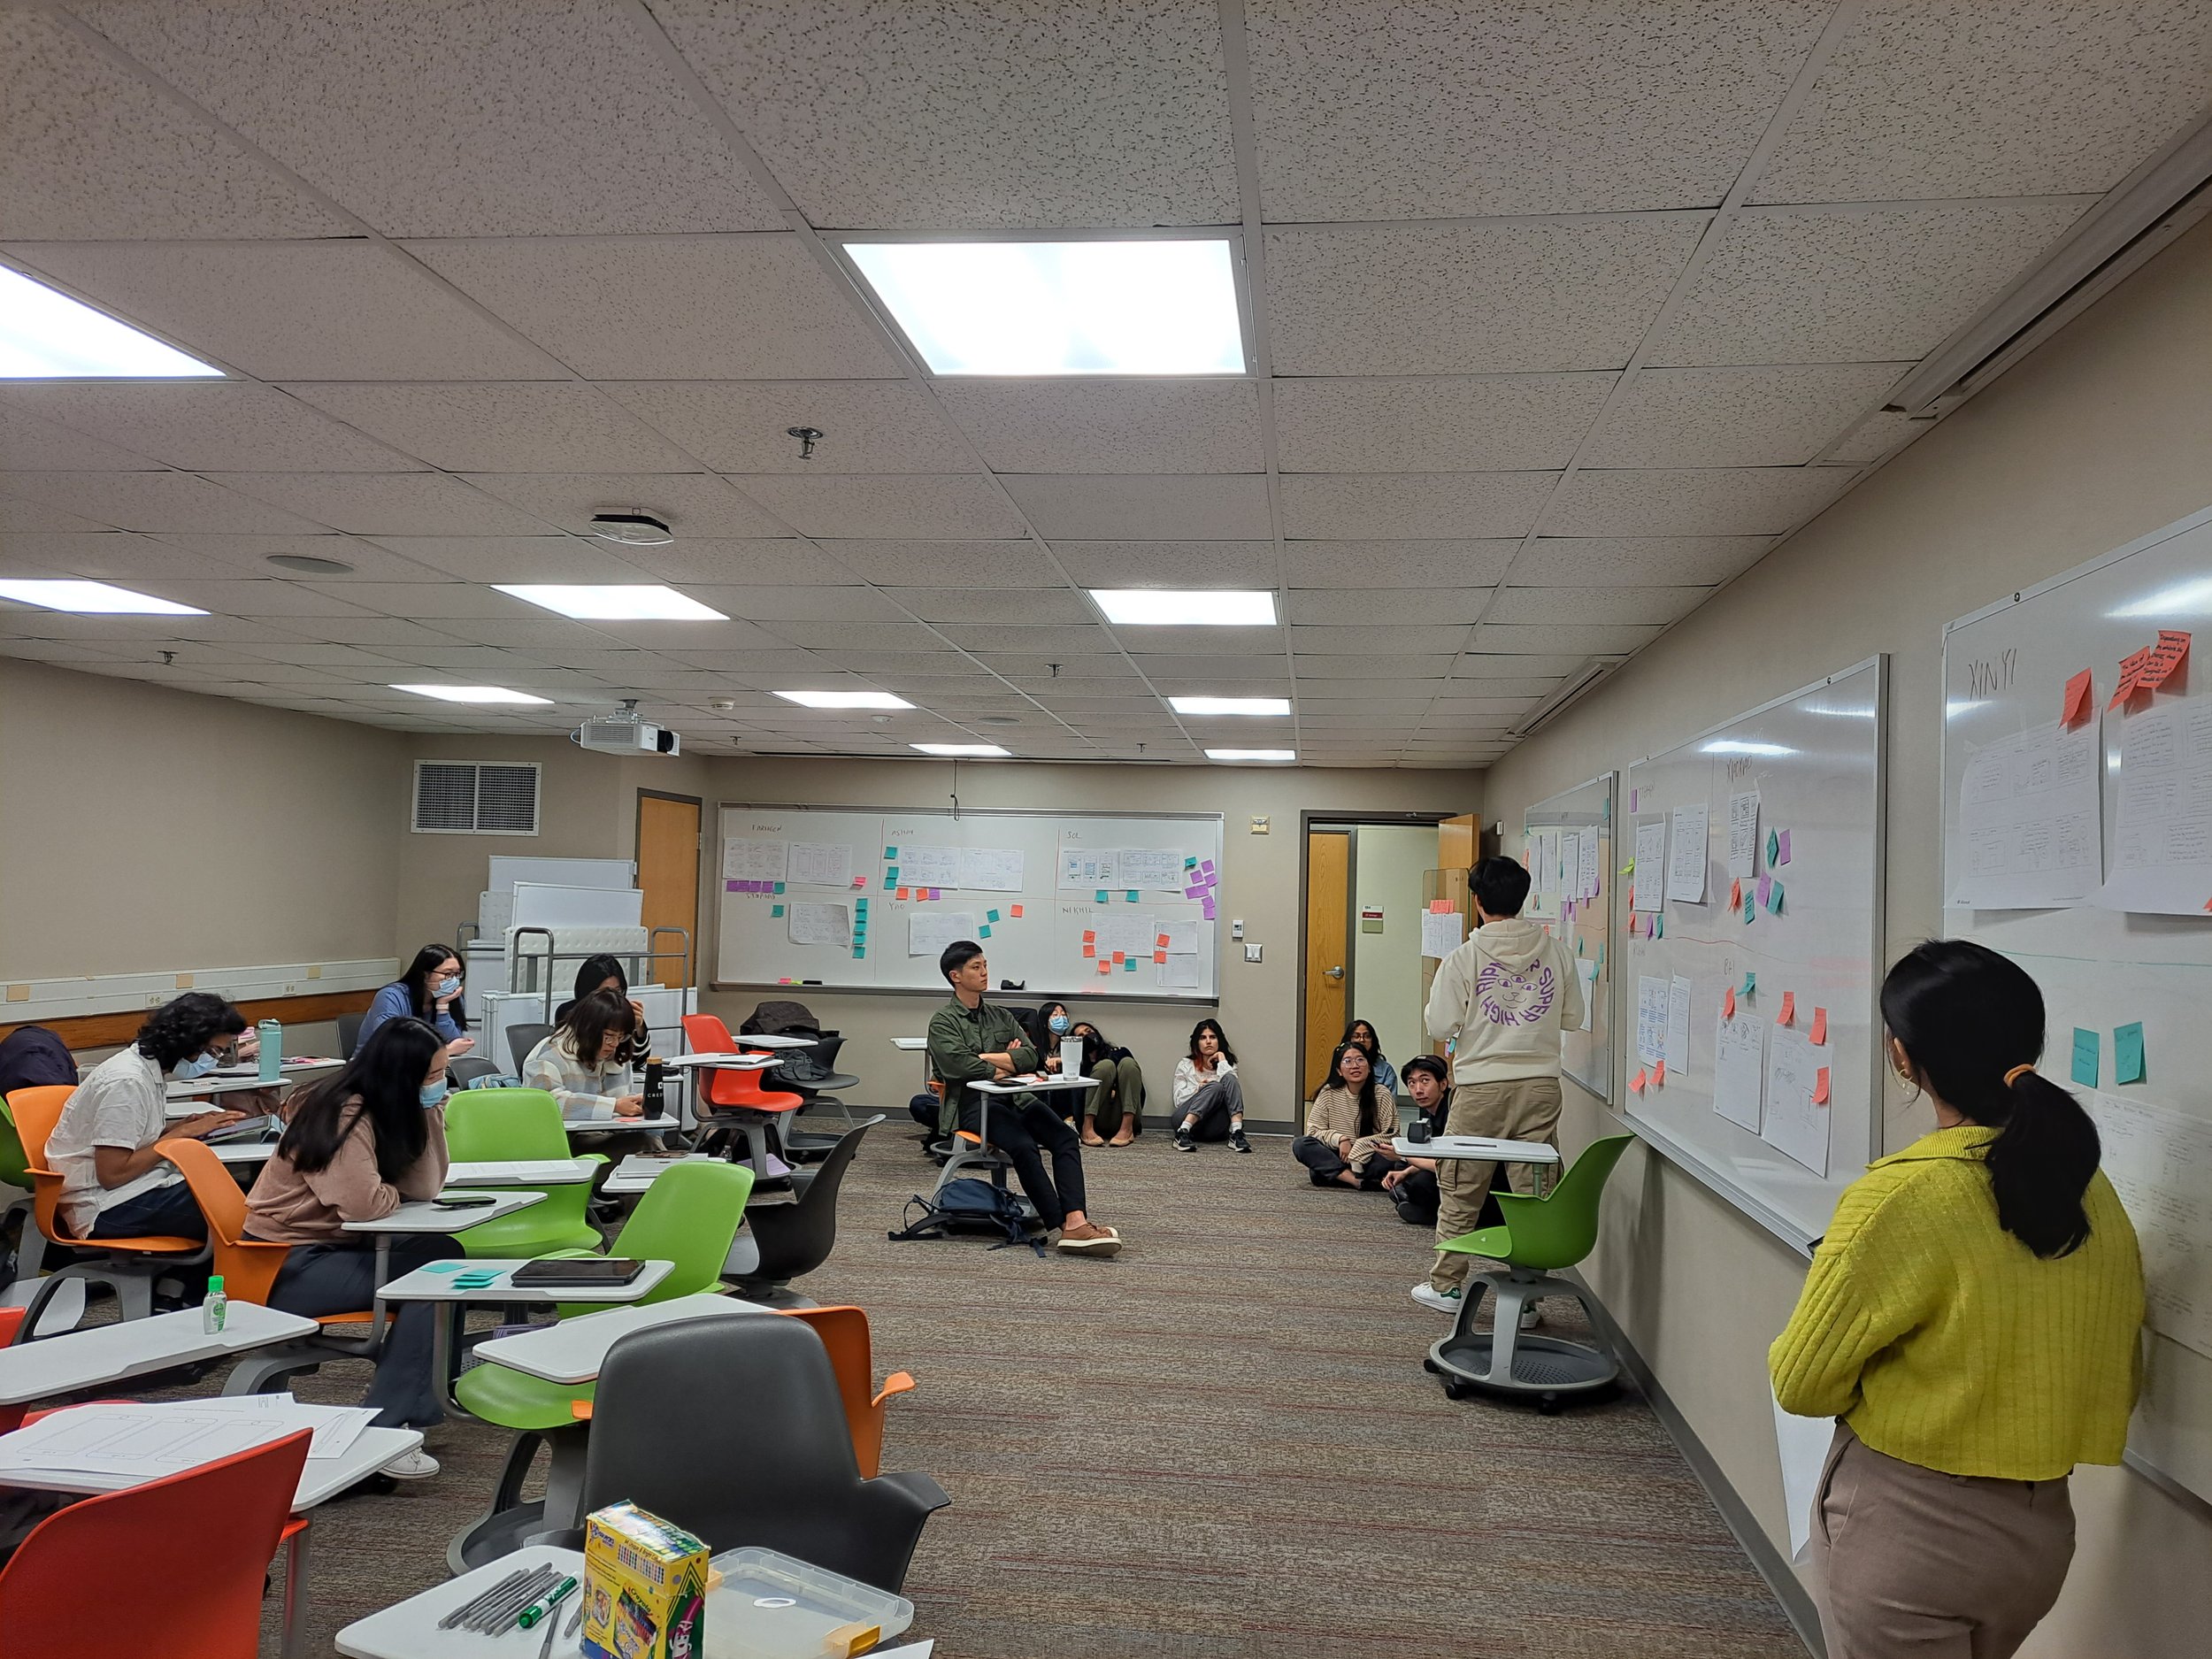
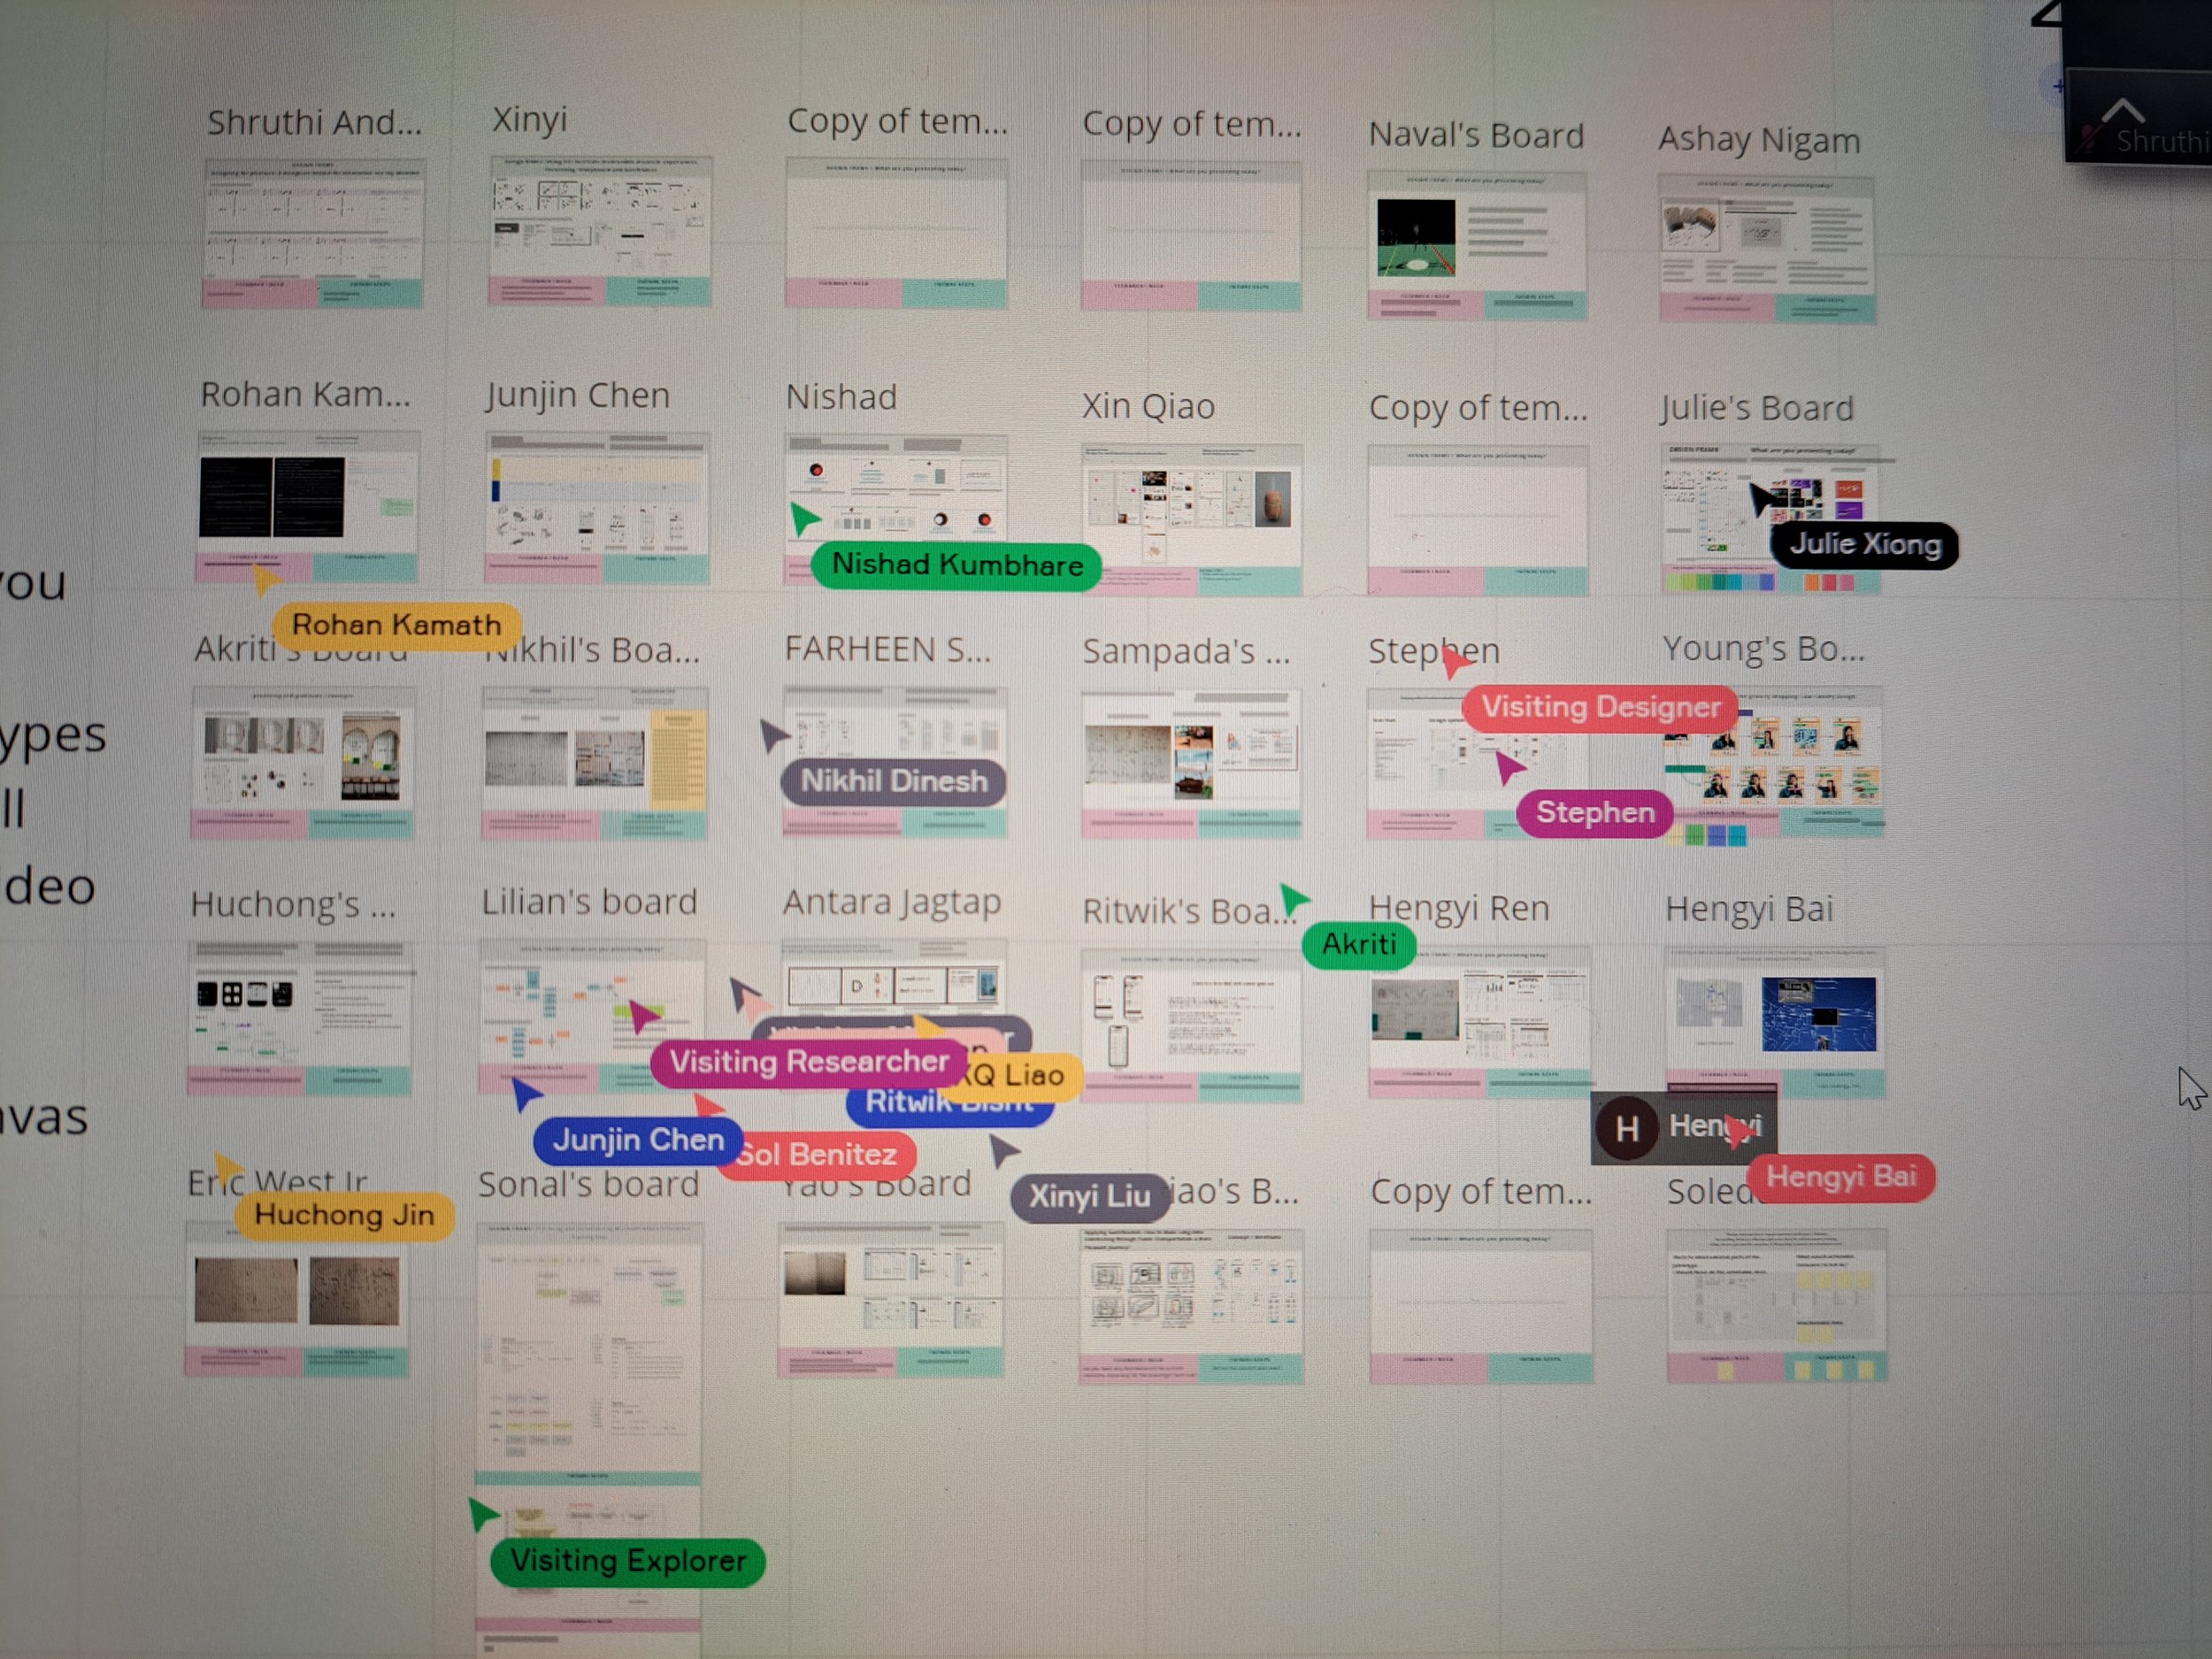
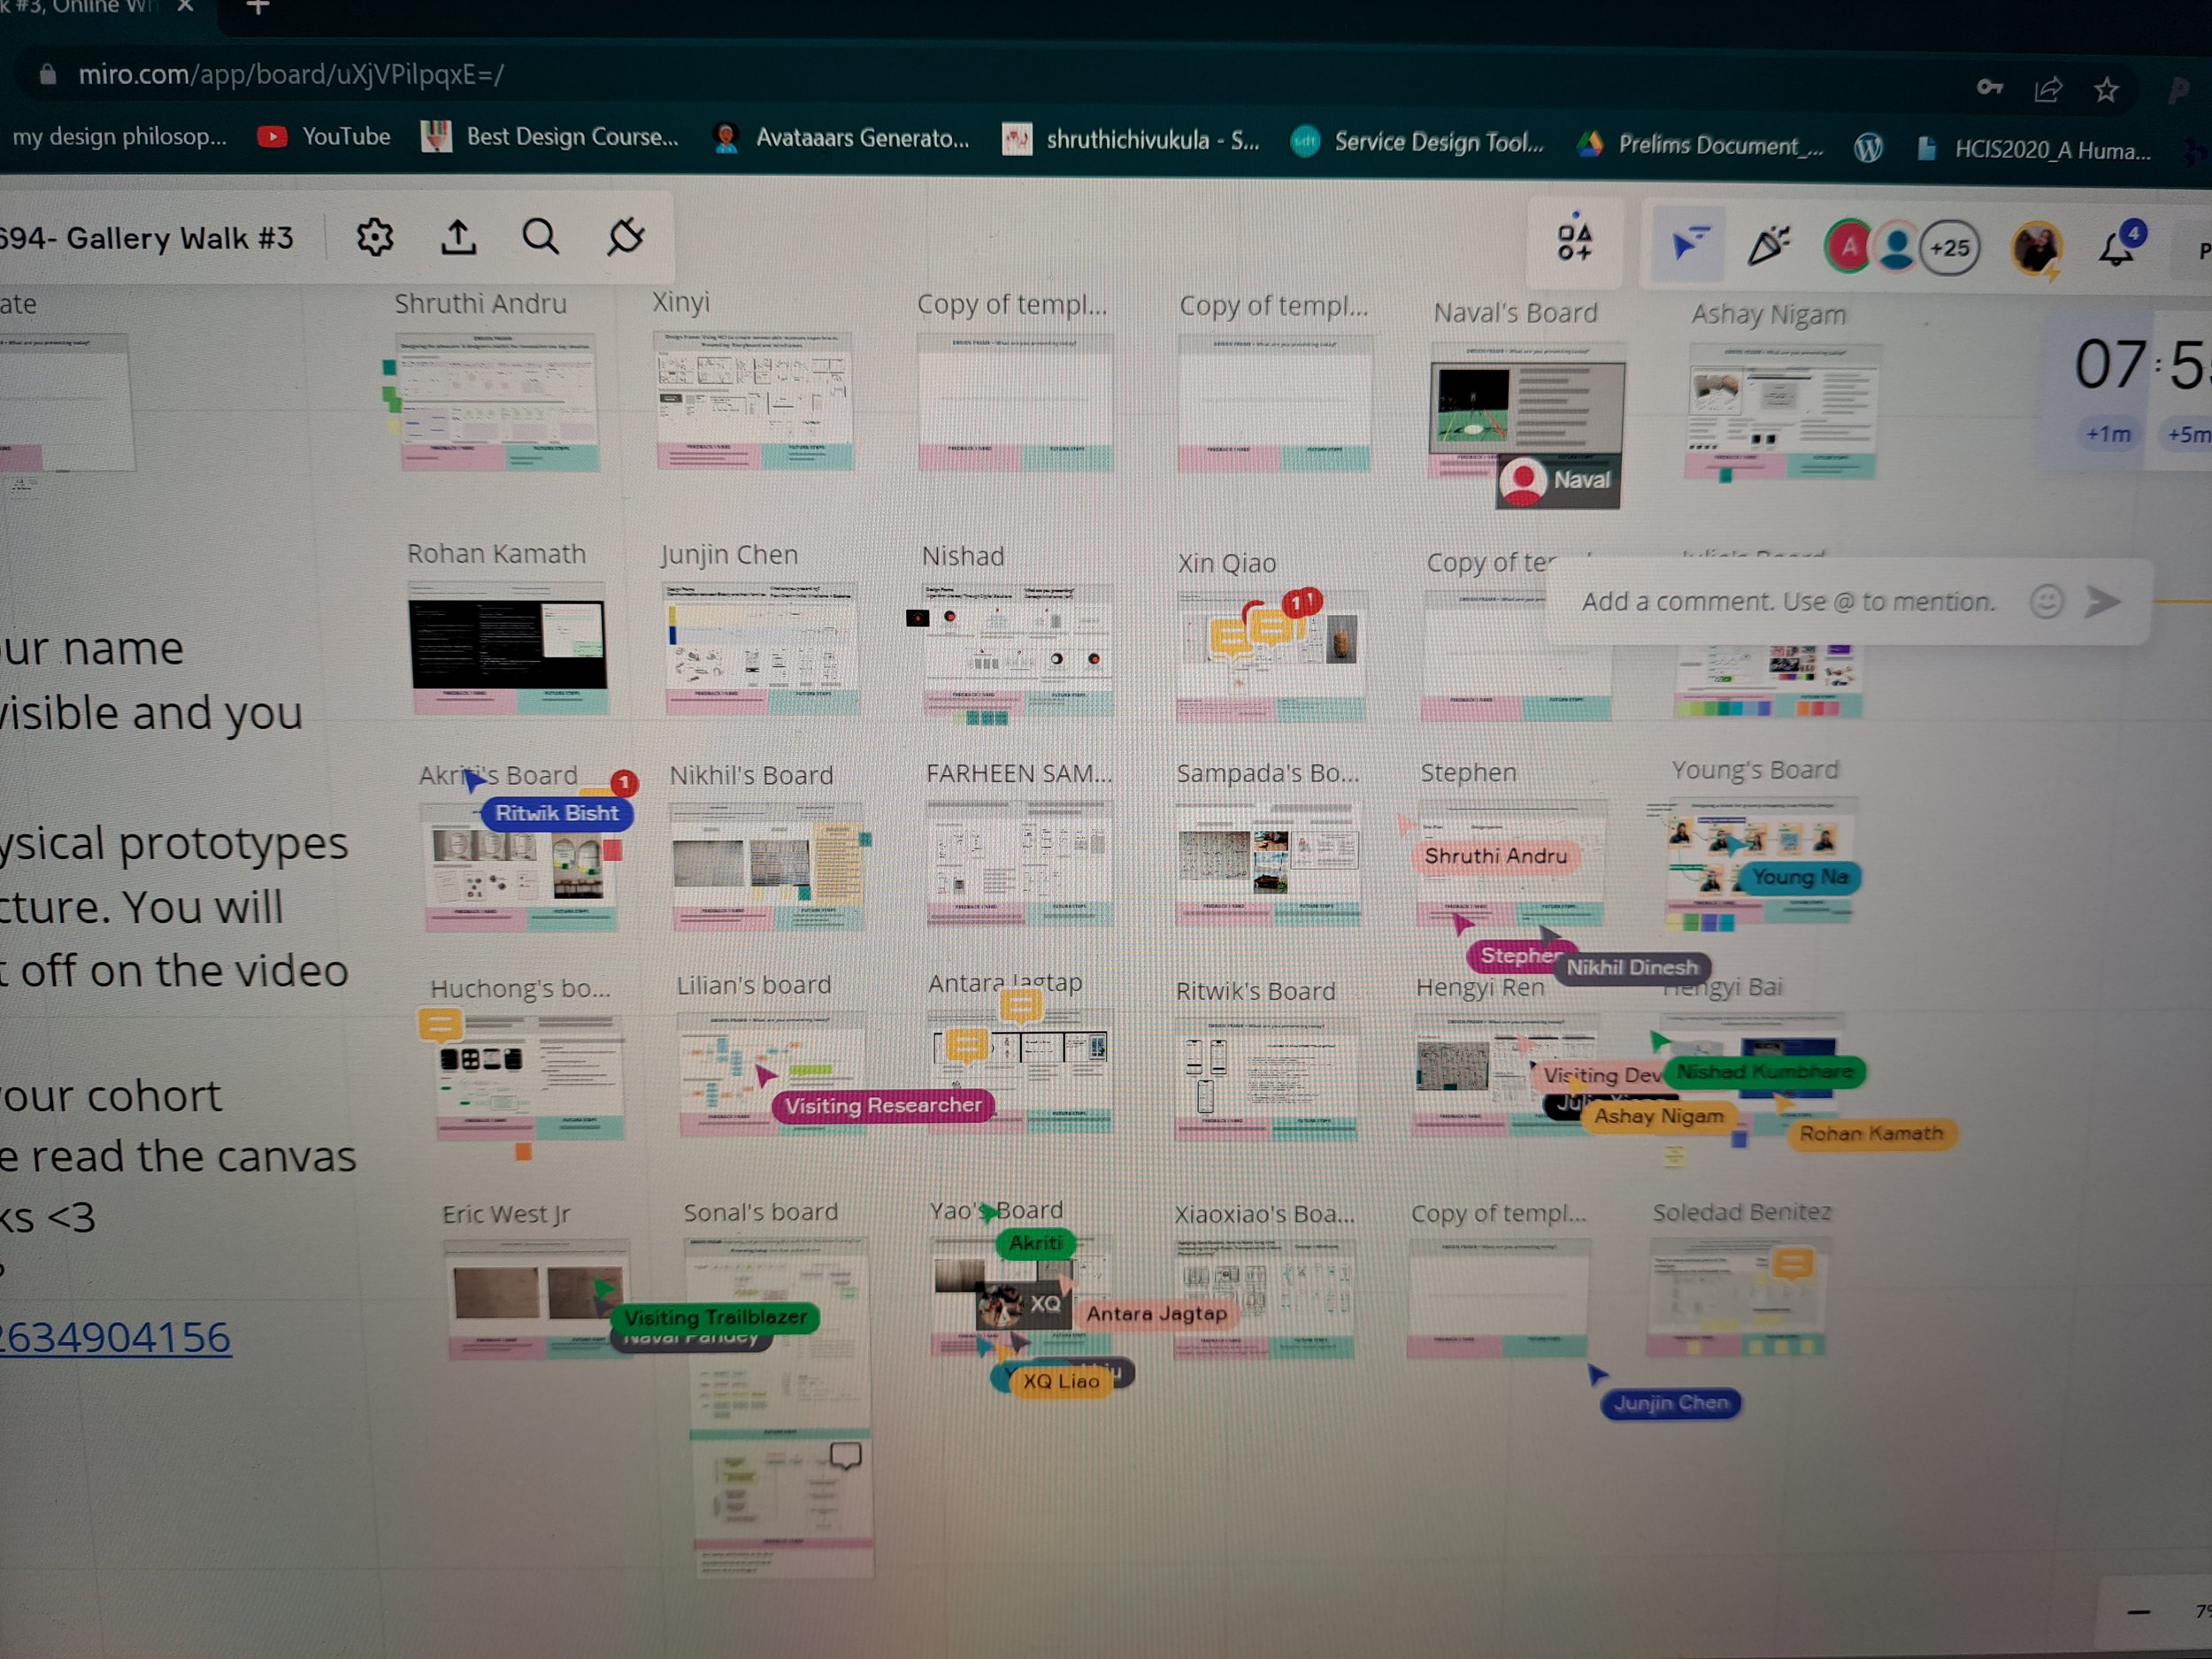
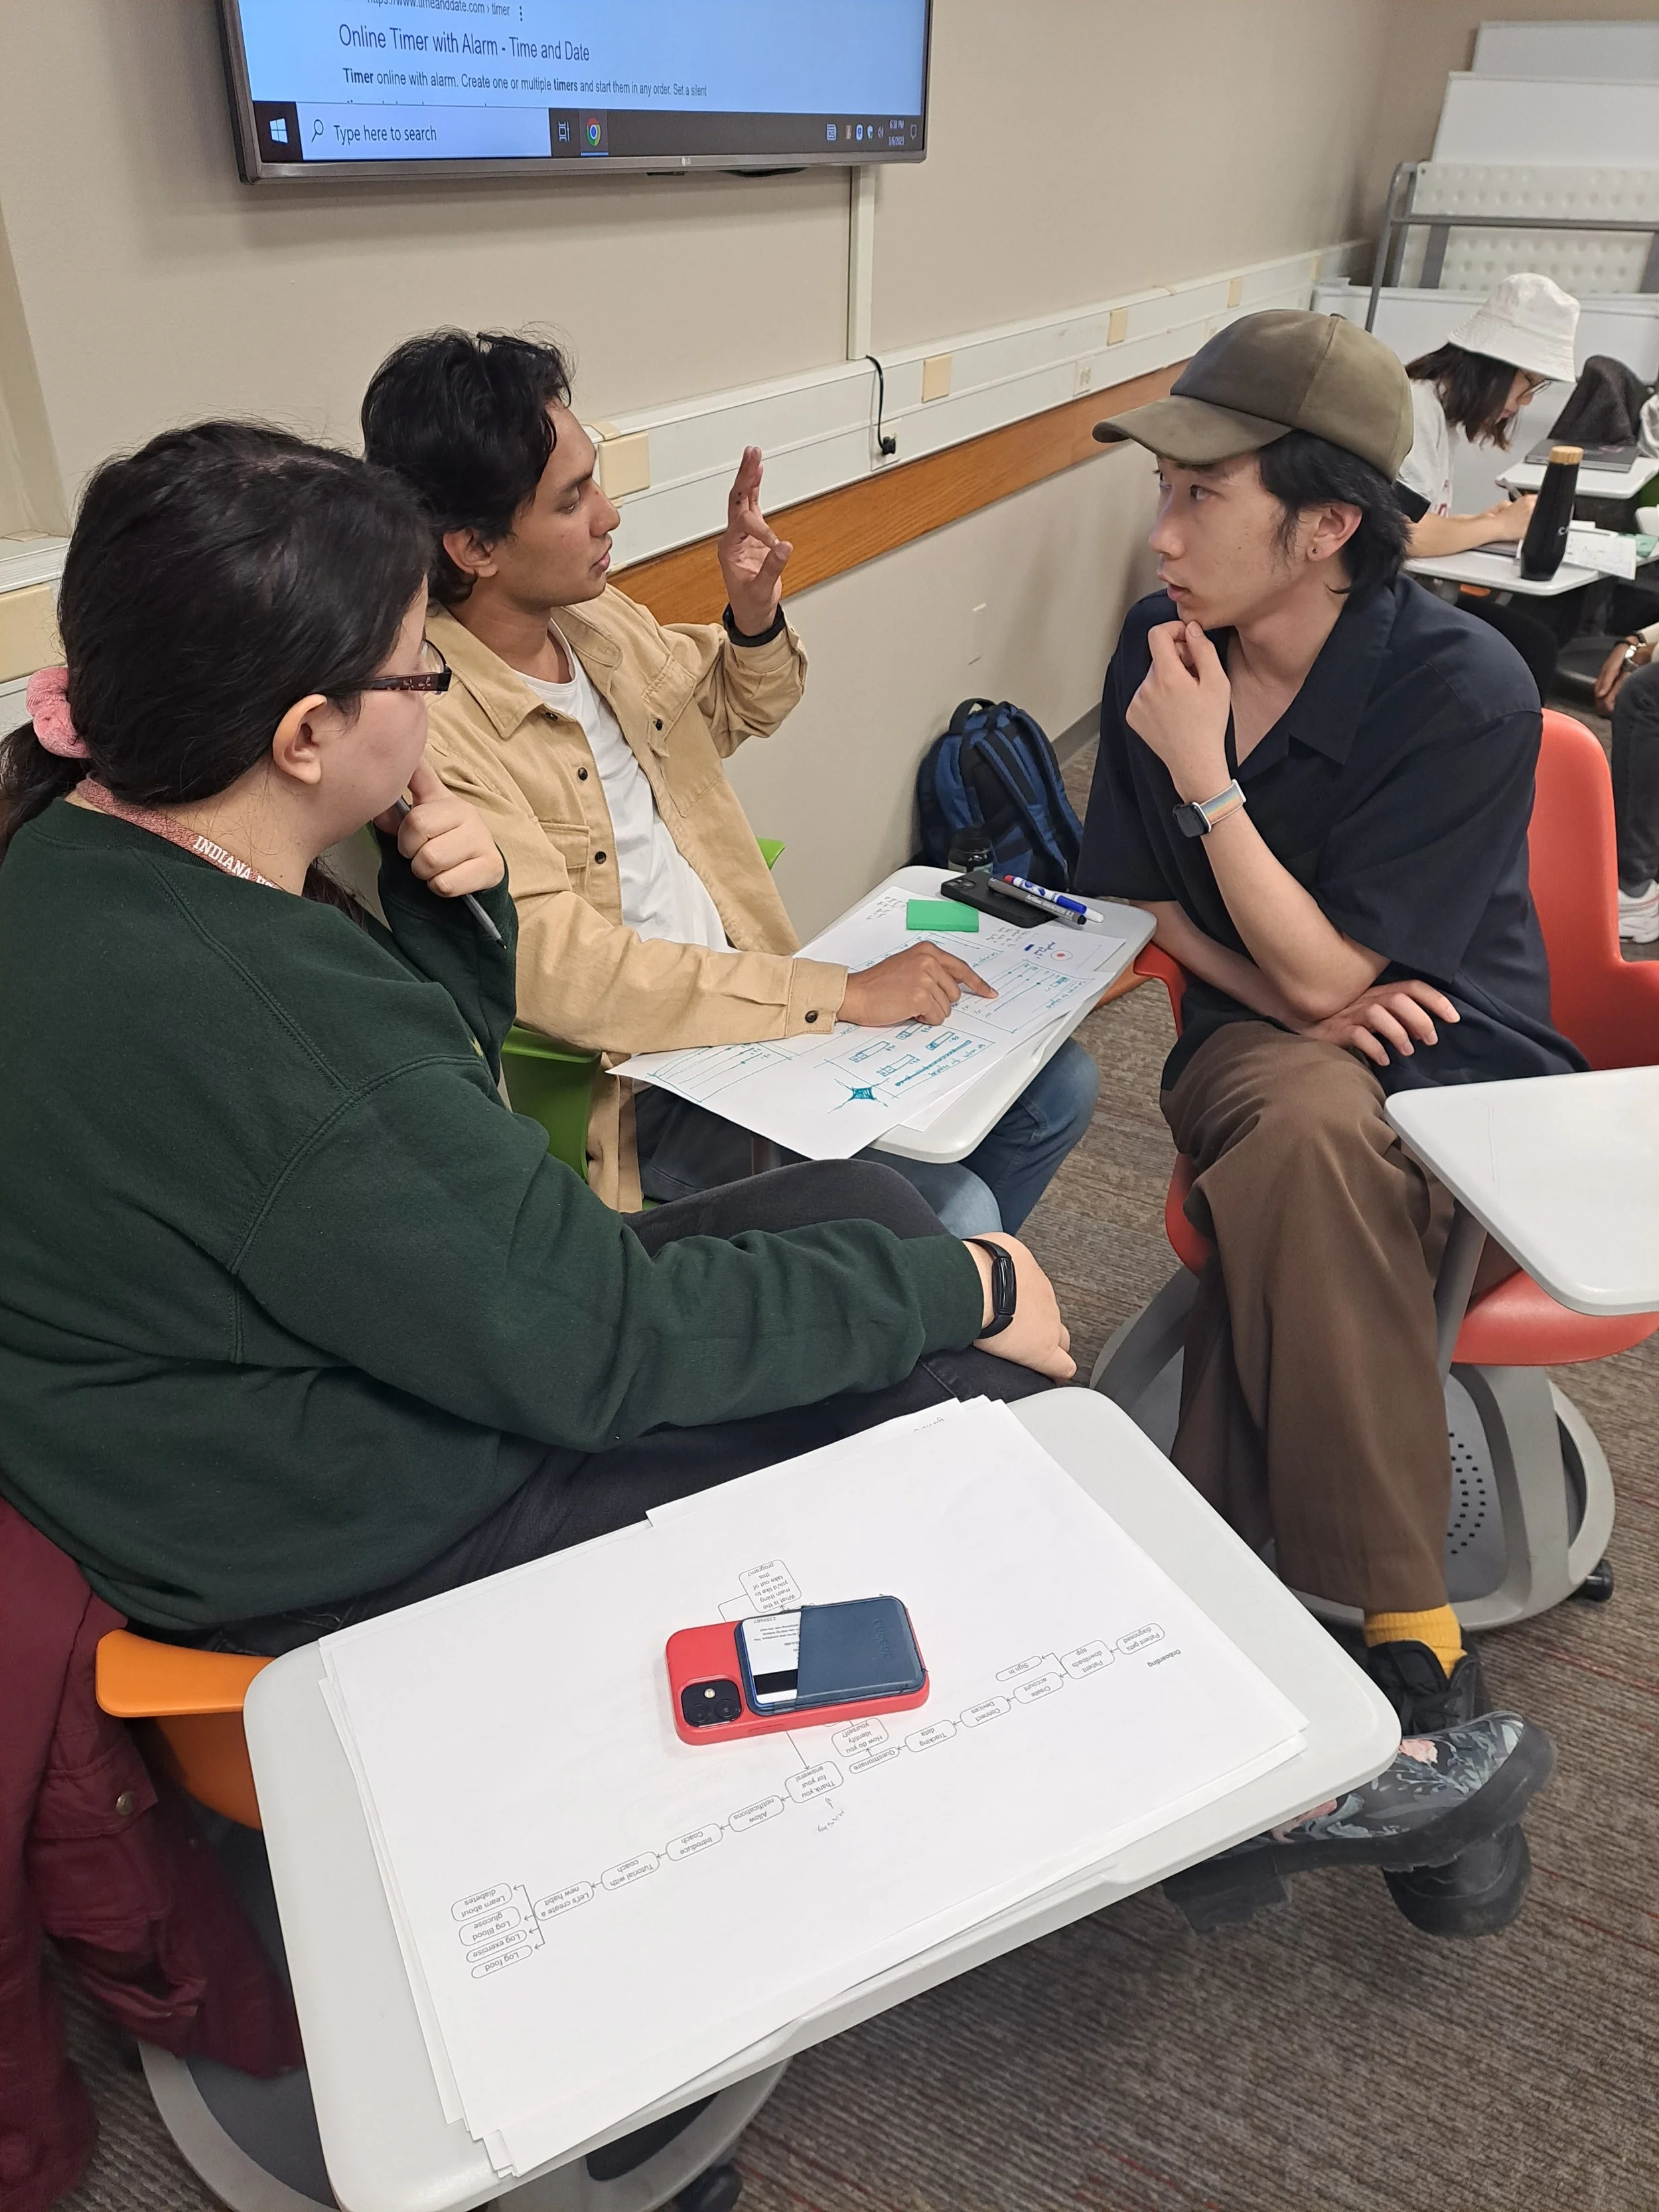
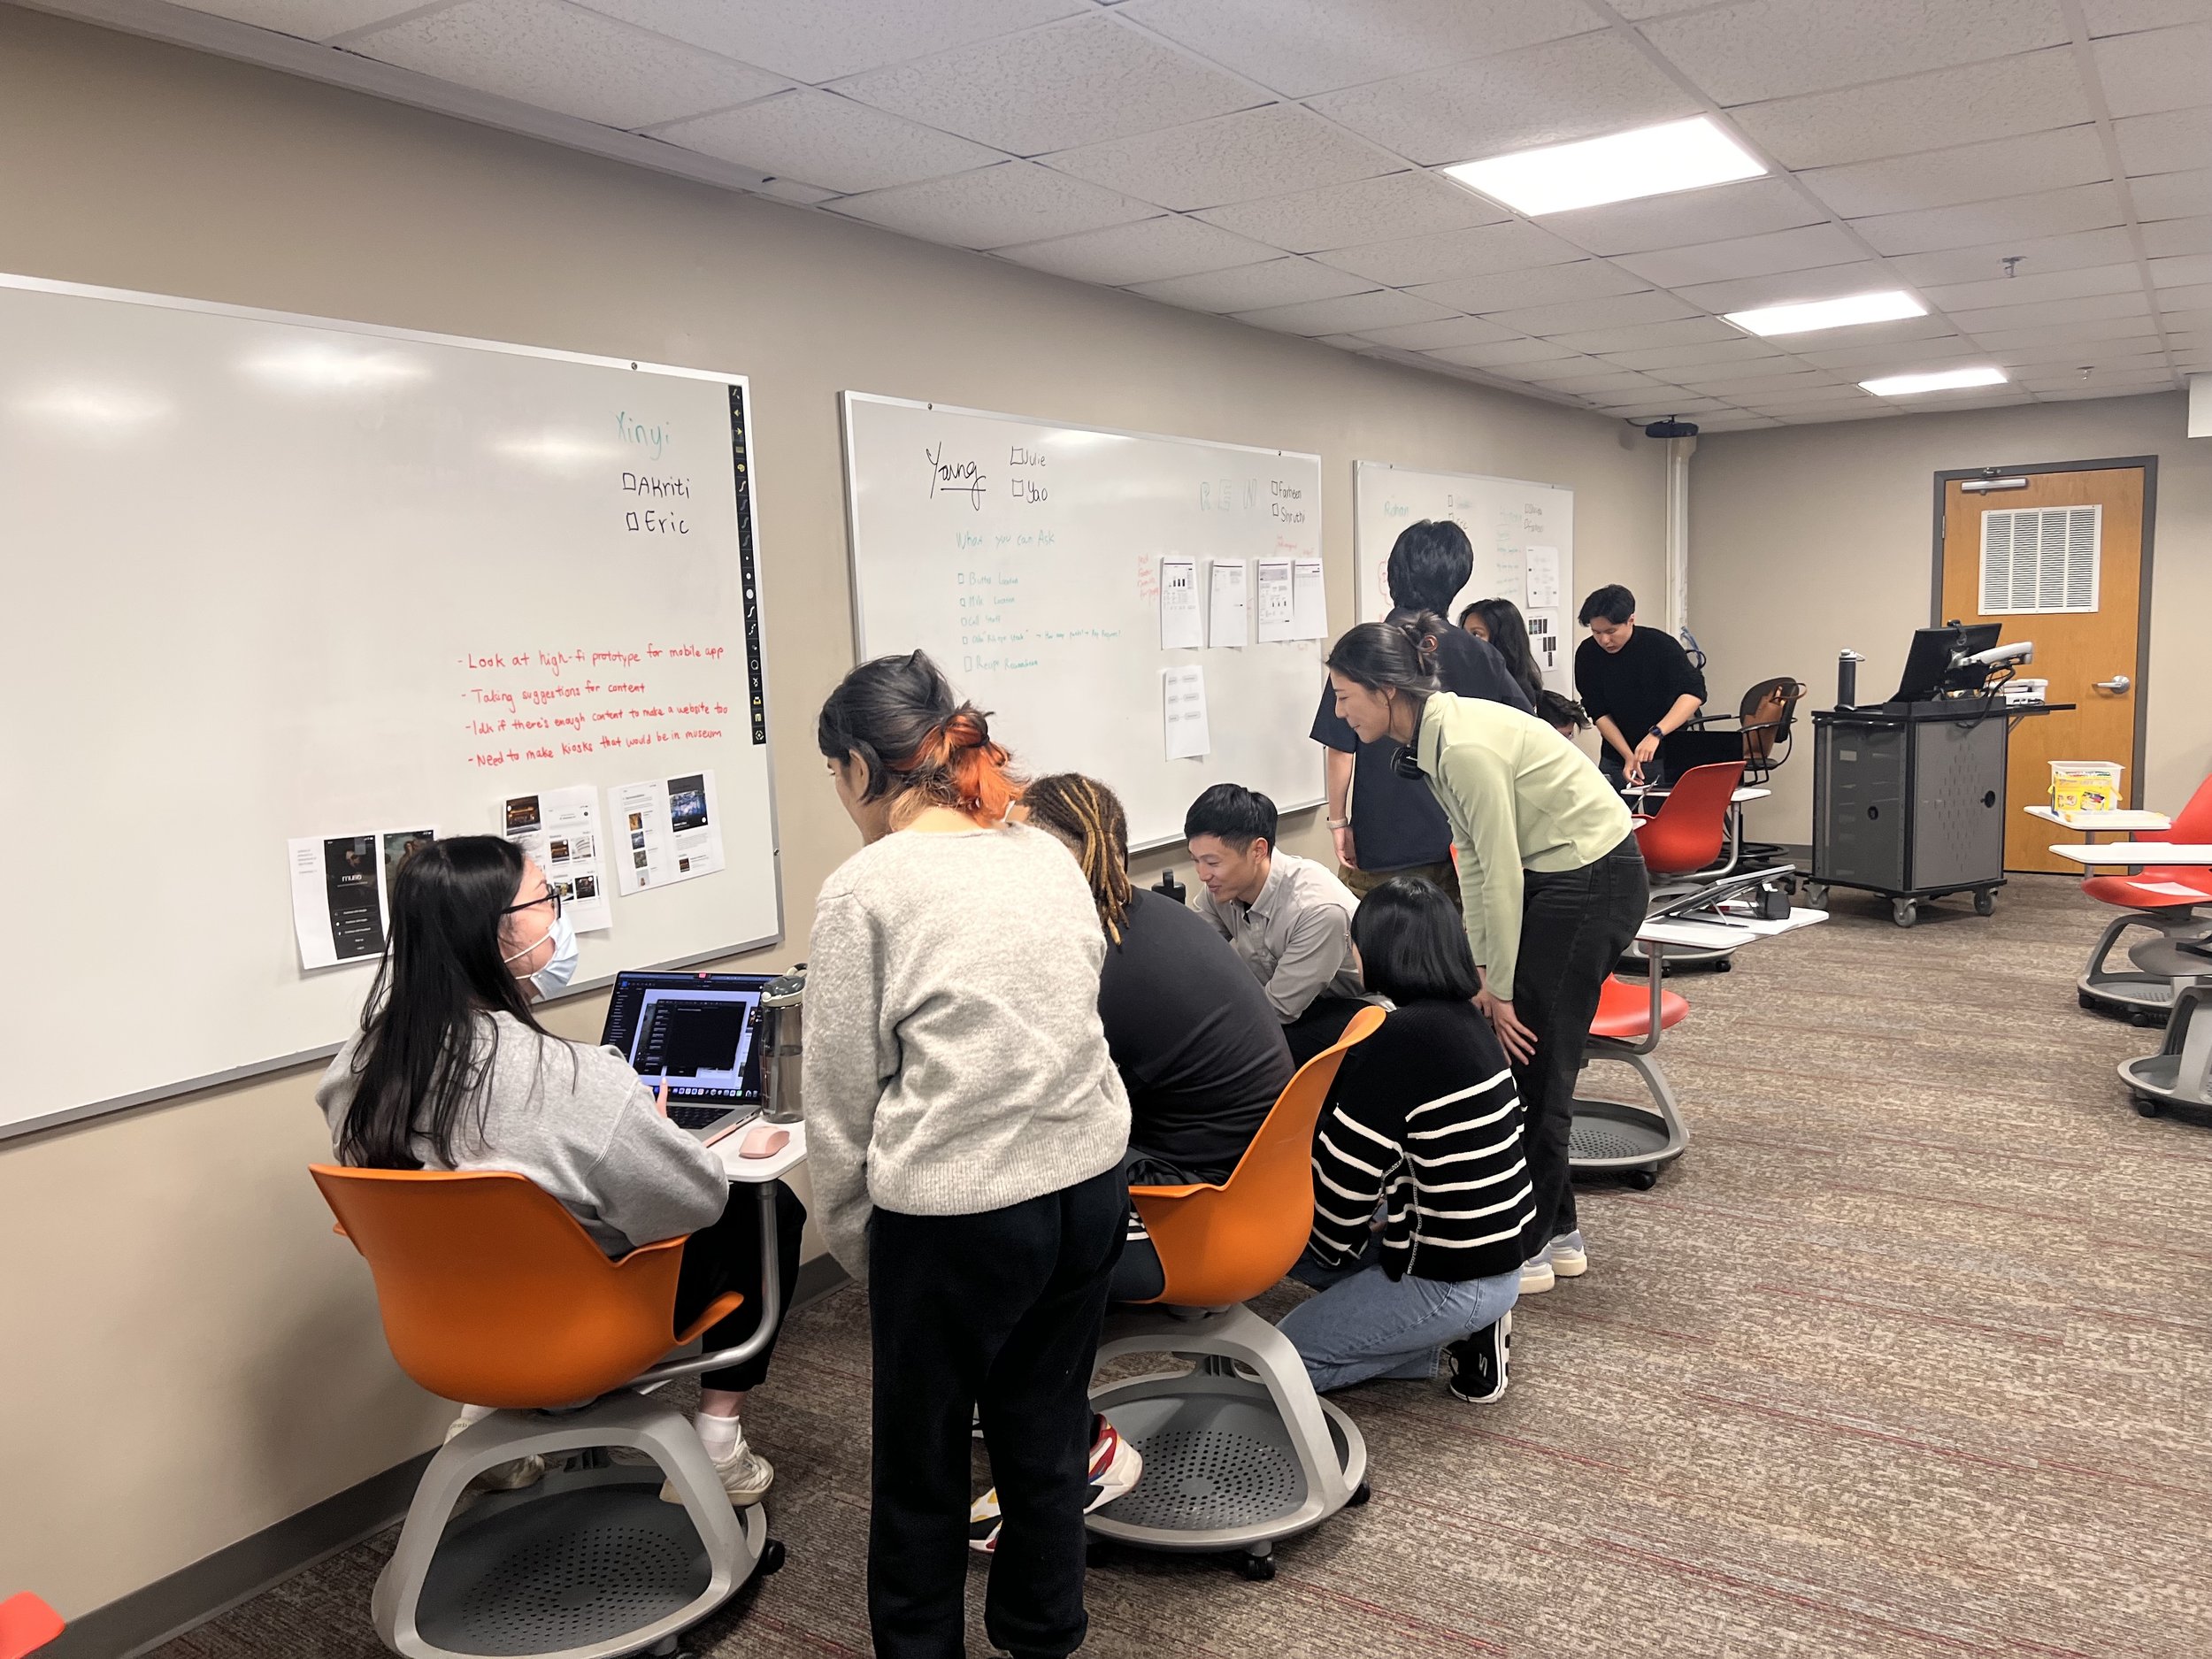
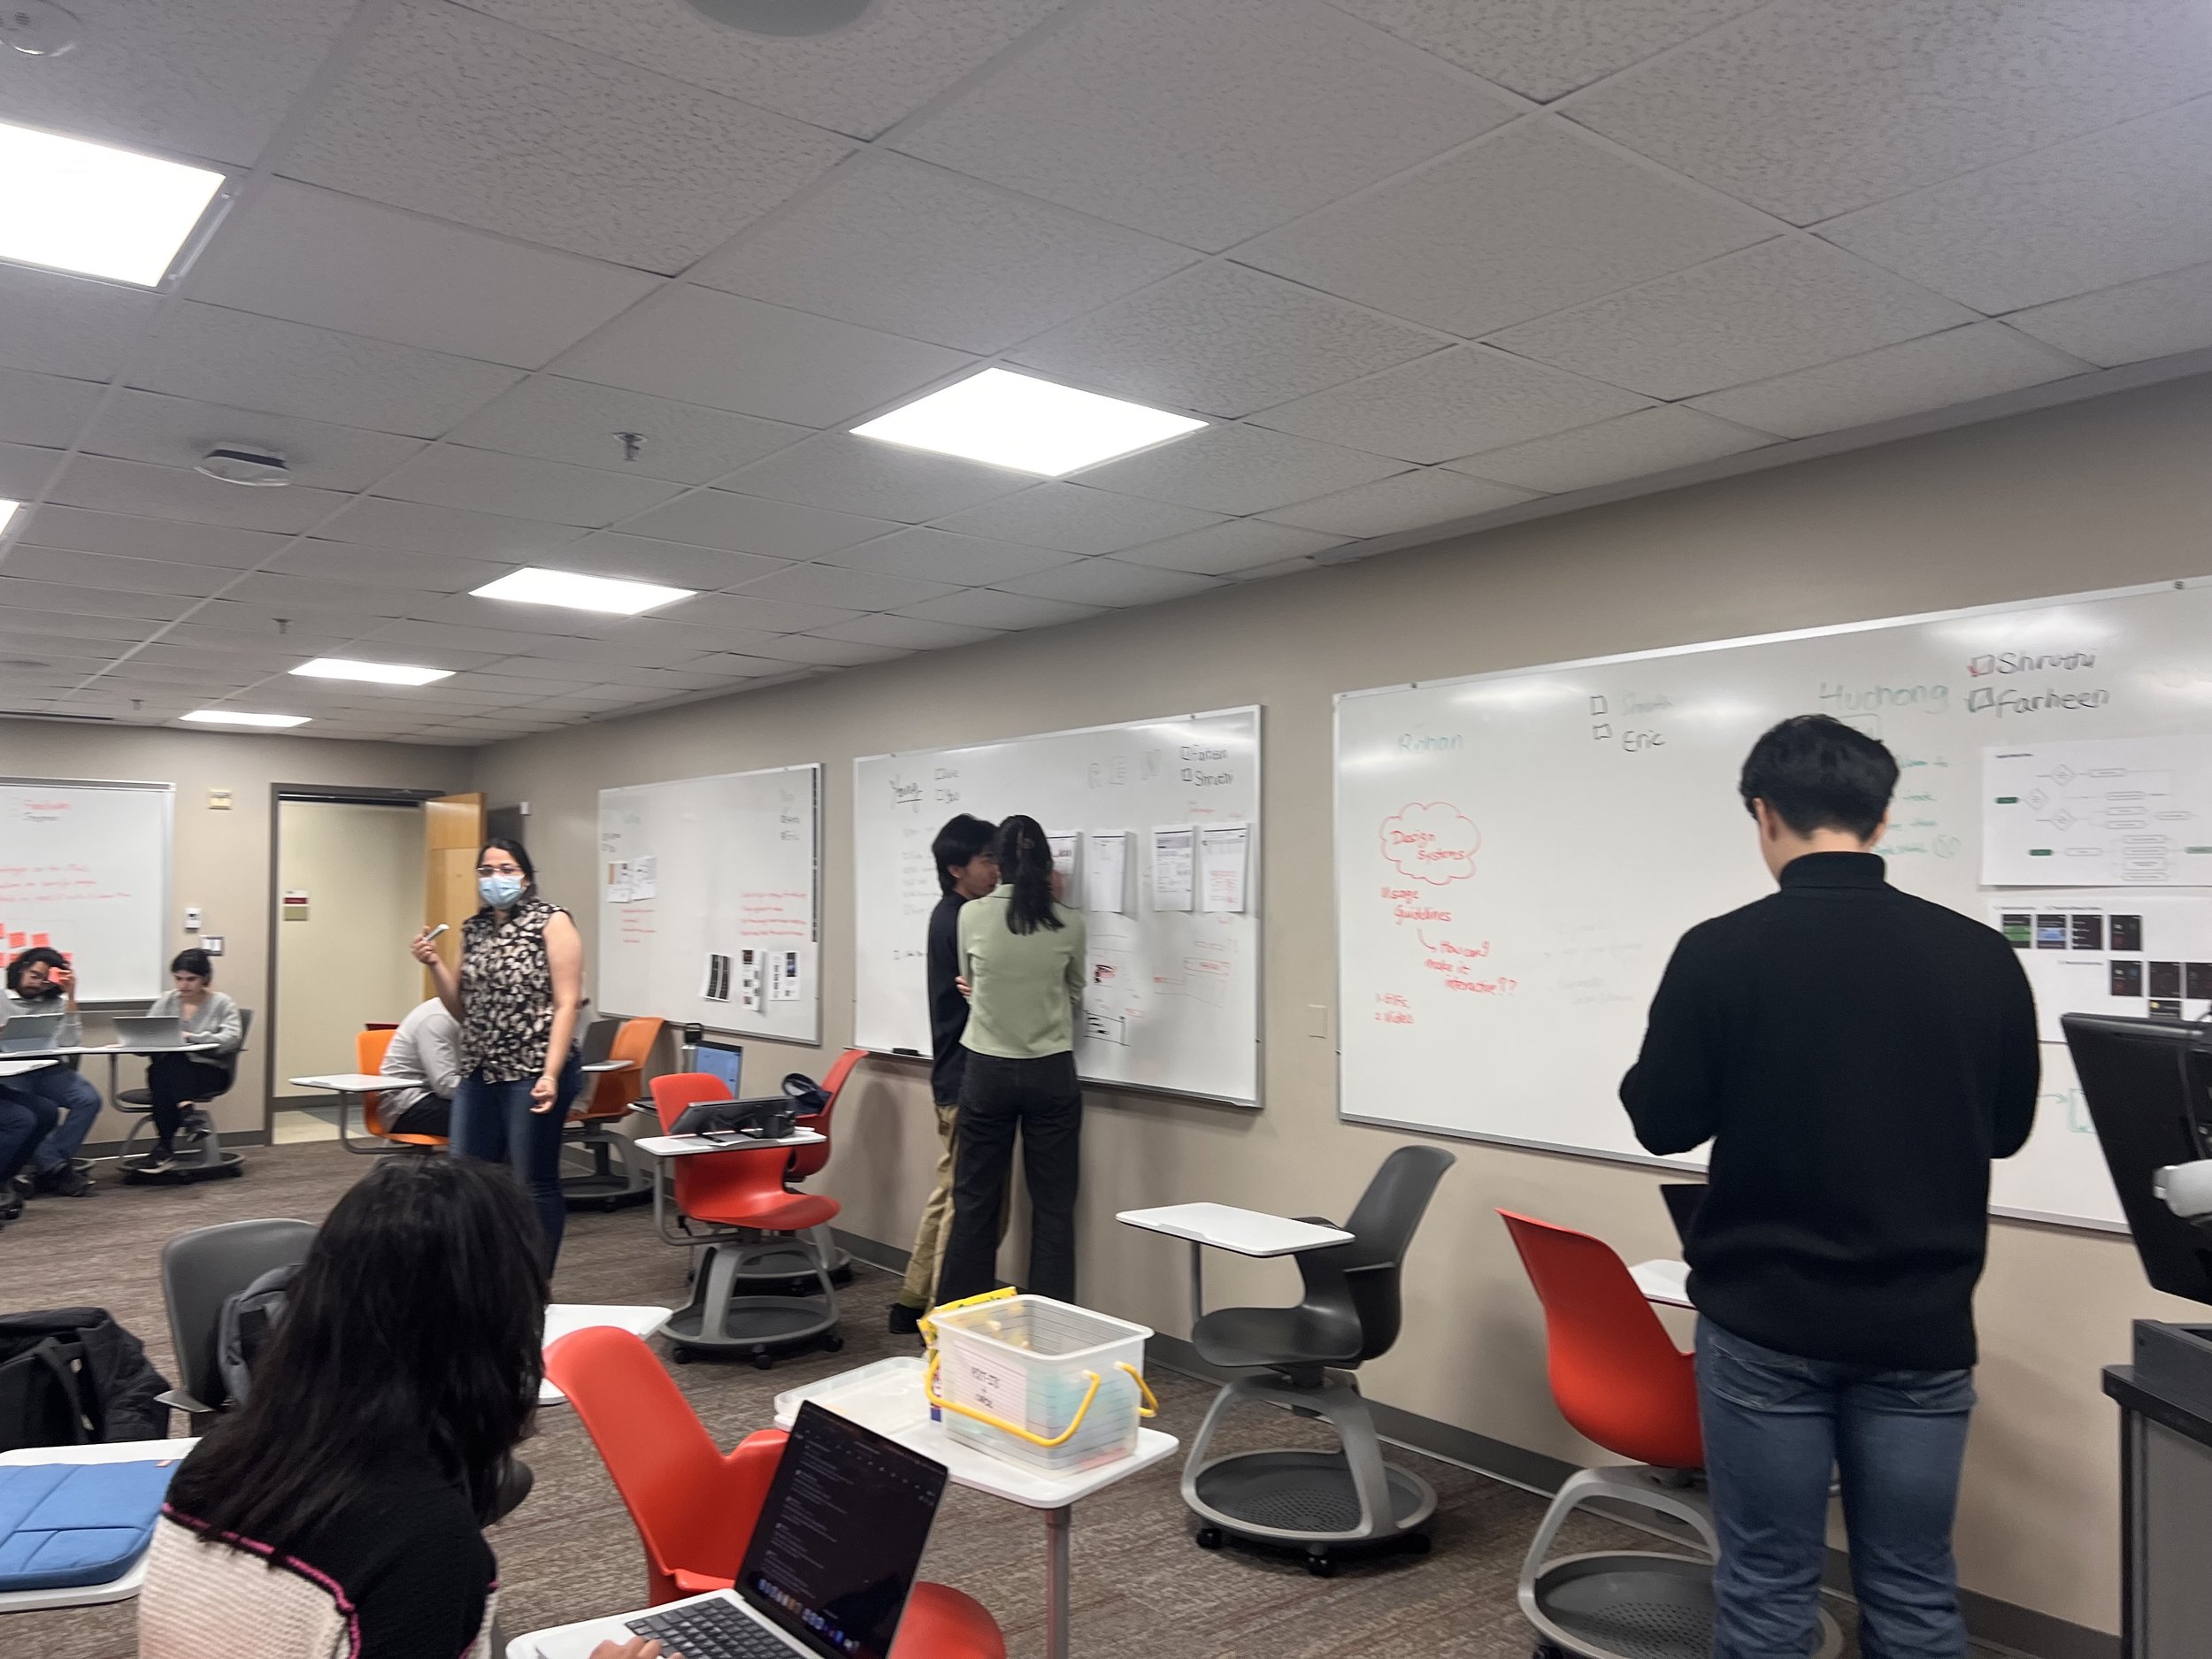
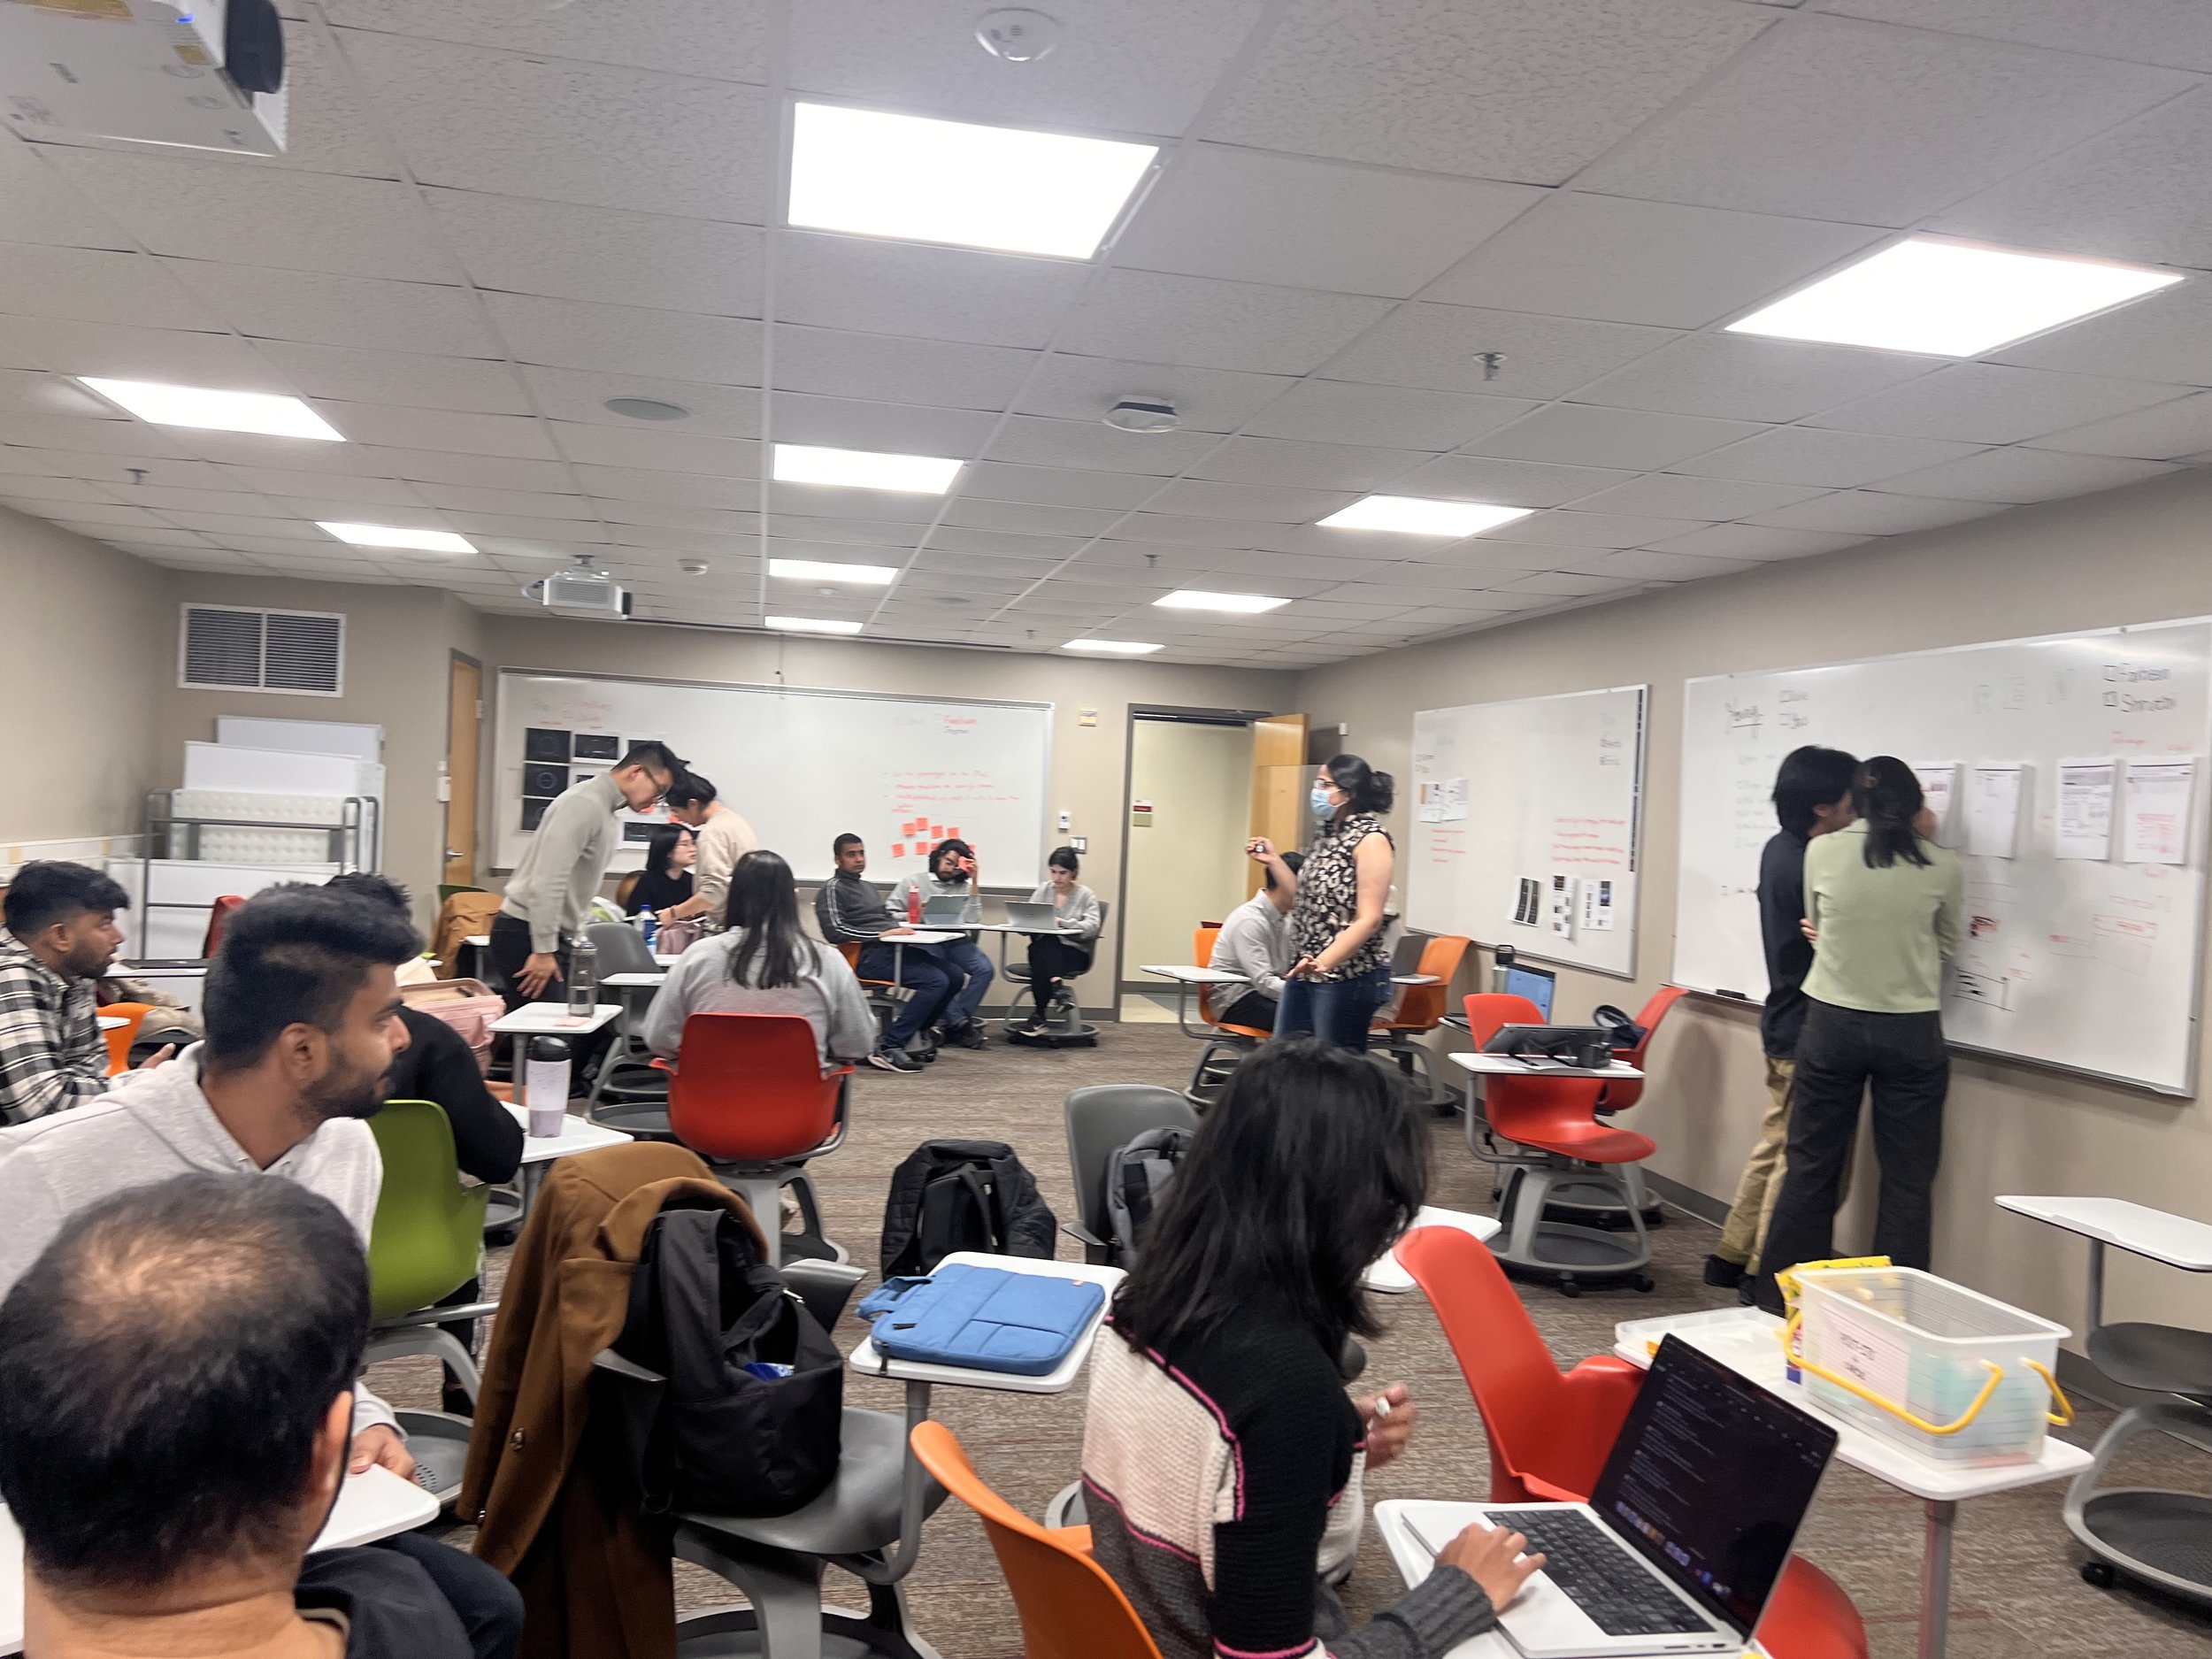
Gallery Walks
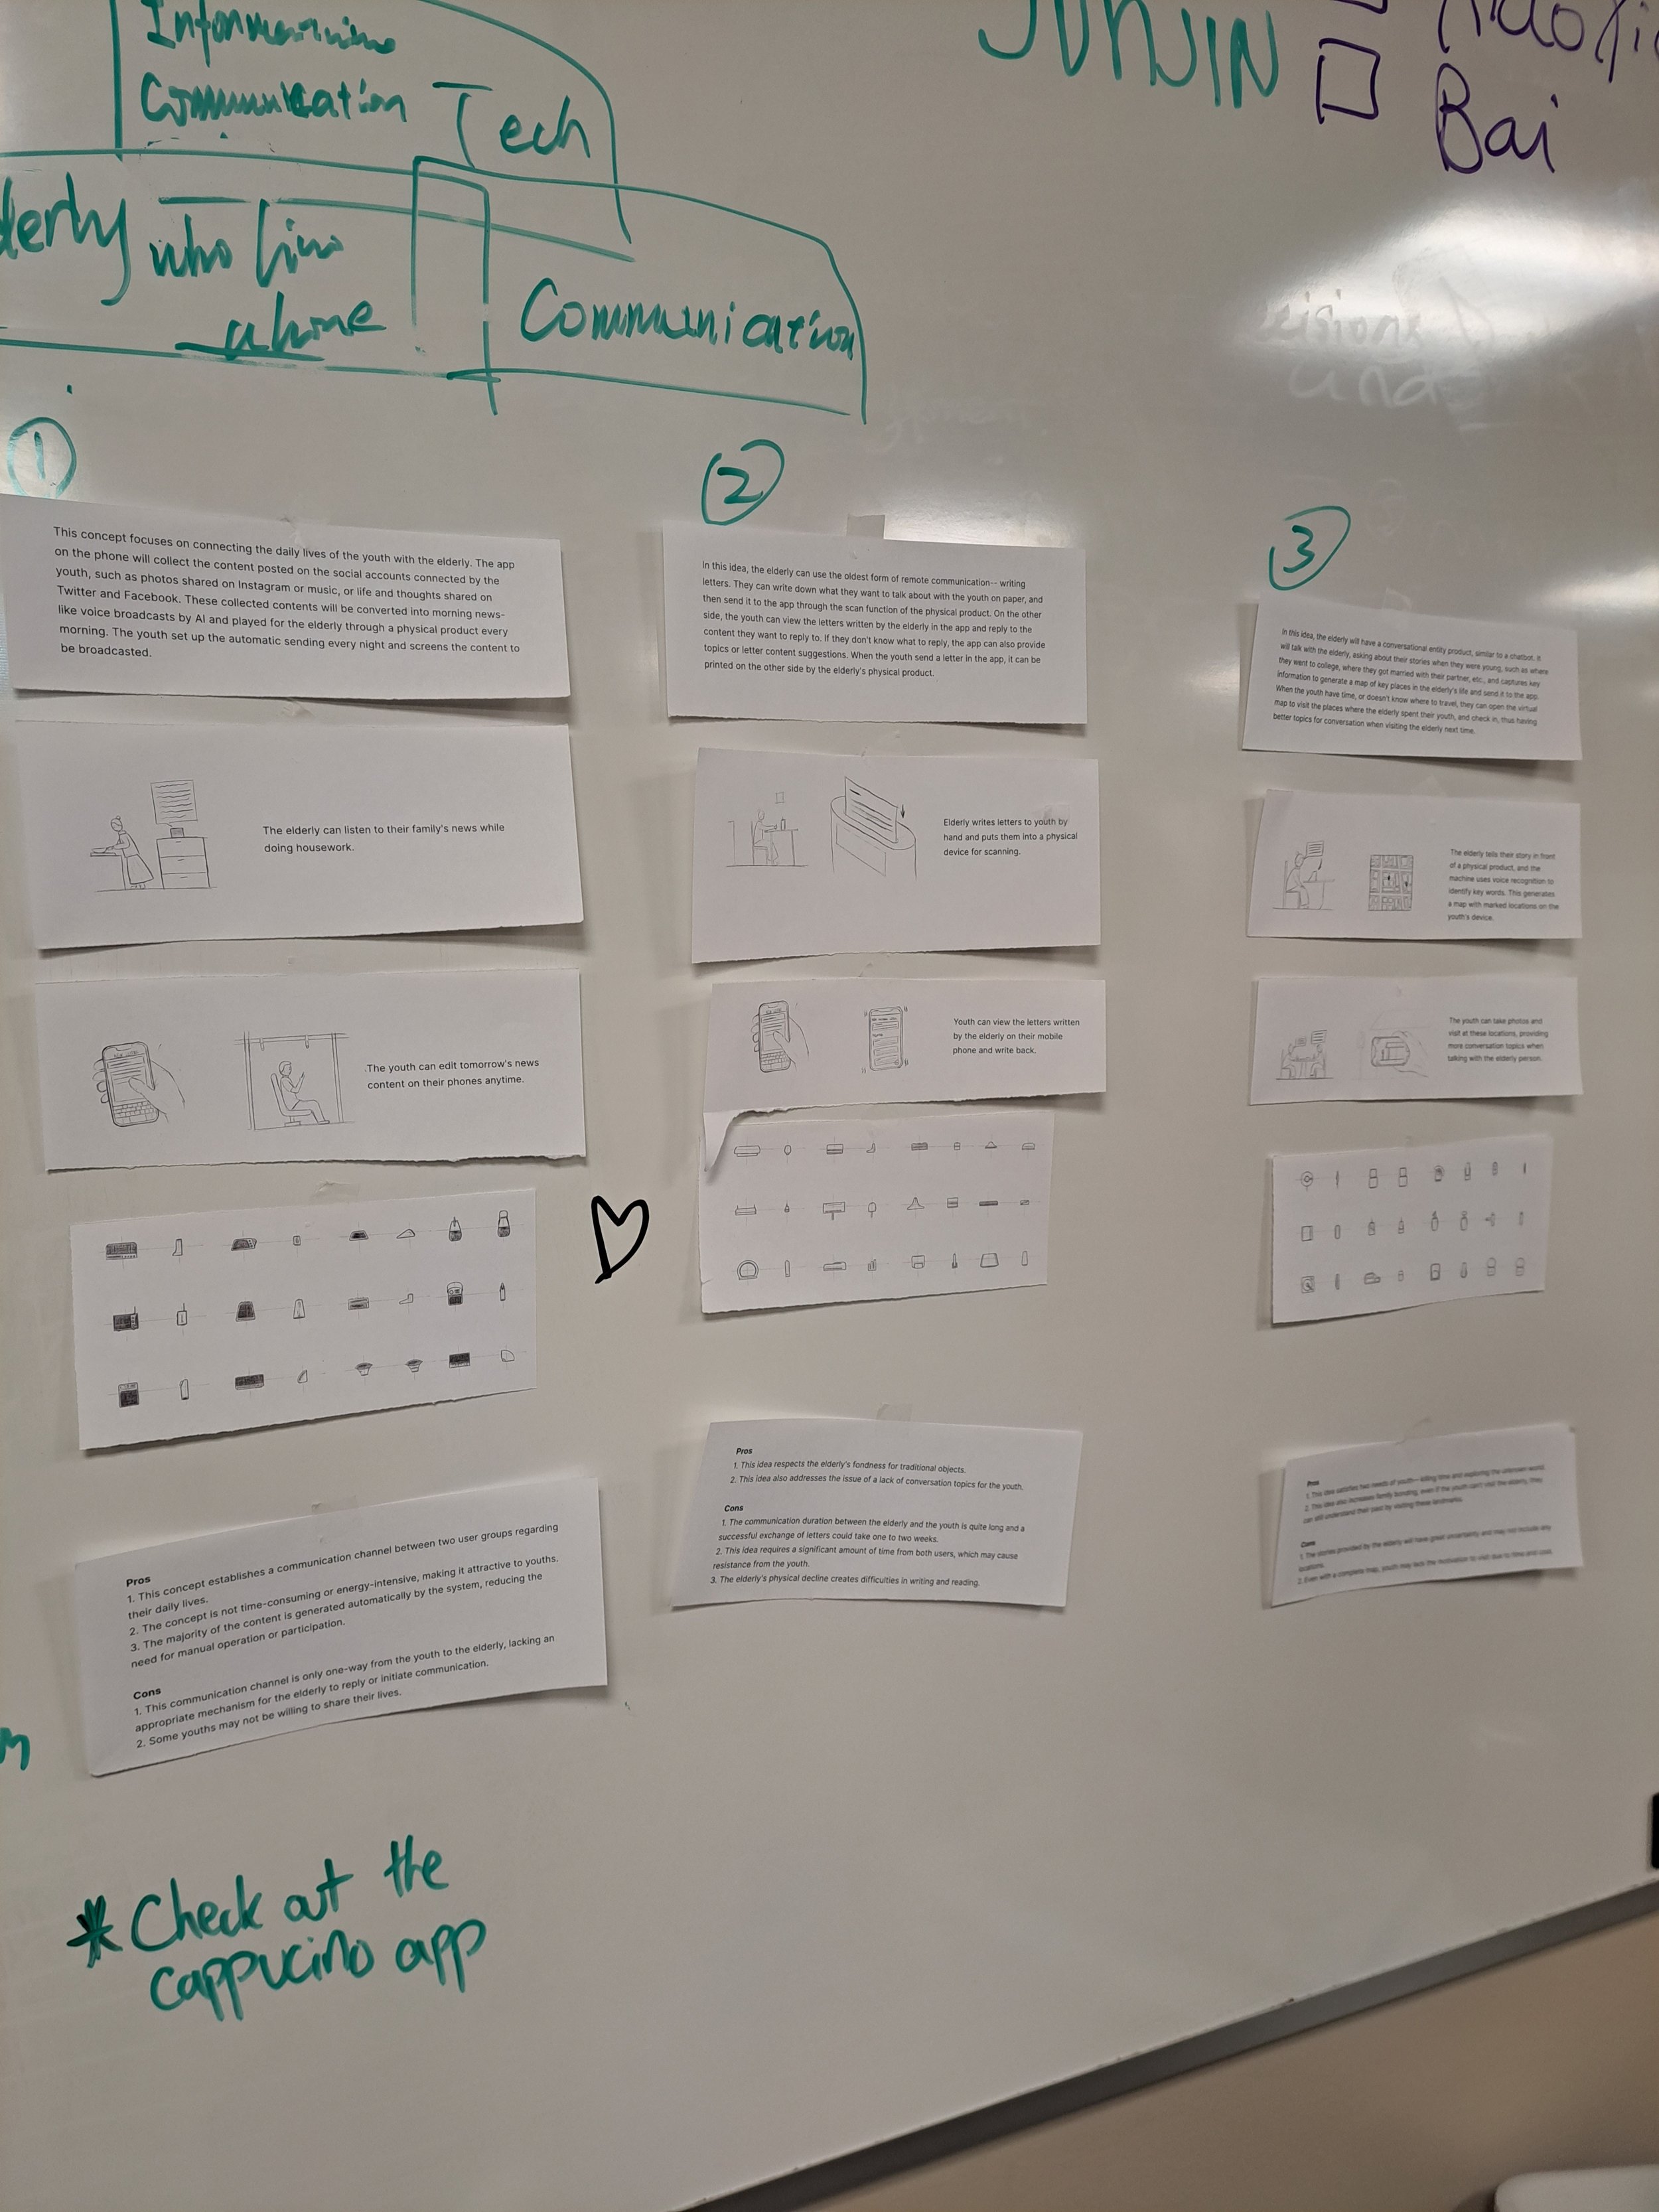
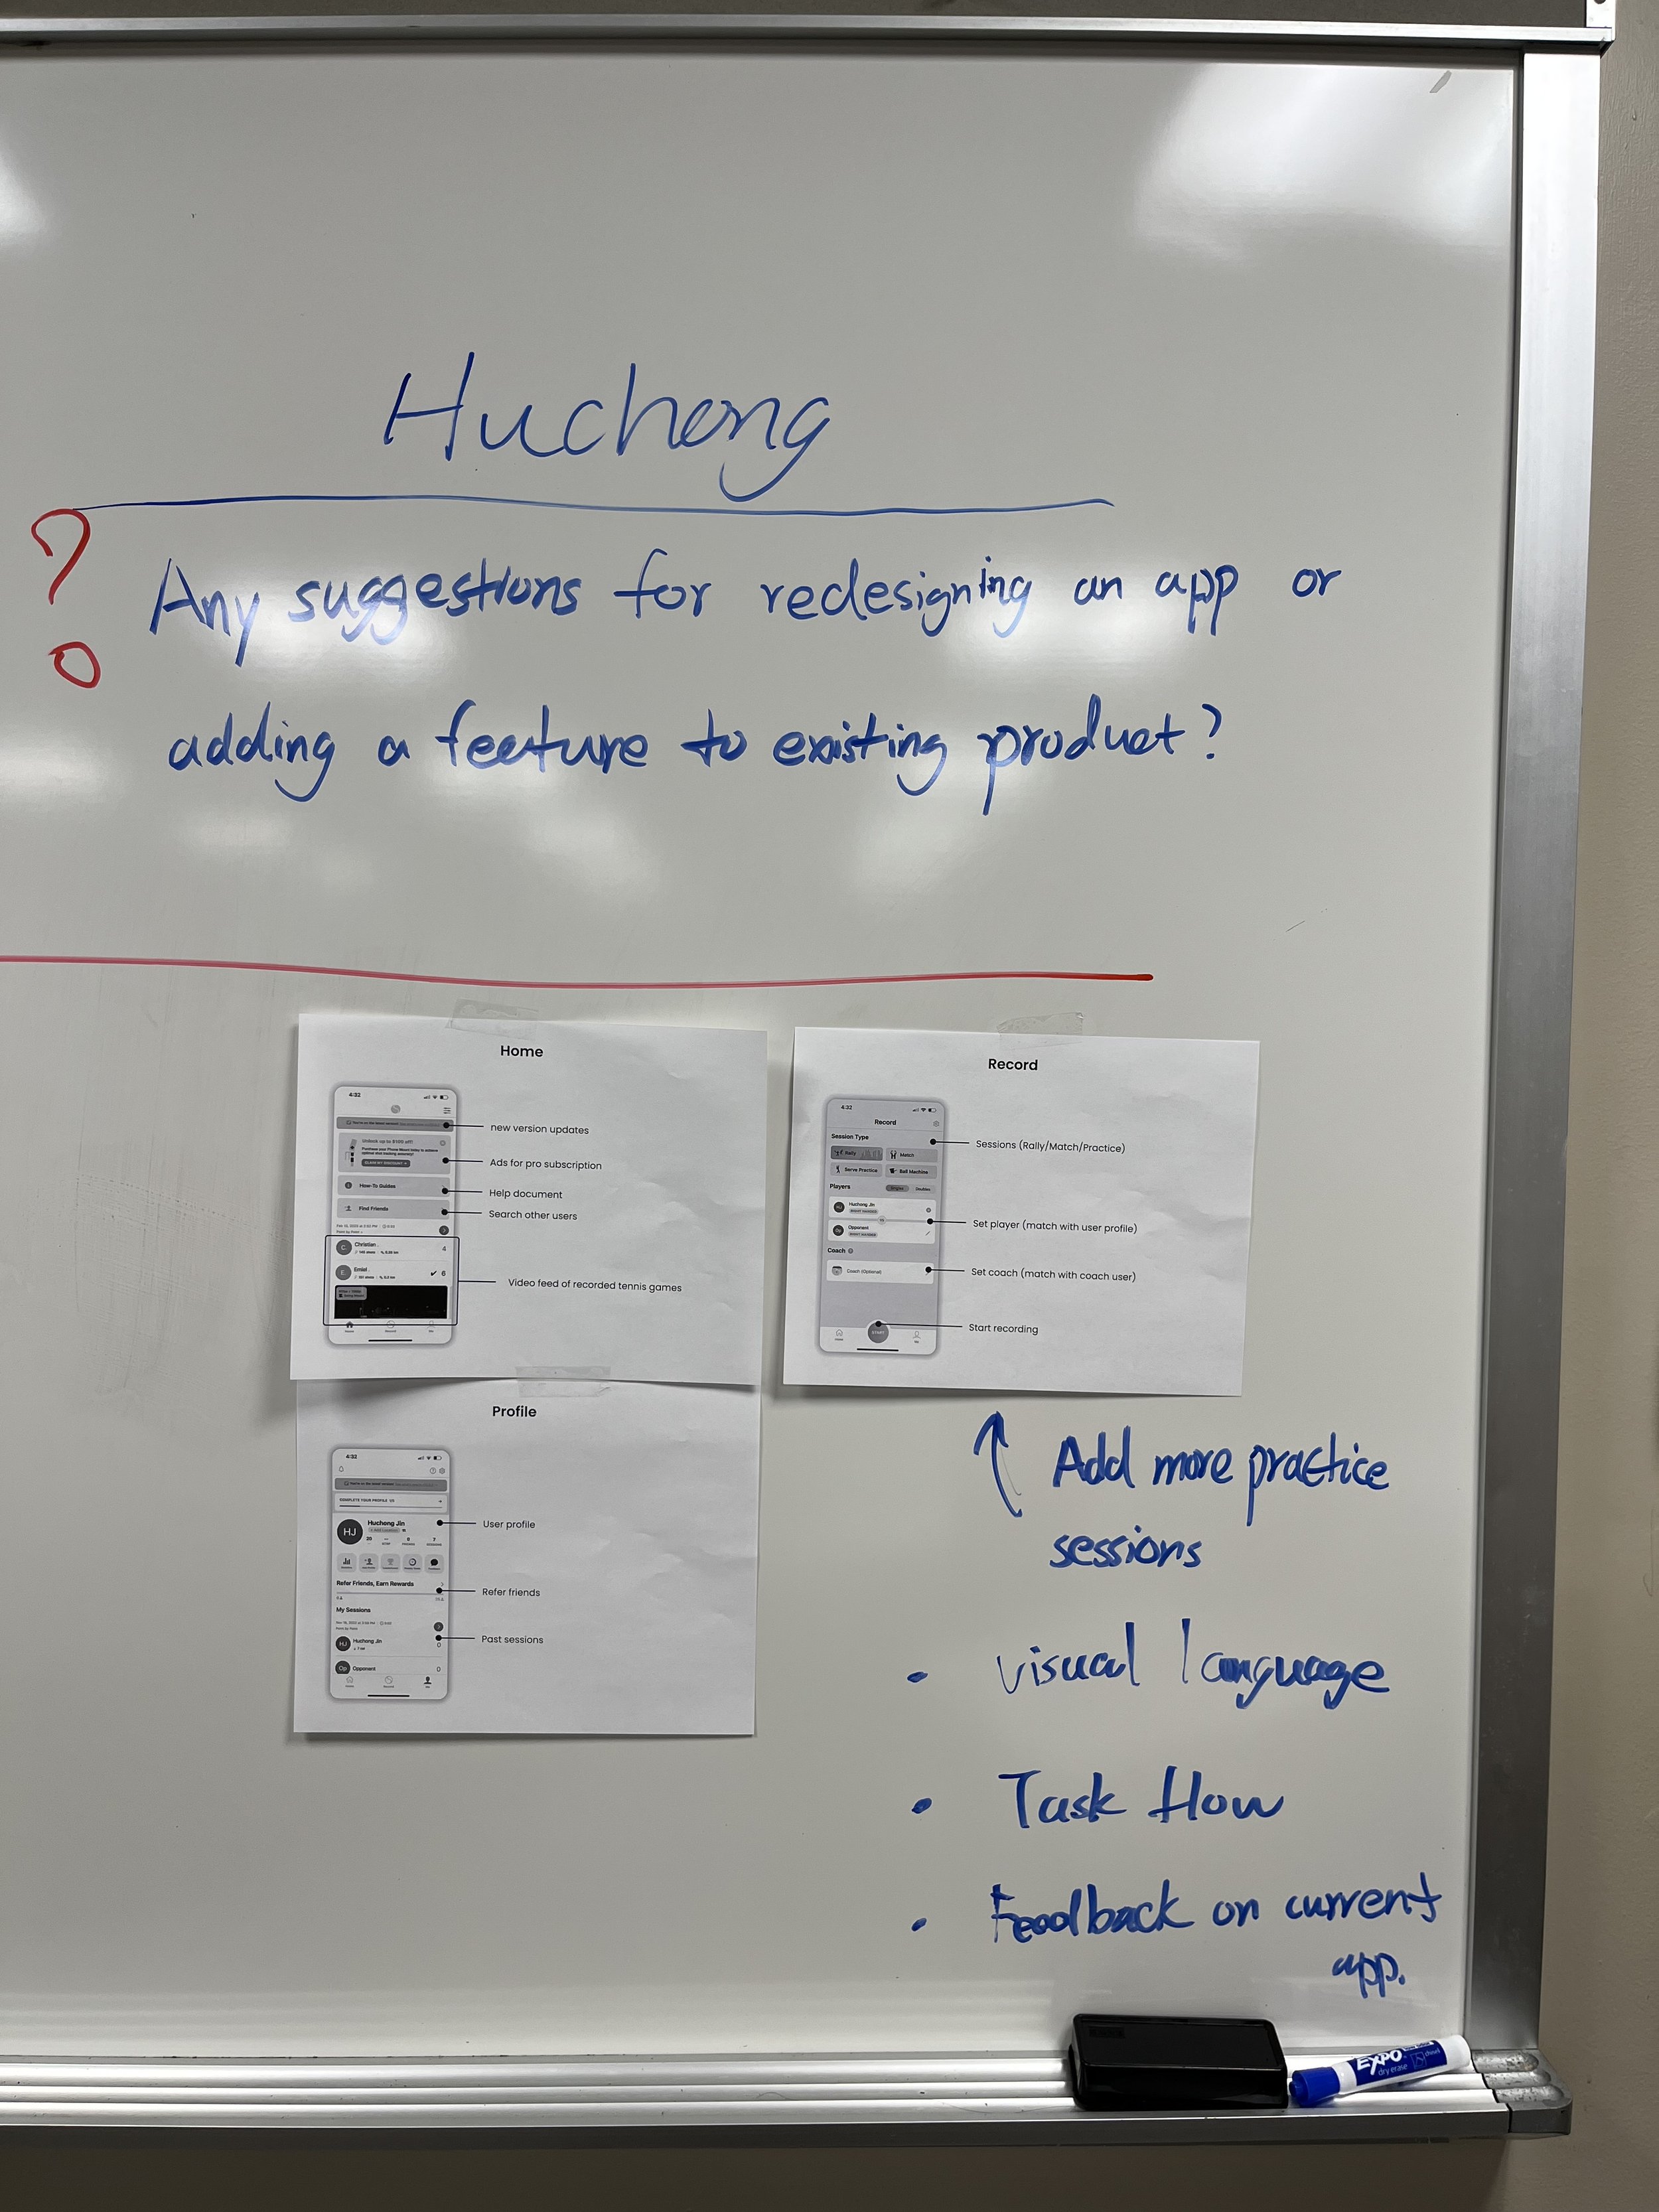
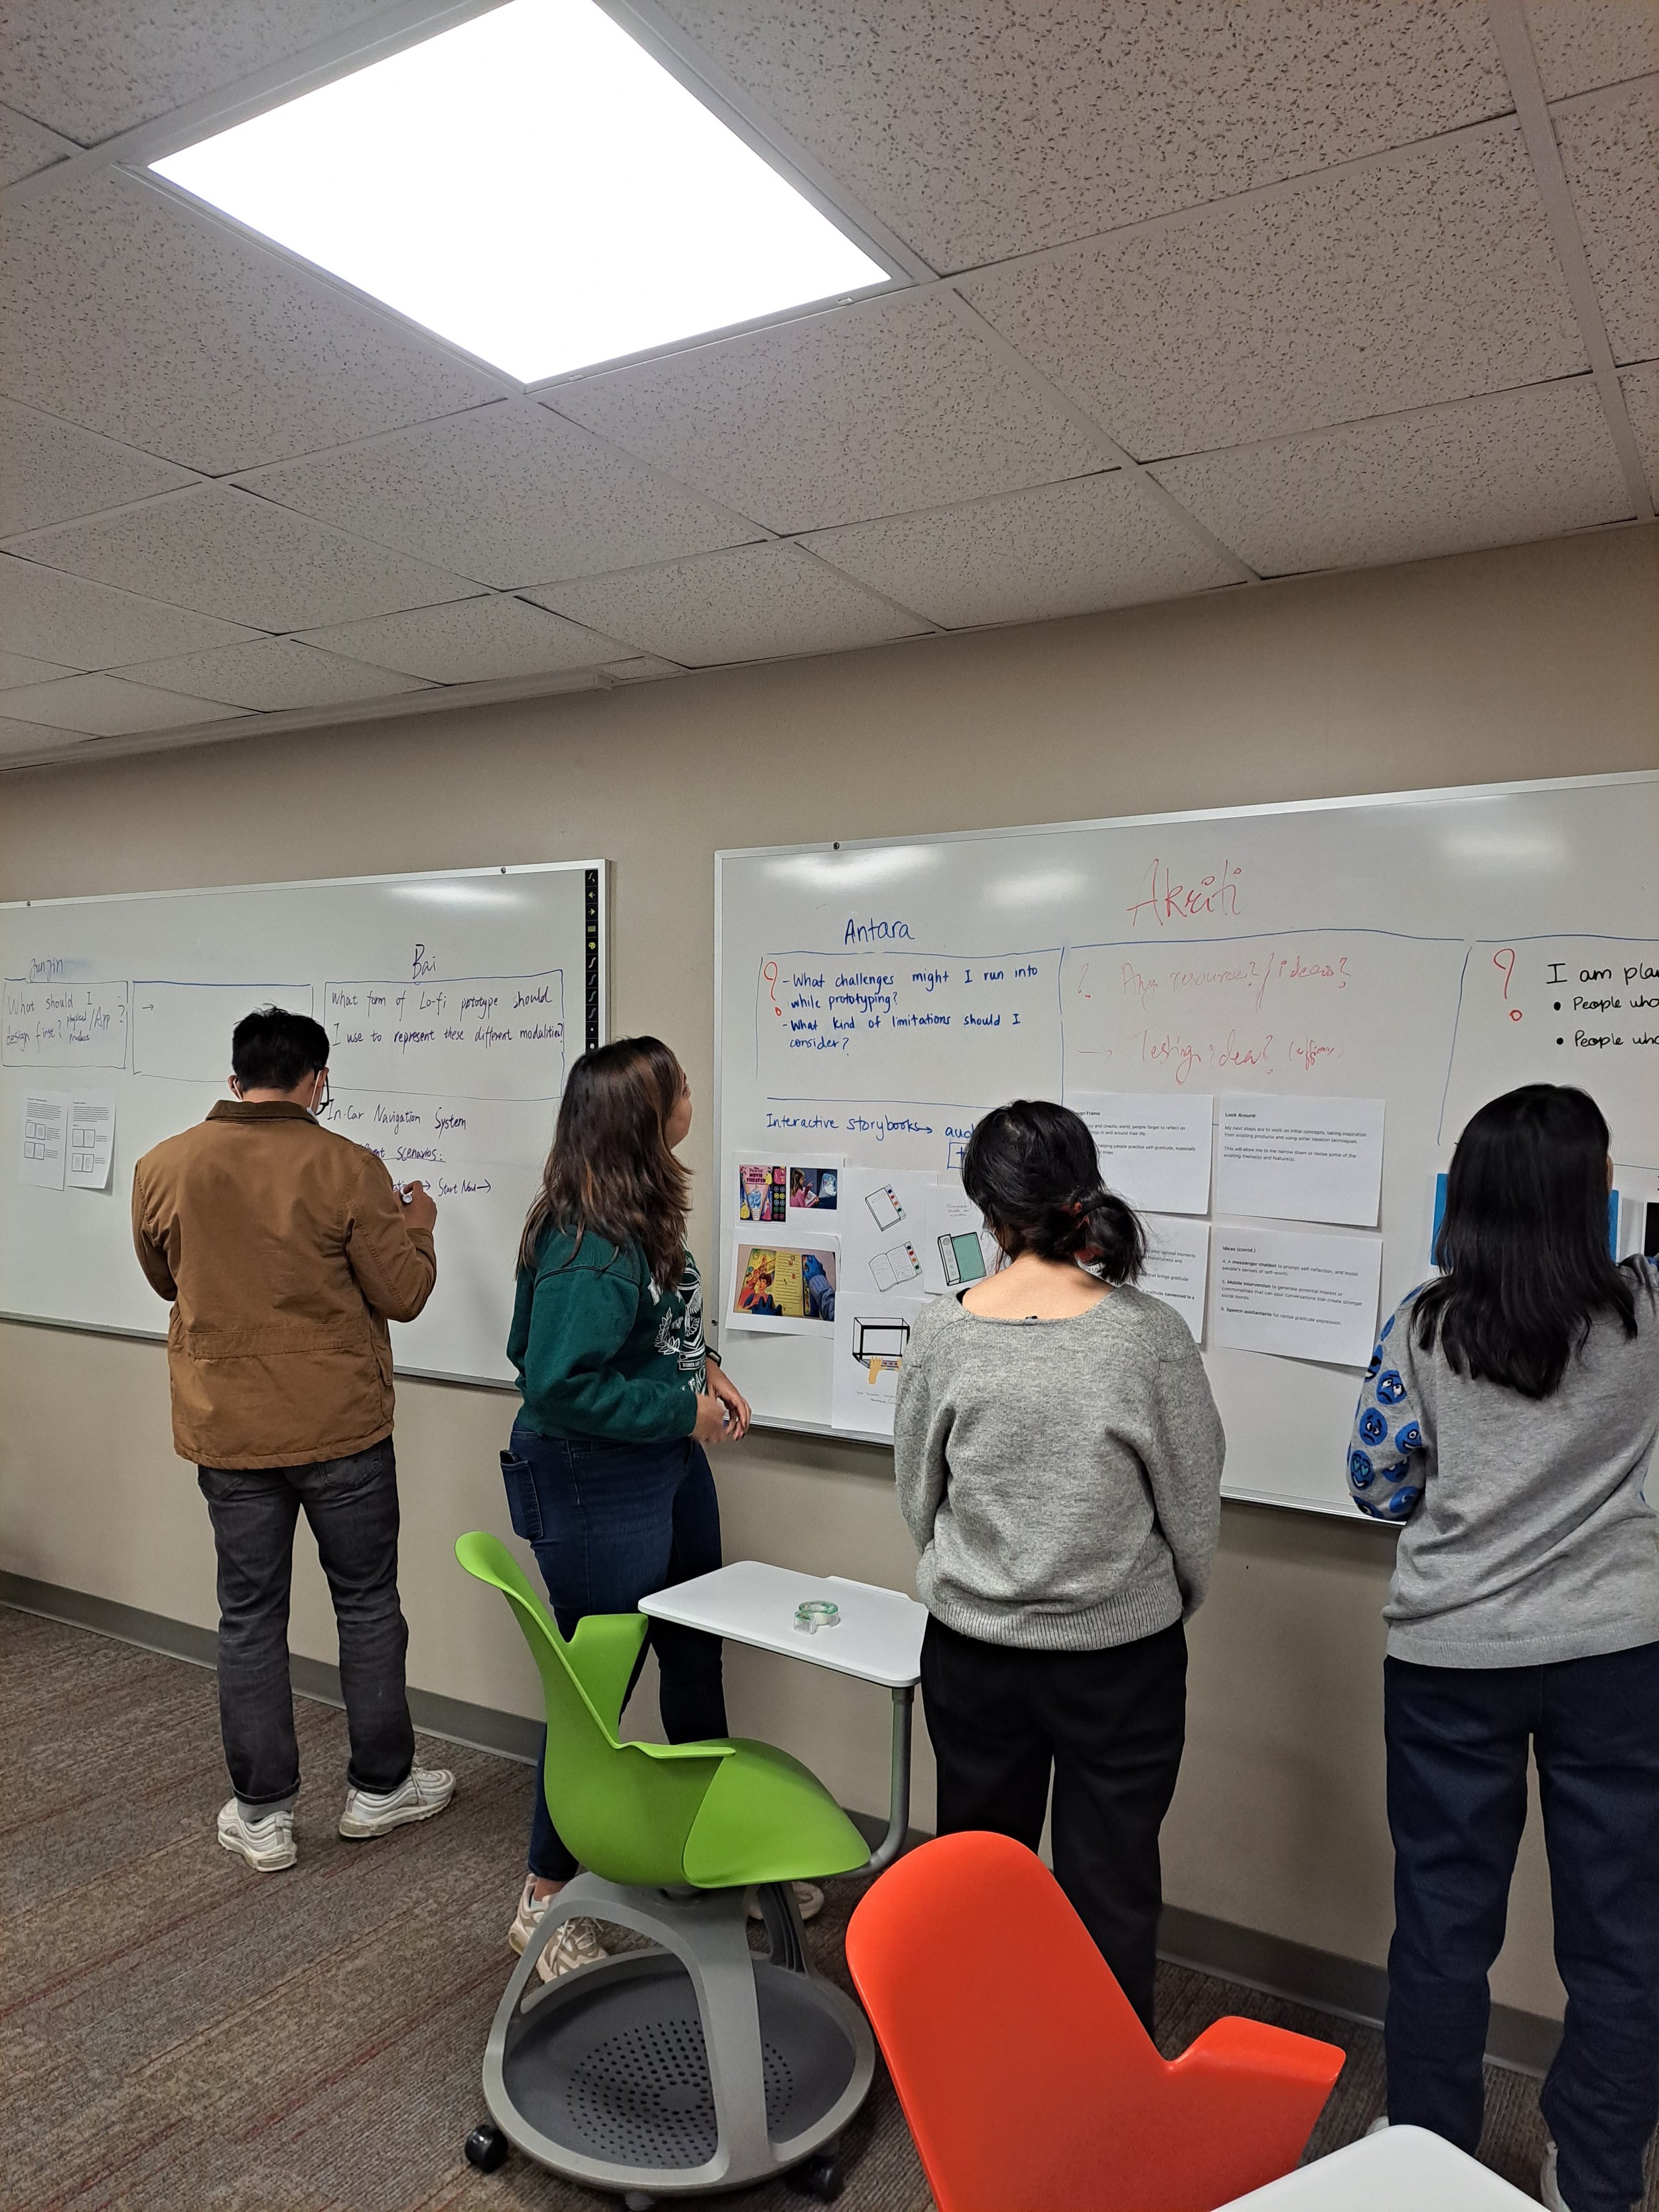
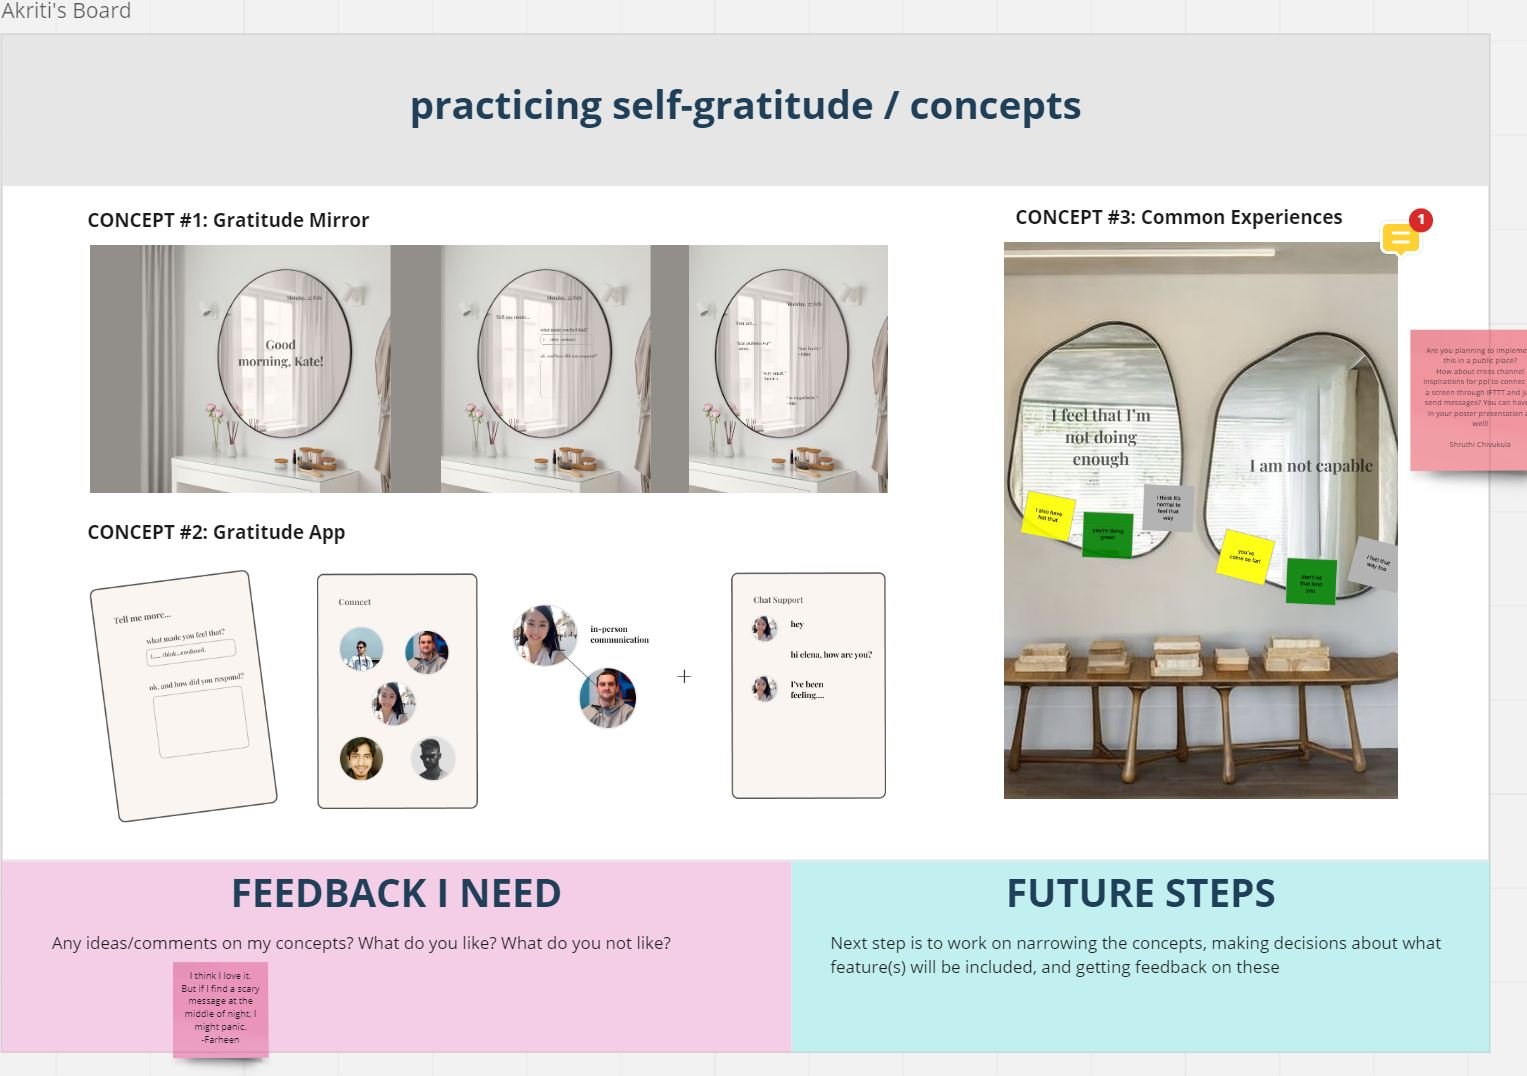
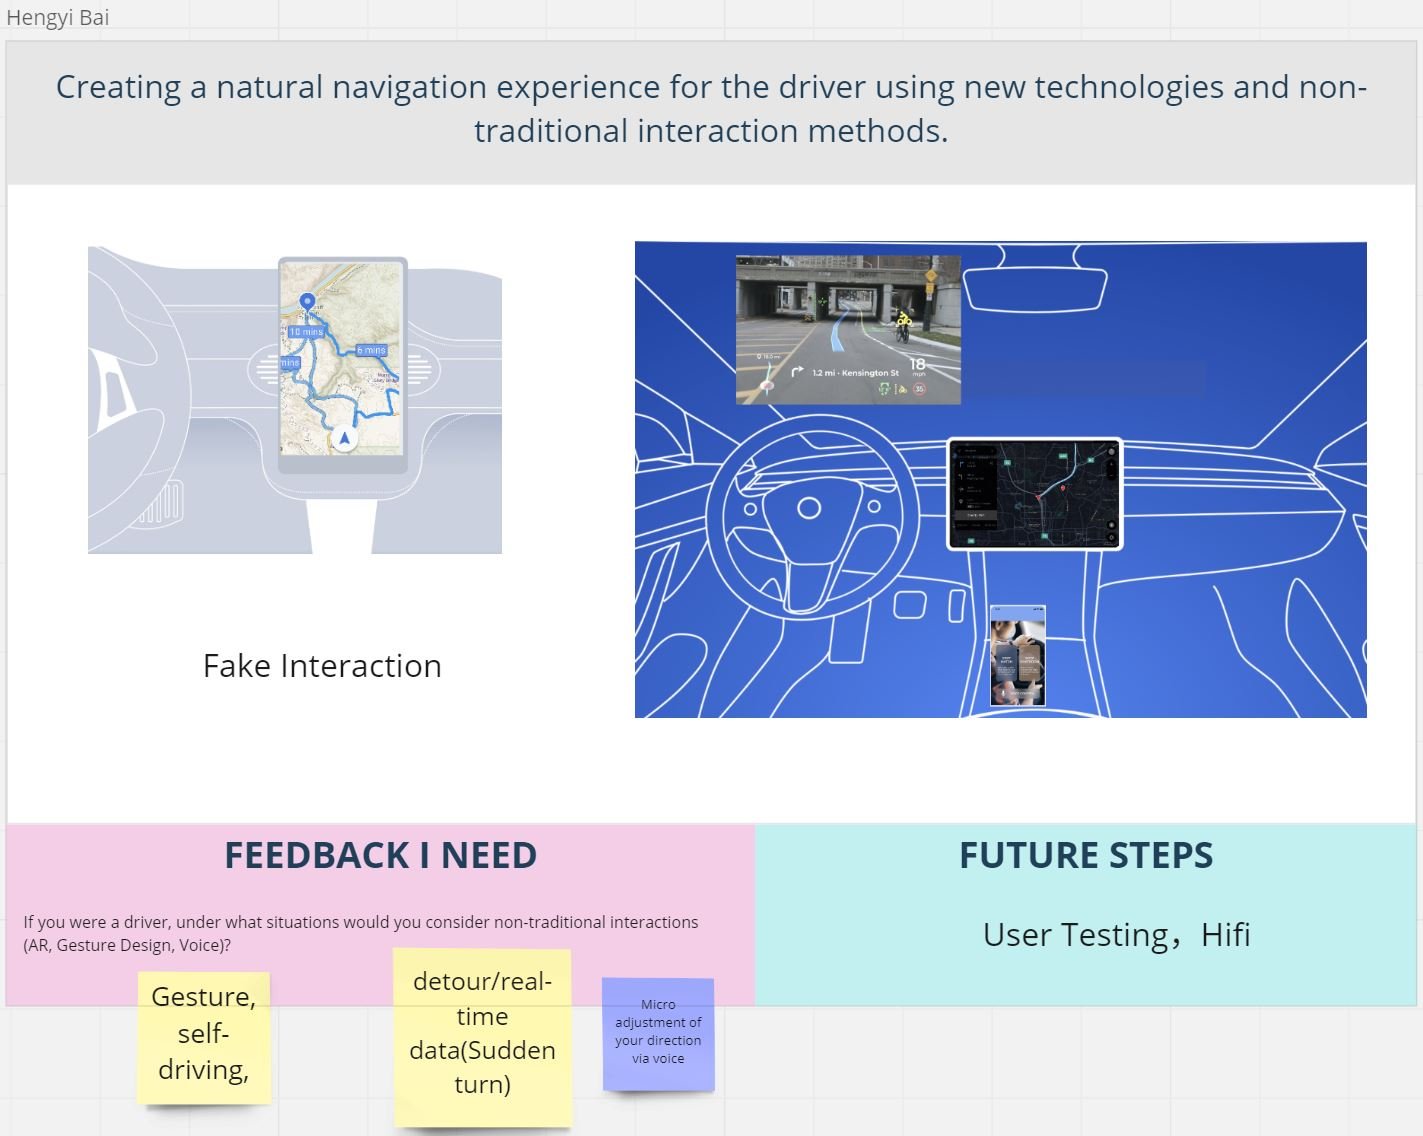
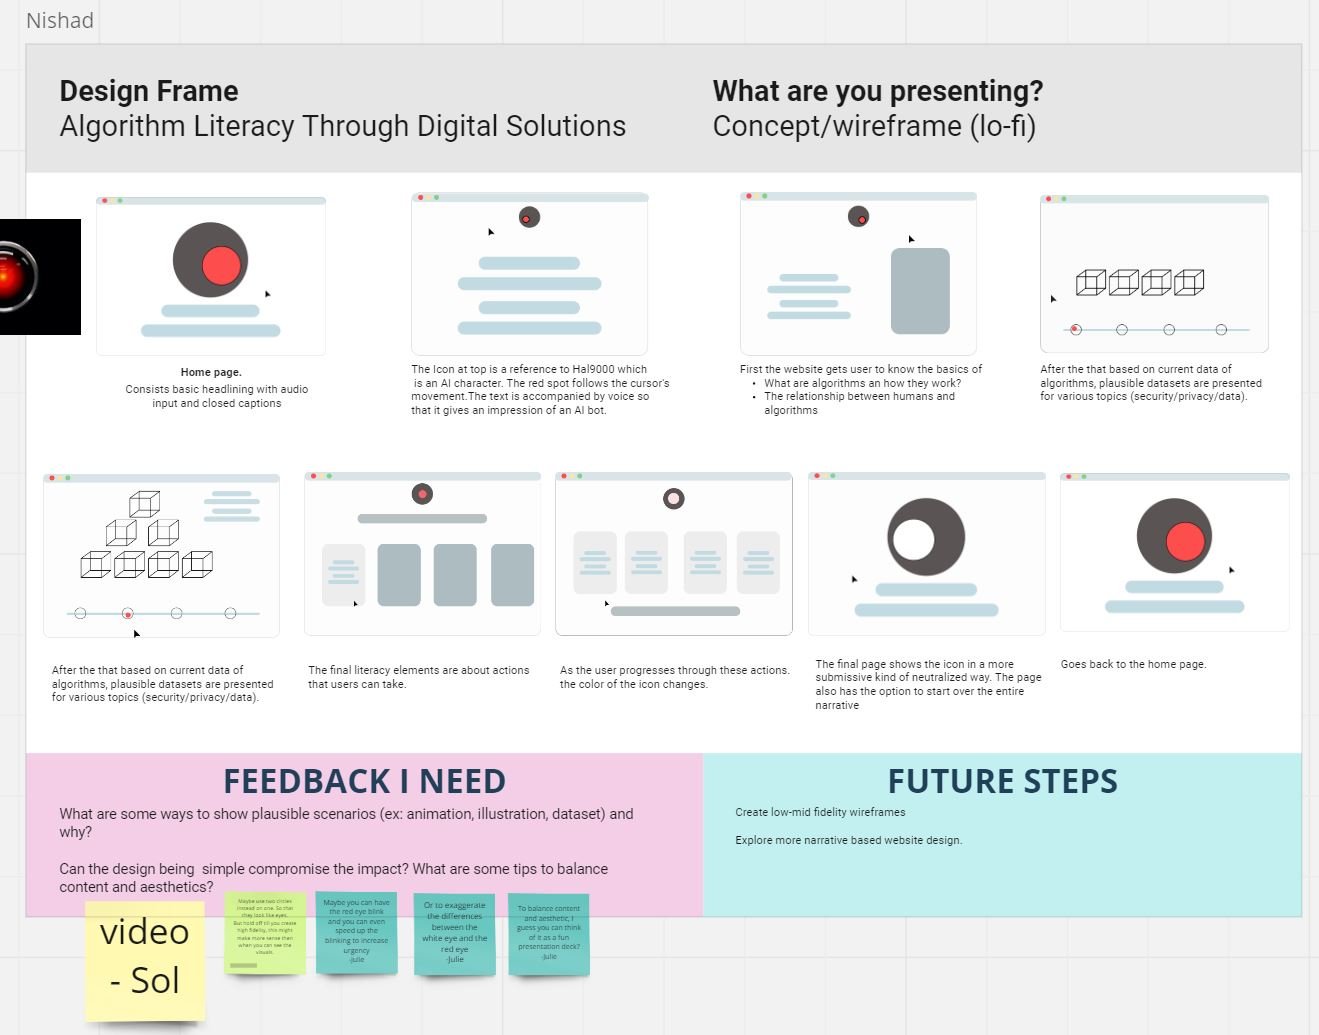
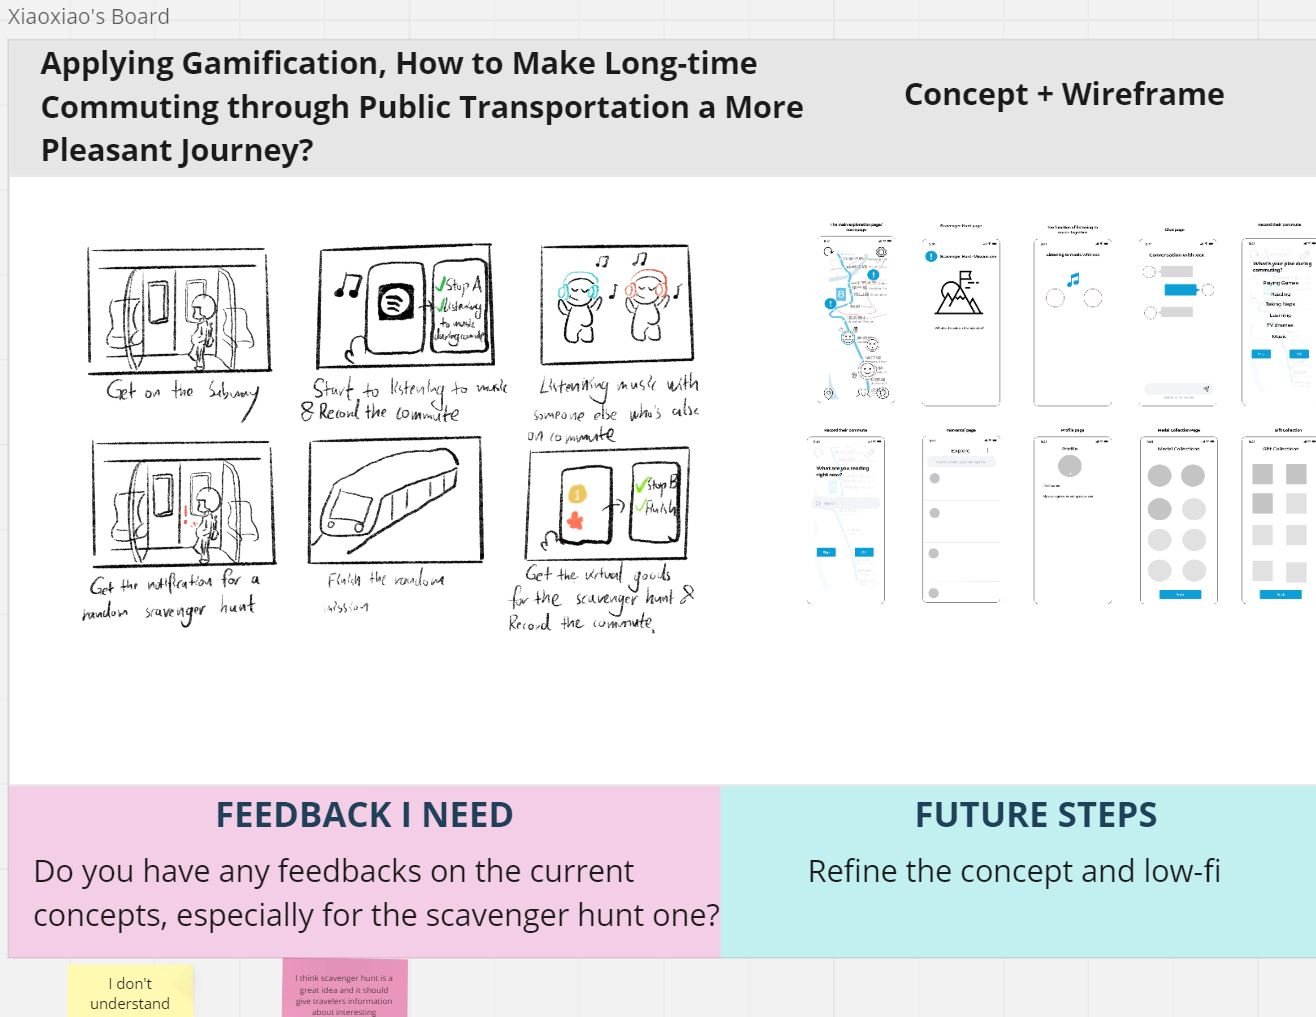
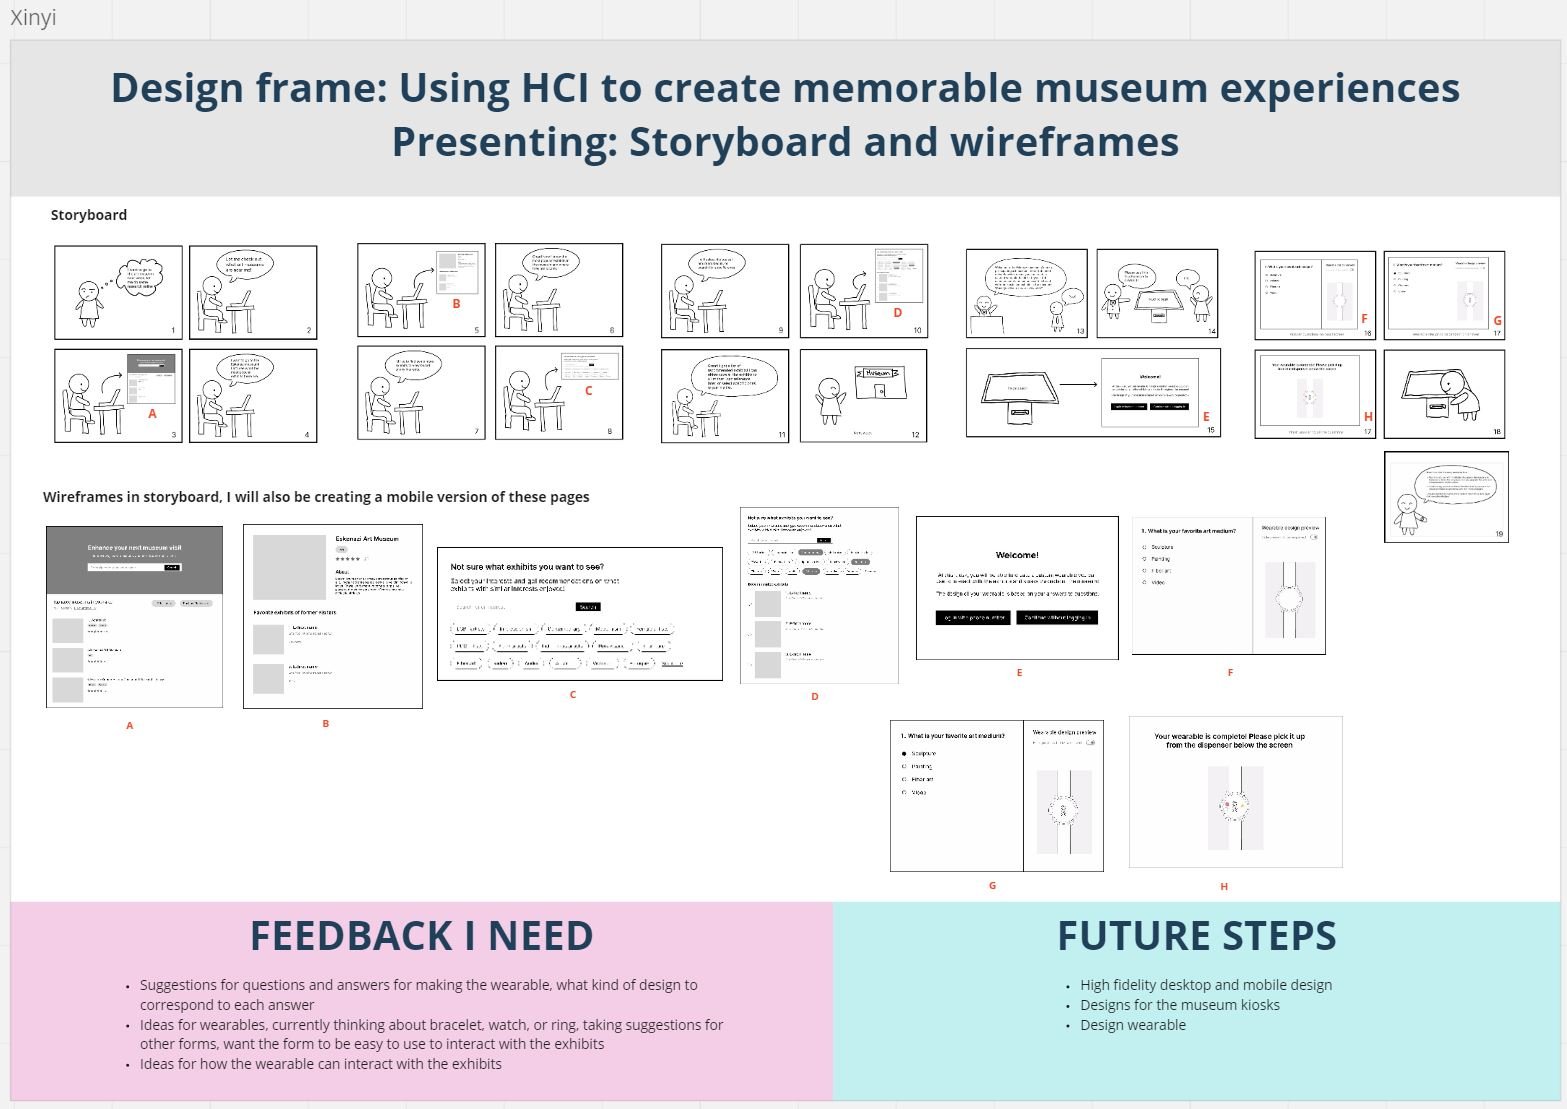
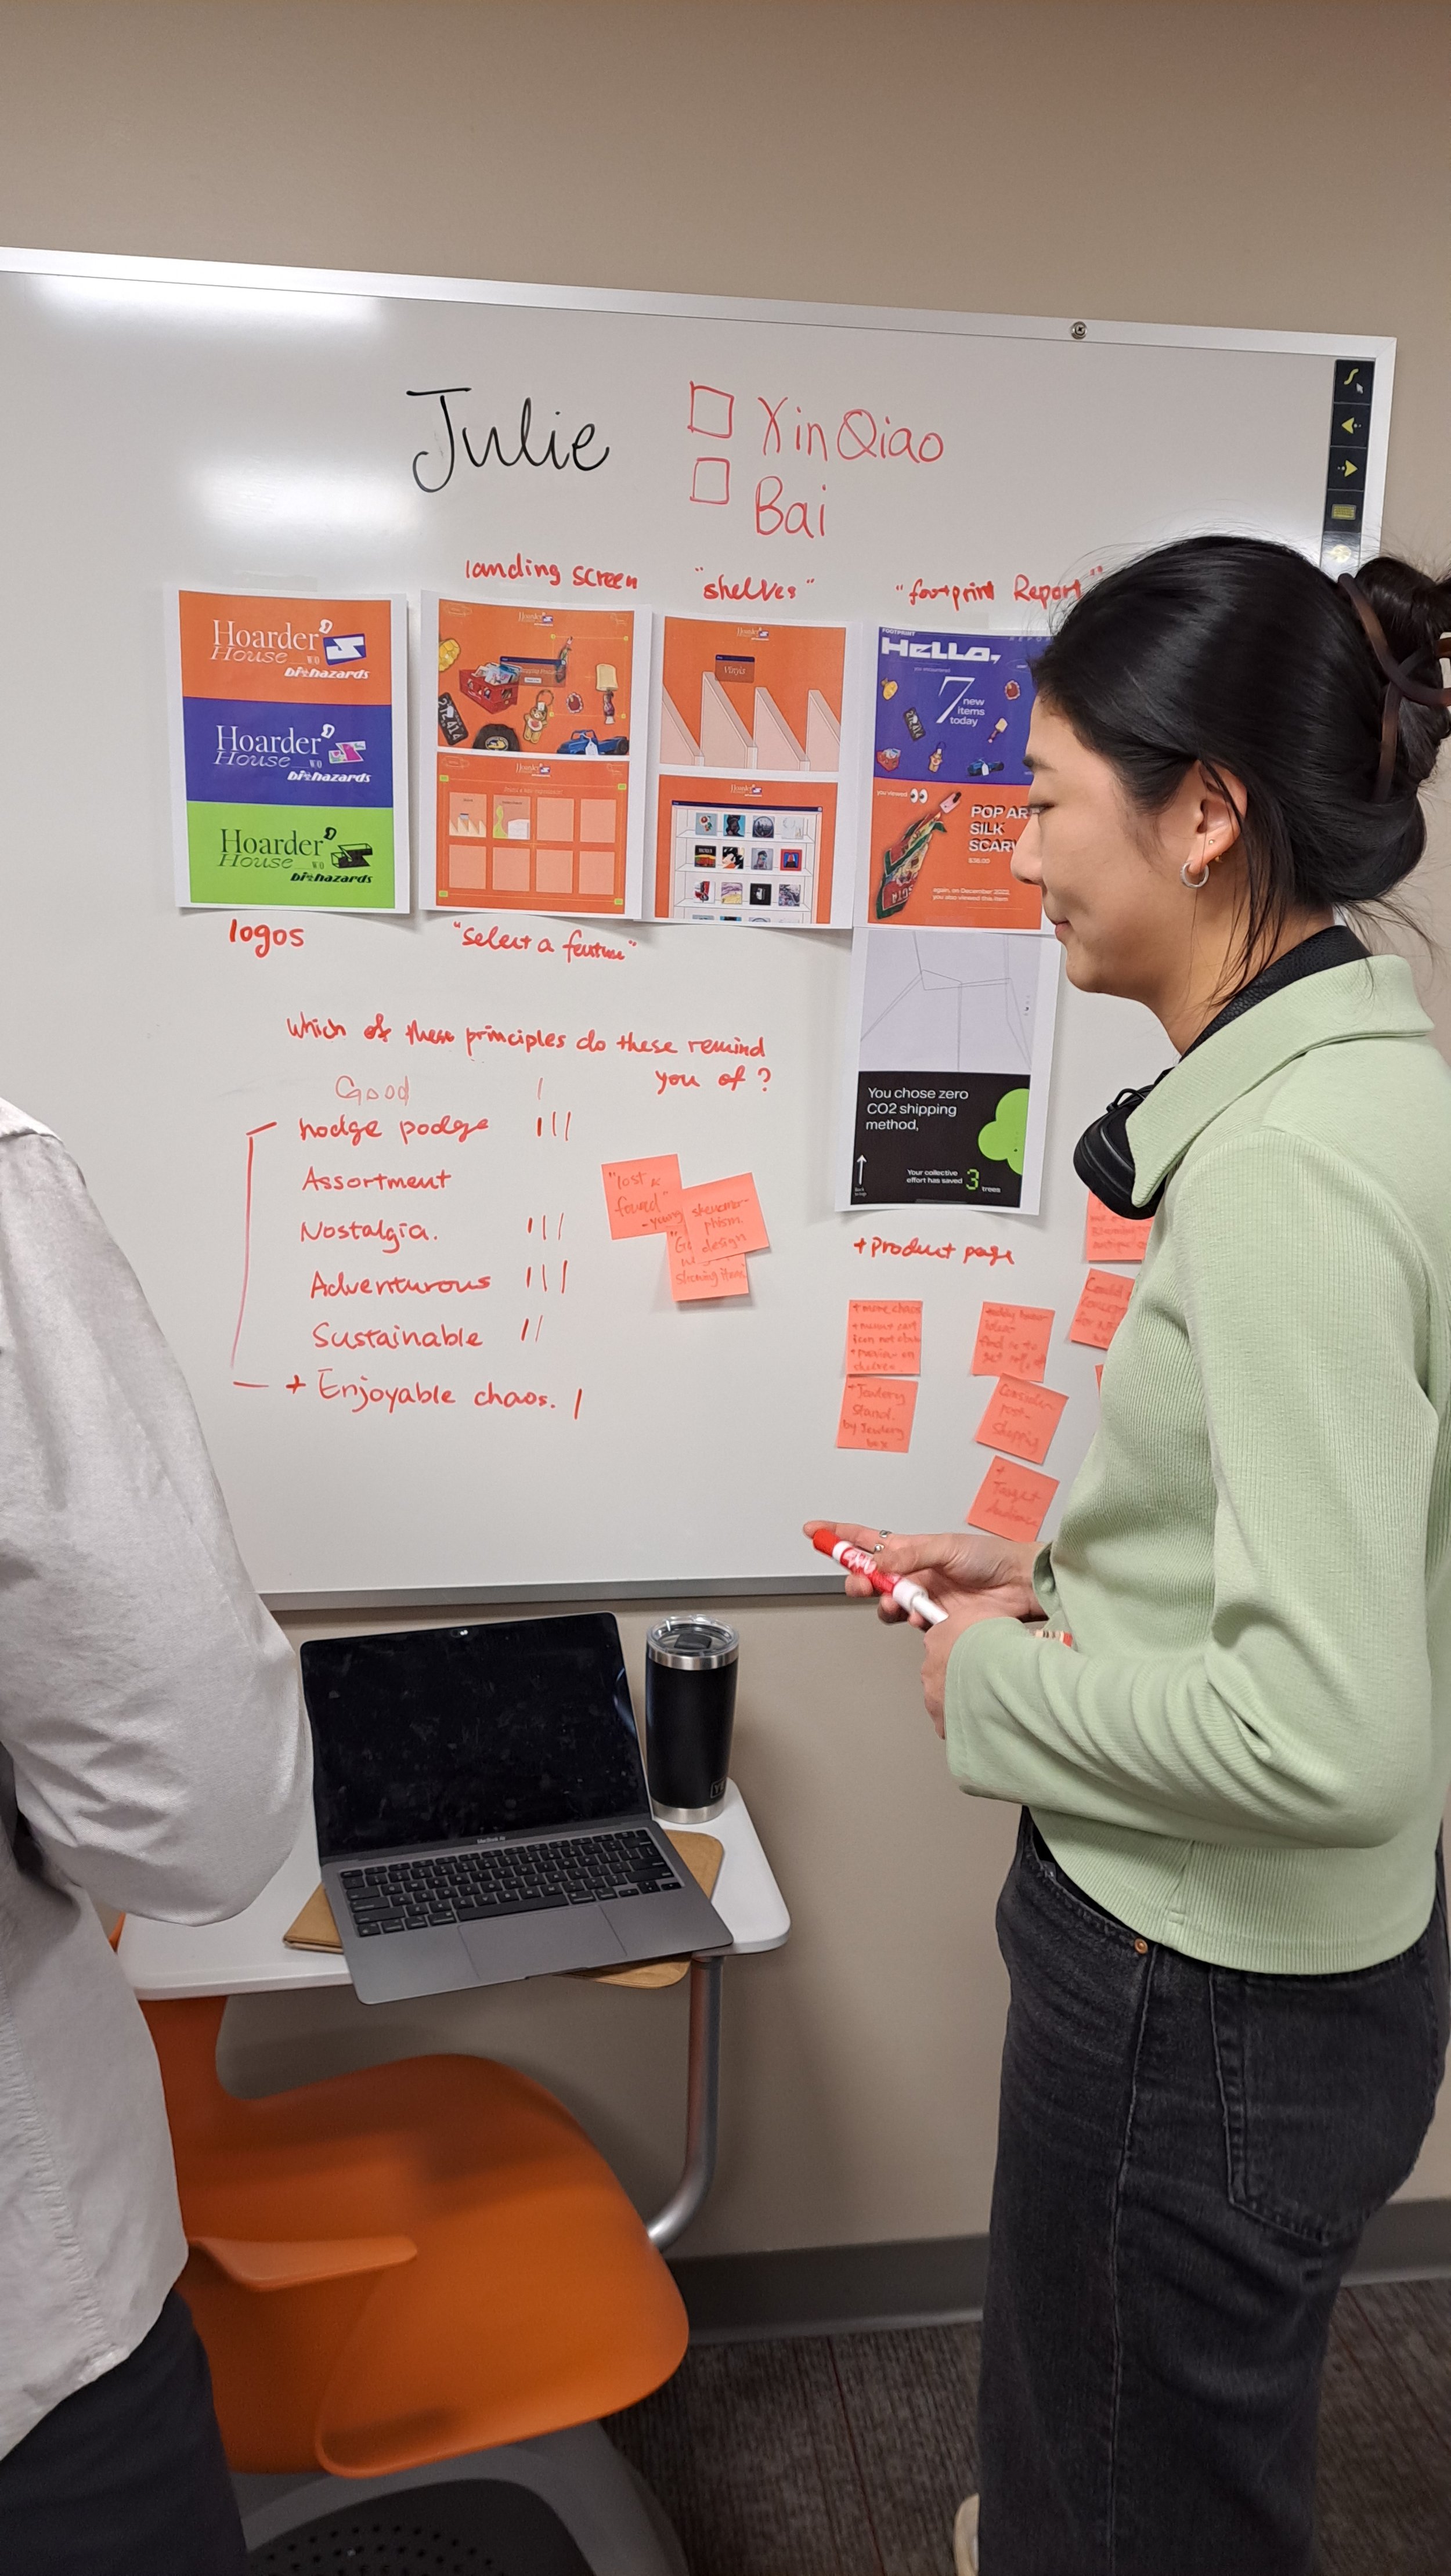
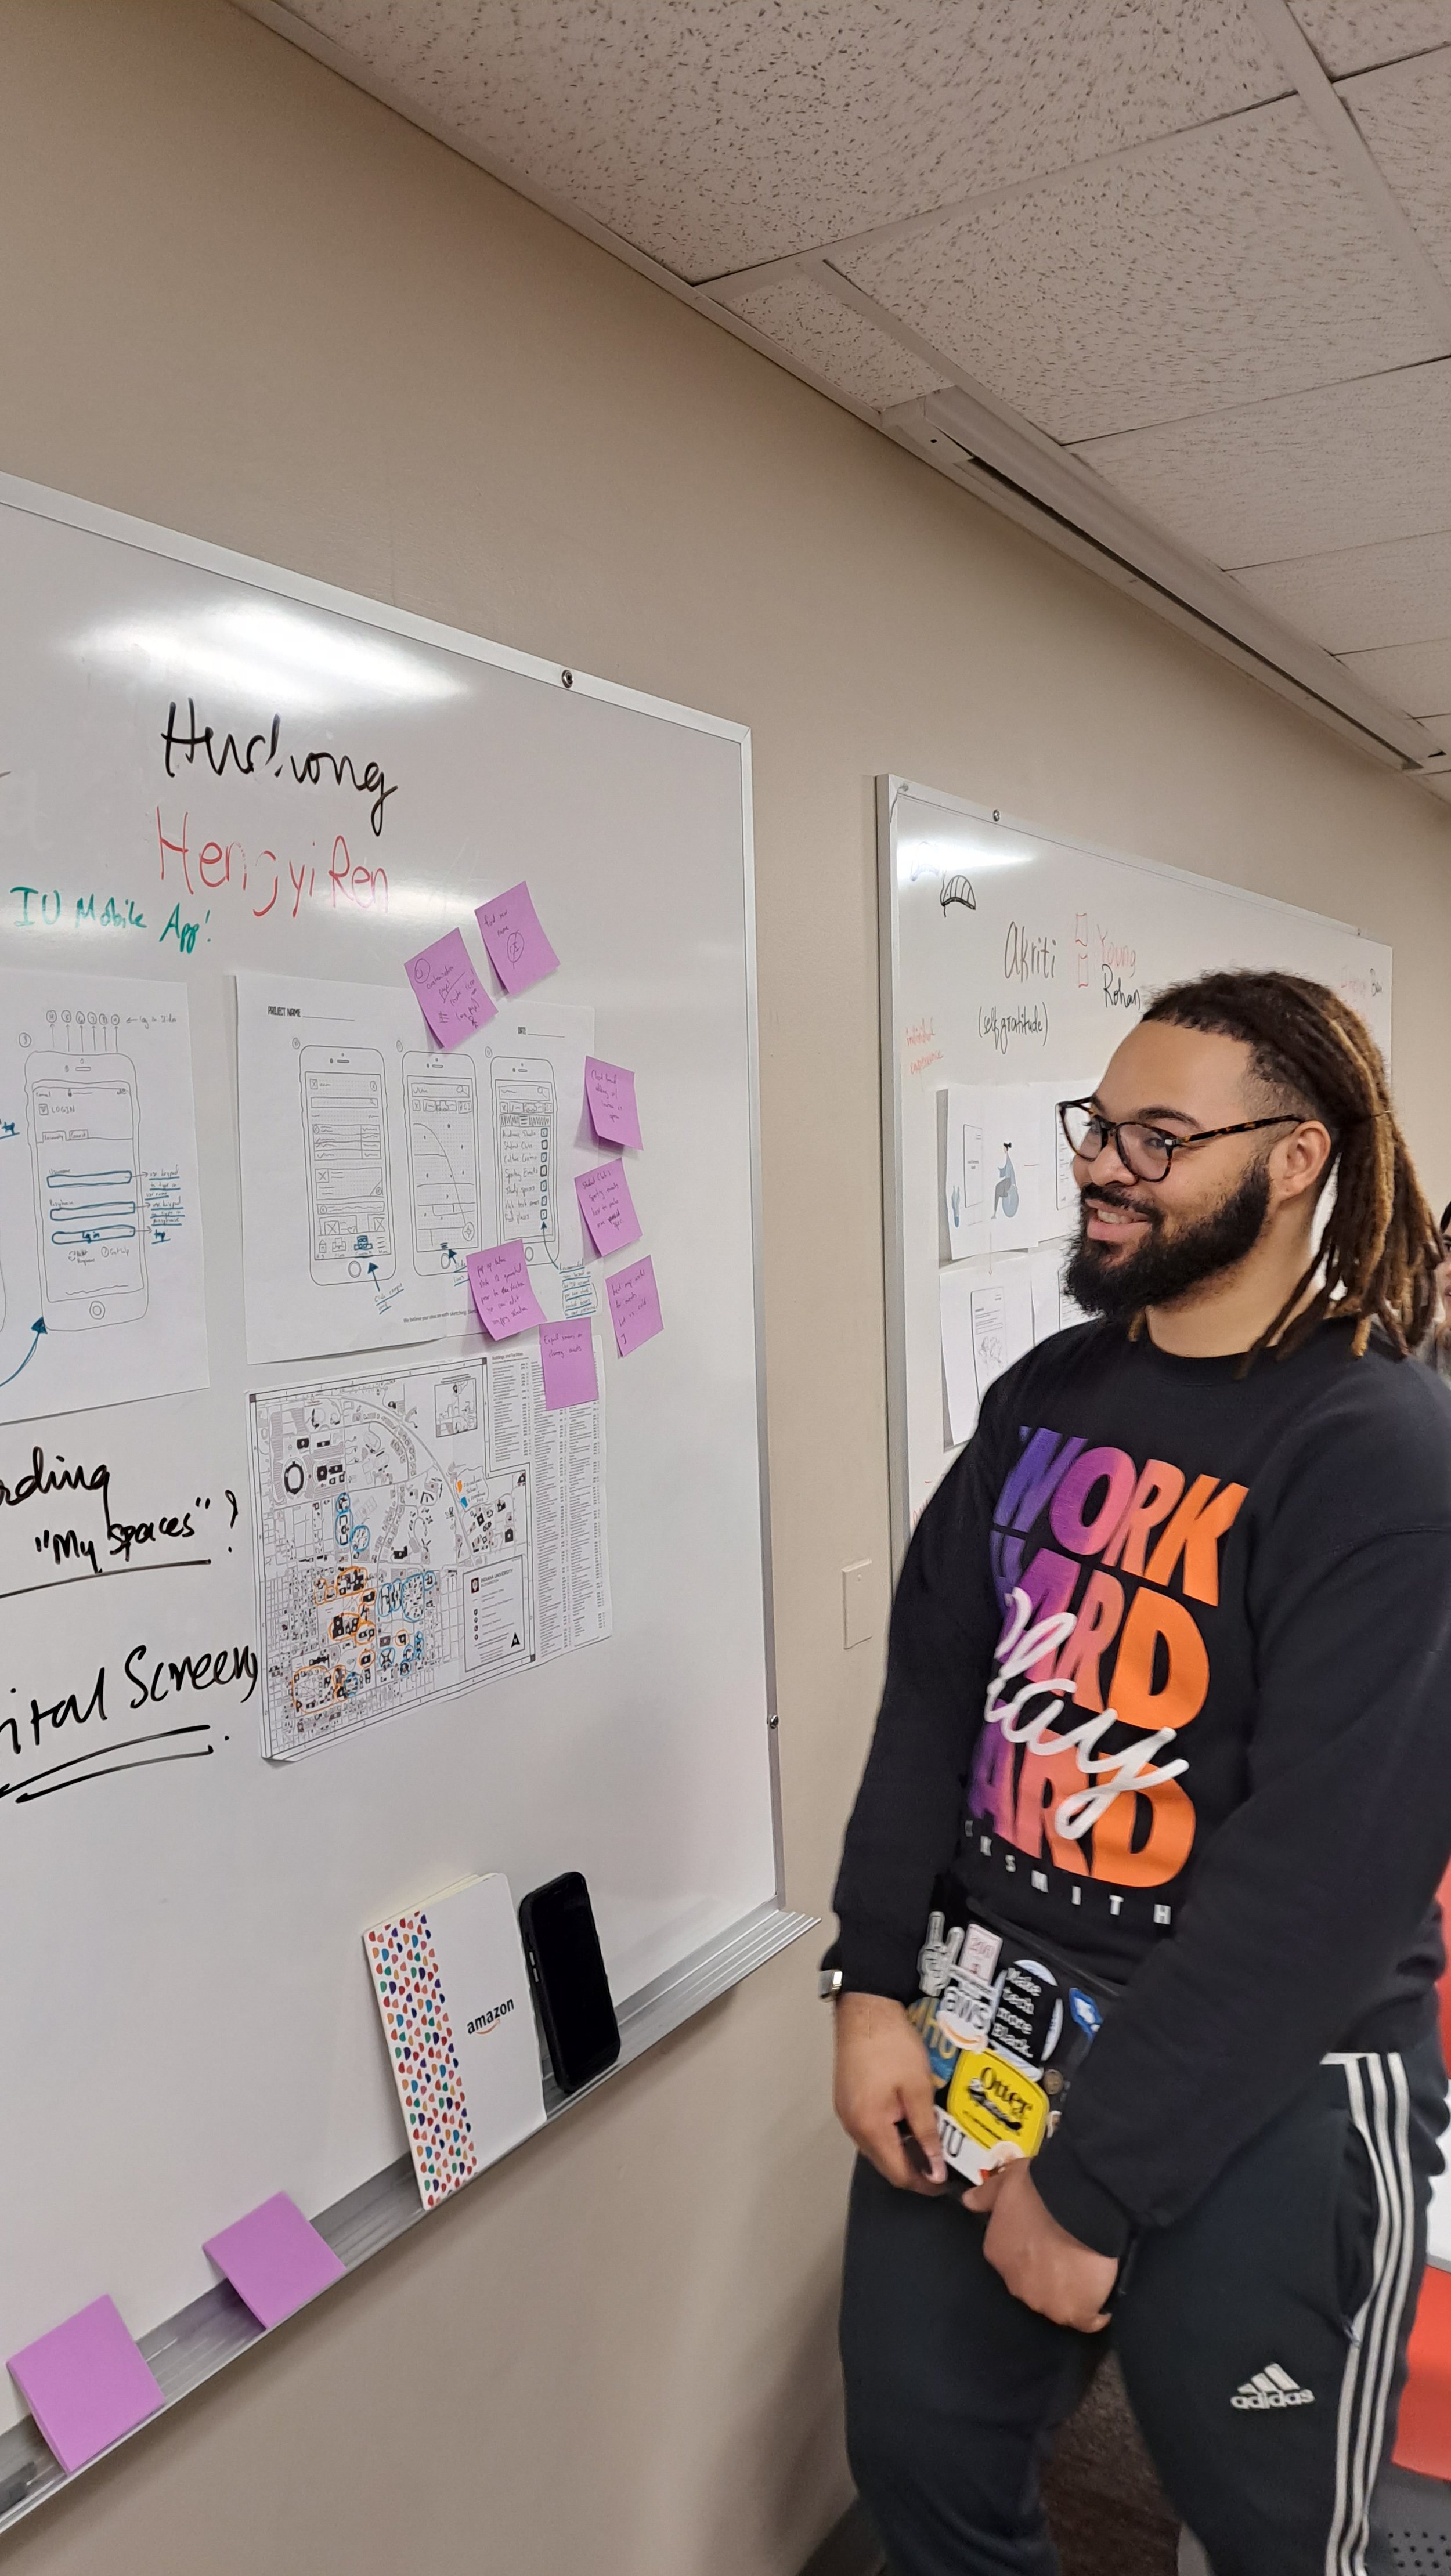
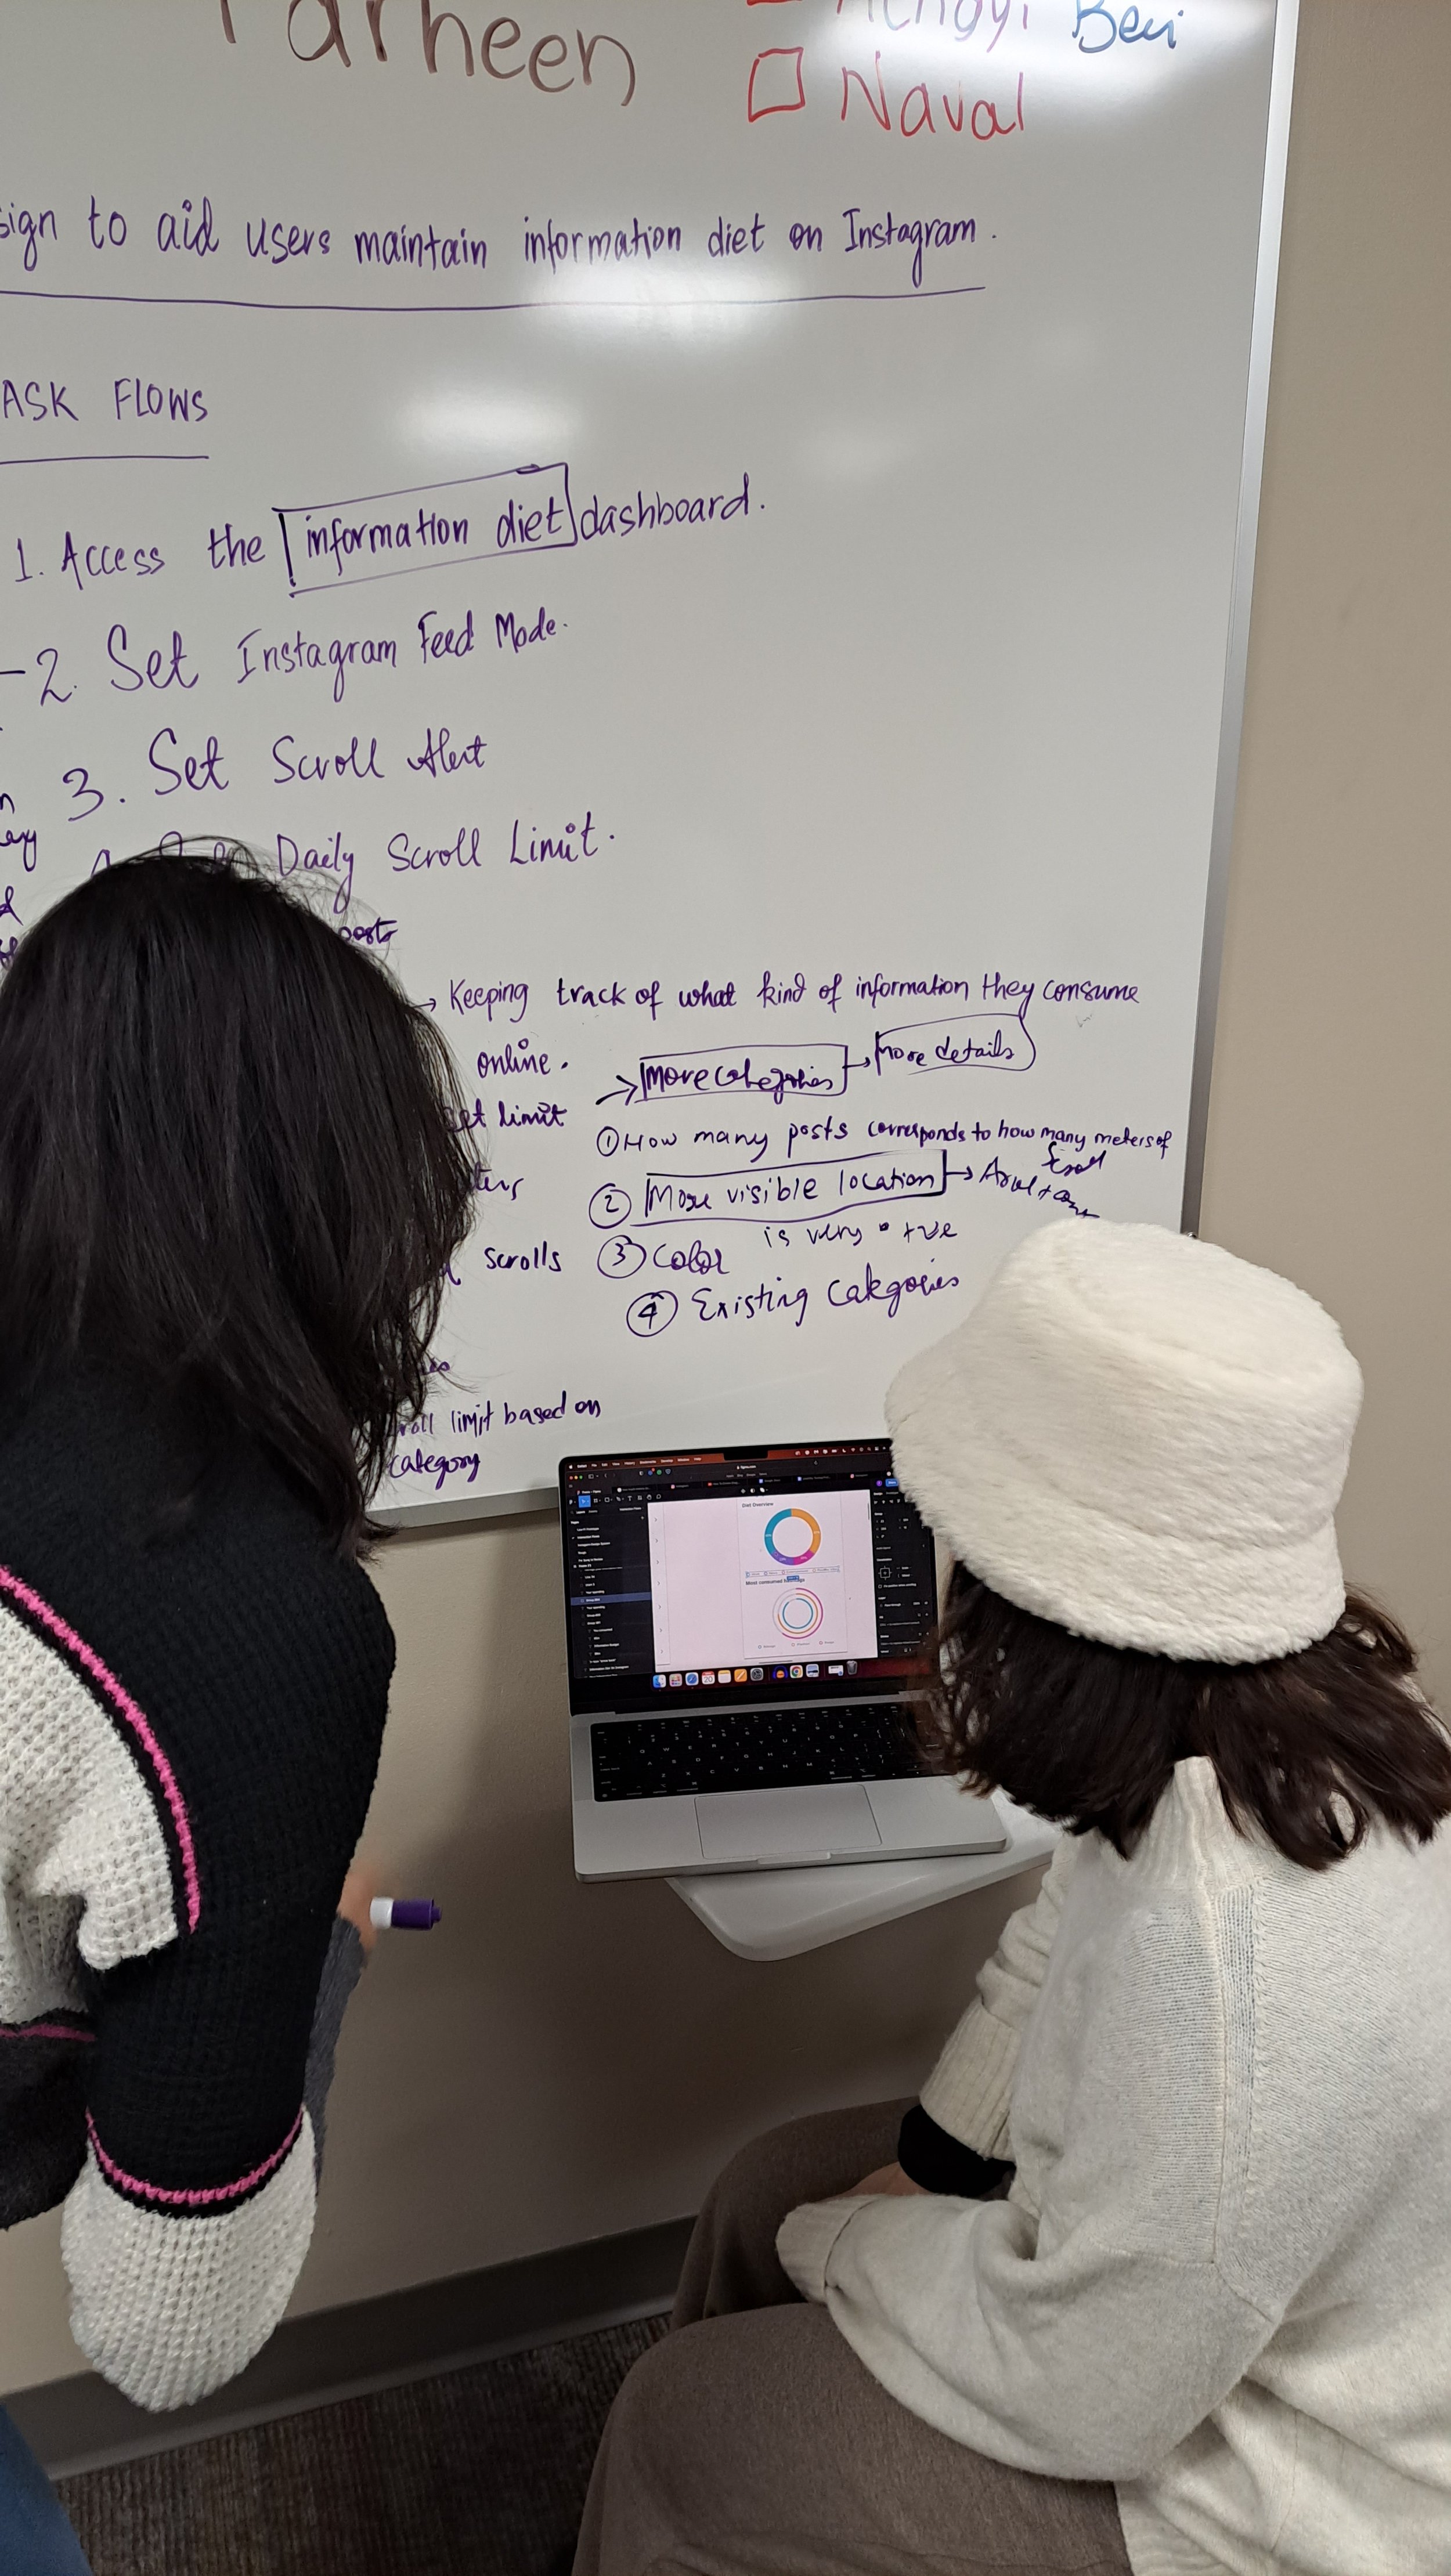
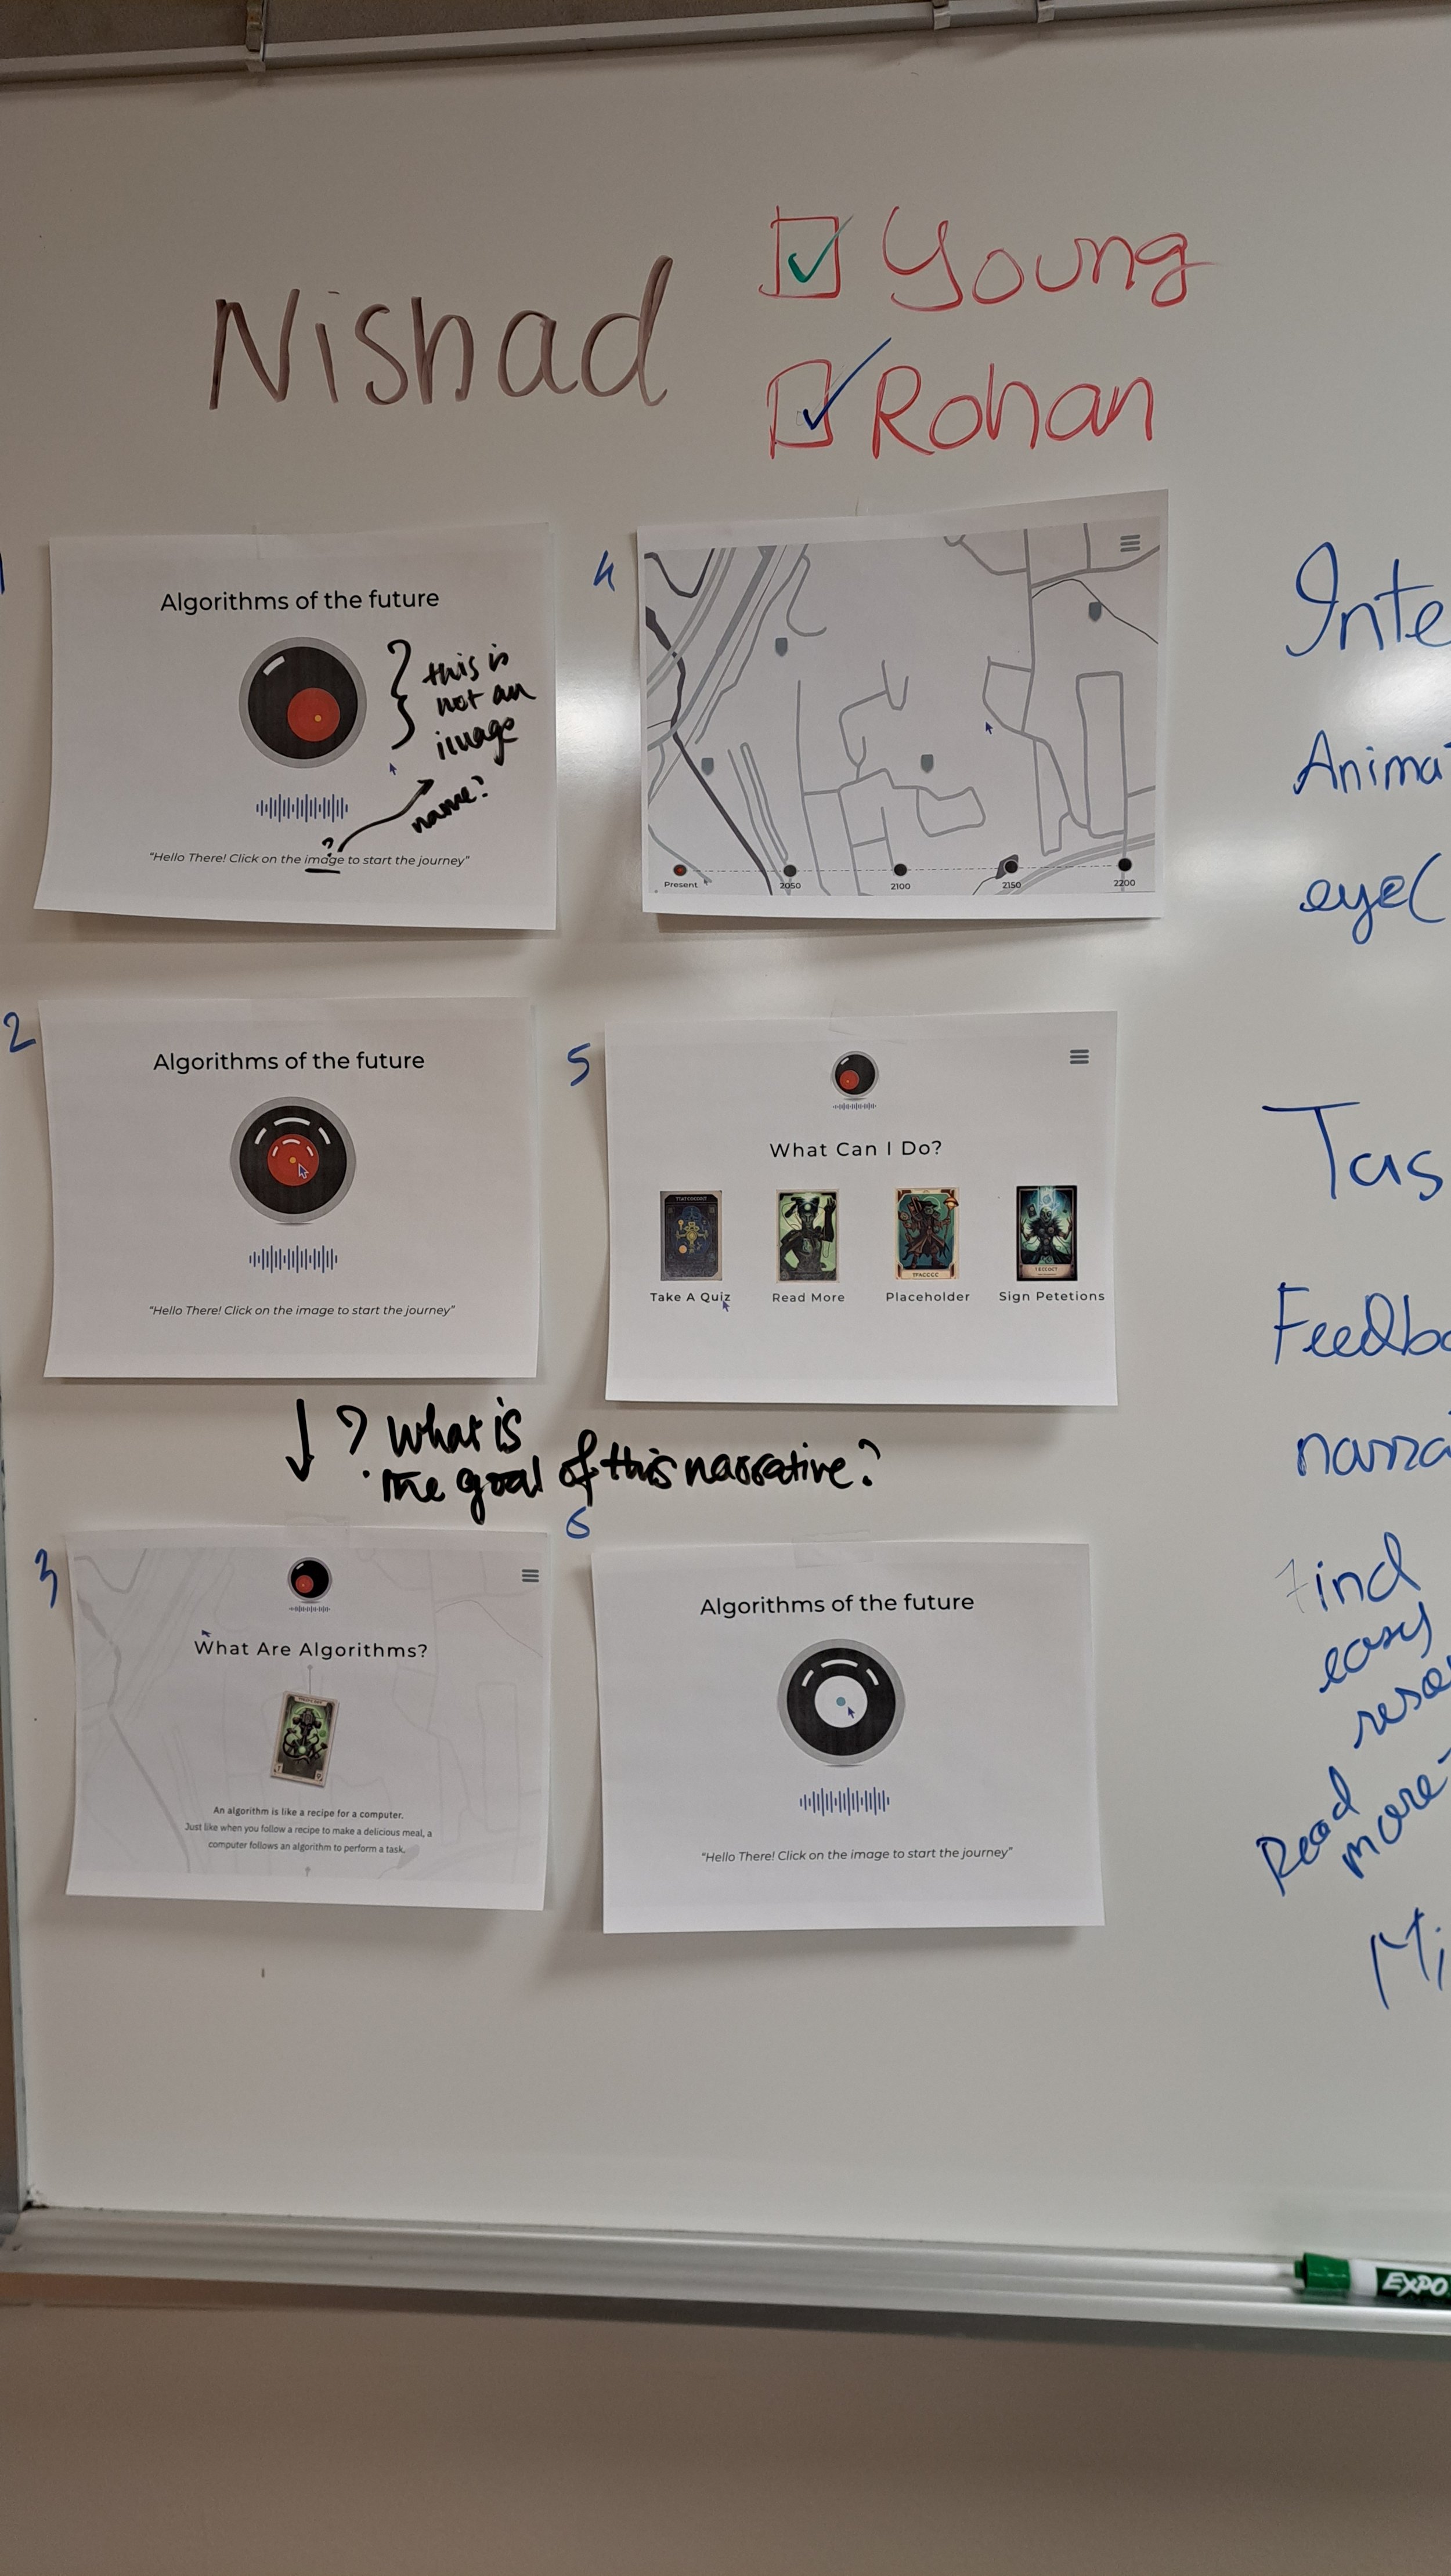
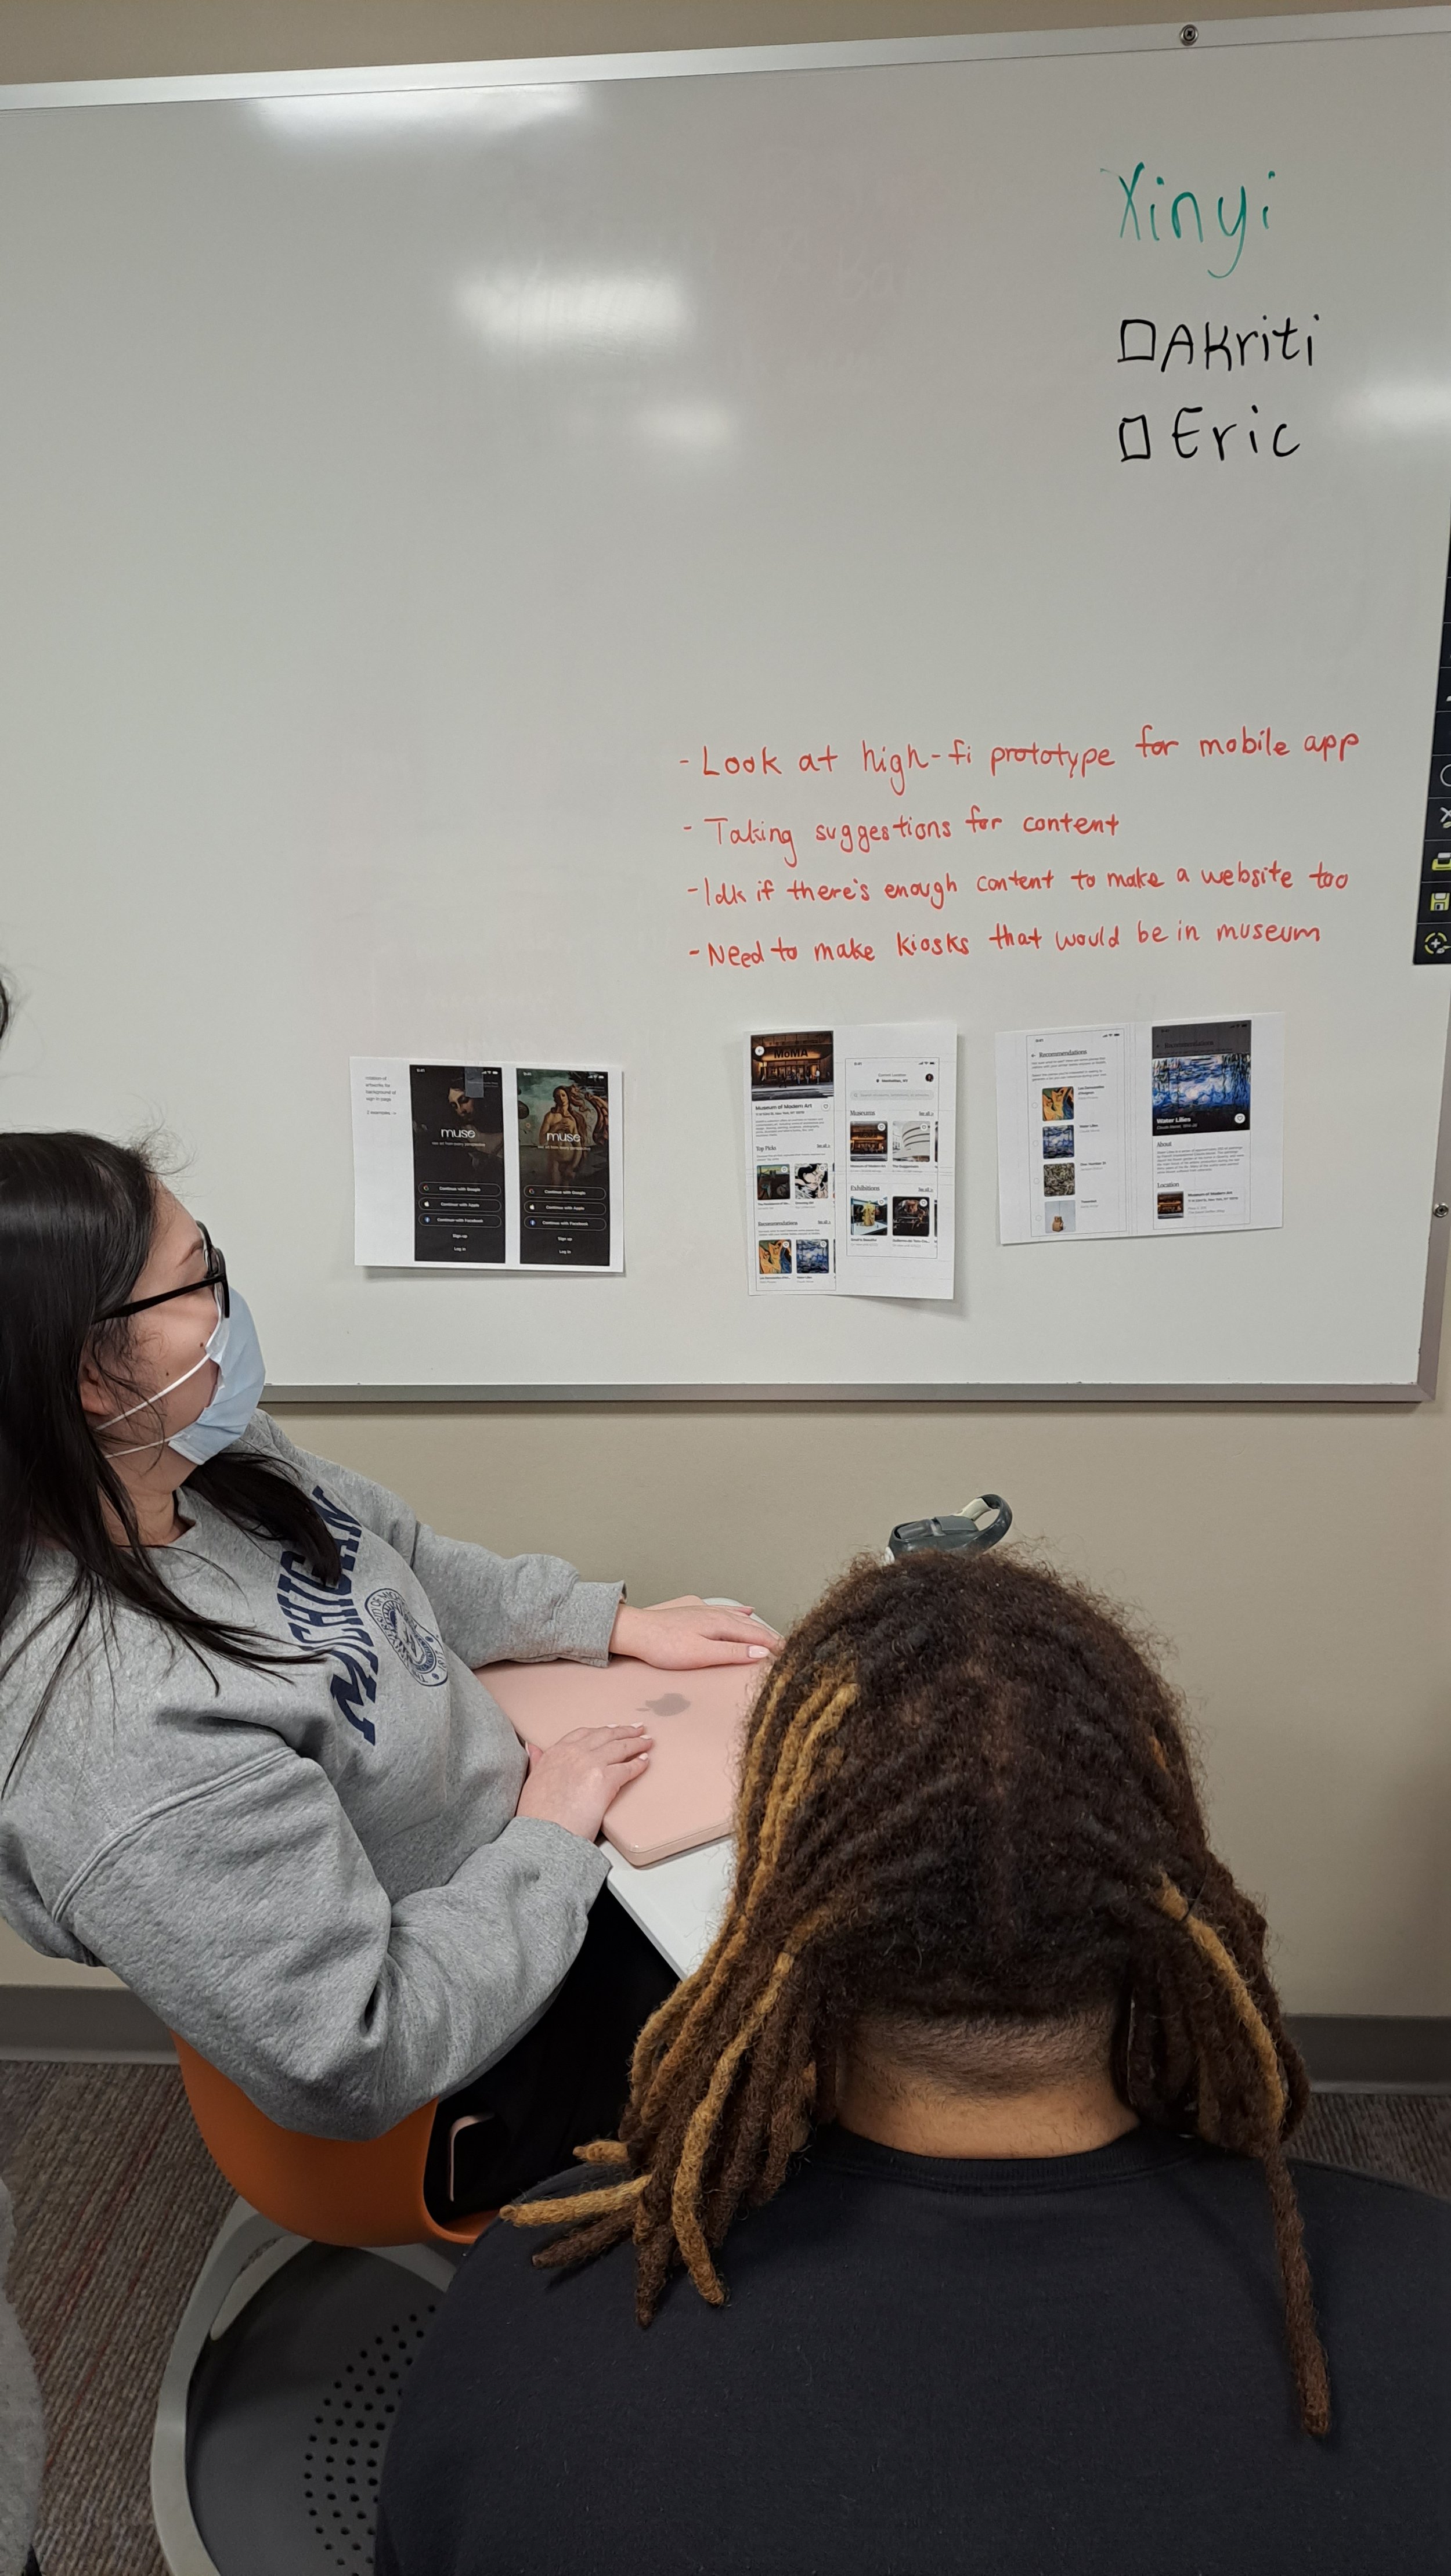
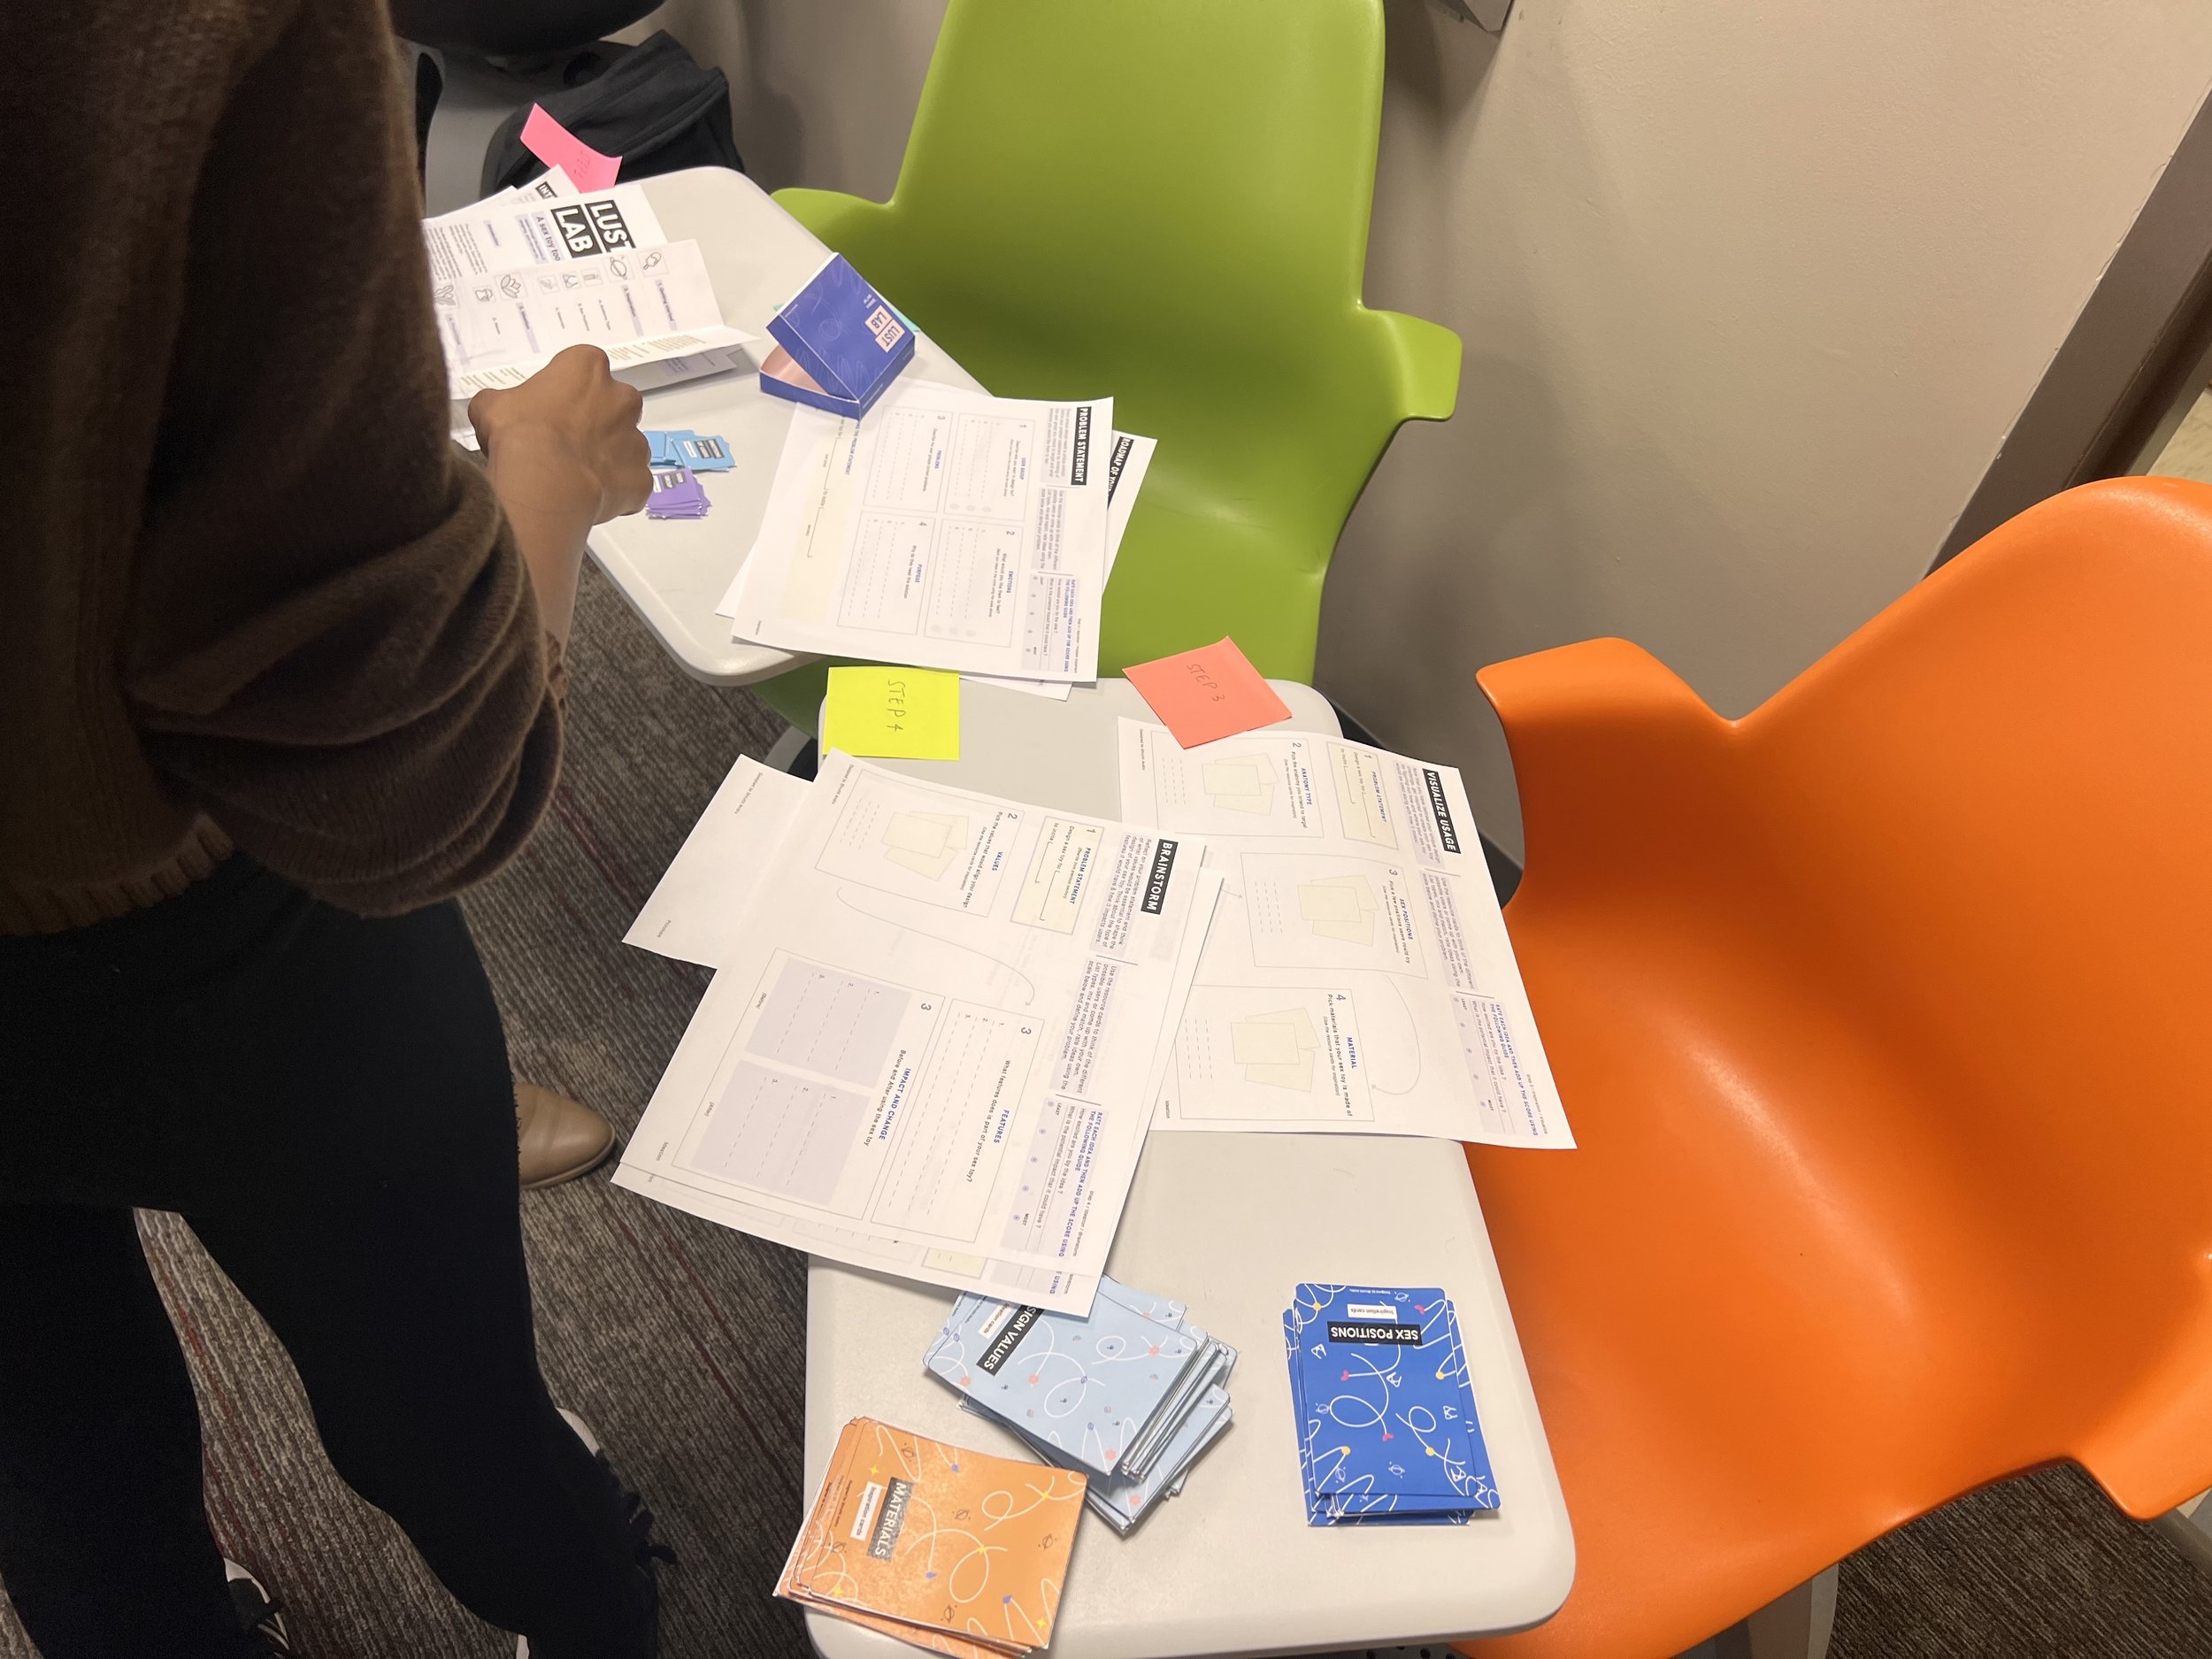
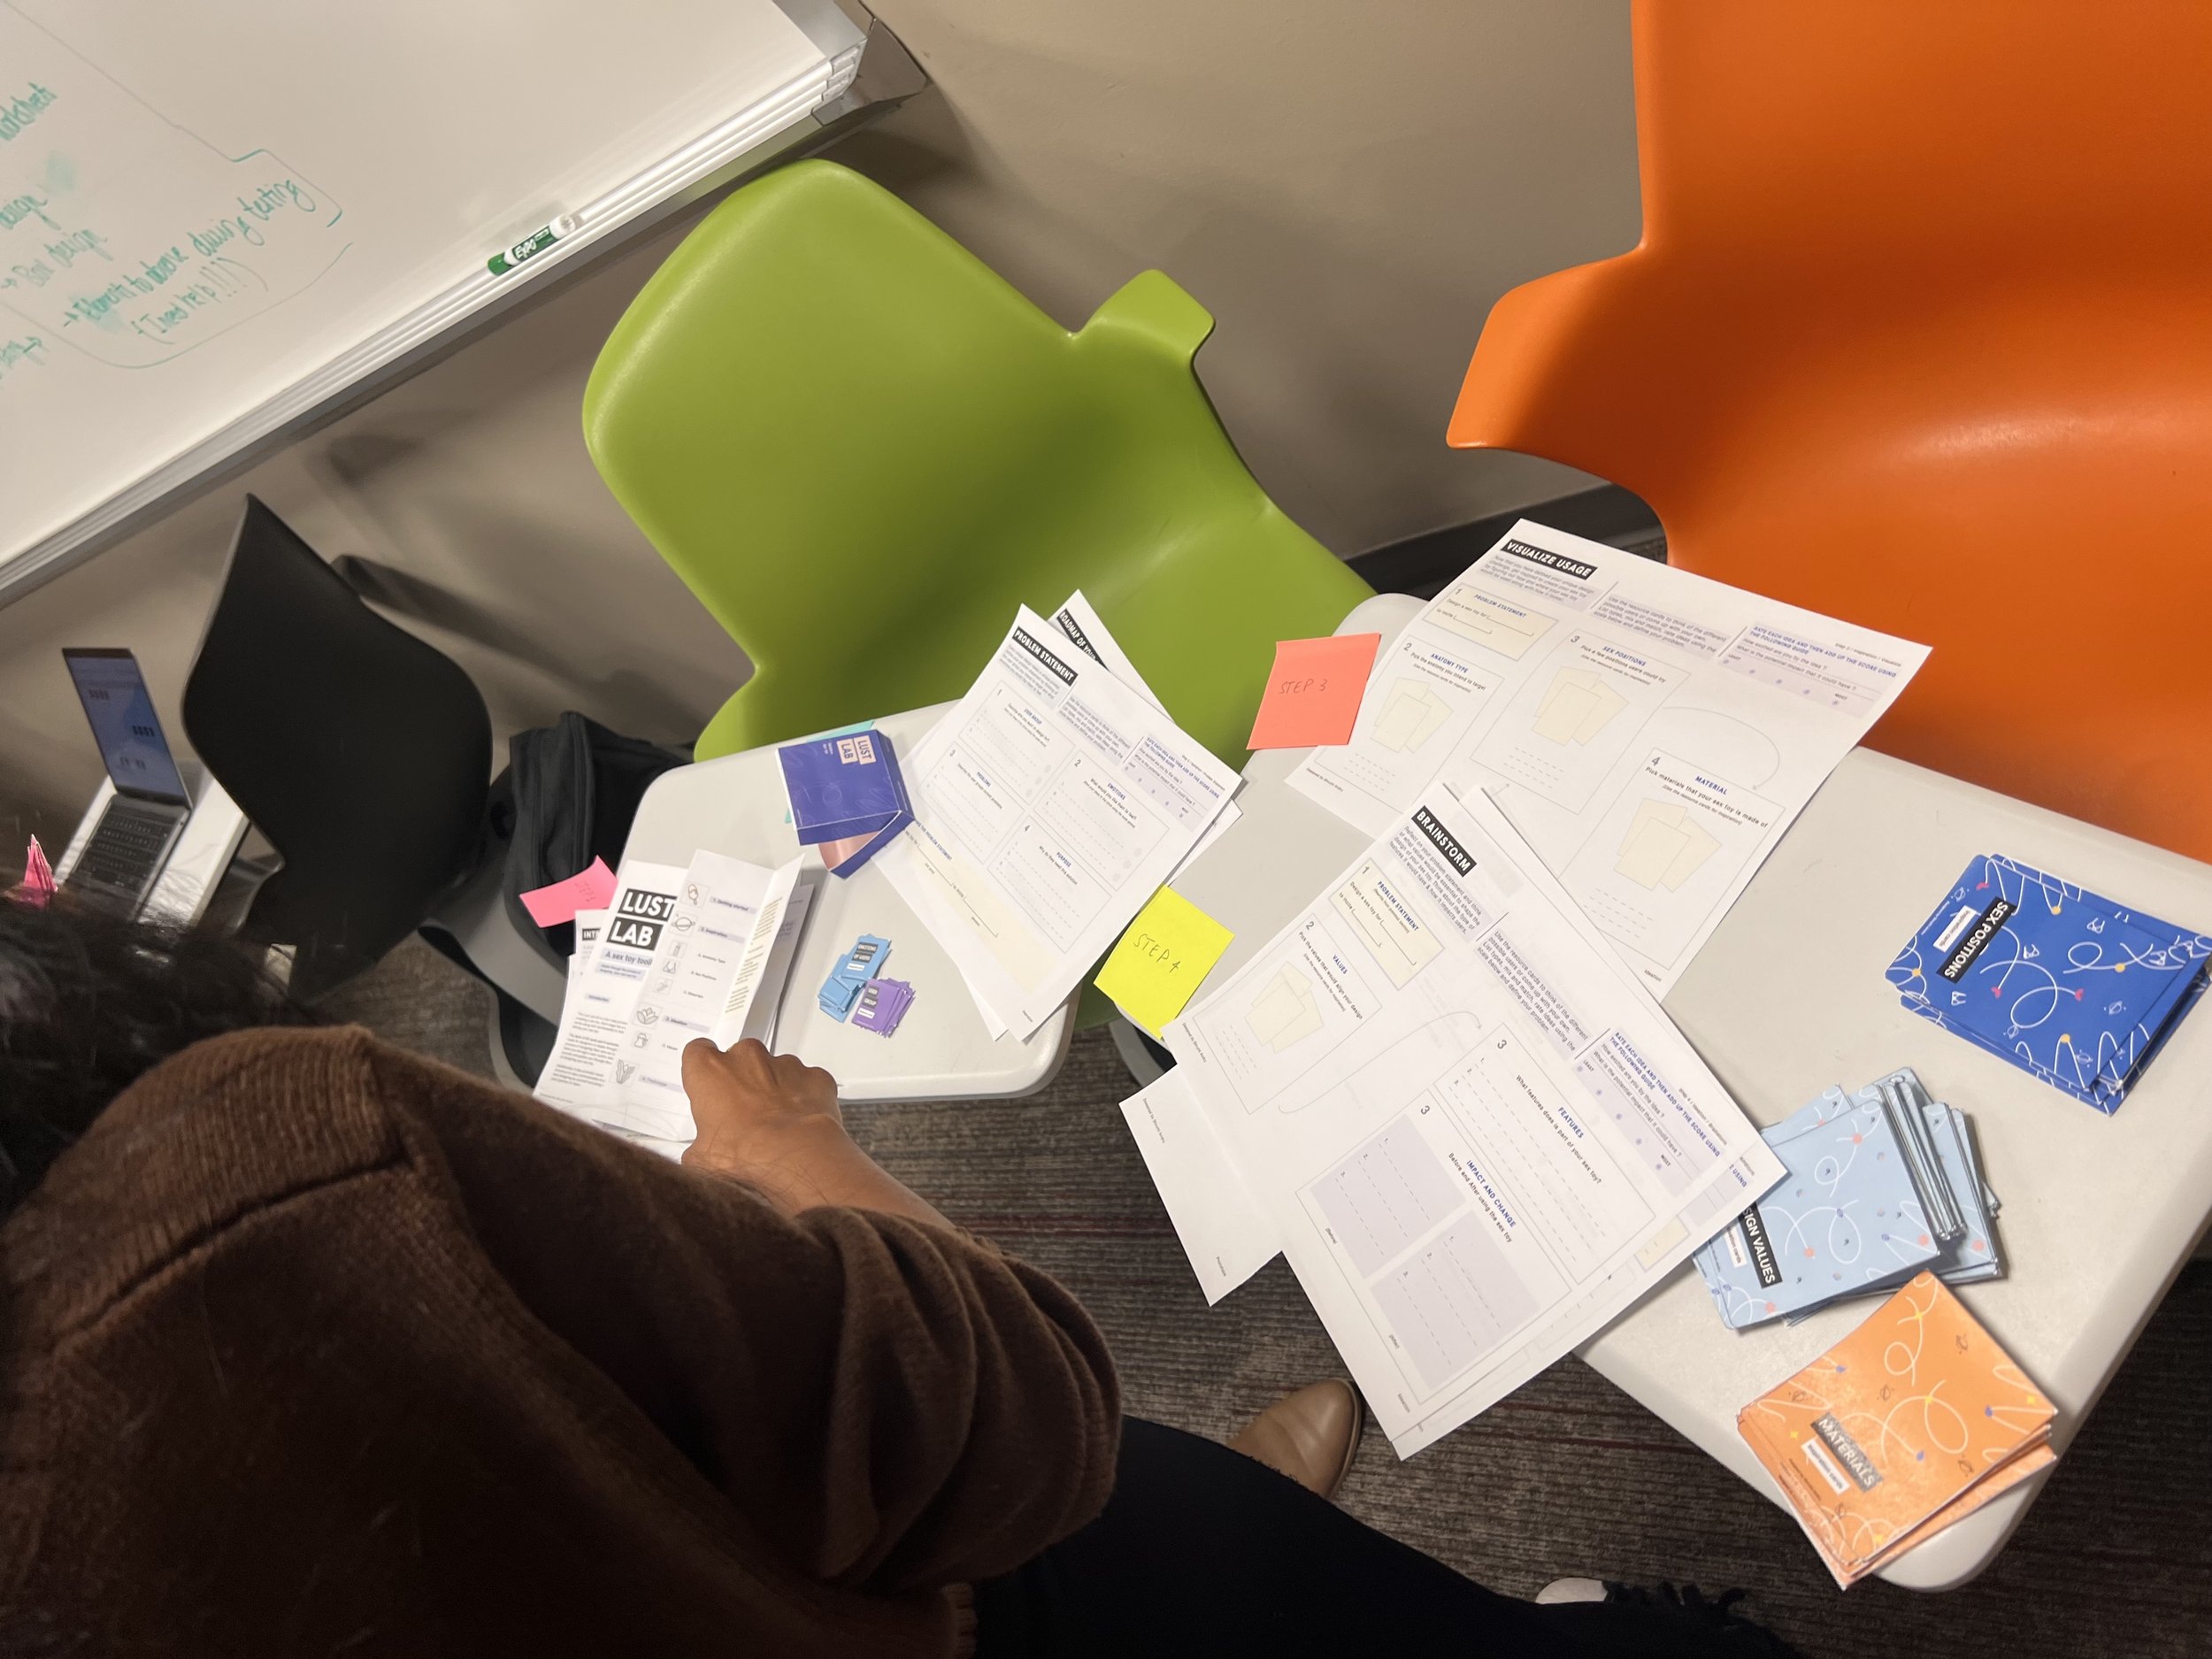
And, they are back! We started our Gallery Walks for this semester. New Classroom space, hence a new setup with students interesting and amazing job in presenting their work in the forms that seem fit for them. Given that this semester is very Ideation oriented, students had a range of concepts, wireframes, screenshots of existing applications, and their low-fi or trial prototypes on their boards in their first Gallery Walk.
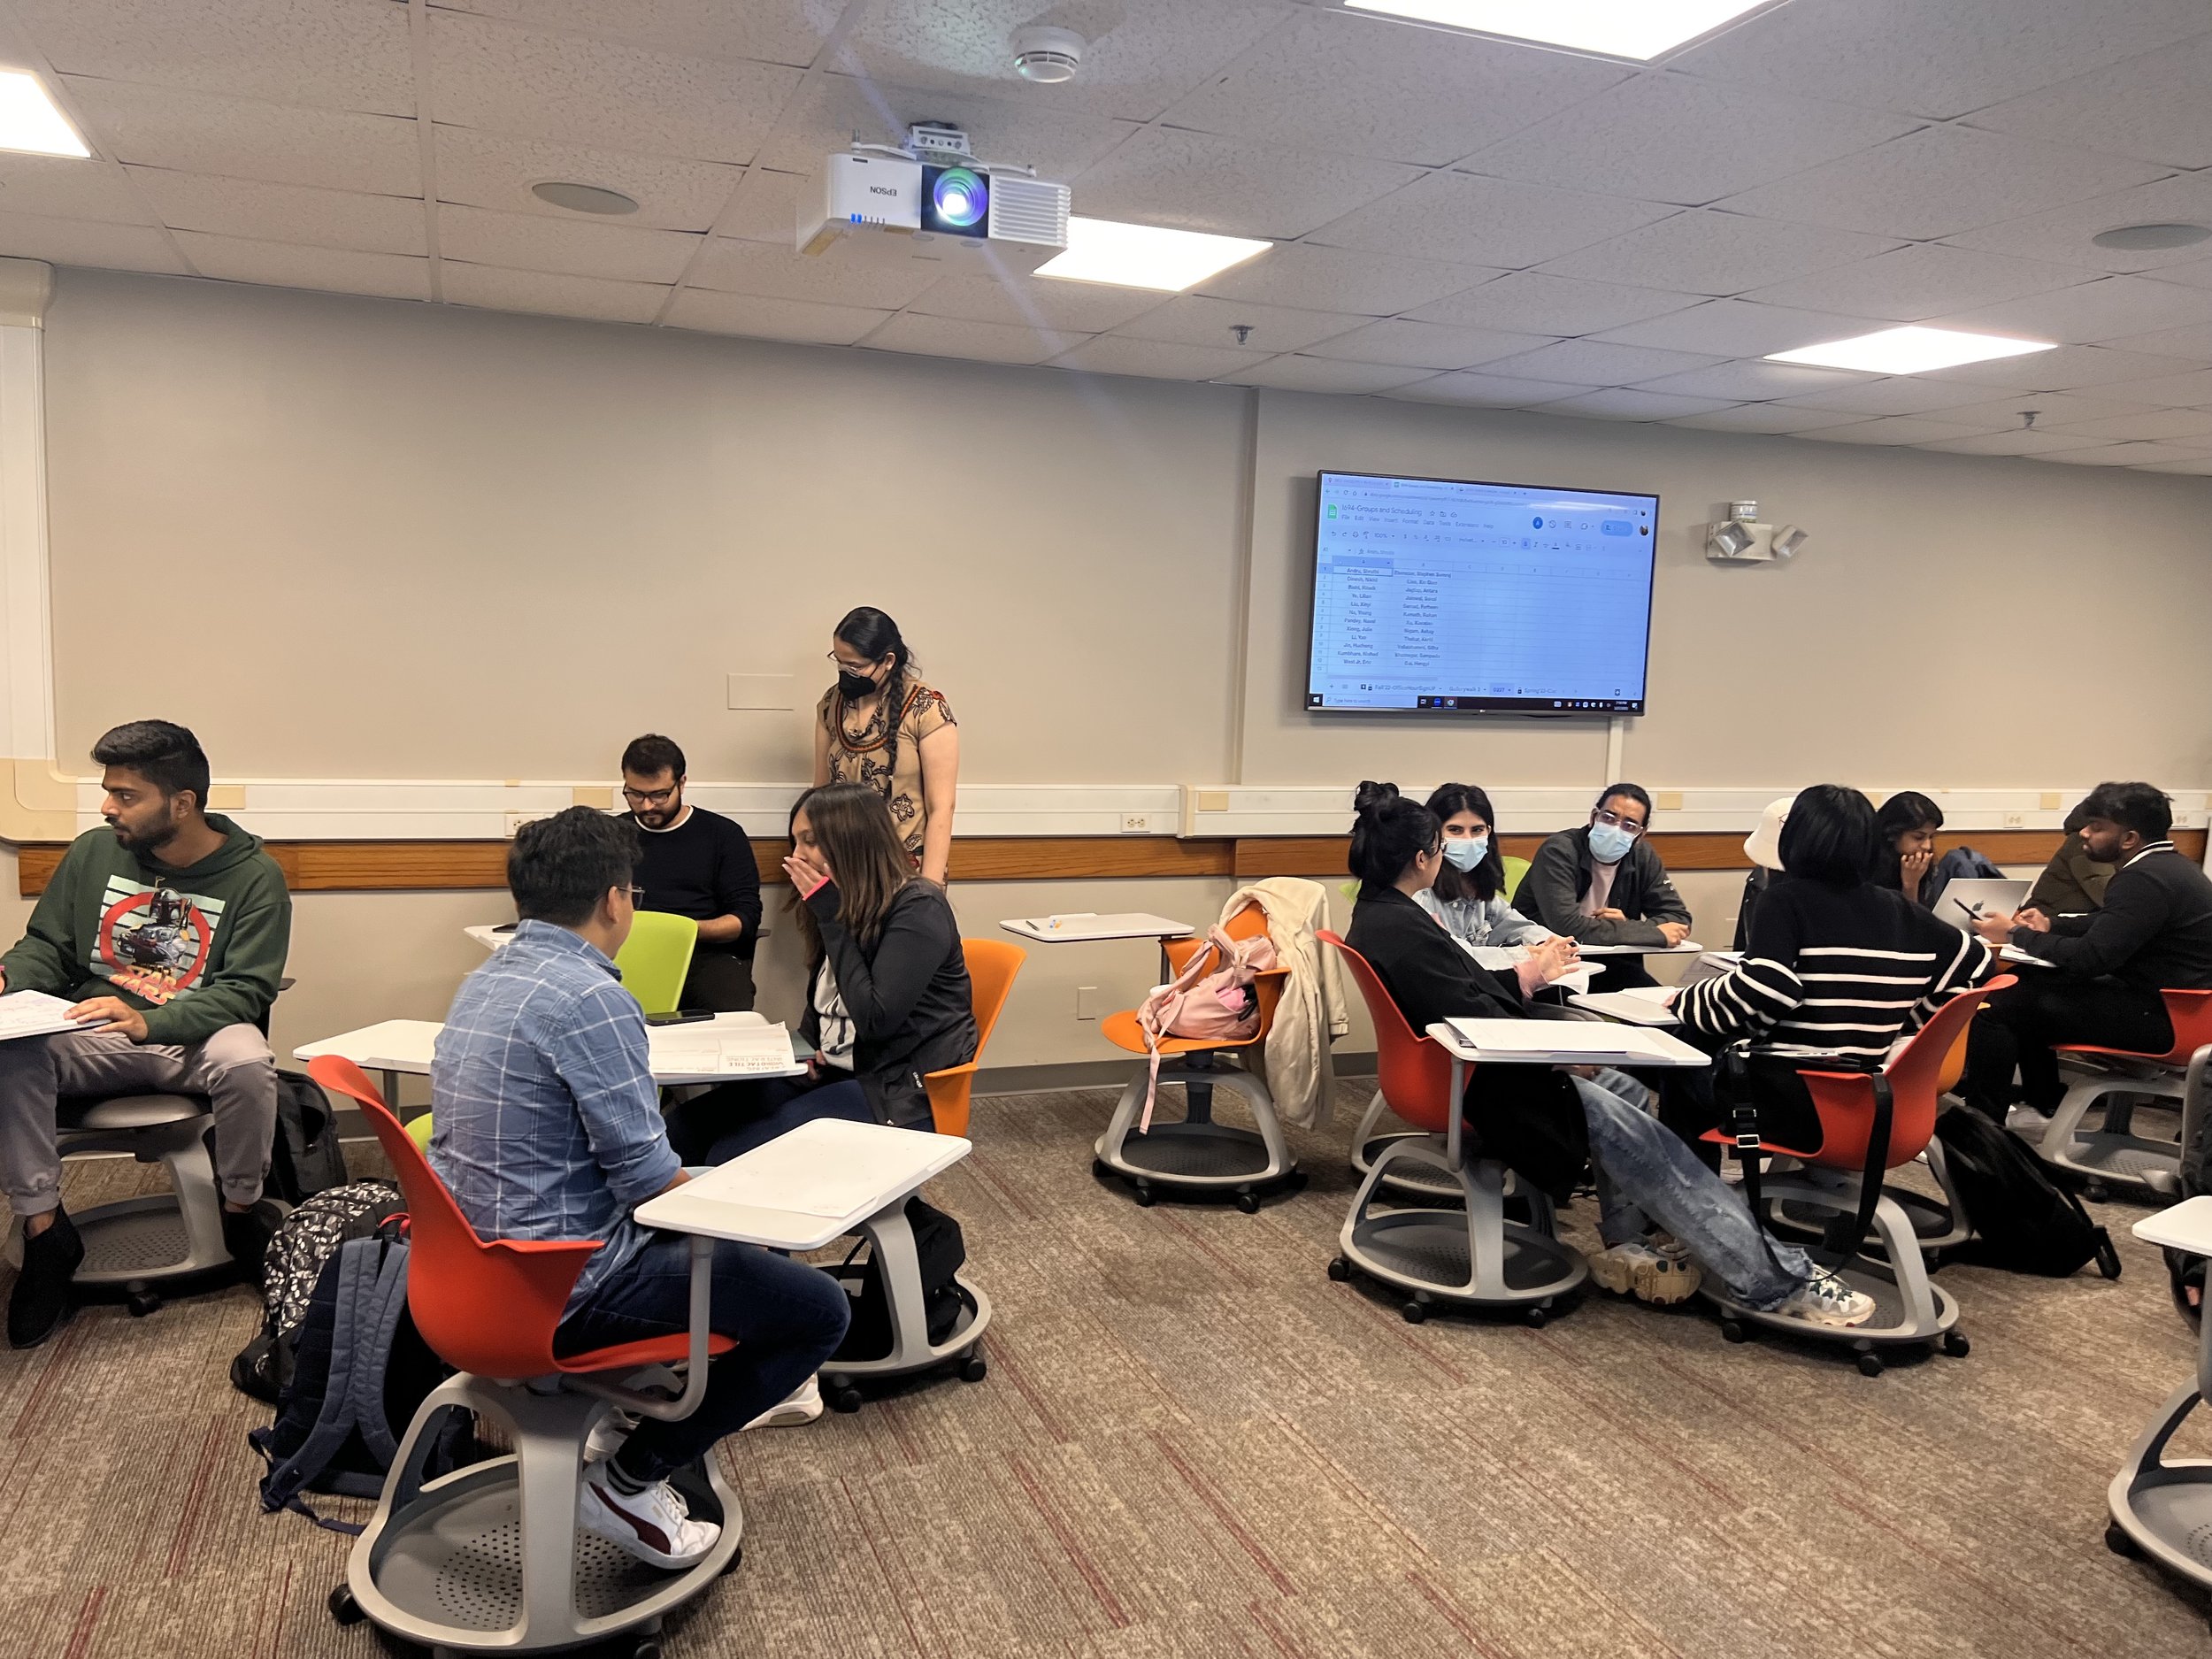
Peer/Desk Critique Model
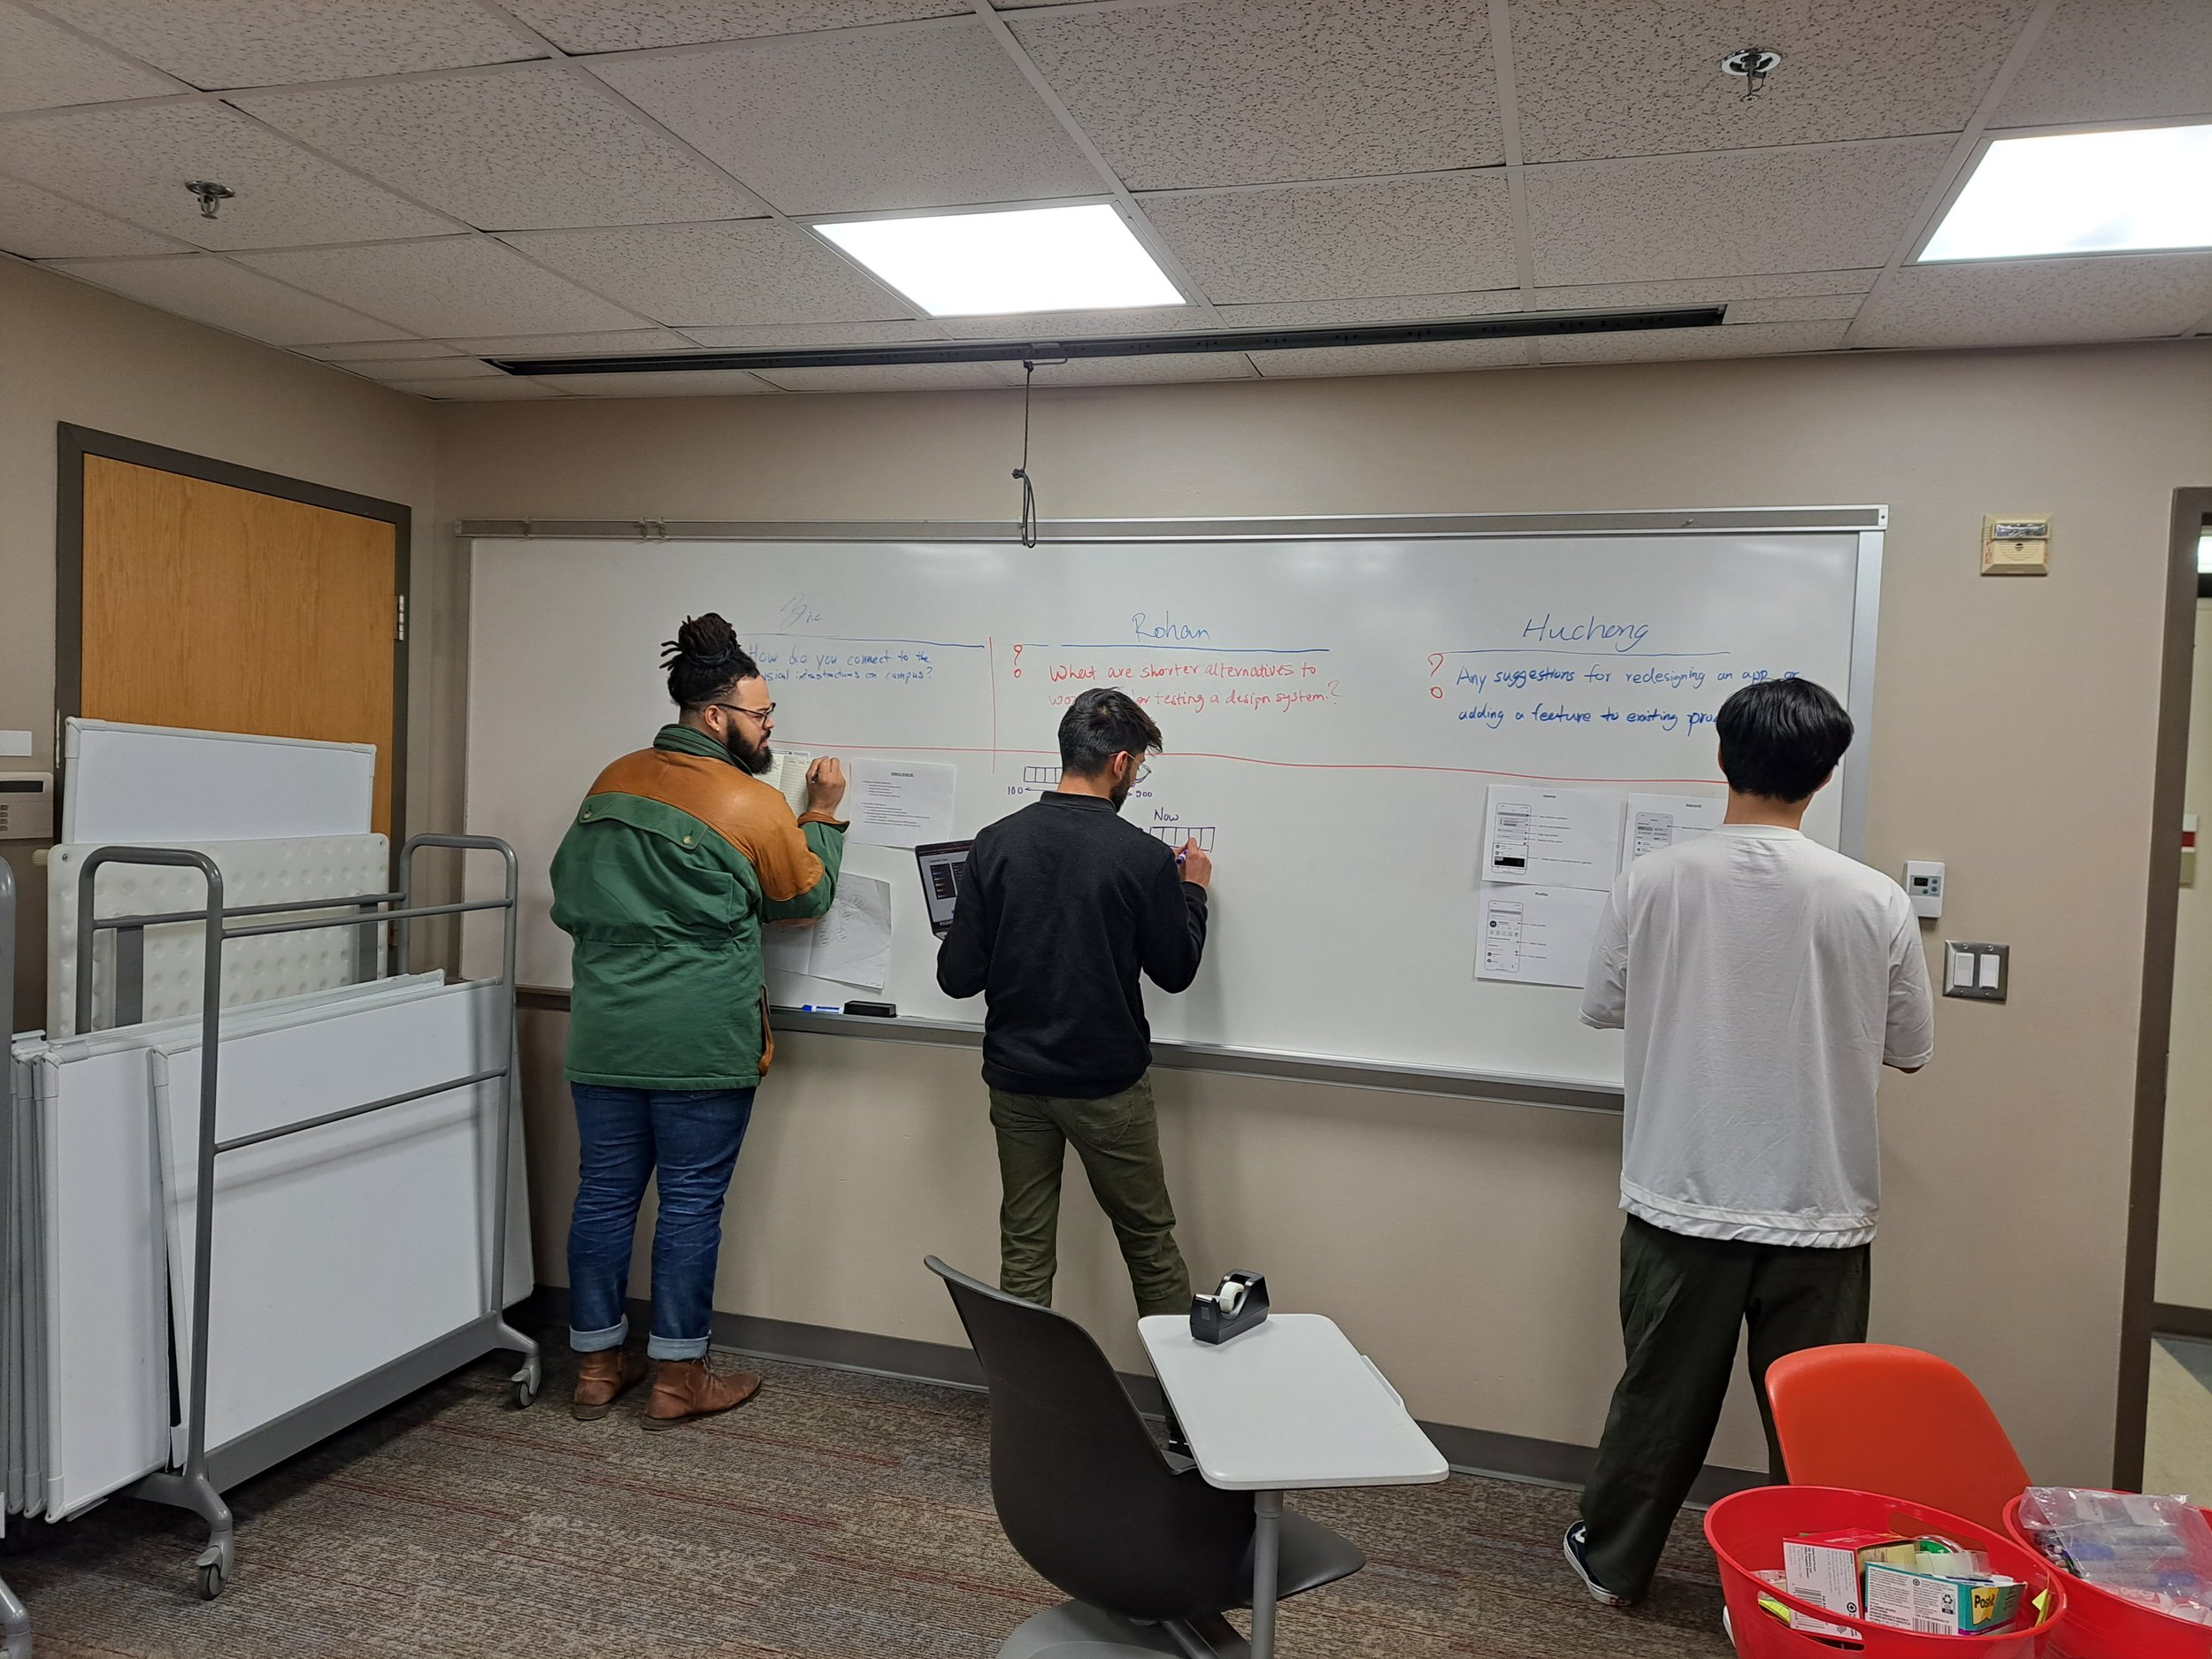
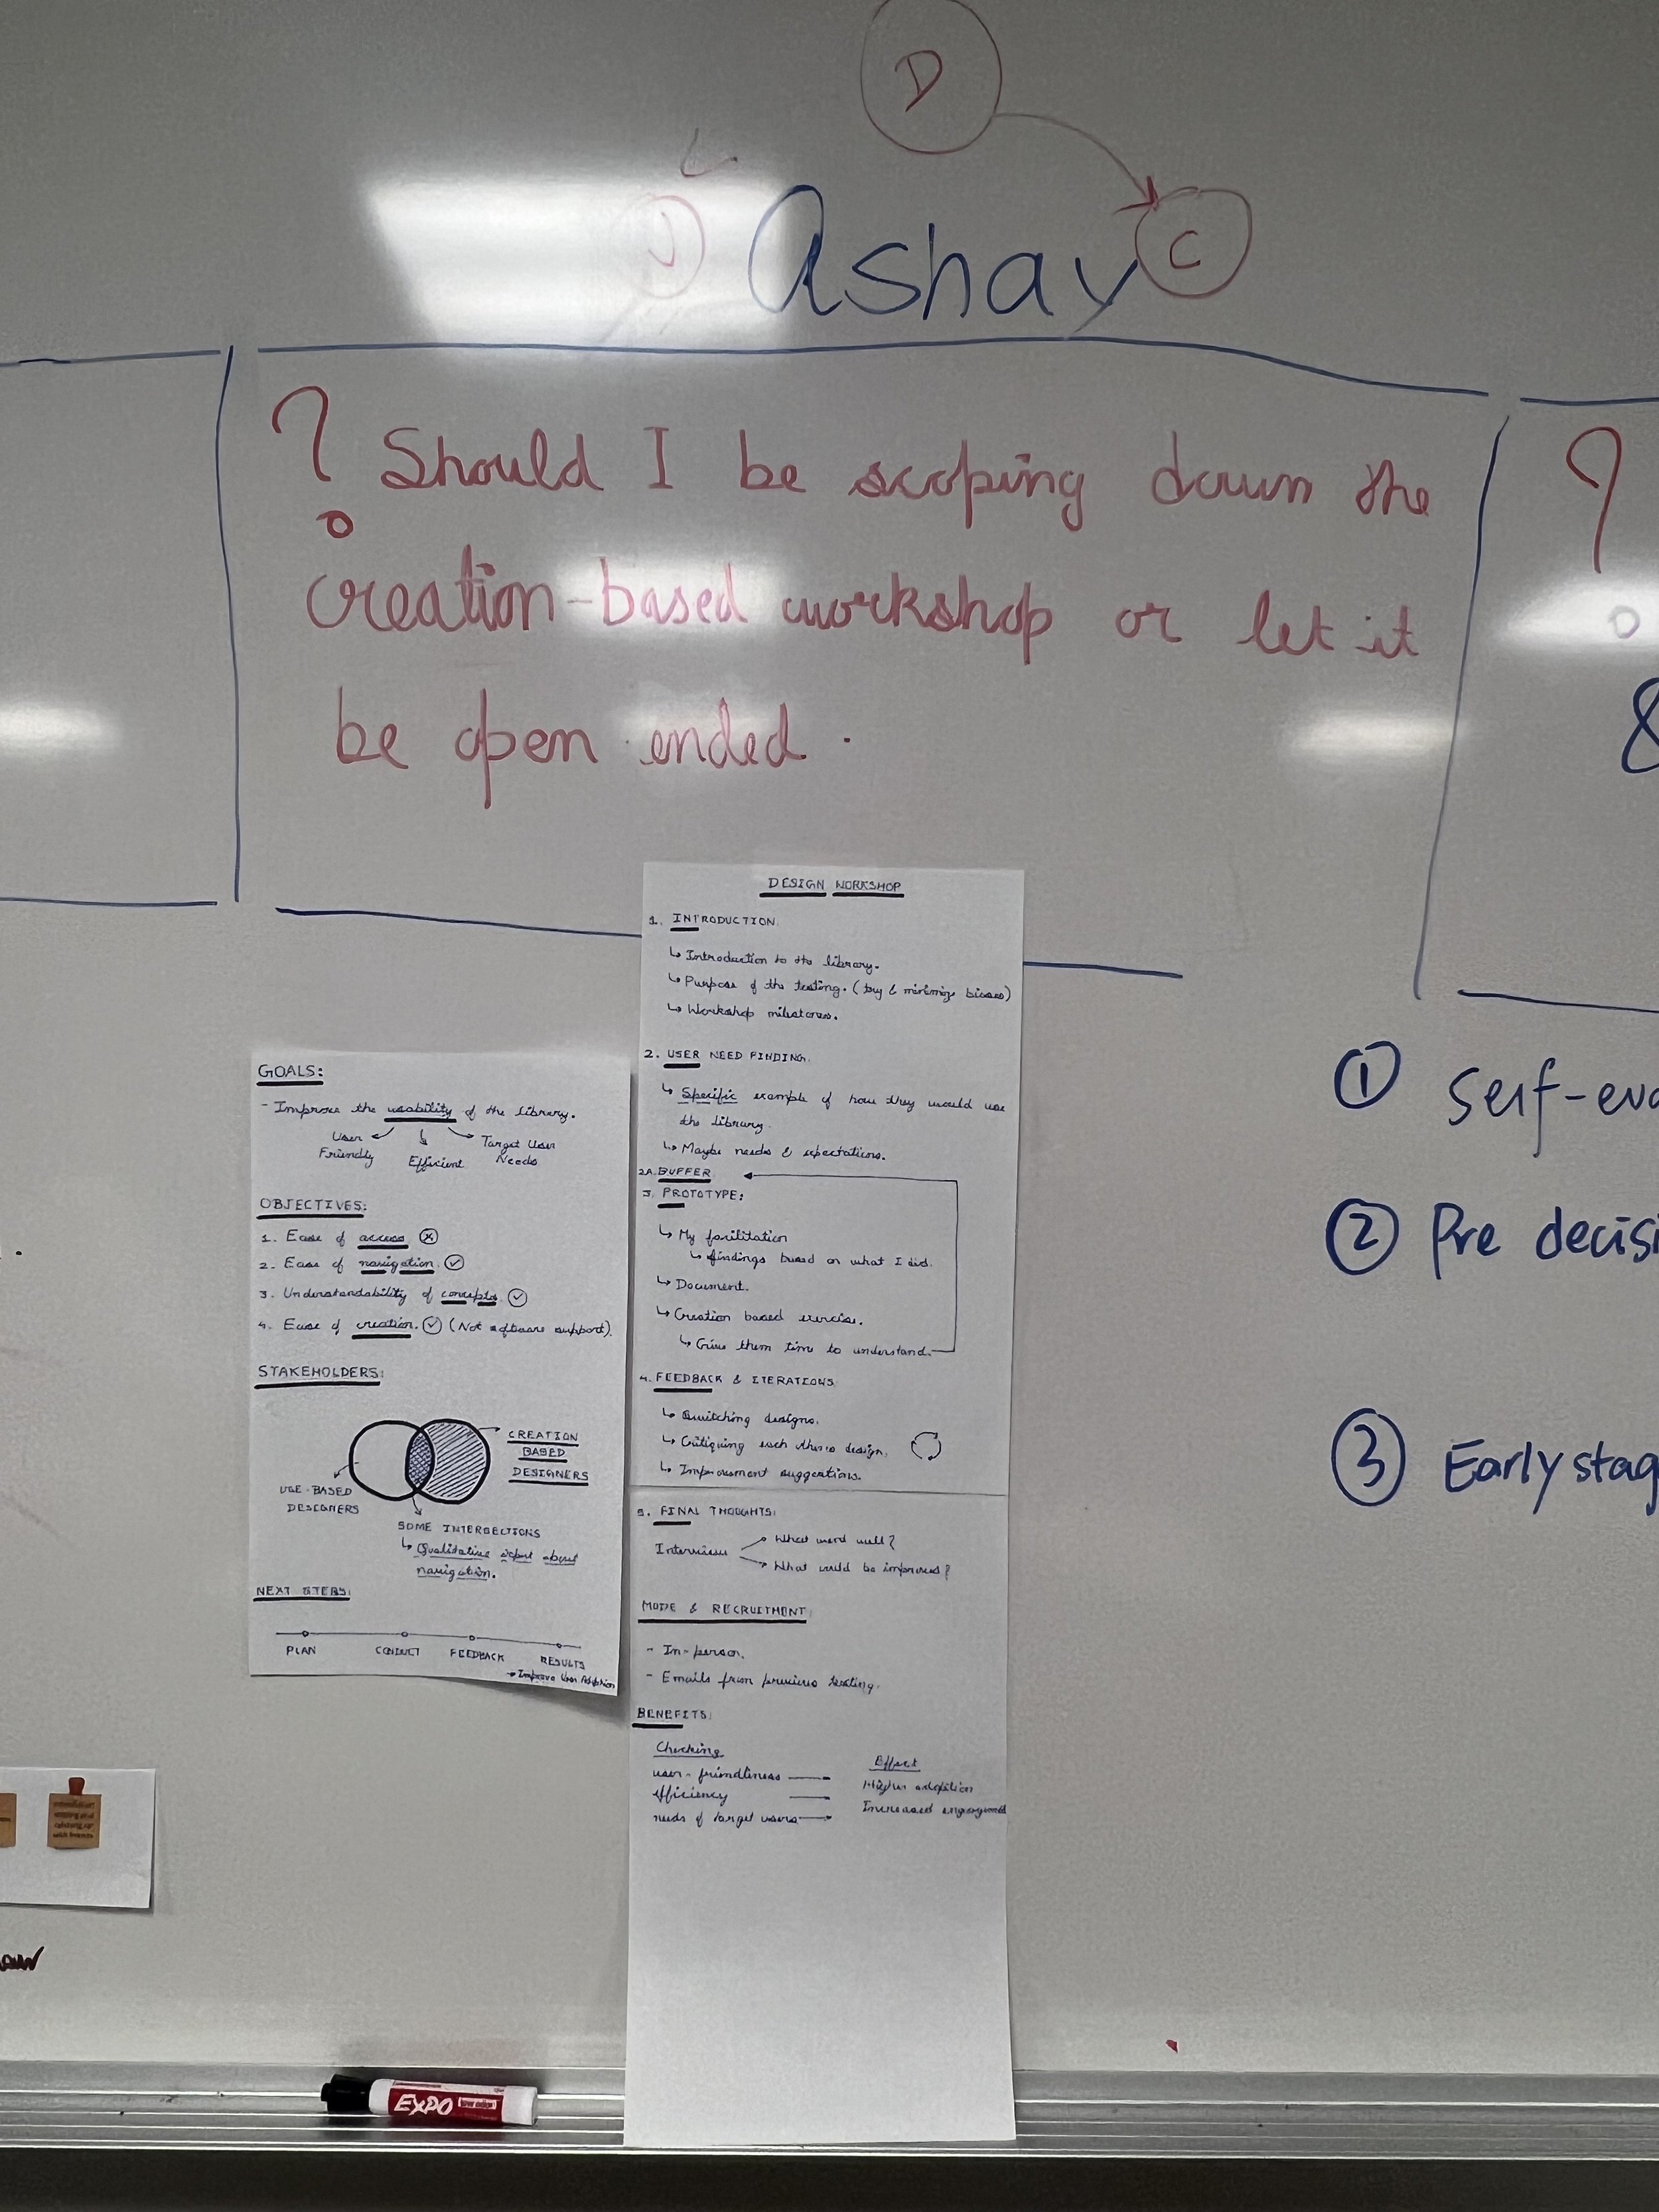
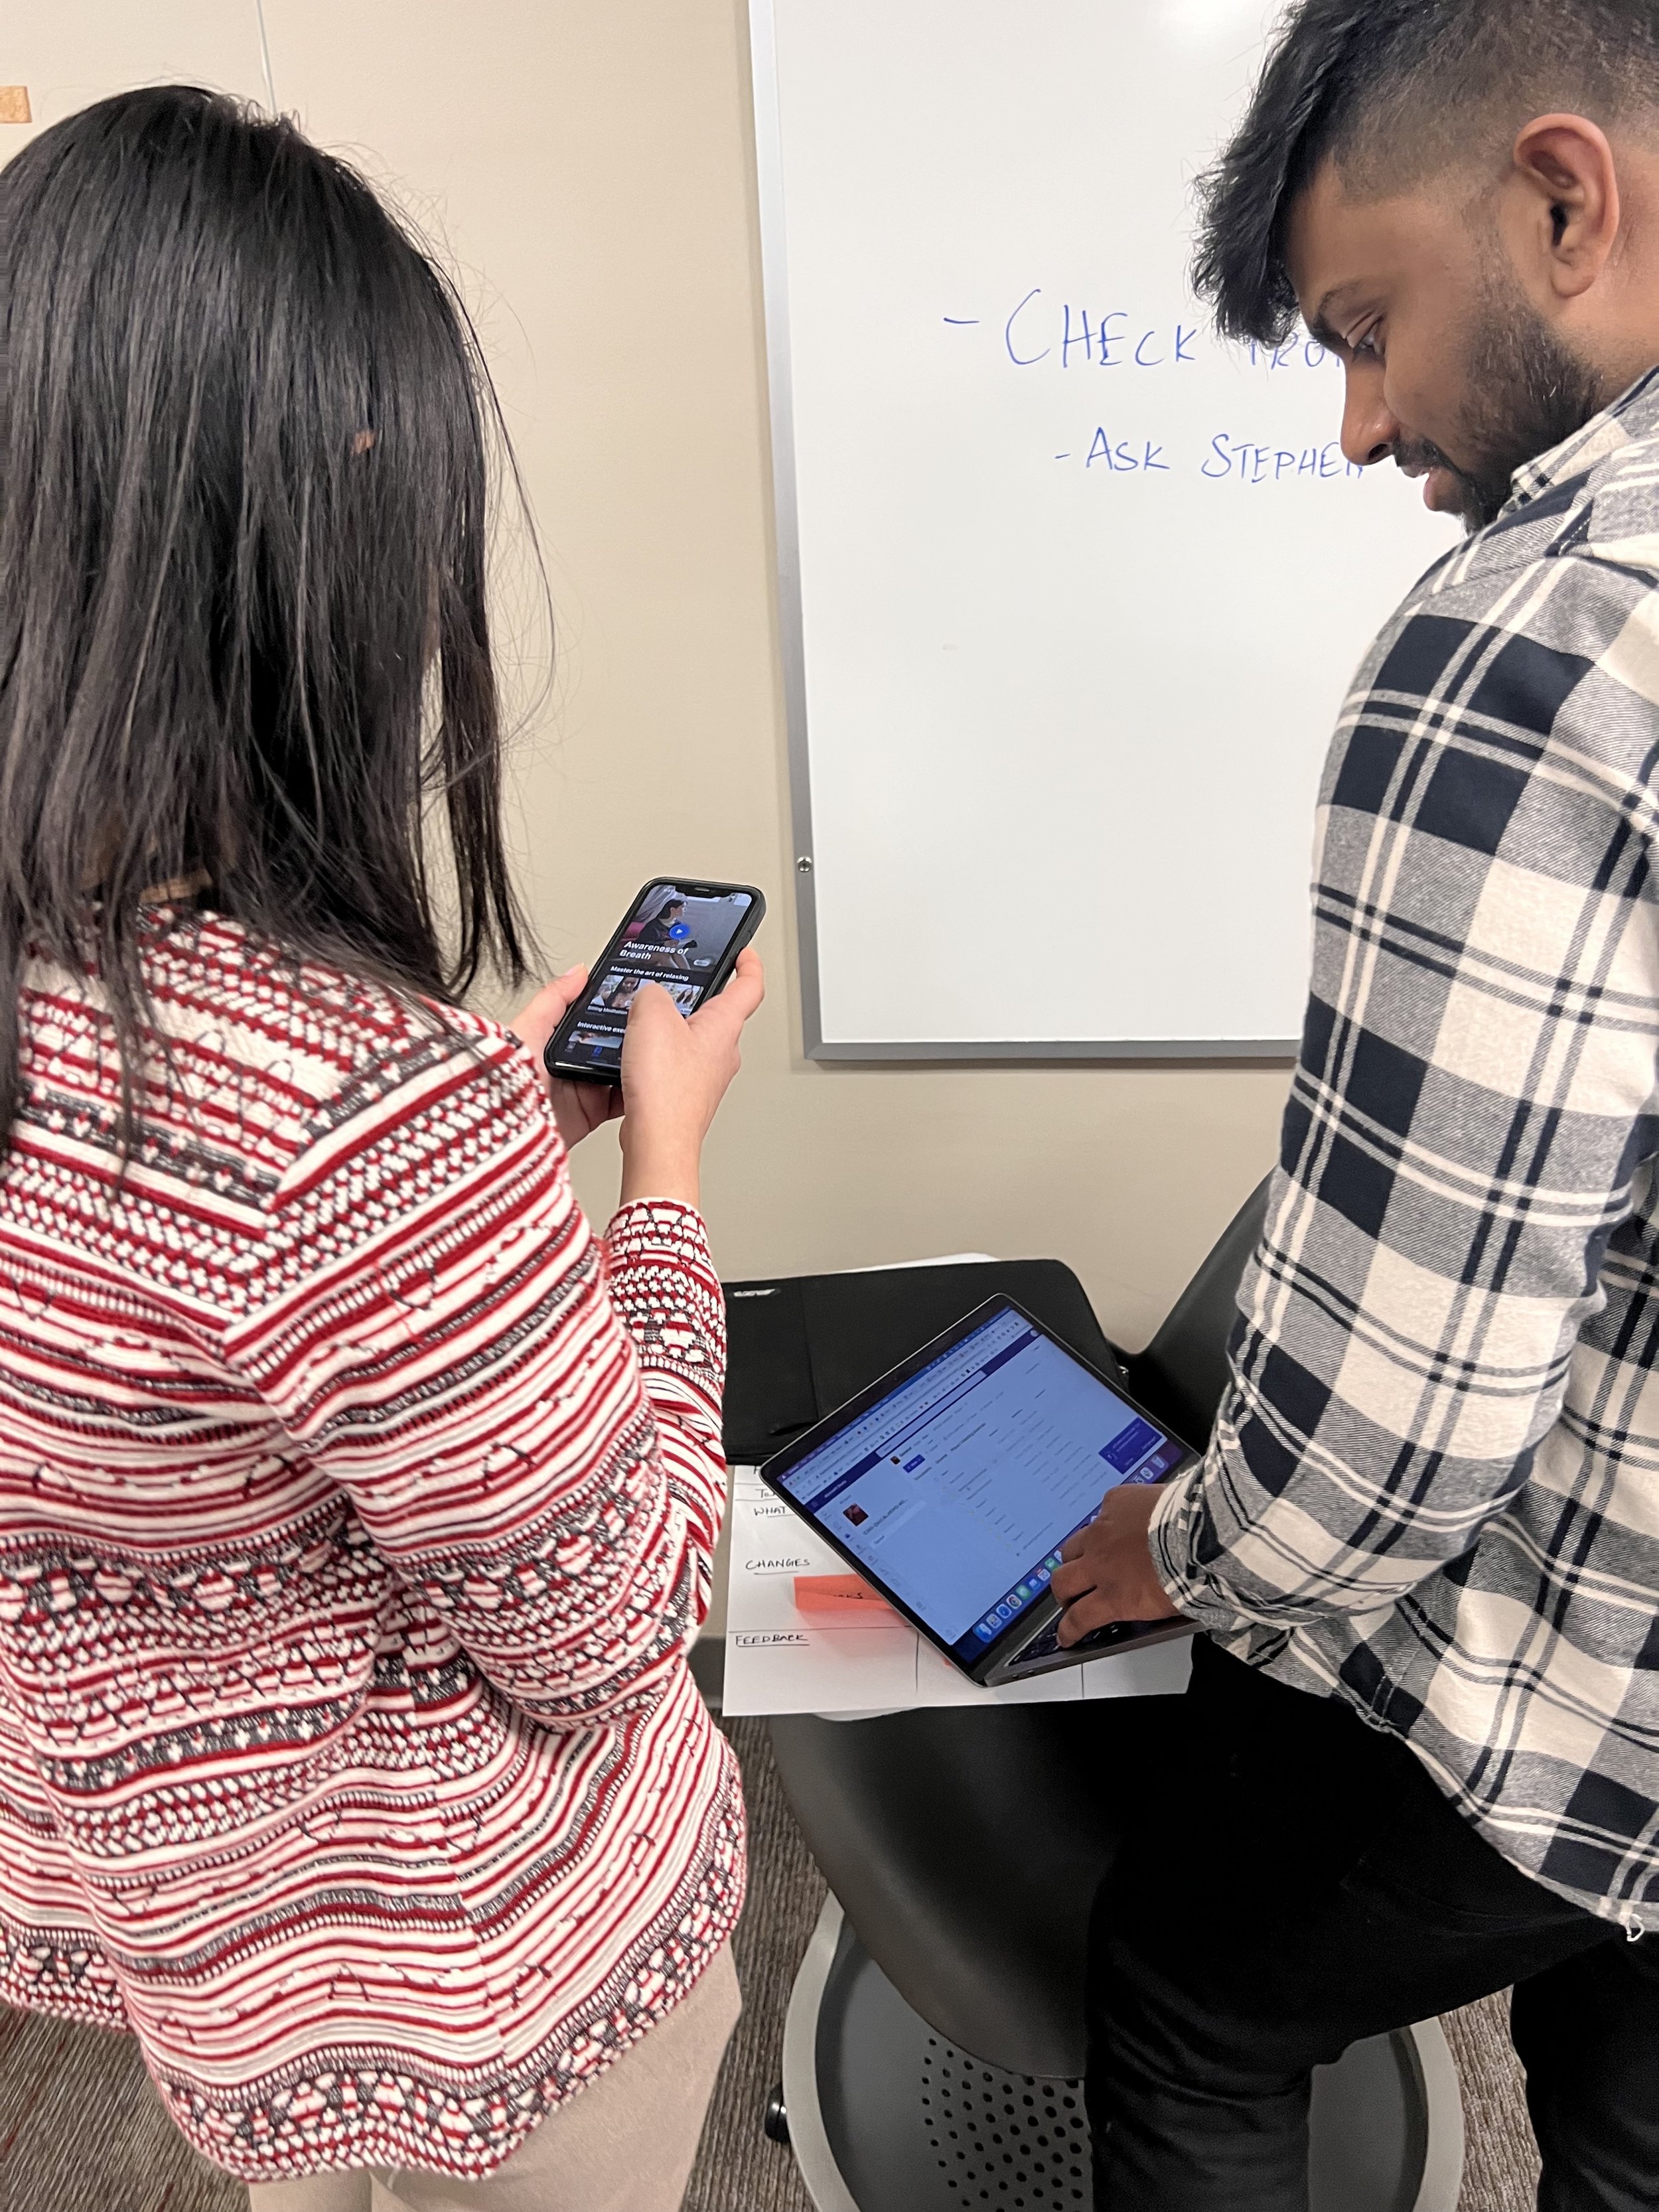
Based on reflections based on last semester, I have alternated weeks with Gallery Walks and desk/peer critique models. In this model, students get paired with another student who might be similar in methods, topic, or approaches in their thesis projects. They discuss amongst each other to share their progress, feedback, or sometimes even expand on each other’s ideation. This is a much more calm-down energy kinda class where mostly they are all sitting in contrast to a stand-up and all-time-moving Gallery Walks.
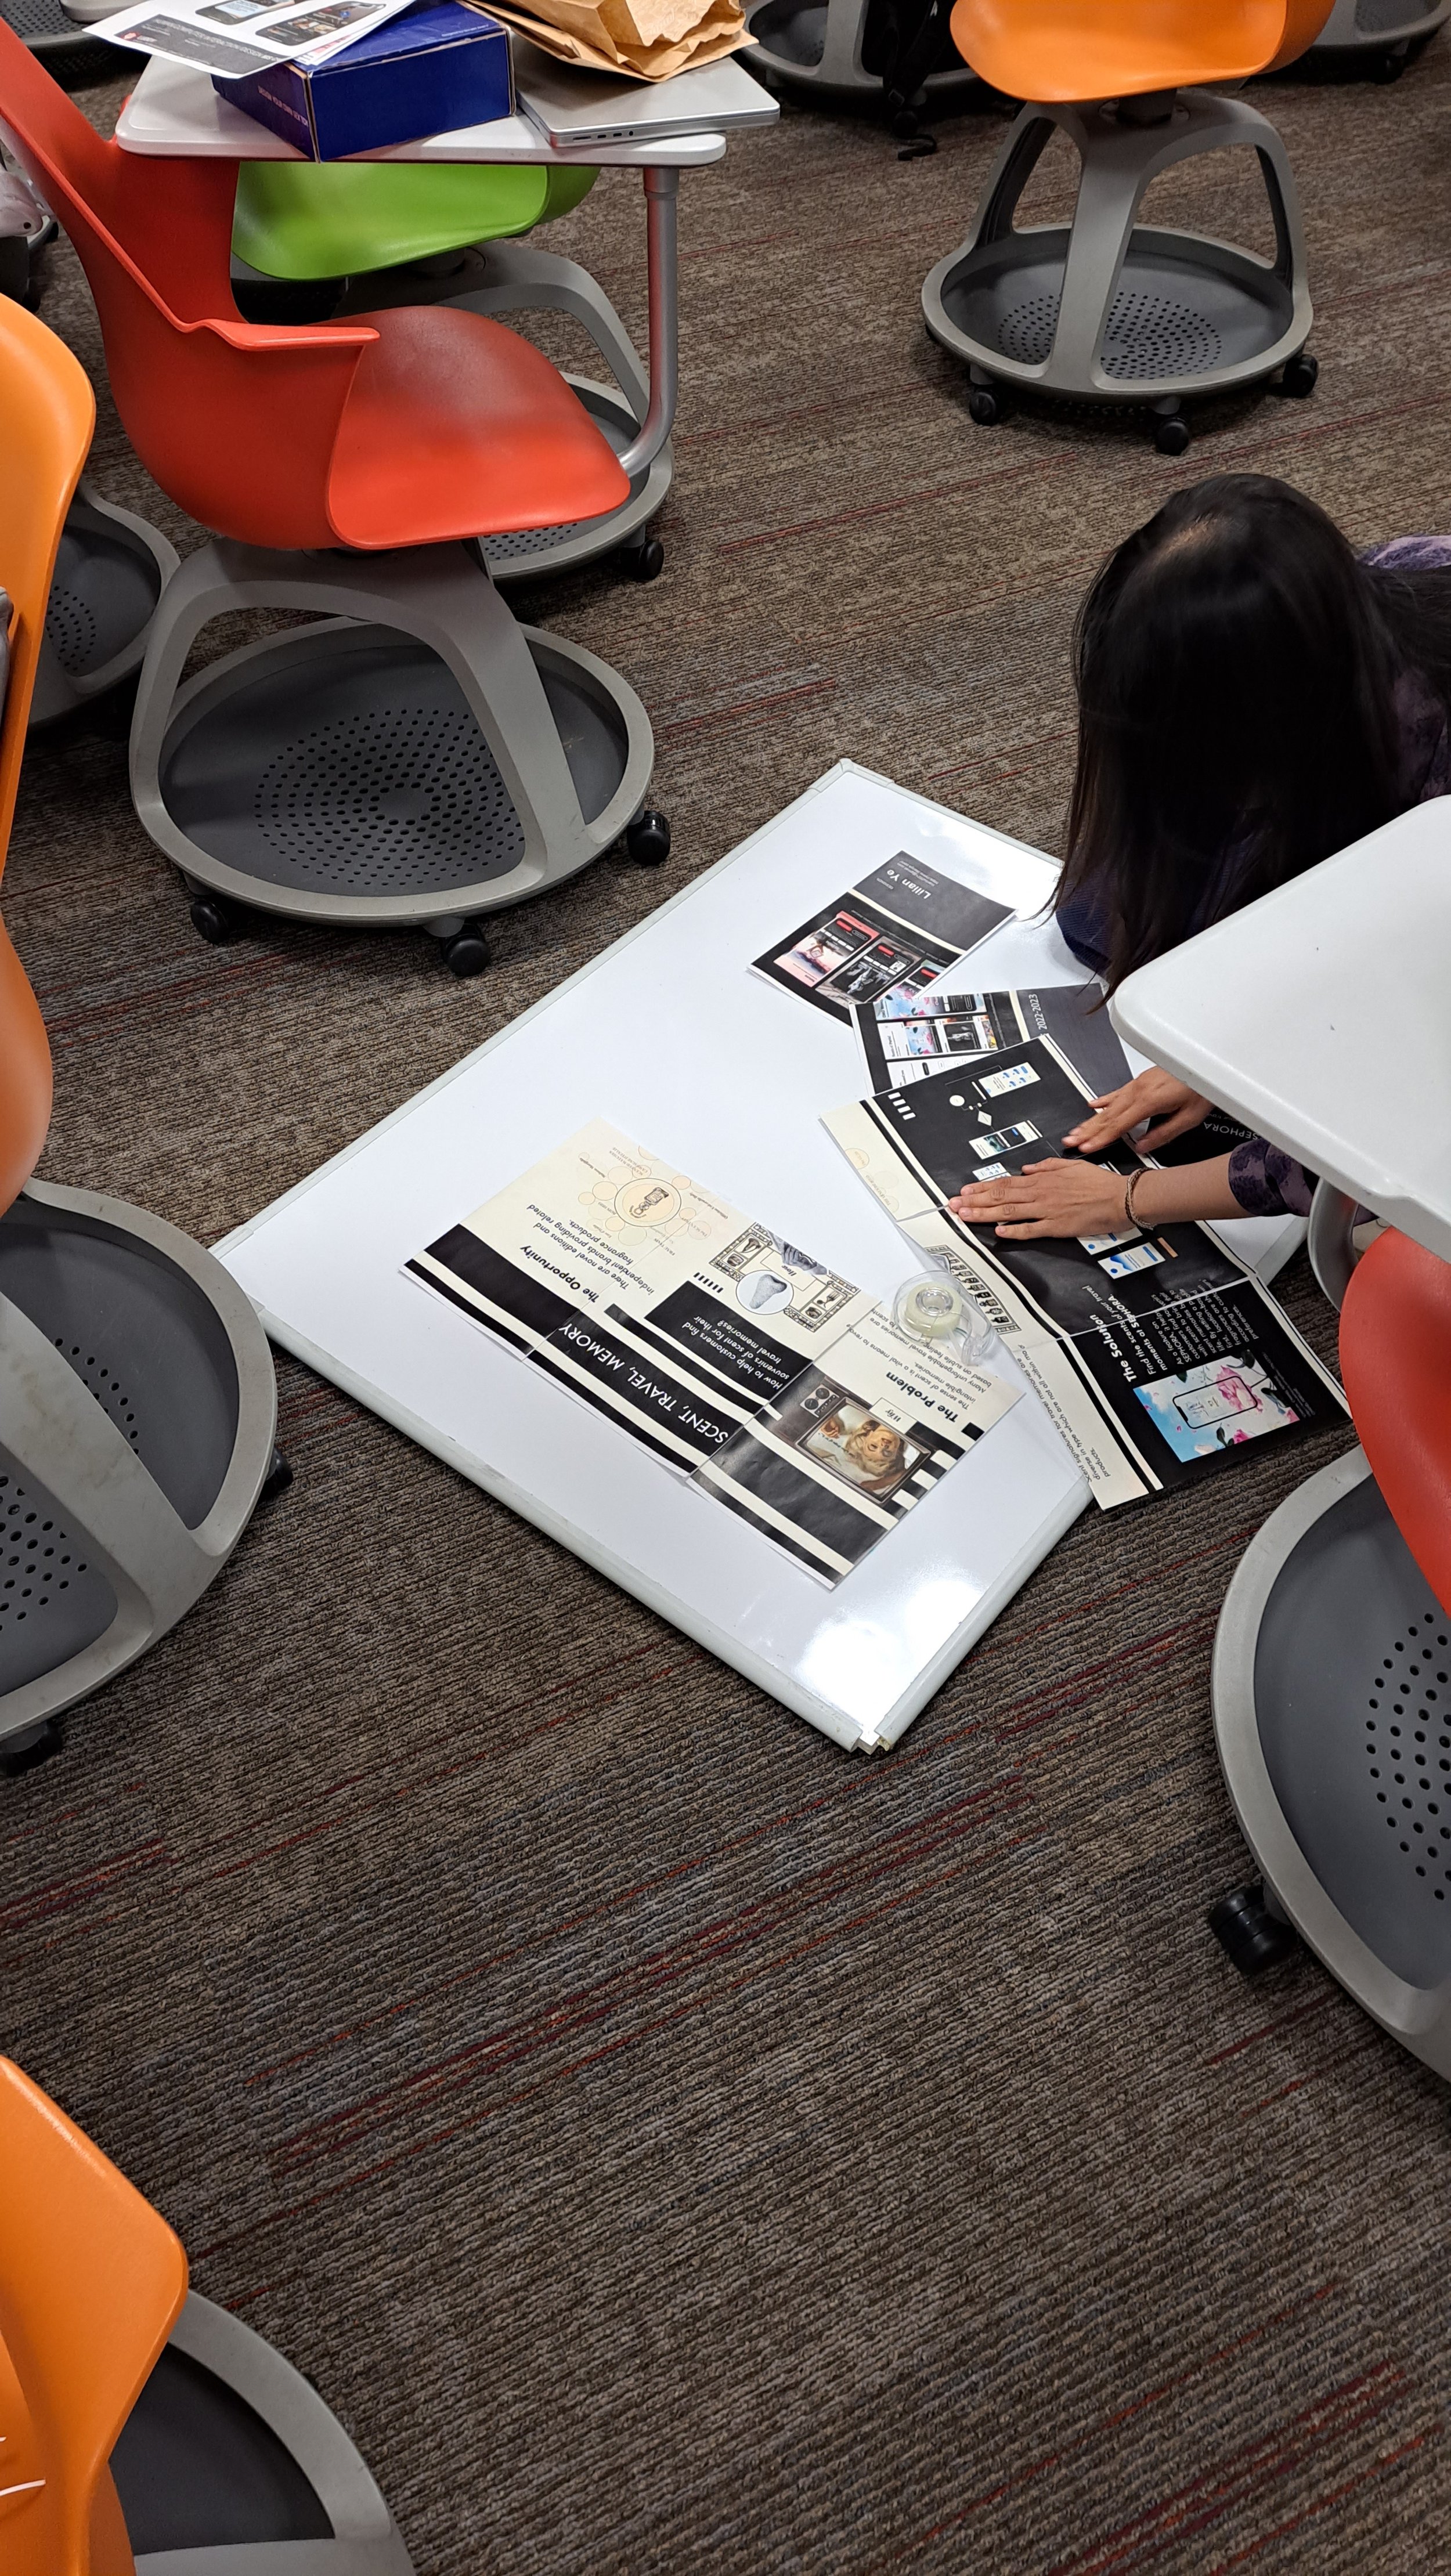
In Week 7, I tried a different model of a Peer-critique model which was not just desk focused and little bit more activity oriented for students to give each other feedback, still retaining the one-on-one peer feedback in the form of a Storyboarding Exercise.
One-Q Gallery Walk
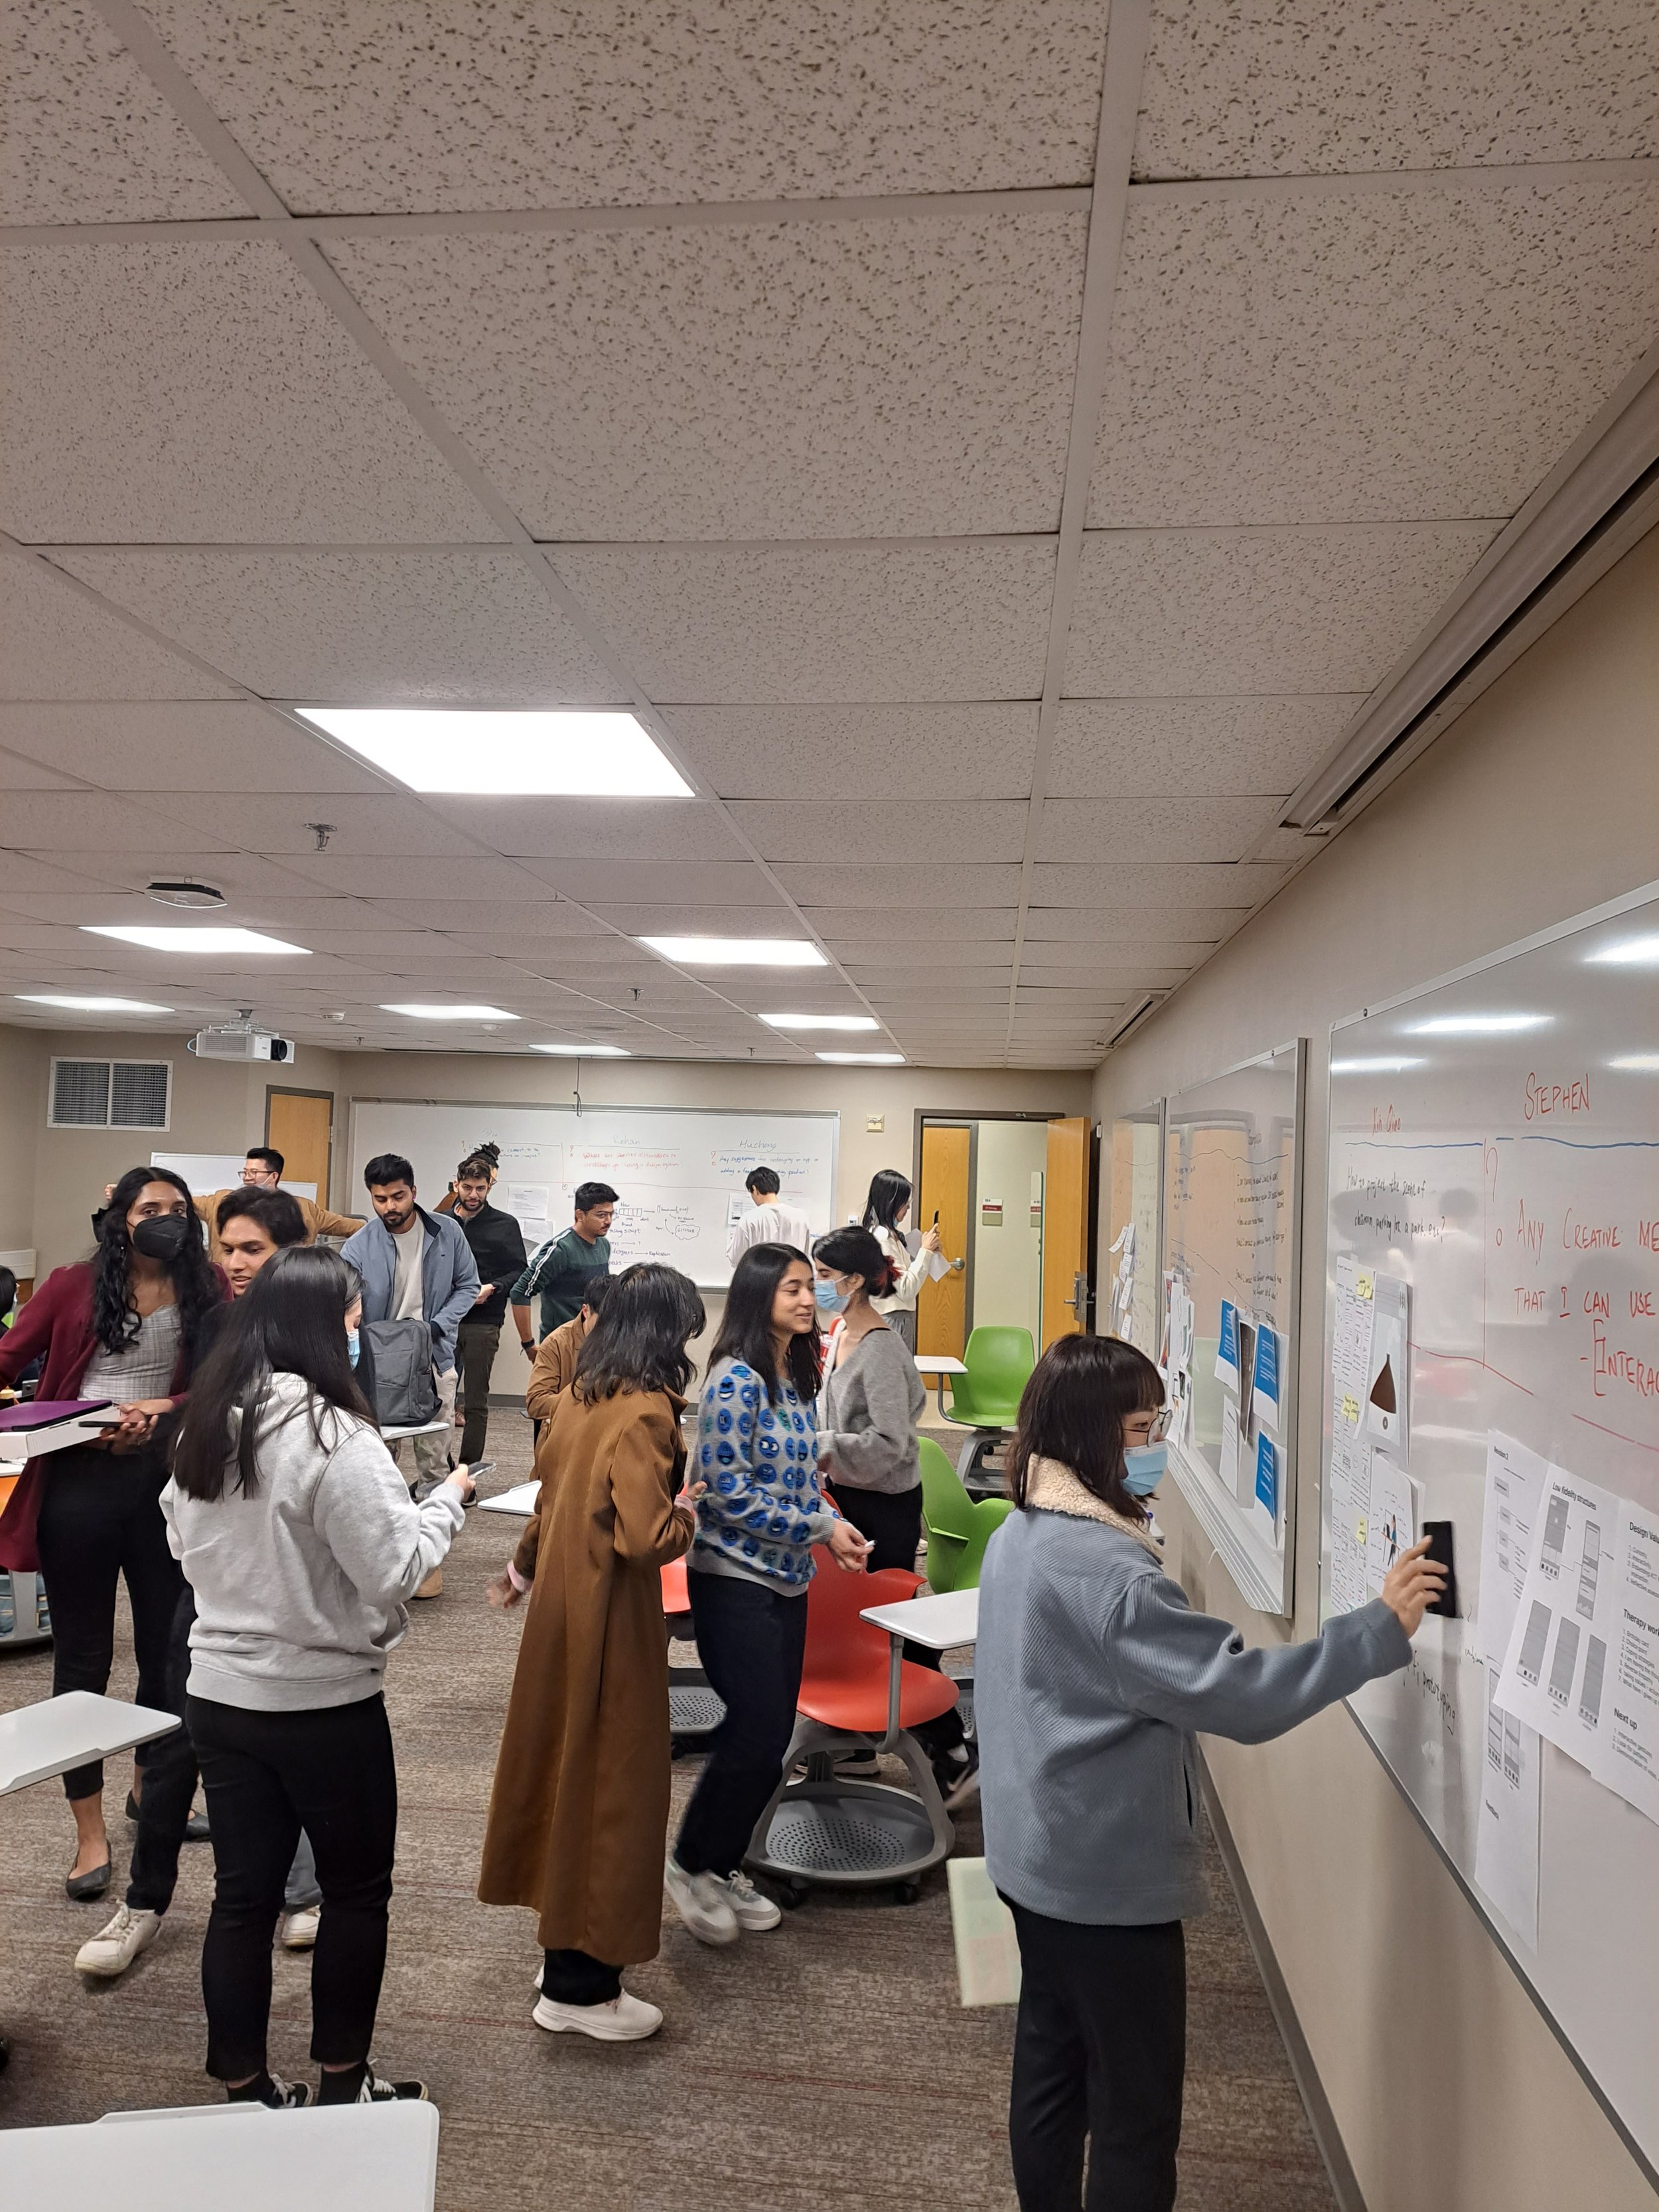
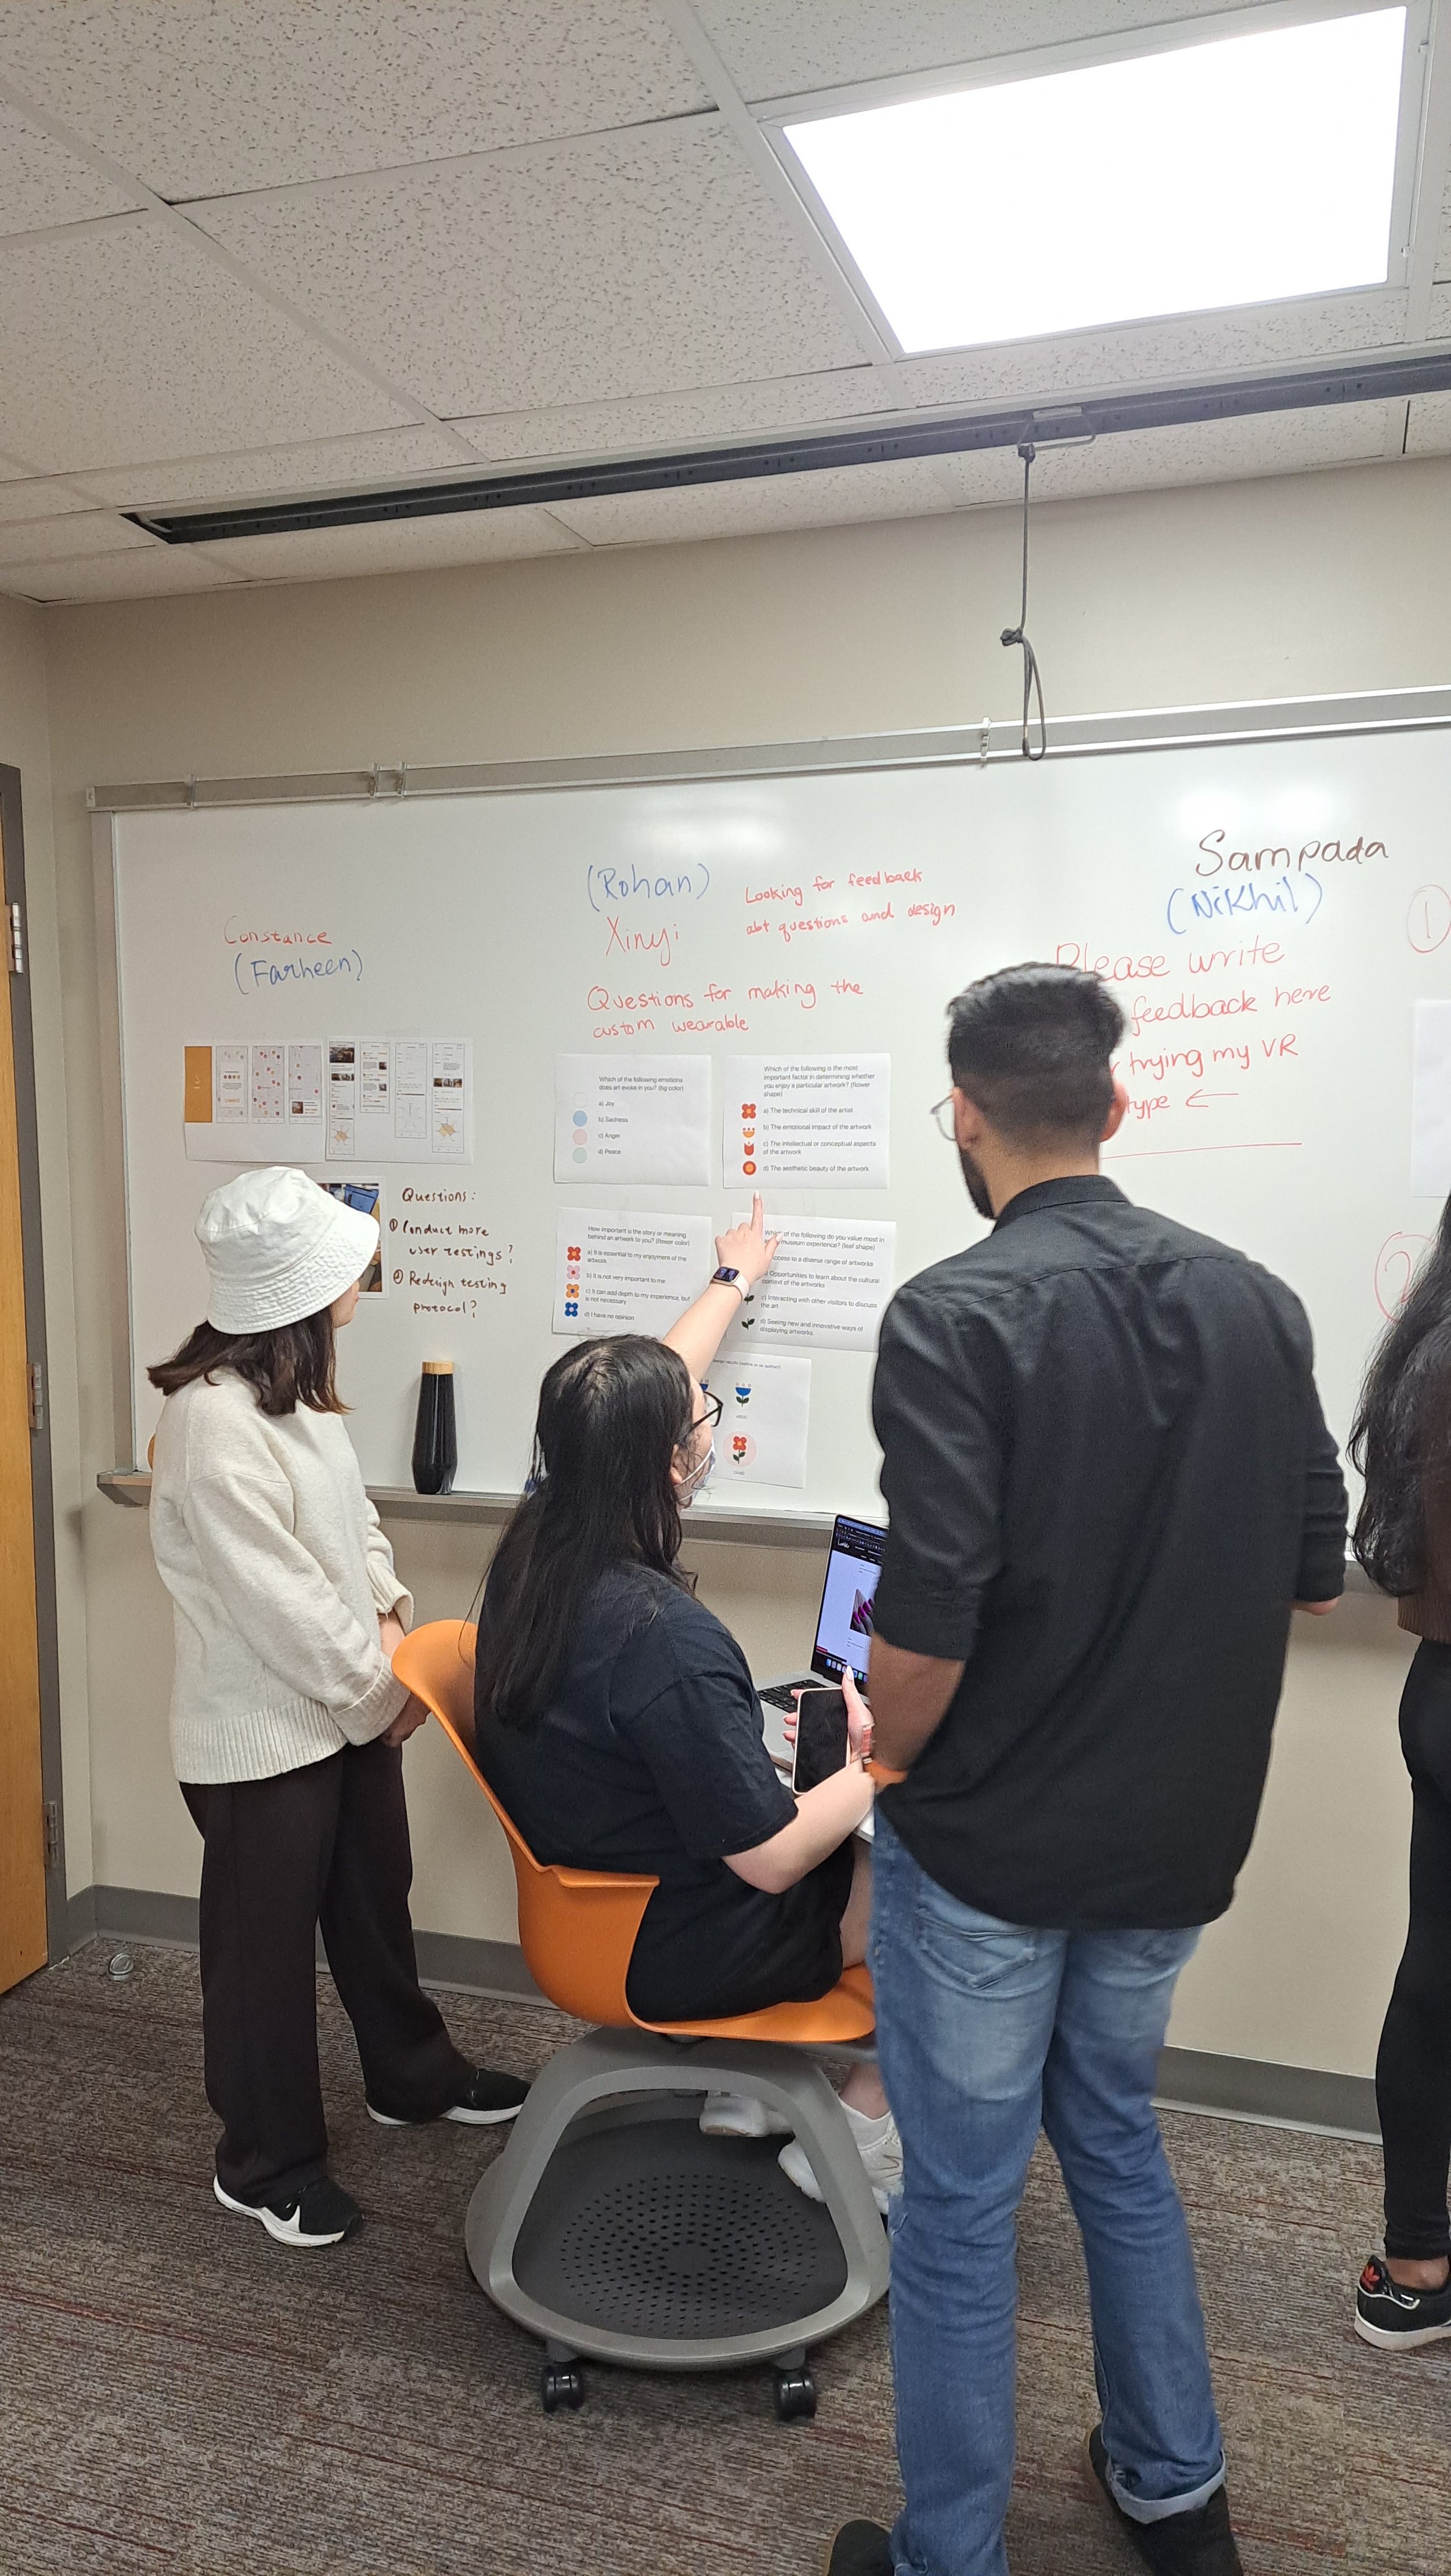
To change the gallery walk a little bit, in Week 6, we did a One-Question Gallery Walk model (similar to last semester) where students present about their progress to the whole class in 2 mins and ask ONE Question that they want feedback from their peers. Their board is set up to clearly highlight that one question at the top of the board and have rest of the material arranged below it for anyone to take a sneak-peak in detail.

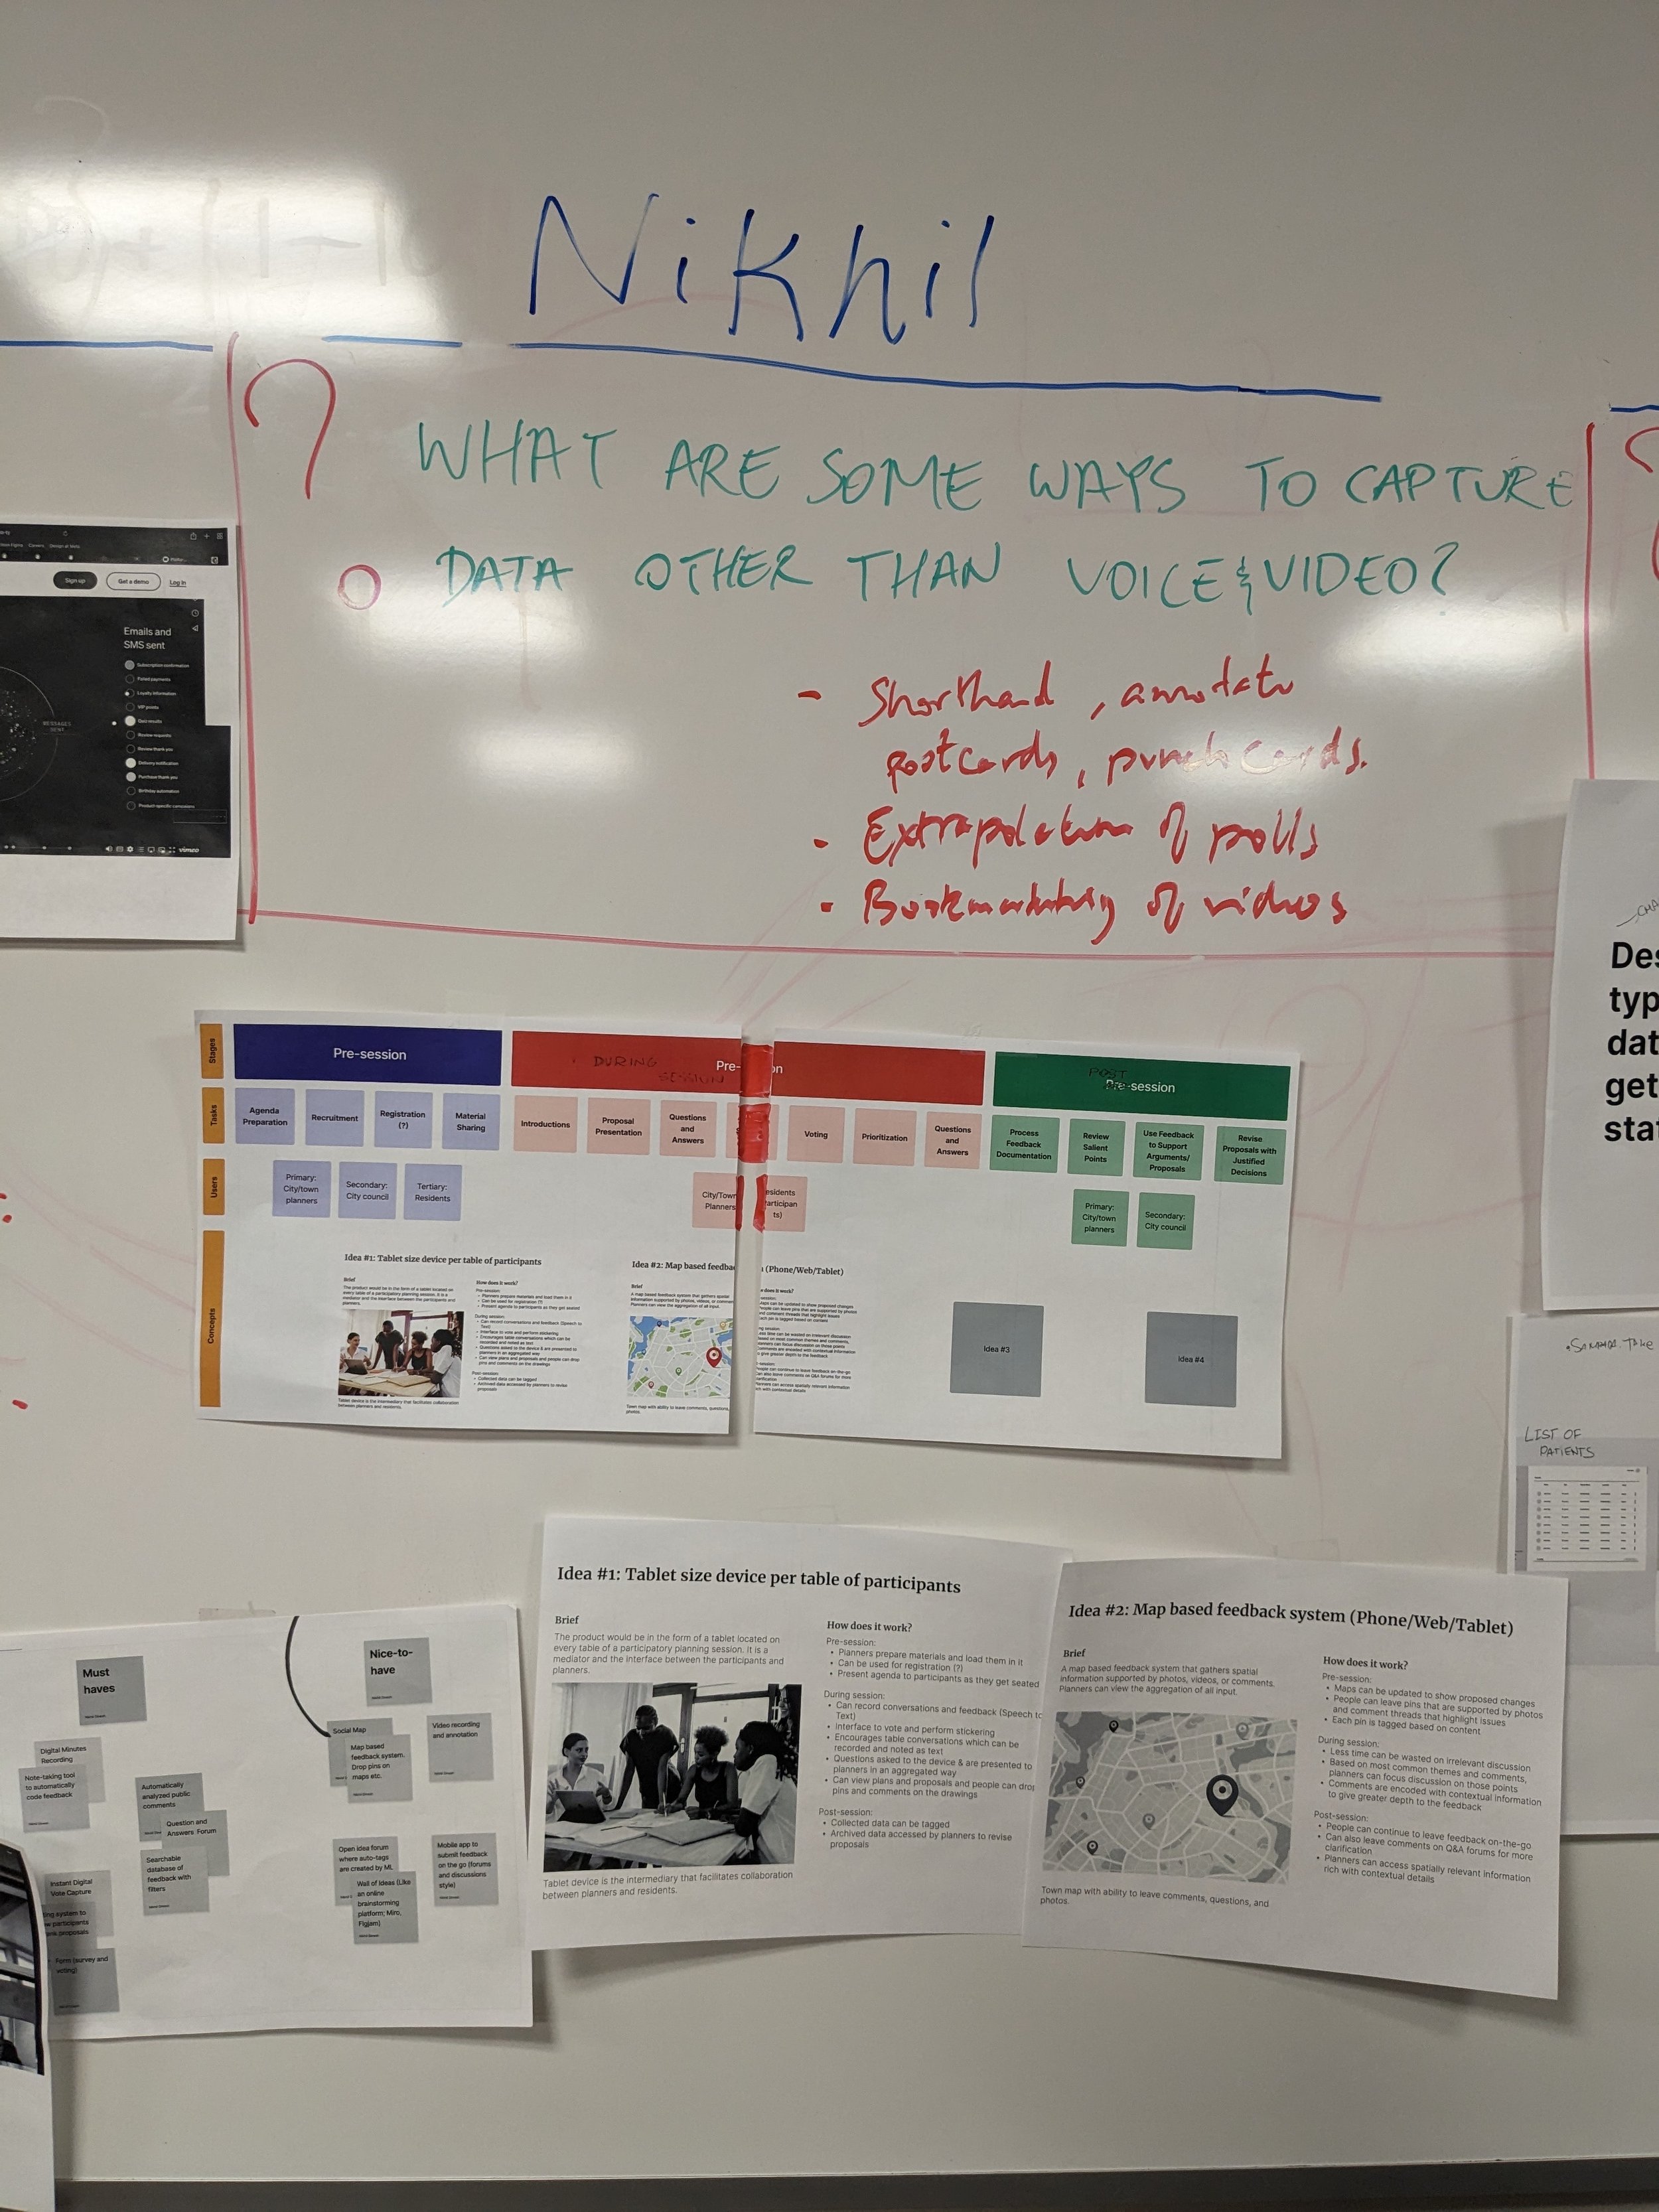
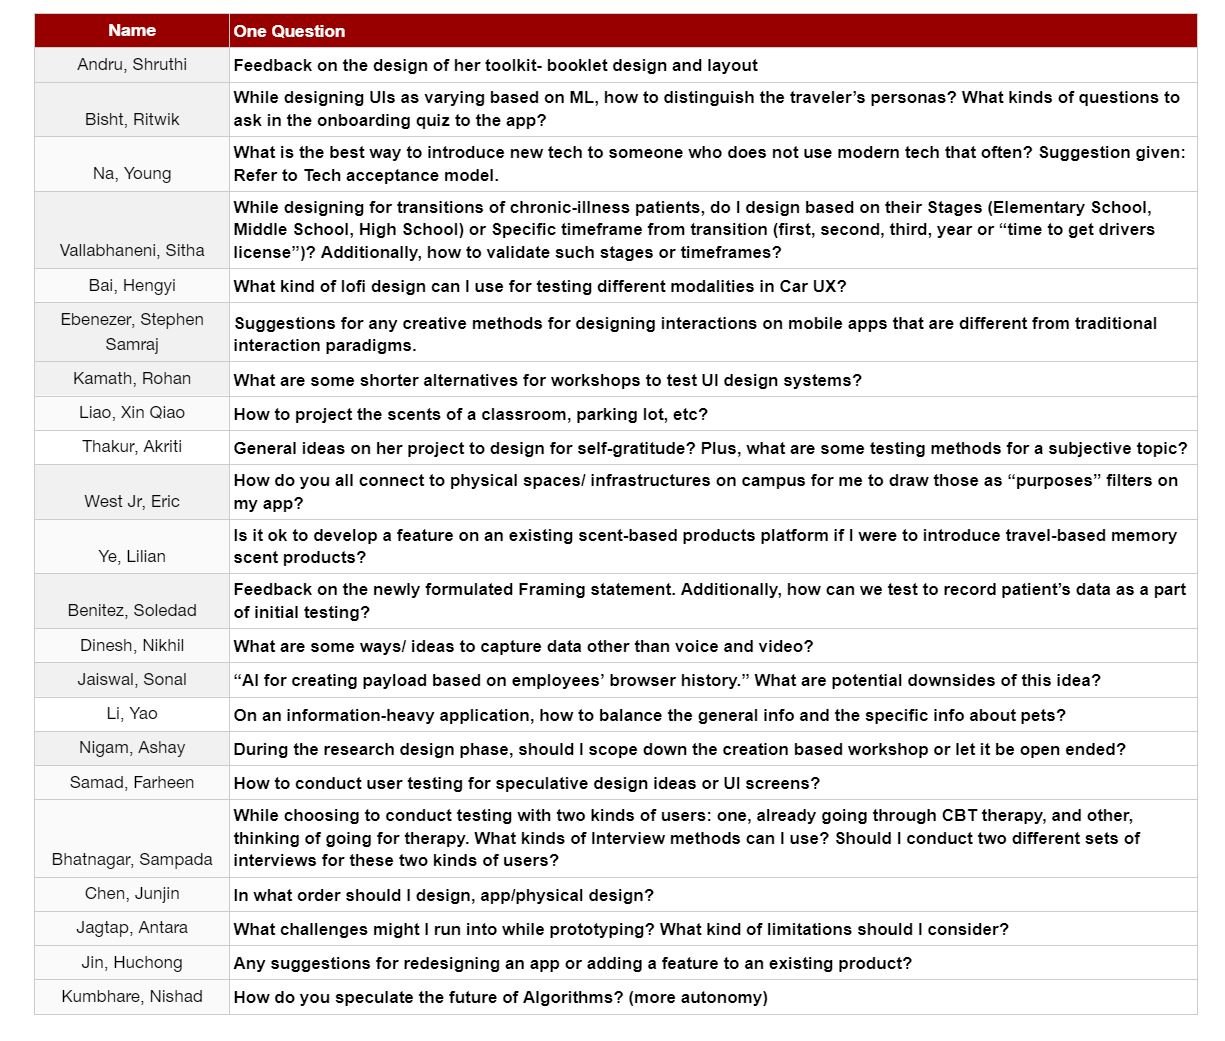
List of Questions students were asking during One-Q Gallery Walk. Thanks Ariel to make the list.
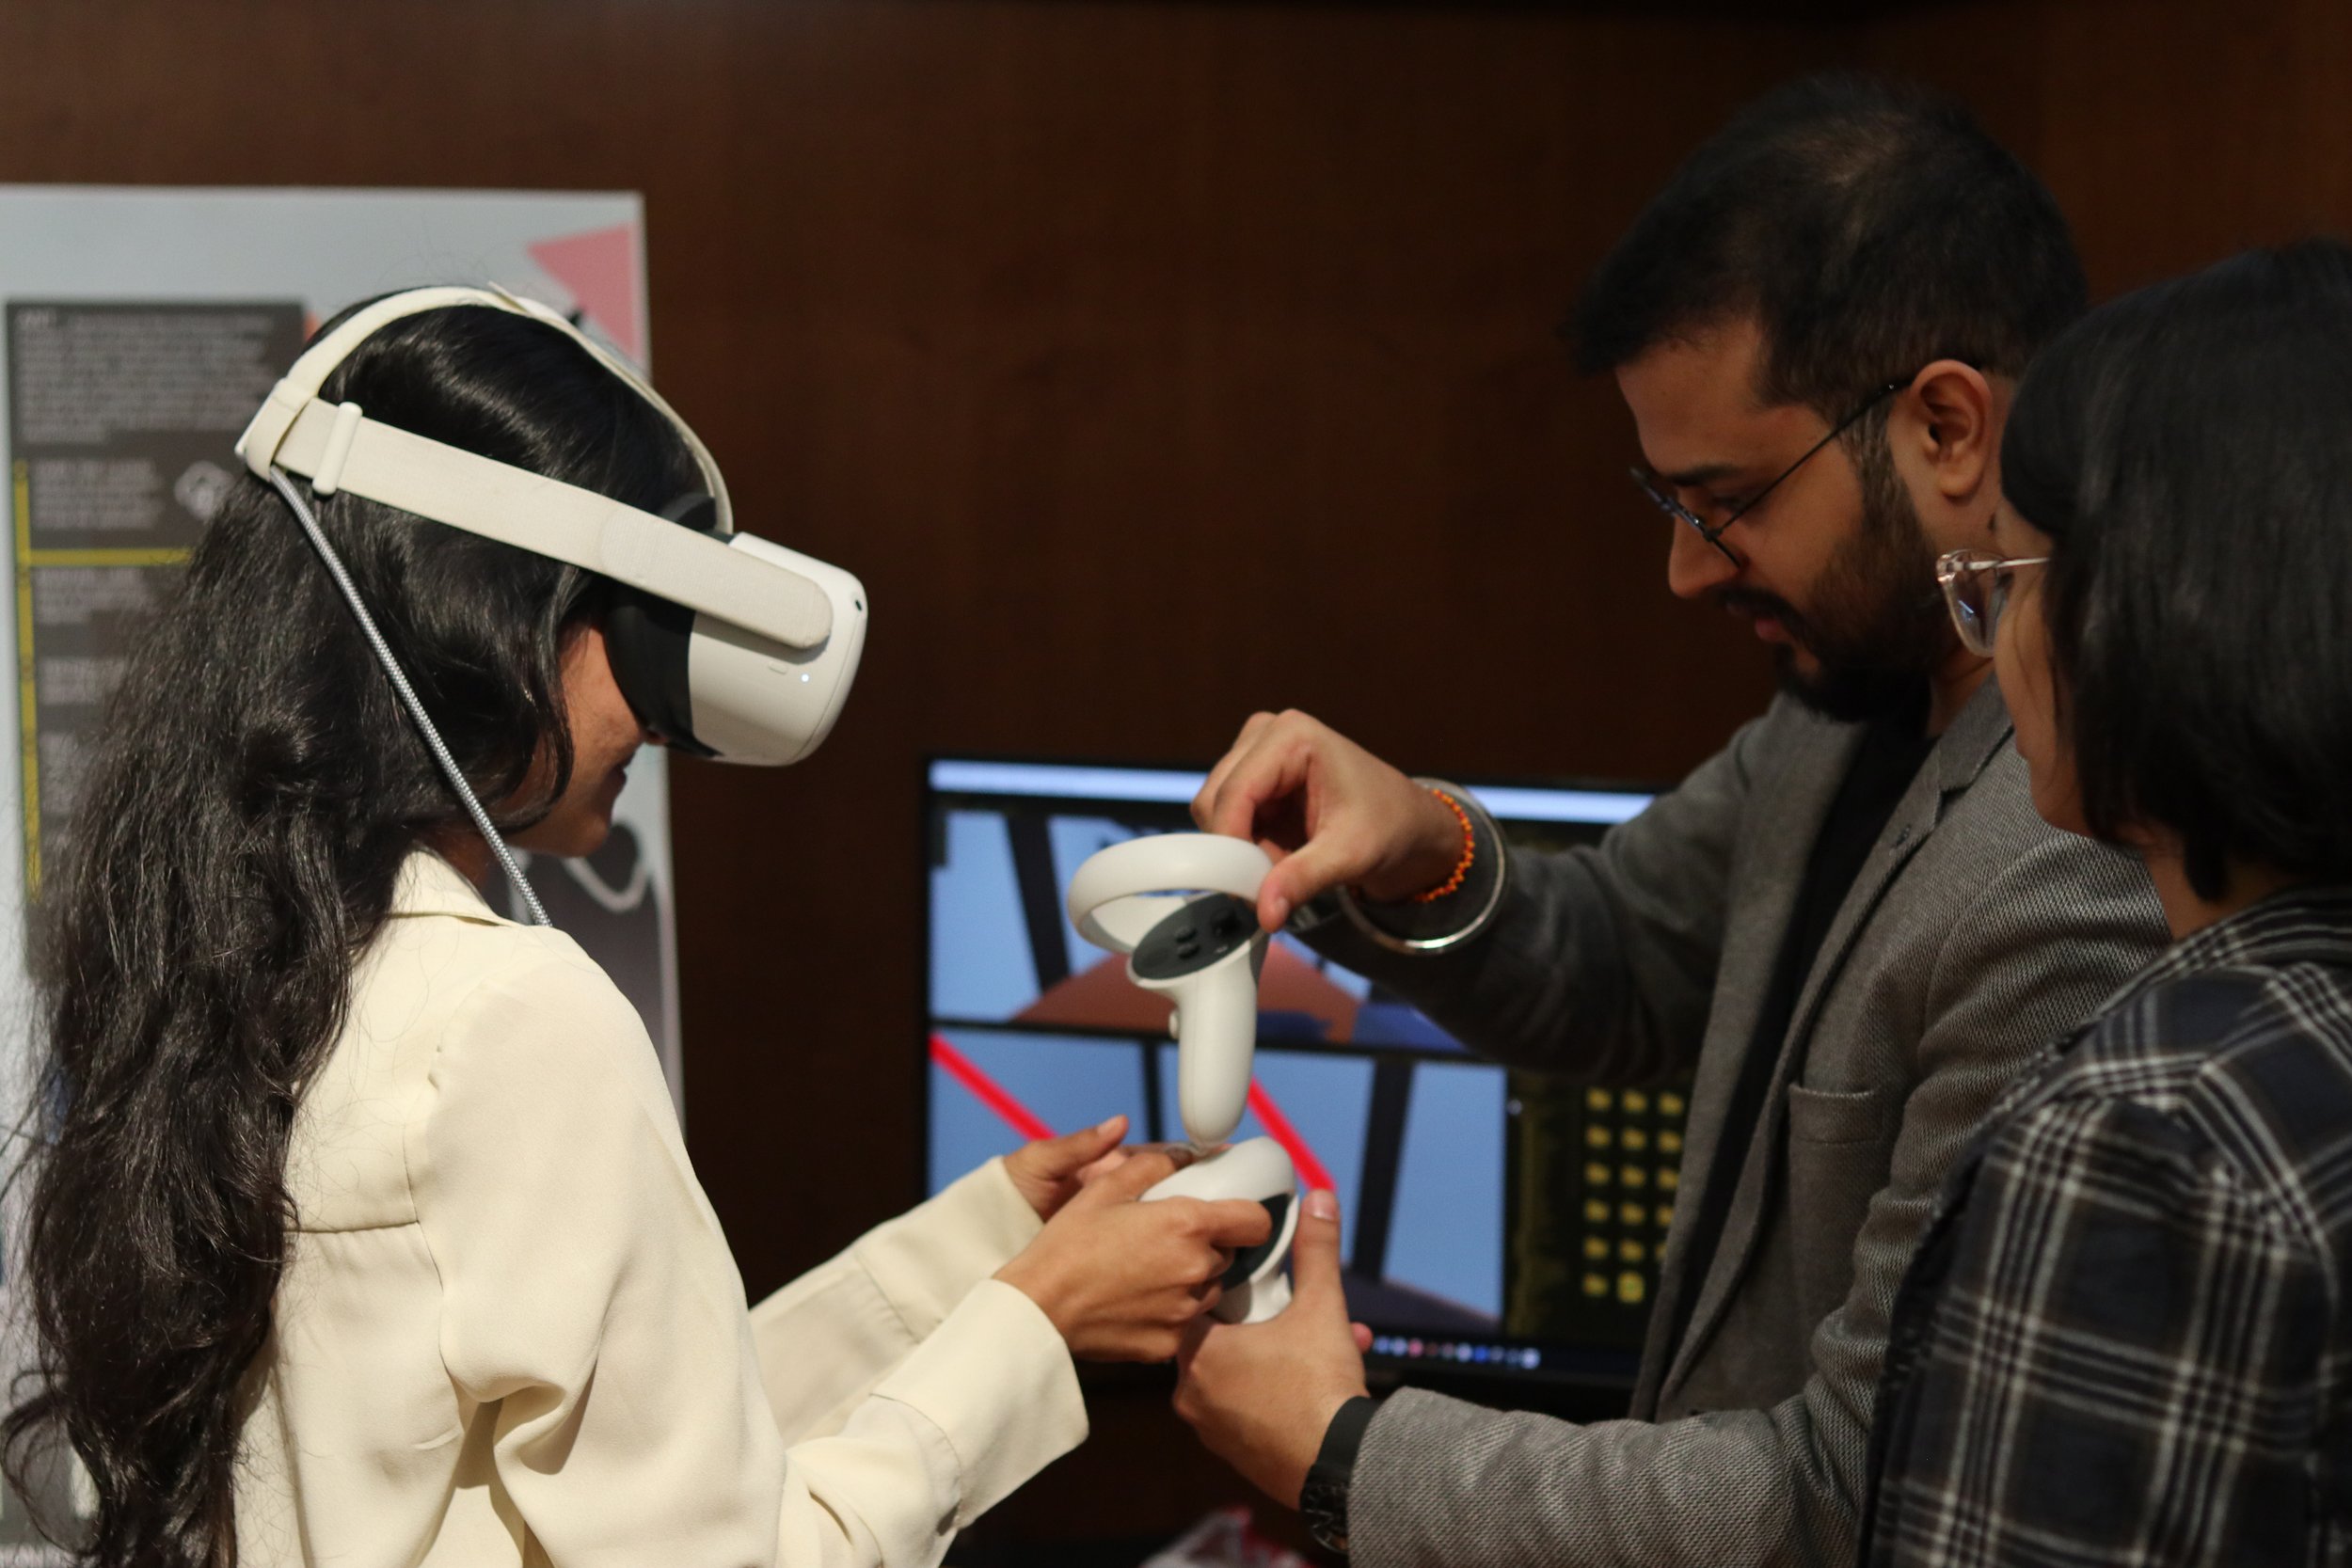
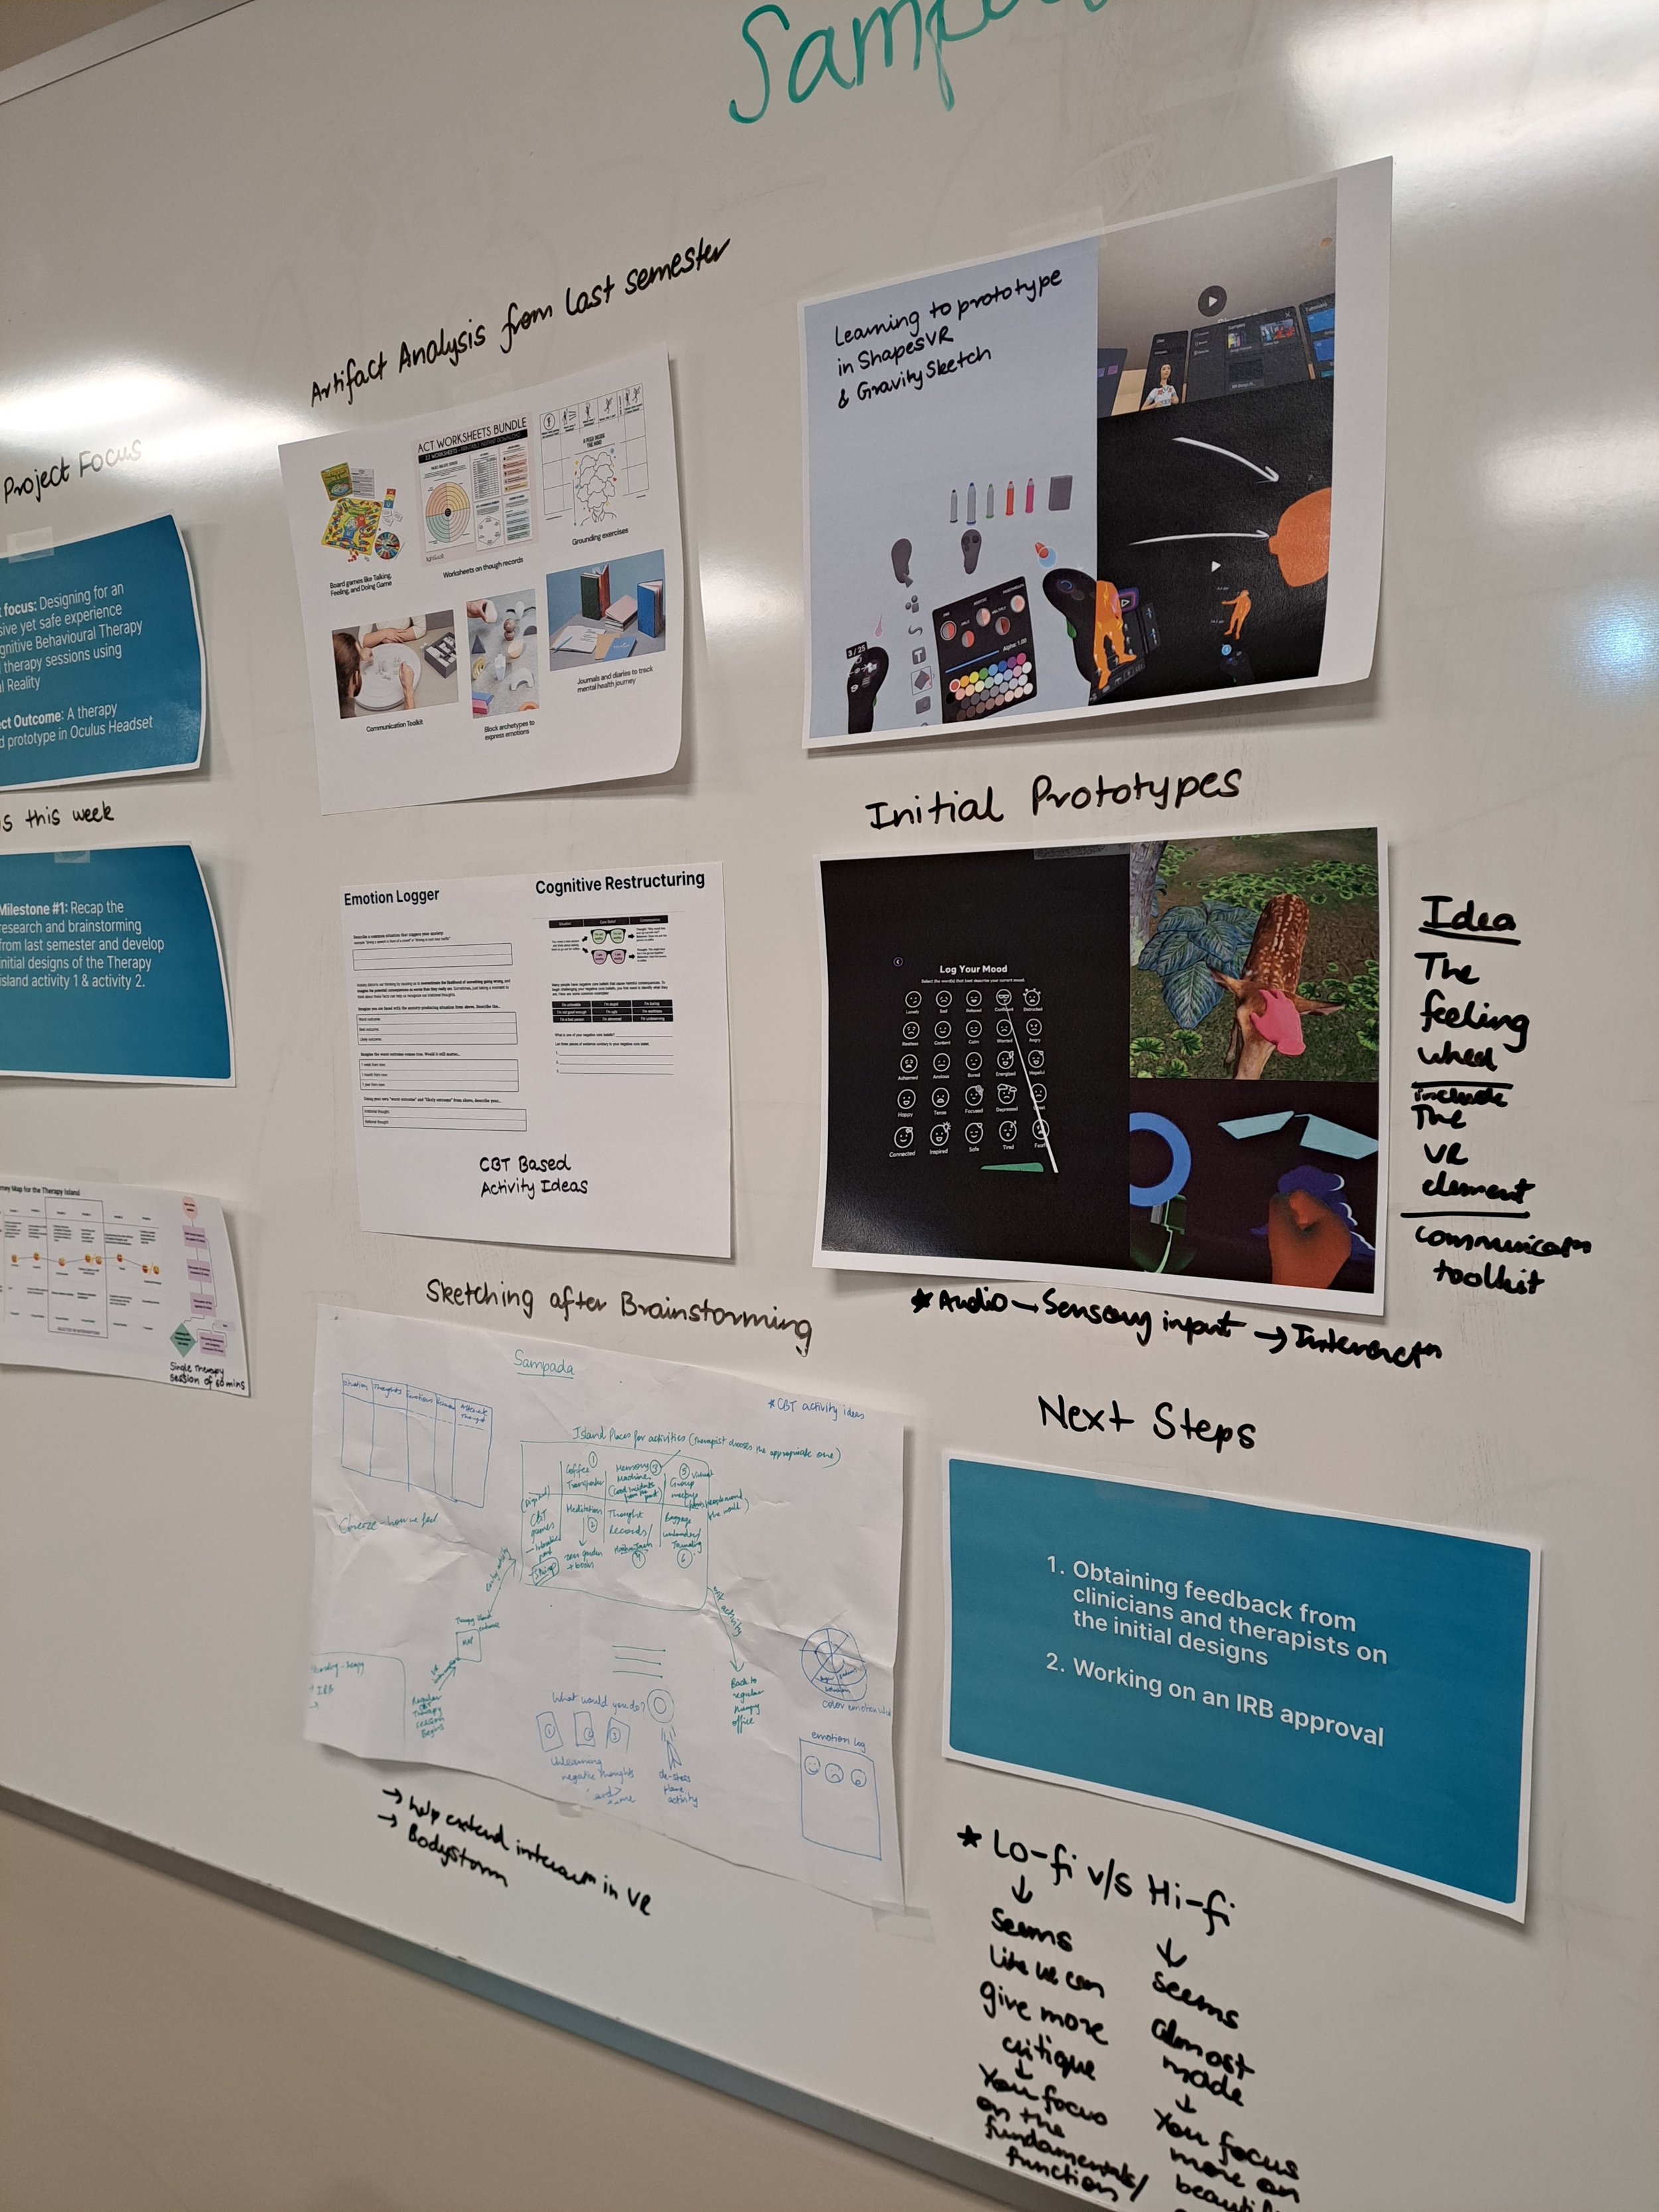
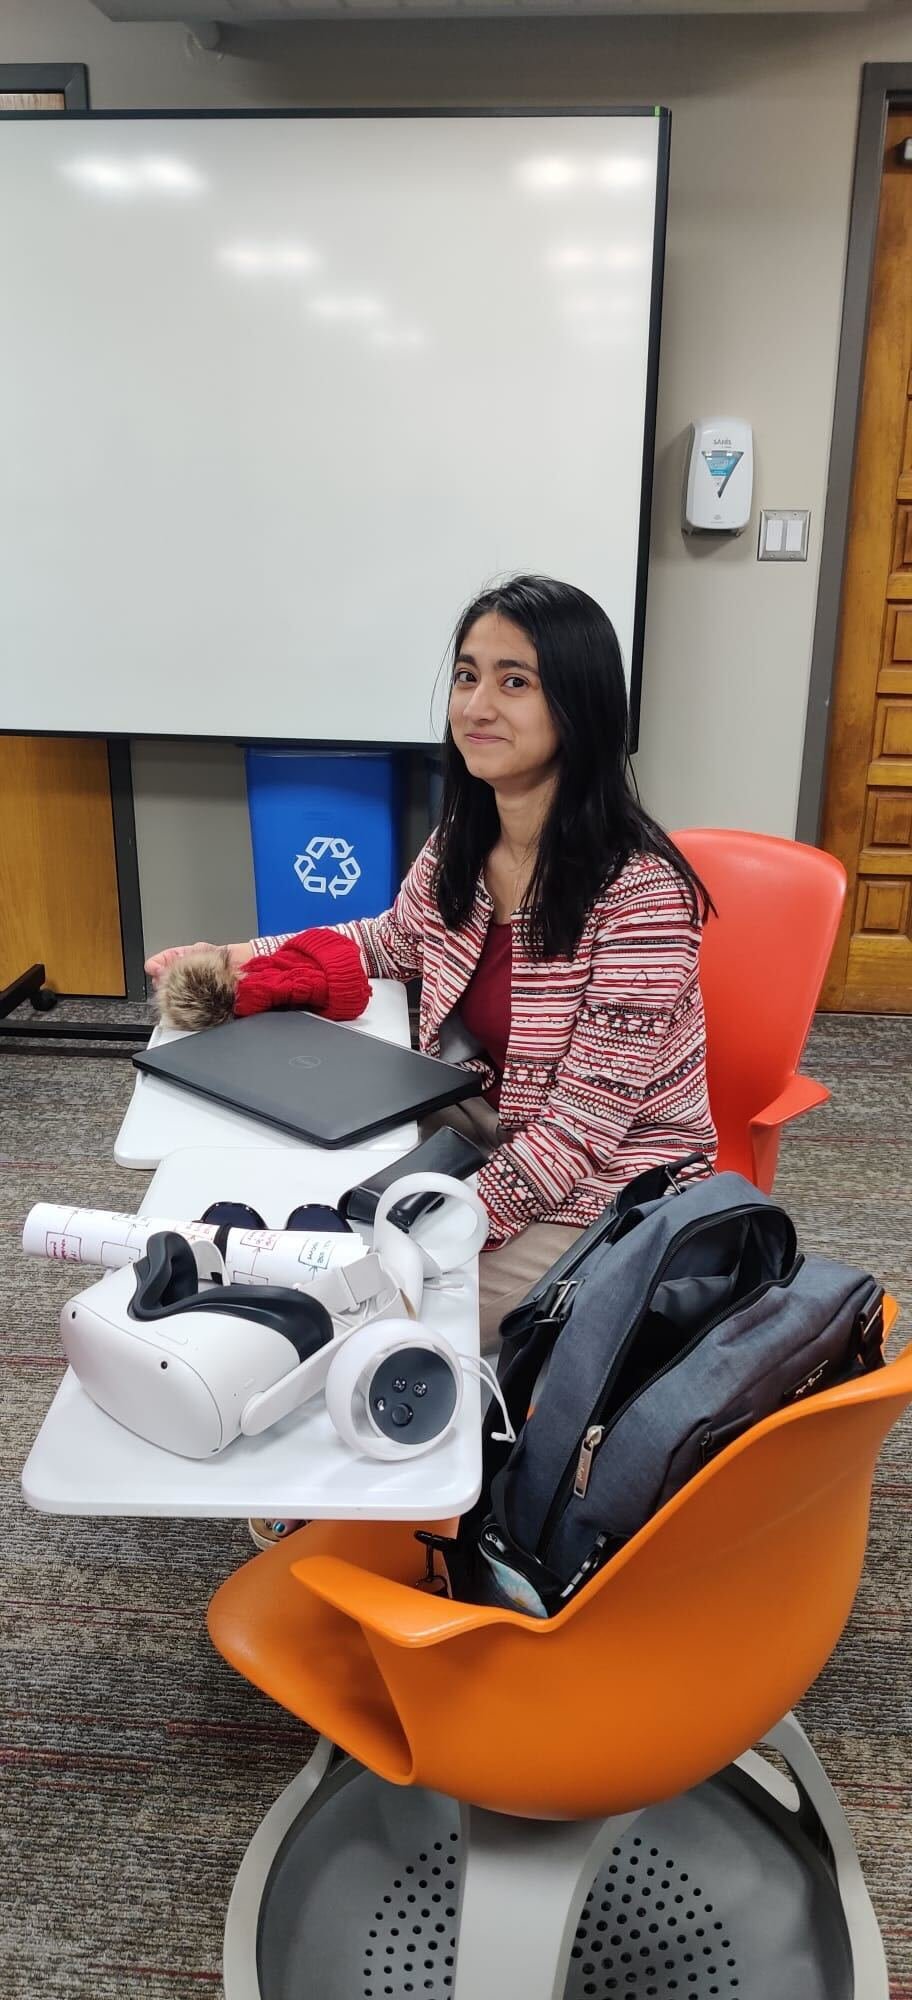
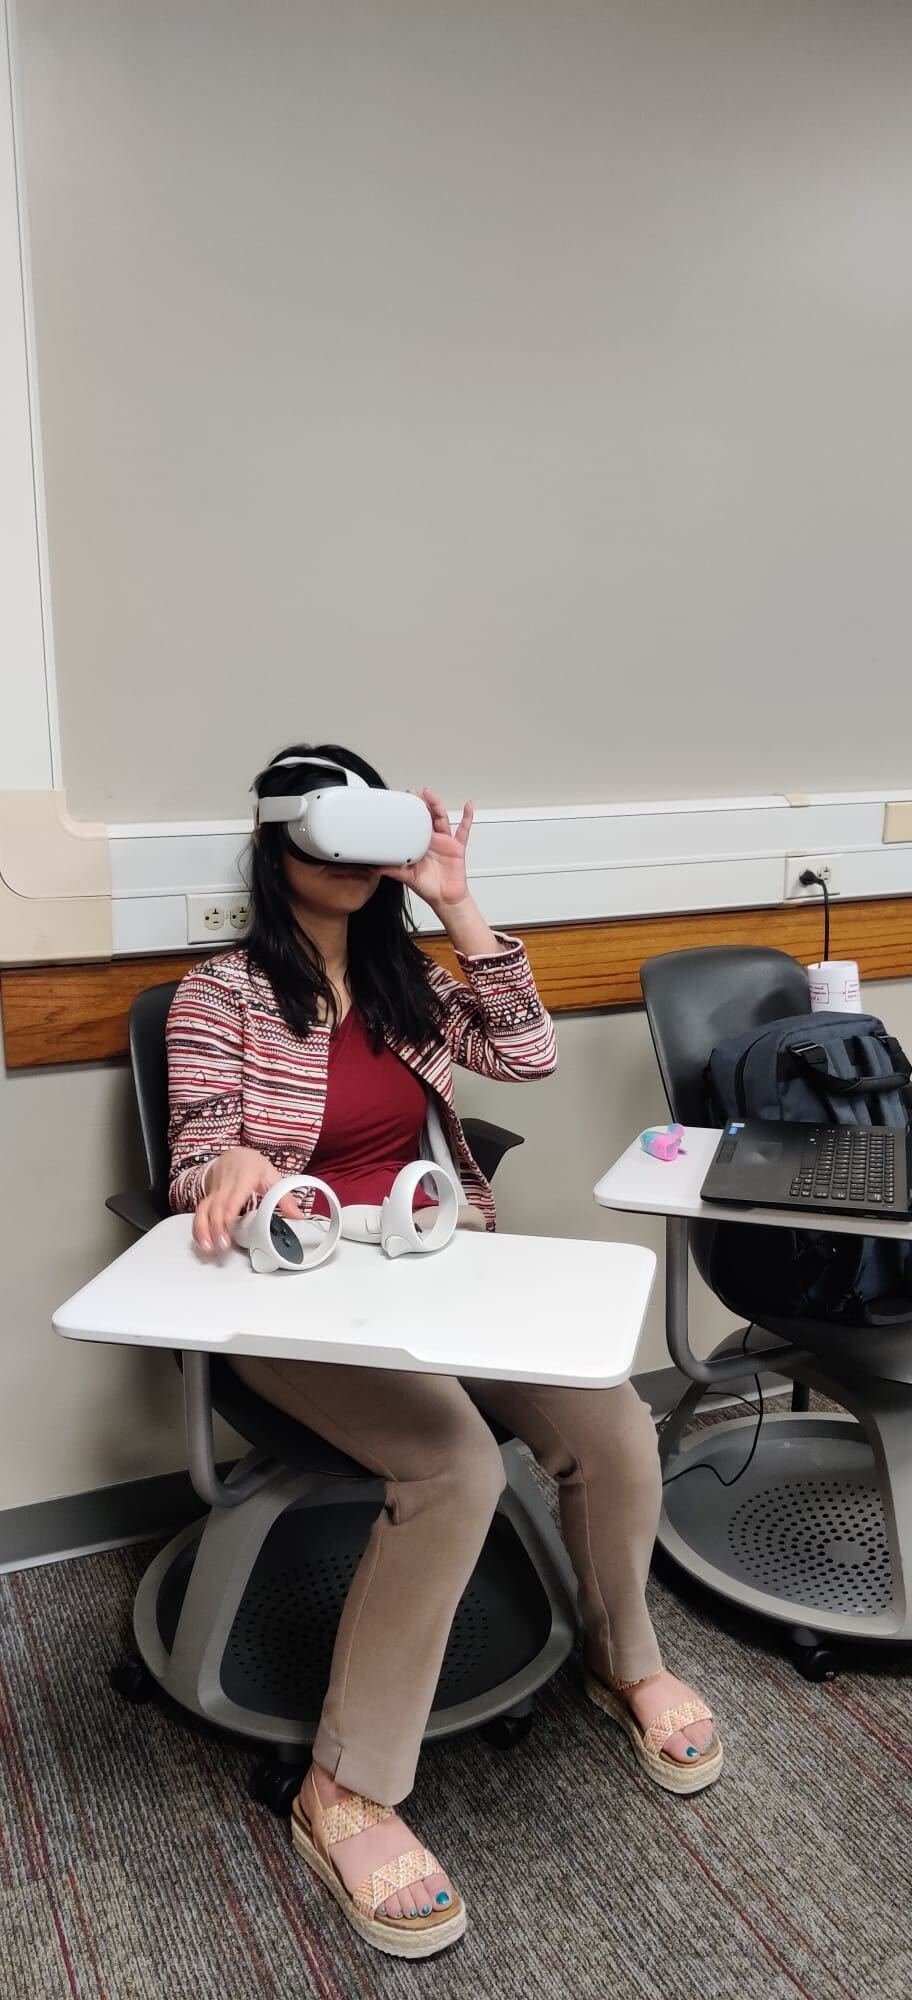
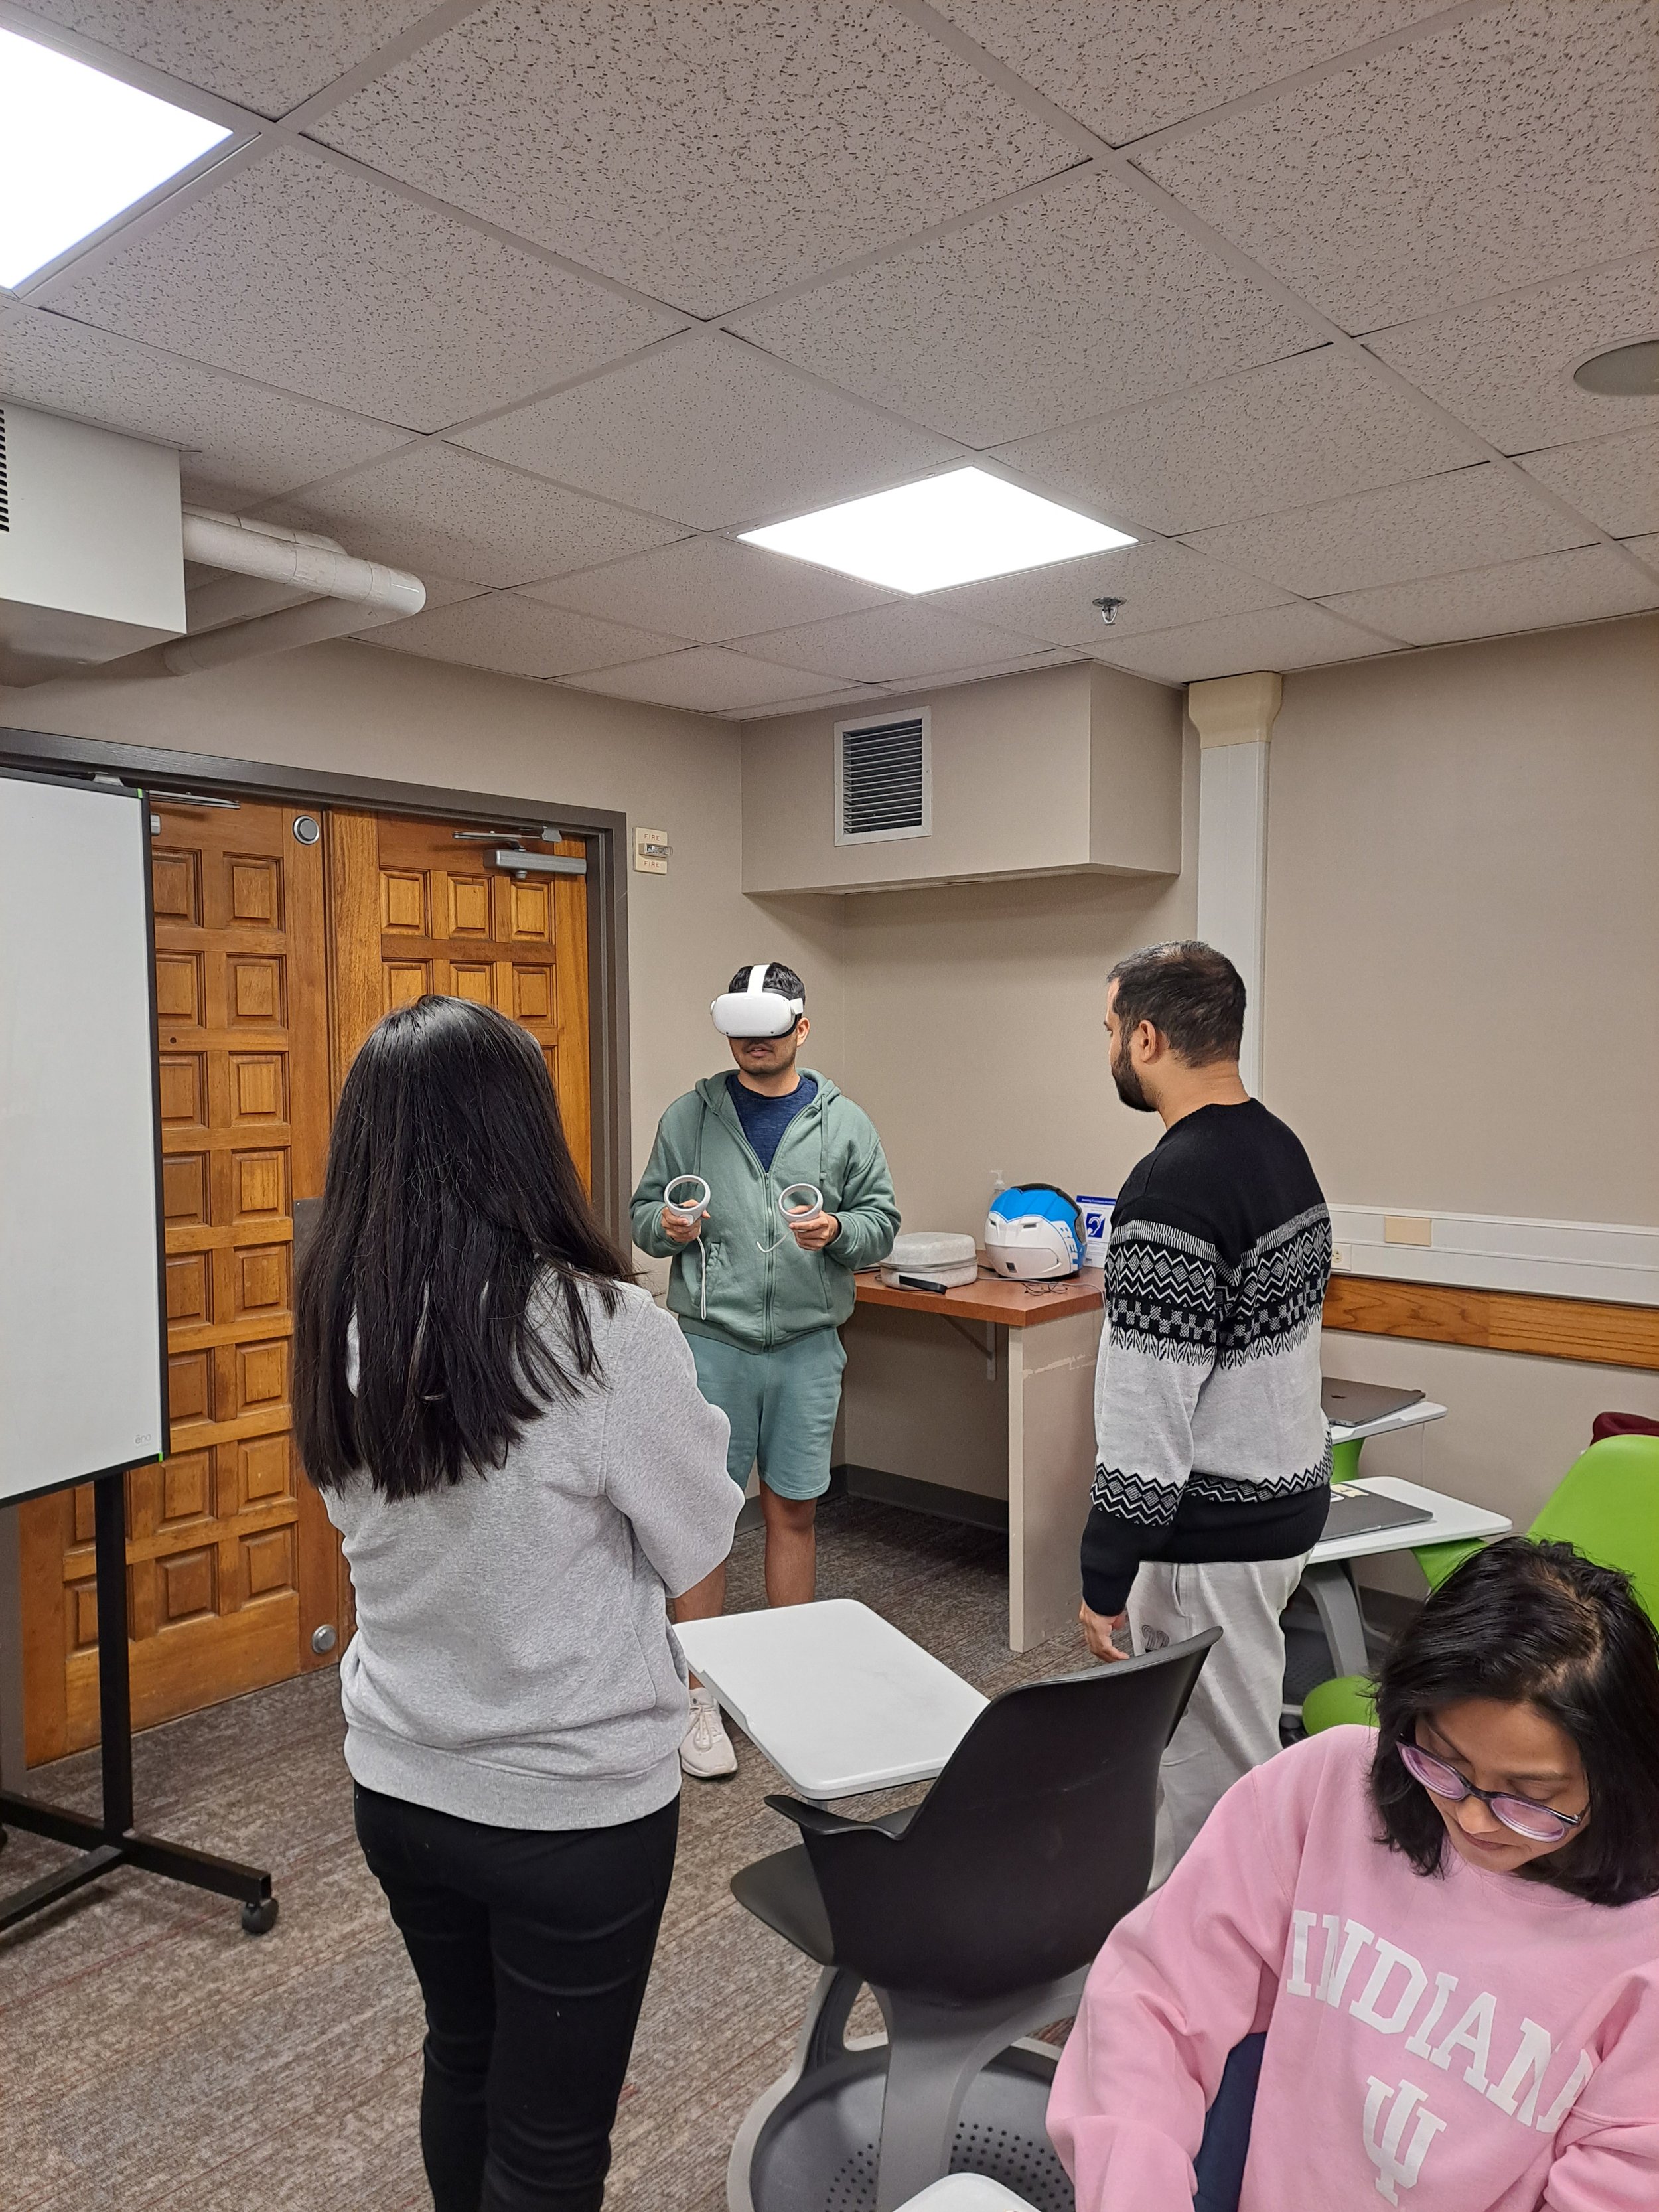
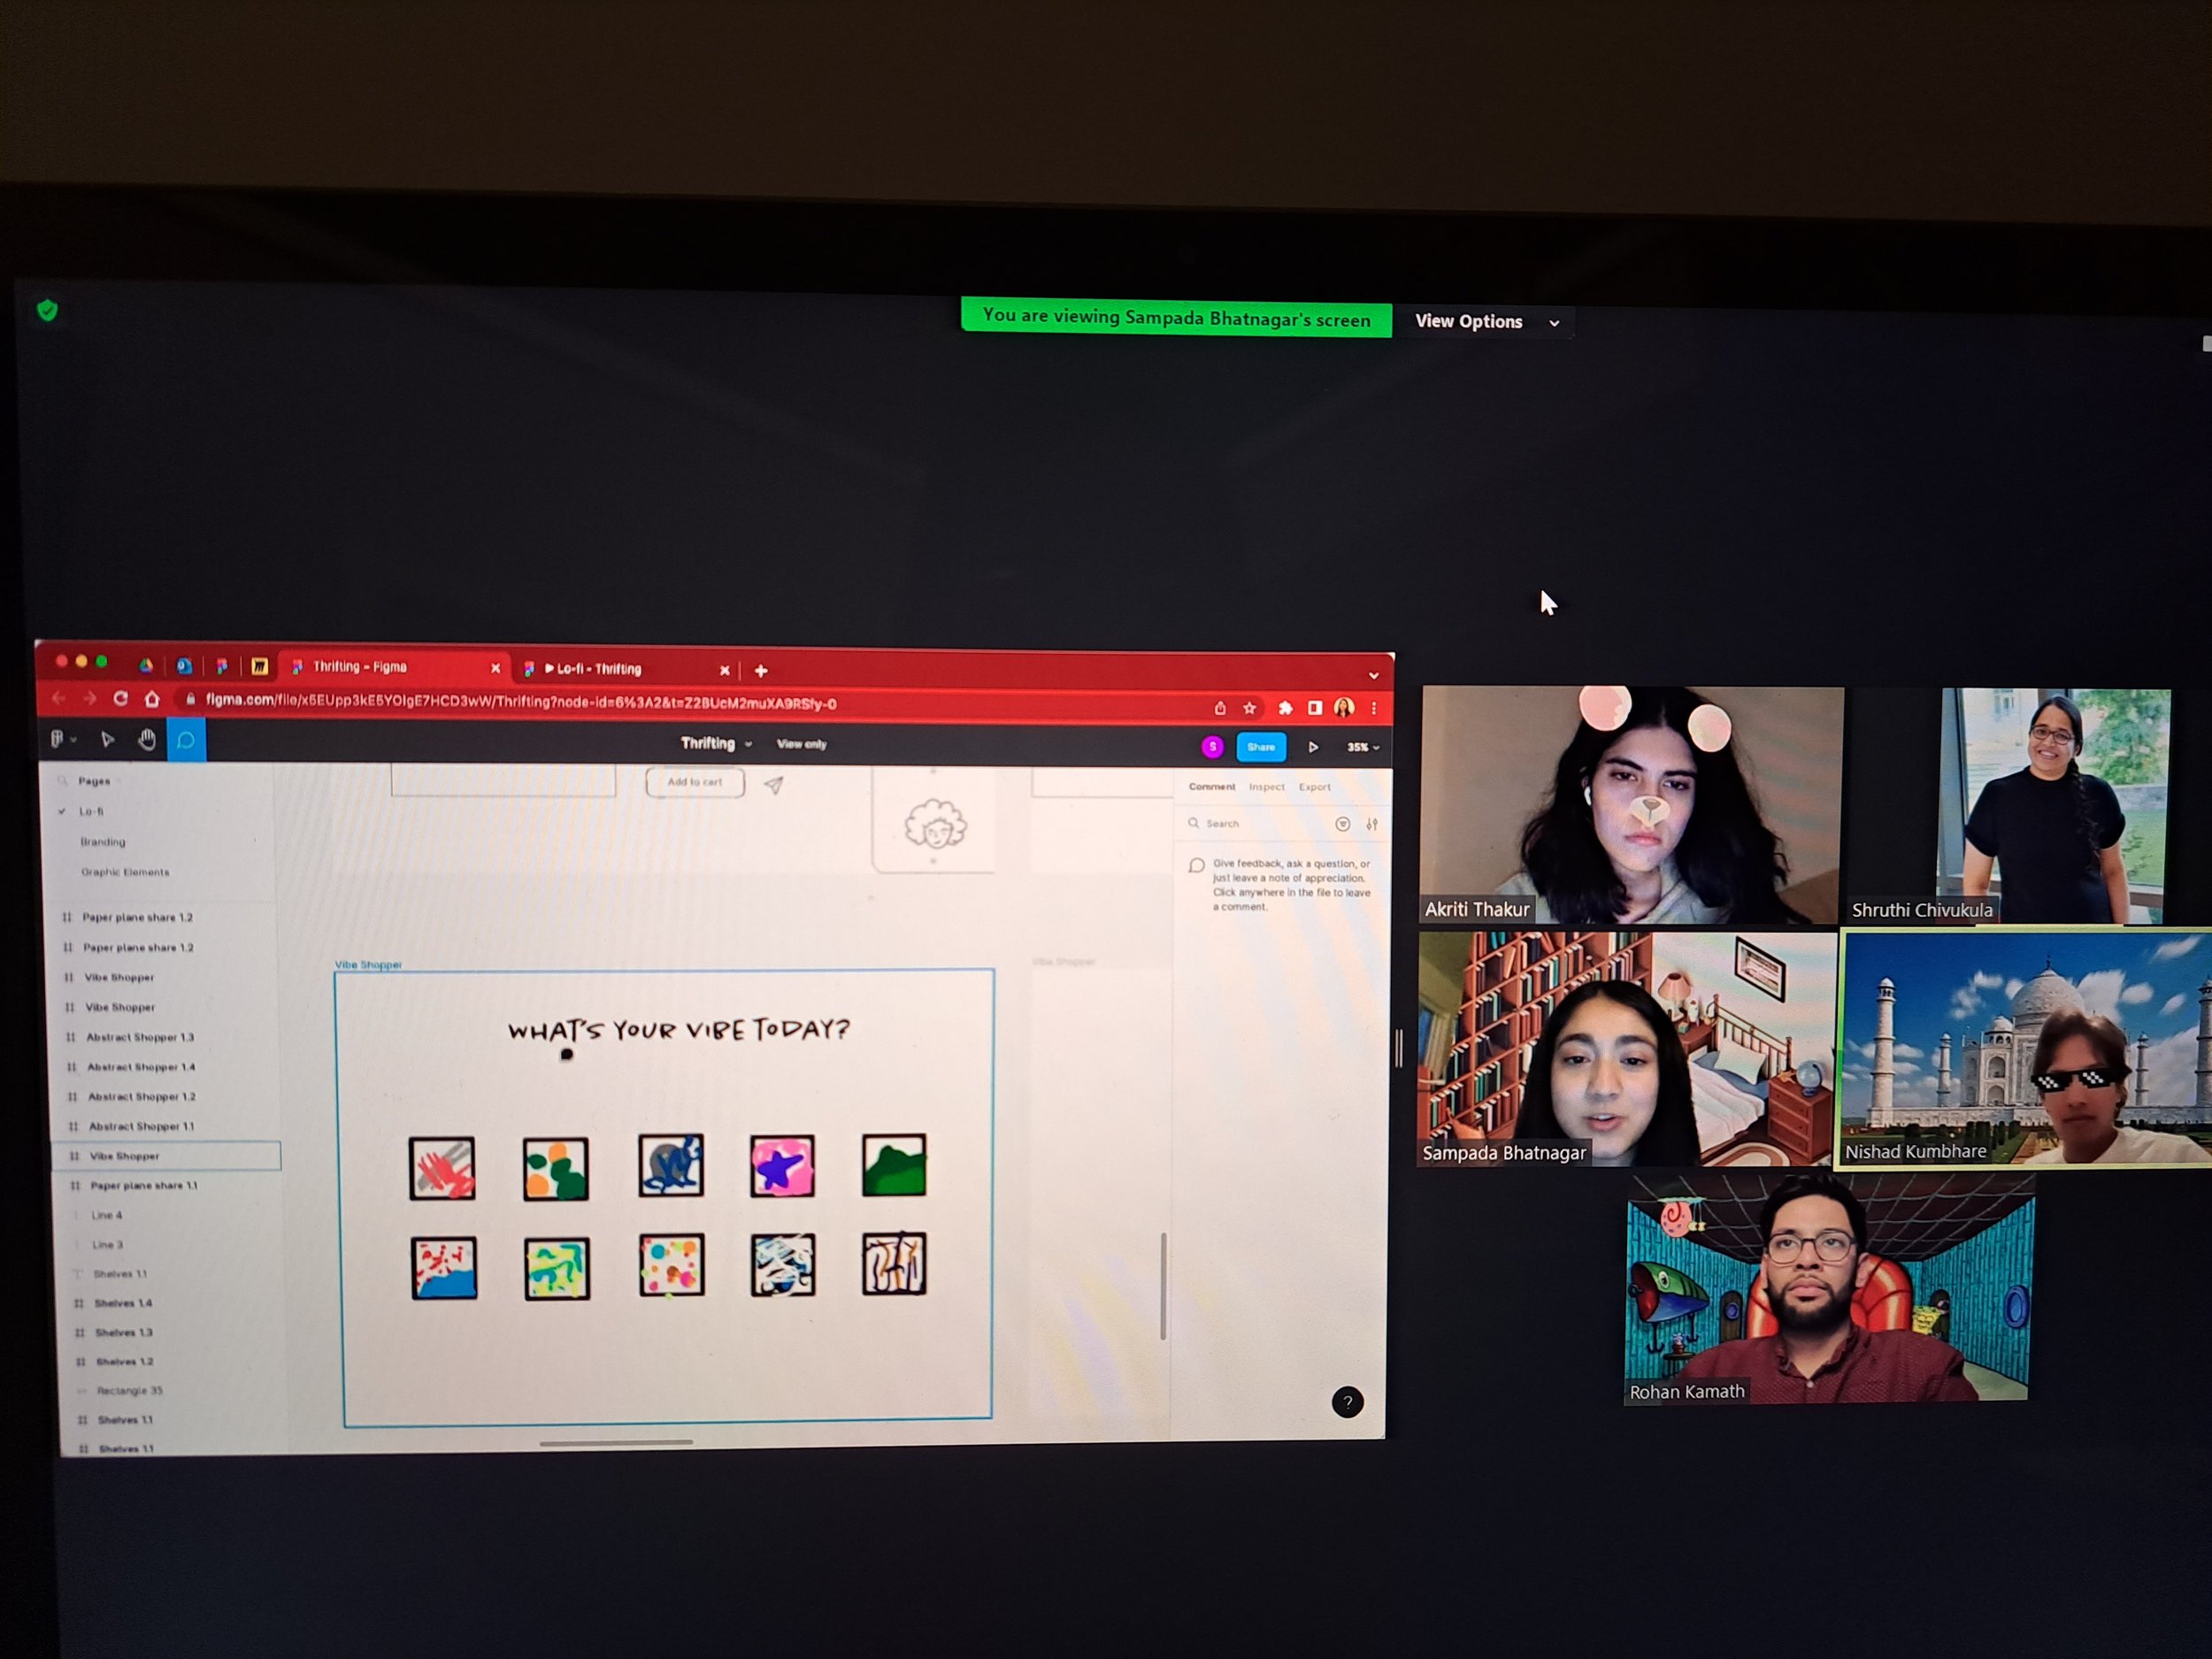
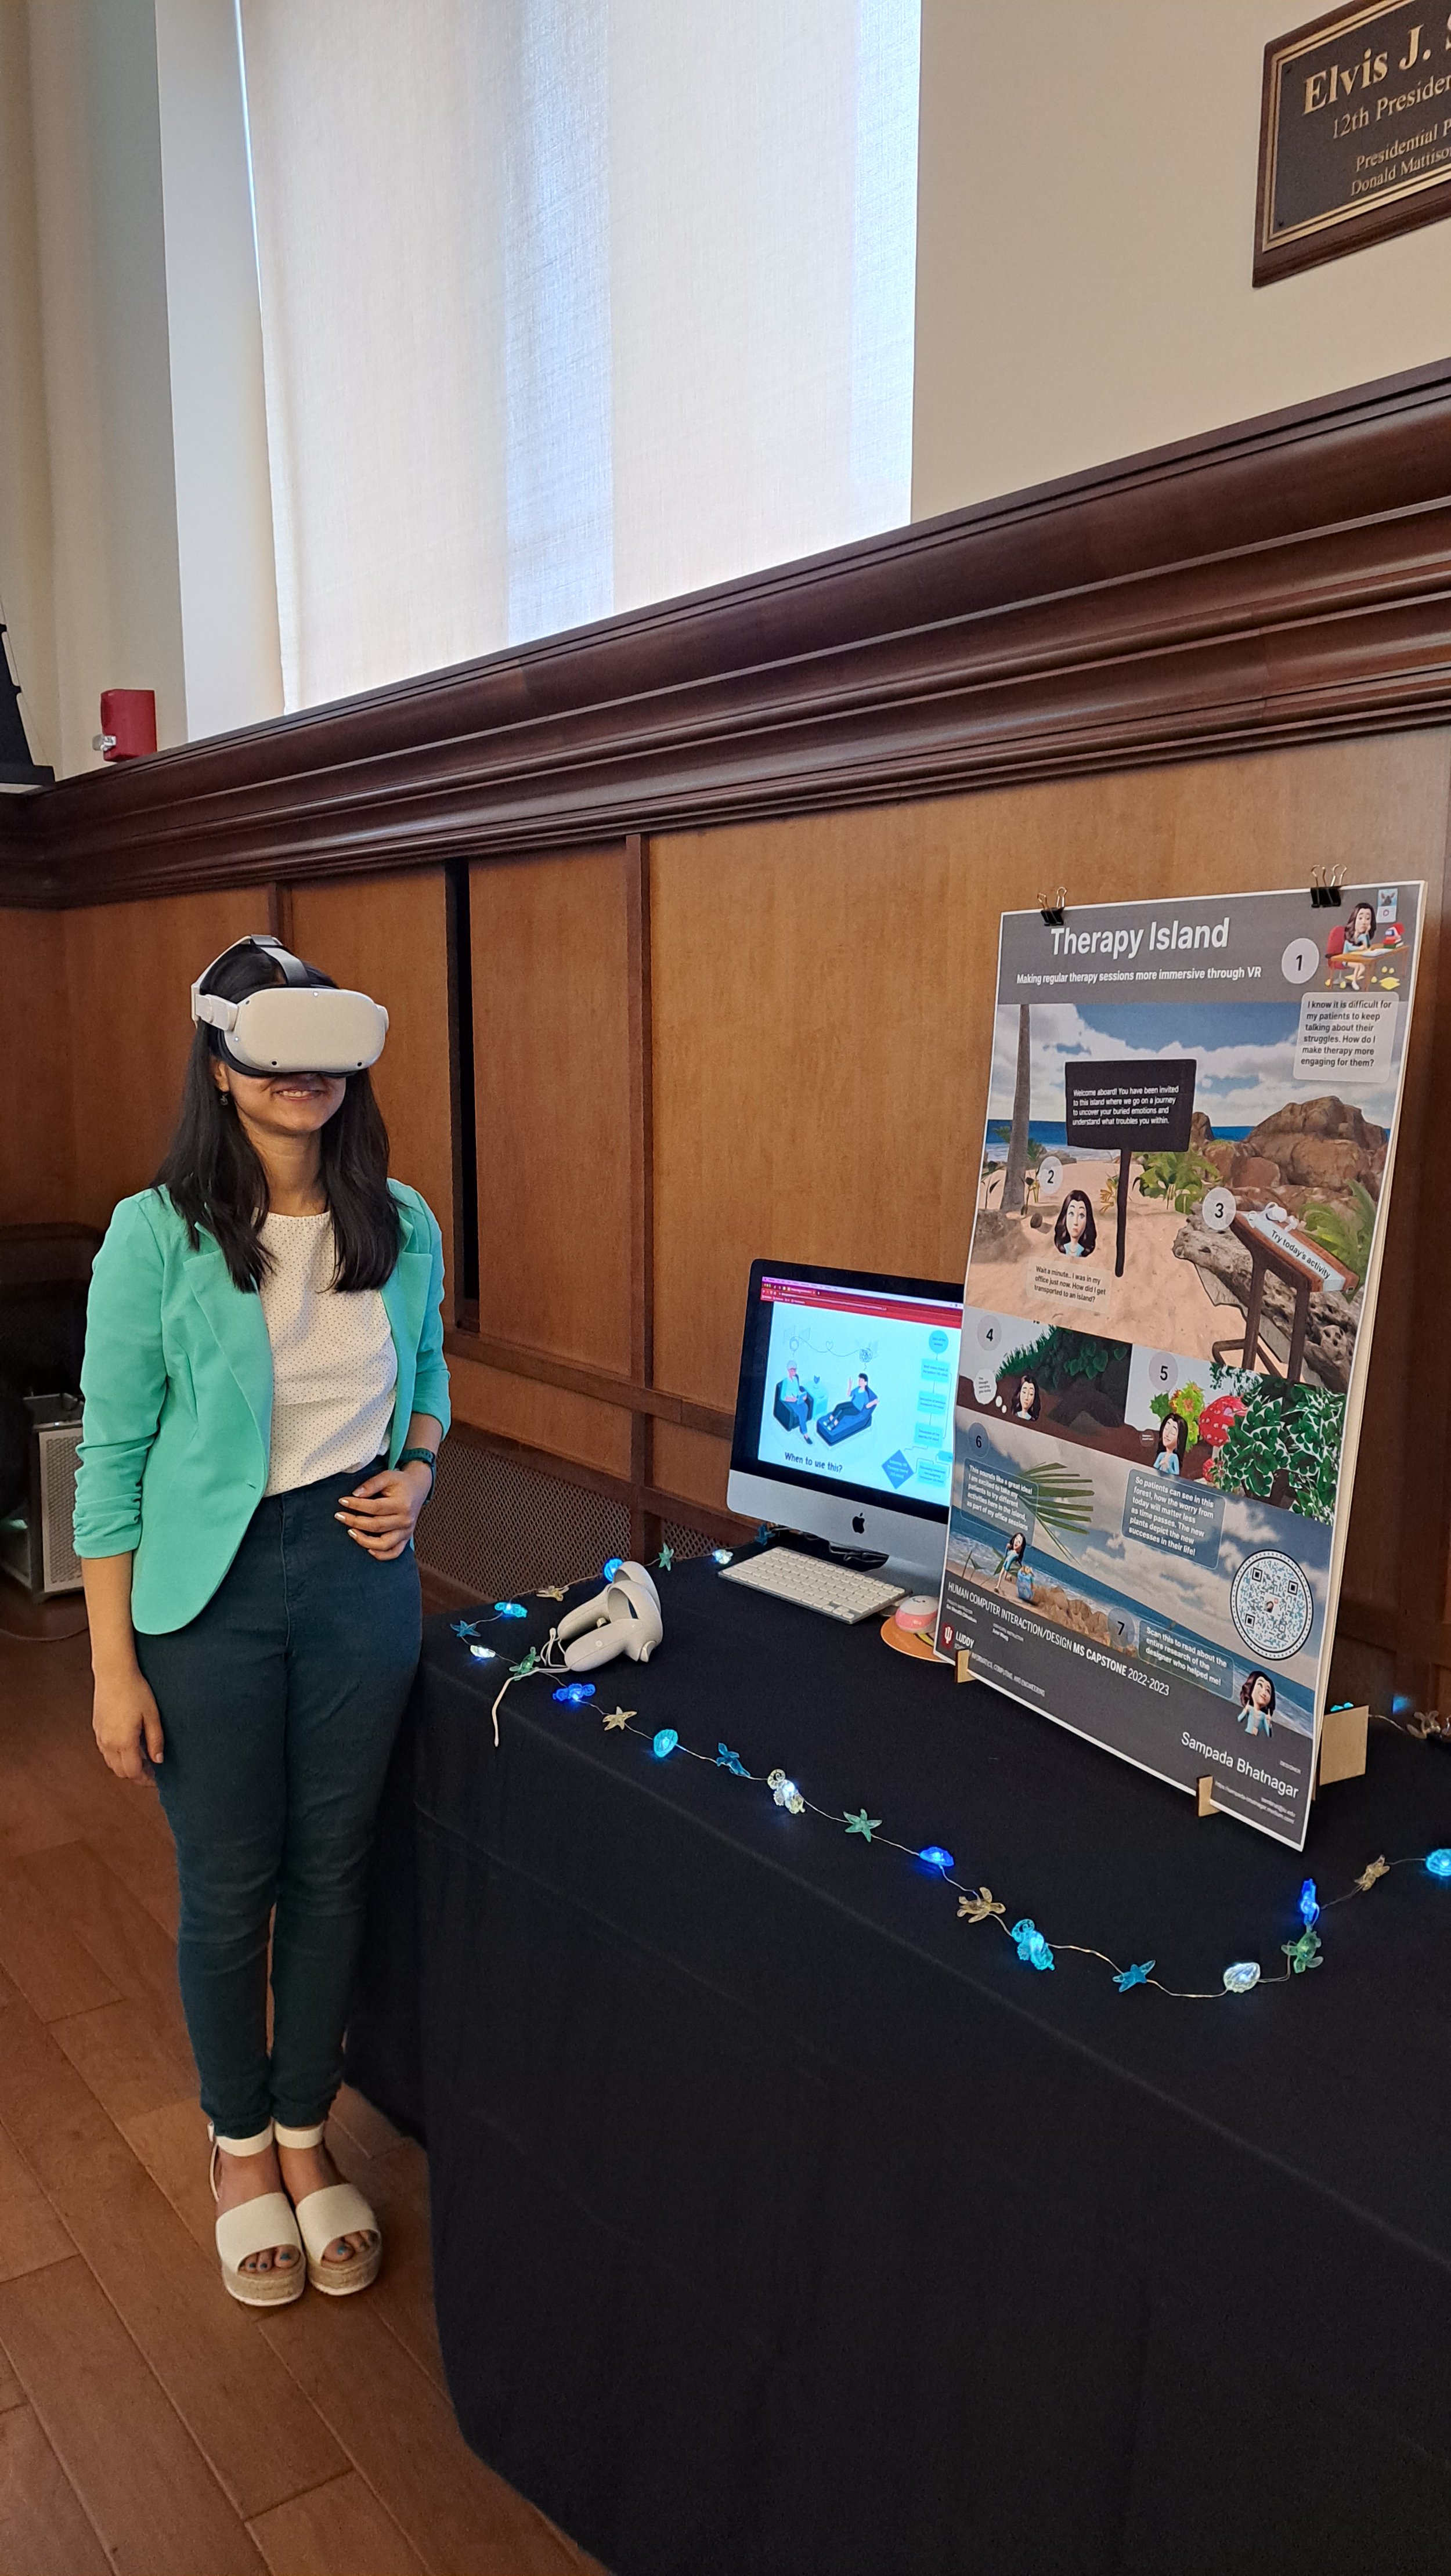
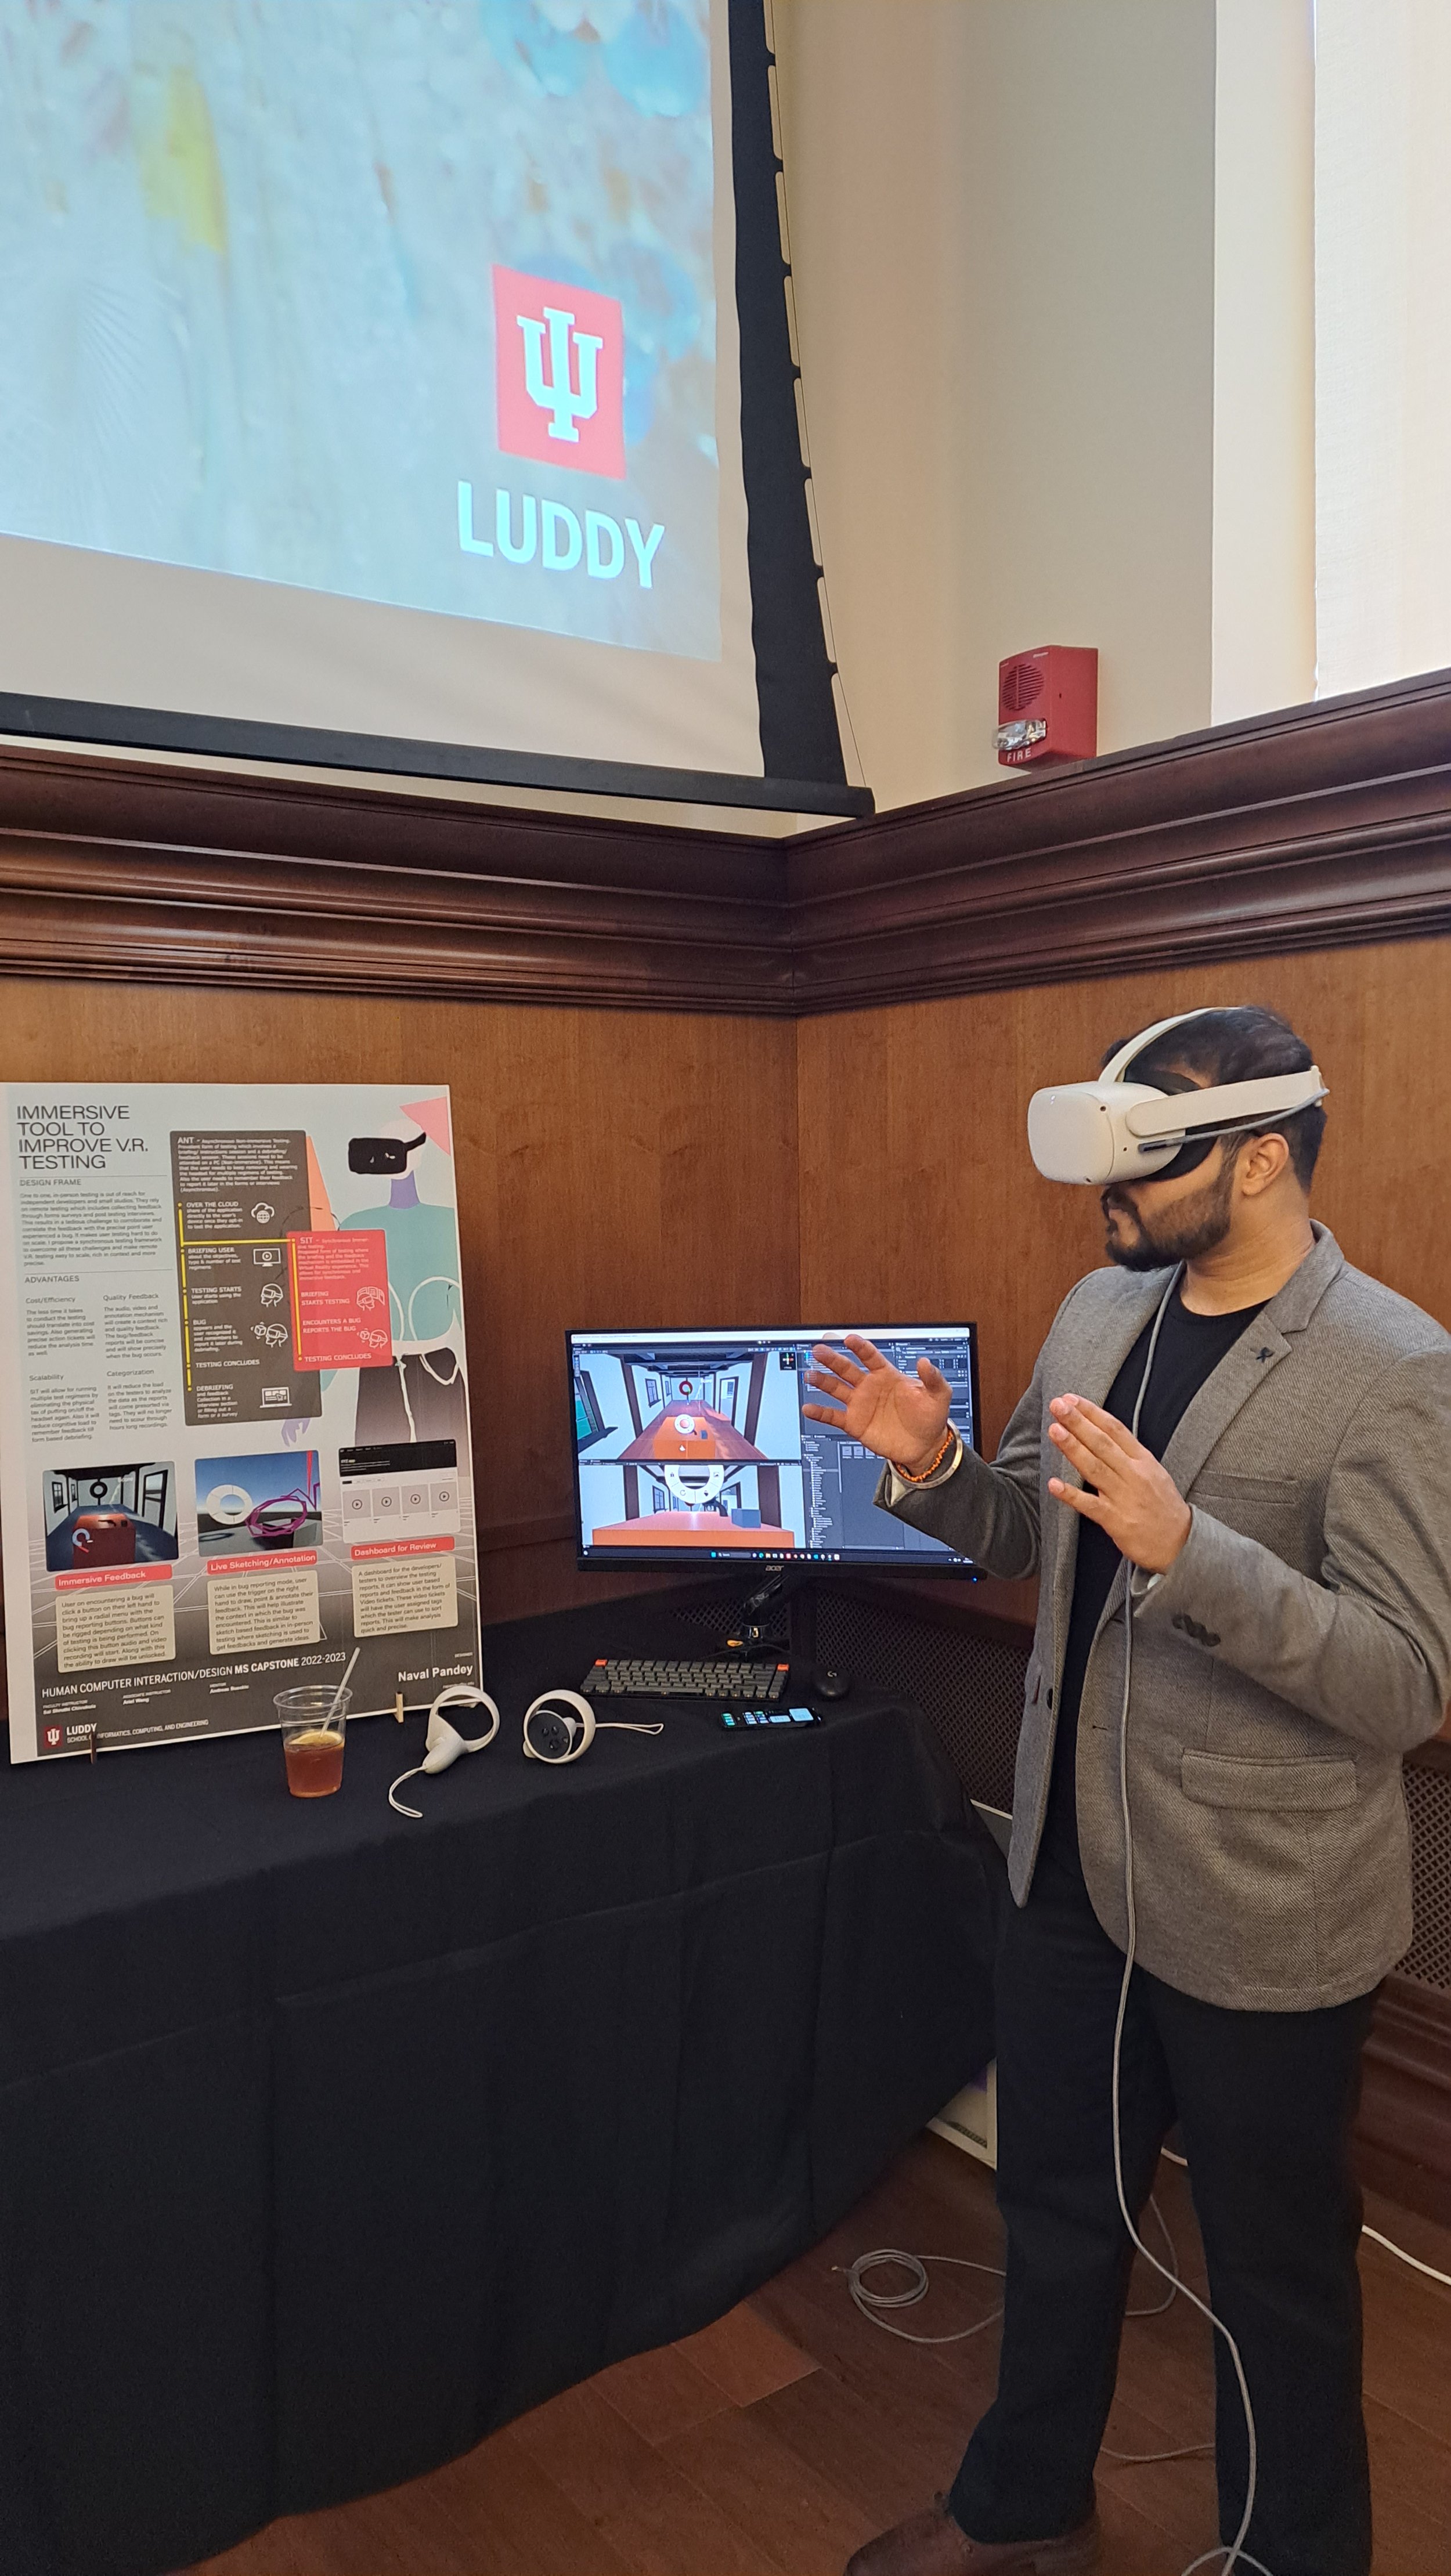
Interesting! VR Station
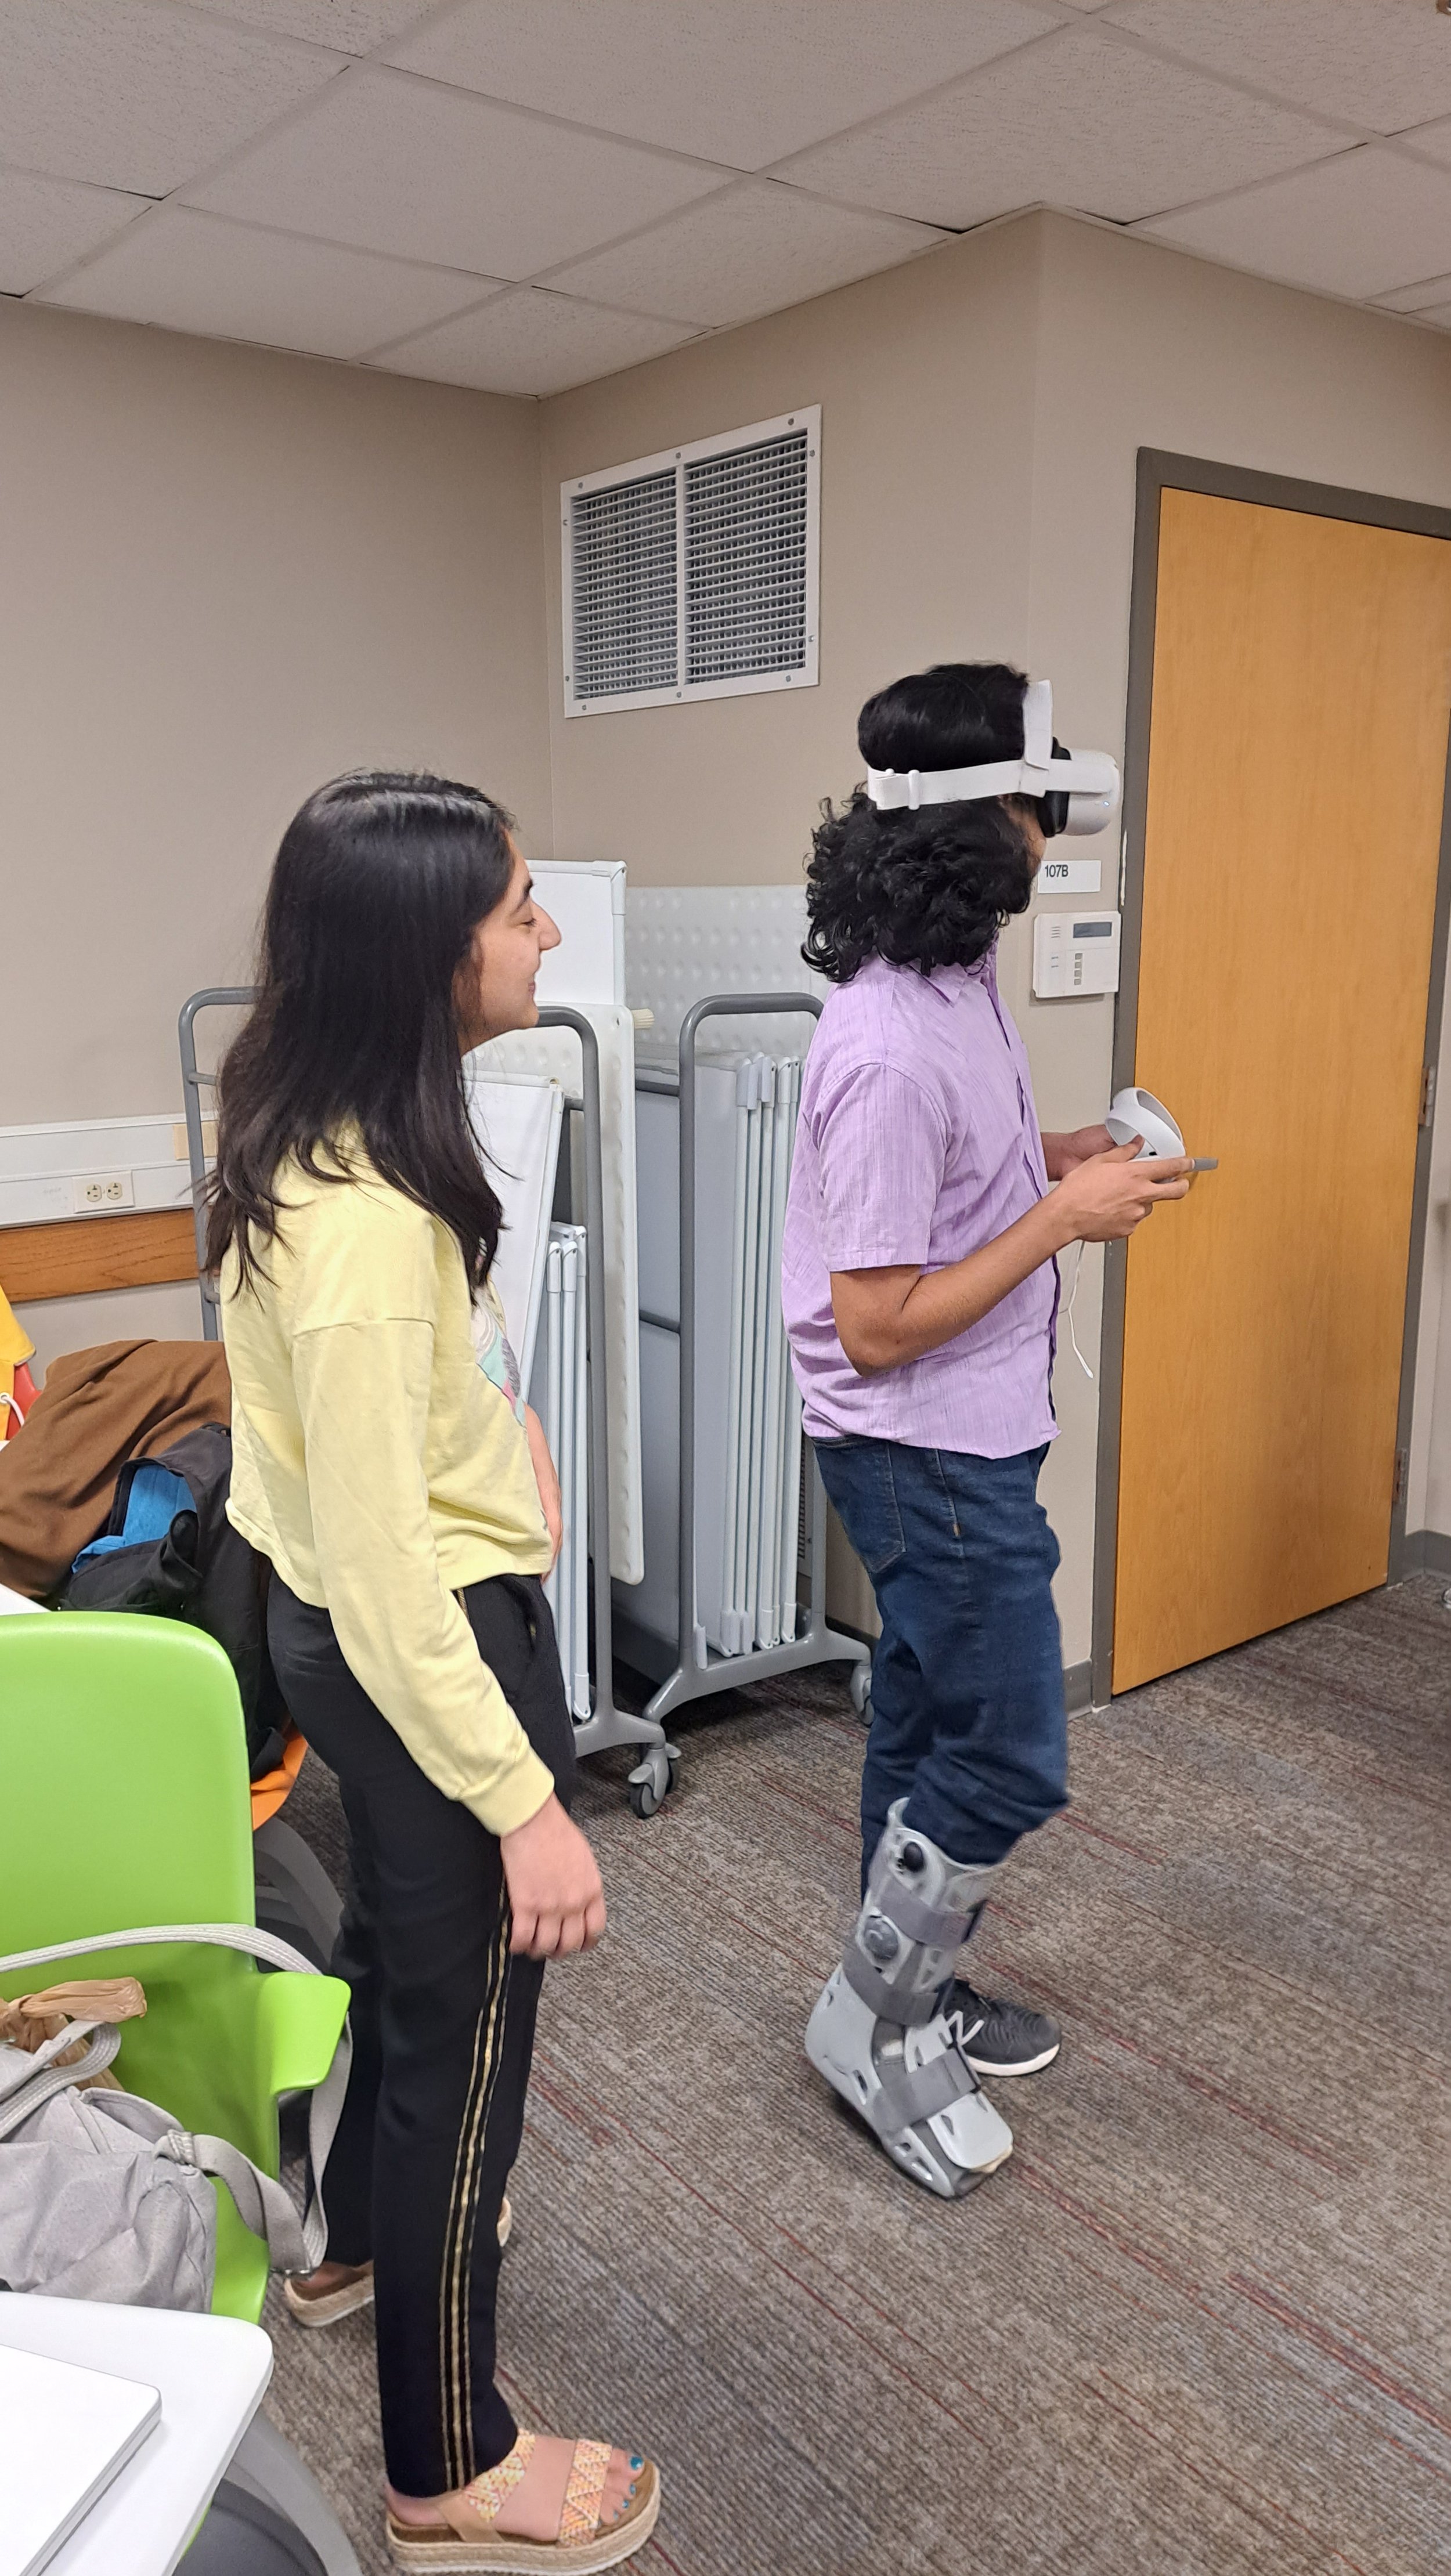
Students, Naval and Sampada, brought their VR setup to test with their peers.
I was not prepared for avenues like this and did a One-Q Gallery walk which might not have helped them or served their purpose much. But, interesting to see students using avenues in the classroom to make the gallery walks more active and interesting!
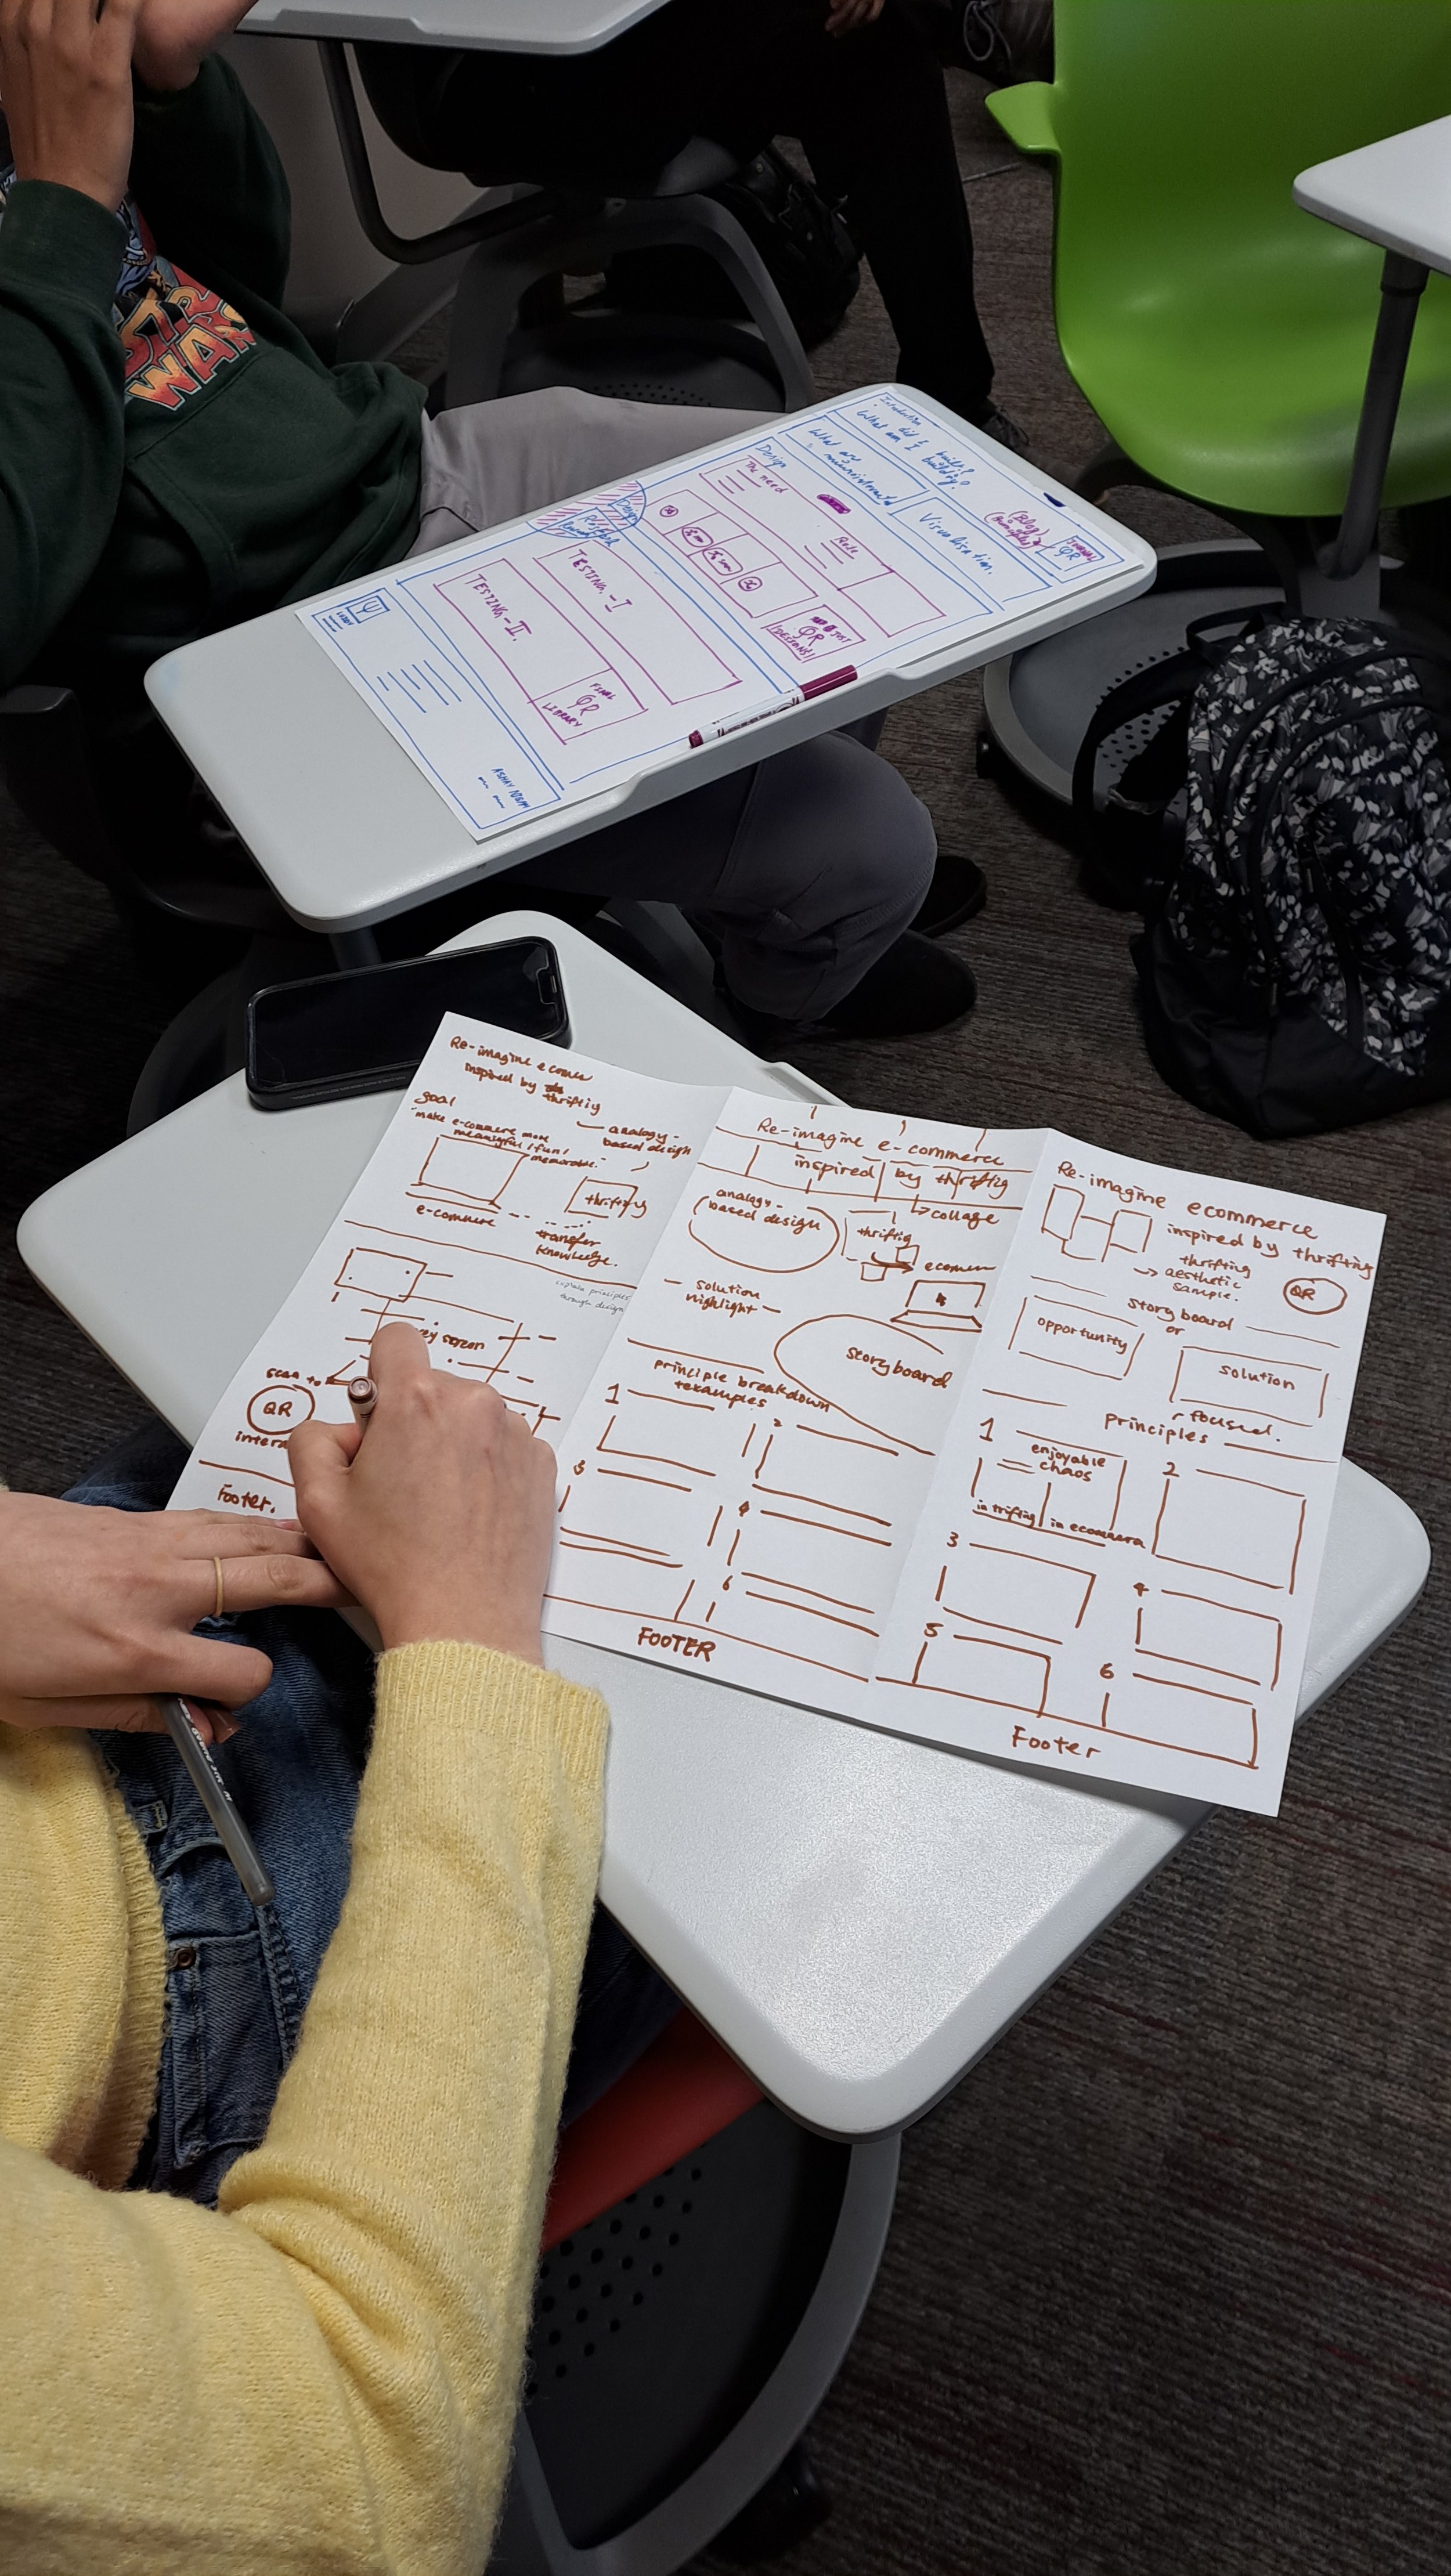
Storyboarding Exercise + Peer Critique
In Week 7, I decided to change the peer-critique model and make it a little fun! Ariel and I were having some discussions on how students were not engaging too much with use-cases/scenarios and sketches during their Gallery Walk showcase. So, we discussed to come up with an activity for storyboards and quick wireframes. We printed Tabloid size stencils for Storyboarding and Mobile/ Browser wireframes.
Step 1- Sketching Storyboard + (Main) Wireframes (20 mins): Students were given worksheets to sketch a storyboard and 3 main wireframes (mobile app, browser, or product).
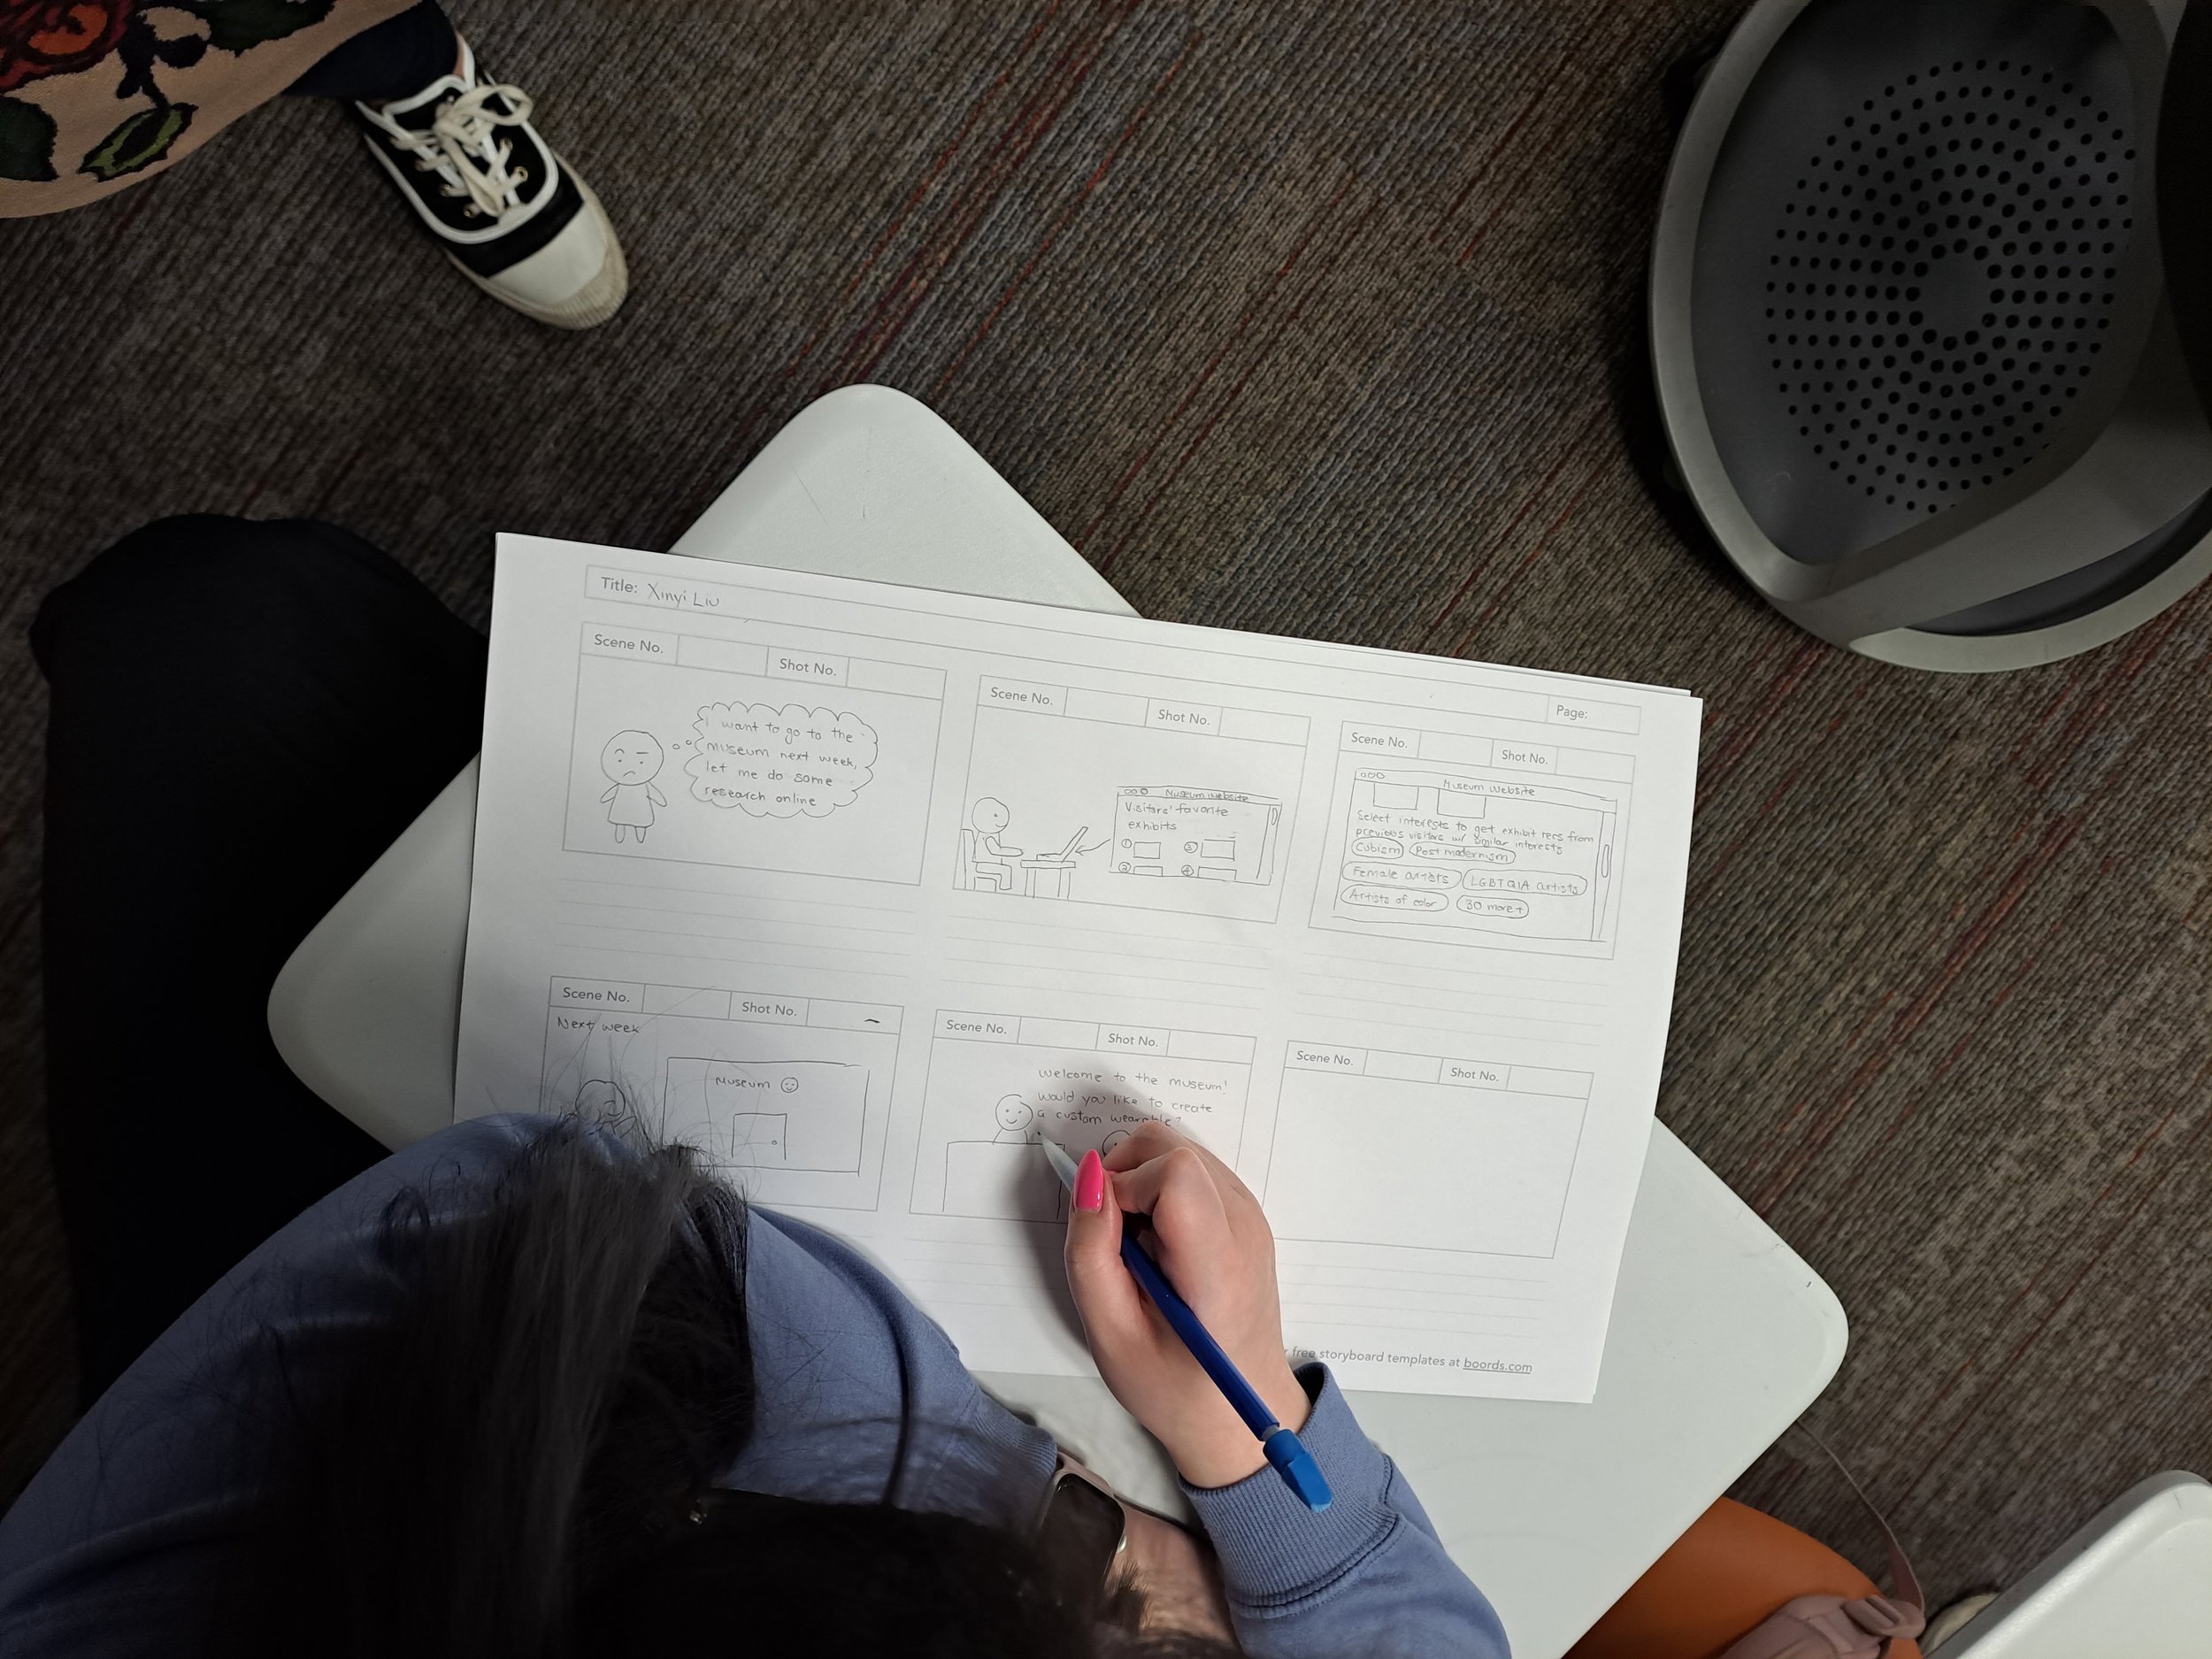
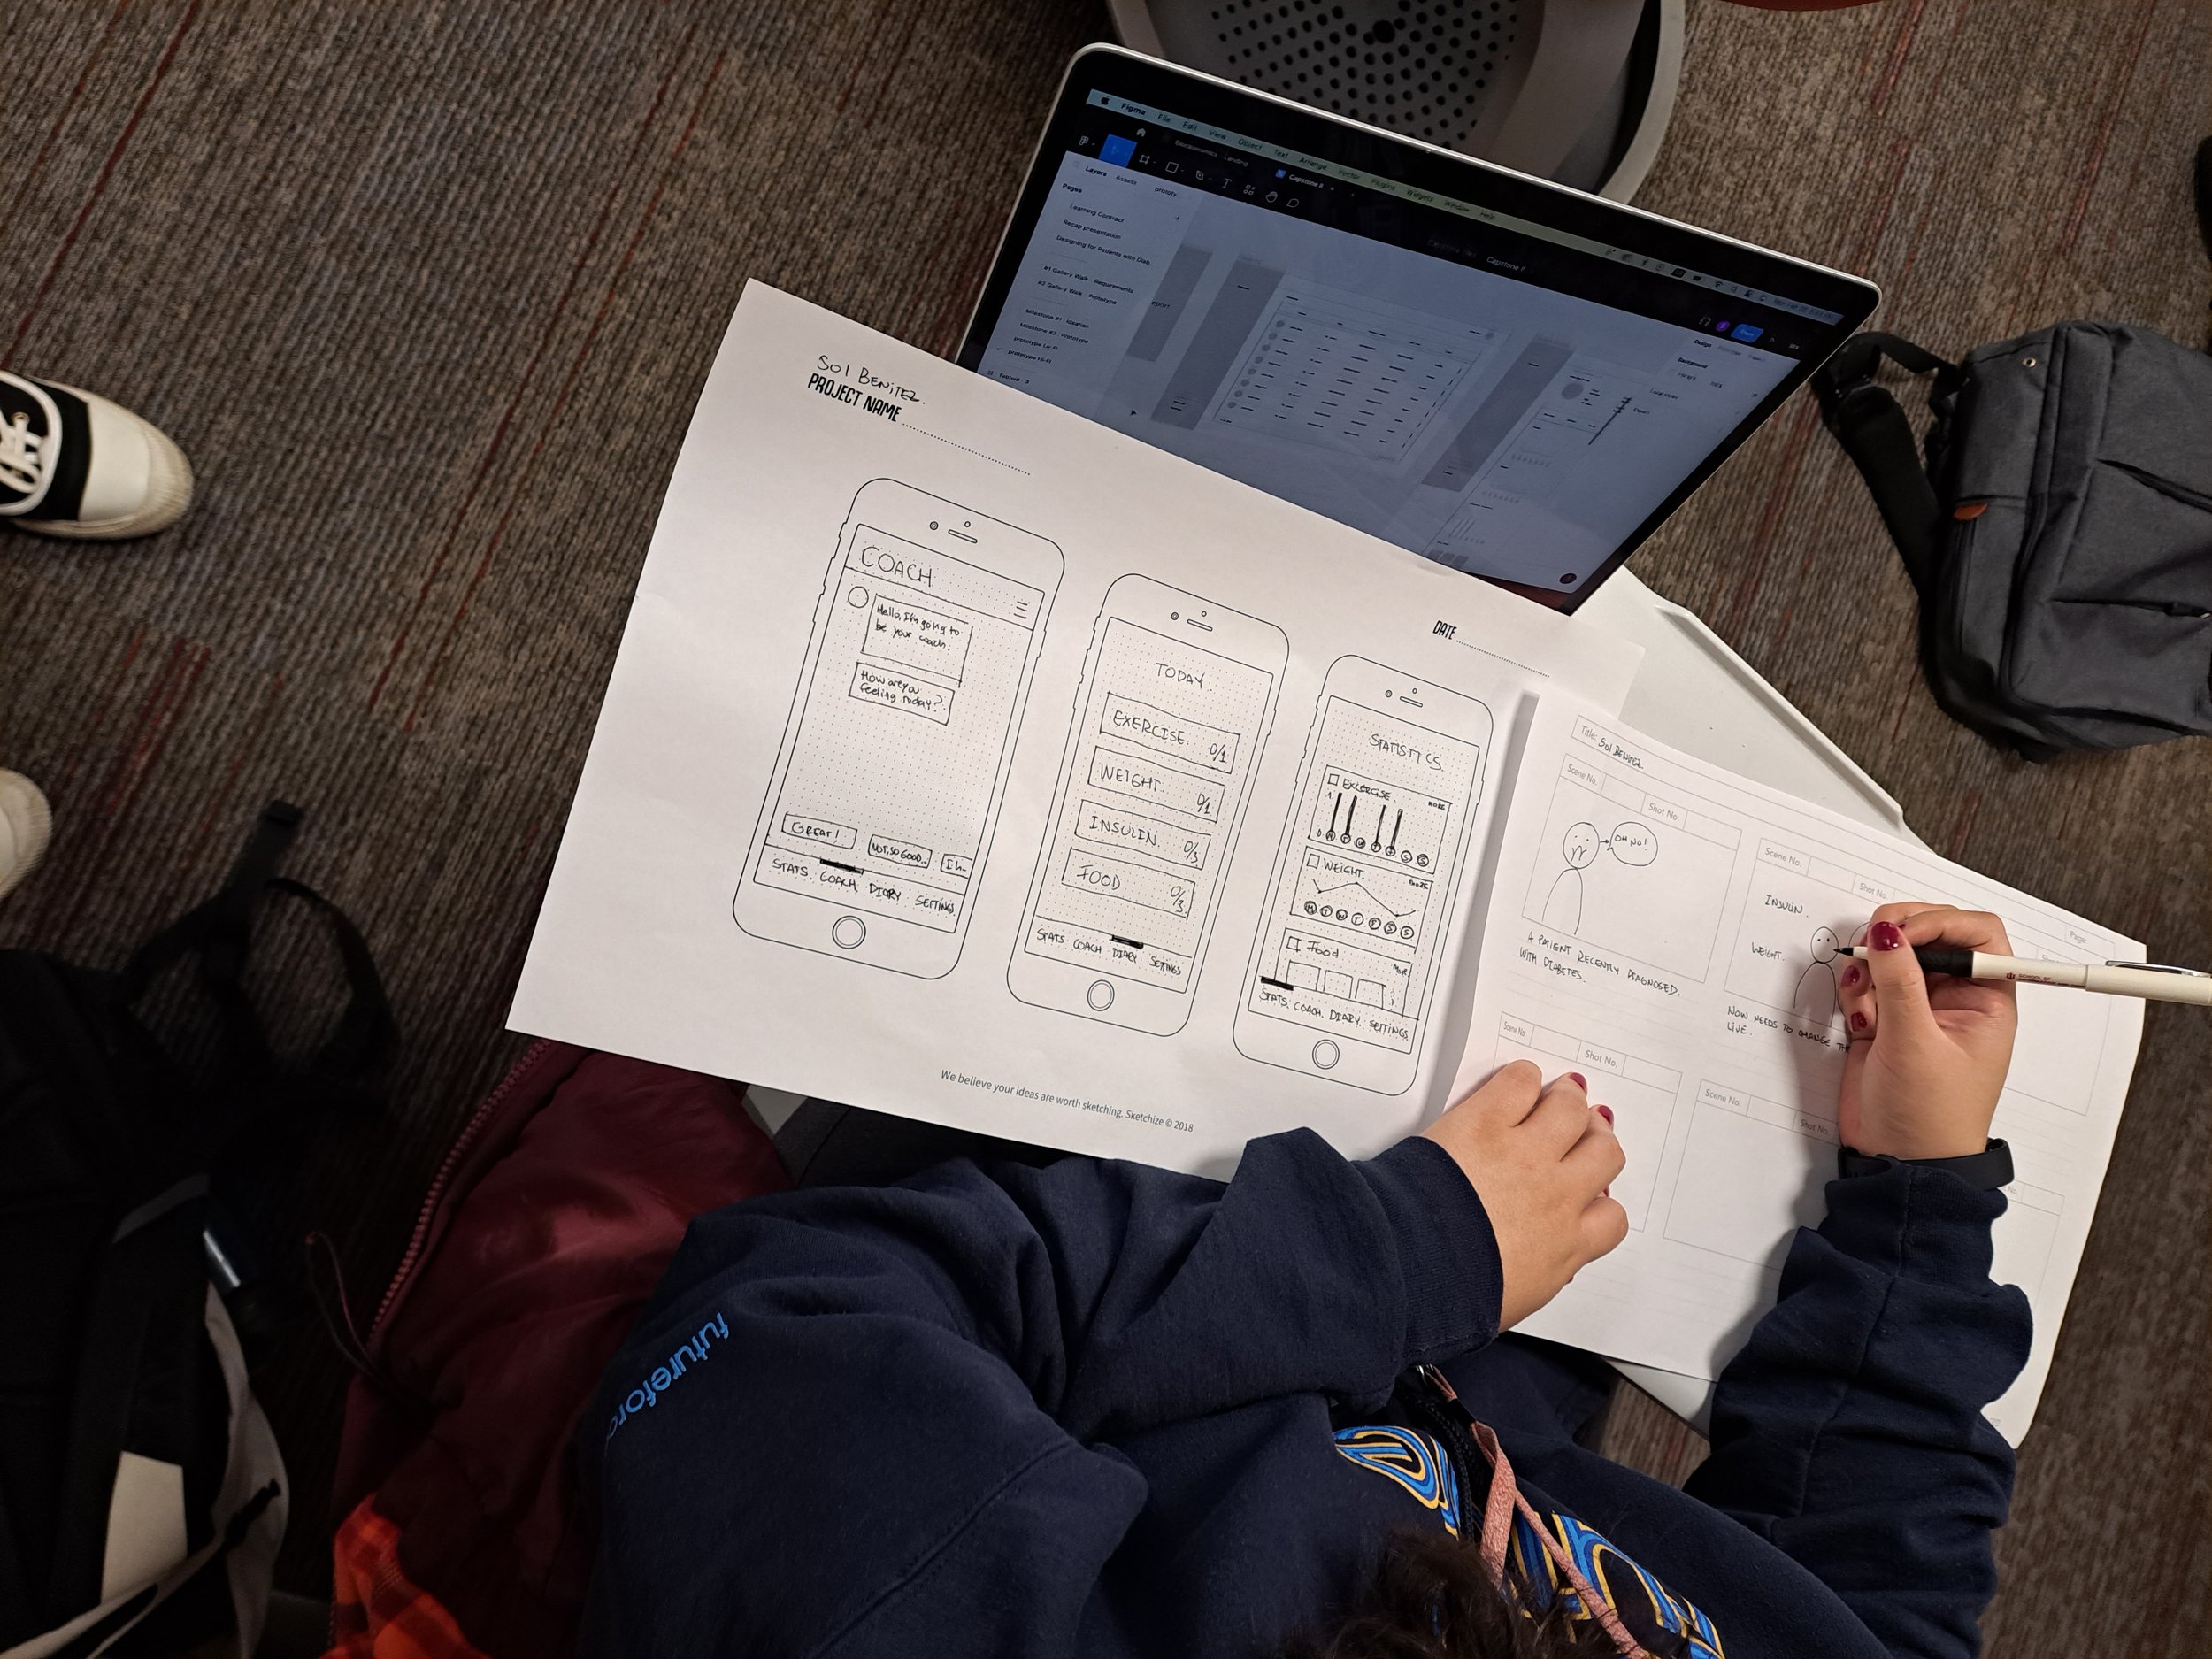

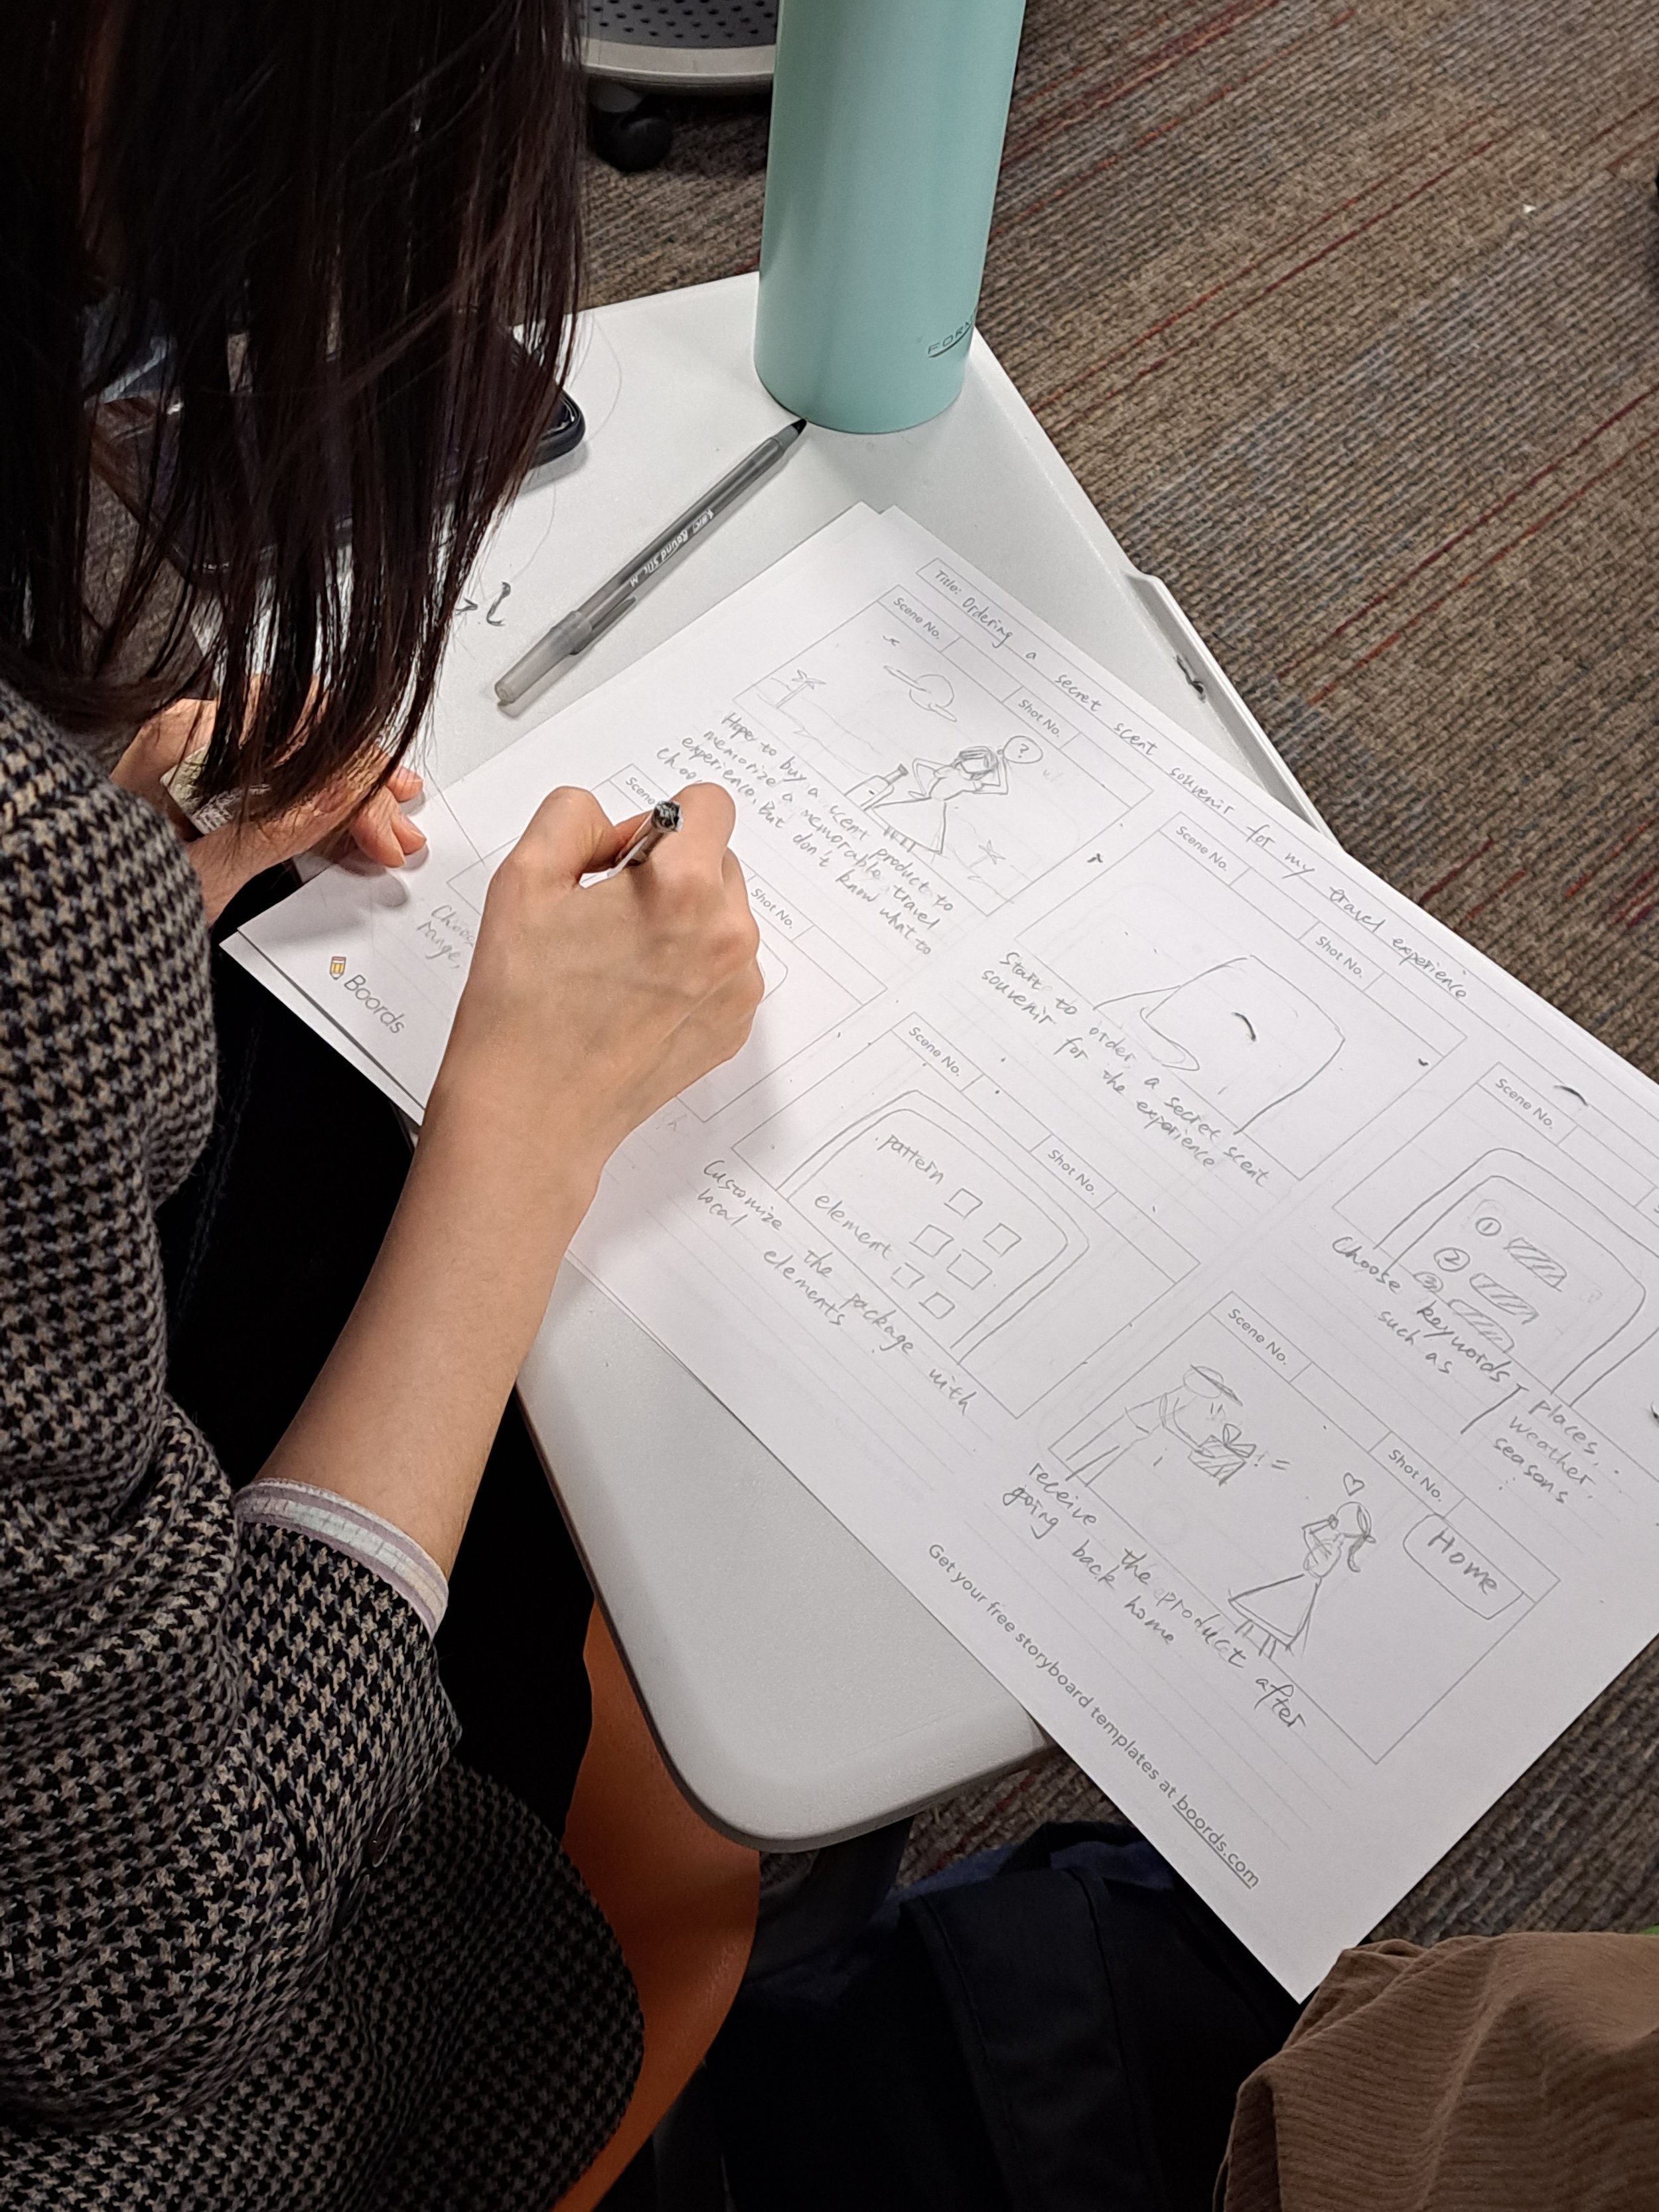
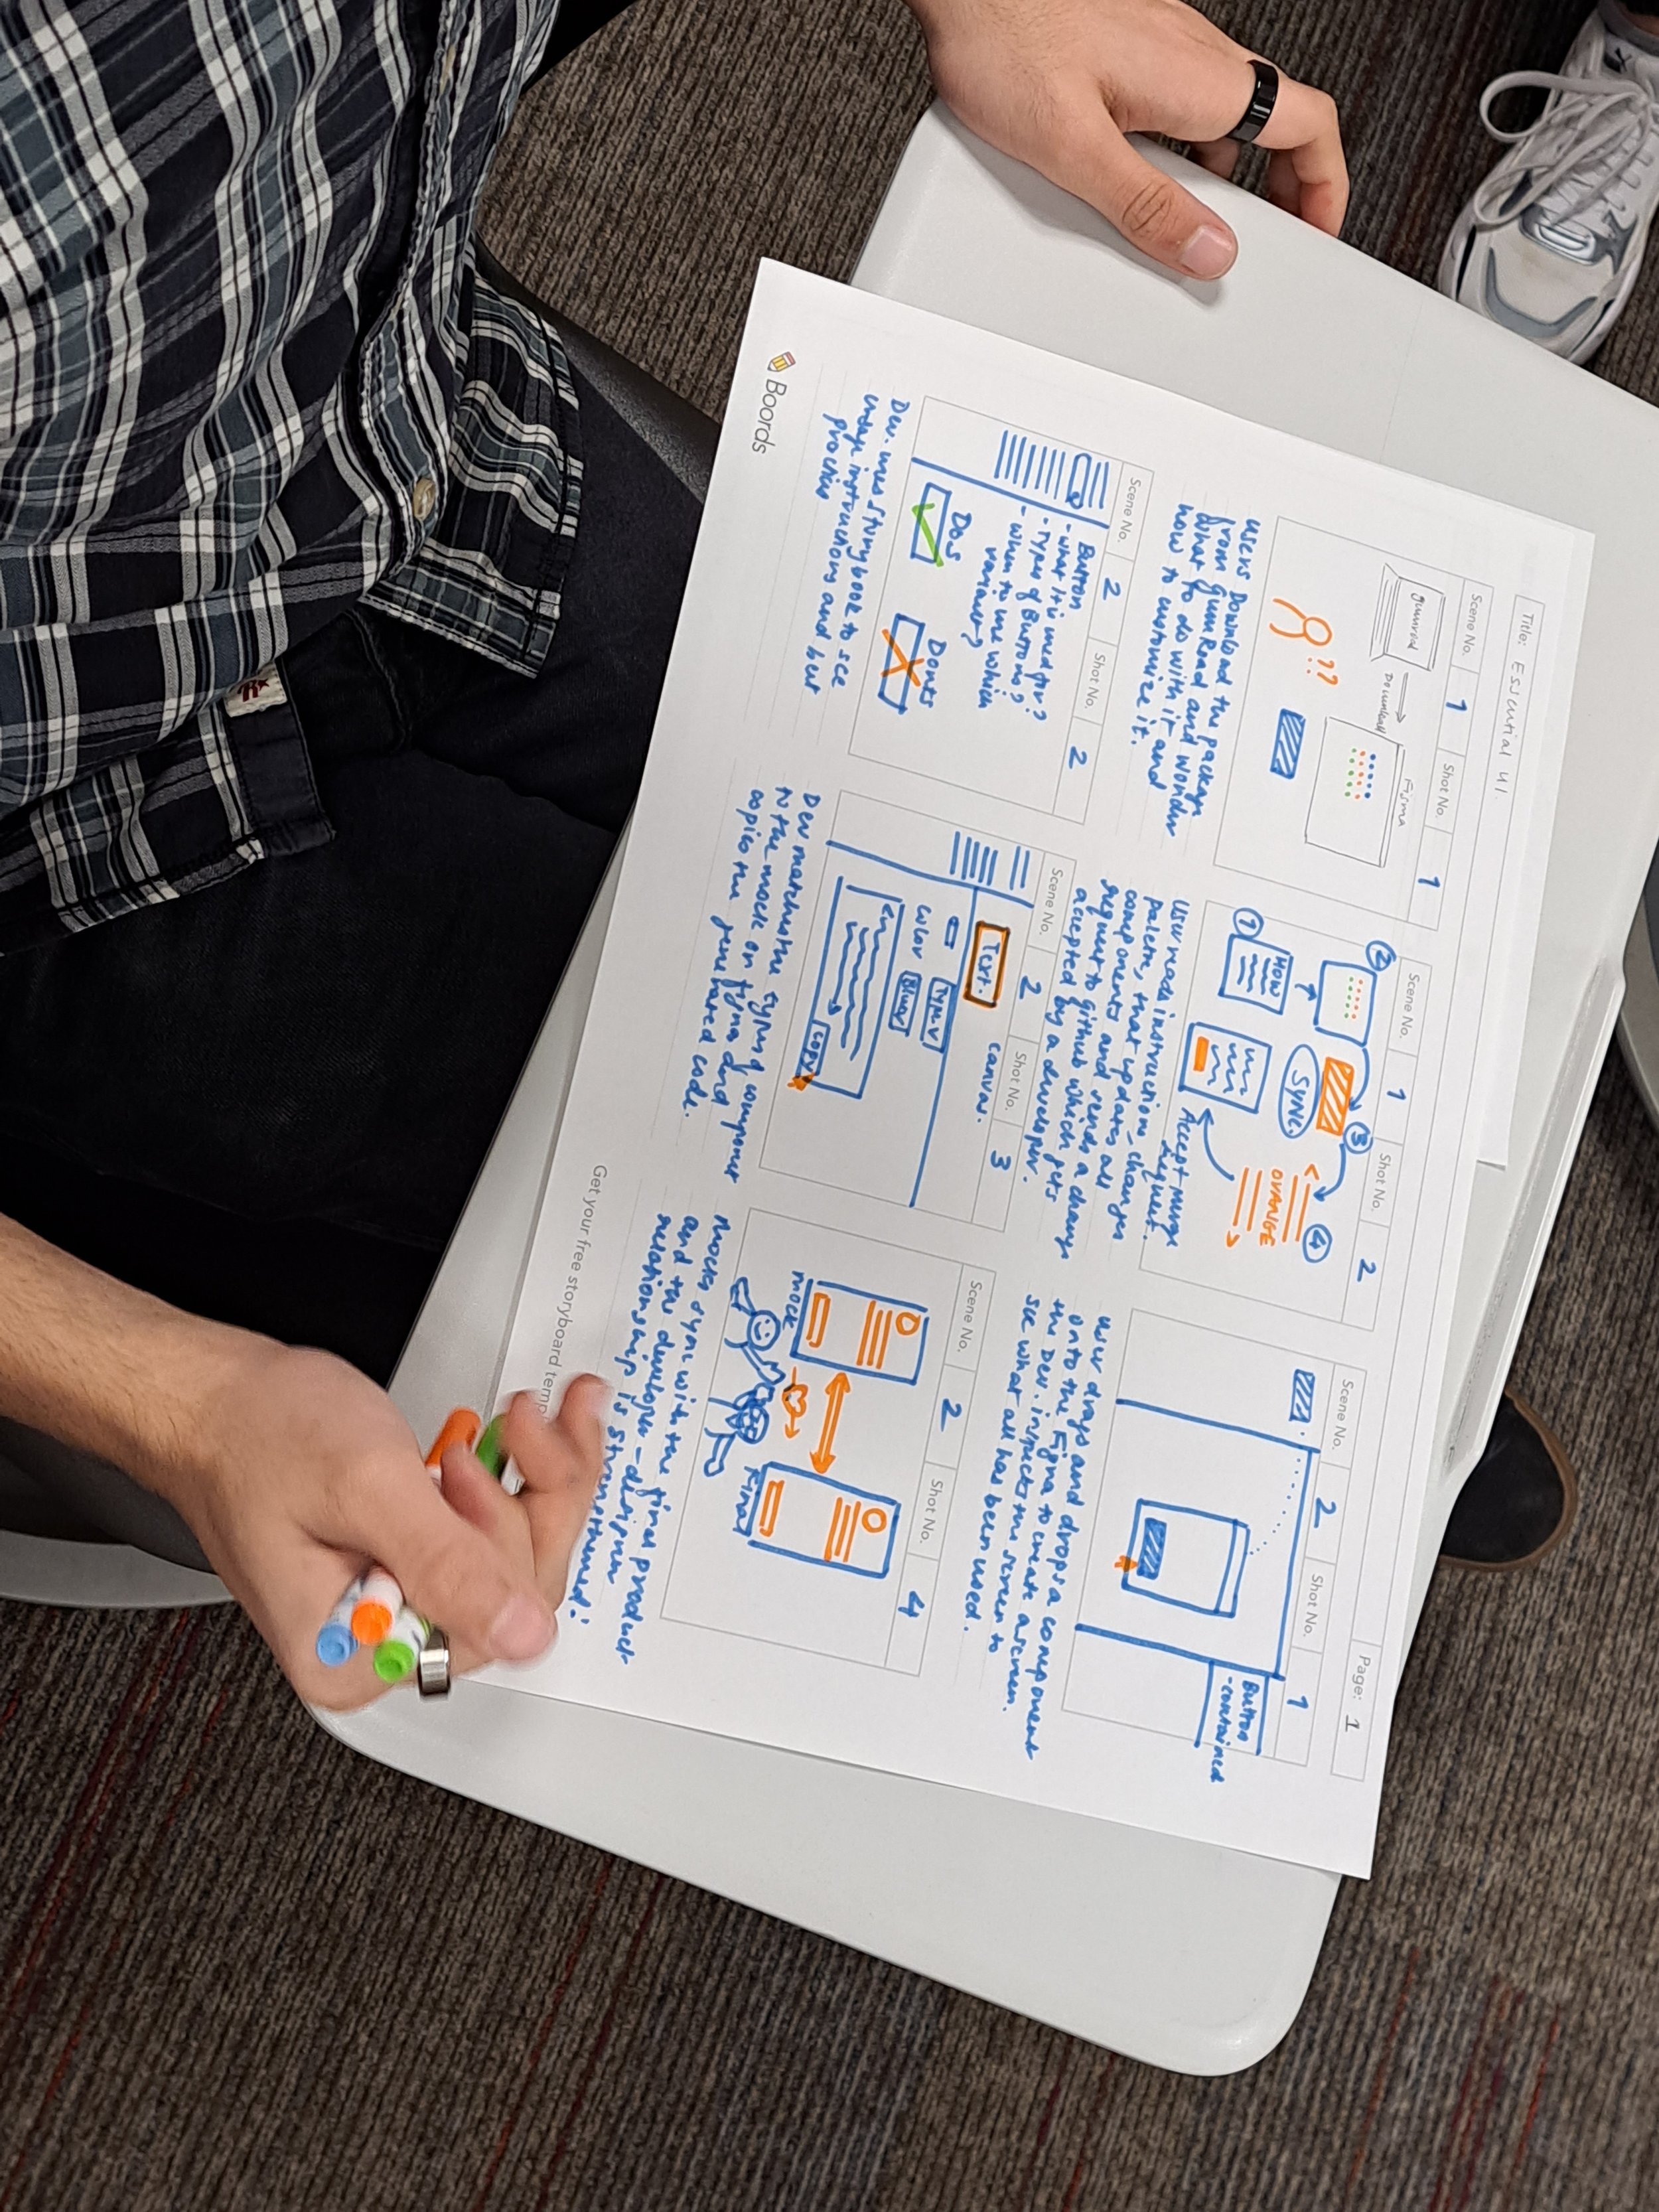
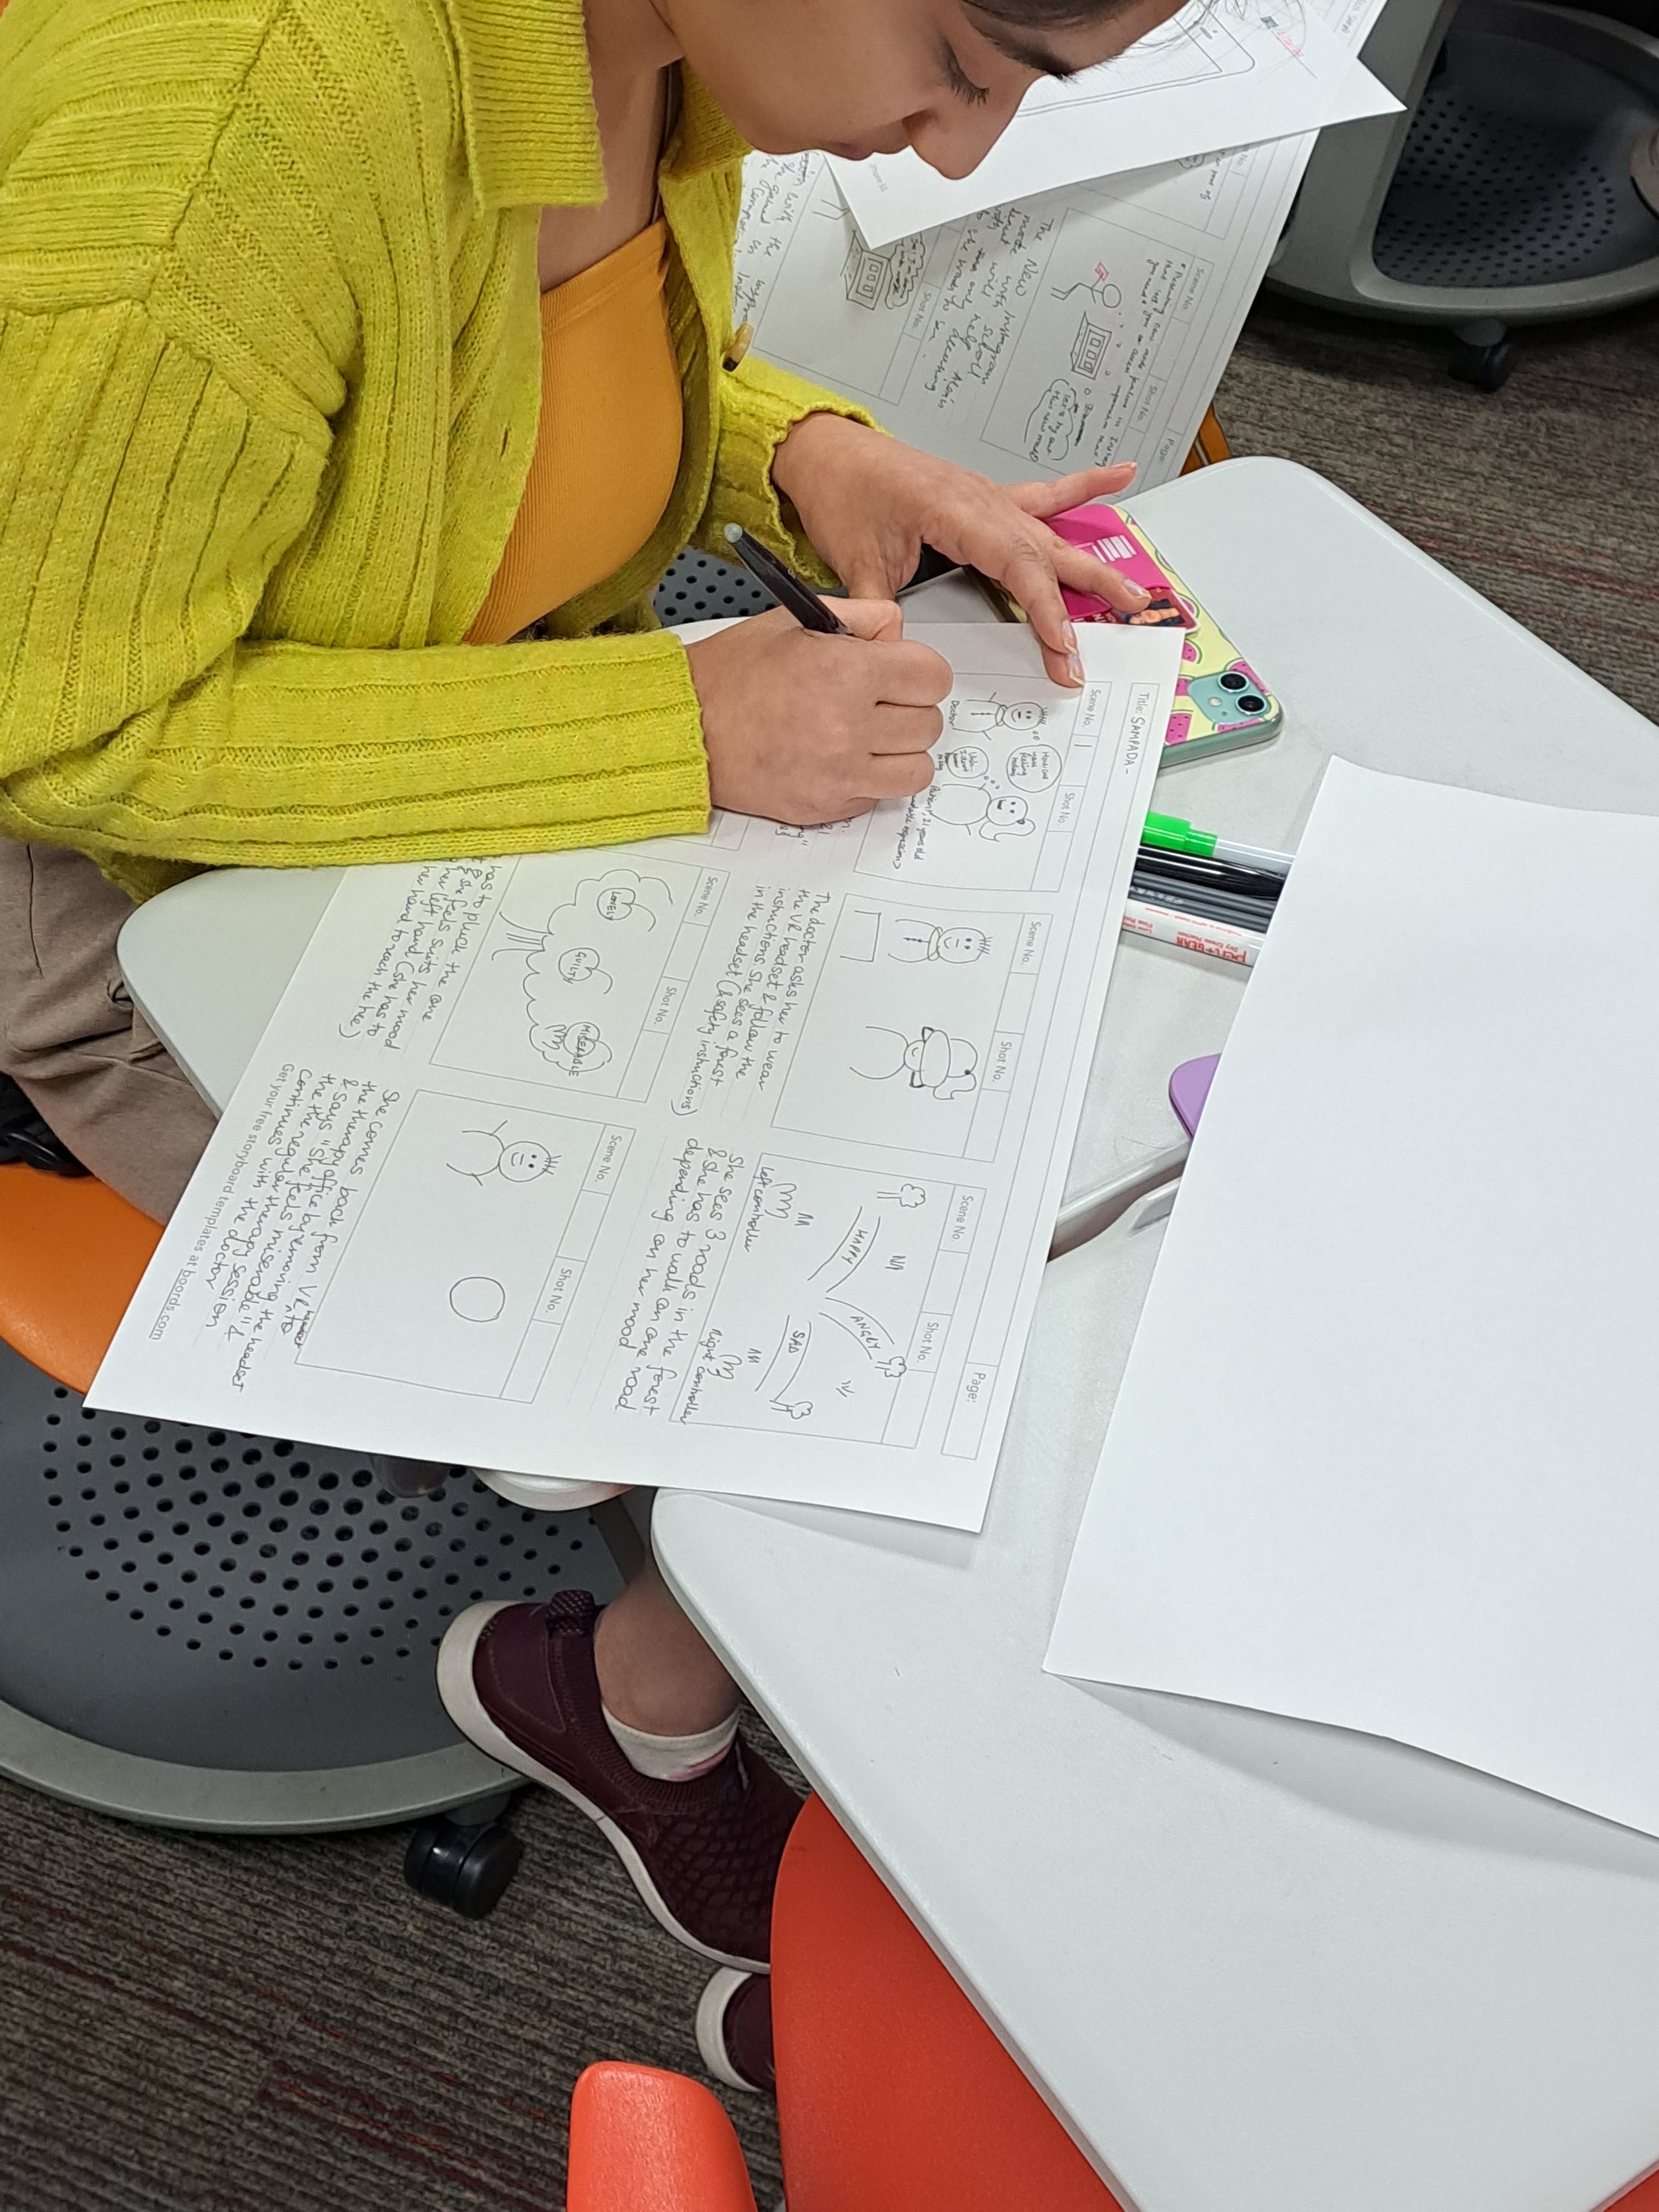
Step 2-Showcase and (Surprise) Peer Critique (10 mins): Students were given space on a whiteboard to paste their storyboards and wireframes. Each student had a random peer assigned through lottery to receive feedback on their work using post-its. The reviewer has to give feedback on what was showcased without the presence of the designer. So, the storyboards and wireframes were to be made in a way that the designer need not had to be present for the reviewer to understand them.
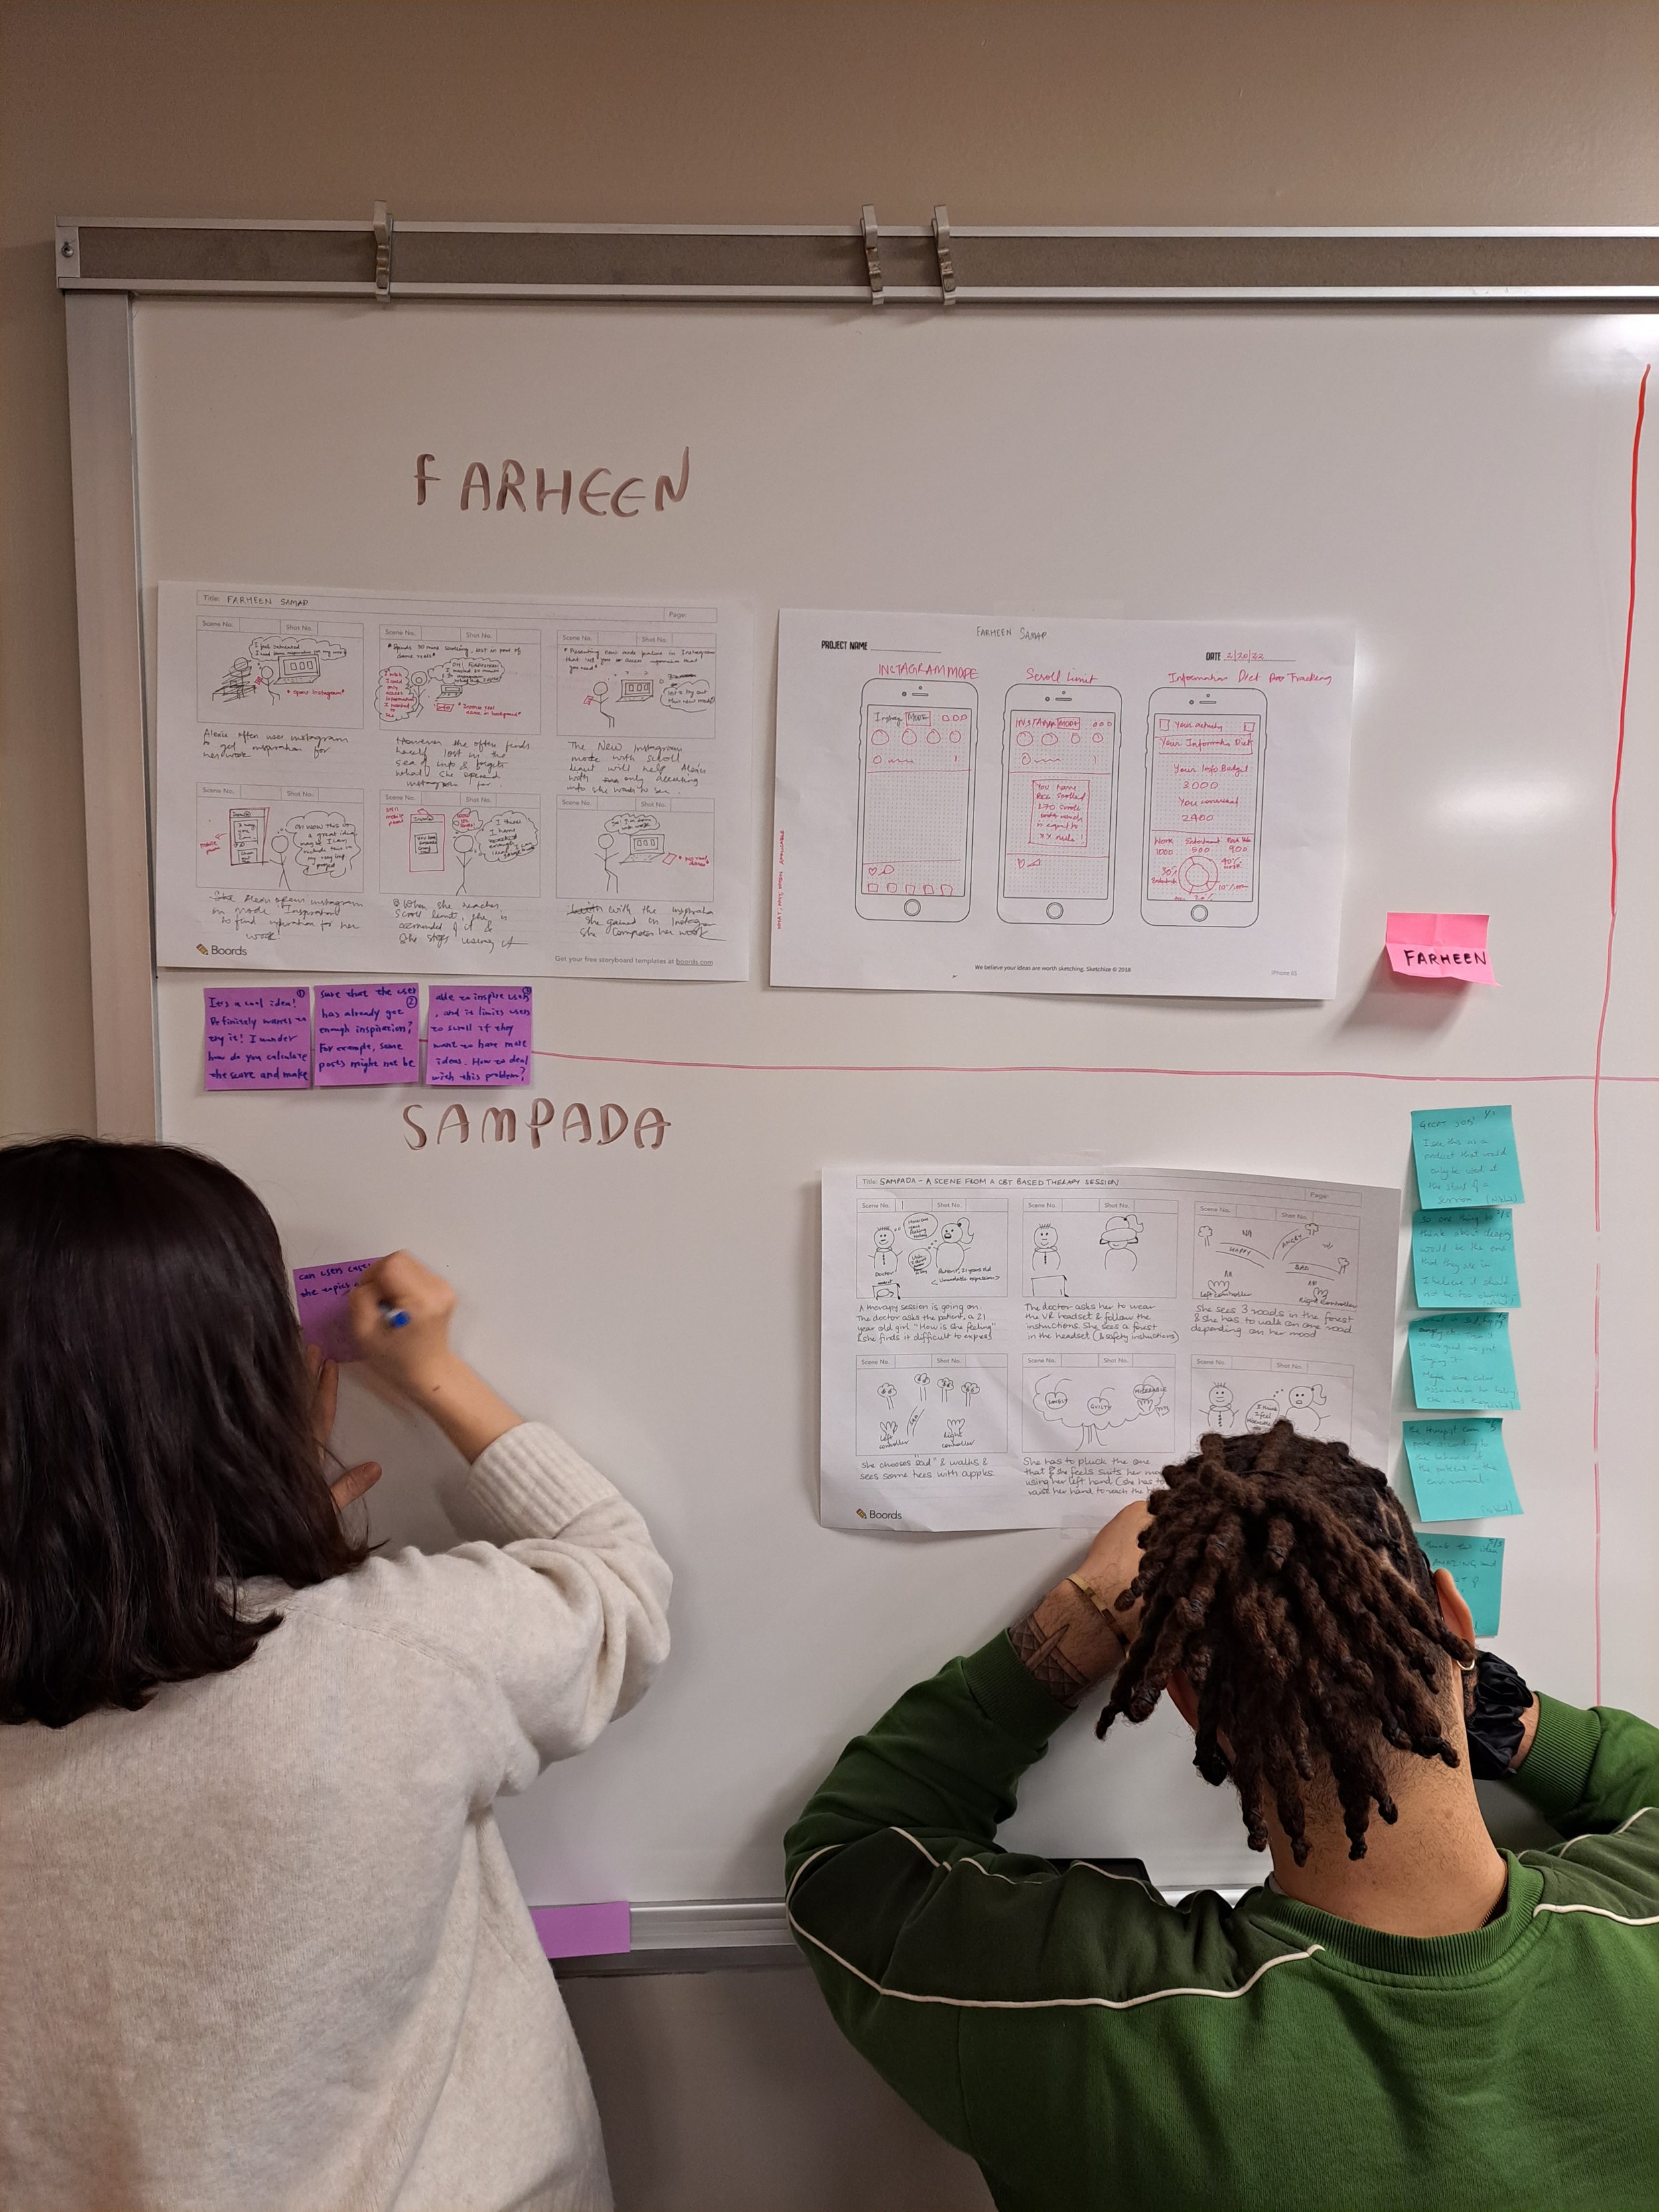
Step 3- Present each other’s work + Feedback (1 min per student): Students had to one-by-one present their assigned storyboard and wireframe based on what they understood to provide peer feedback on the design production as well as any questions to further the designer’s process. This allowed students not only think about their work, but also prepare them to present another designer’s work based on what is showcased.
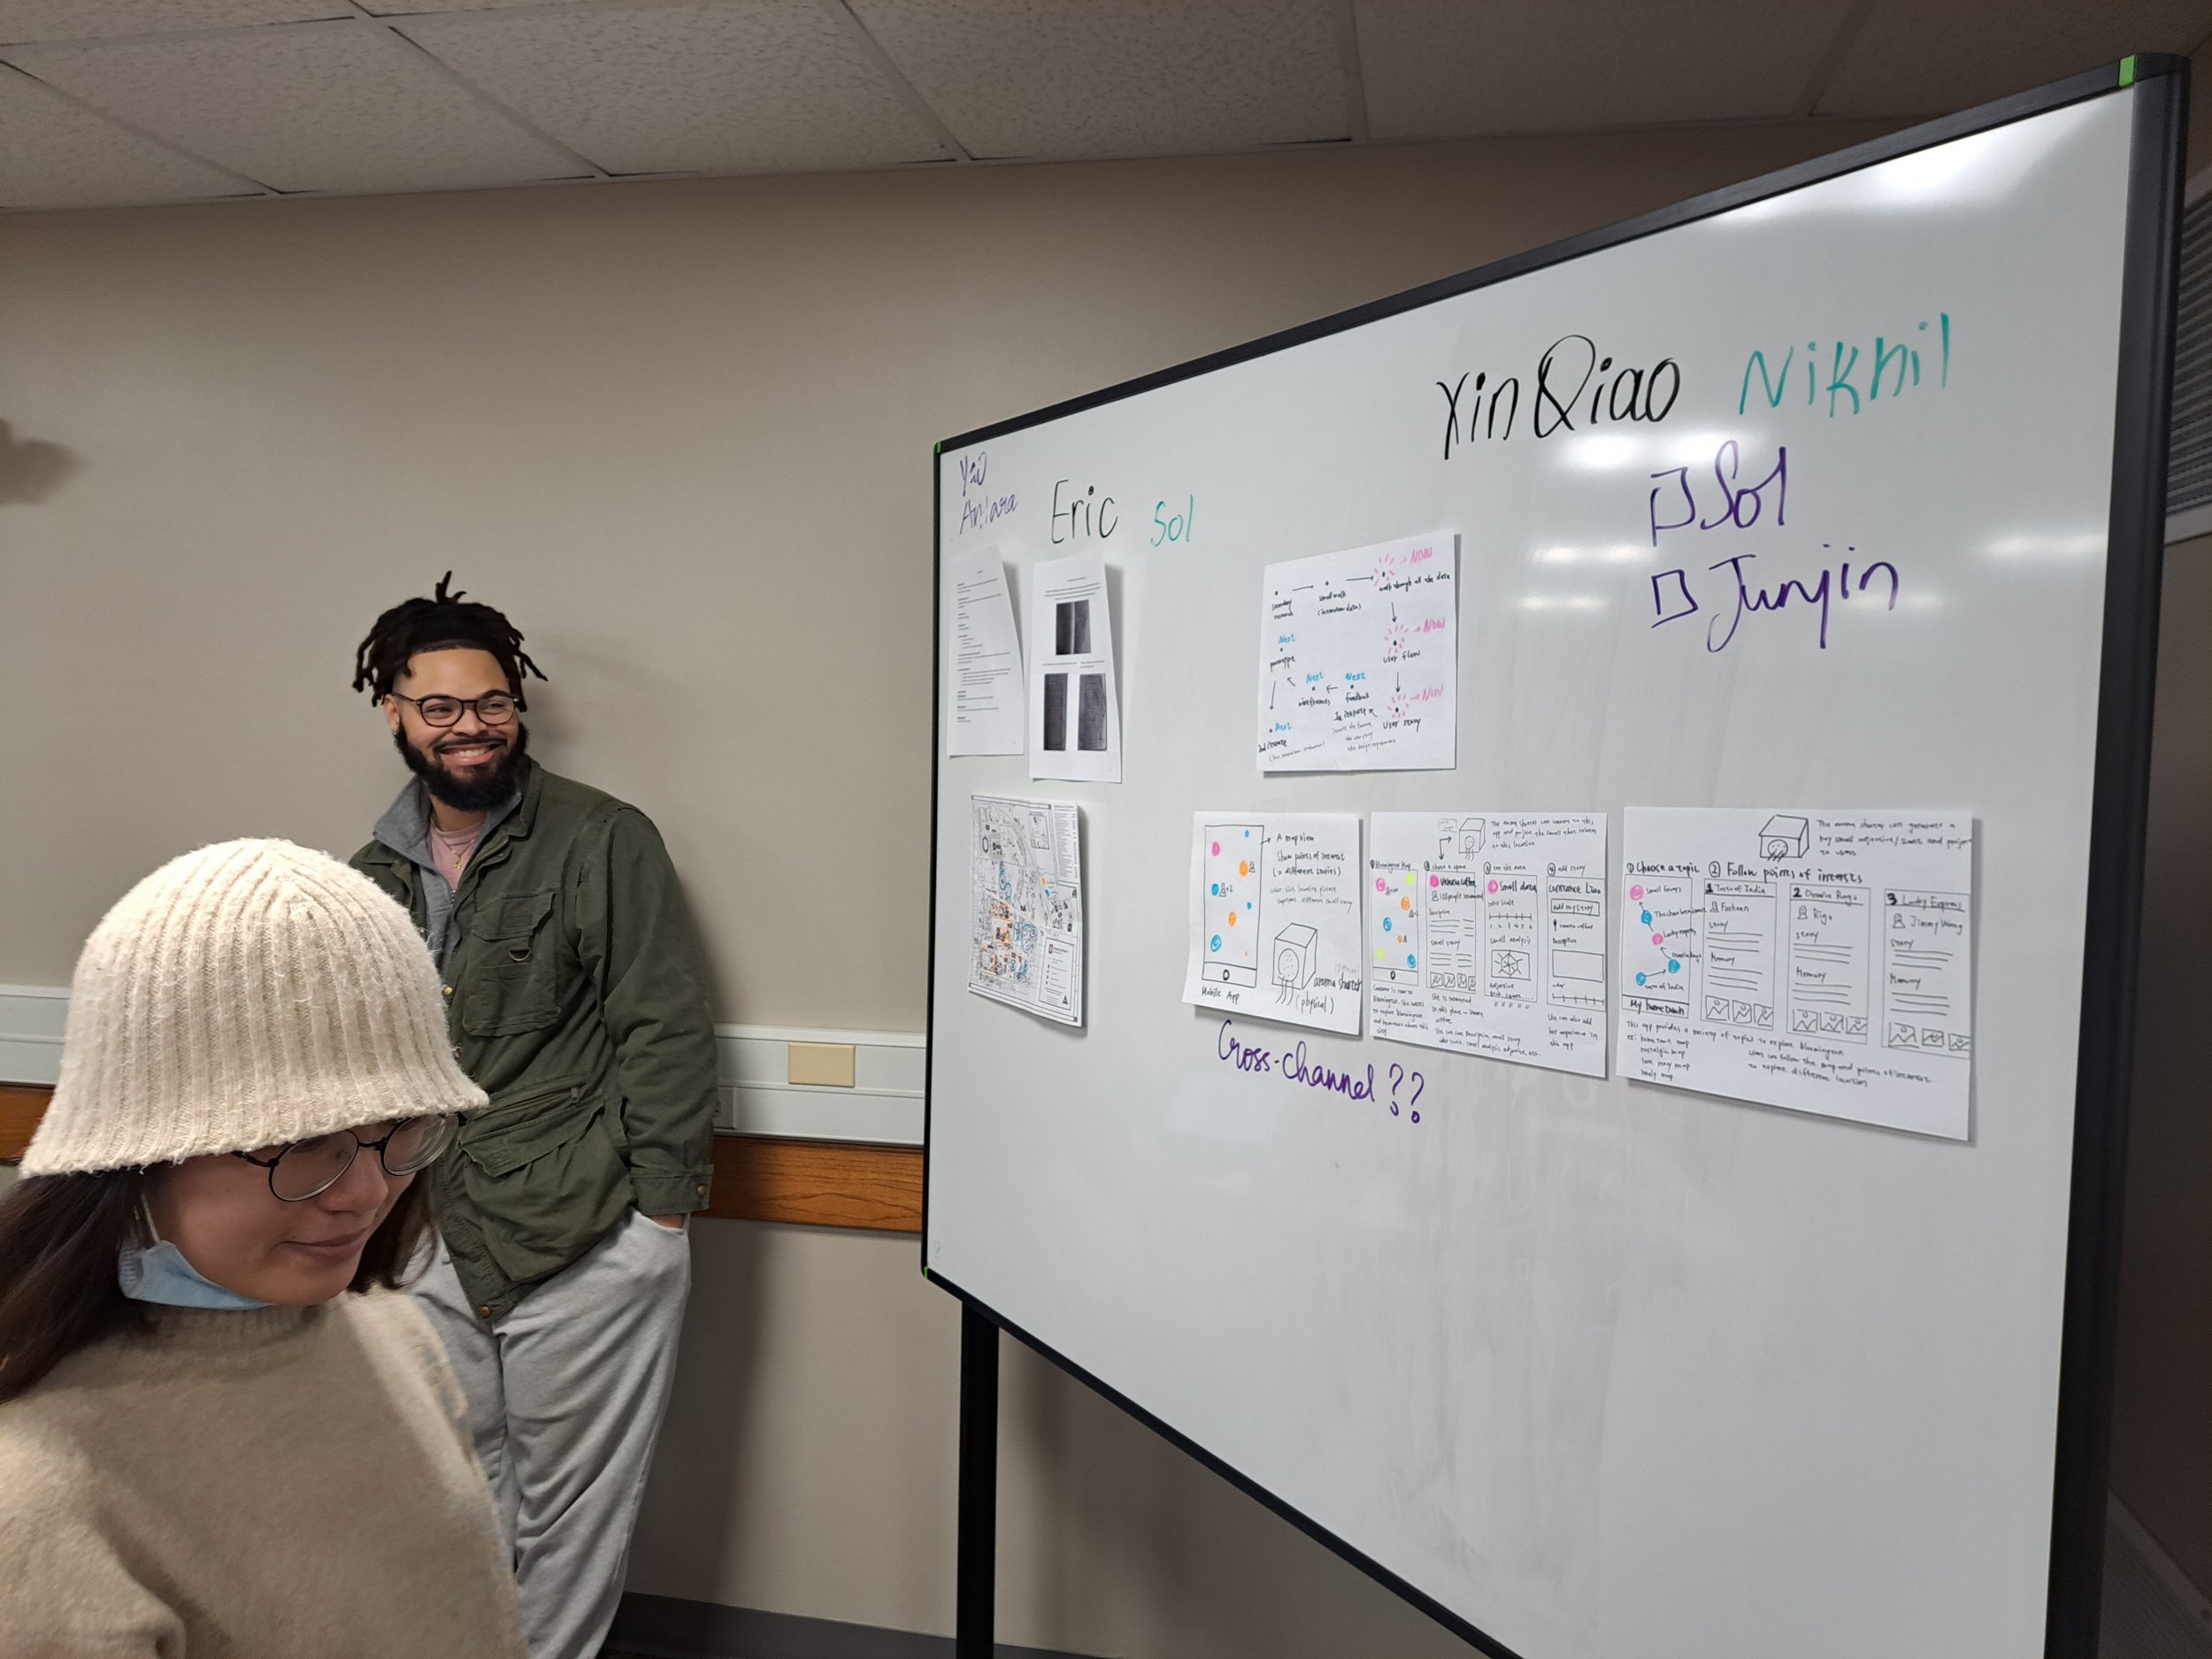
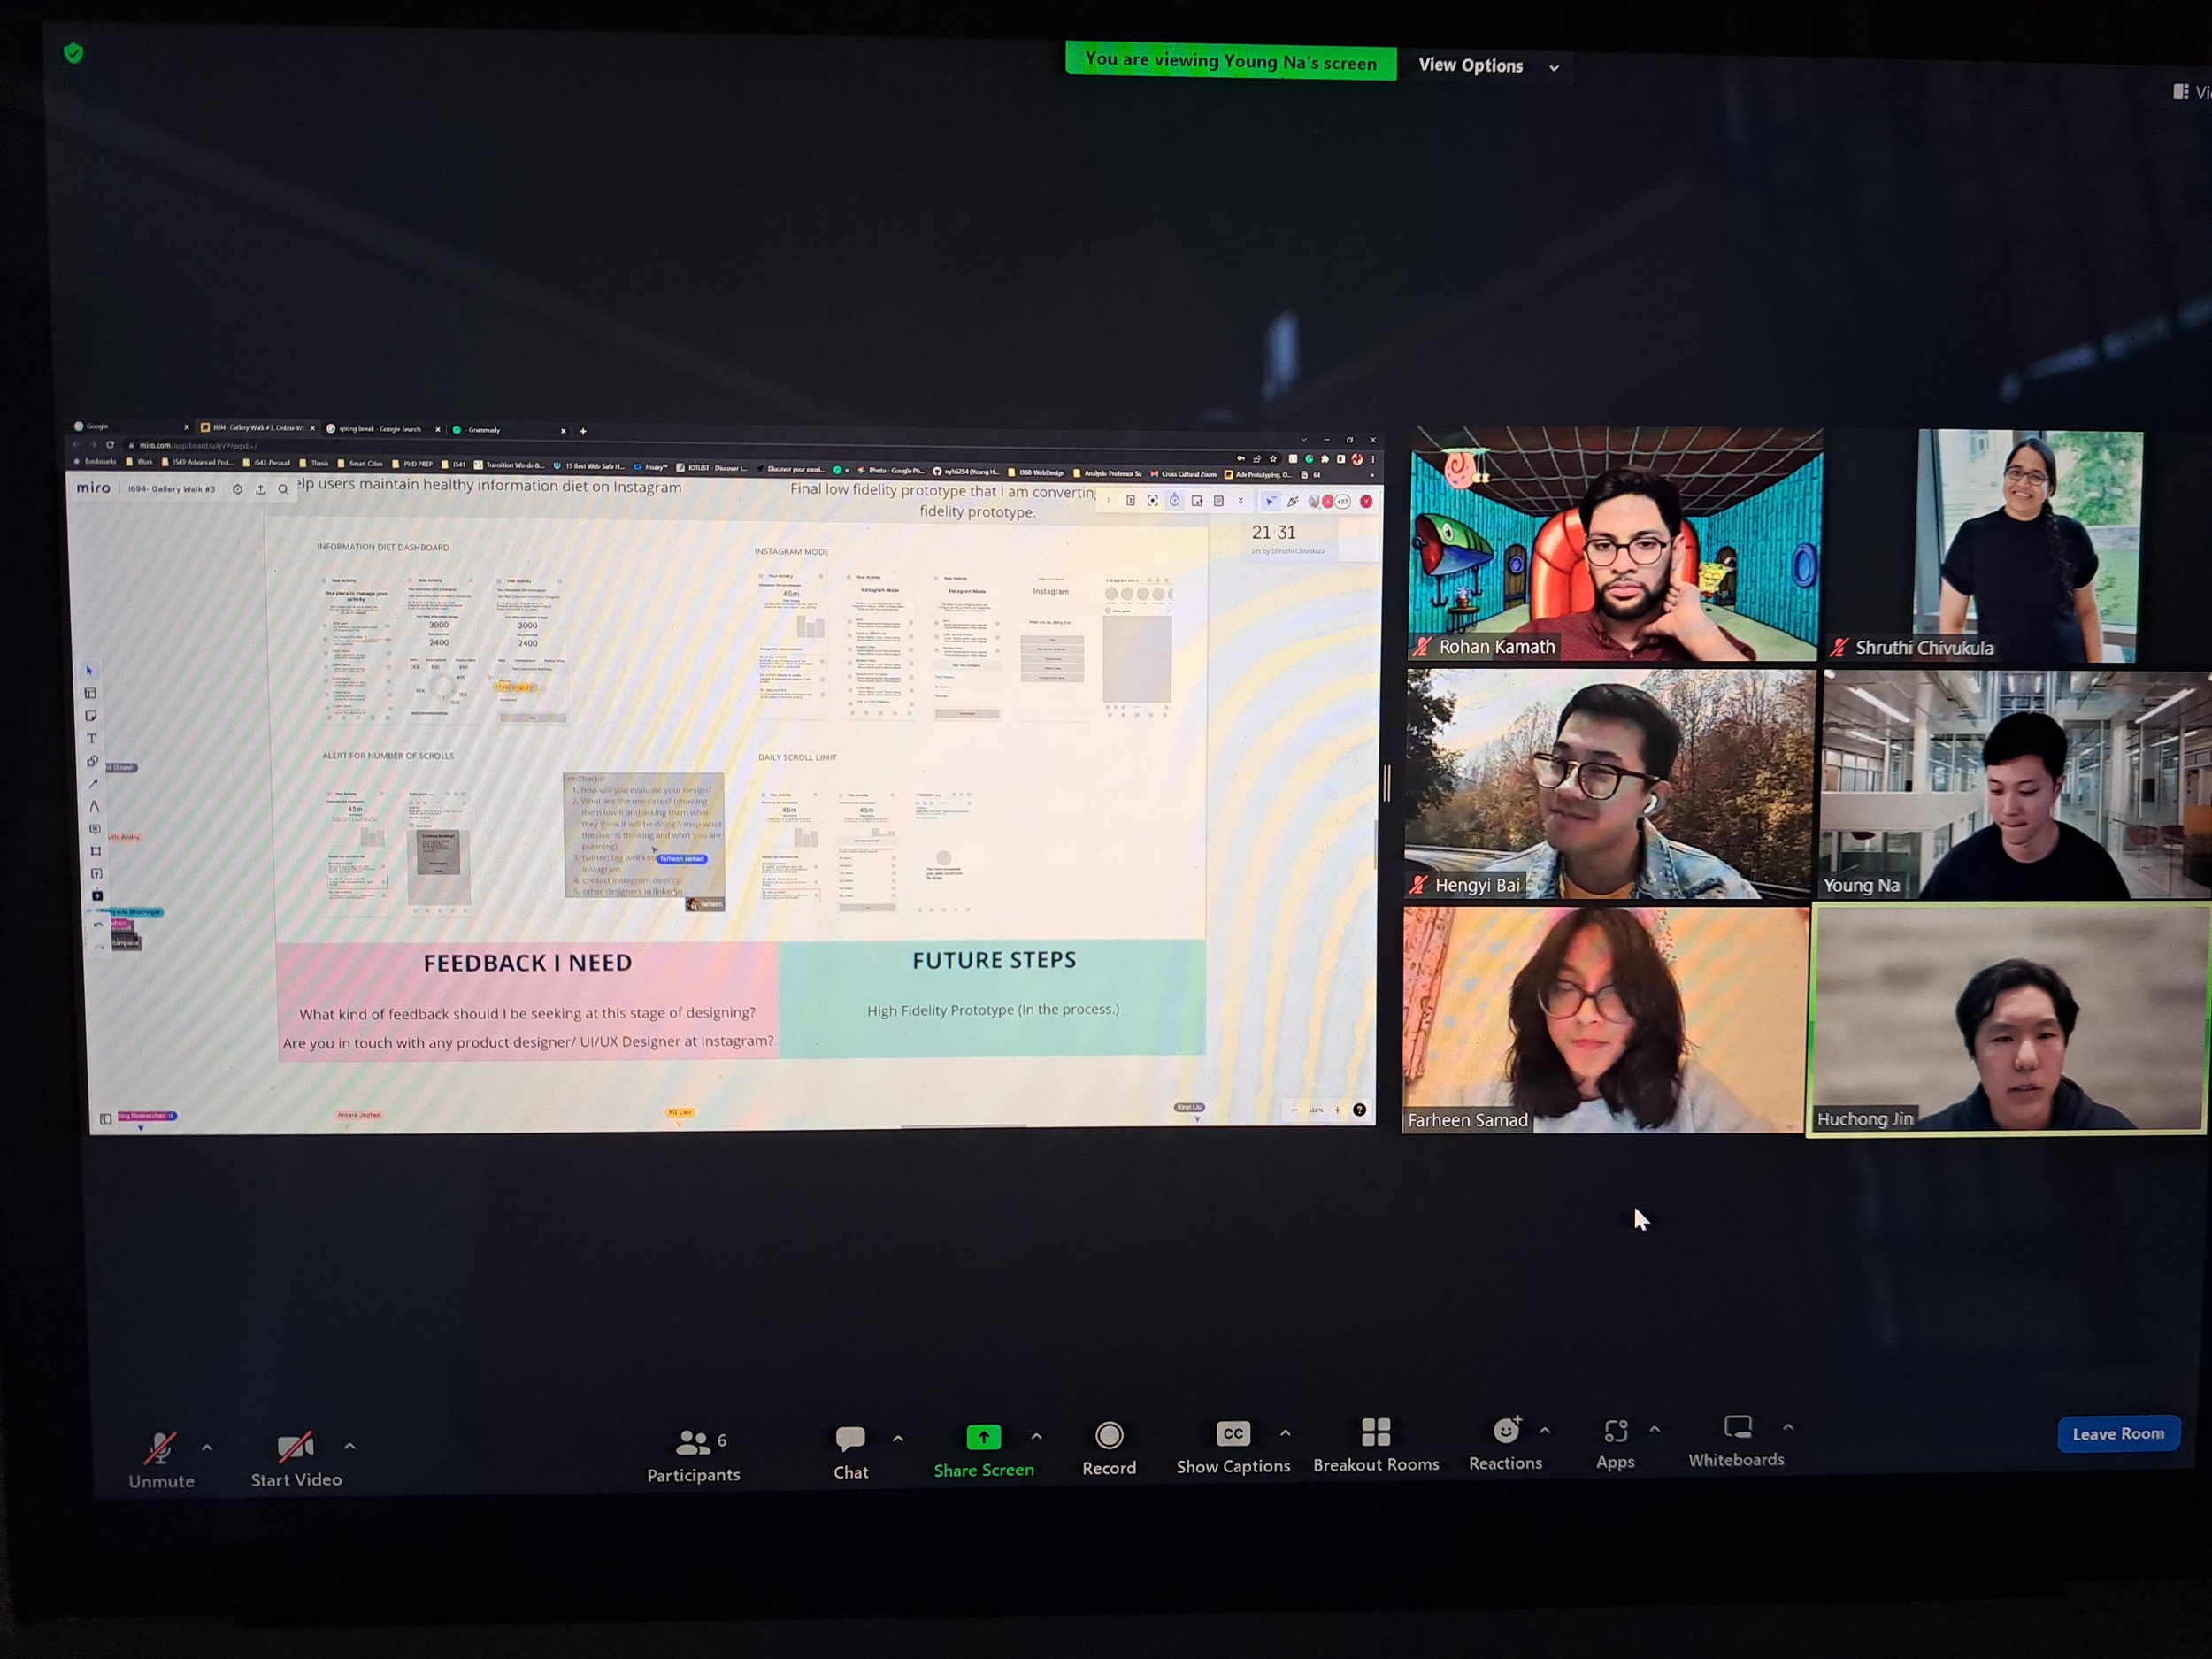
Gallery Walk- Miro Version
Week 8, we had a windy and non-humane weather (literally) and I was in a mood! So, it was hardly 2 hours before the class, I made the class online and it was Gallery Walk week. So, it was interesting for me to setup a Miro board template for students to include: 1) Visual reference of their wireframes/ product sketches/ low-fi prototypes (based on storyboards progressing from last week); 2) Feedback questions that students need answers or support for; and 3) Future steps for next one or two weeks.
What did we do? Round 1
Divide class into groups of 4 to put in breakout rooms. Students from each of the group (named after four plants) were put in a breakout room.
Each group was given 20-30 mins to each share screen and present their Miro board (Miro Timer is the best!) and discuss feedback questions.
There was one self-appointed facilitator in each group to make sure everyone gets their turn.
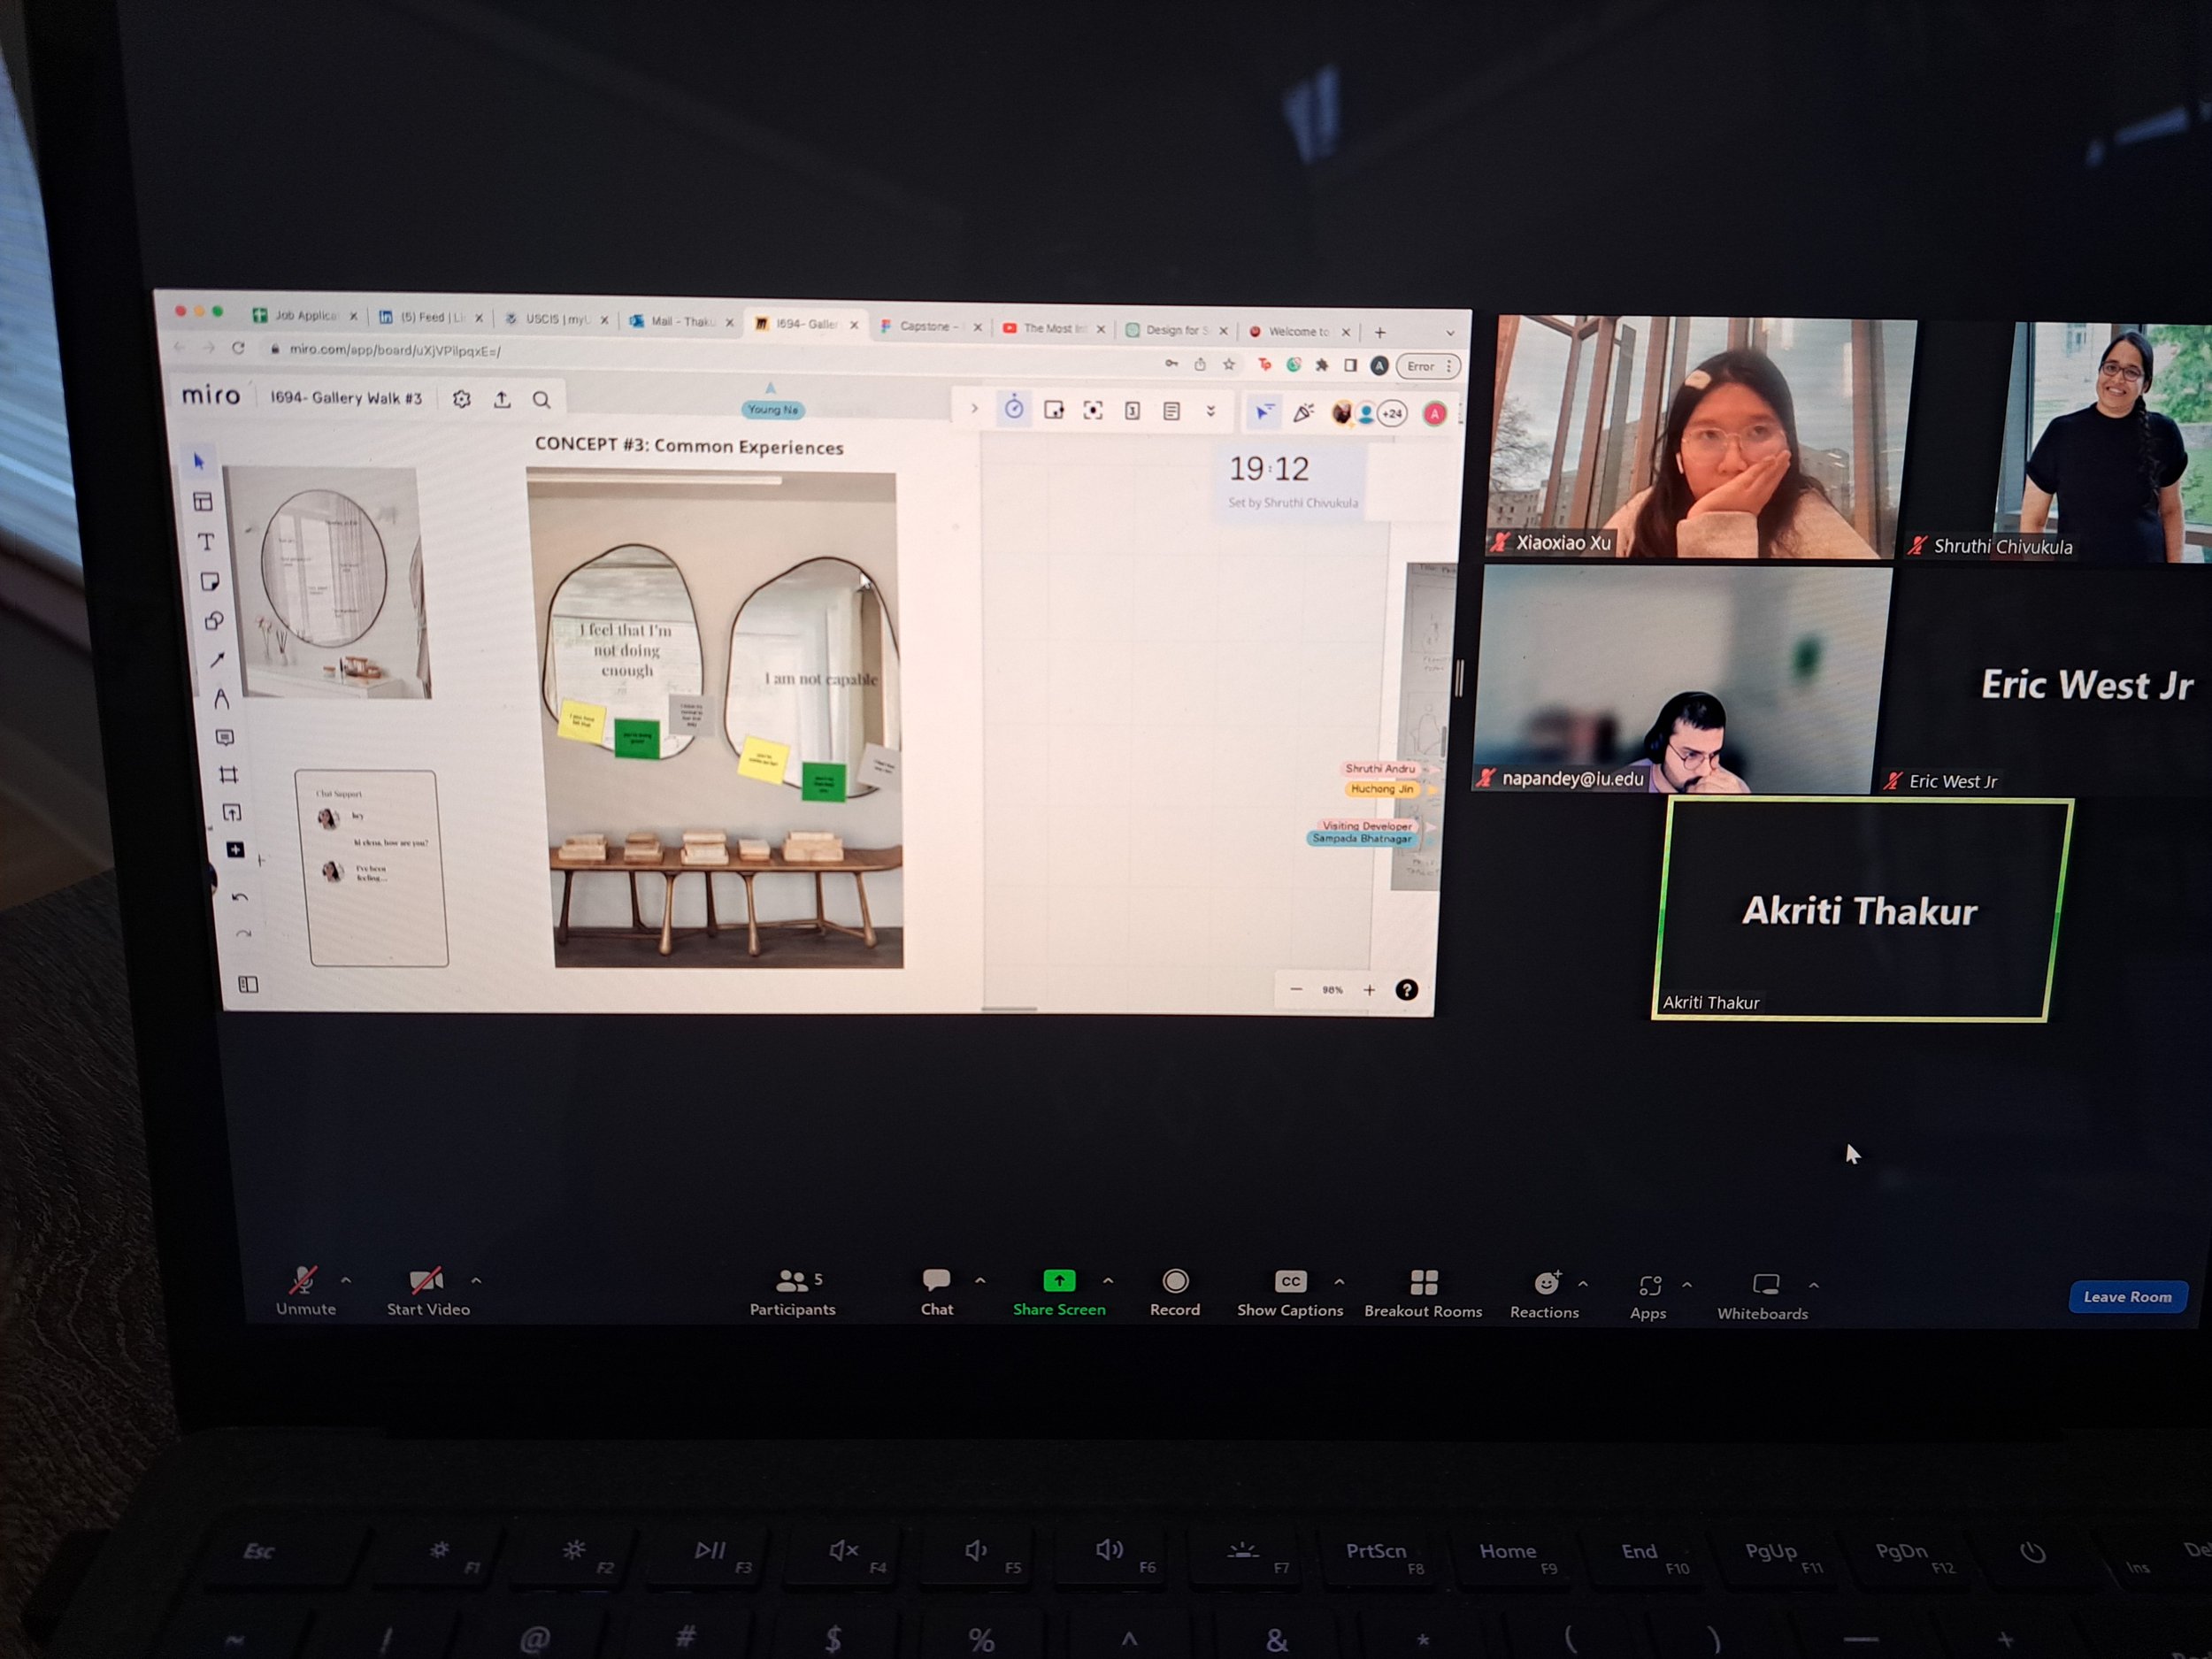
Round 2
After engagement in Round 1, we had a short break to do Round 2 of the Gallery Walk. This time a little more less structured, but randomized.
Divided class into random groups of 4 and put in breakout rooms.
Students were asked to either do what they have done in Round 1 with new set of people or pick a random board of another student (not in their breakout room) to discuss their work.
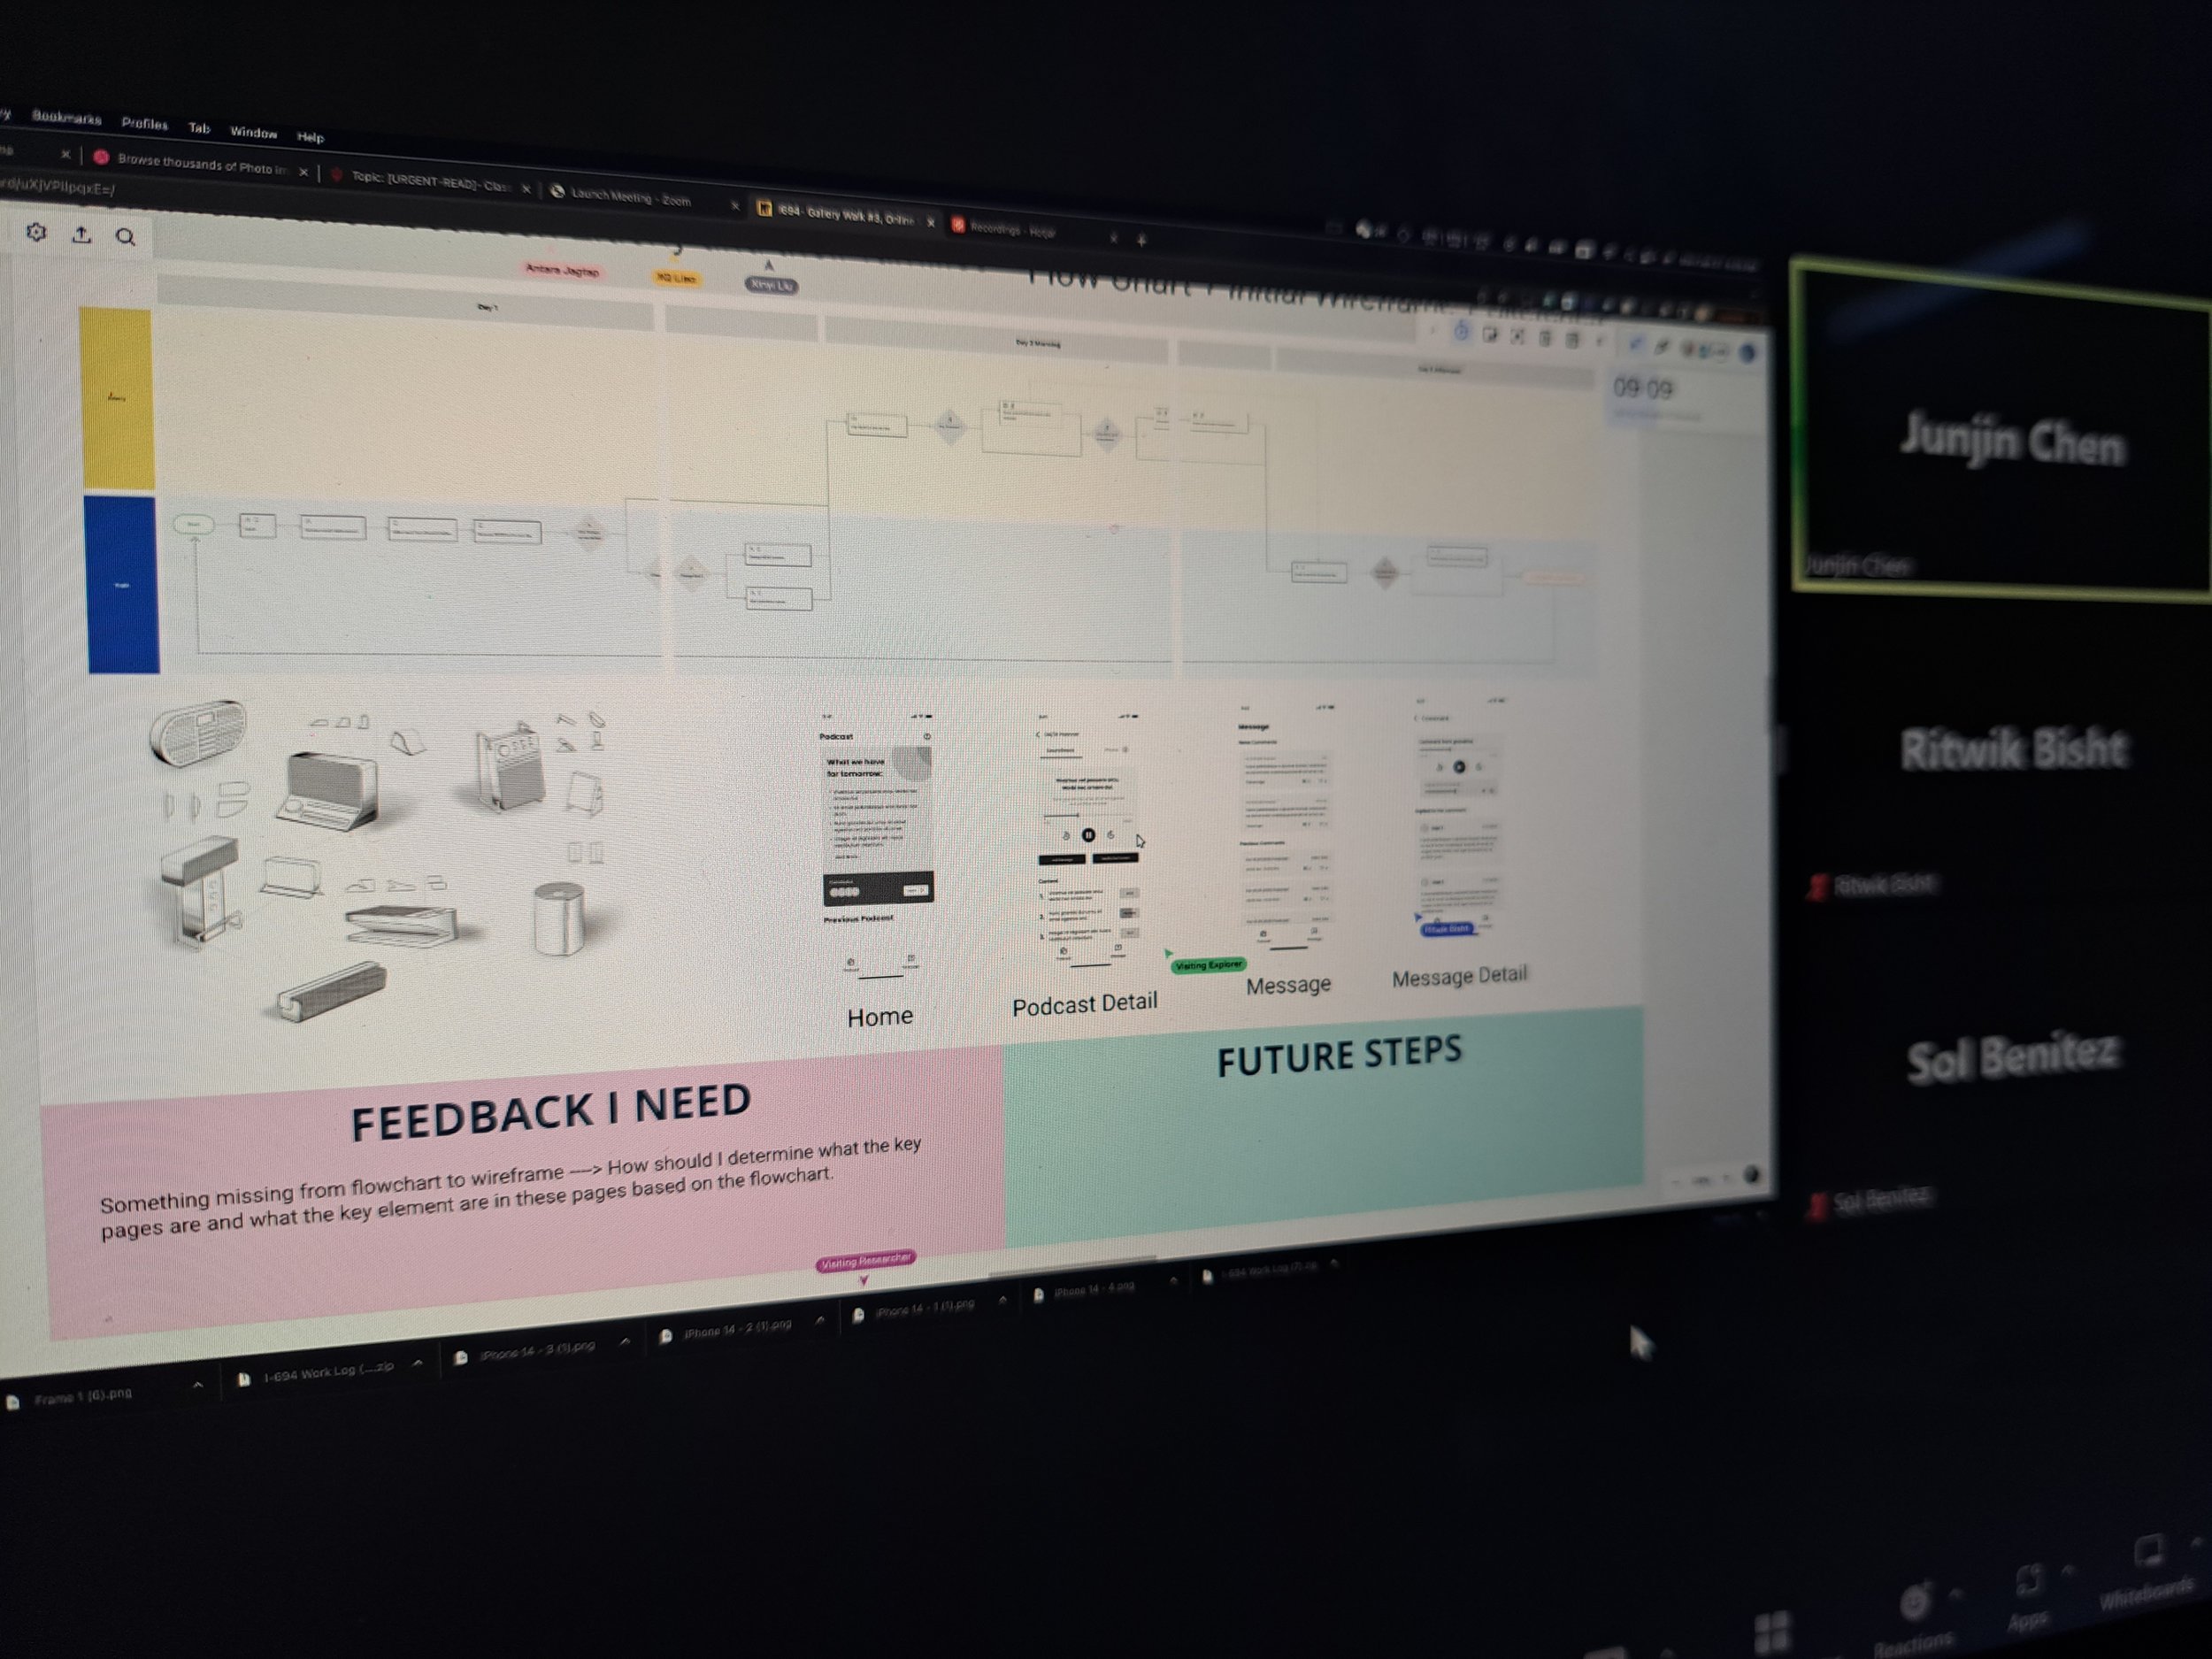
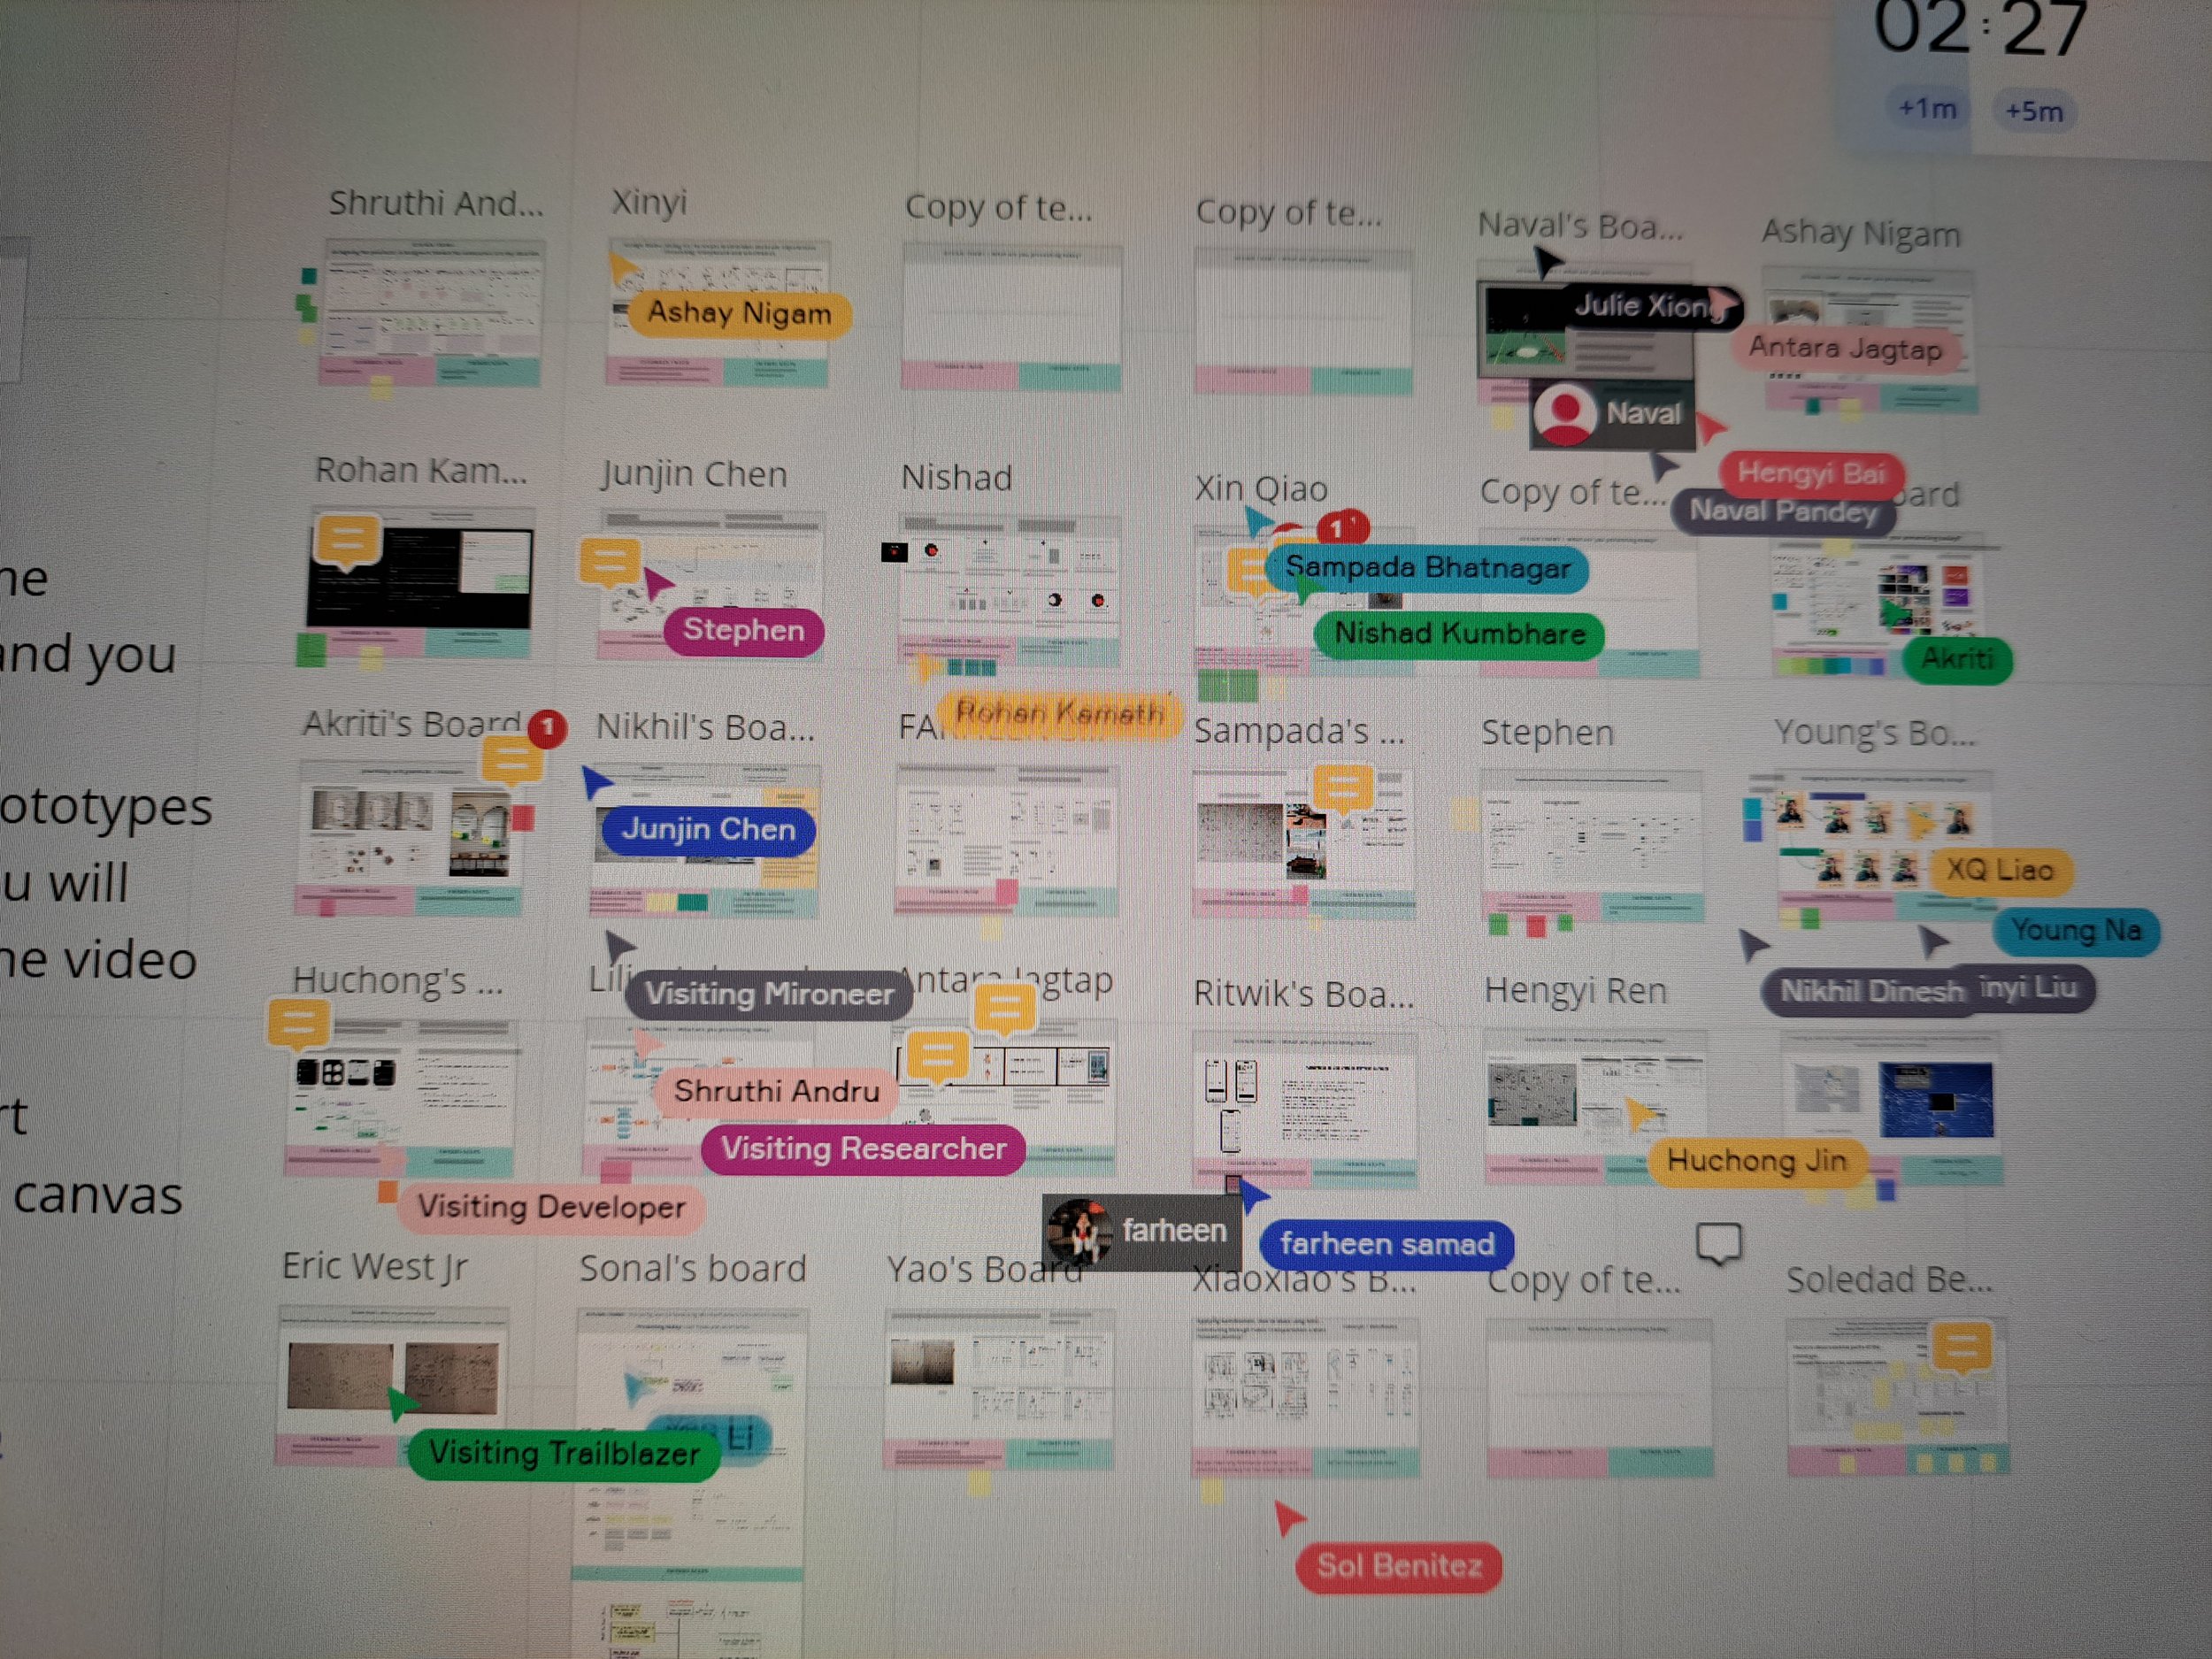
Some close-ups of Miro Boards

Students definitely know how to have and make everything fun!
Zoom filters and backgrounds
Students expressed how they thoroughly enjoyed this version of the Gallery Walk due to its comfort to sit in your pajamas and the how in-person Gallery Walks are usually energy draining. Yay! But, I am glad I tried this version atleast once in the two semesters and can rely on the success of this model. Students had fun, so yay! I think it also allowed students to show a range of media (videos, gifs, links, documents, etc.), which would otherwise be difficult in printed format.
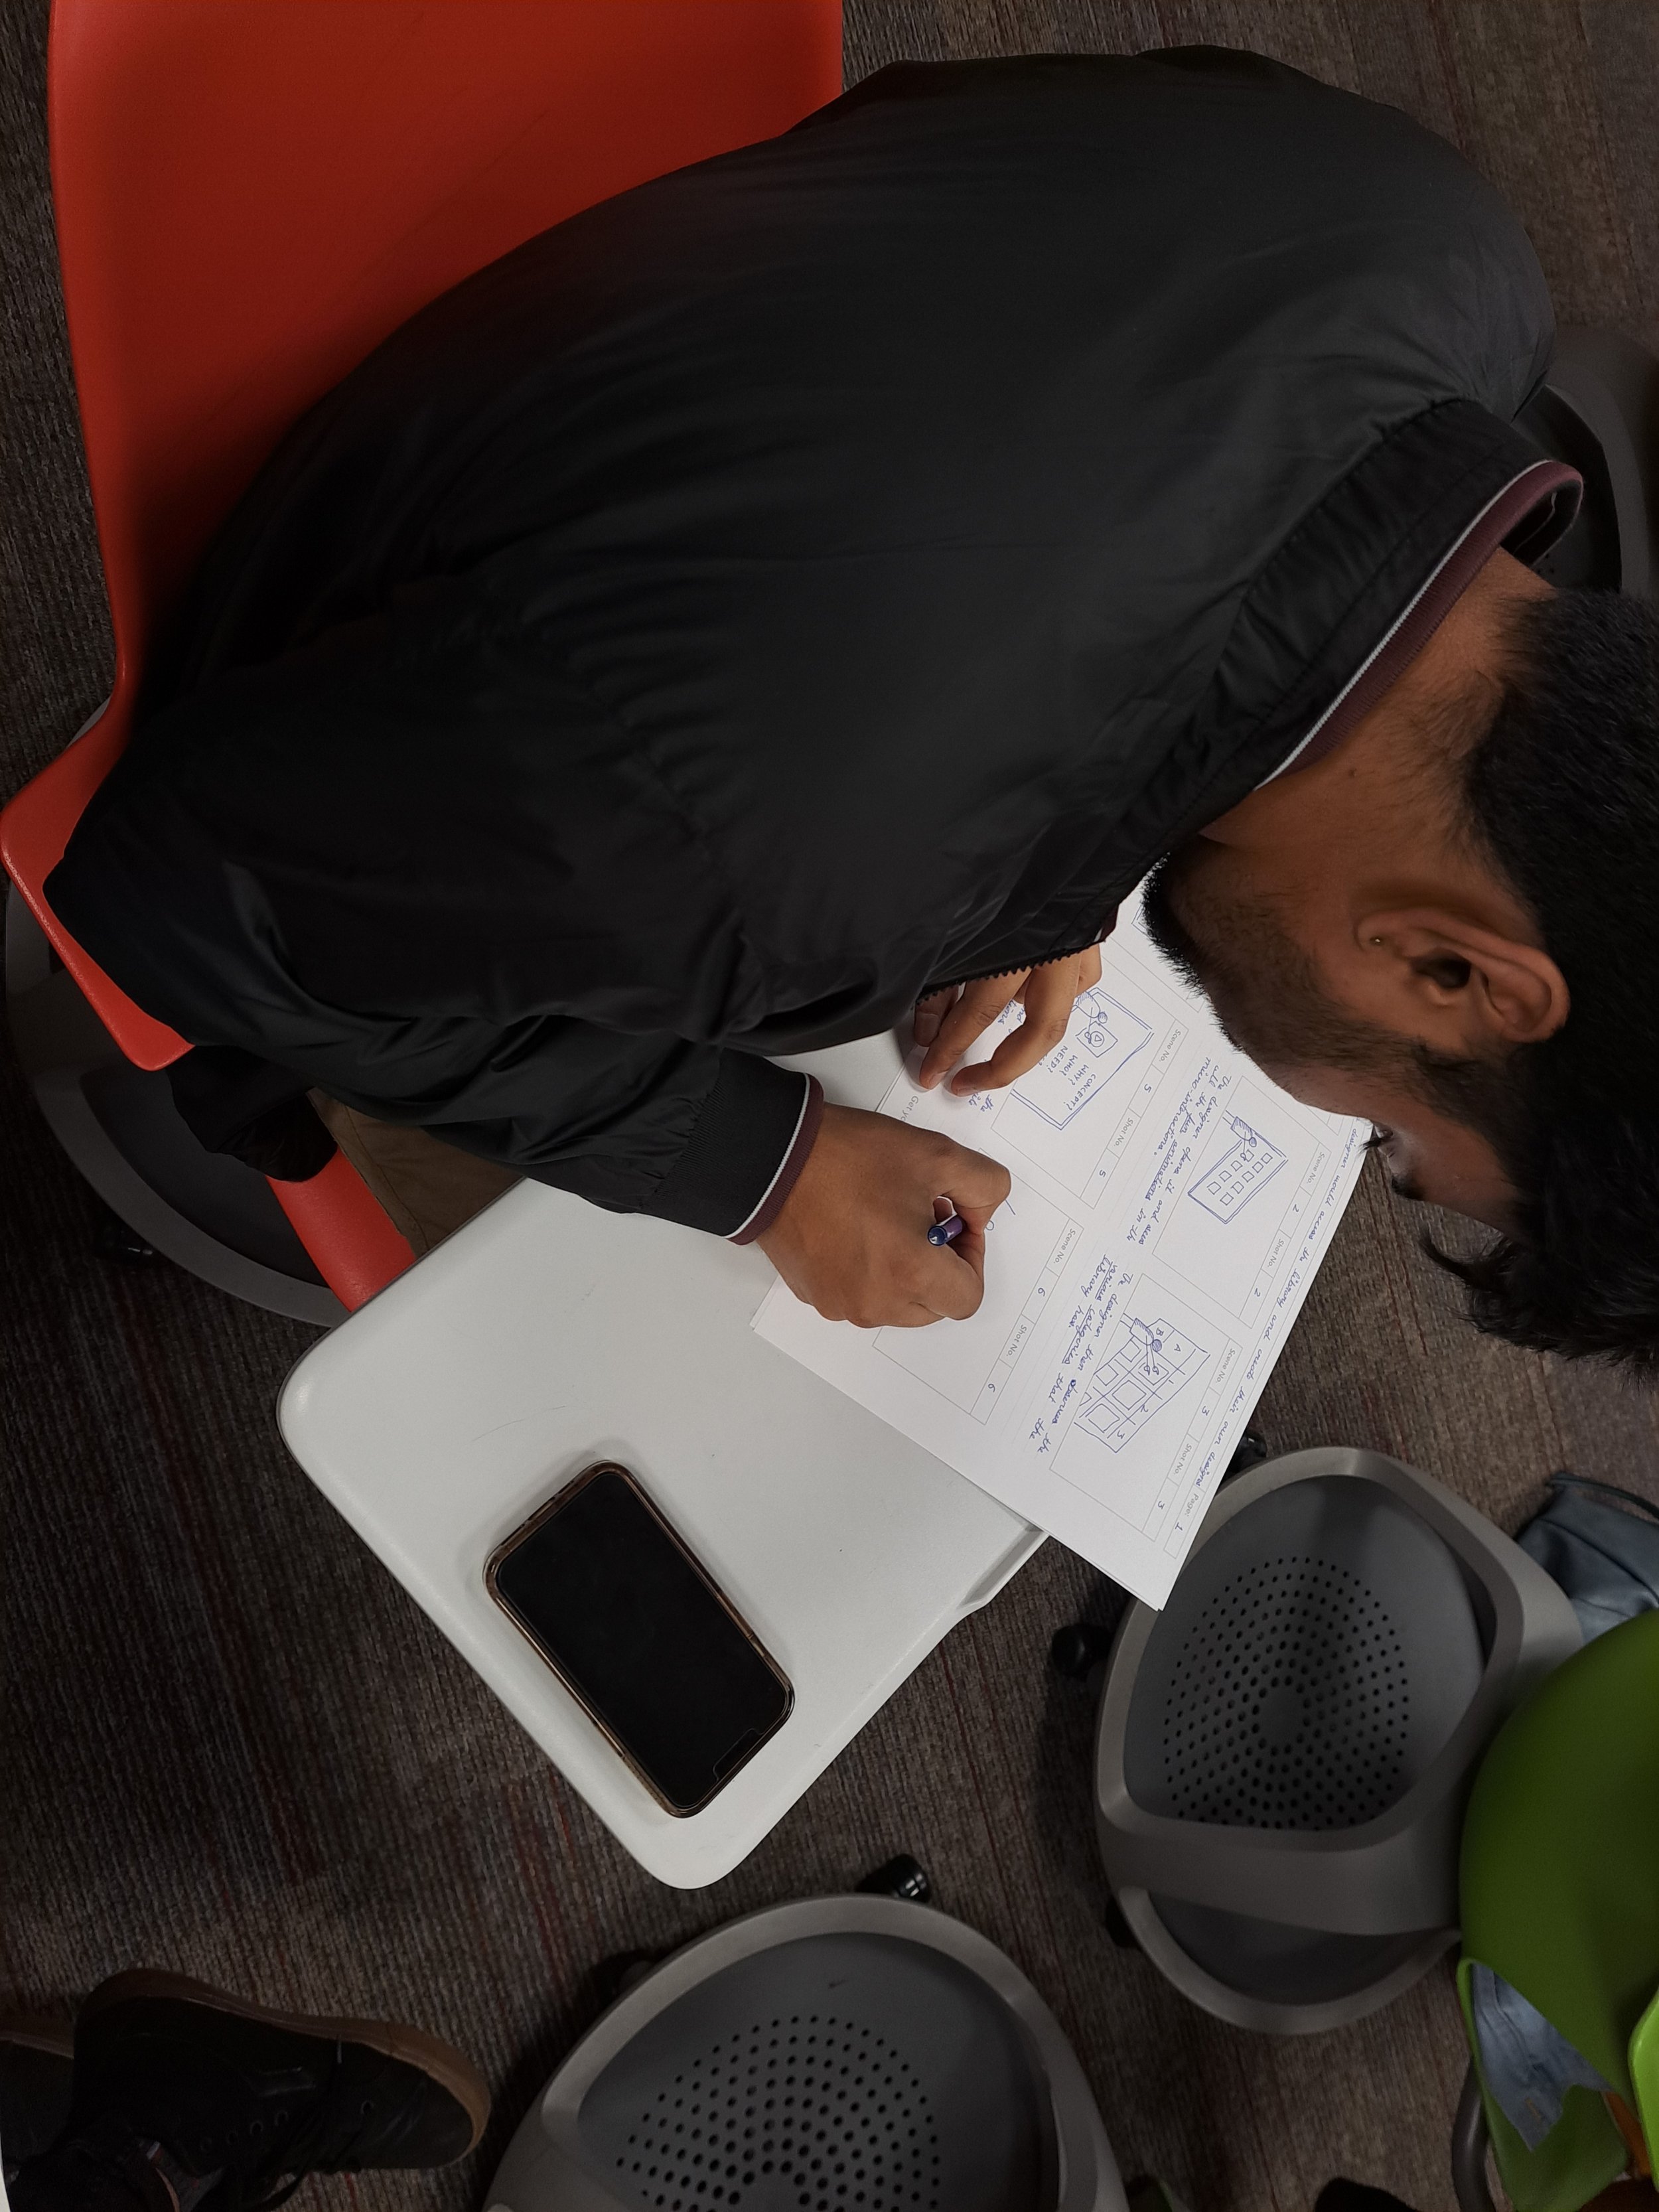
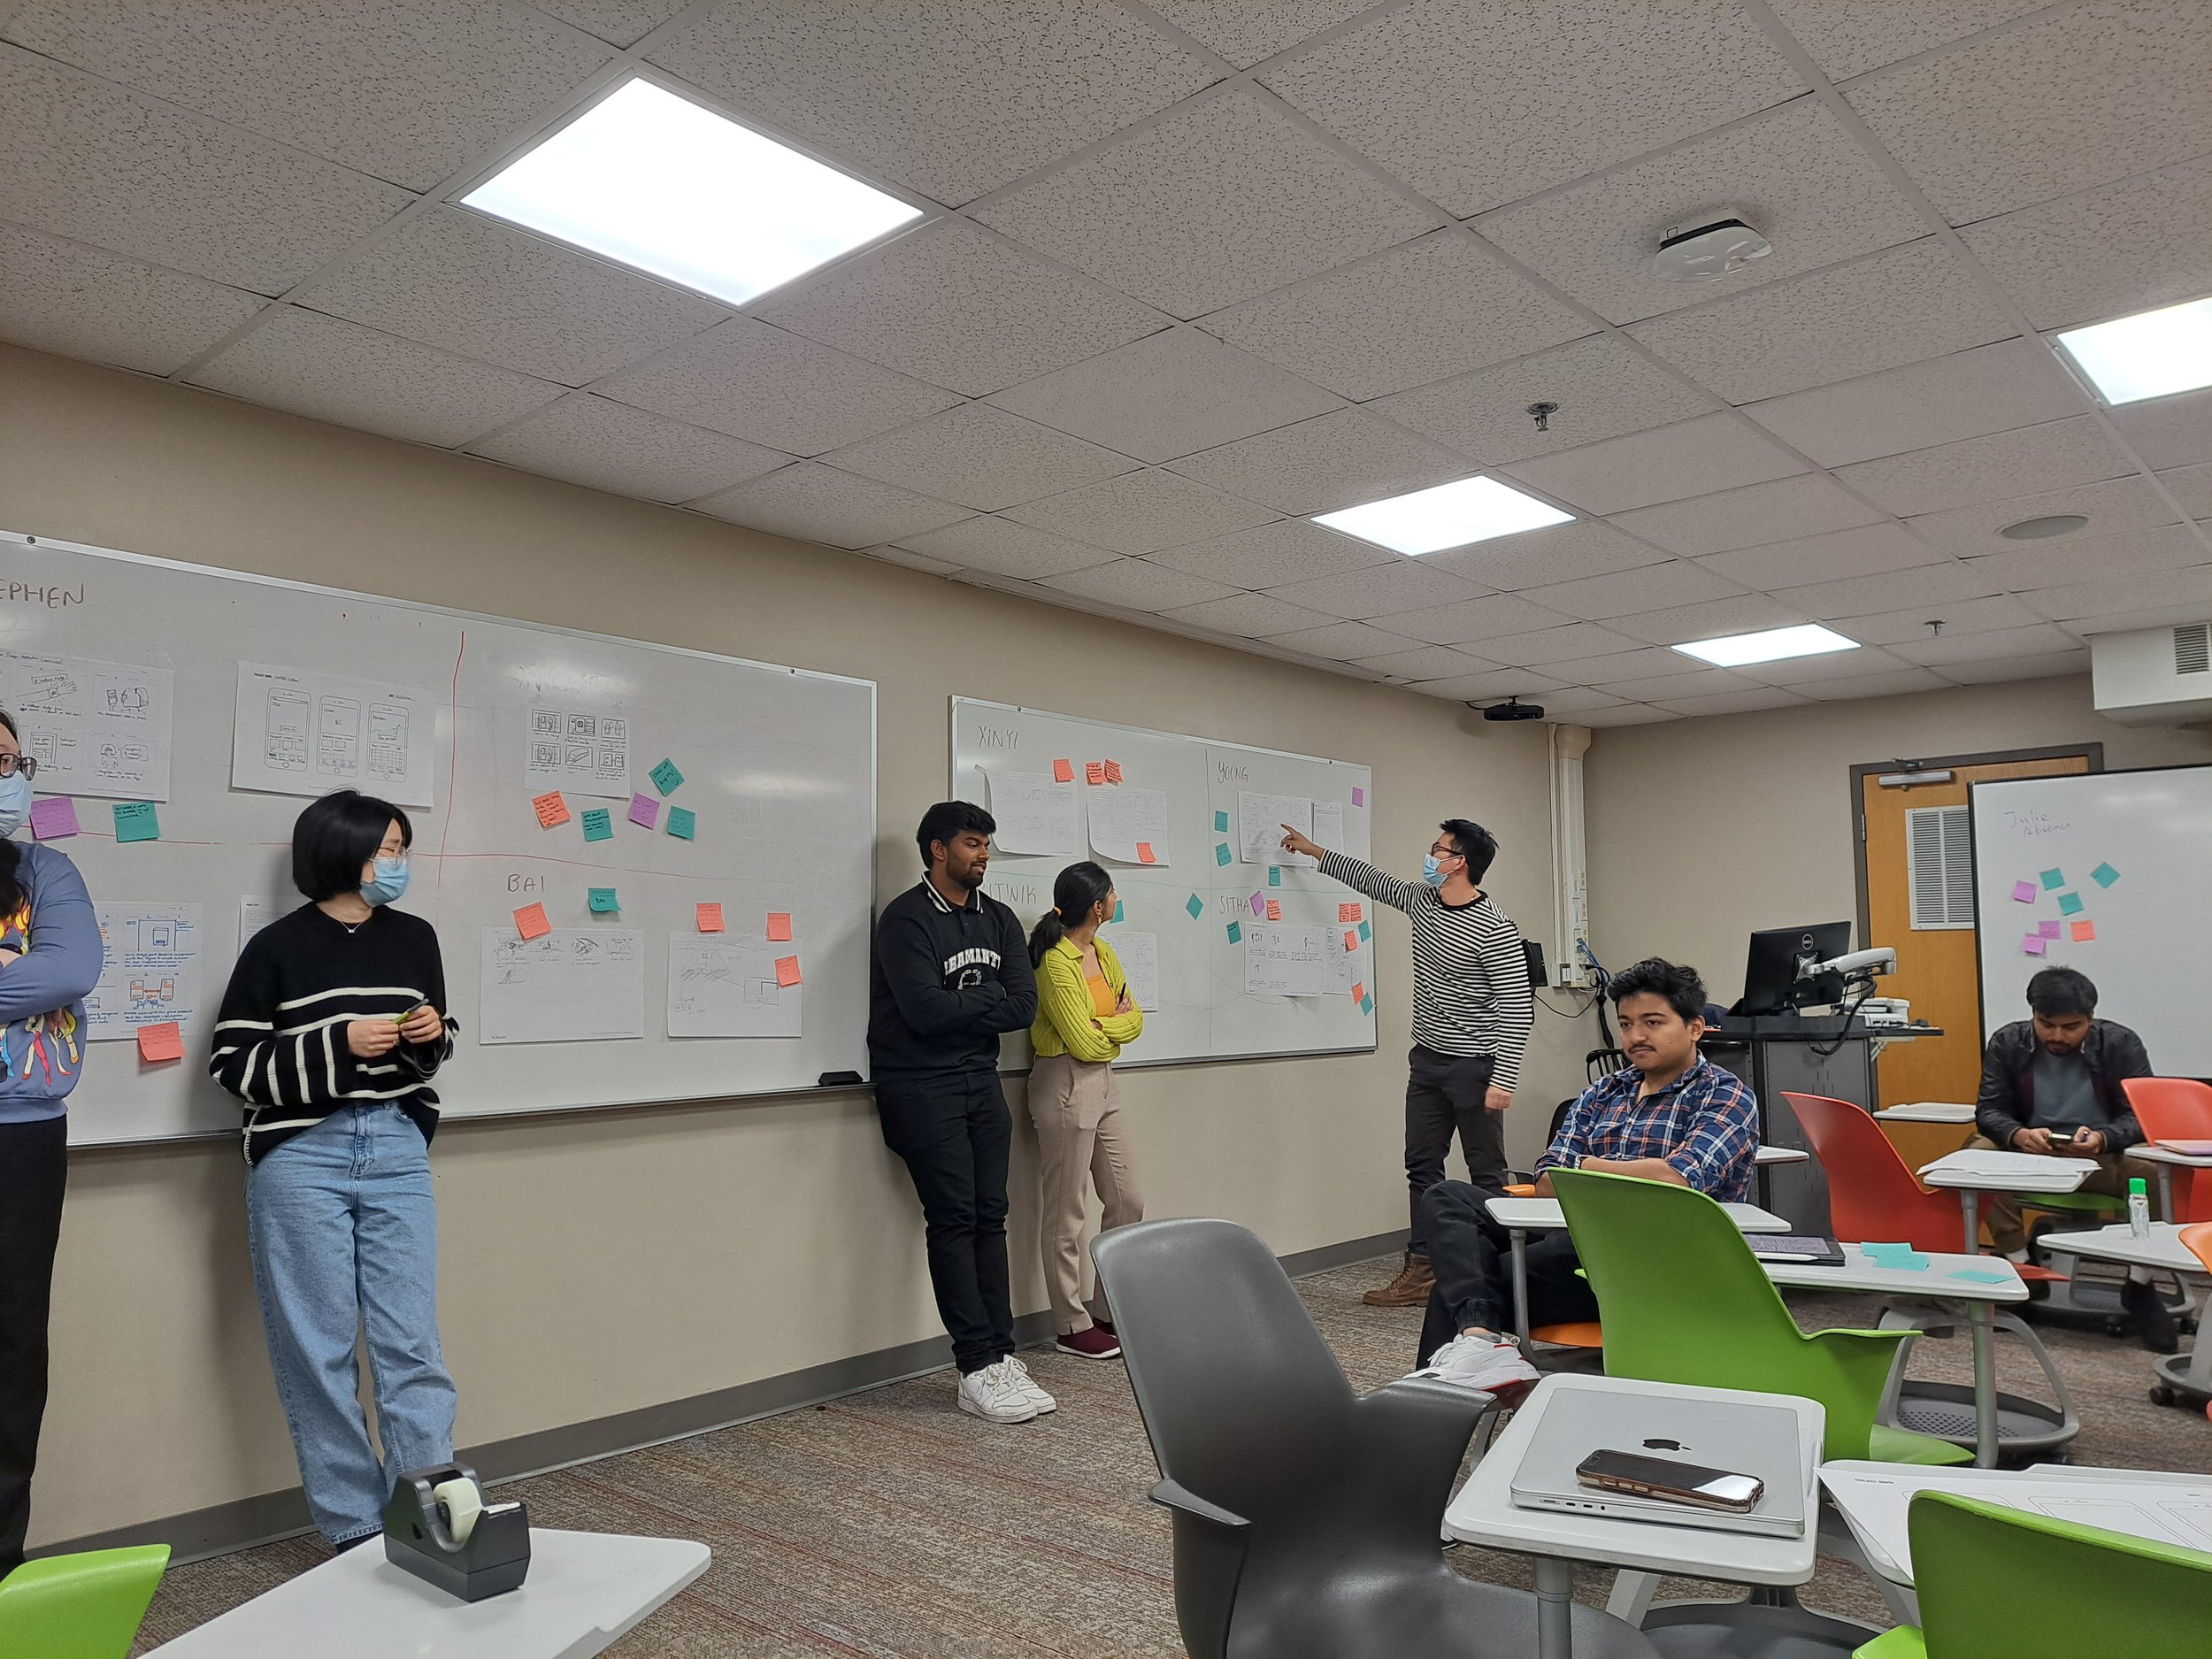
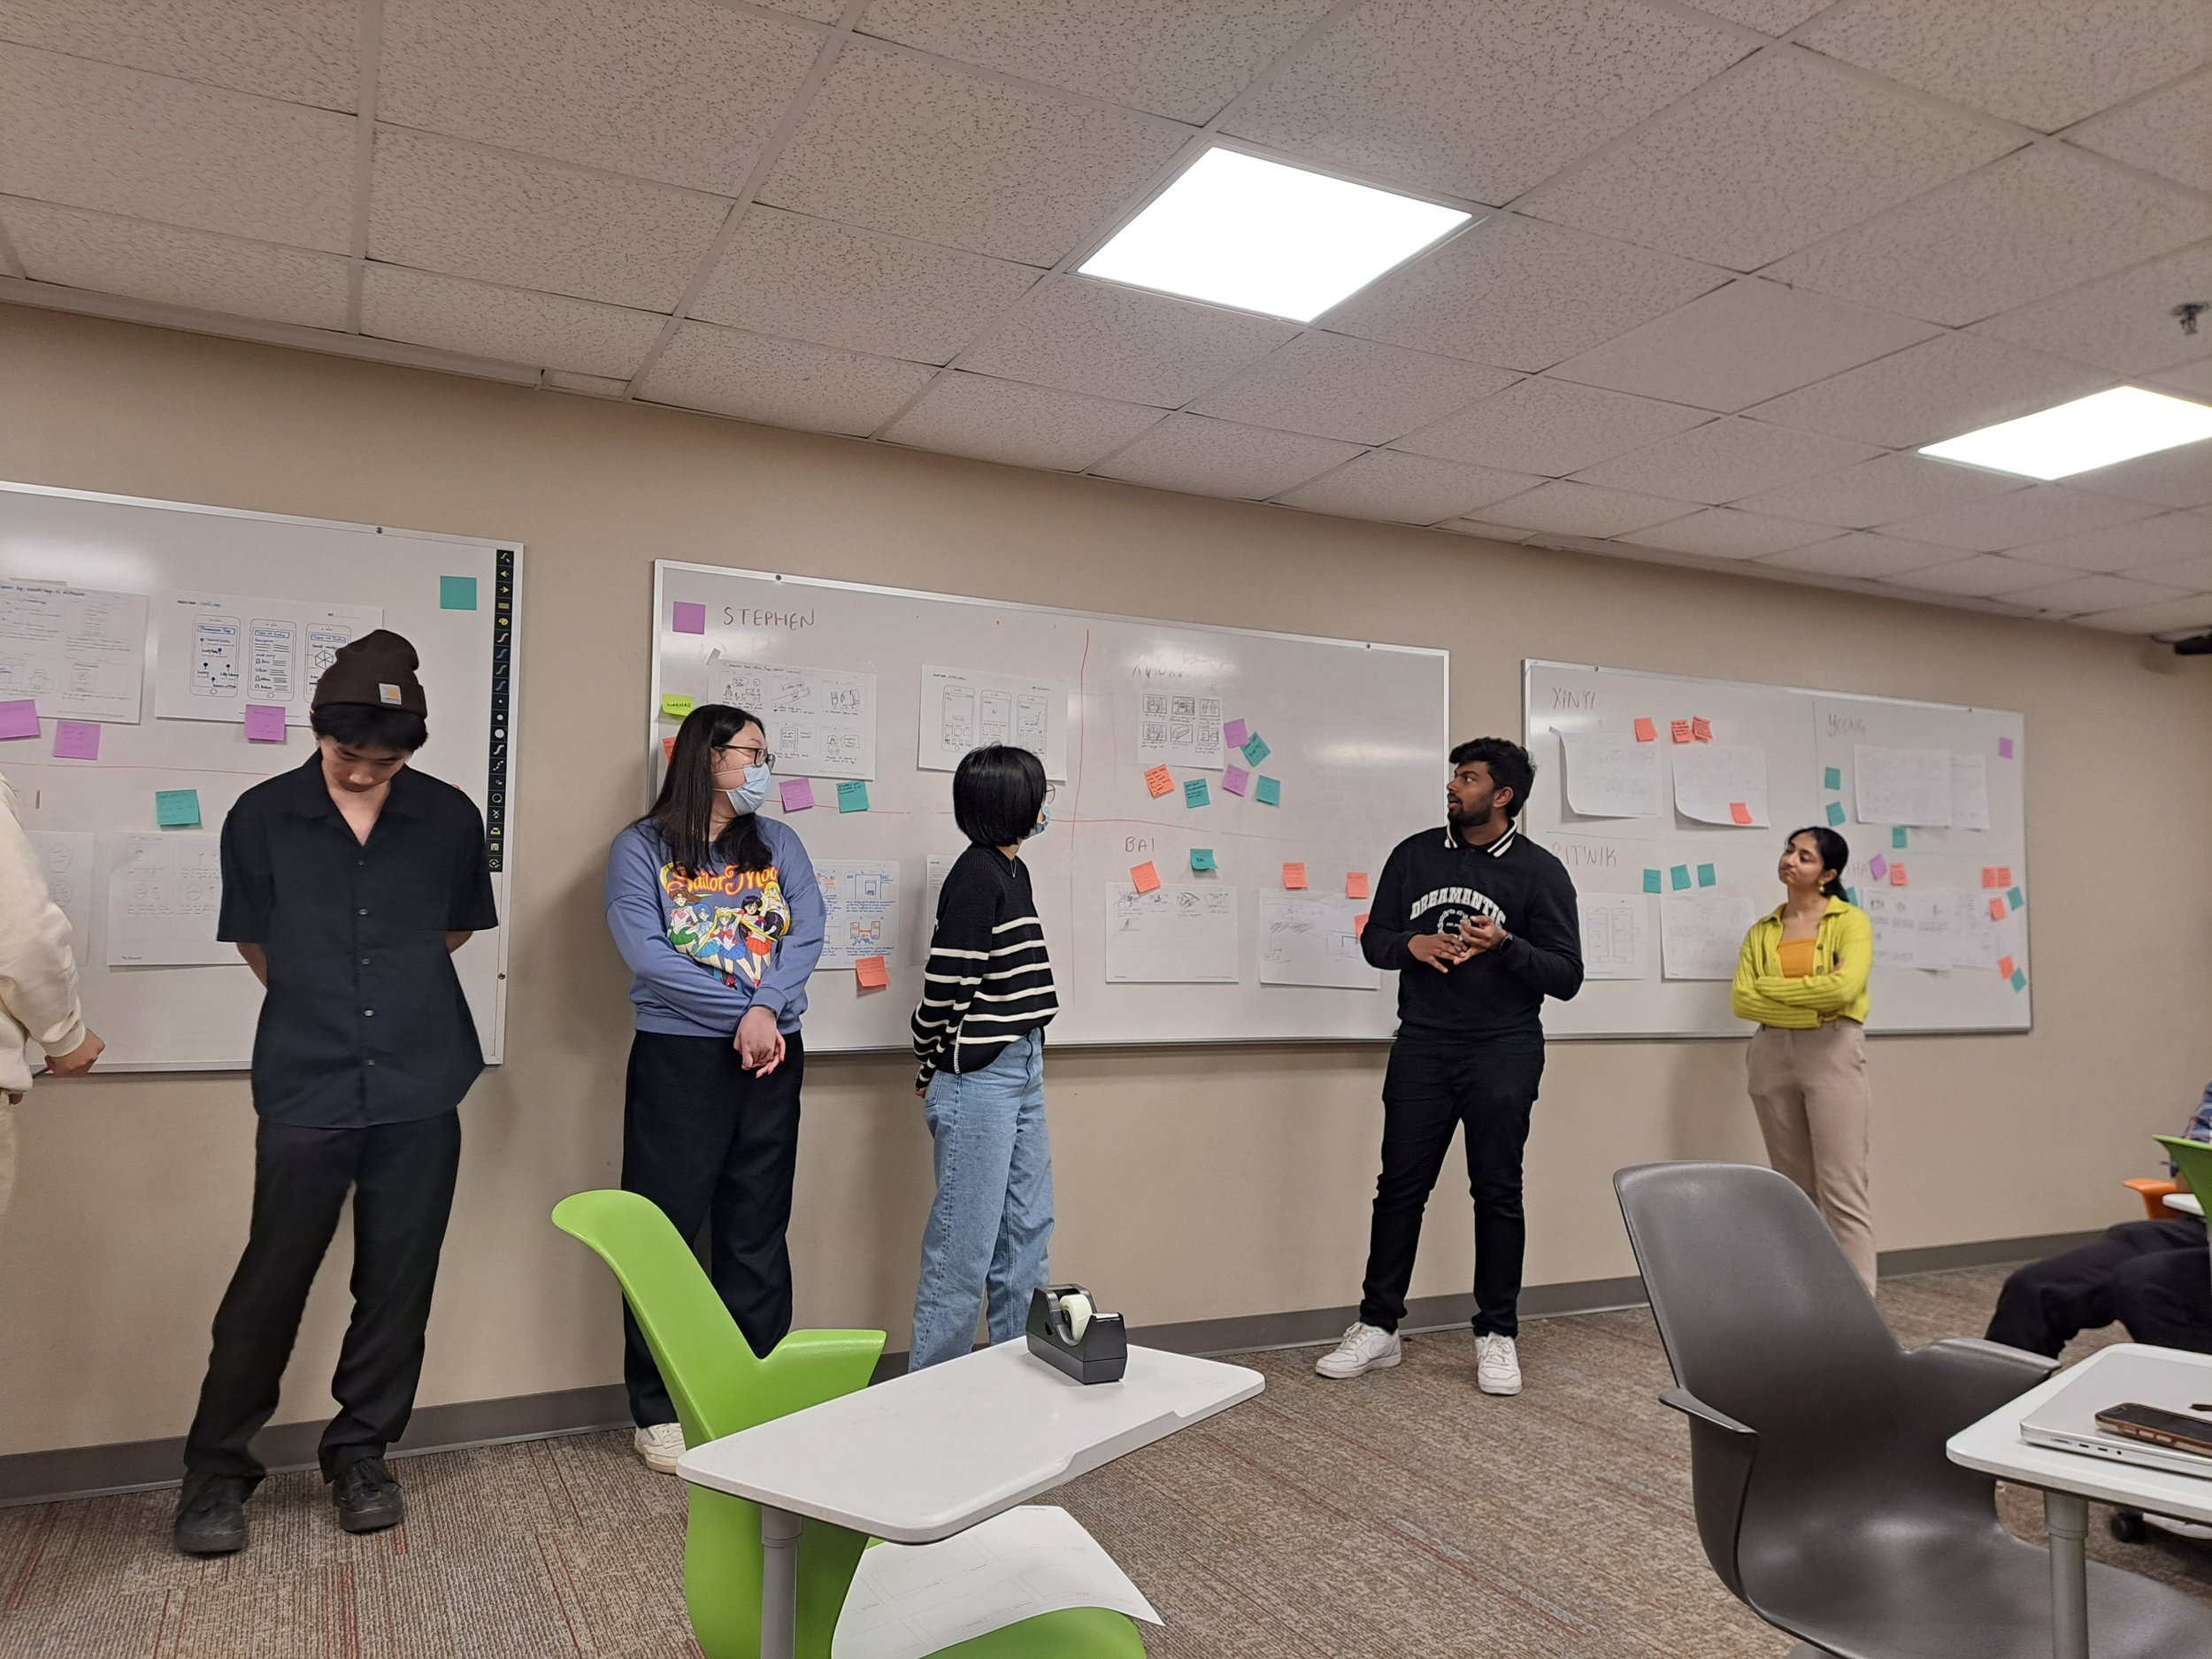
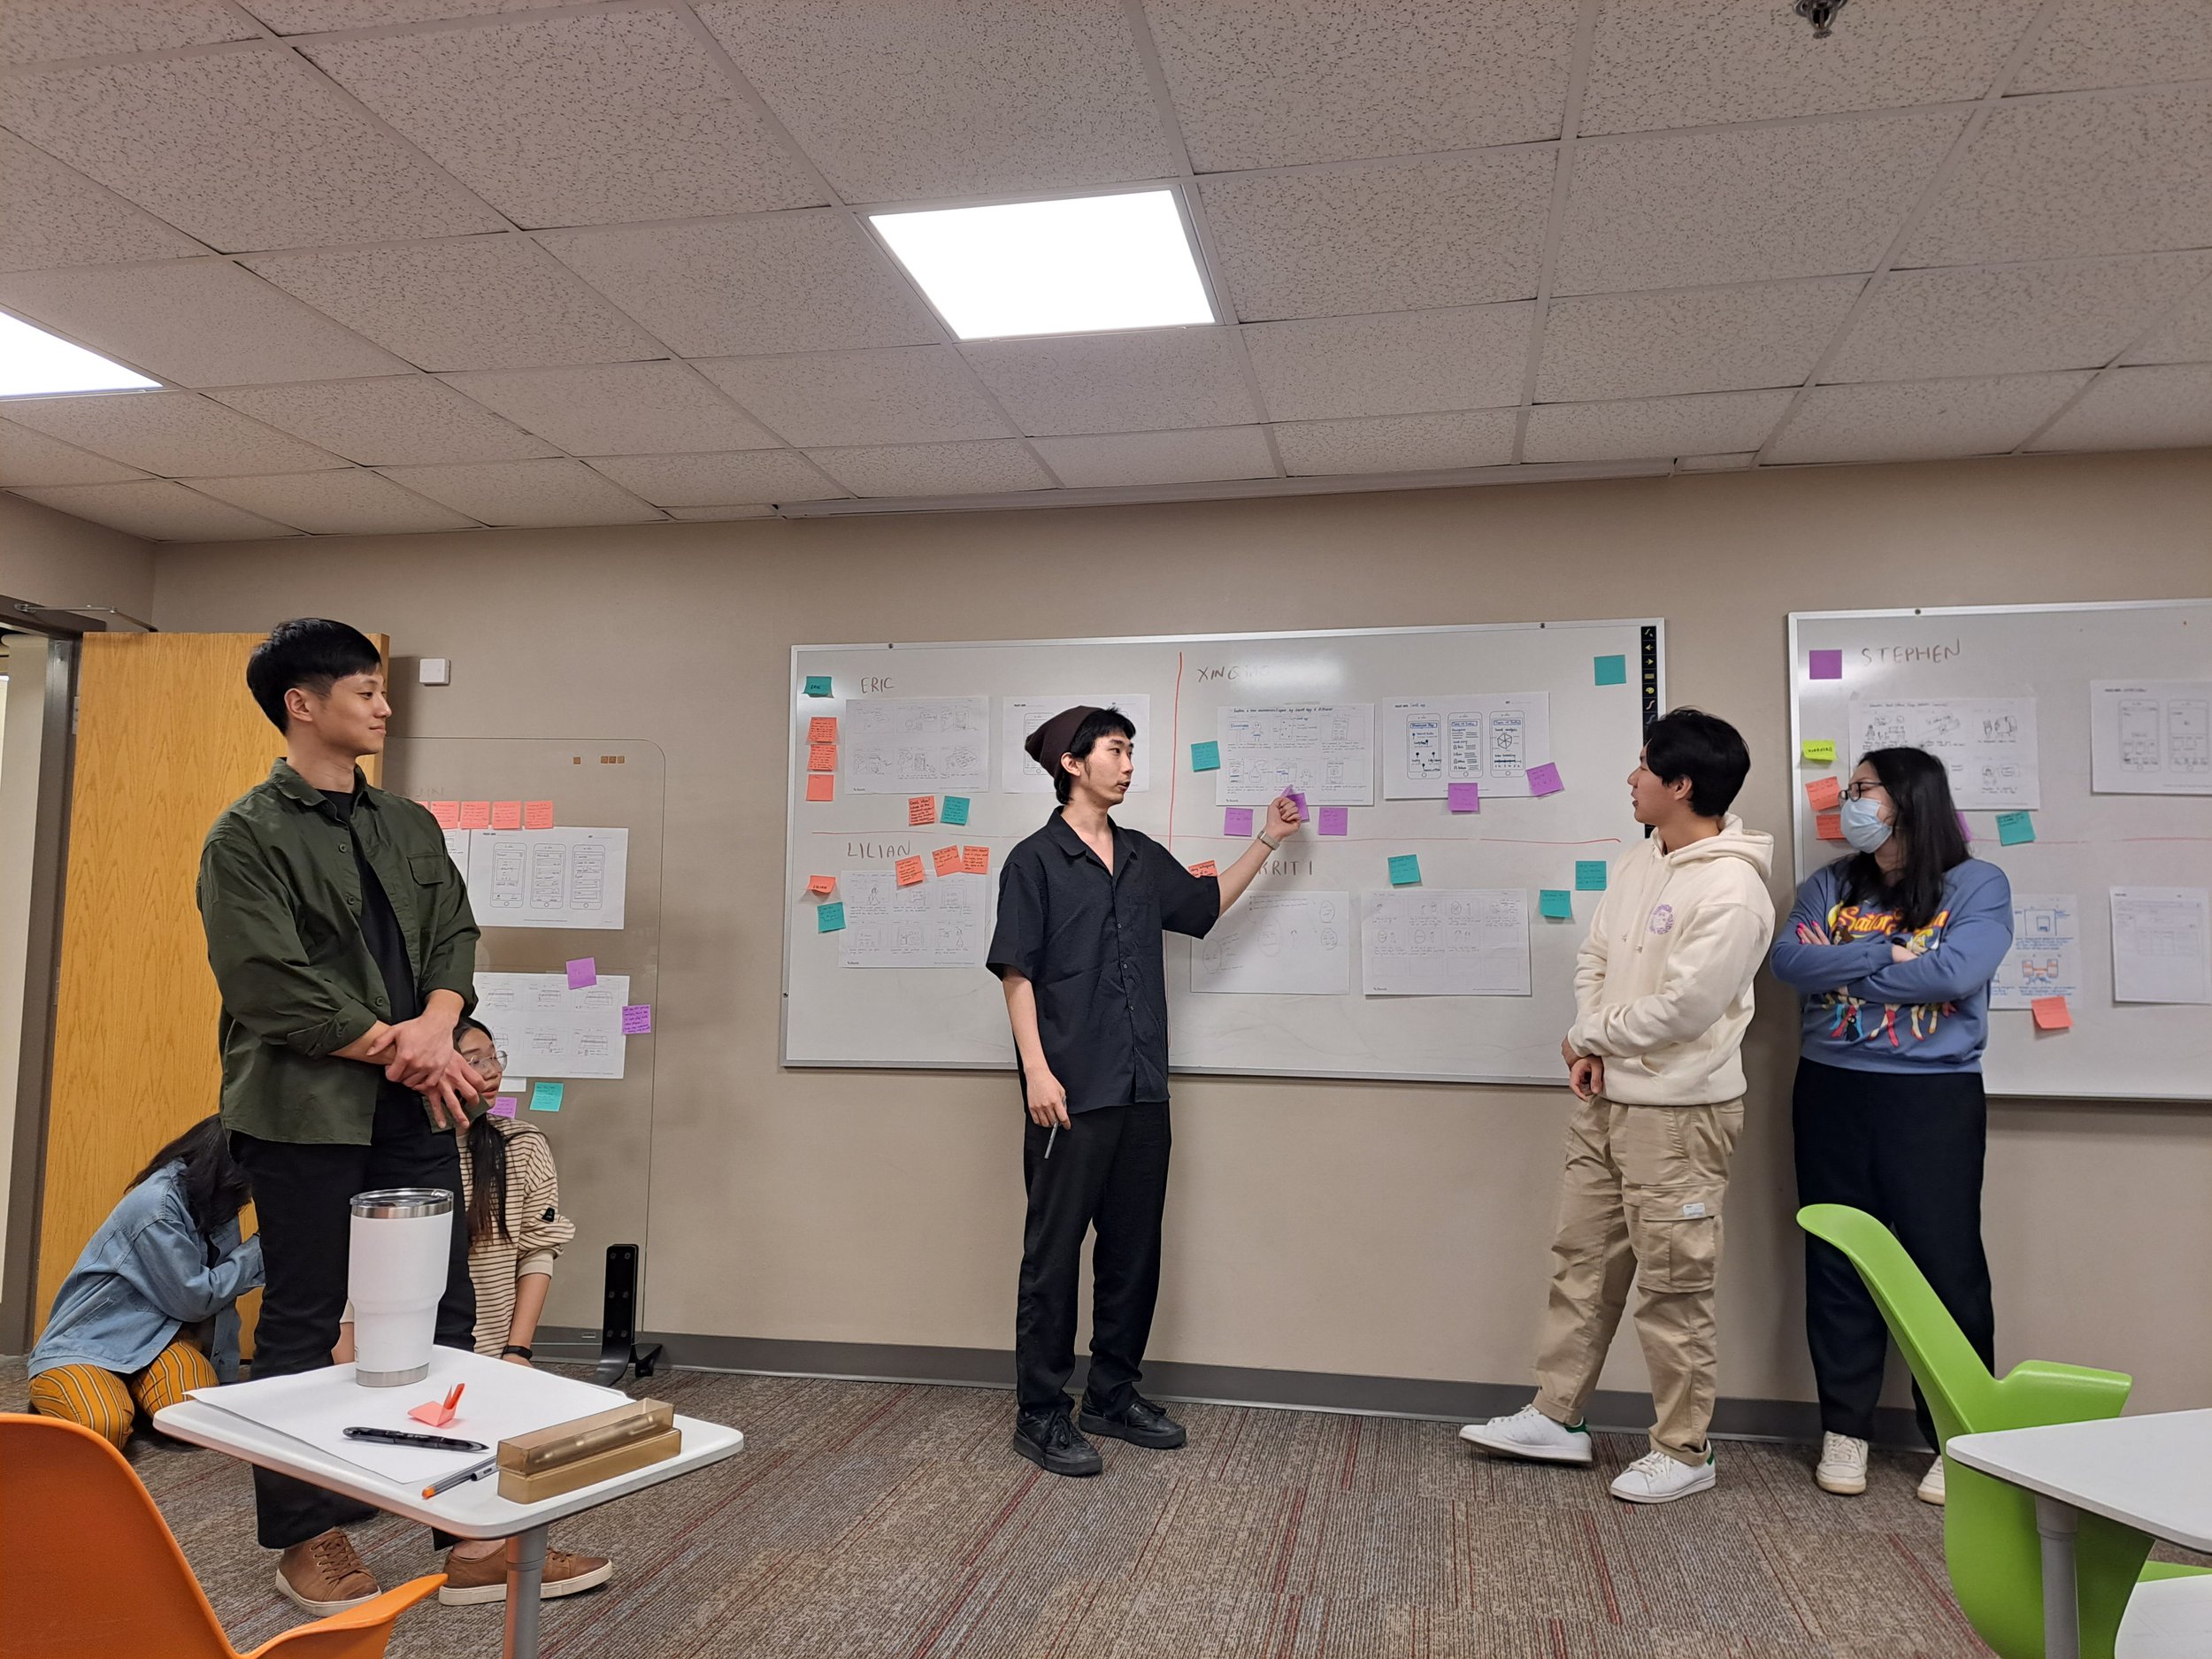
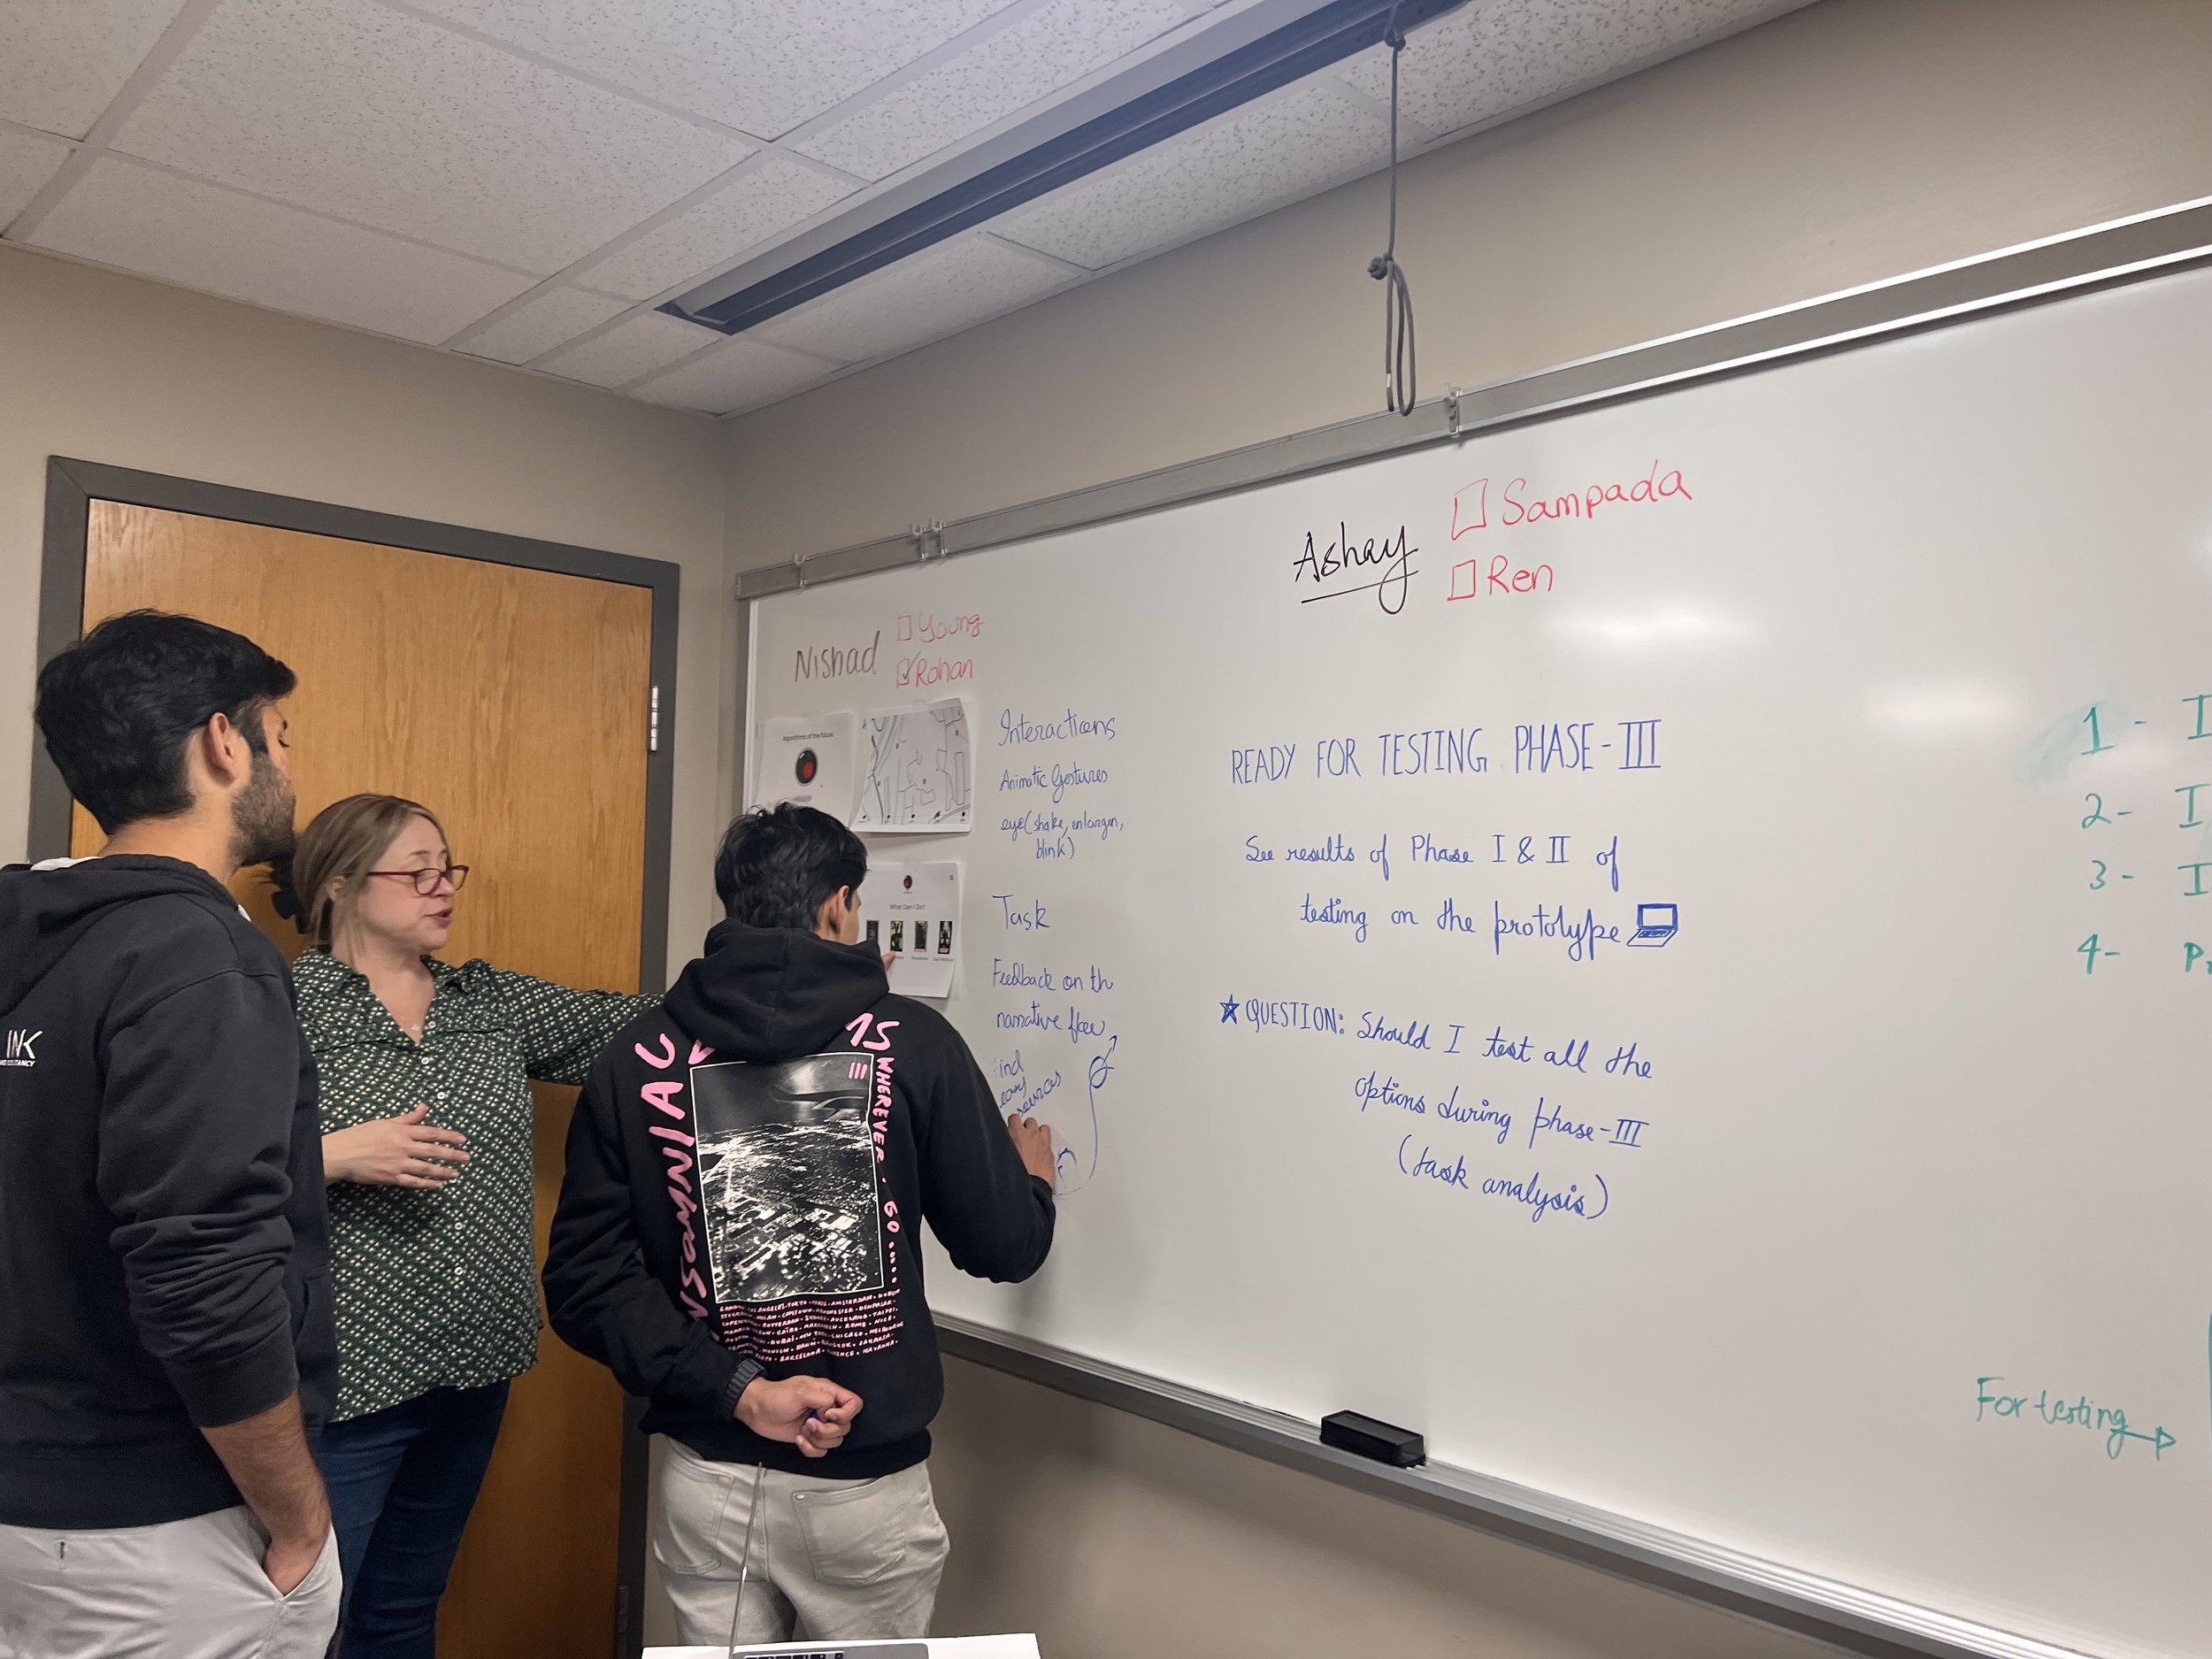
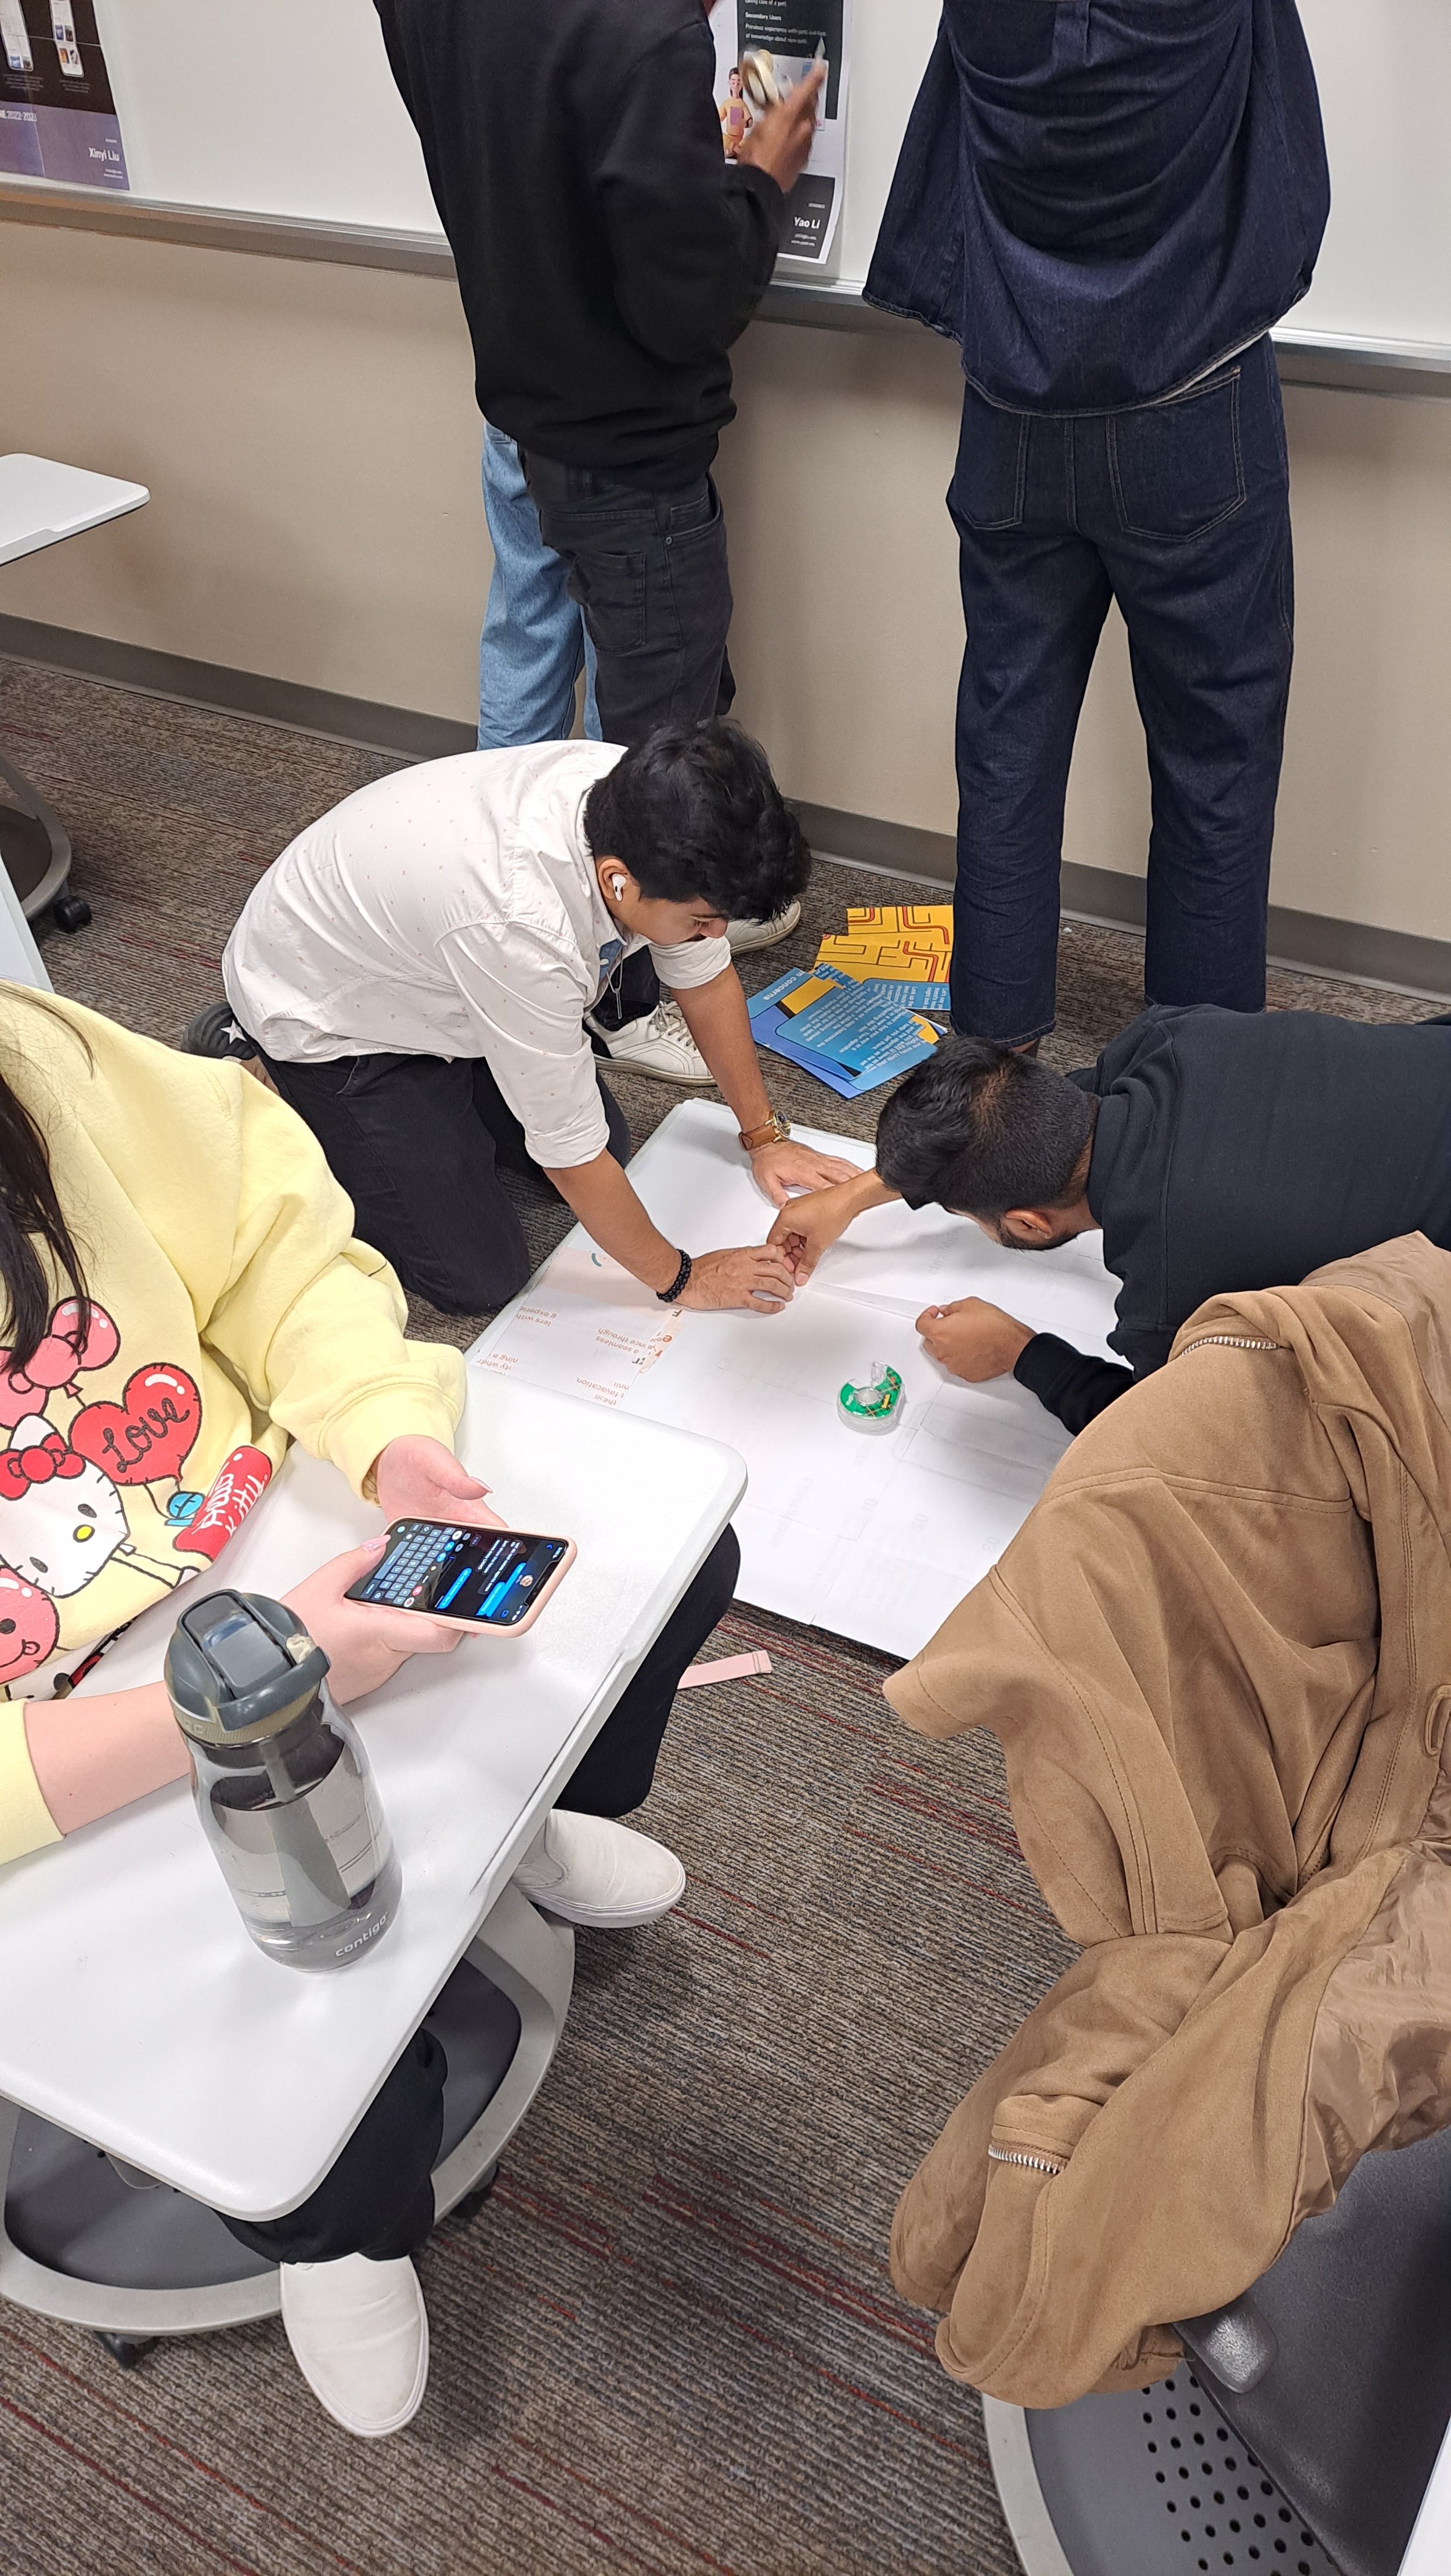
Interaction Flows + Peer Critique
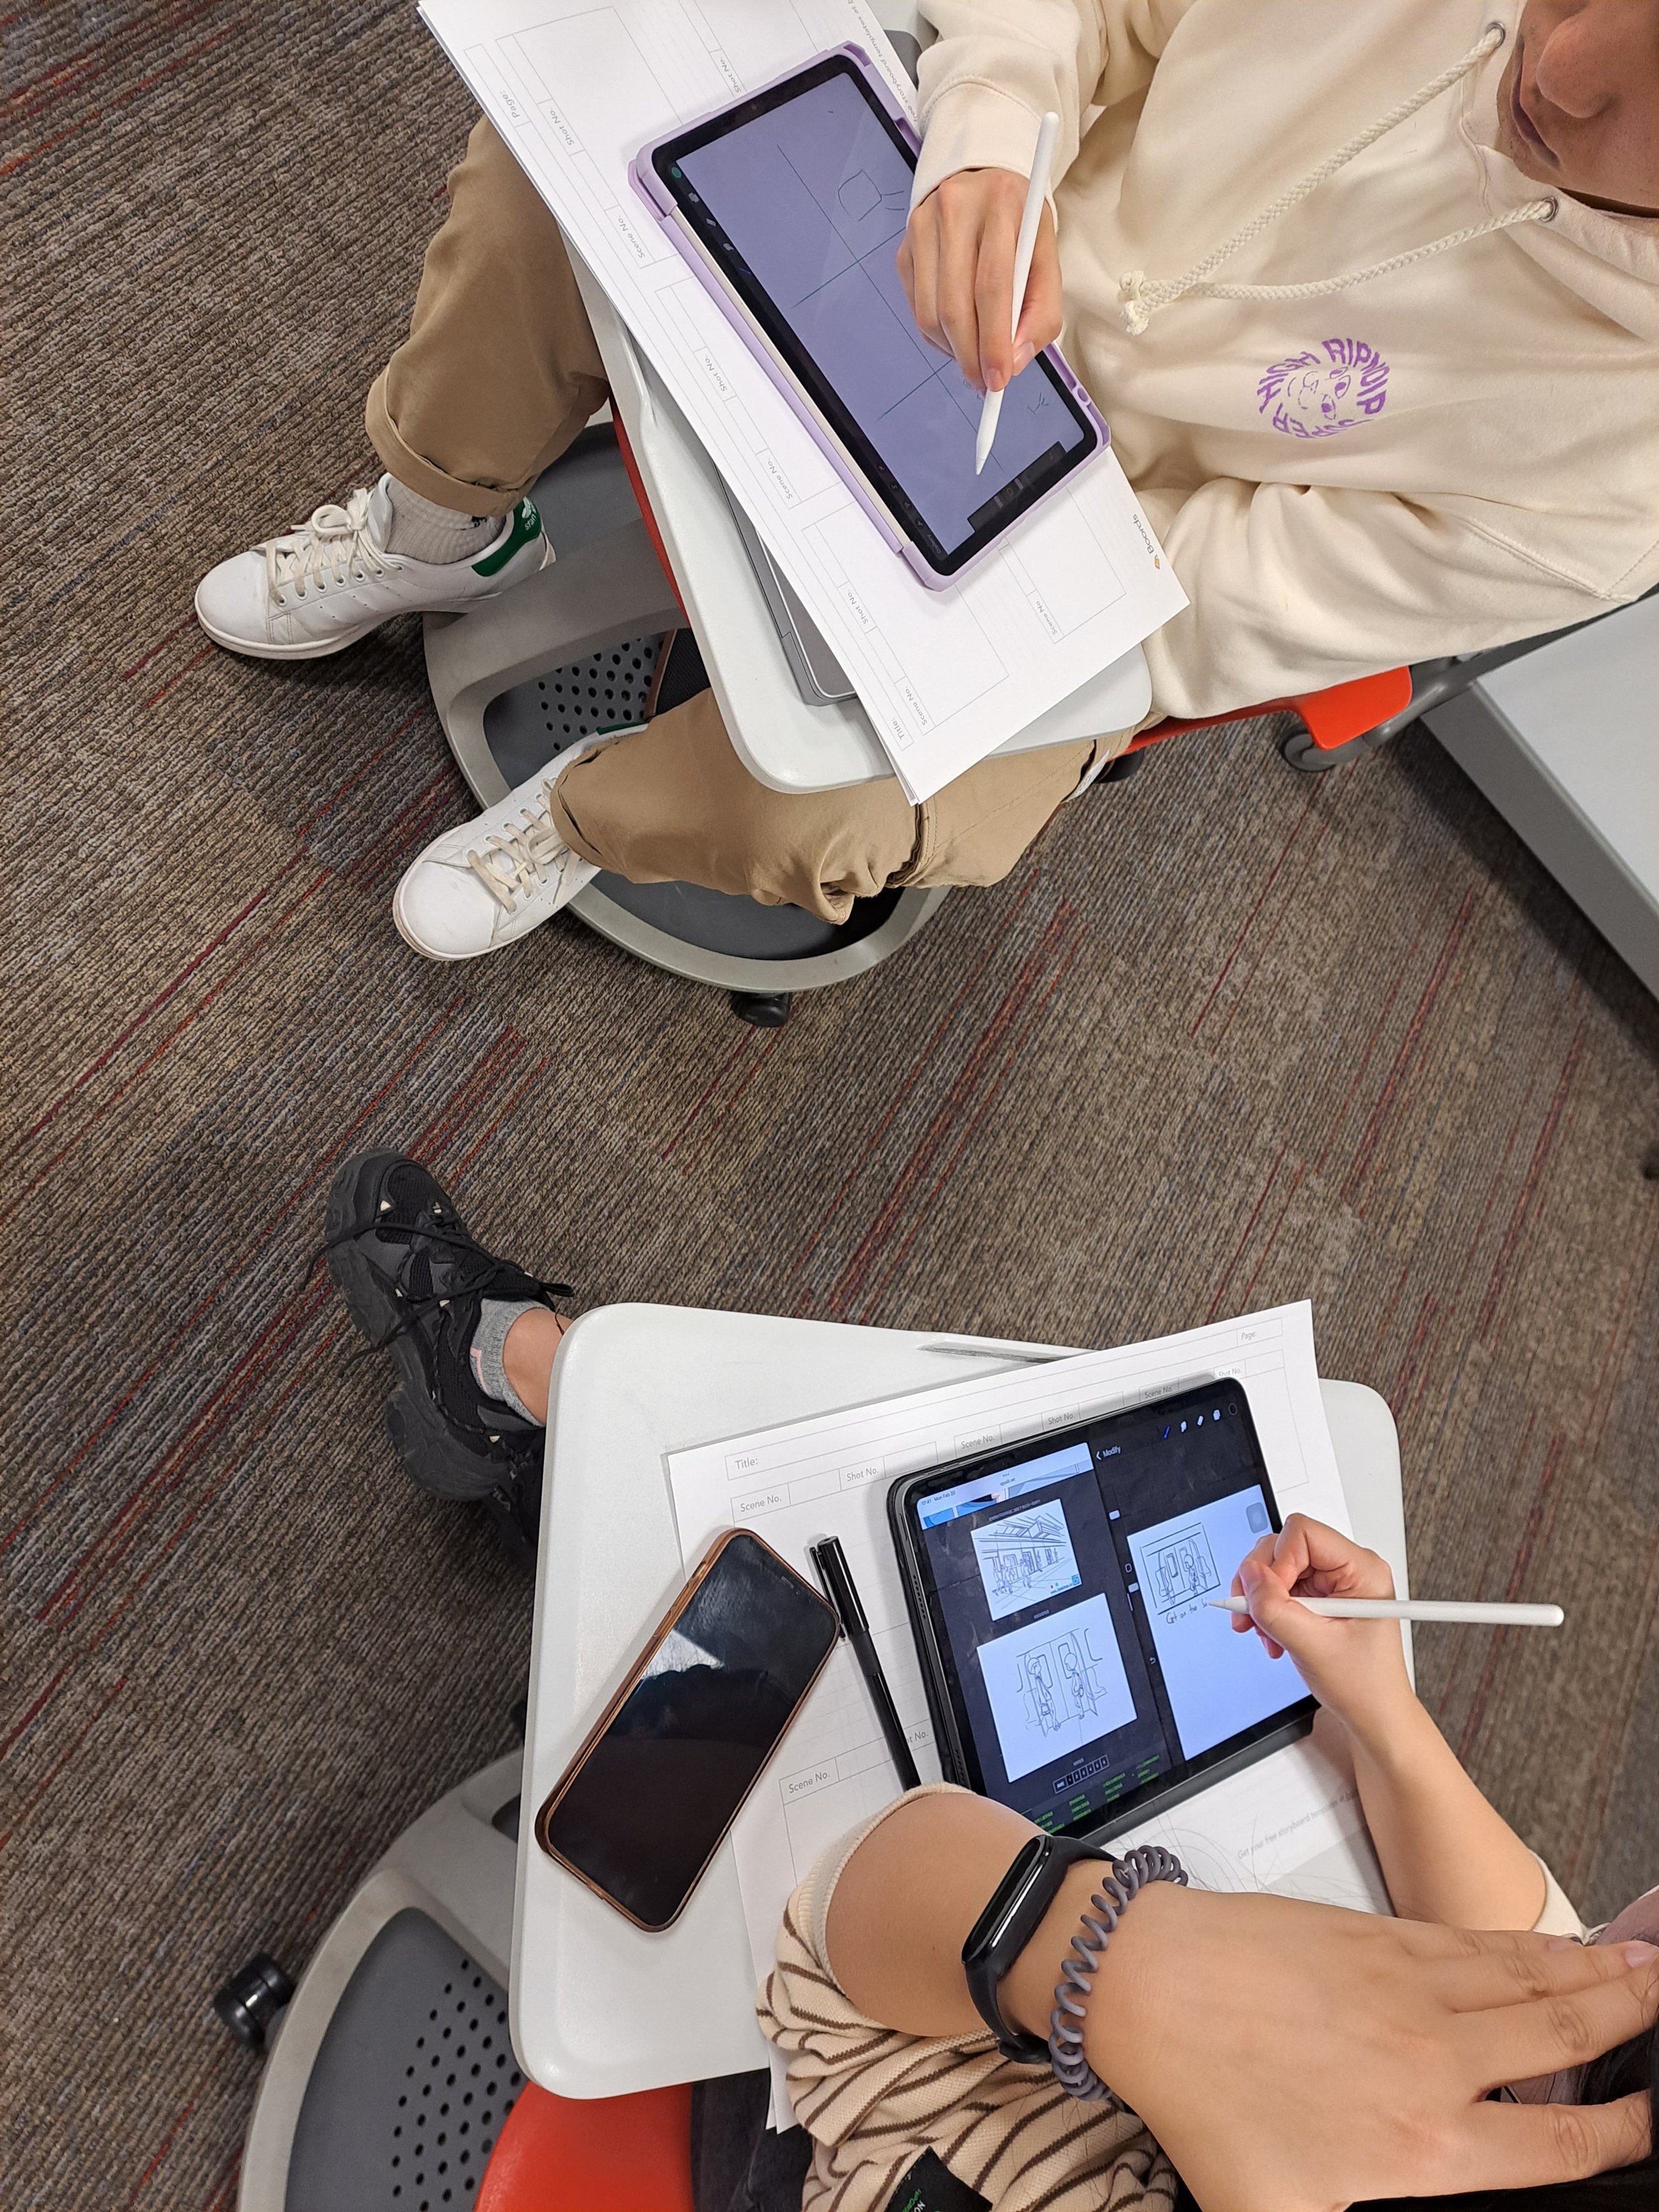
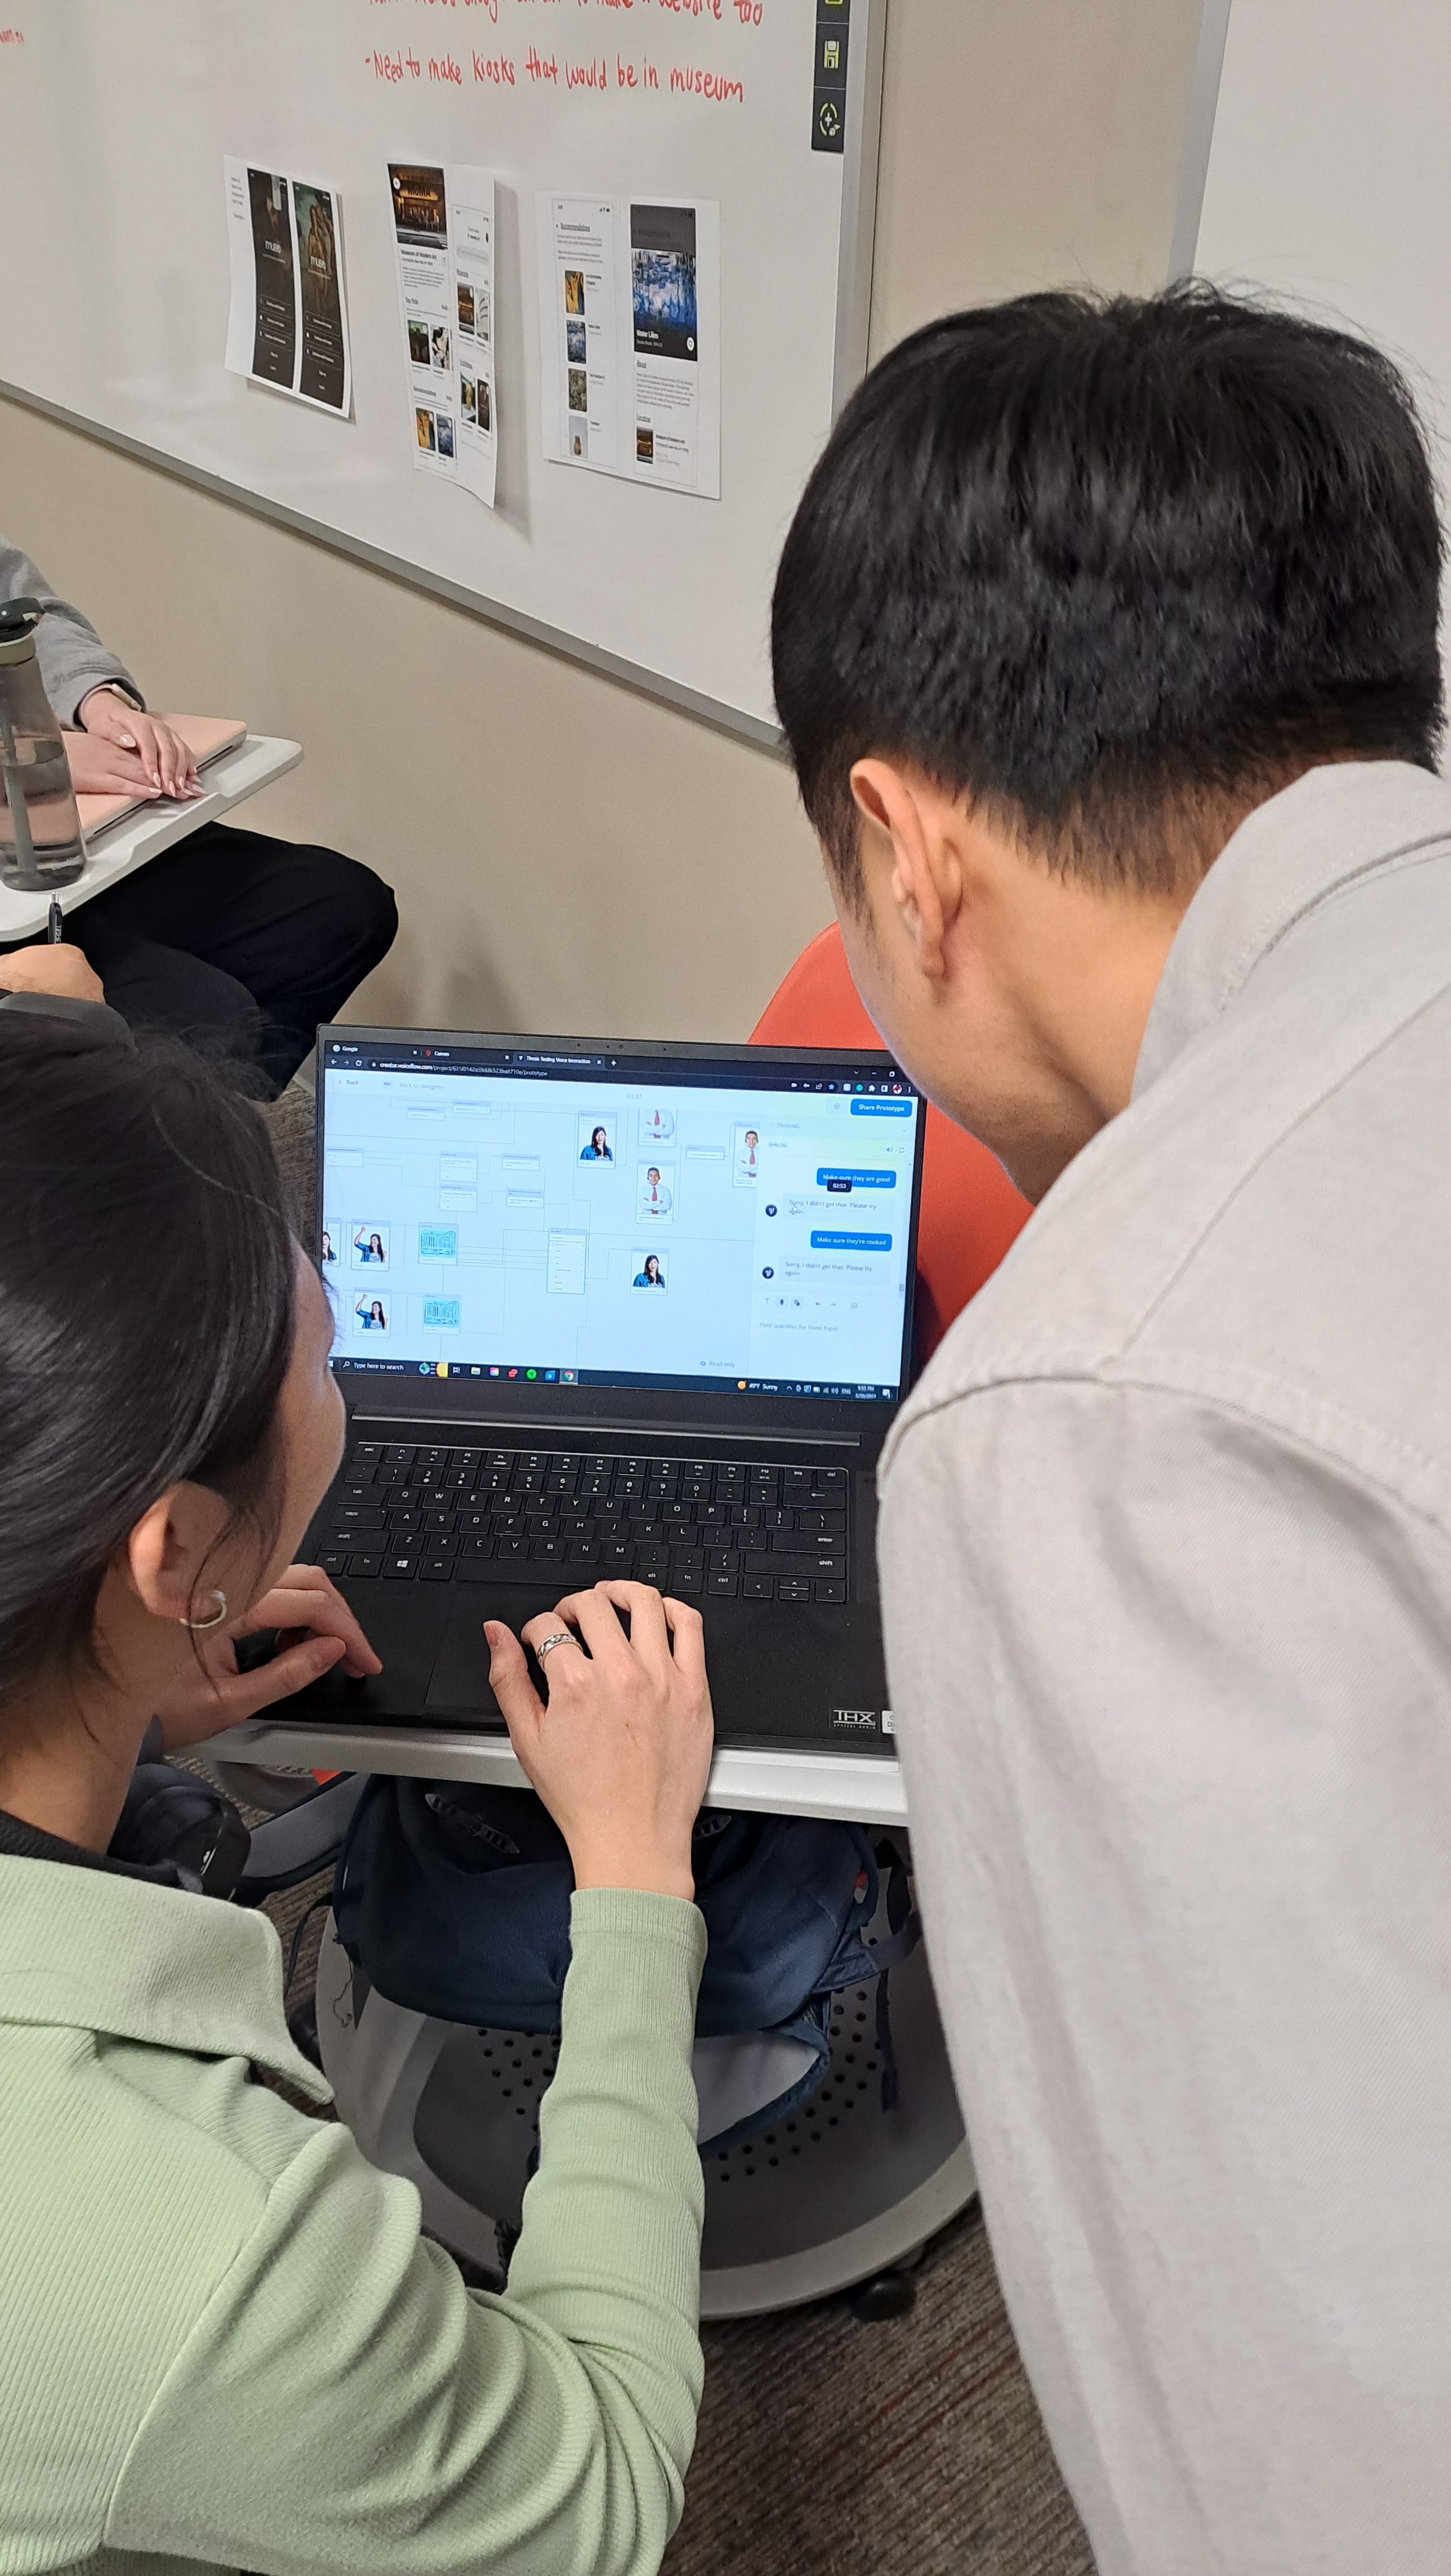
Week 9, we are back to a peer-critique model. To make it more active and focused on a design artifact, I gave students an exercise to sketch (for 40 mins) their product interaction flows, task flows, and/or user flows, or combinations of it to detail interactions with their product.
For 10 mins, to kick-start their testing phase, I gave them an exercise to come up with a quick testing protocol to engage their peer in testing and feedback process. This testing could be for Heuristic Evaluation of Information Architecture, Usability testing, Desirability testing, Concept testing, and/or Expert testing about their interaction flows.
Based on this, they could present each other’s wireframes or sketches to position their ideas in the bigger interaction flow.

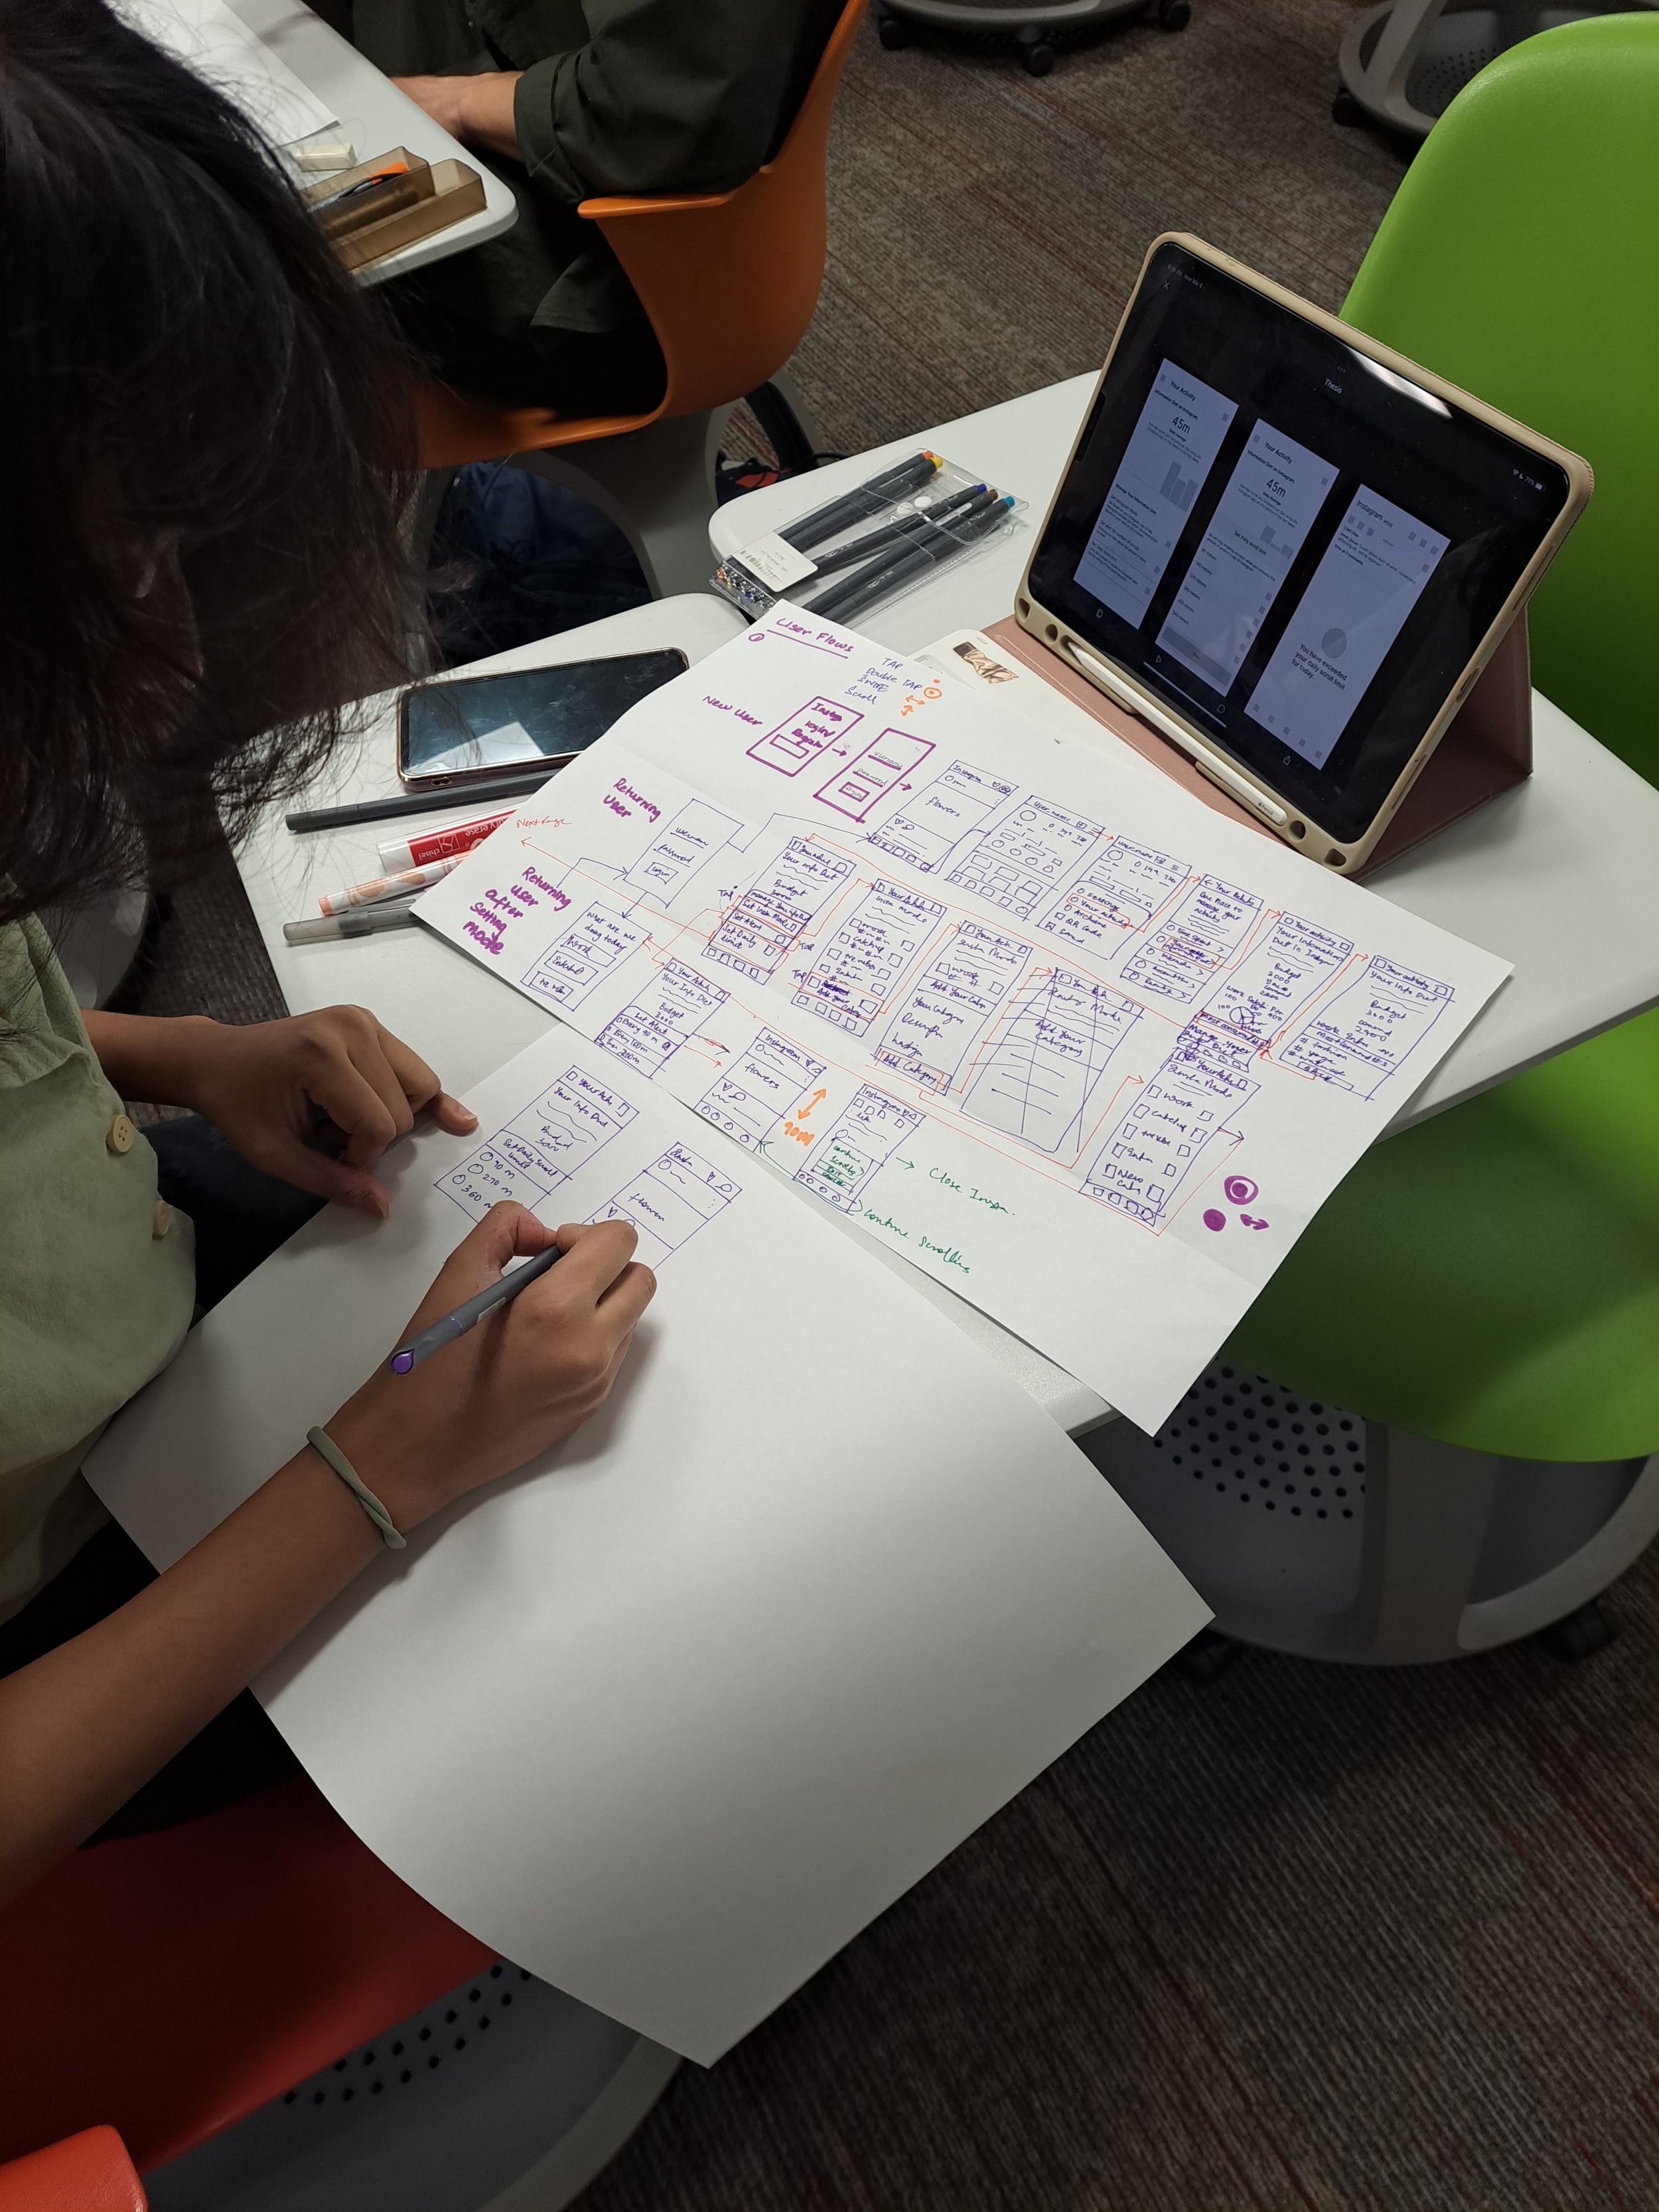
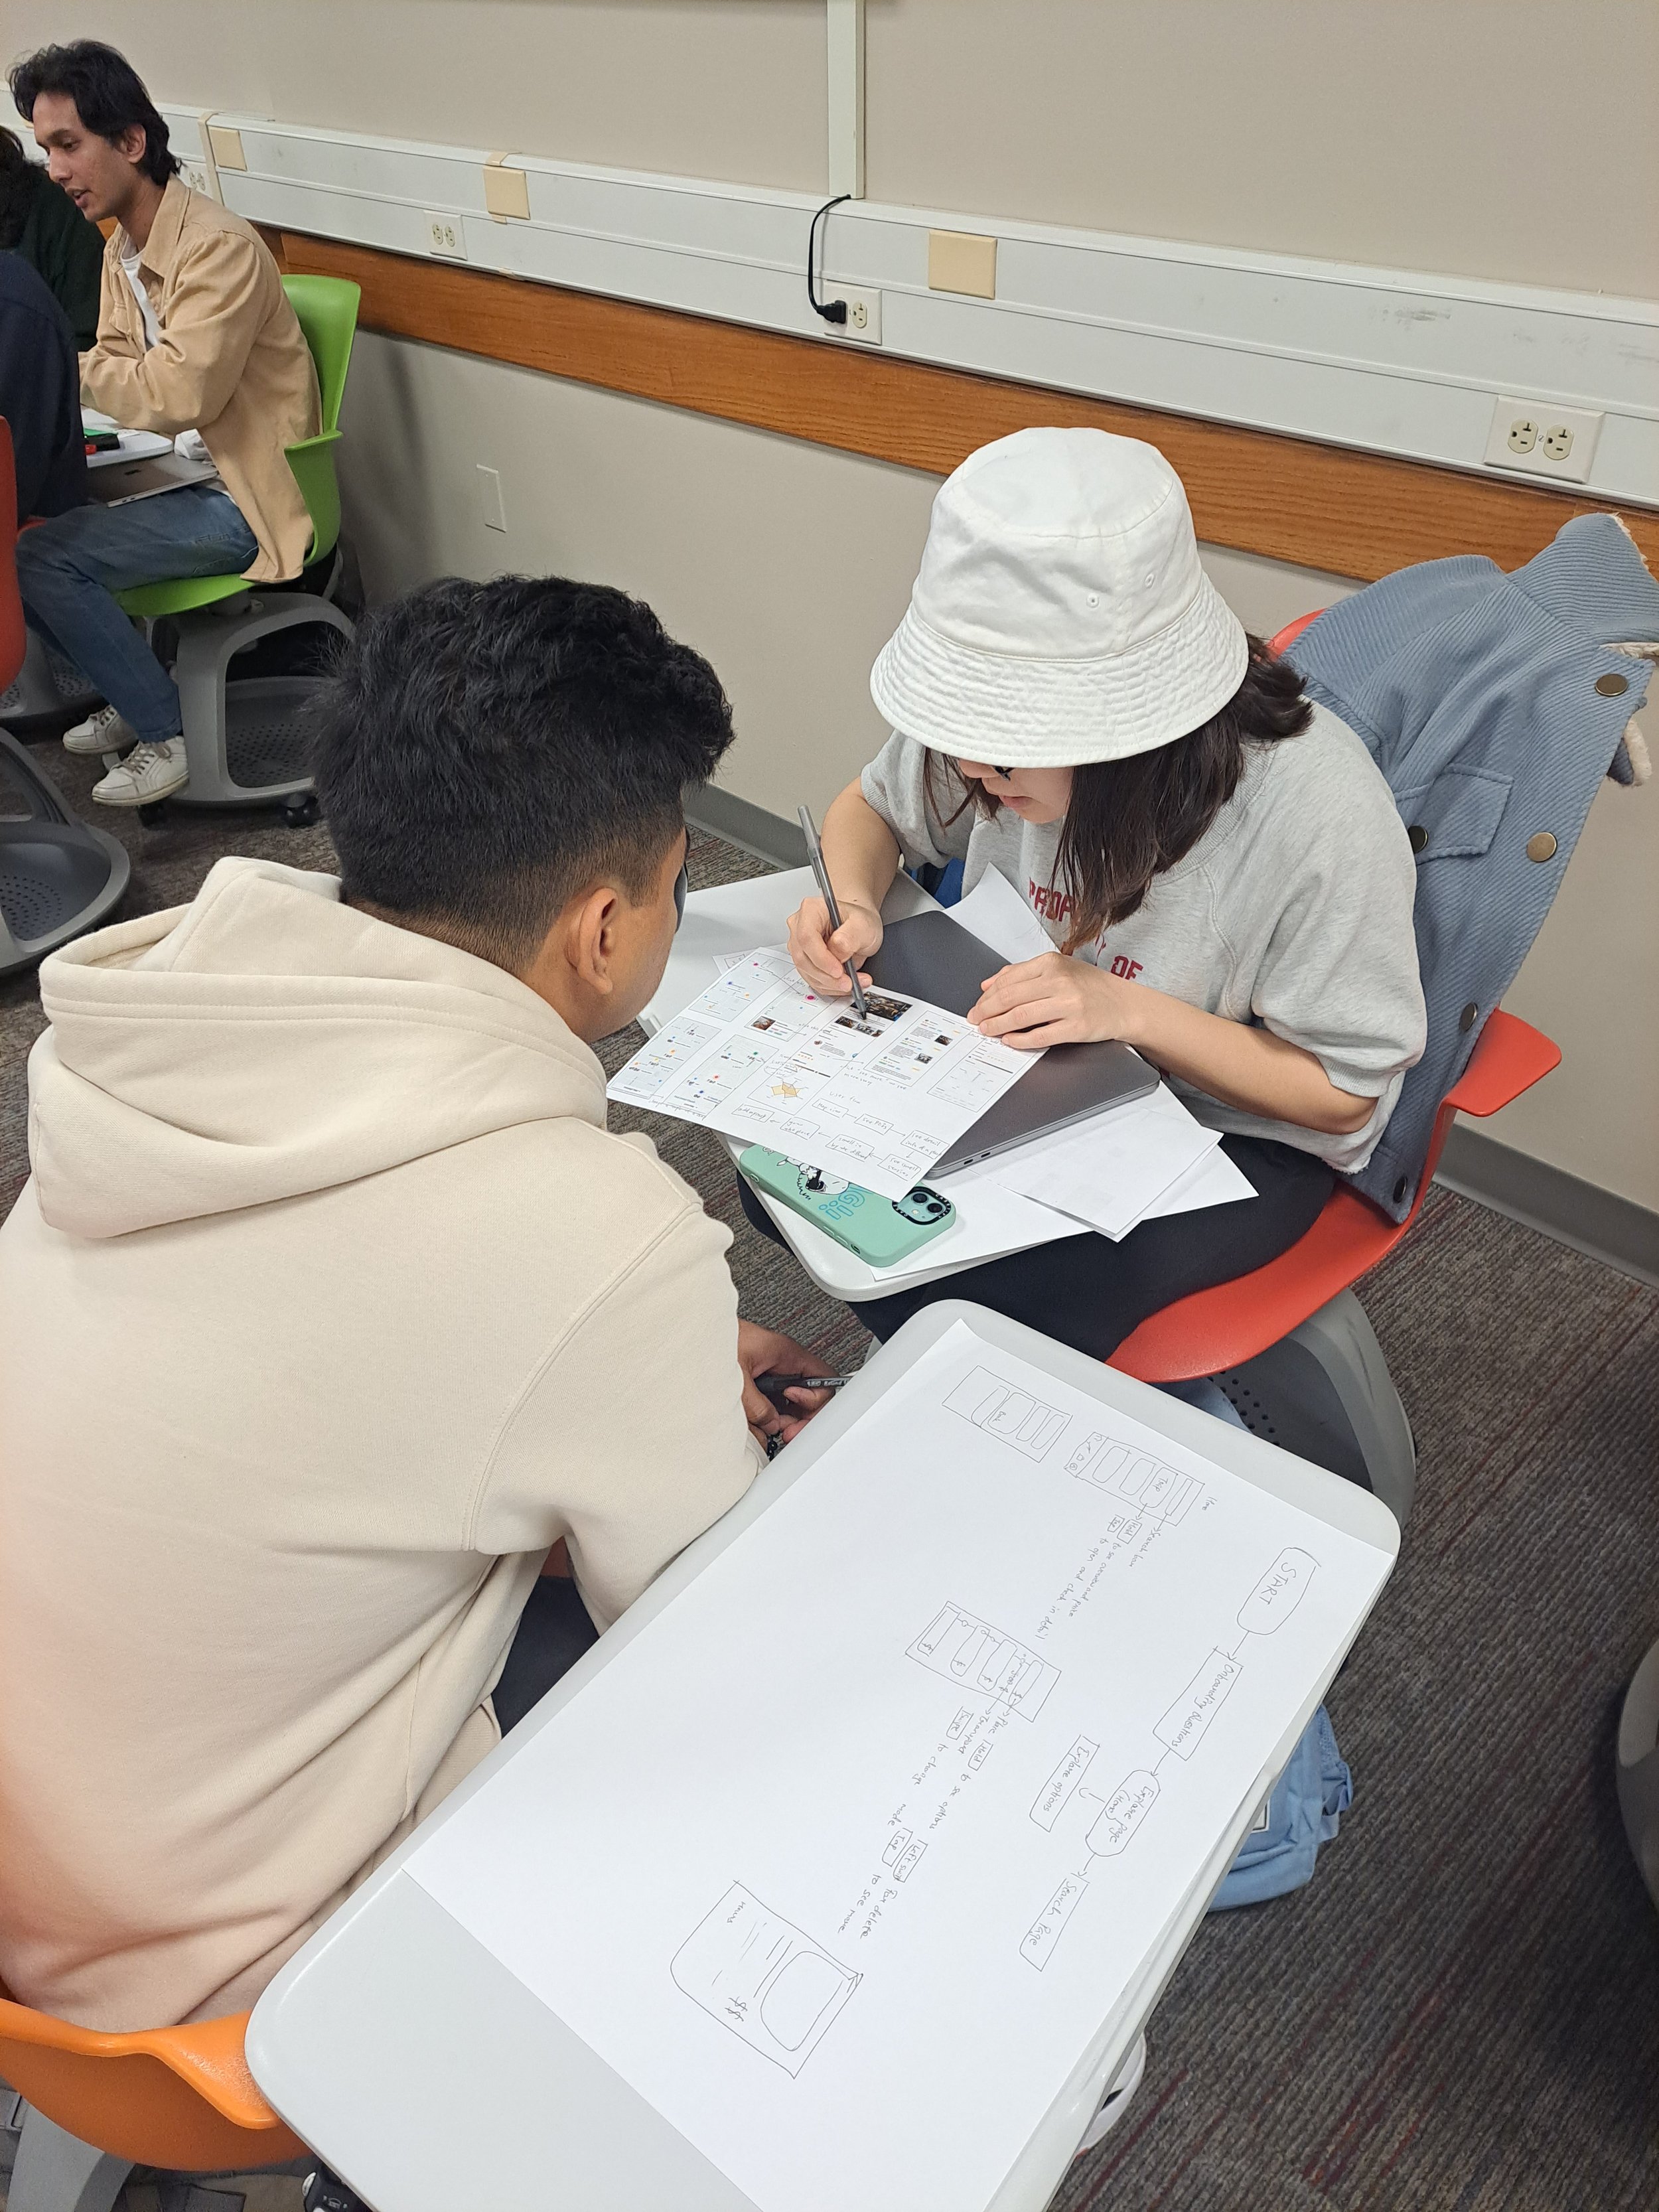


Some examples of student outcomes from this exercise

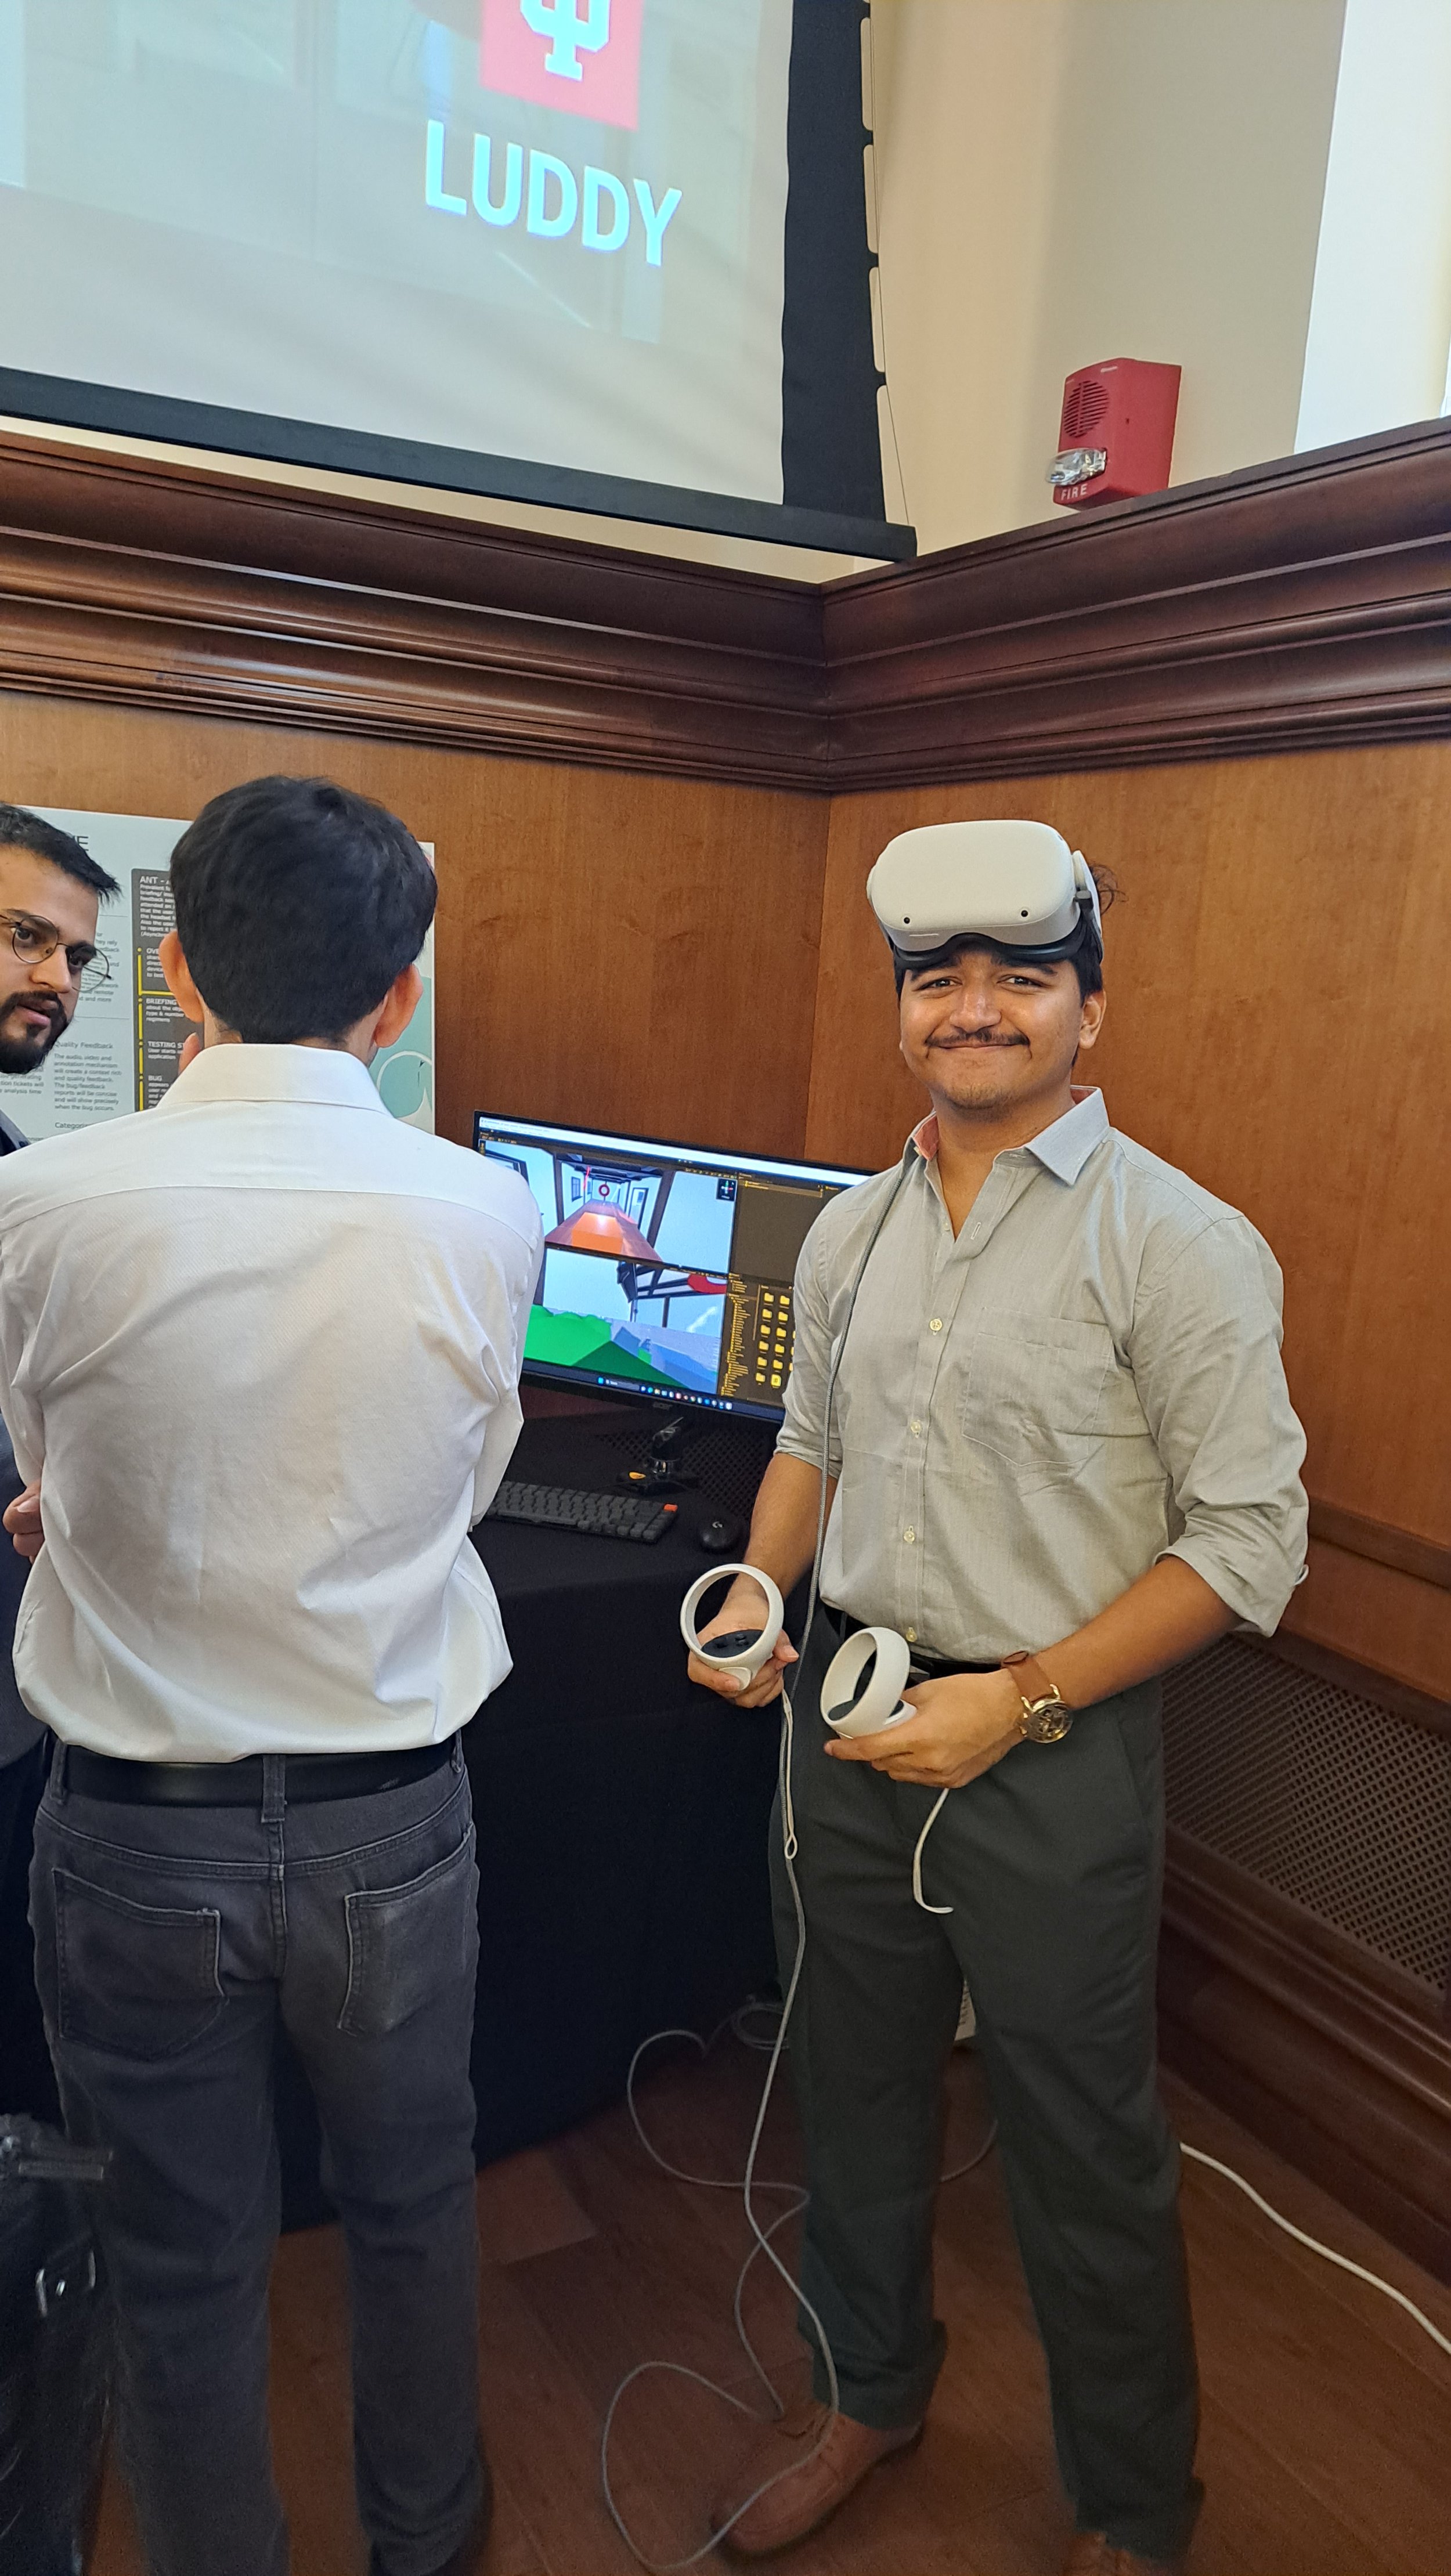
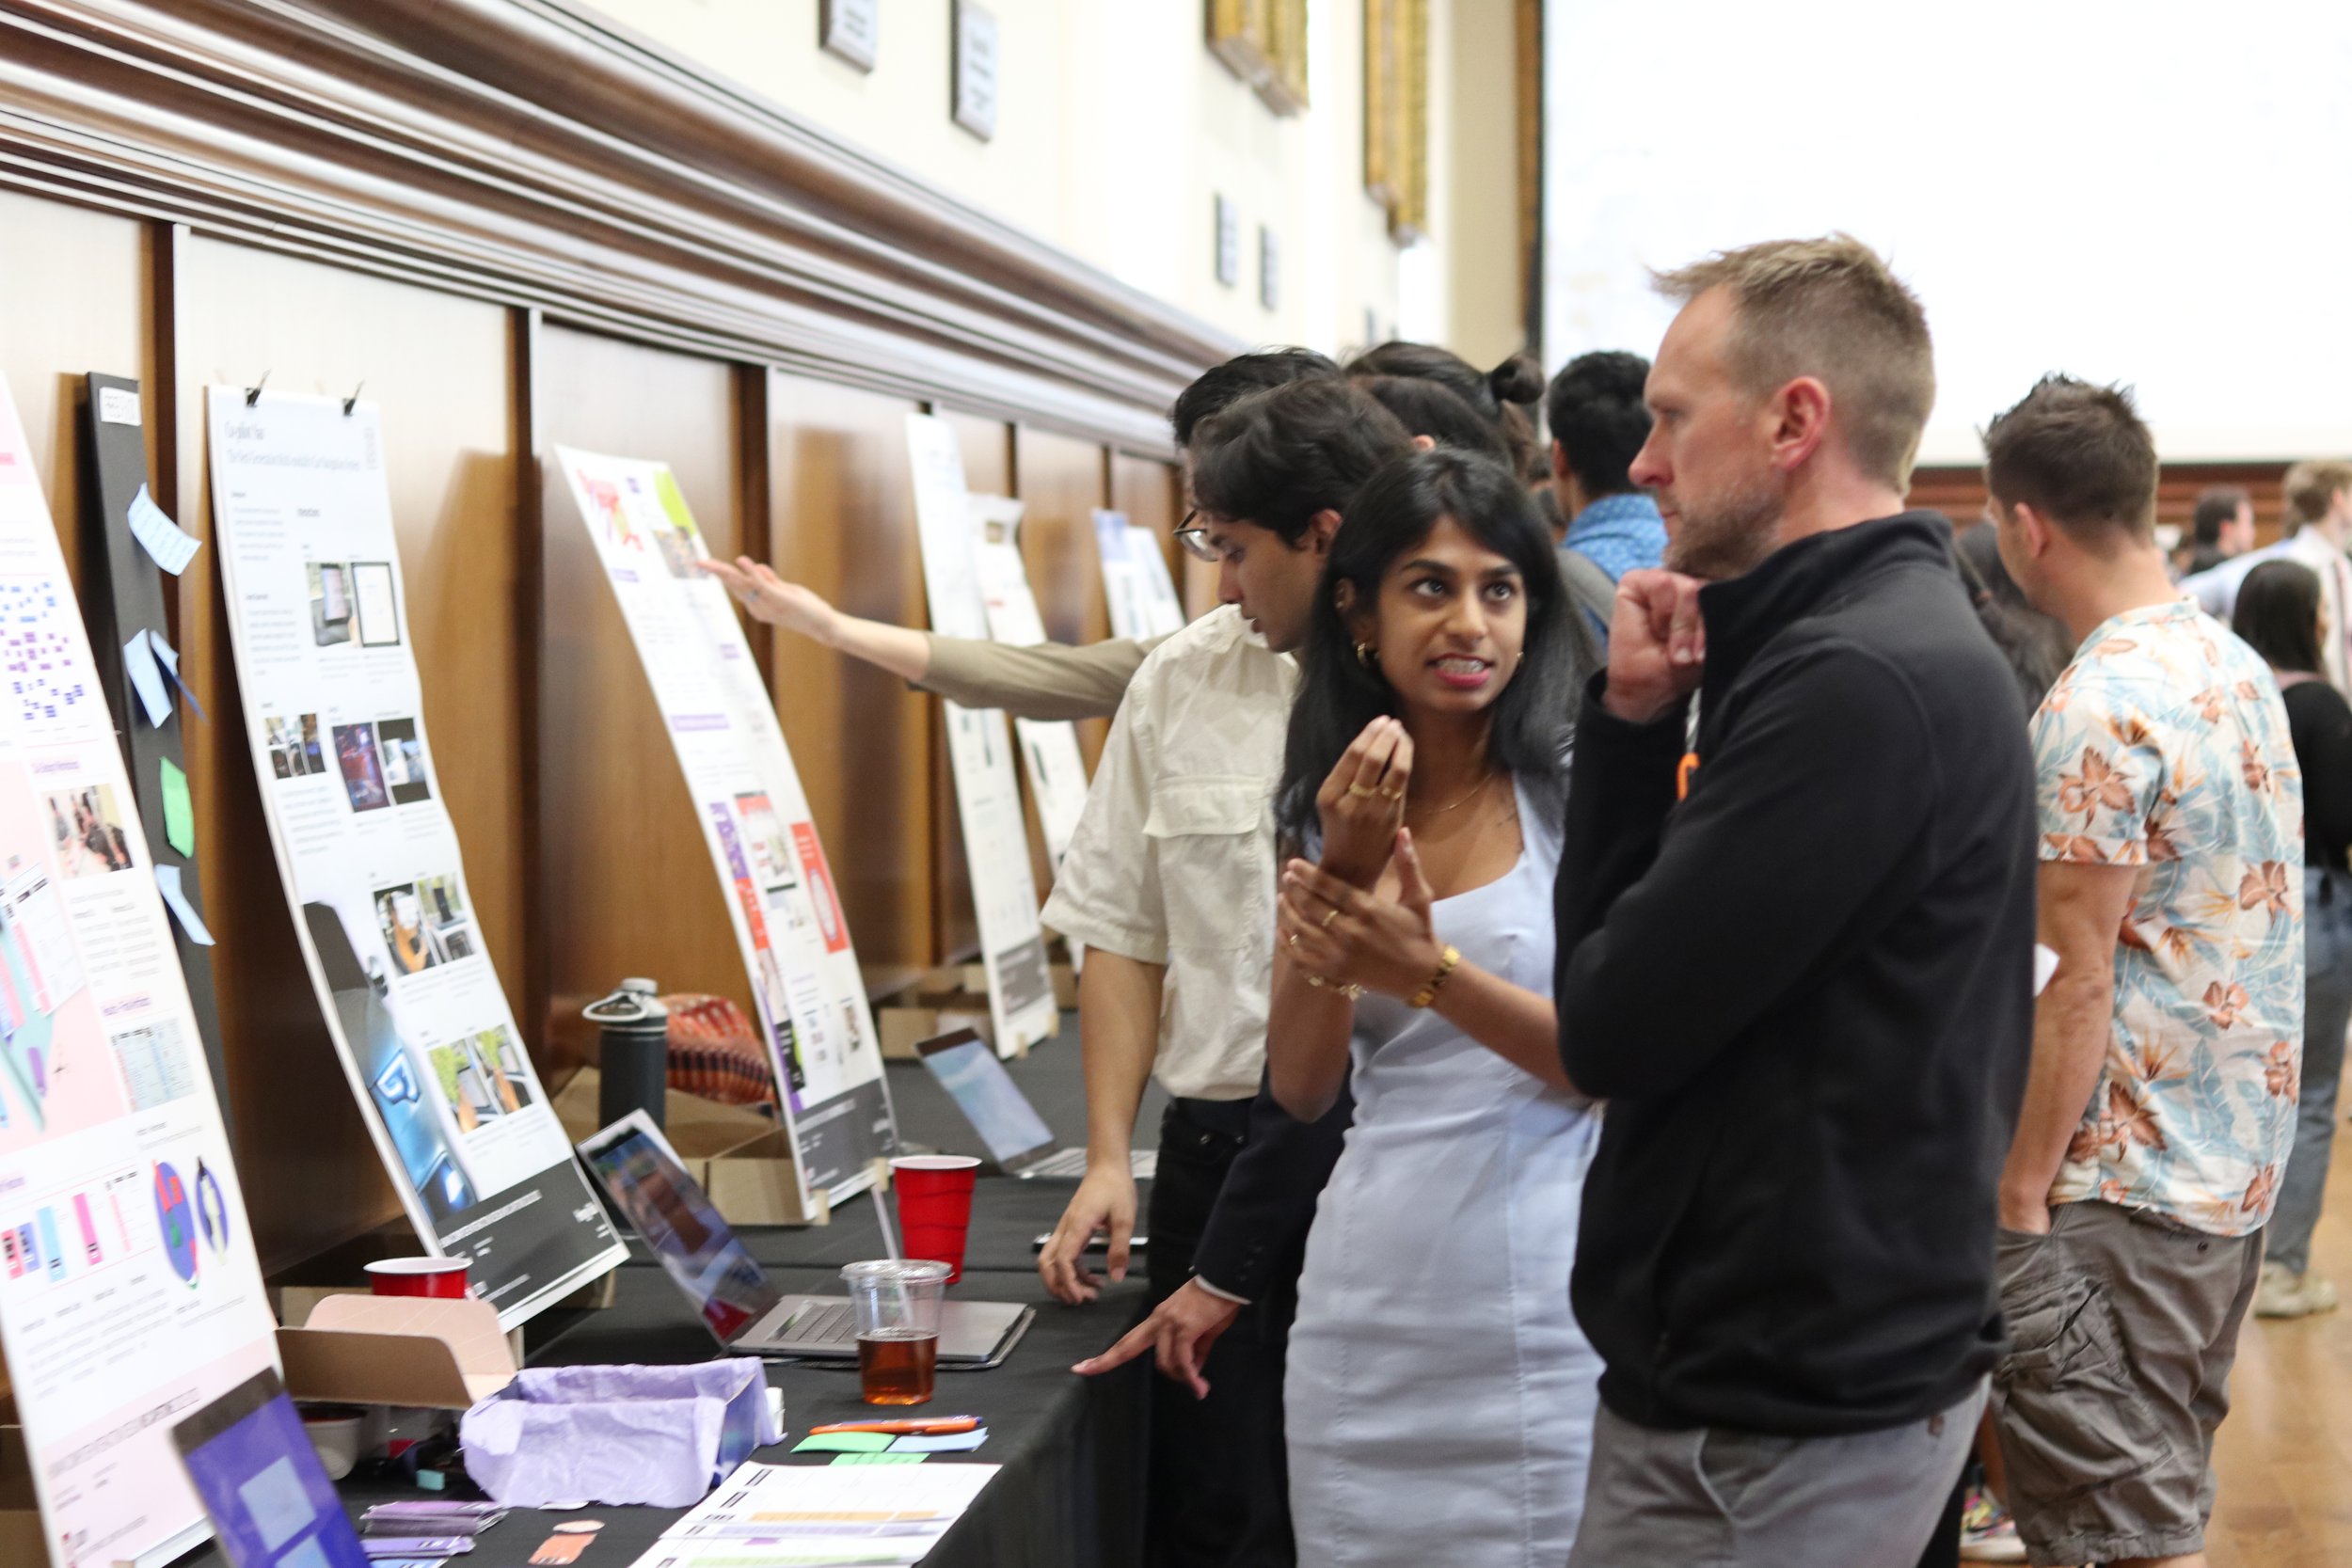
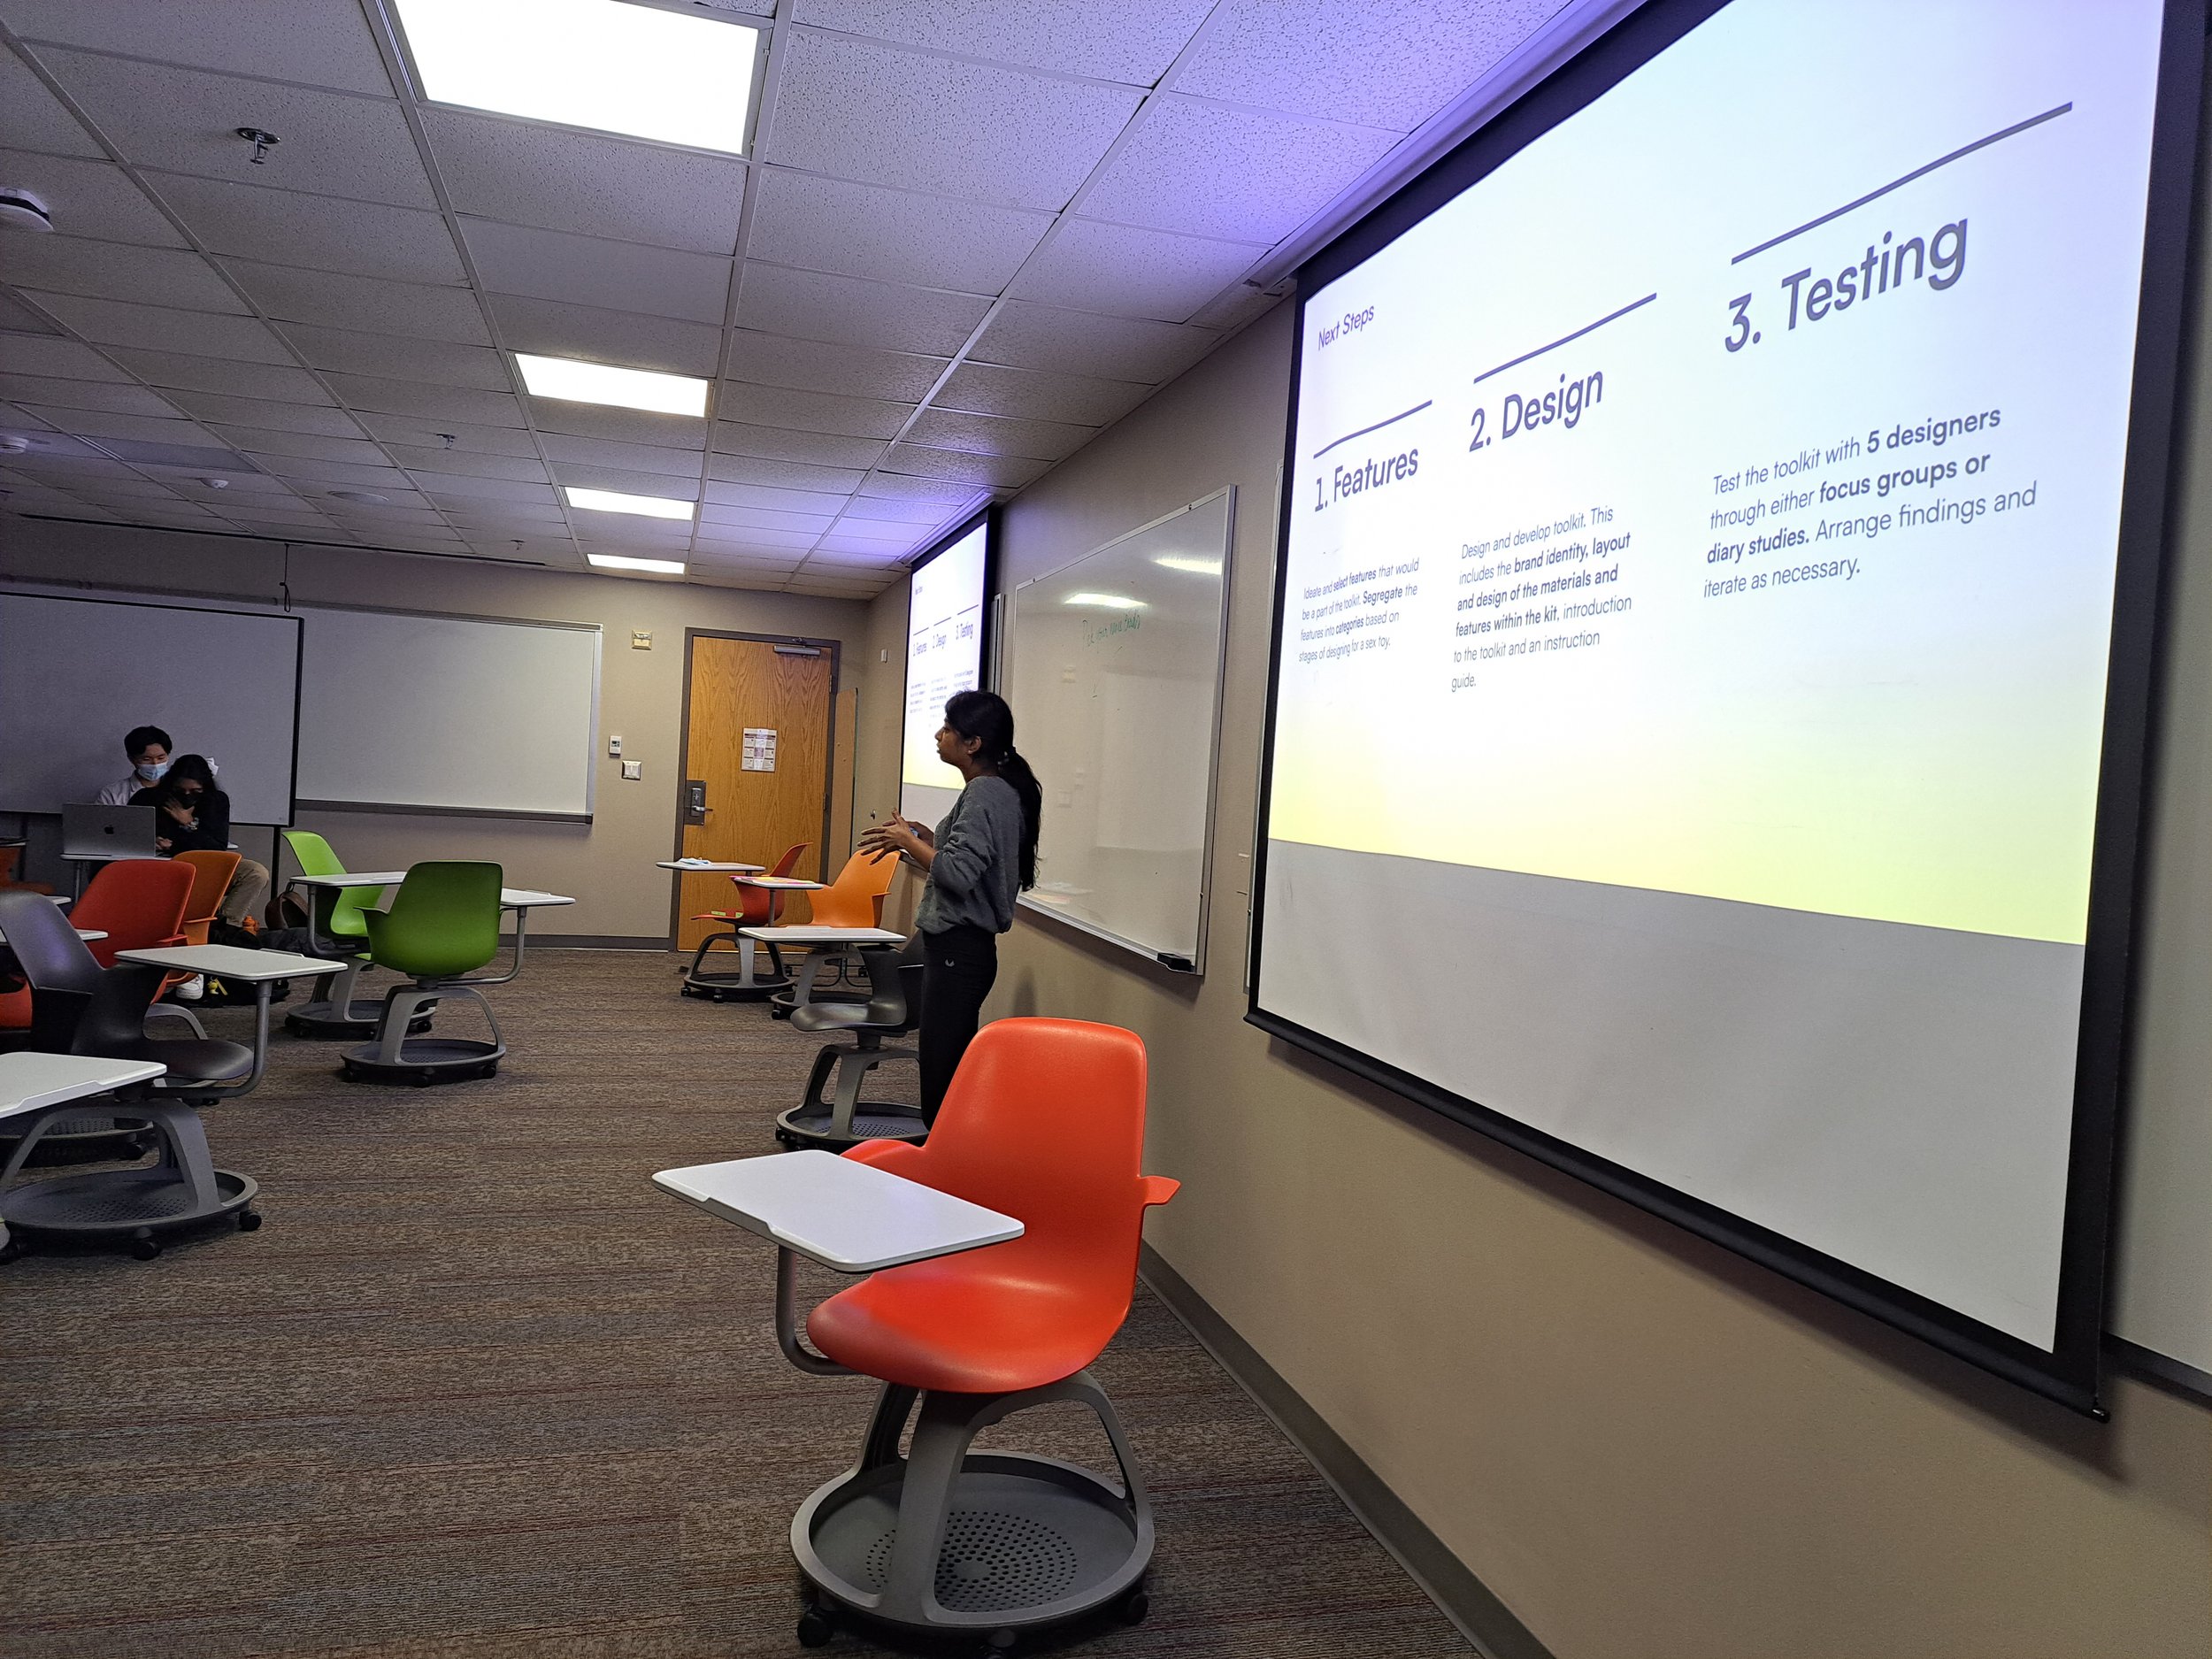
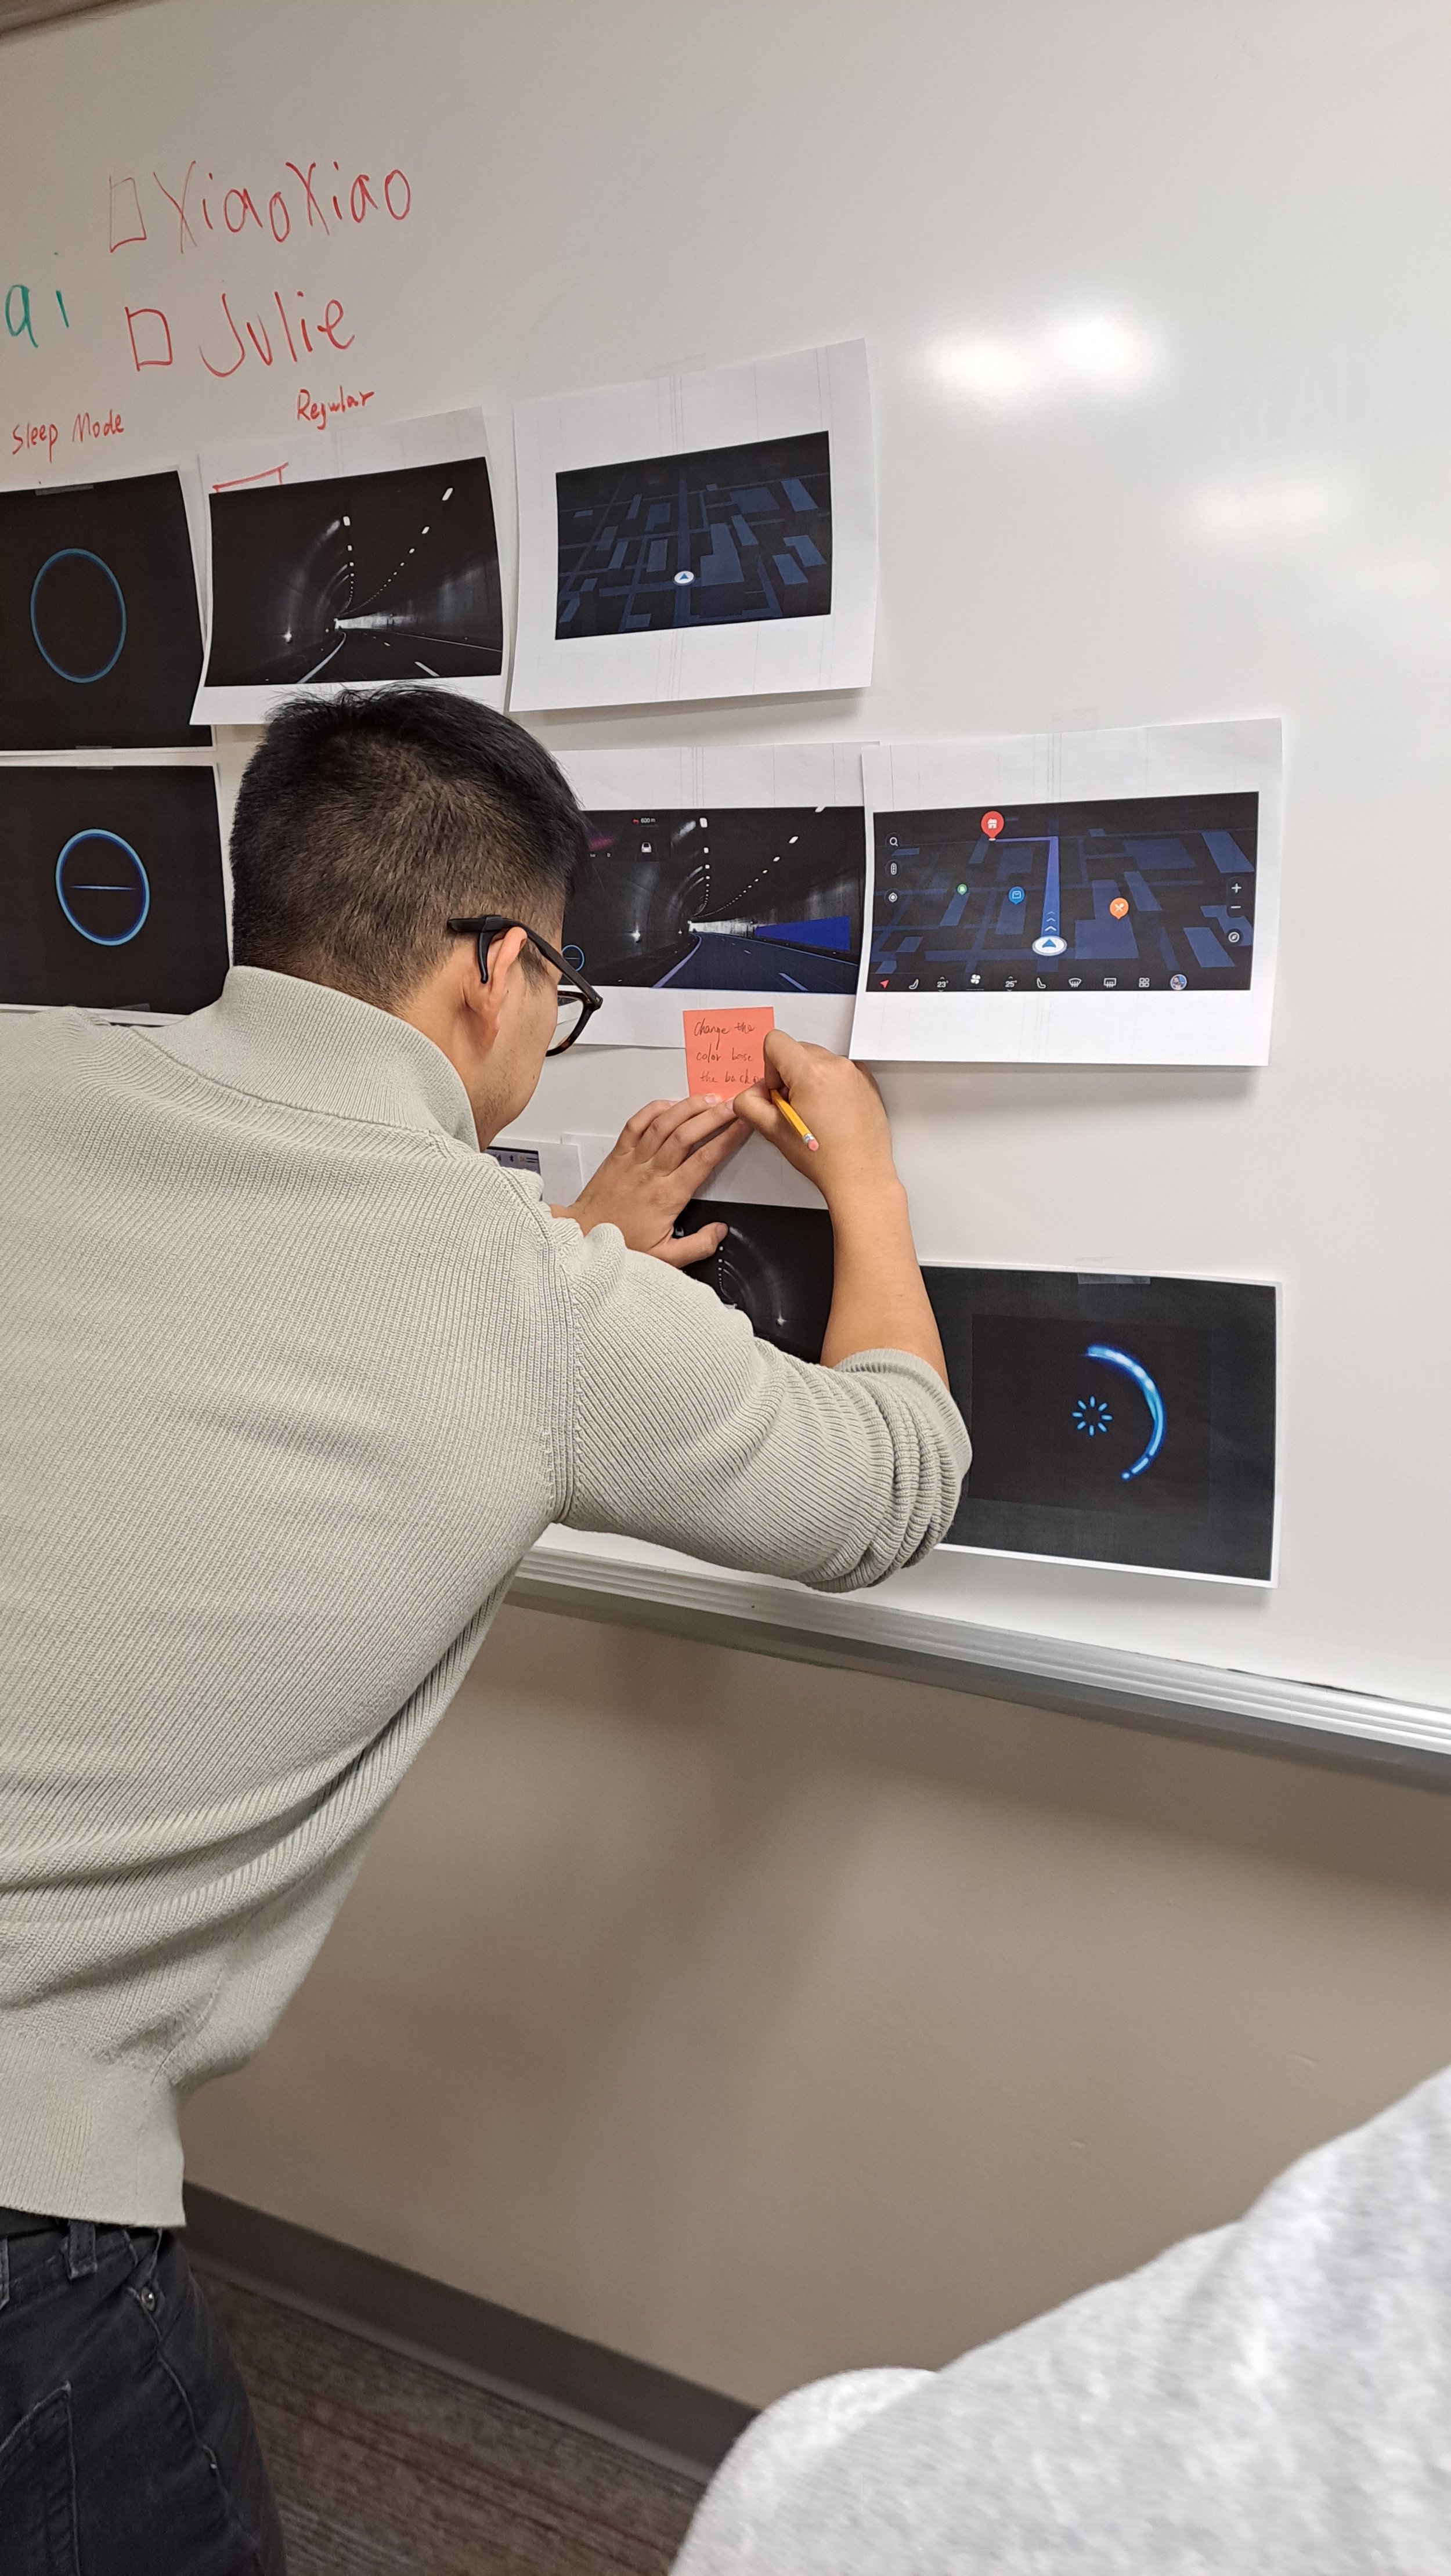
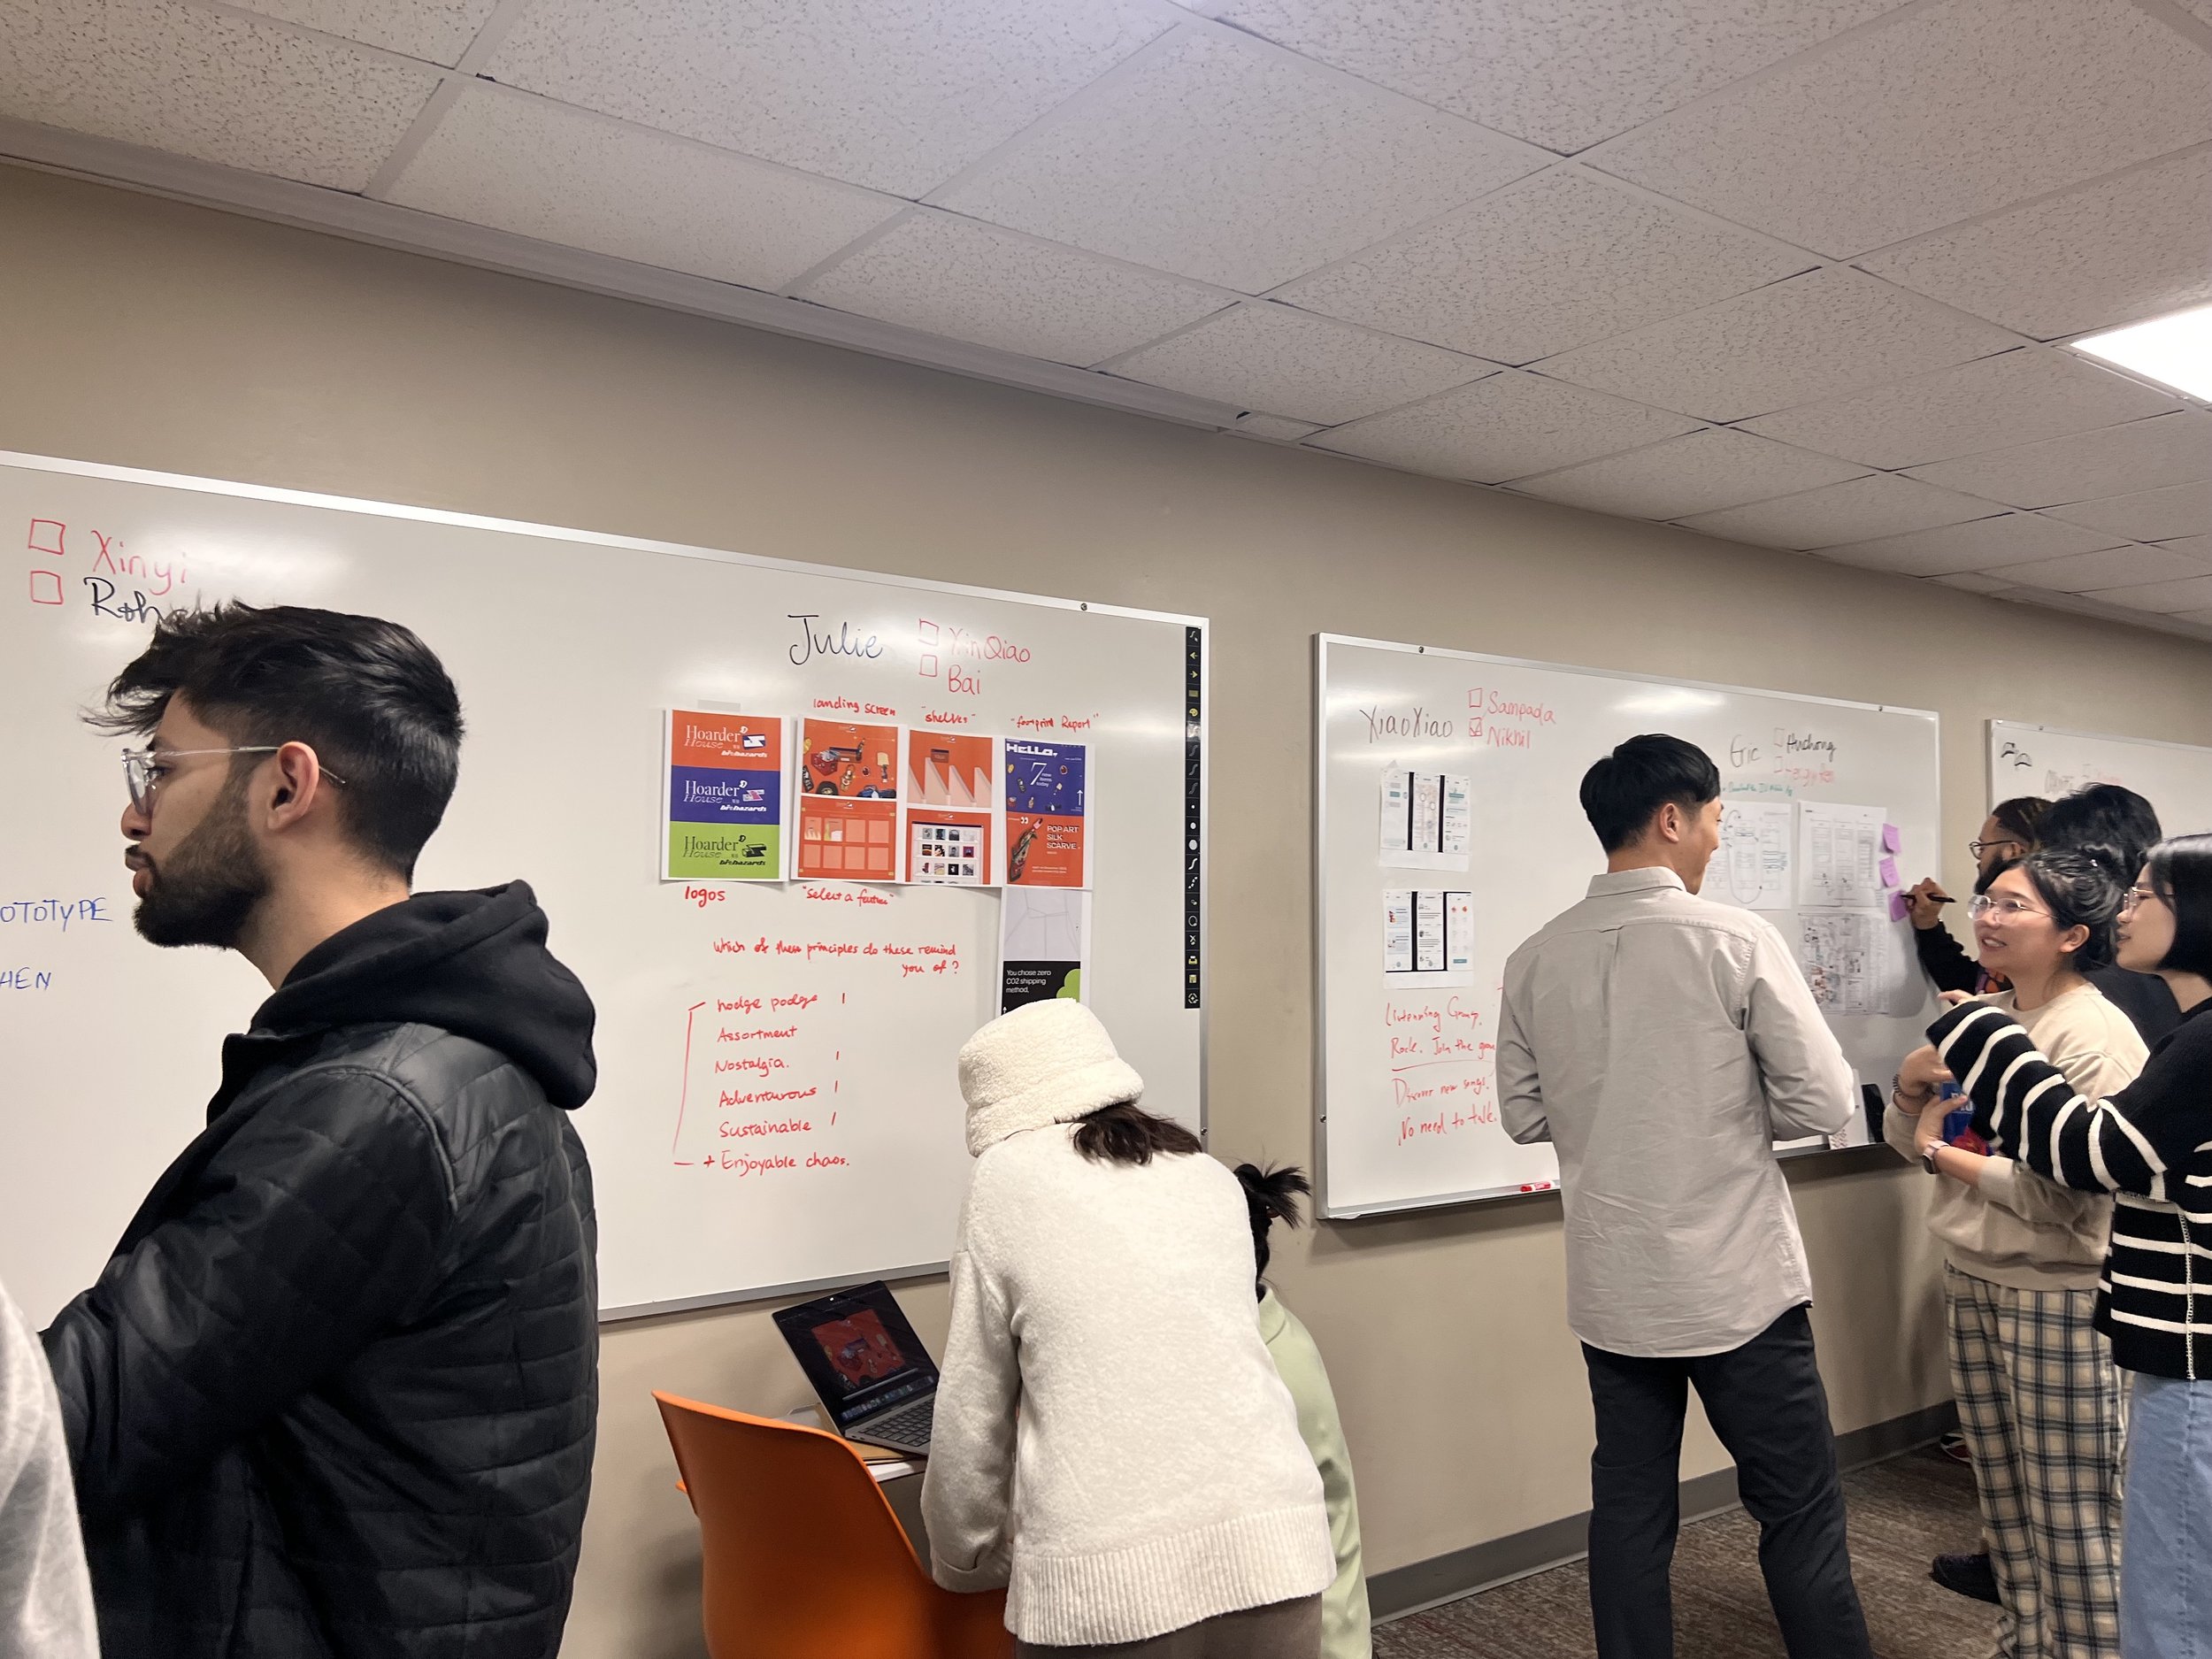
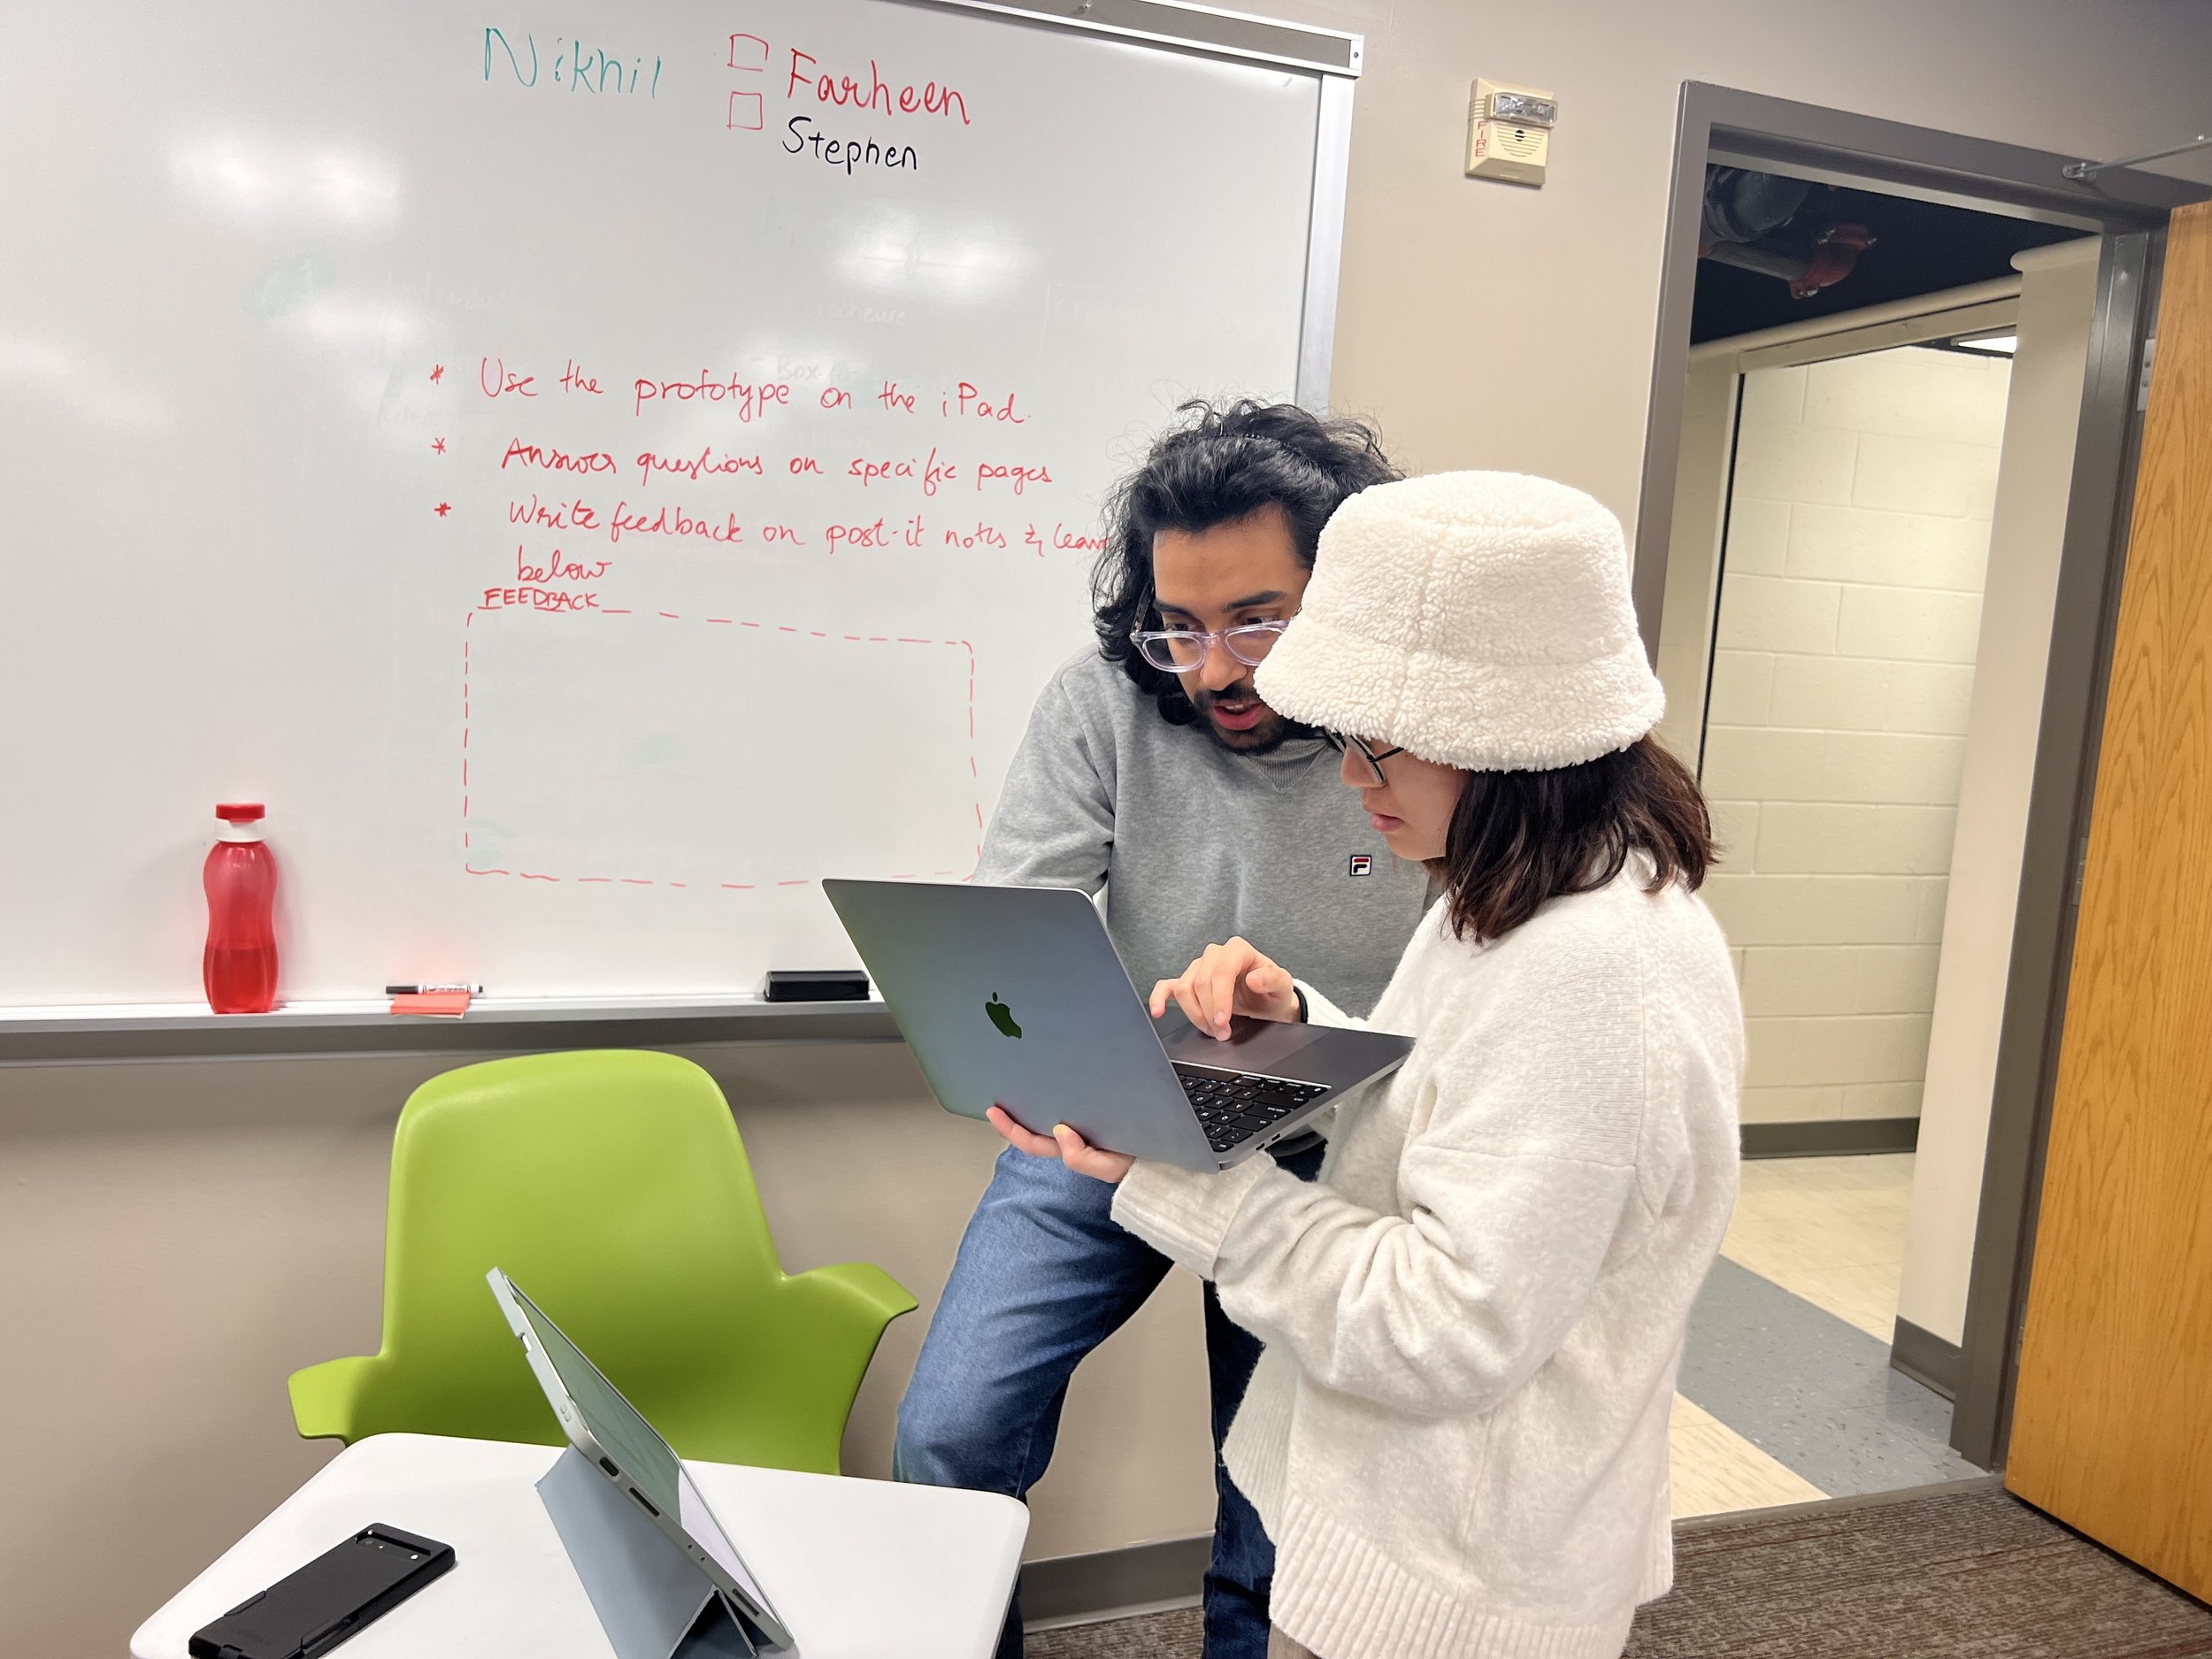
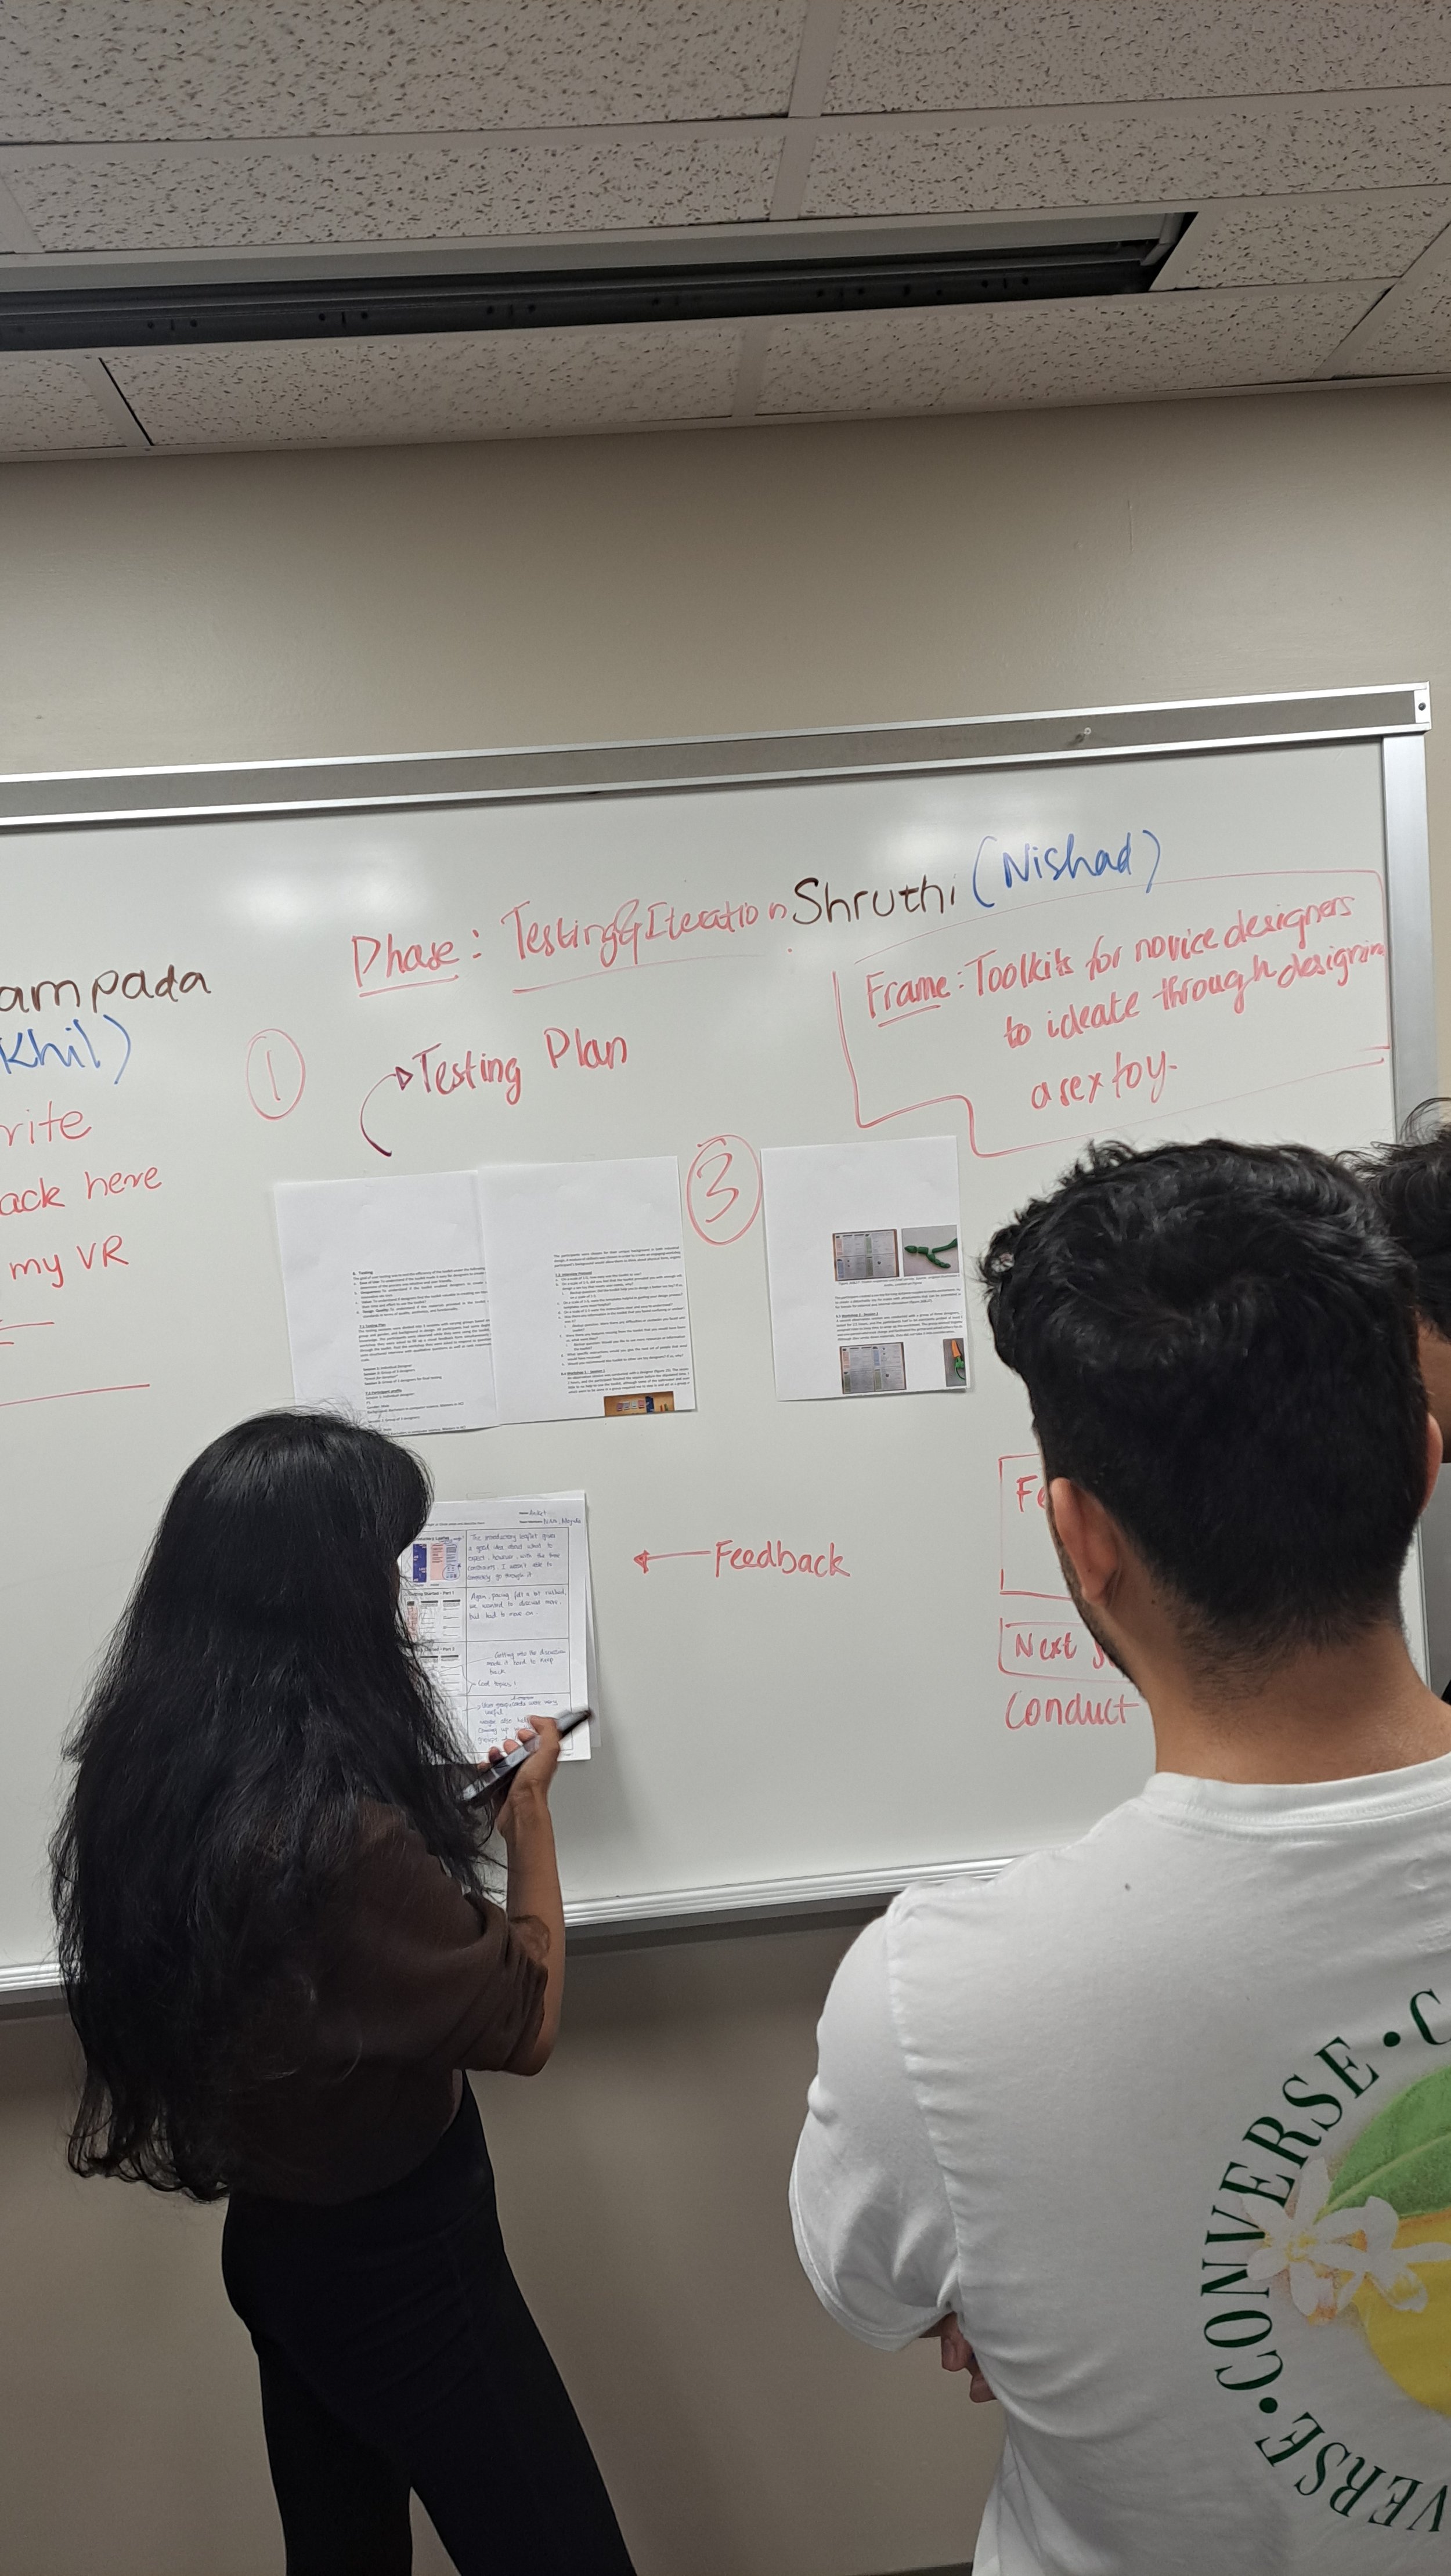
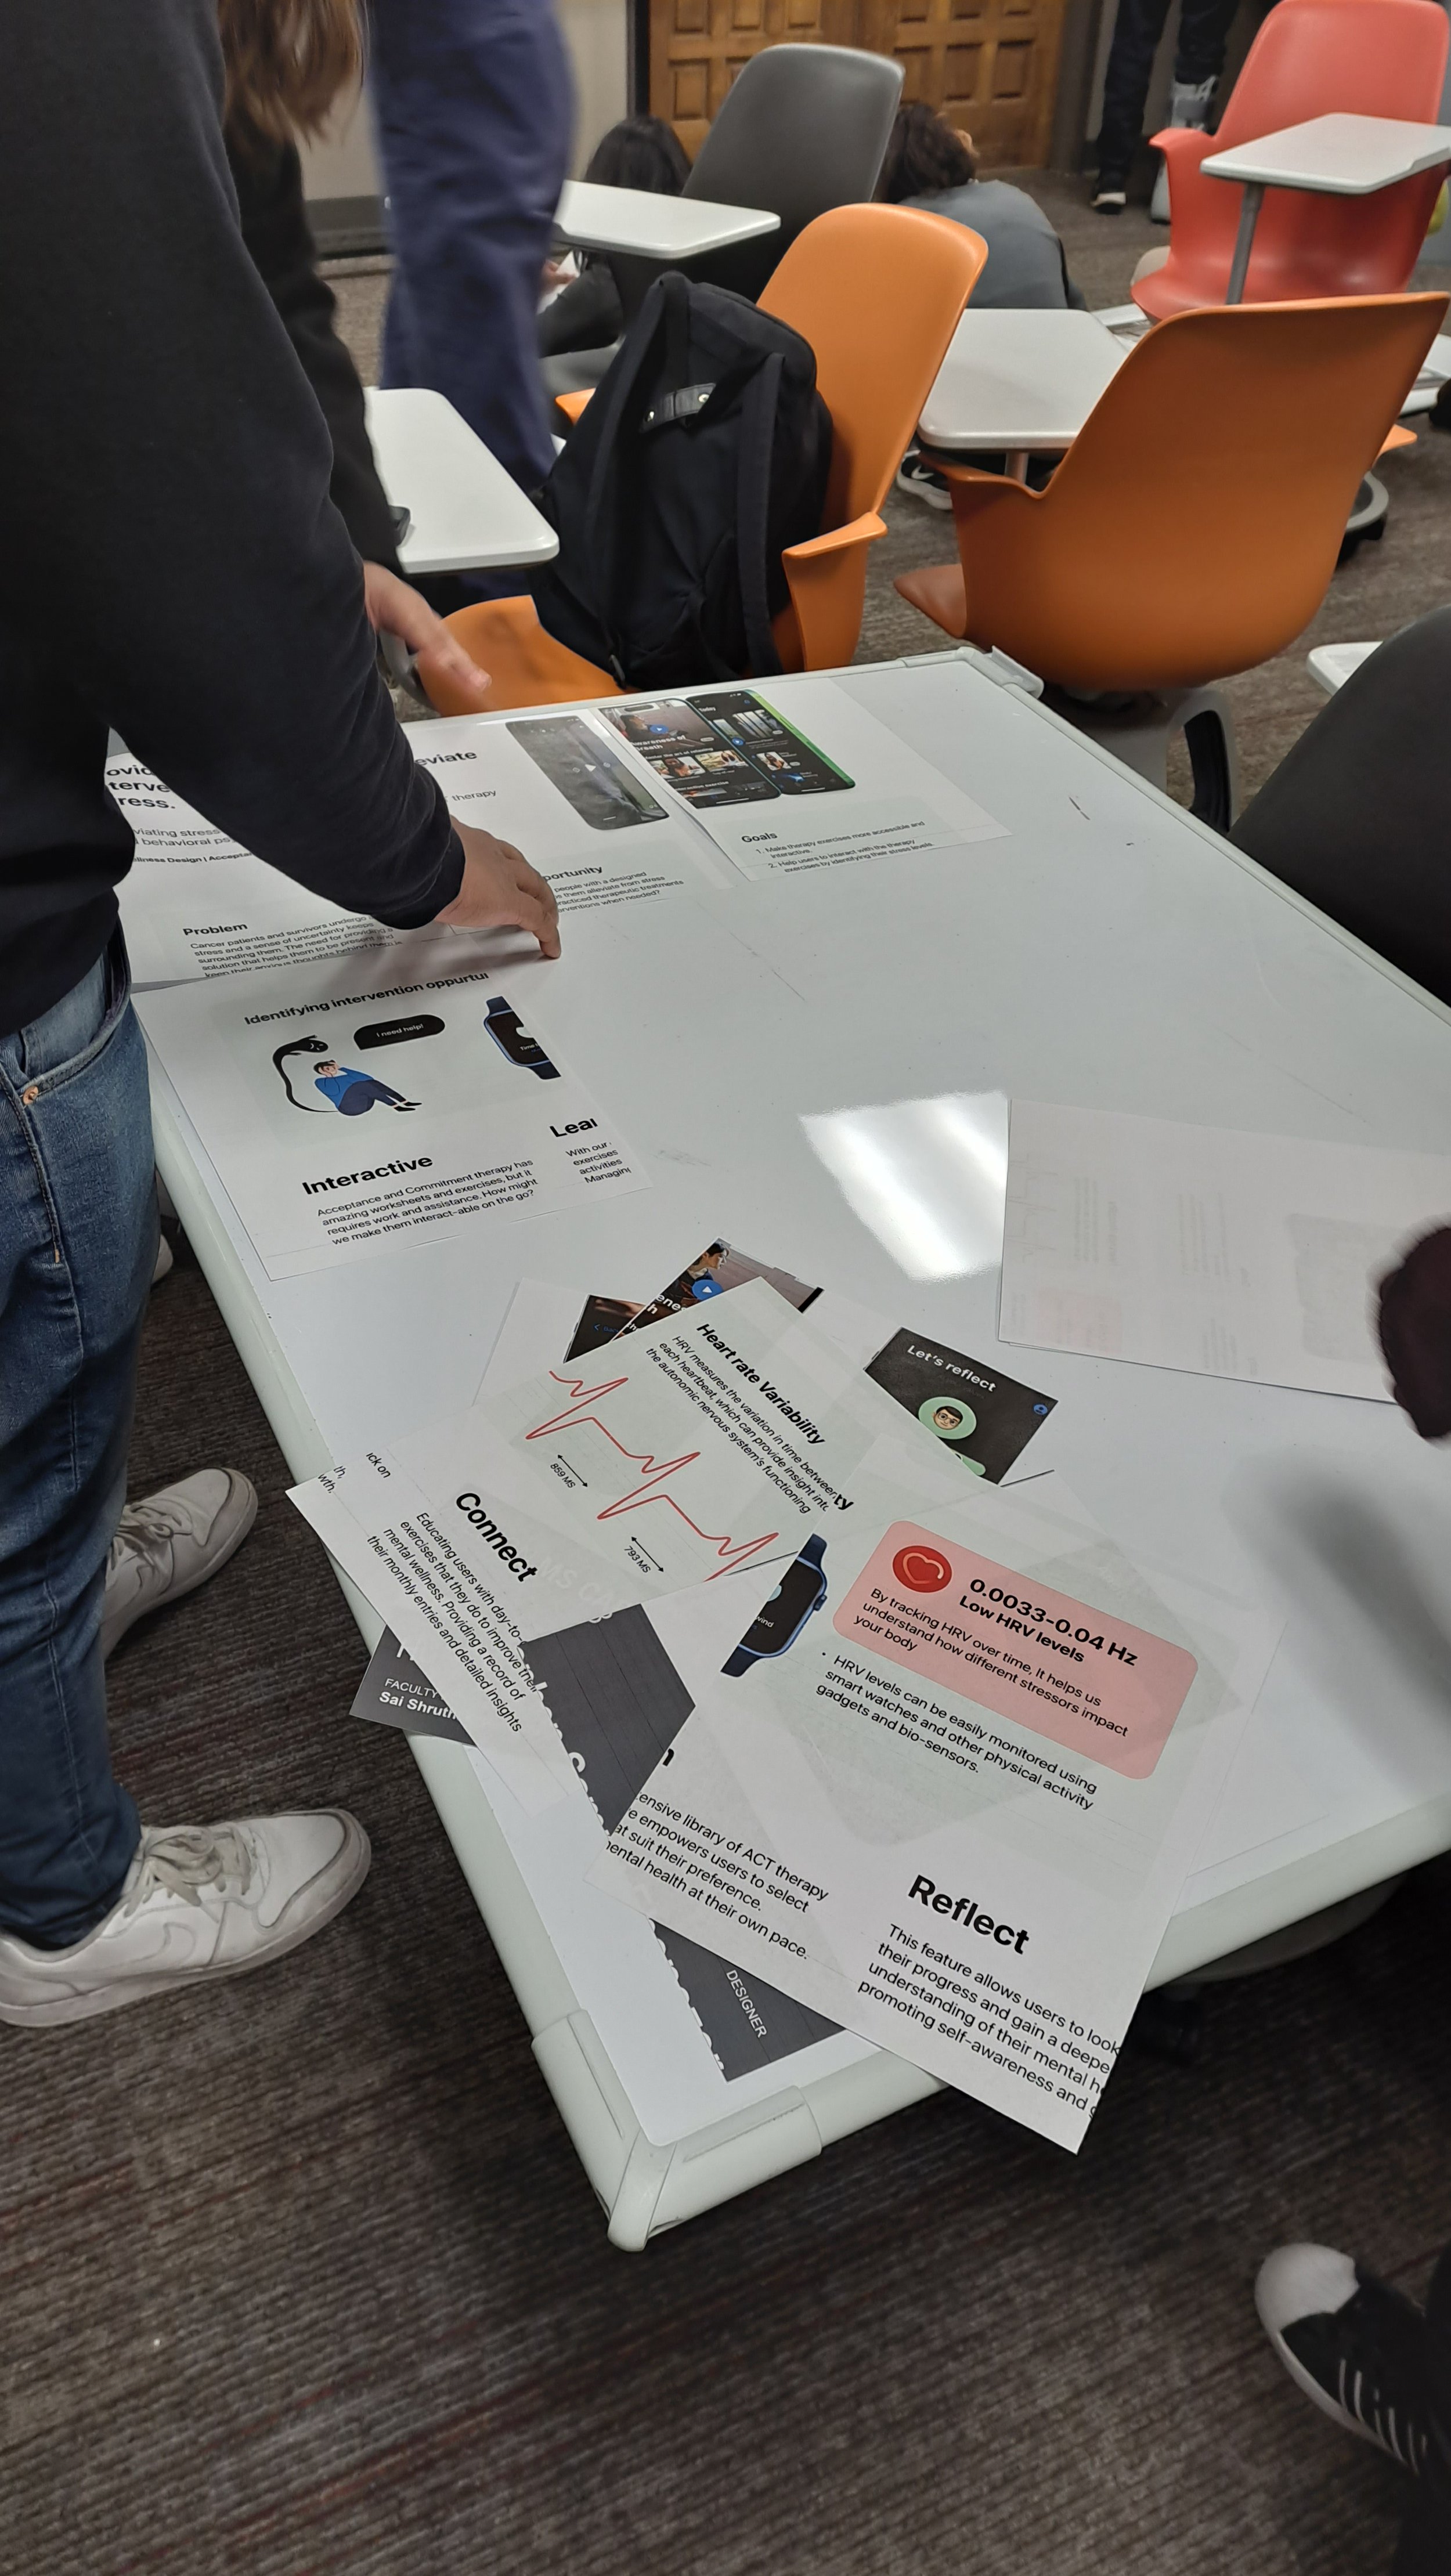
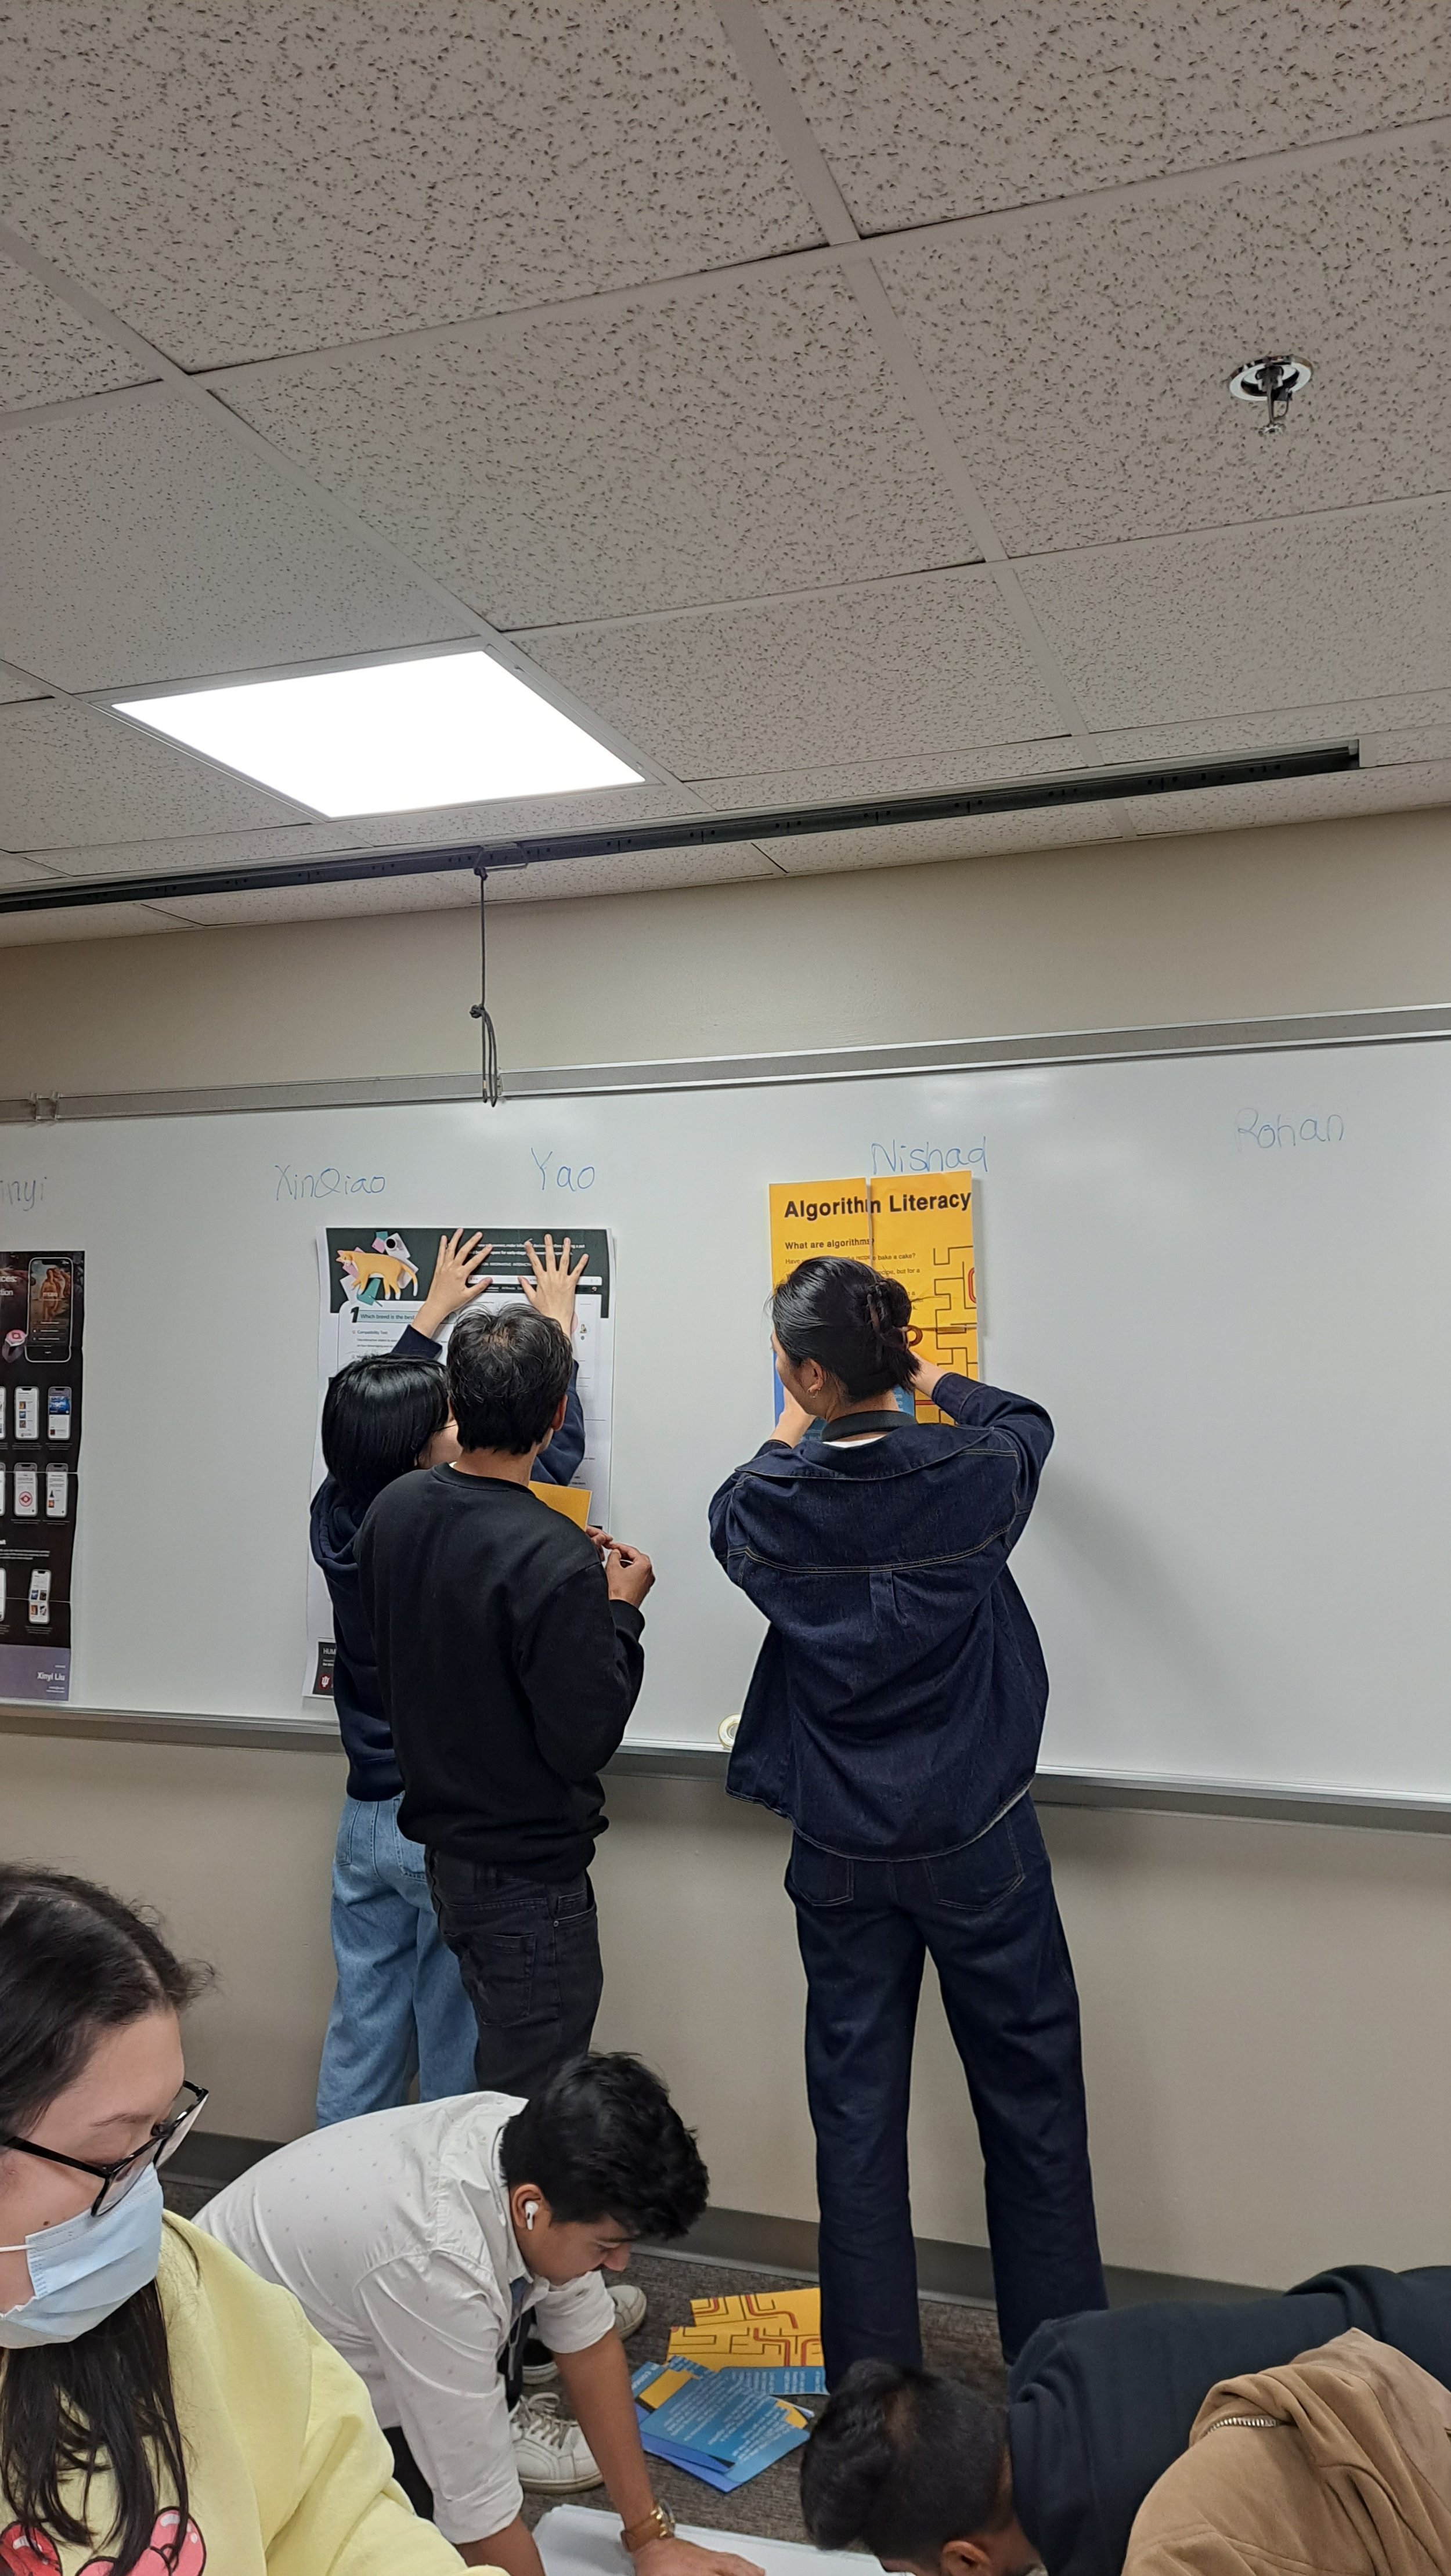
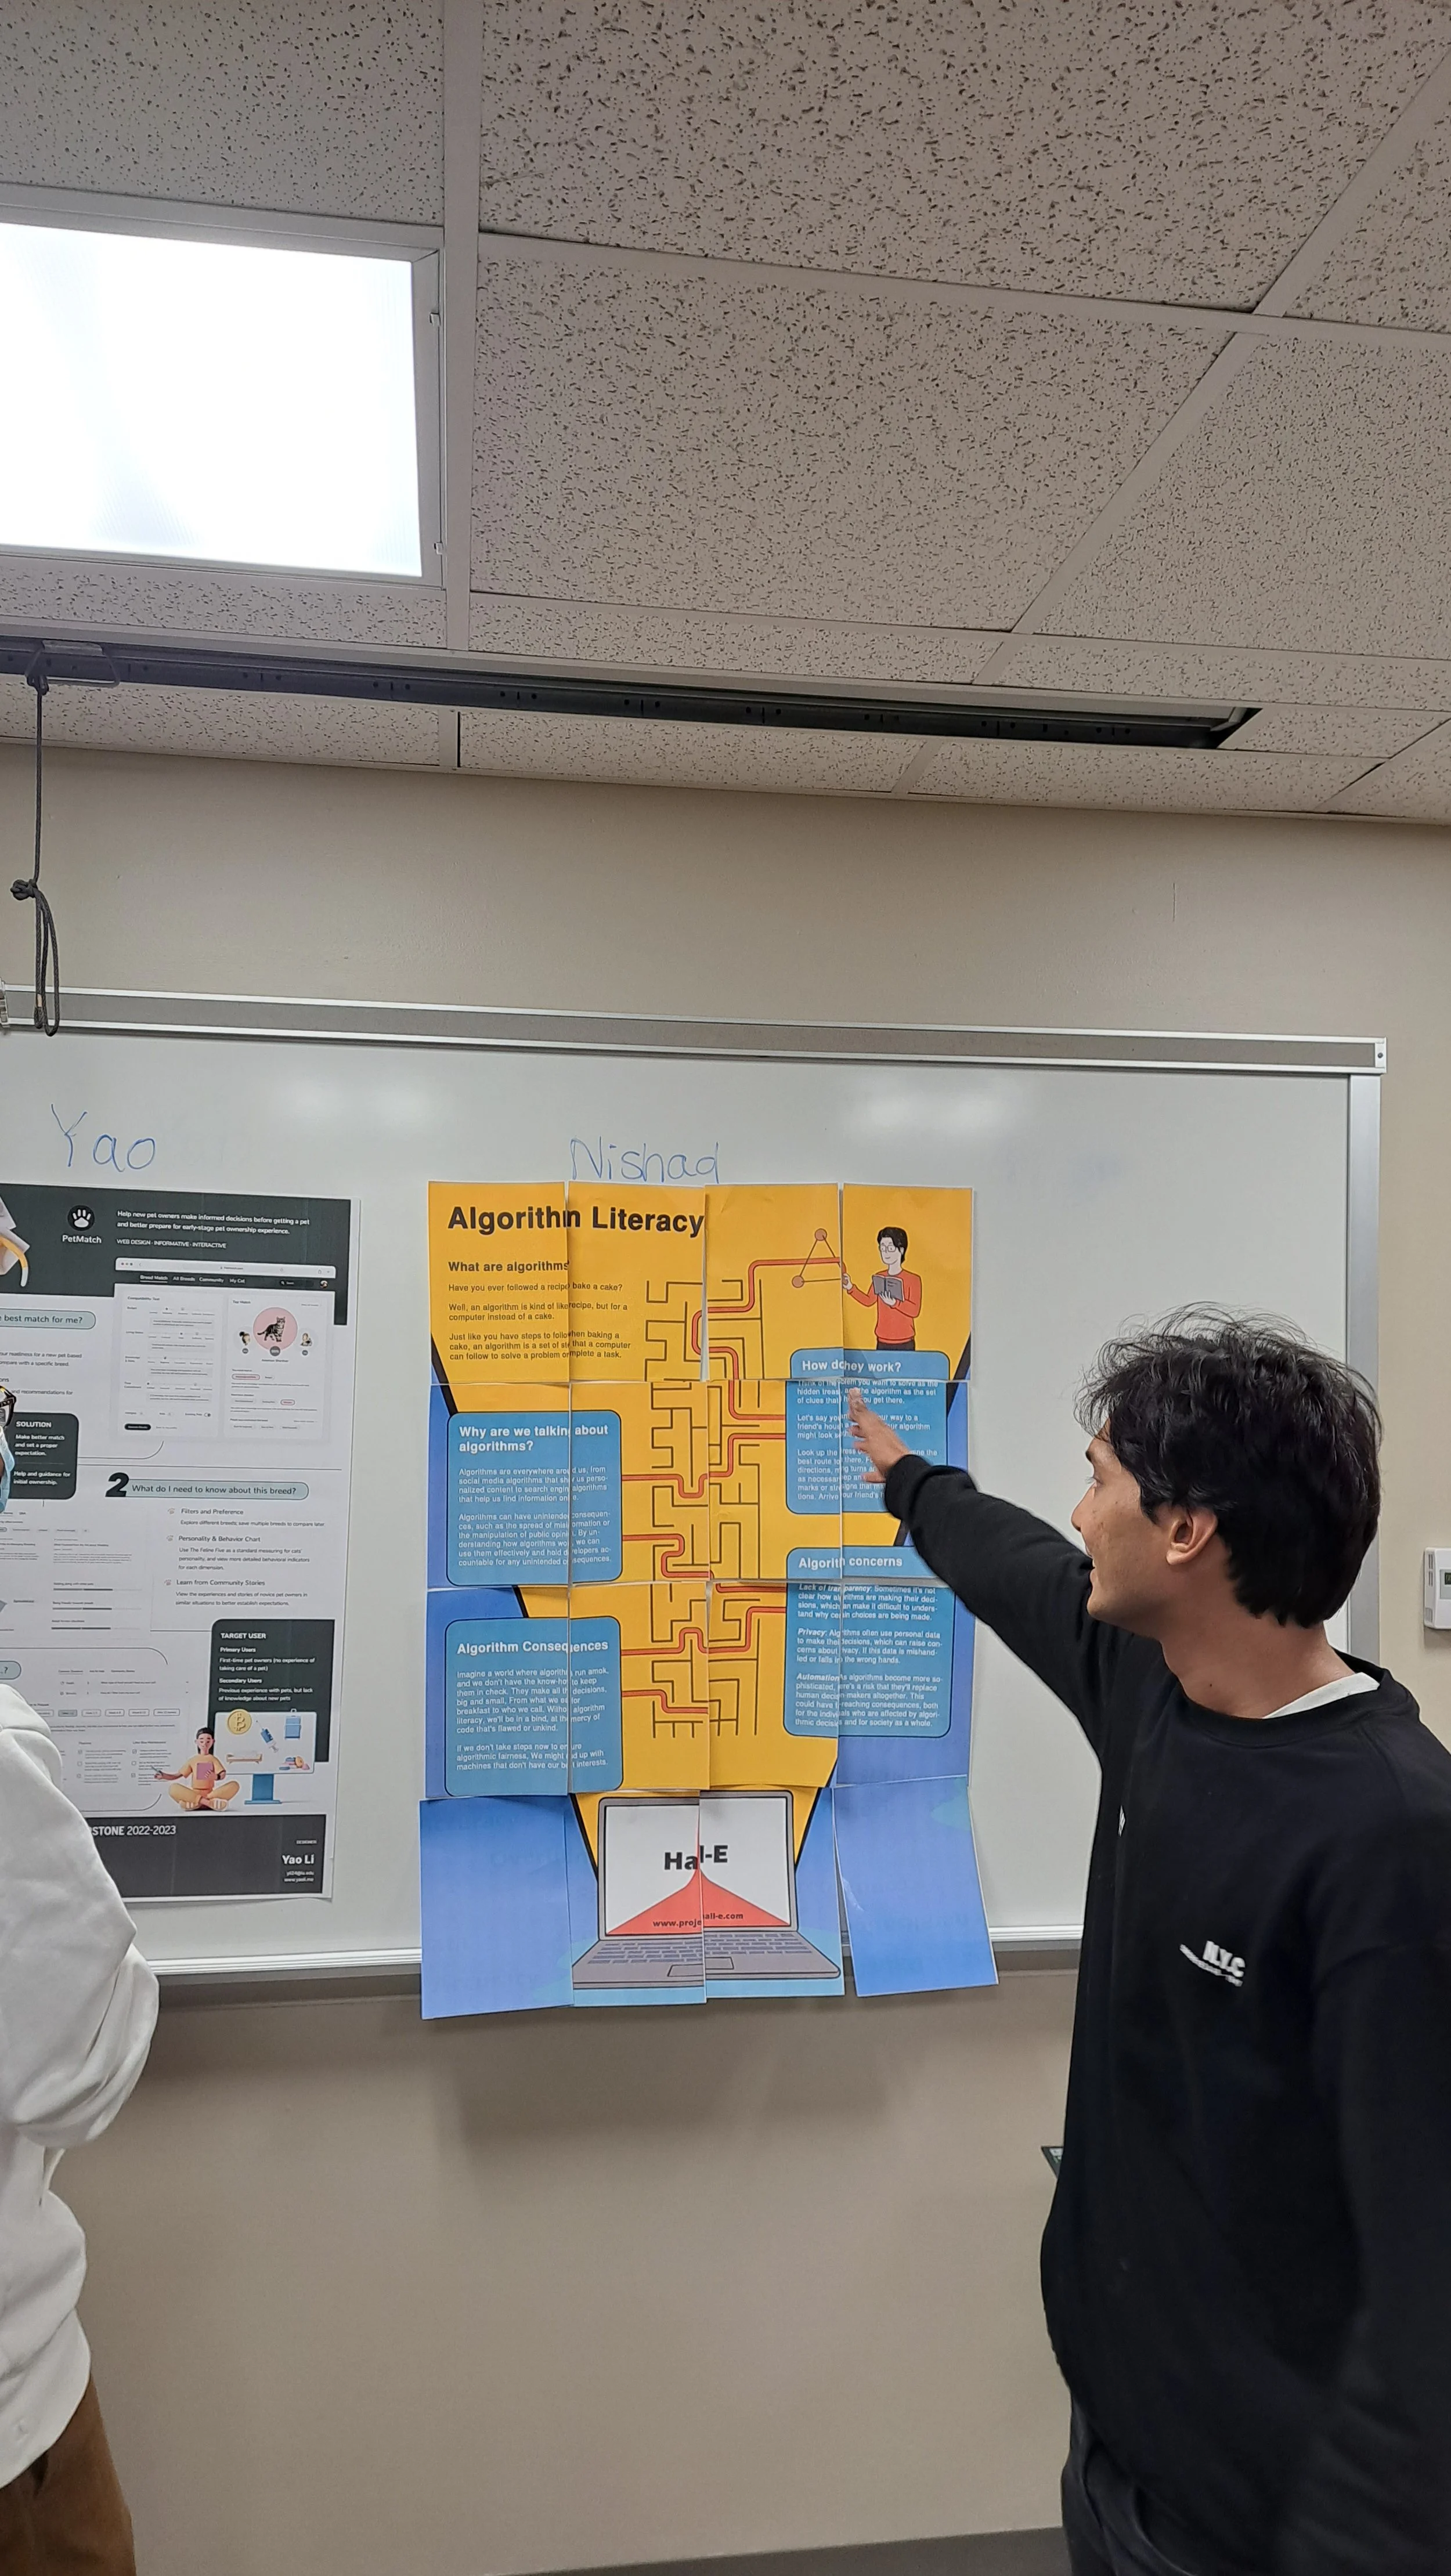
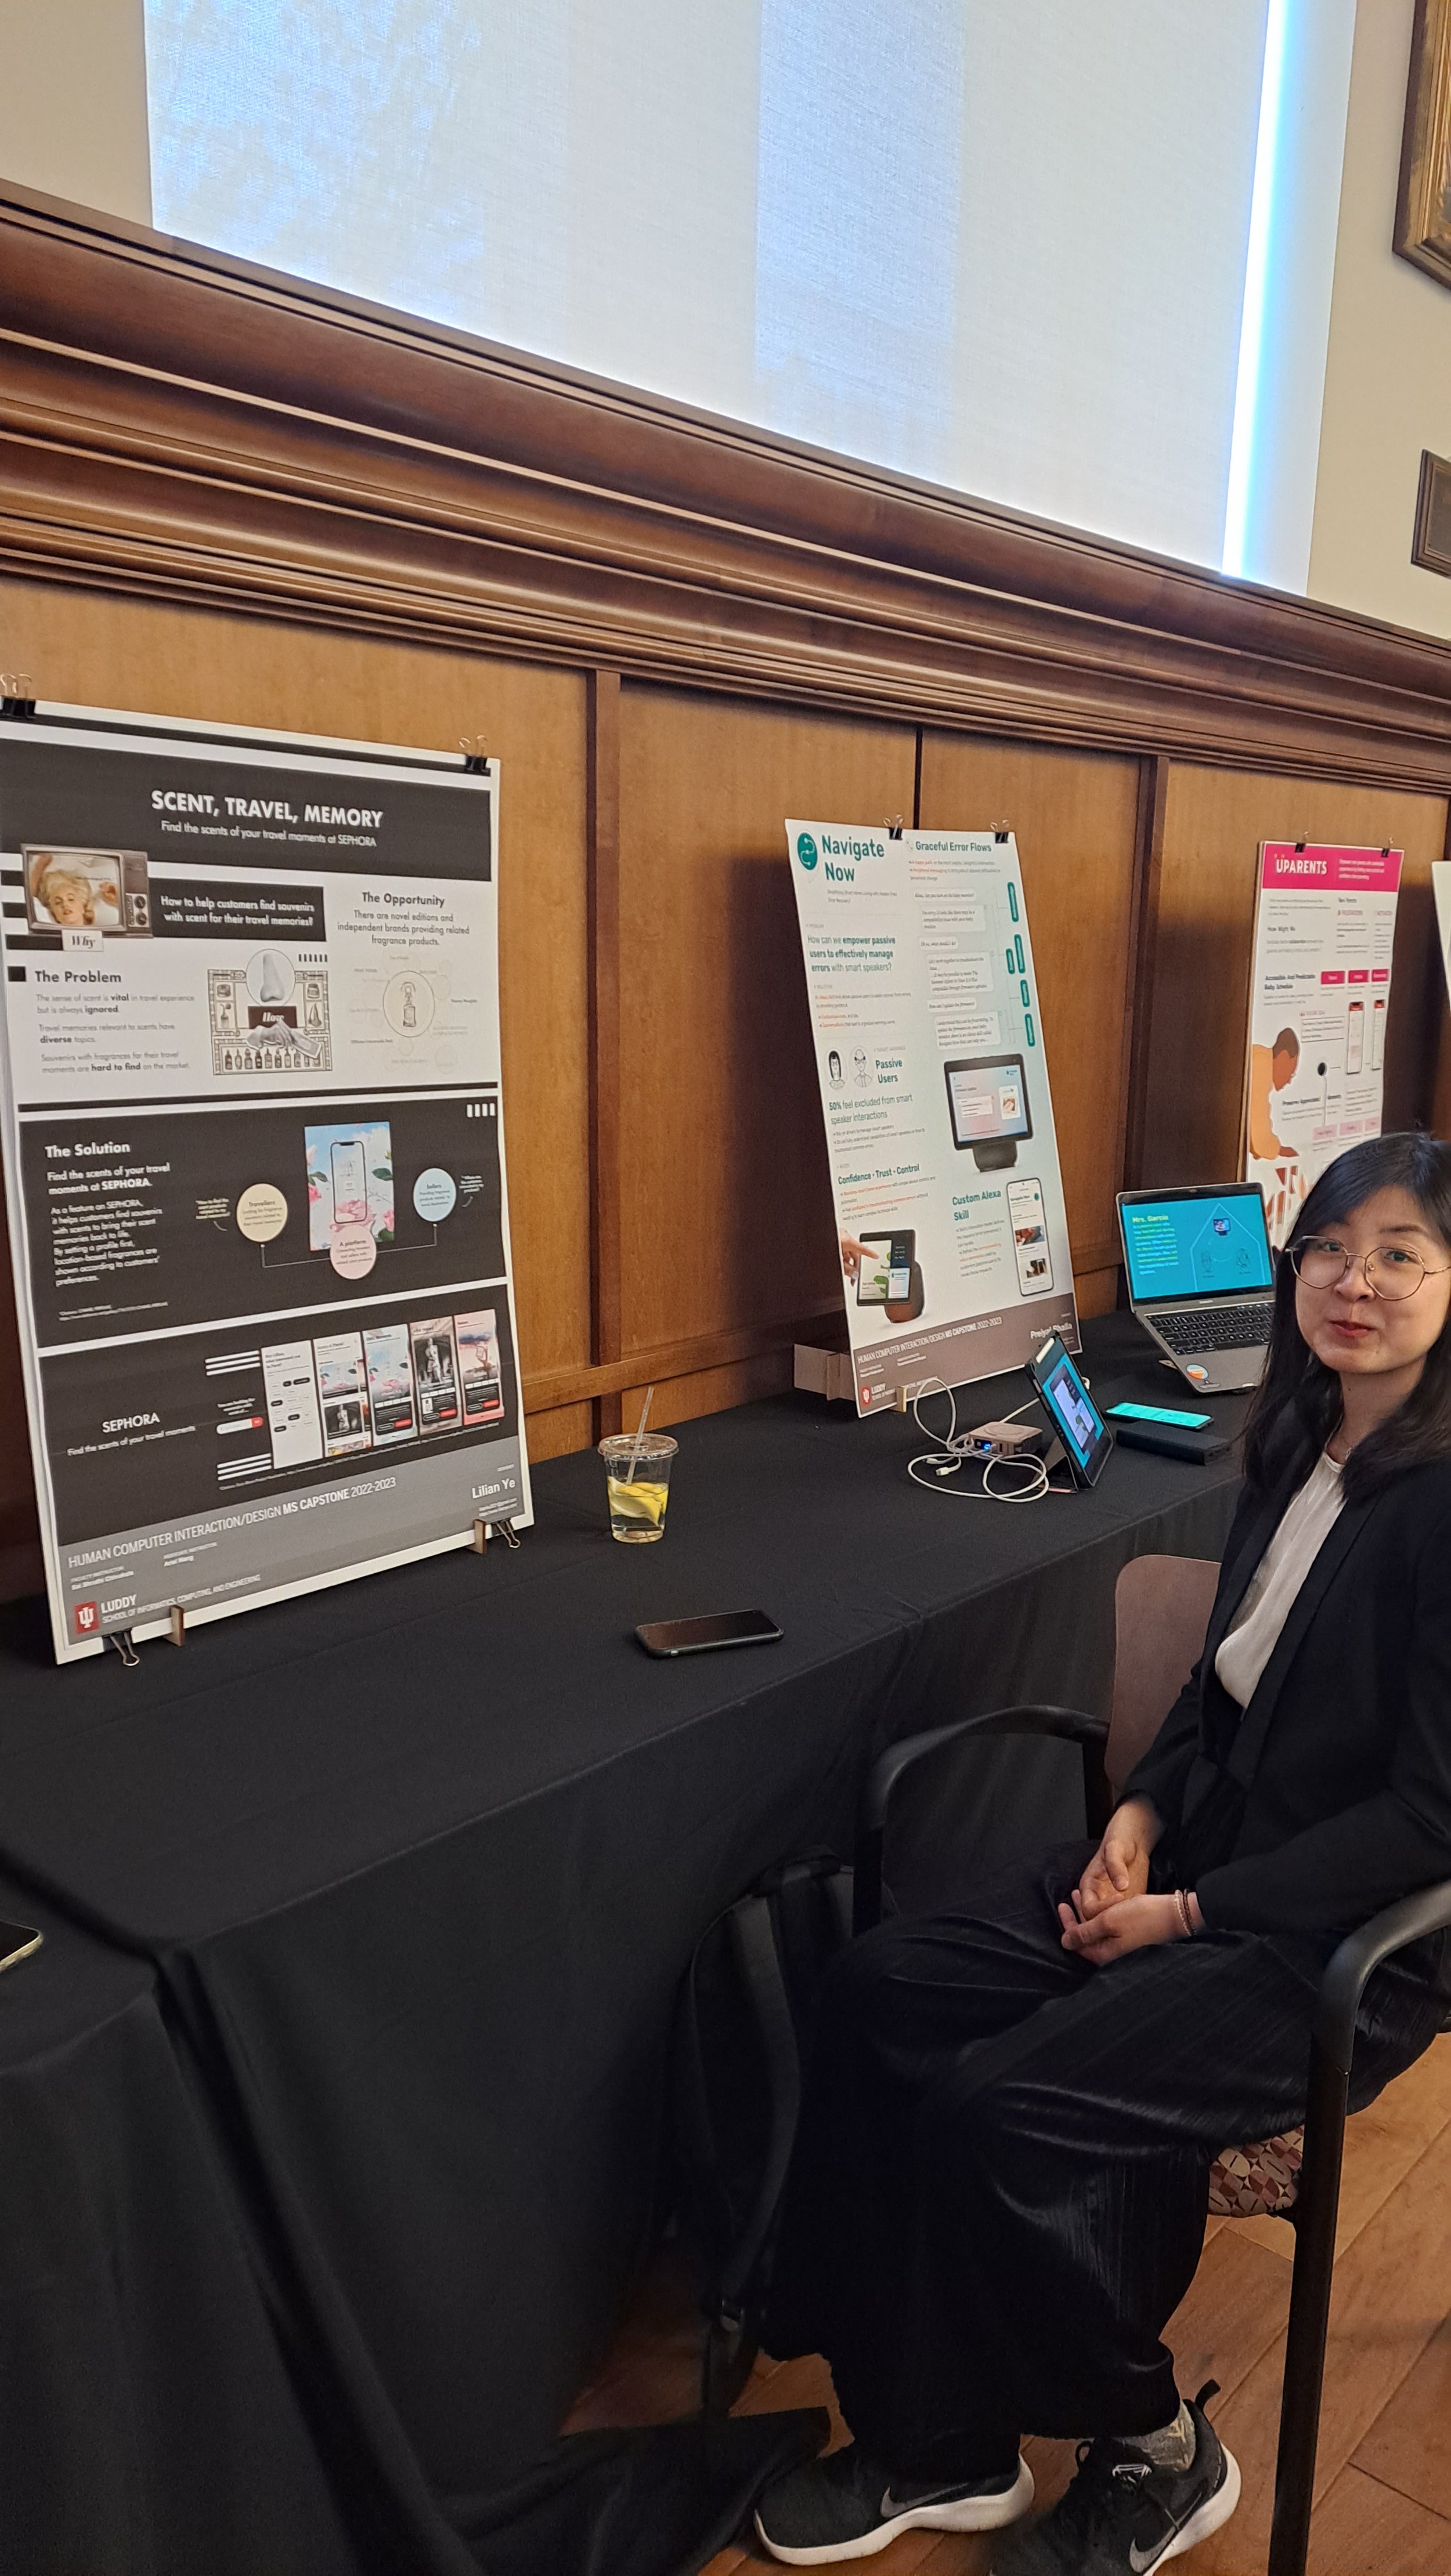
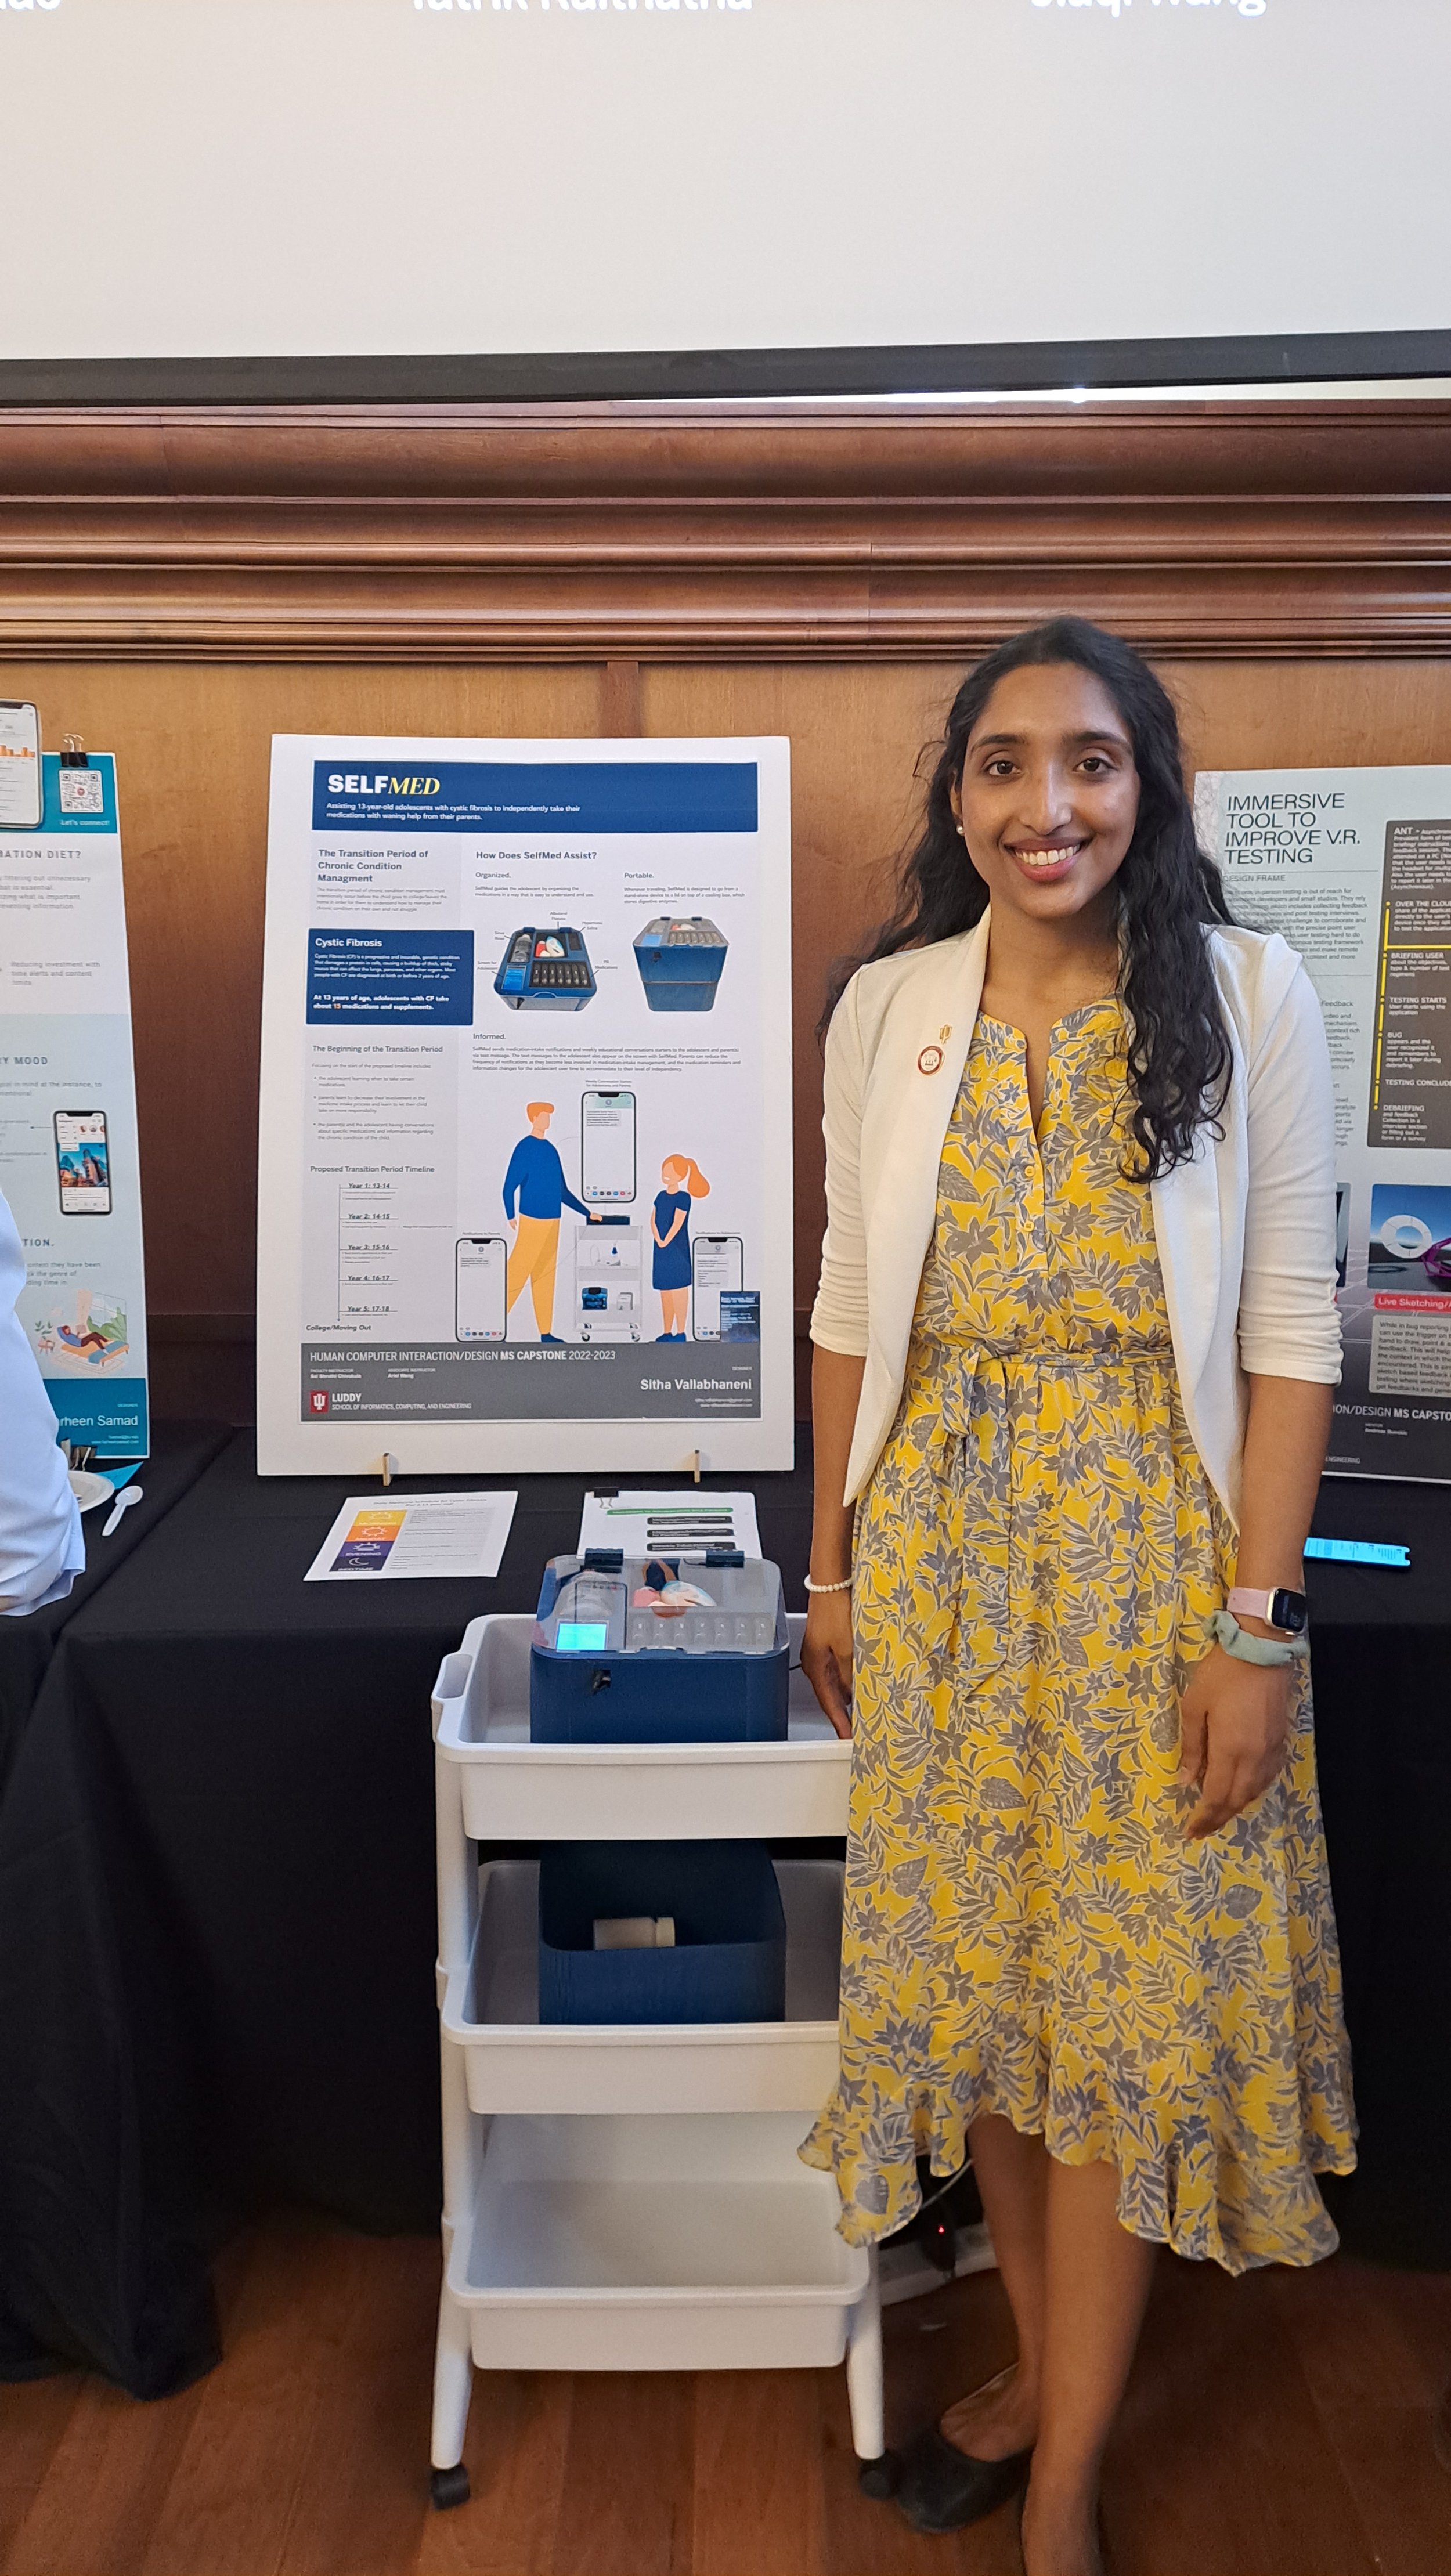
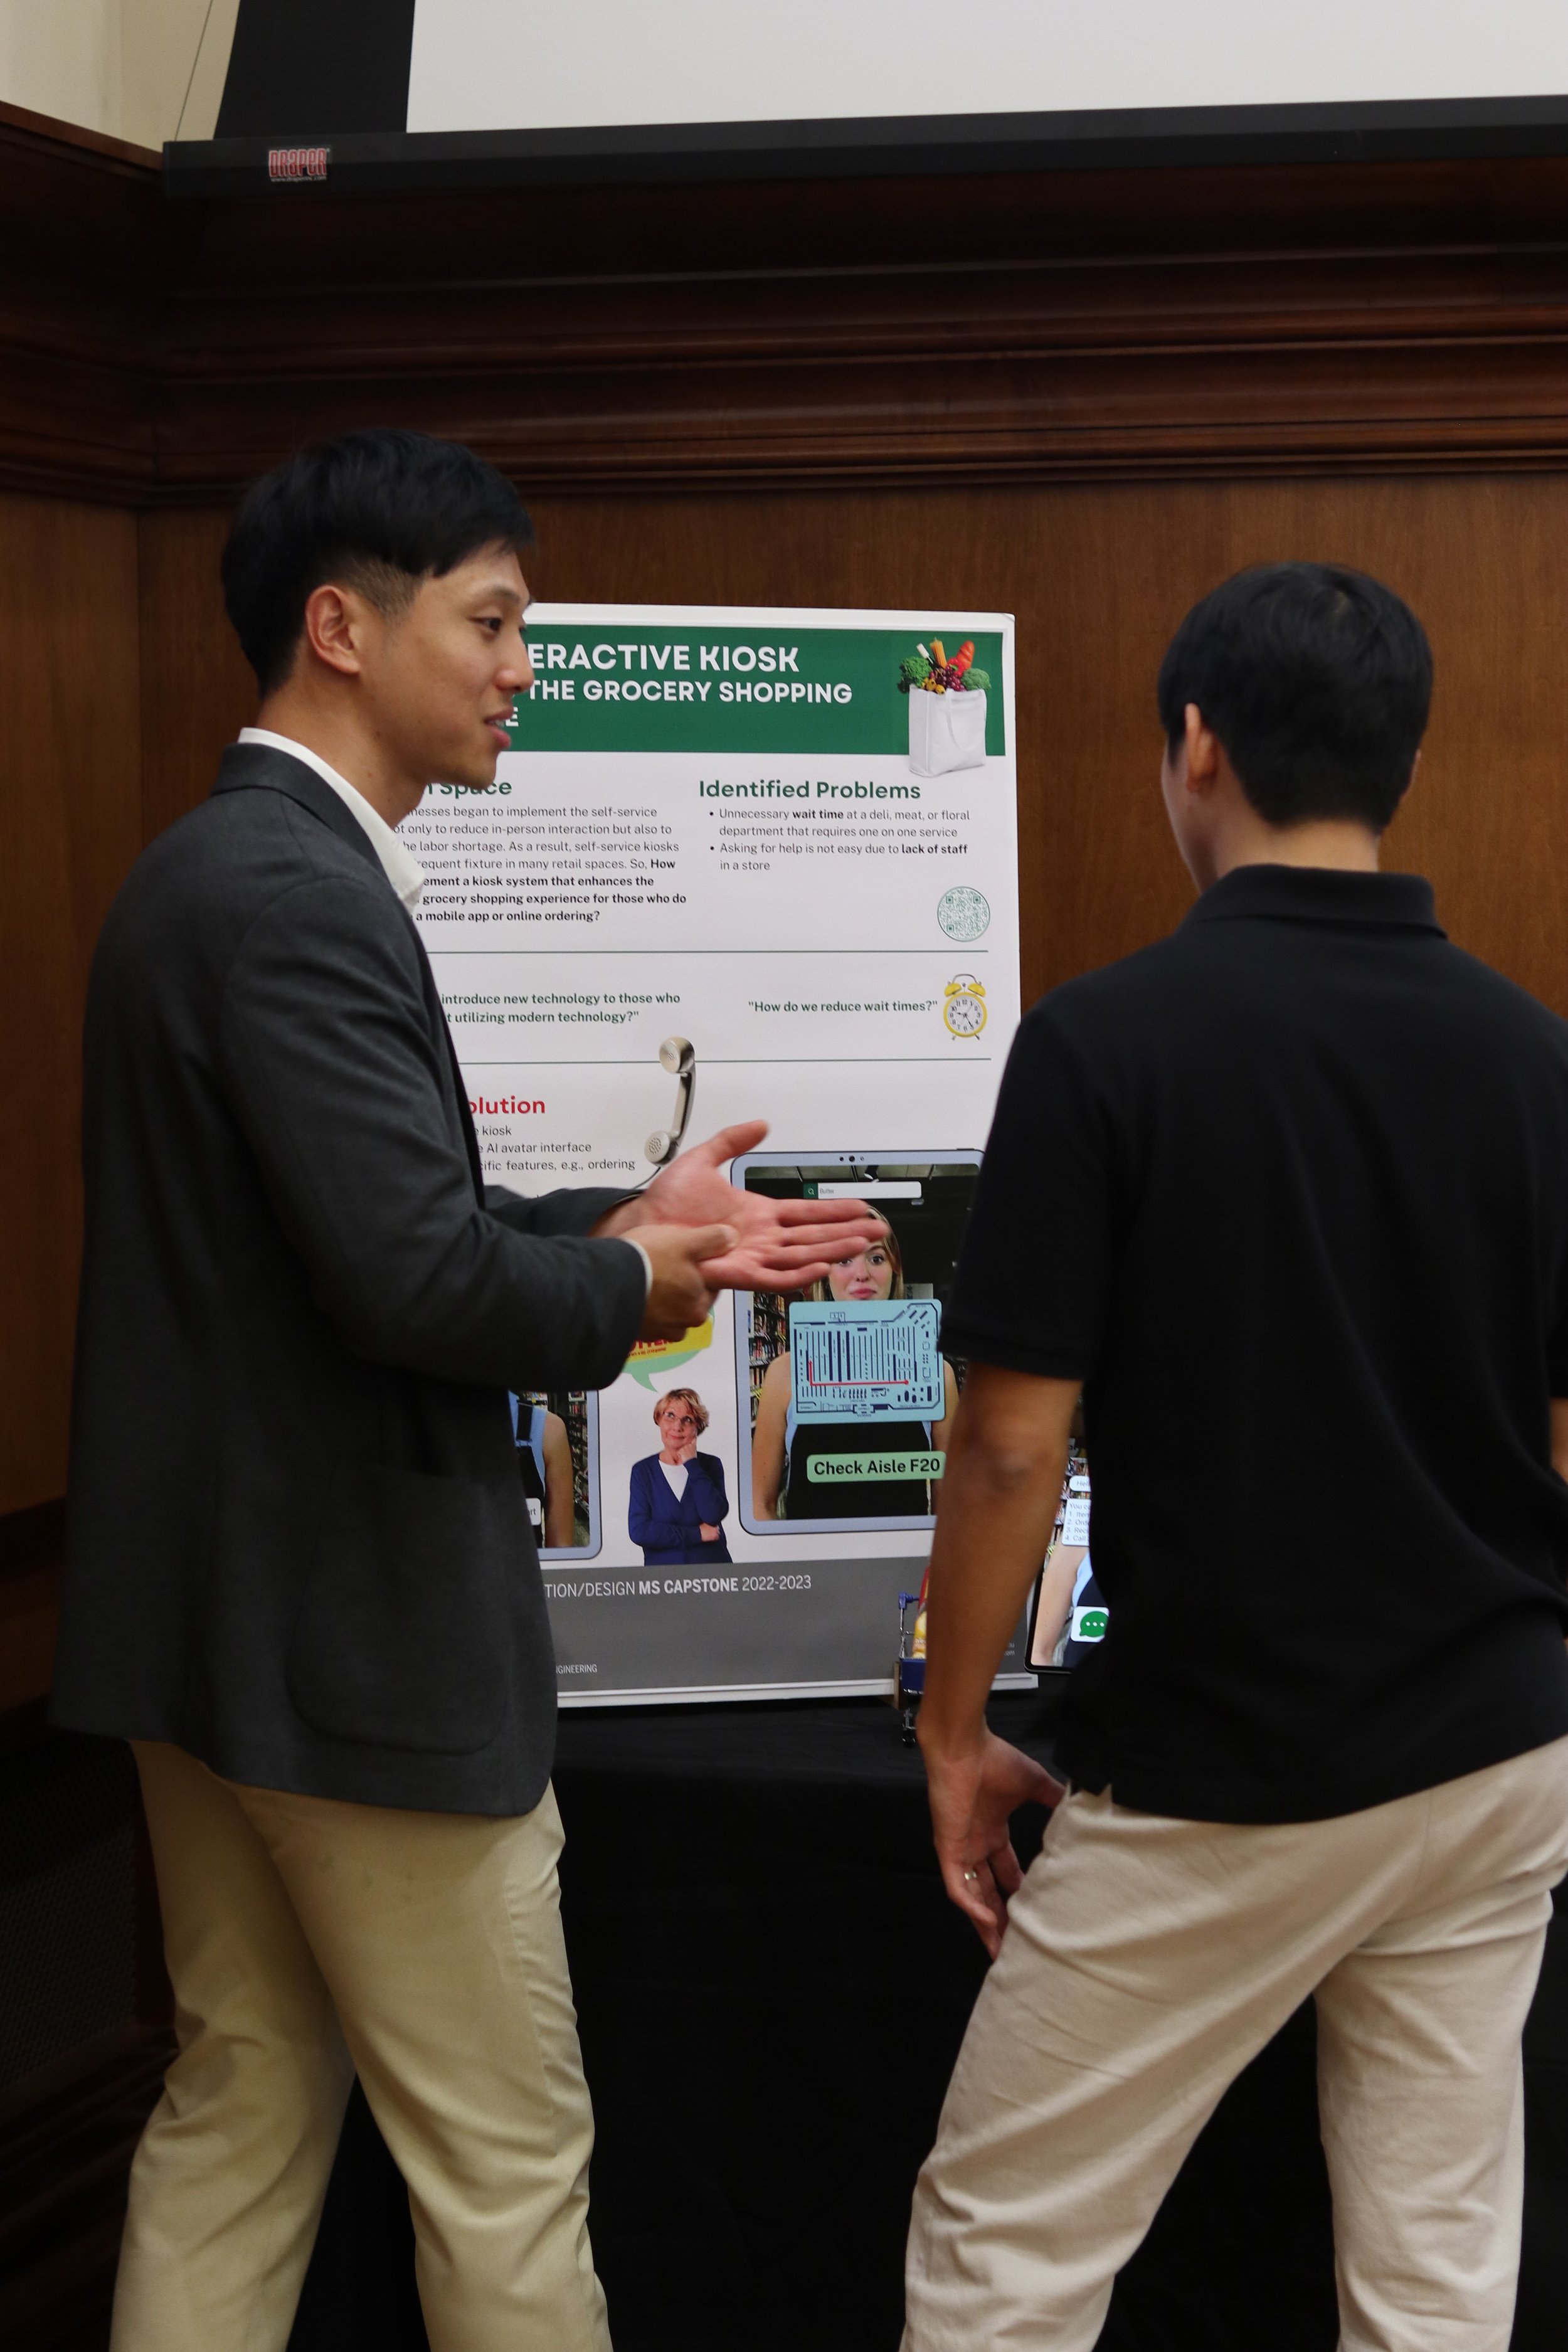
Gallery Walk (#4 and #5)-Prototype Showcase
After the class session where students were encouraged or mostly given a space to draft their interaction flows, we had a Gallery Walk where the the students were required to “Share your prototype(s) with us! This should be mid-fildelity screens + Interaction flow (printed)/ high-fidelity Figma/ digital interactive prototype/ low-fidelity physical forms (booklets/ arduino/ products)”.
Students got their digital wireframes on their devices, printouts of low-fi prototypes, and/or working mock-ups which involved a combination of whiteboard and digital device interactions at their gallery walk stations. Students are encouraged to use Gallery Walks from now on to receive feedback, conduct usability testing, and/or expert designer (their peers/fellow designers) feedback; OR to test and iterate on their testing protocols before they involve actual users with their prototypes.
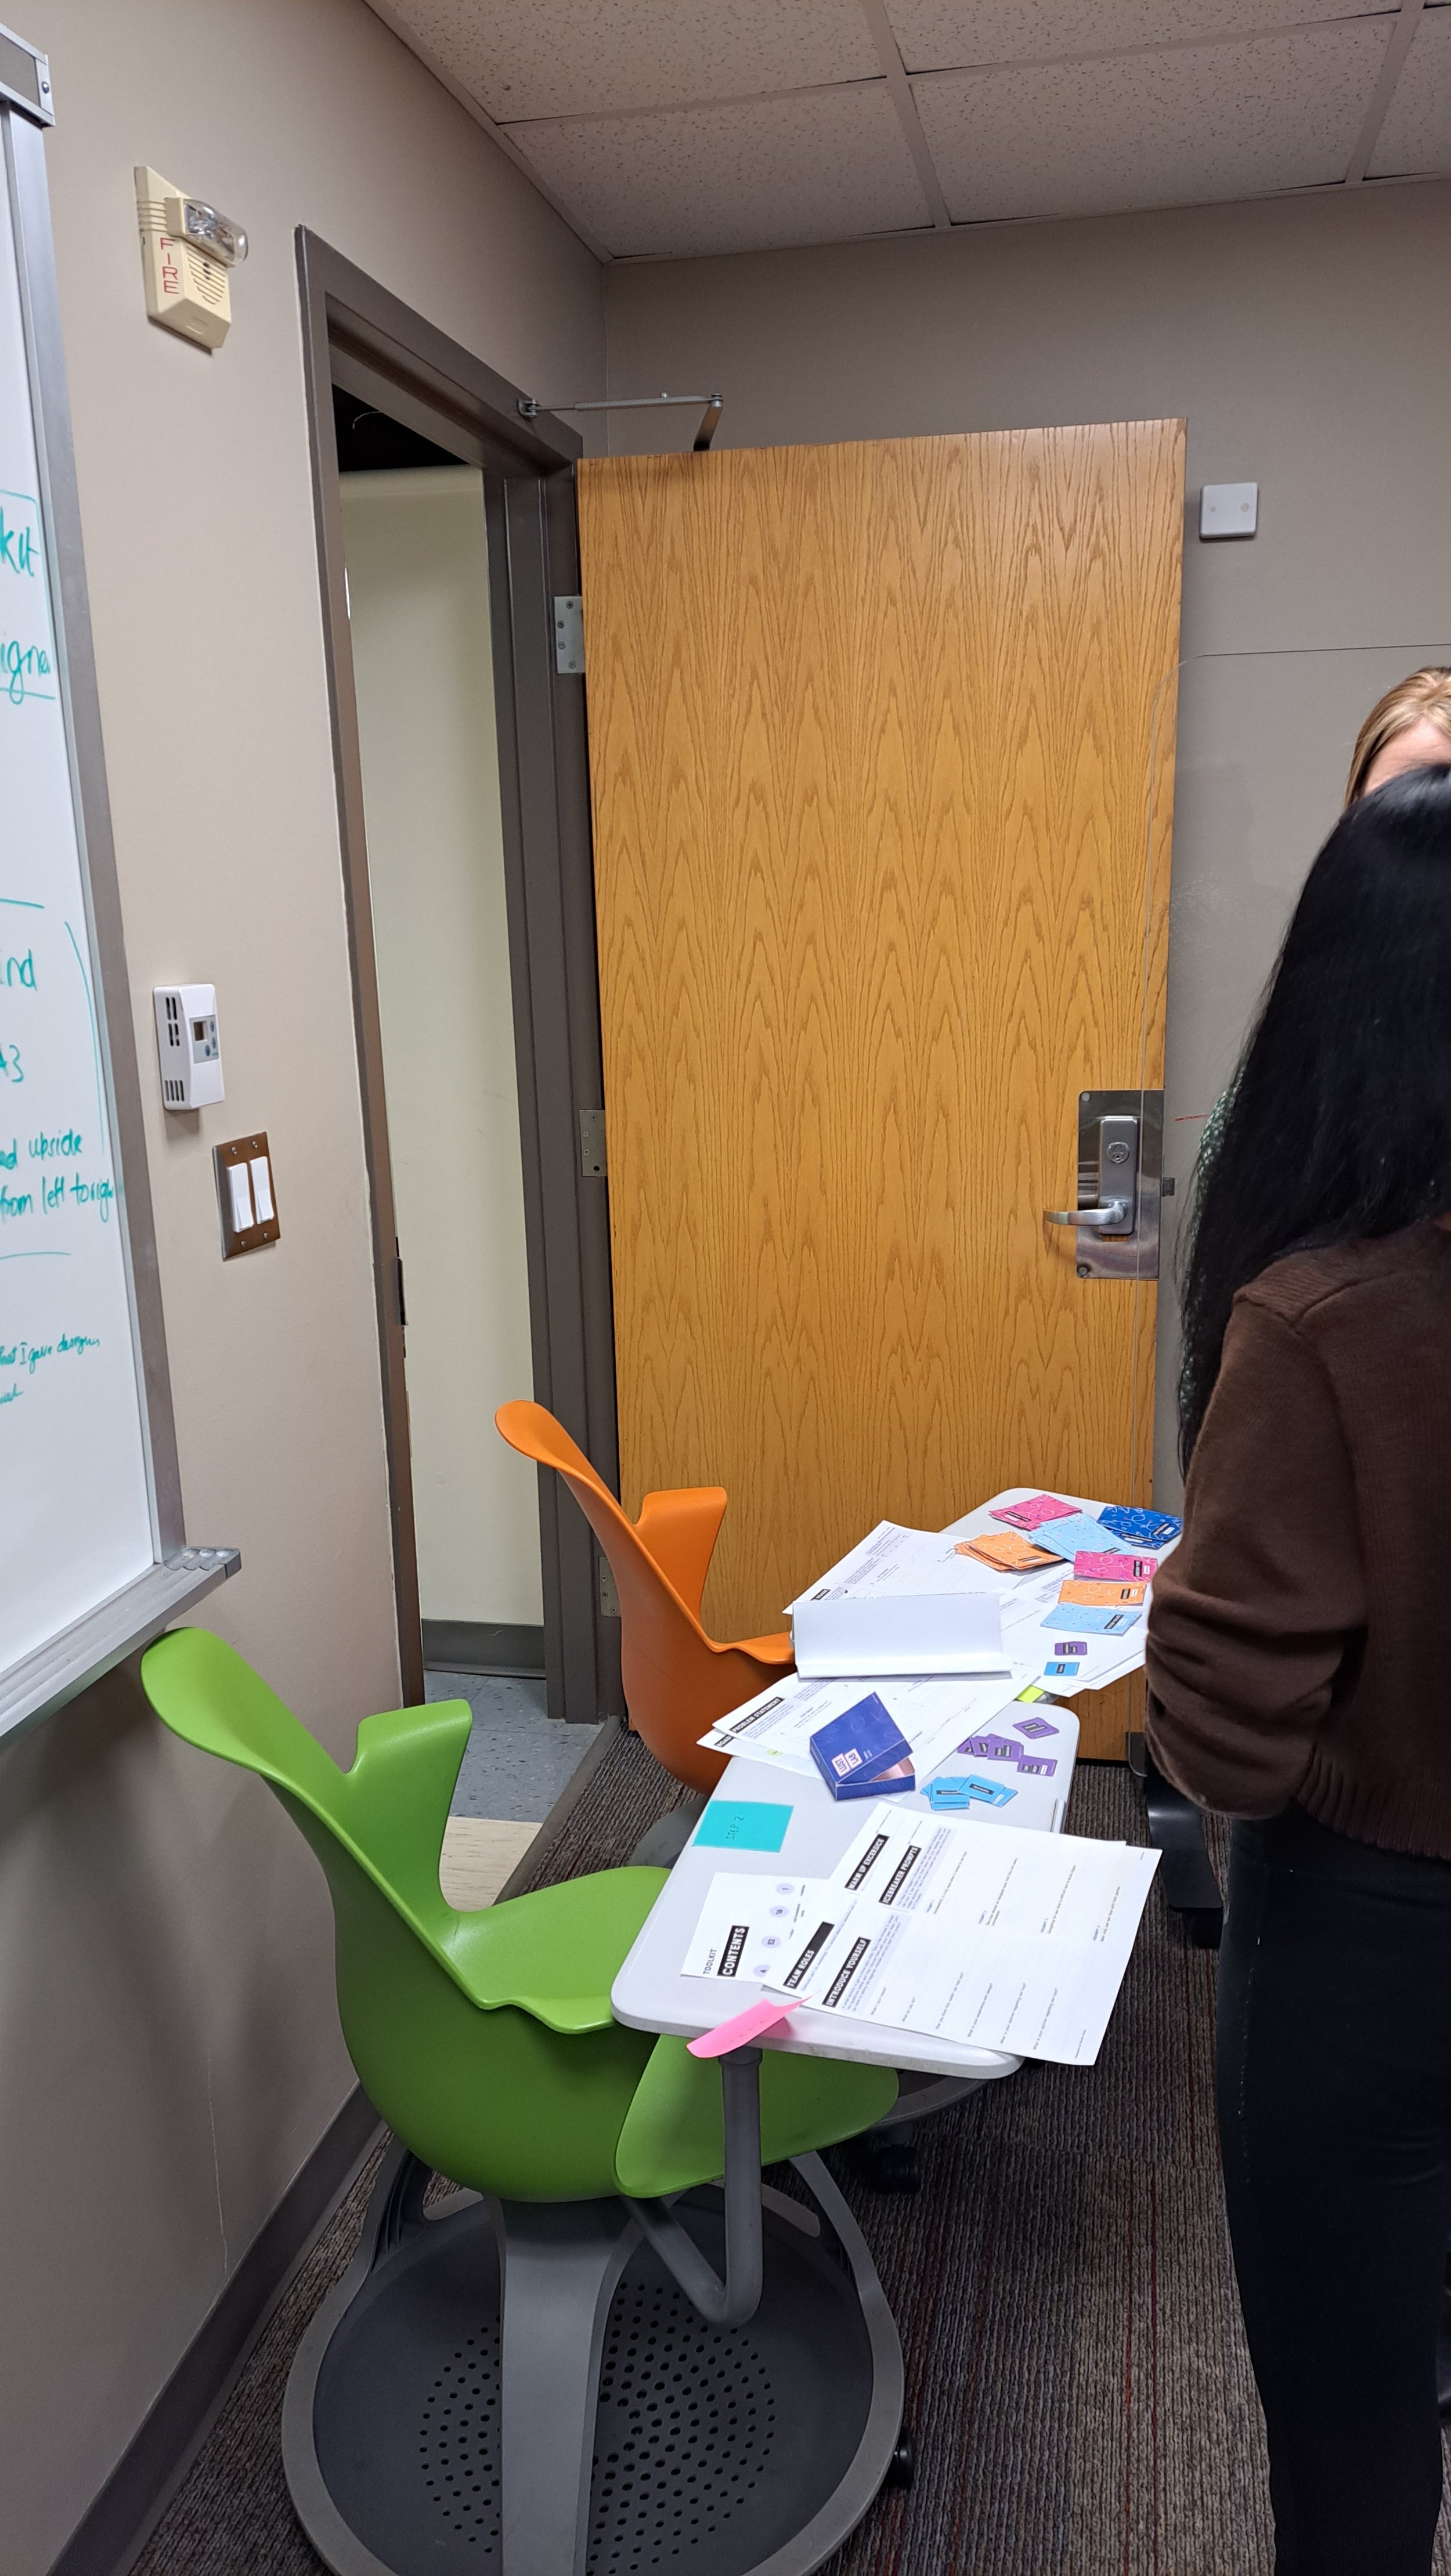


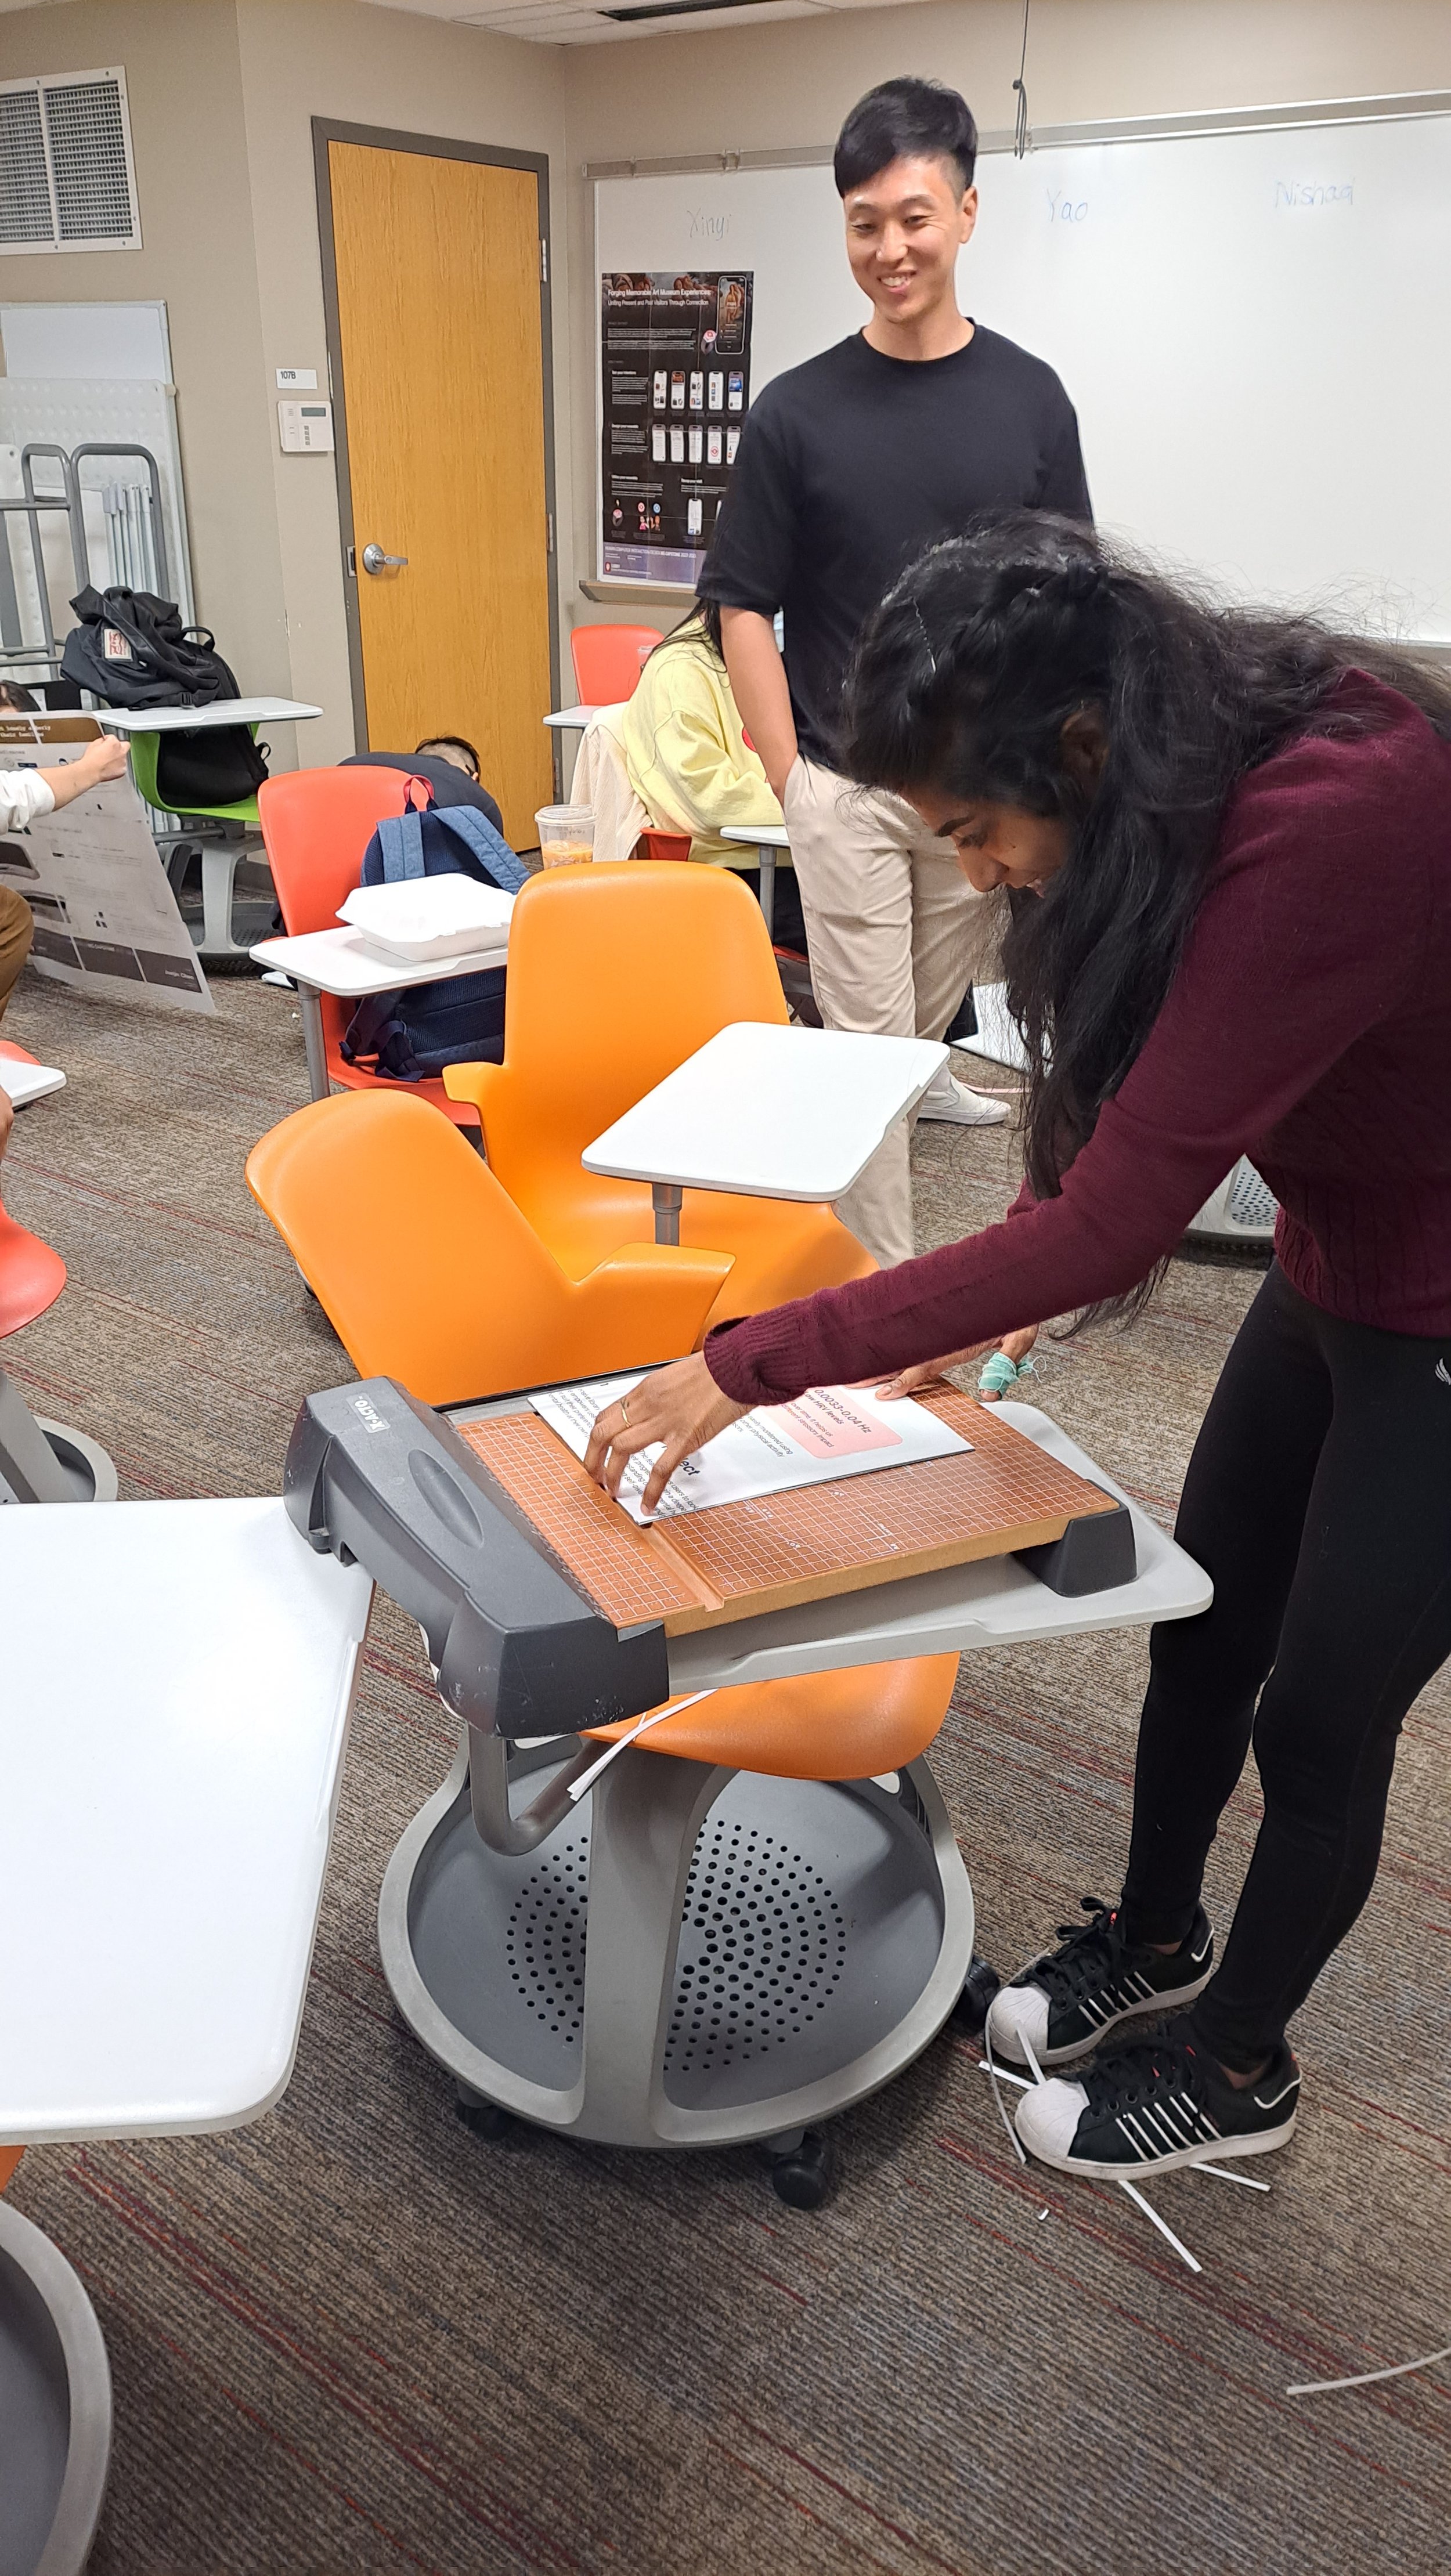
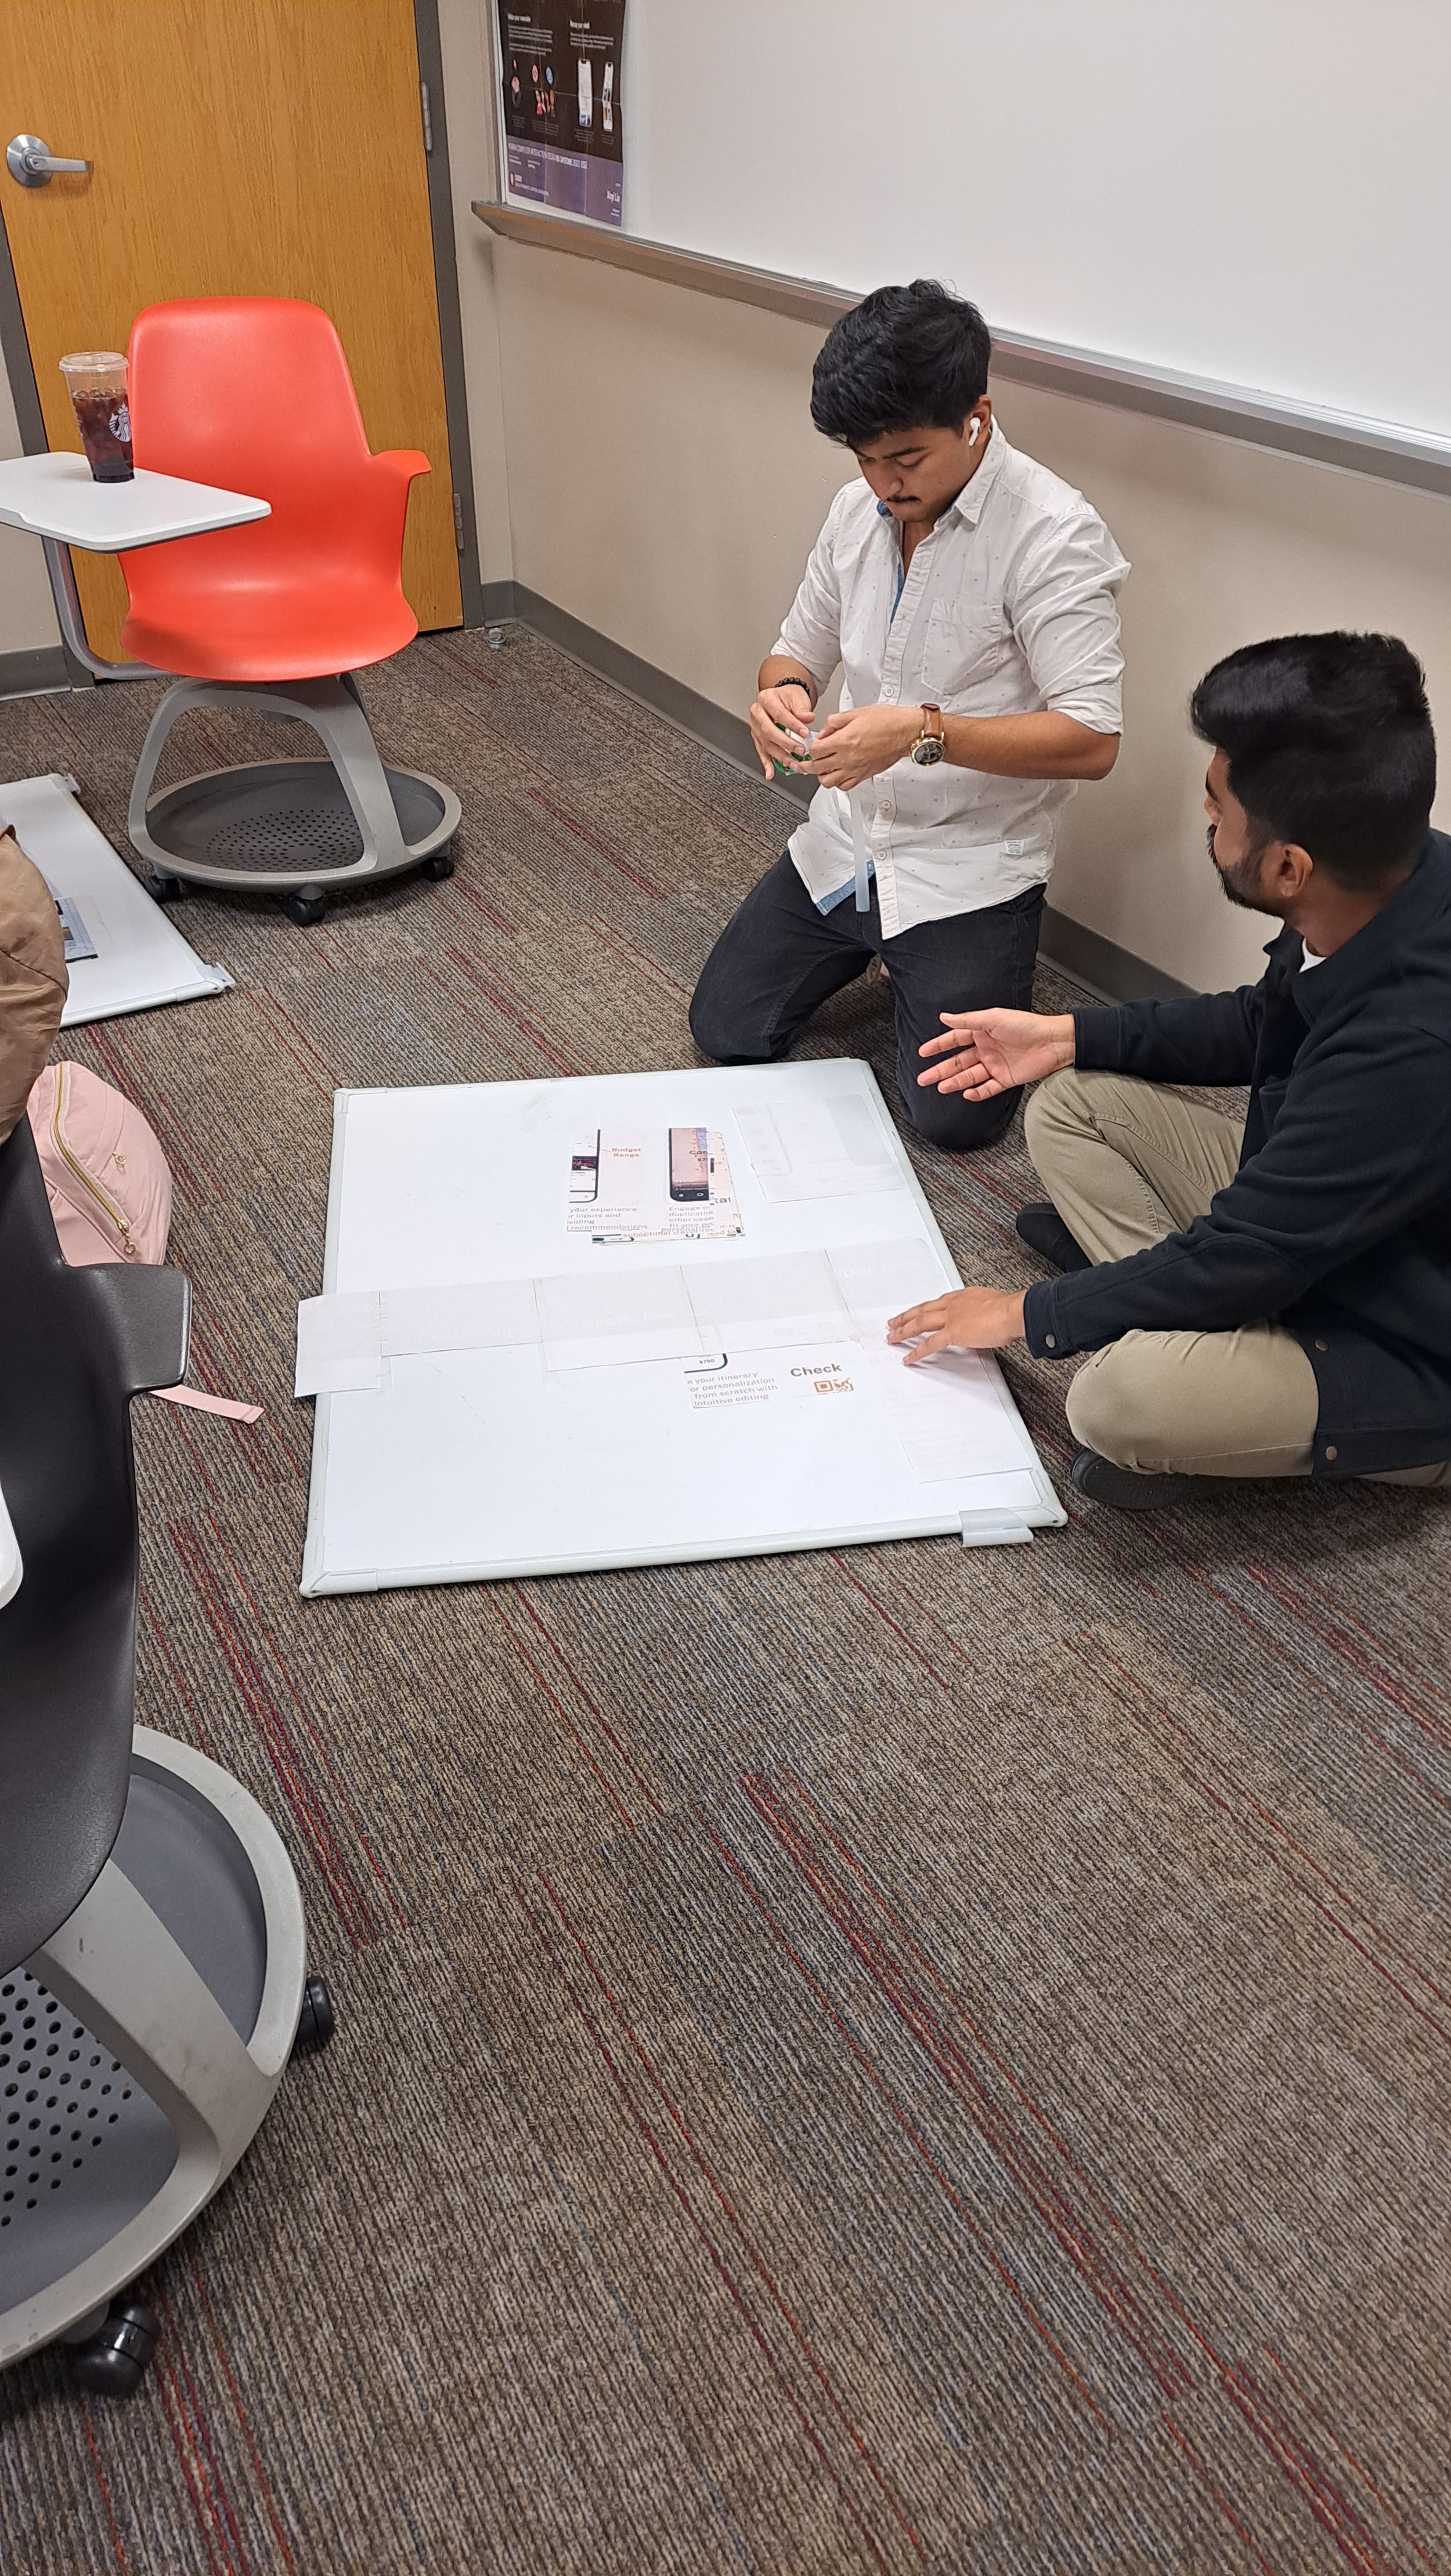
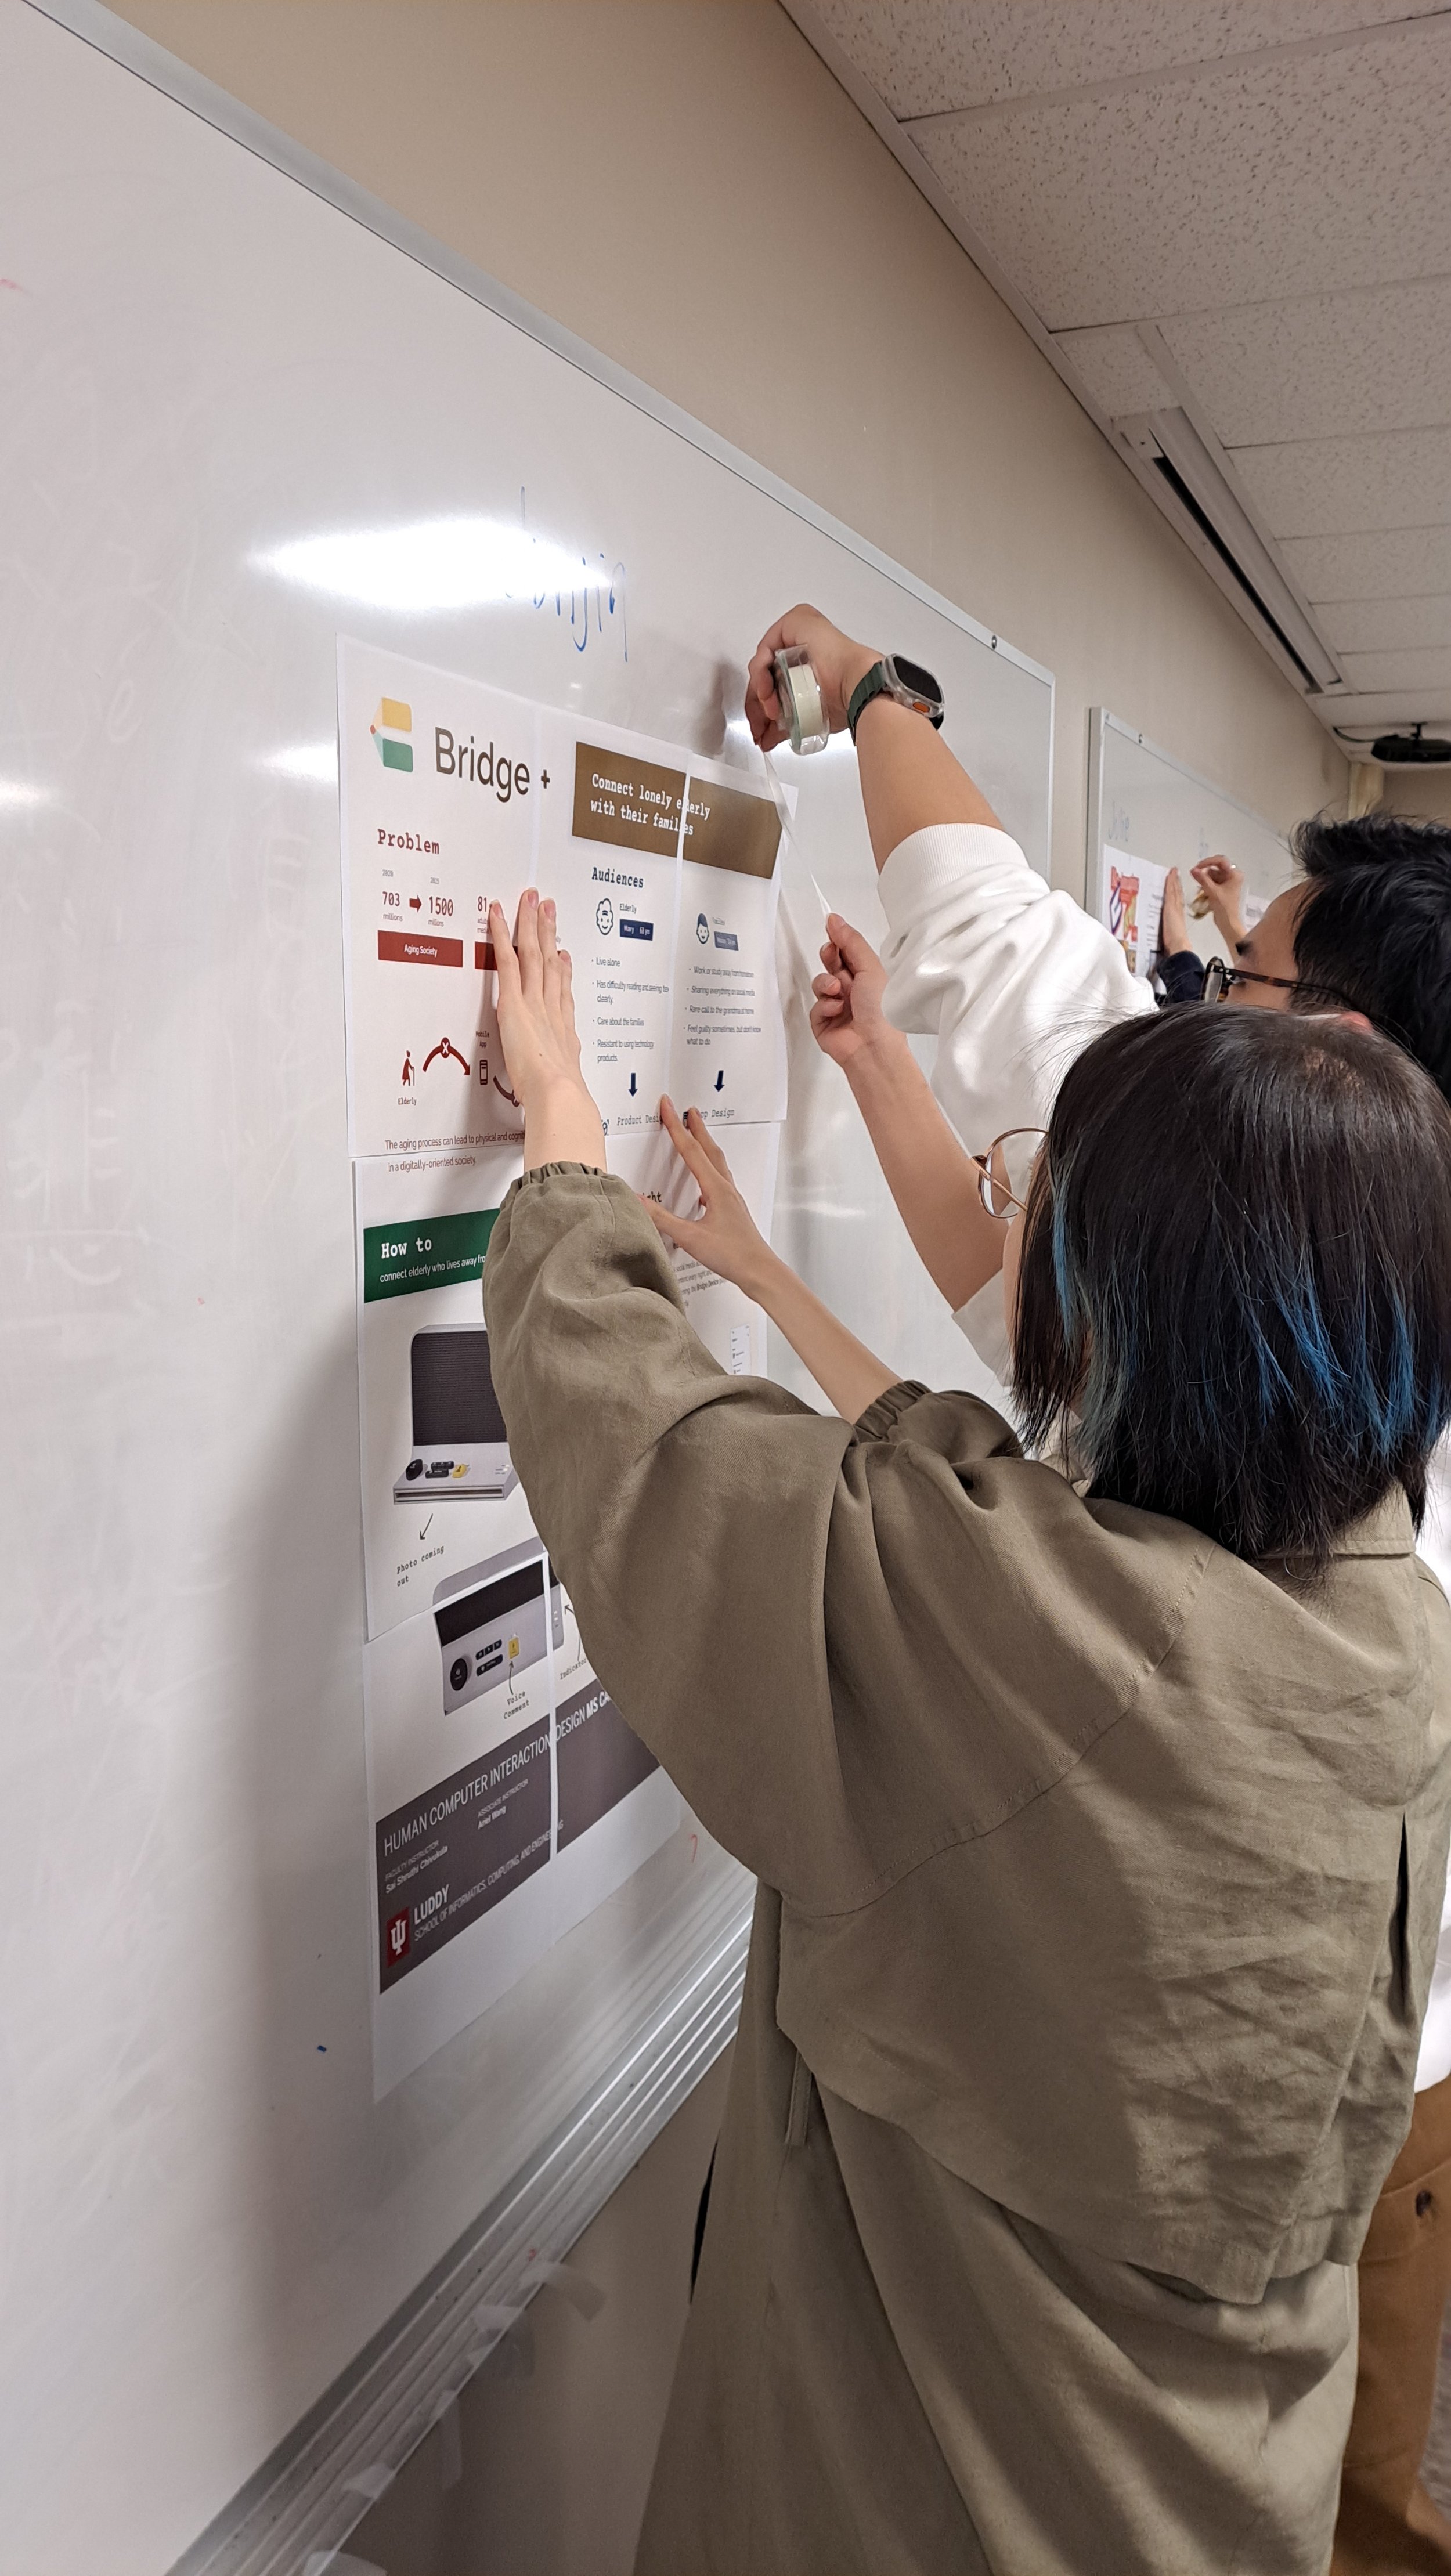
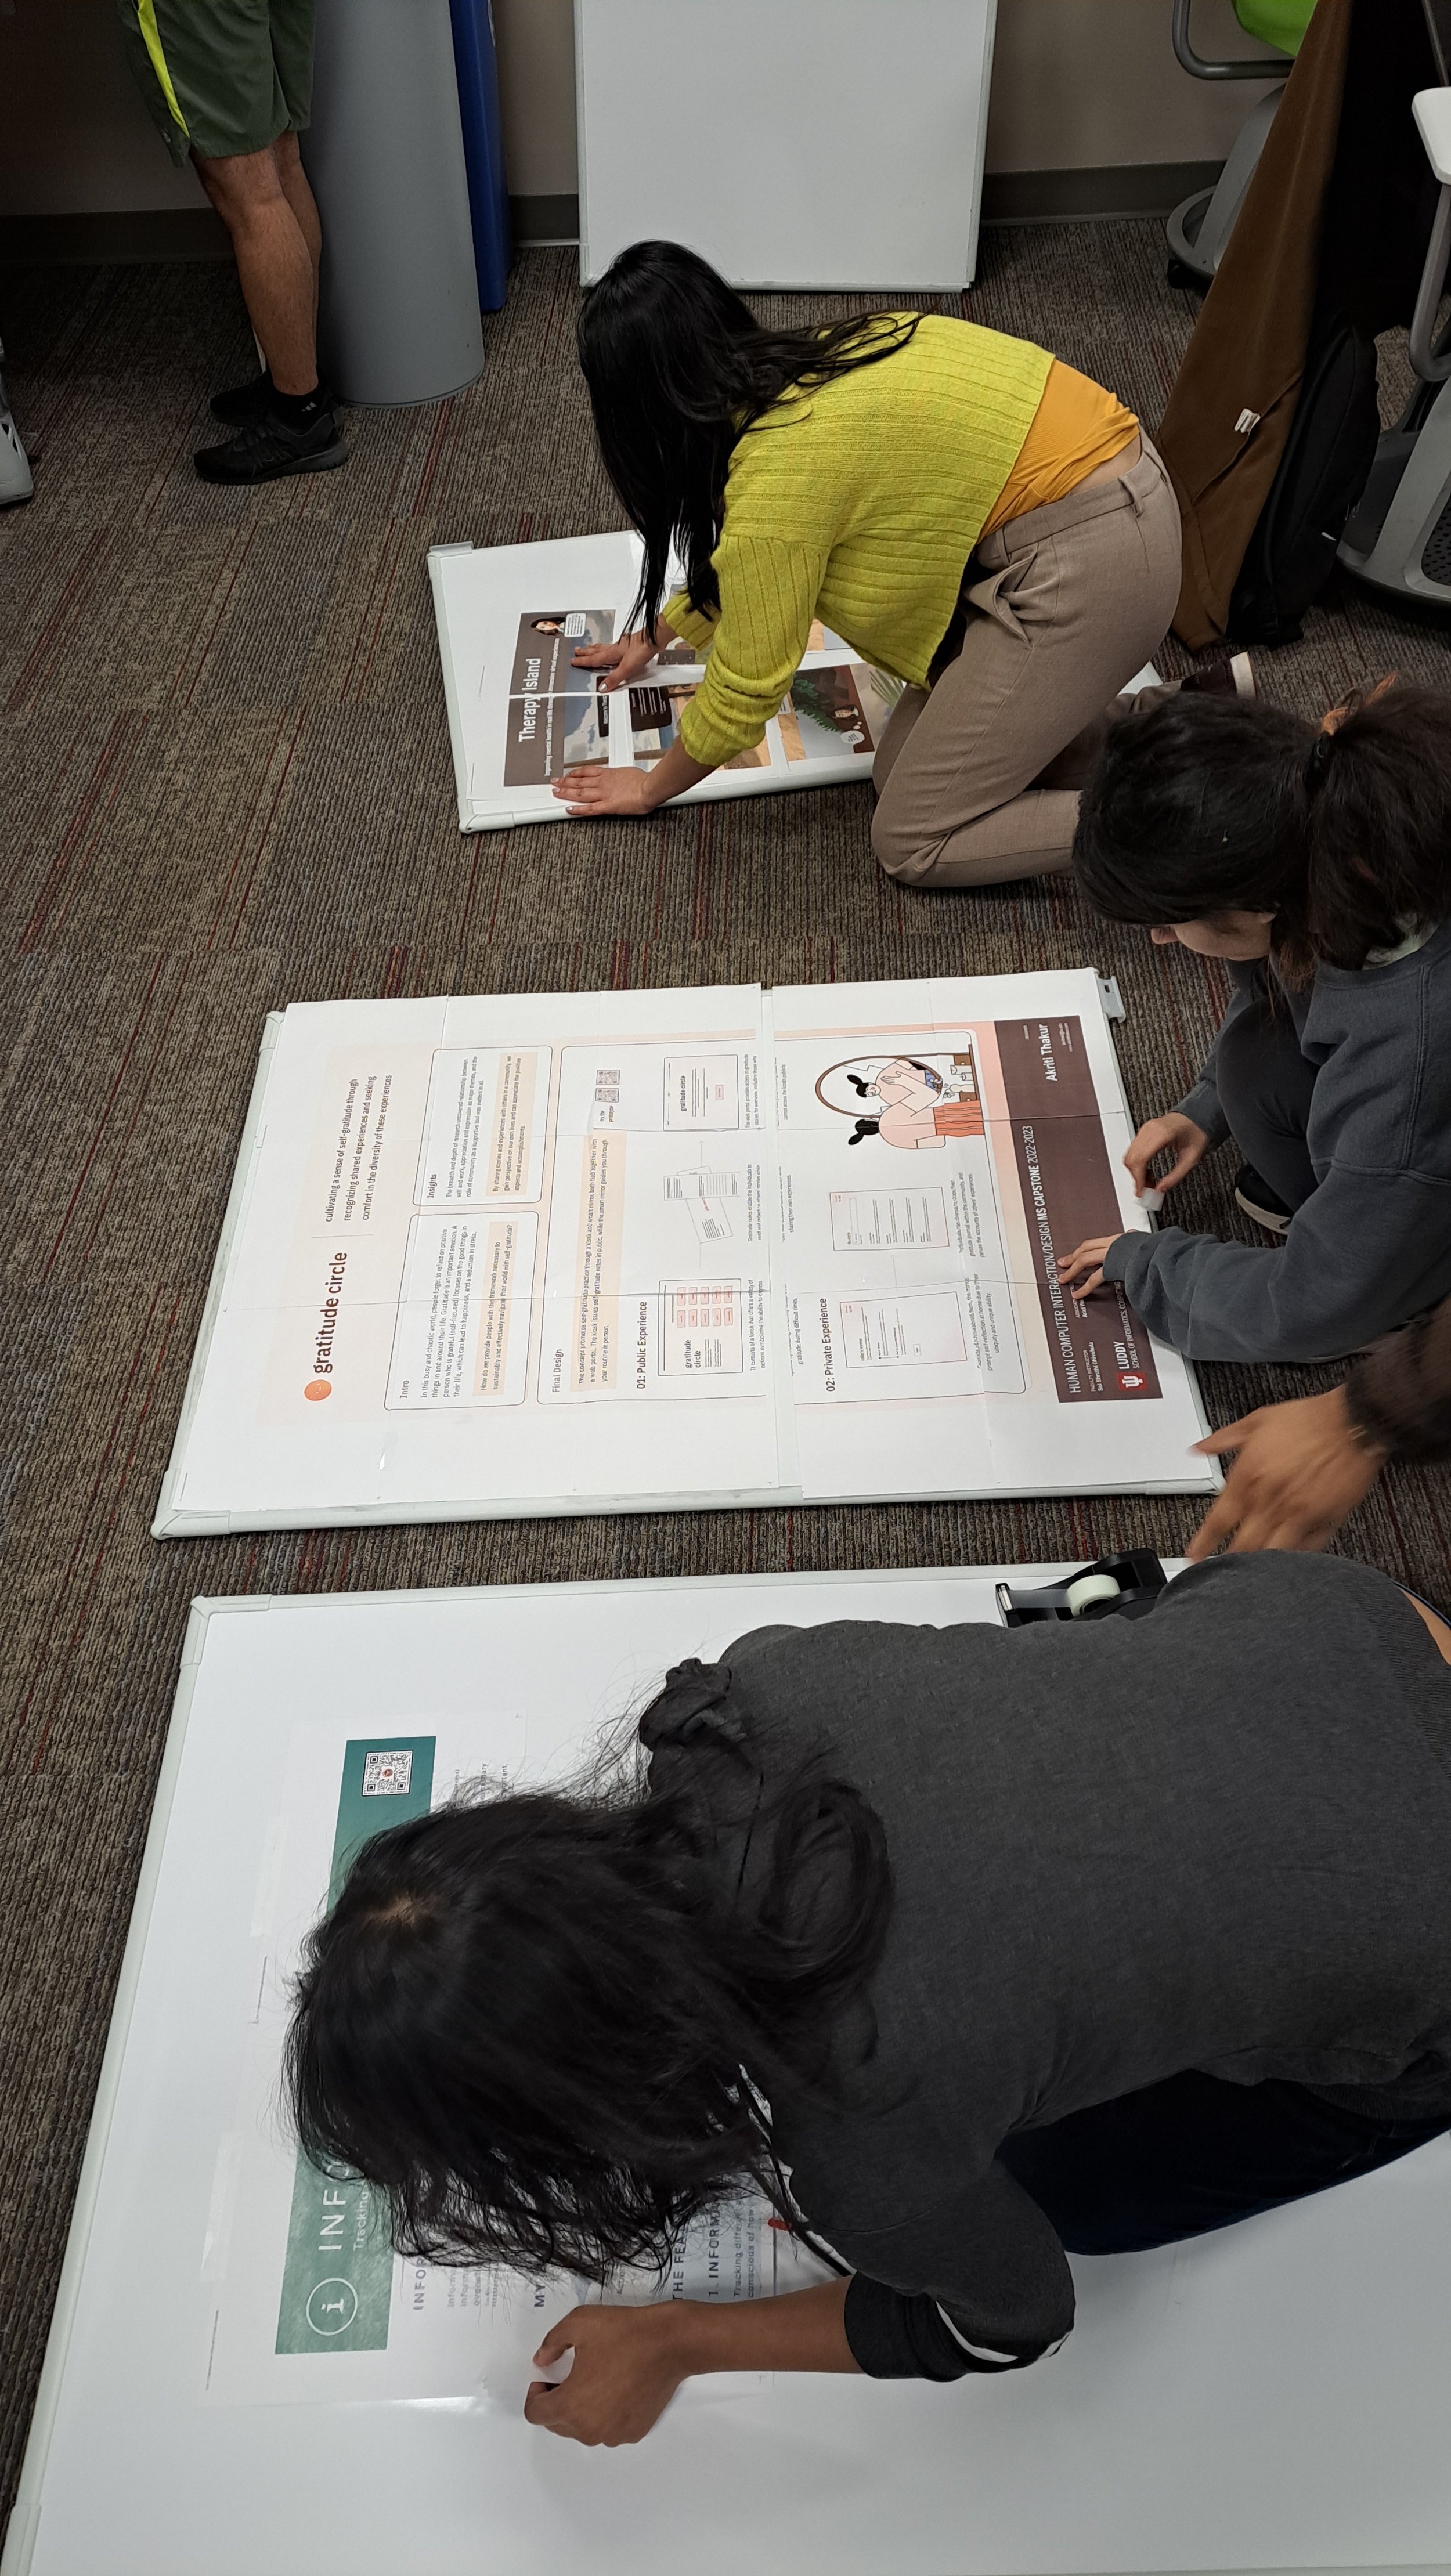
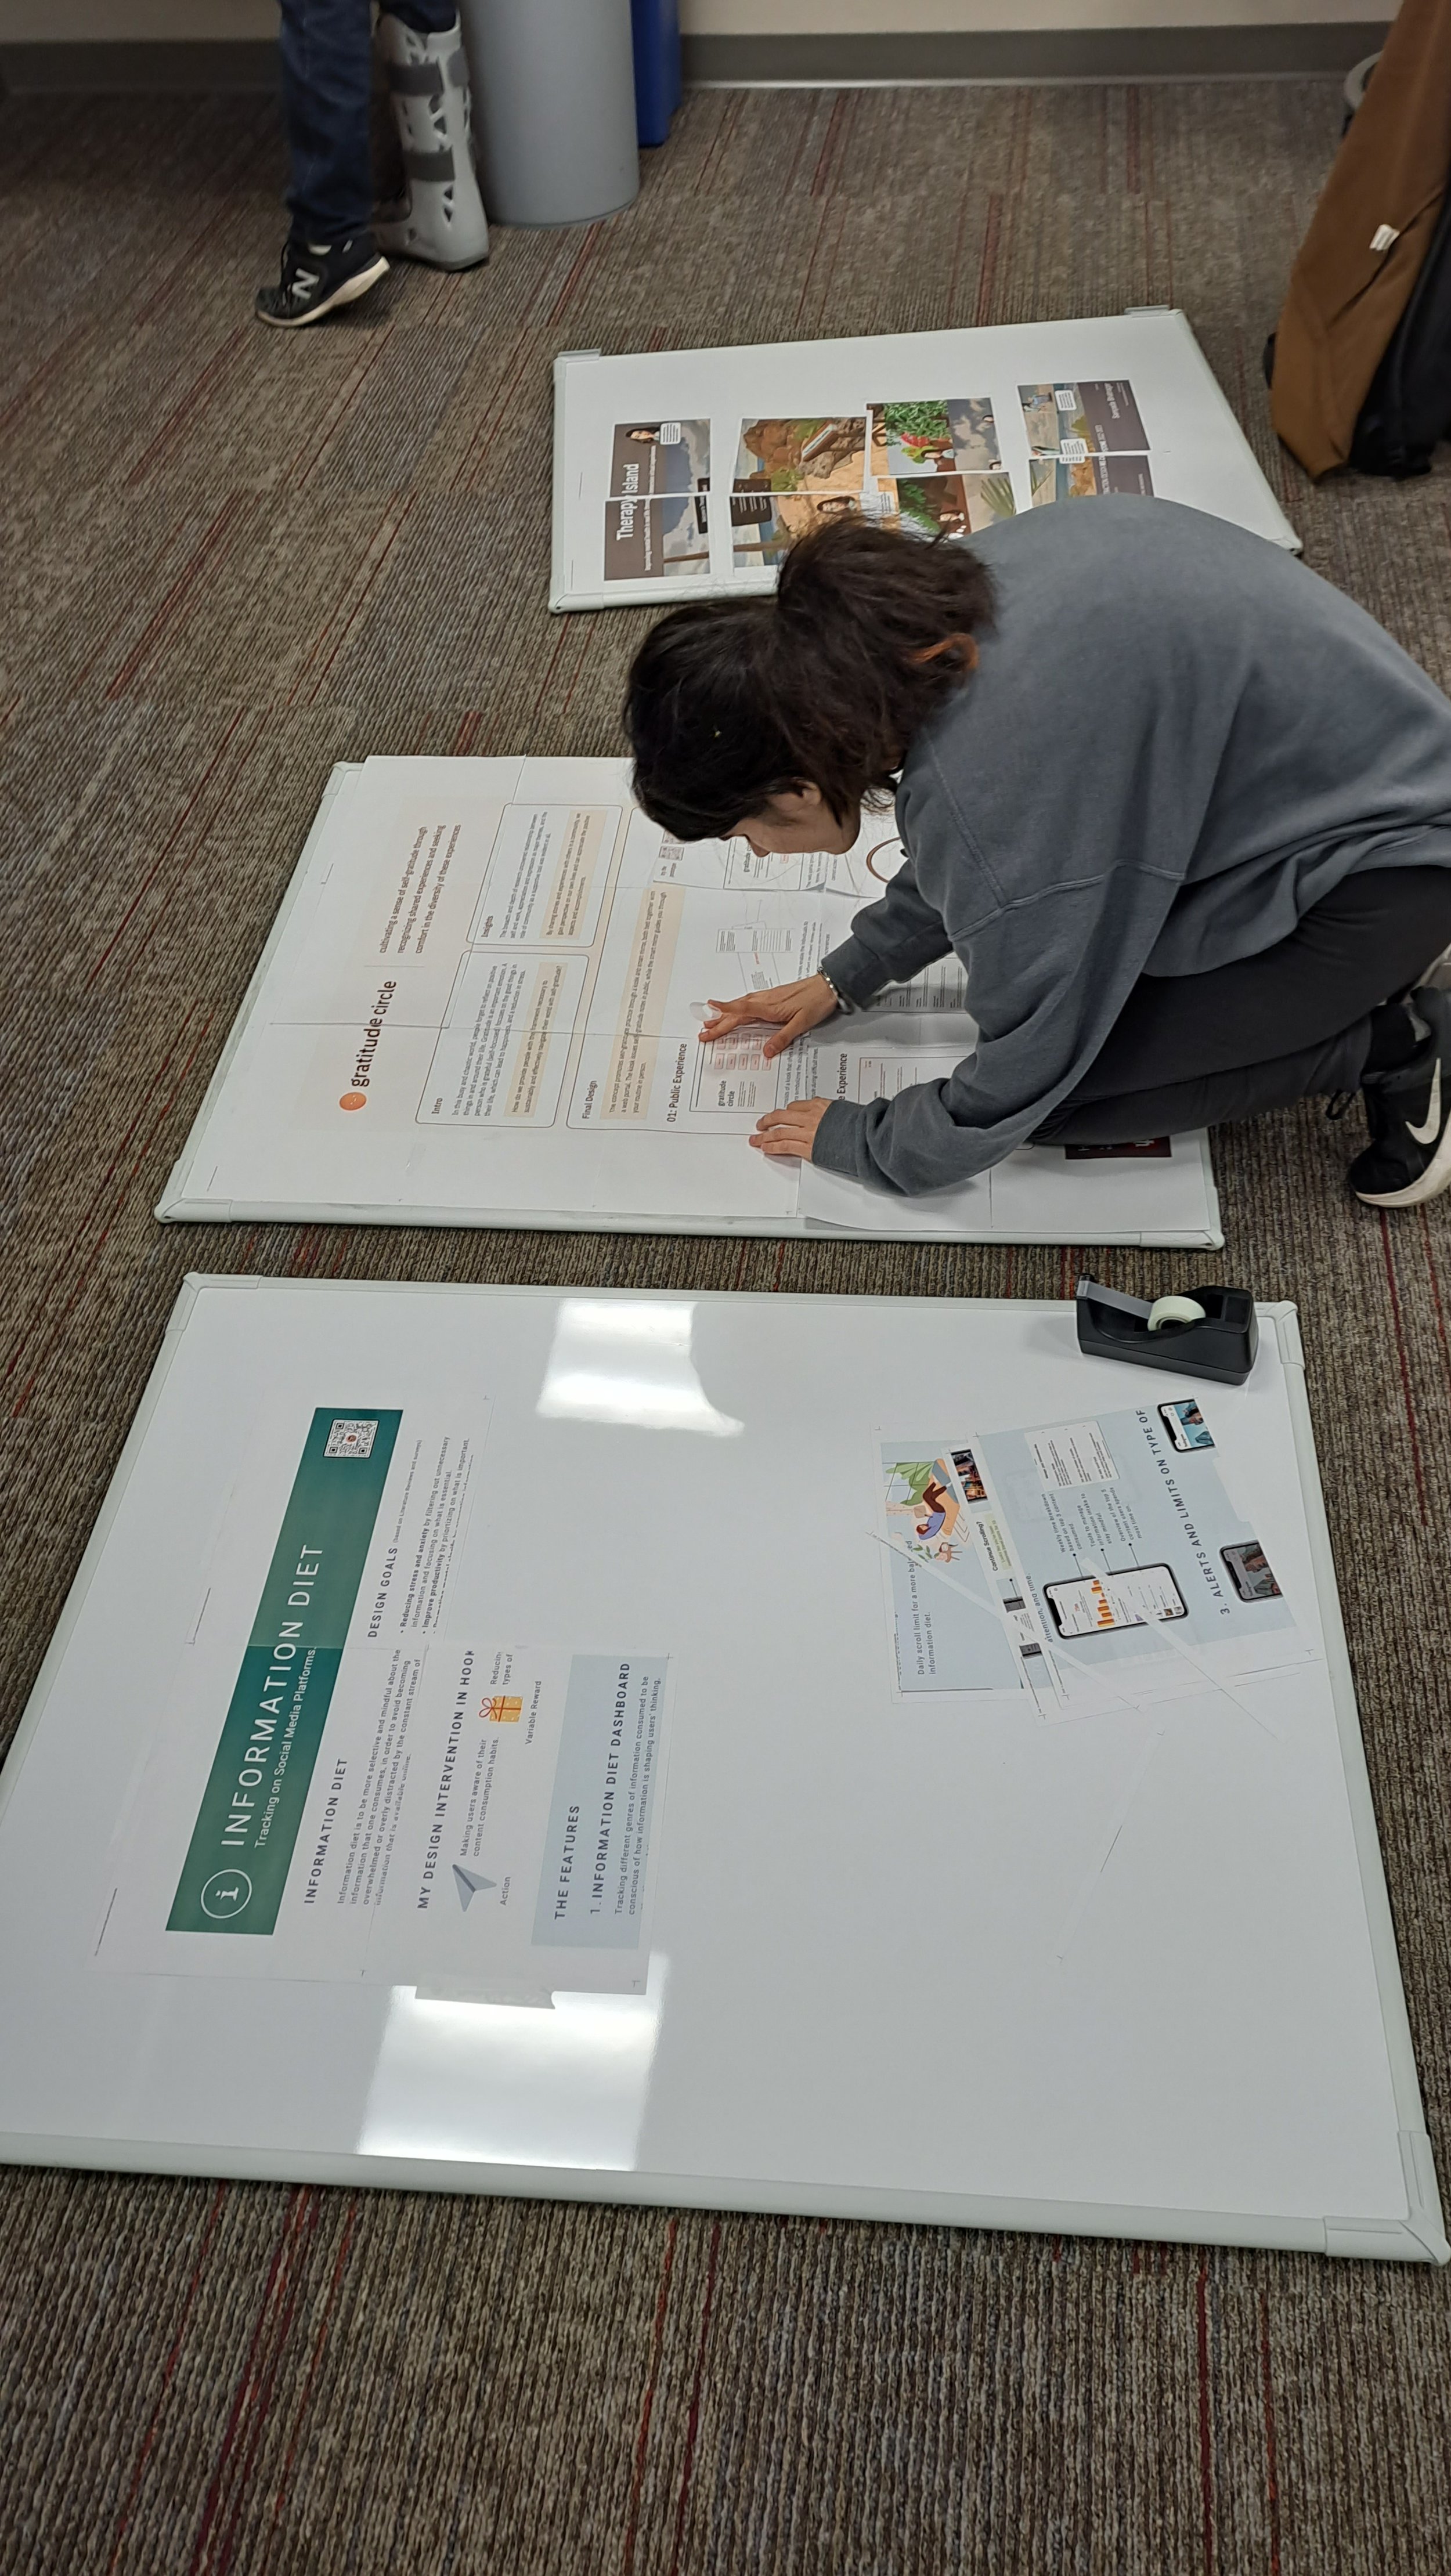
Poster Wireframing + Tiled Poster Gallery Walk
As it was nearing the end of the semester, it was not only about wrapping up the prototypes, but it was also important to focus on the “Presentation and Communication” aspect of the one academic year of work. For that, I have arranged the followed avenues:
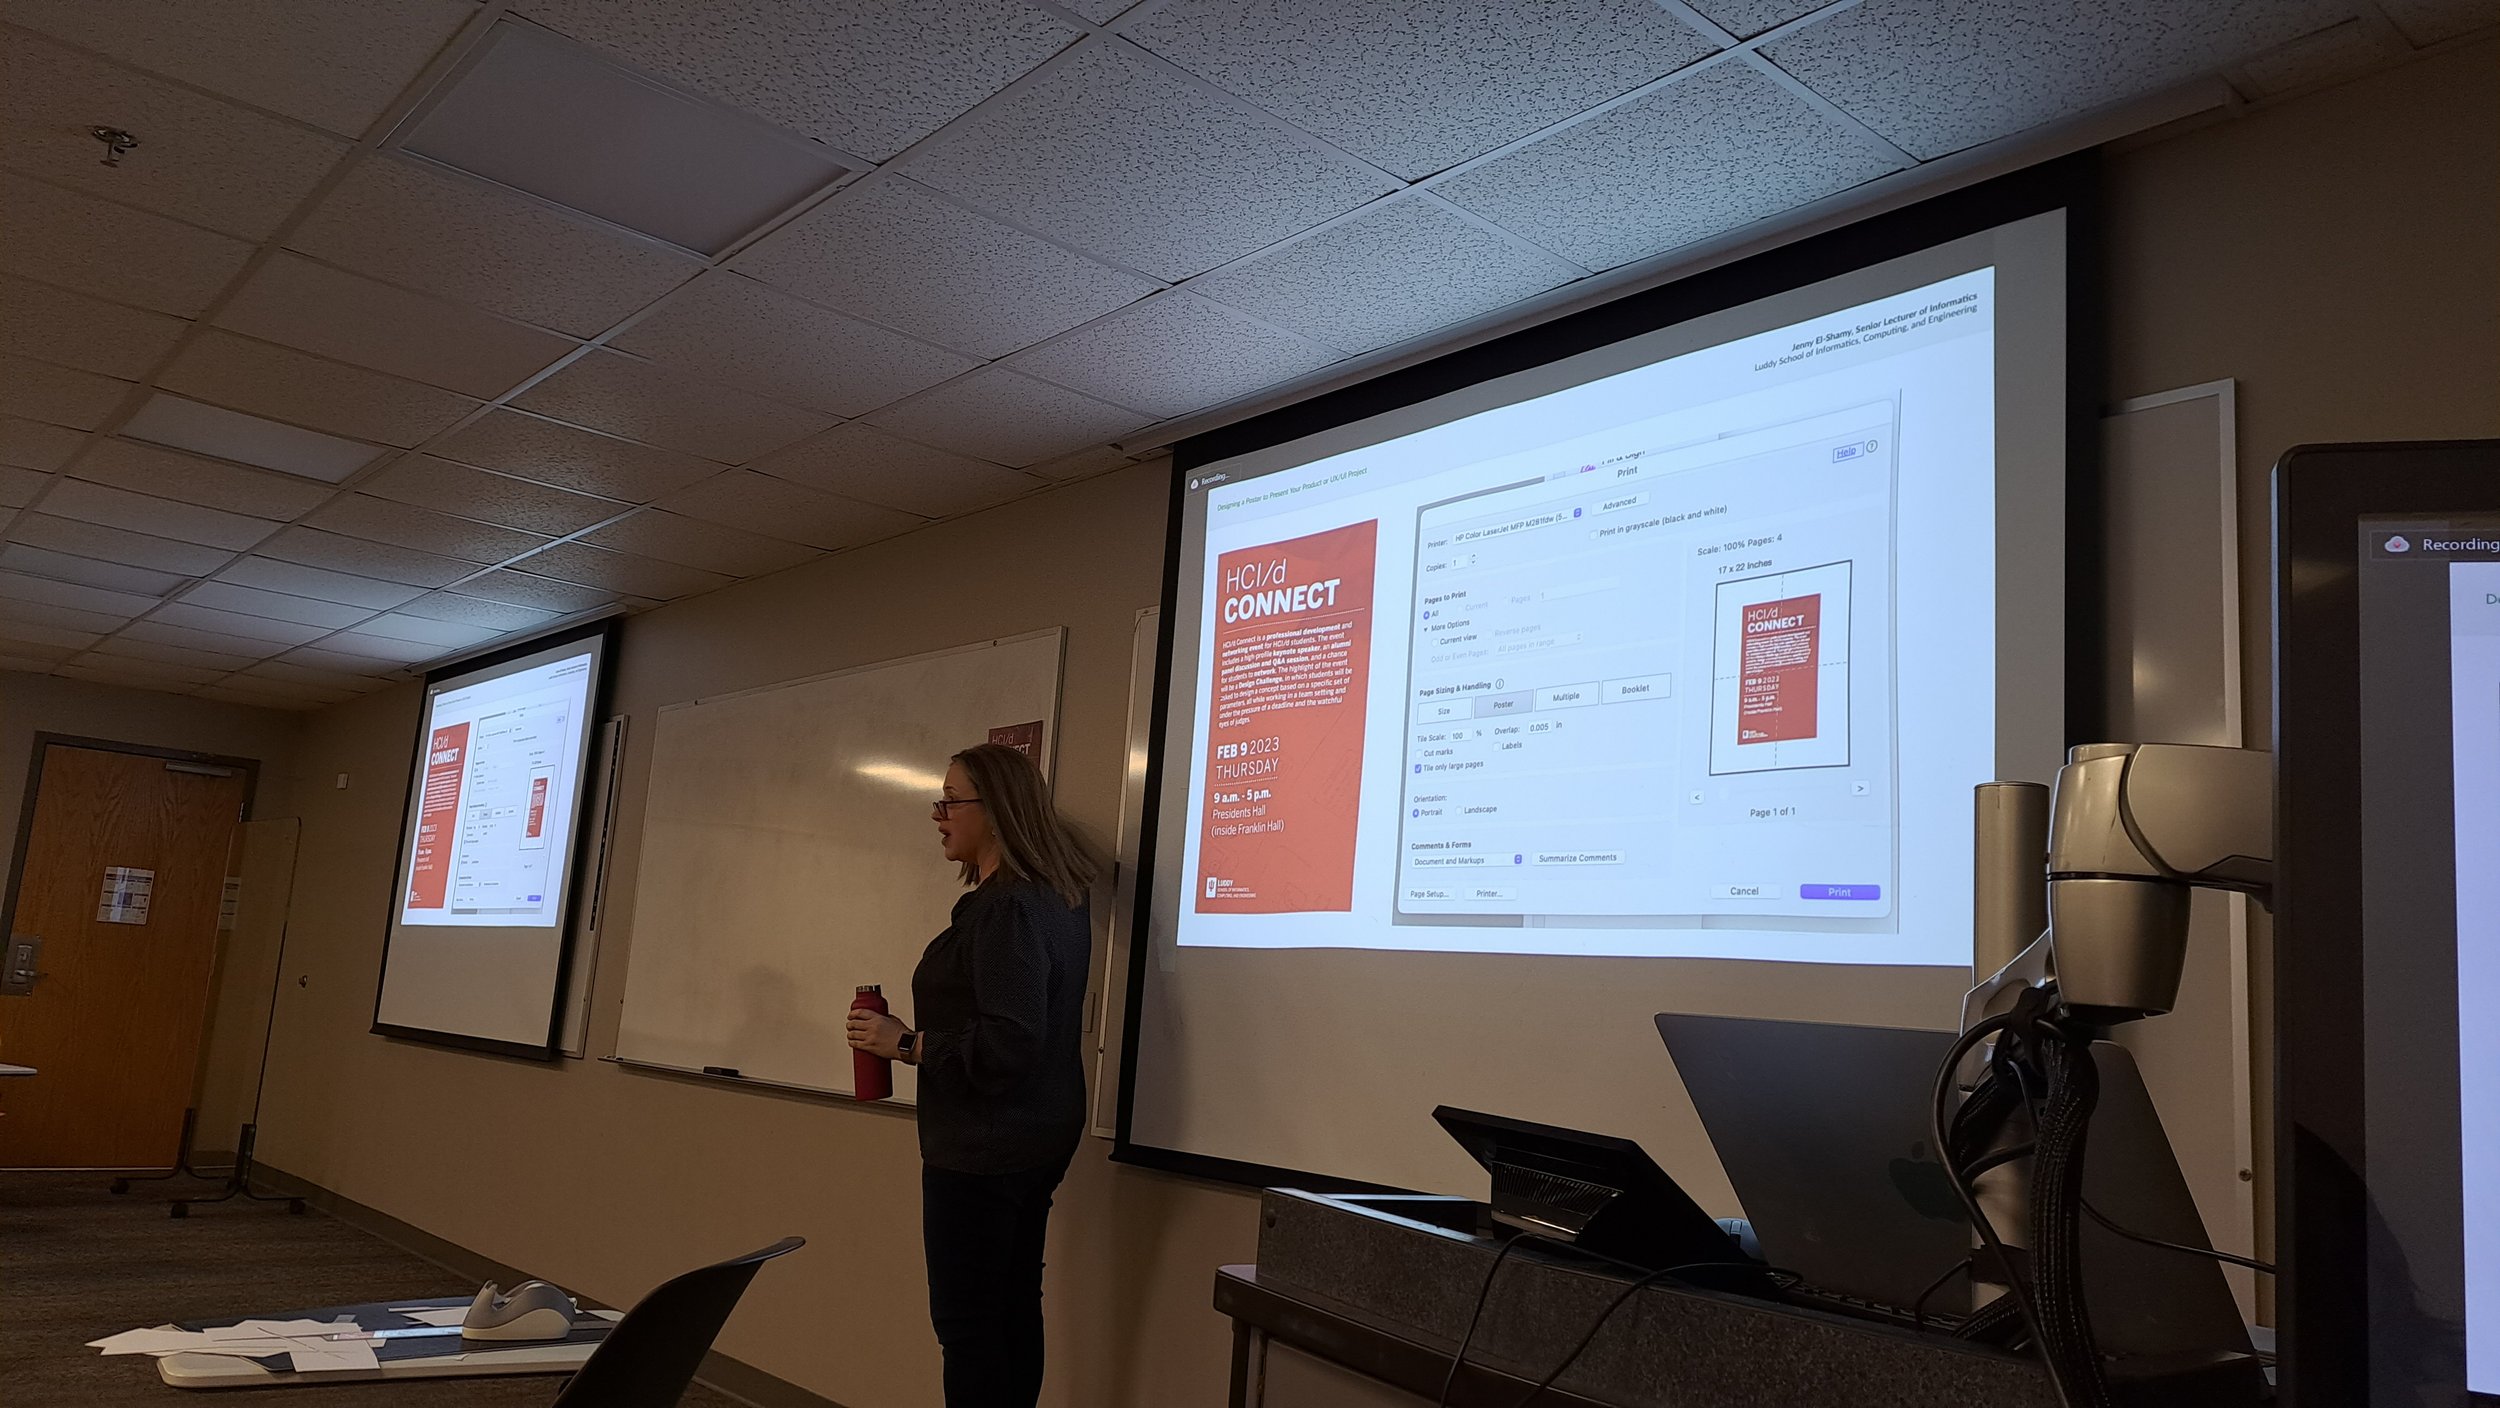
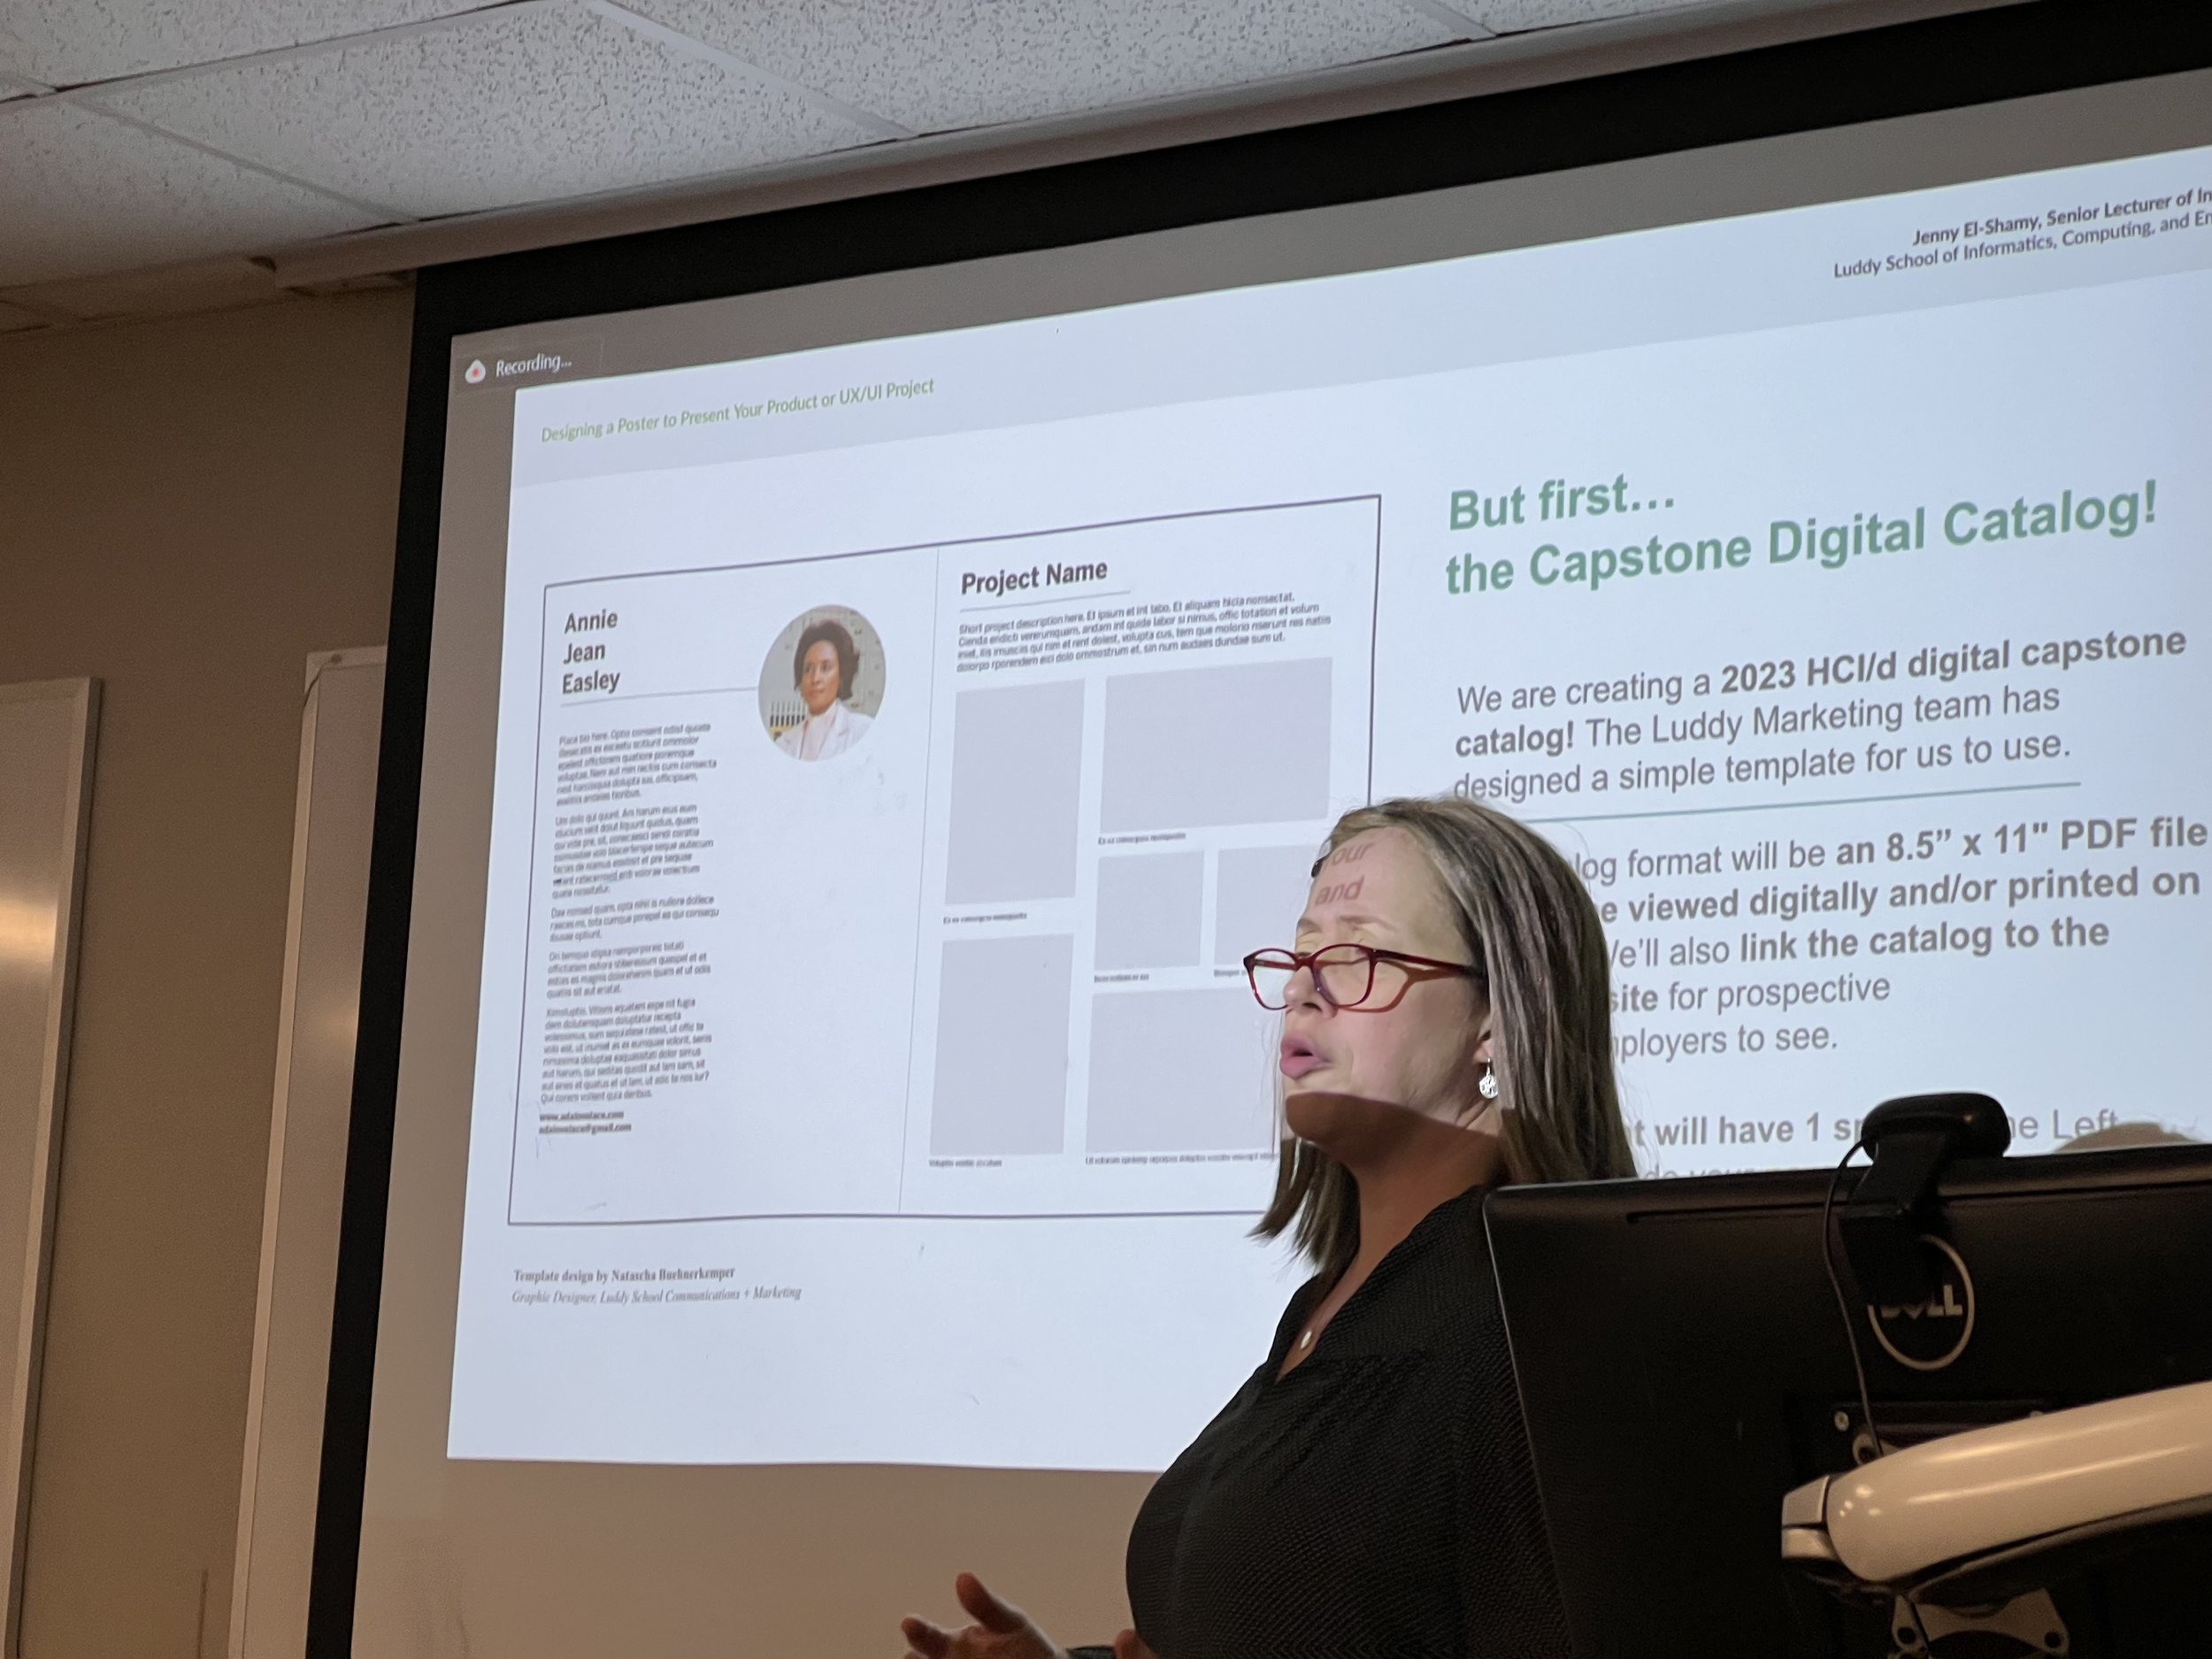
Lecture on Poster Design for UX prototypes by Senior Lecturer Jenny El-Shamy (guest), similar to last semester (3 weeks before poster session).
Poster Wireframing activity in class to start the prep on the layout, content, and visual aspect of a poster (3 weeks before poster session).
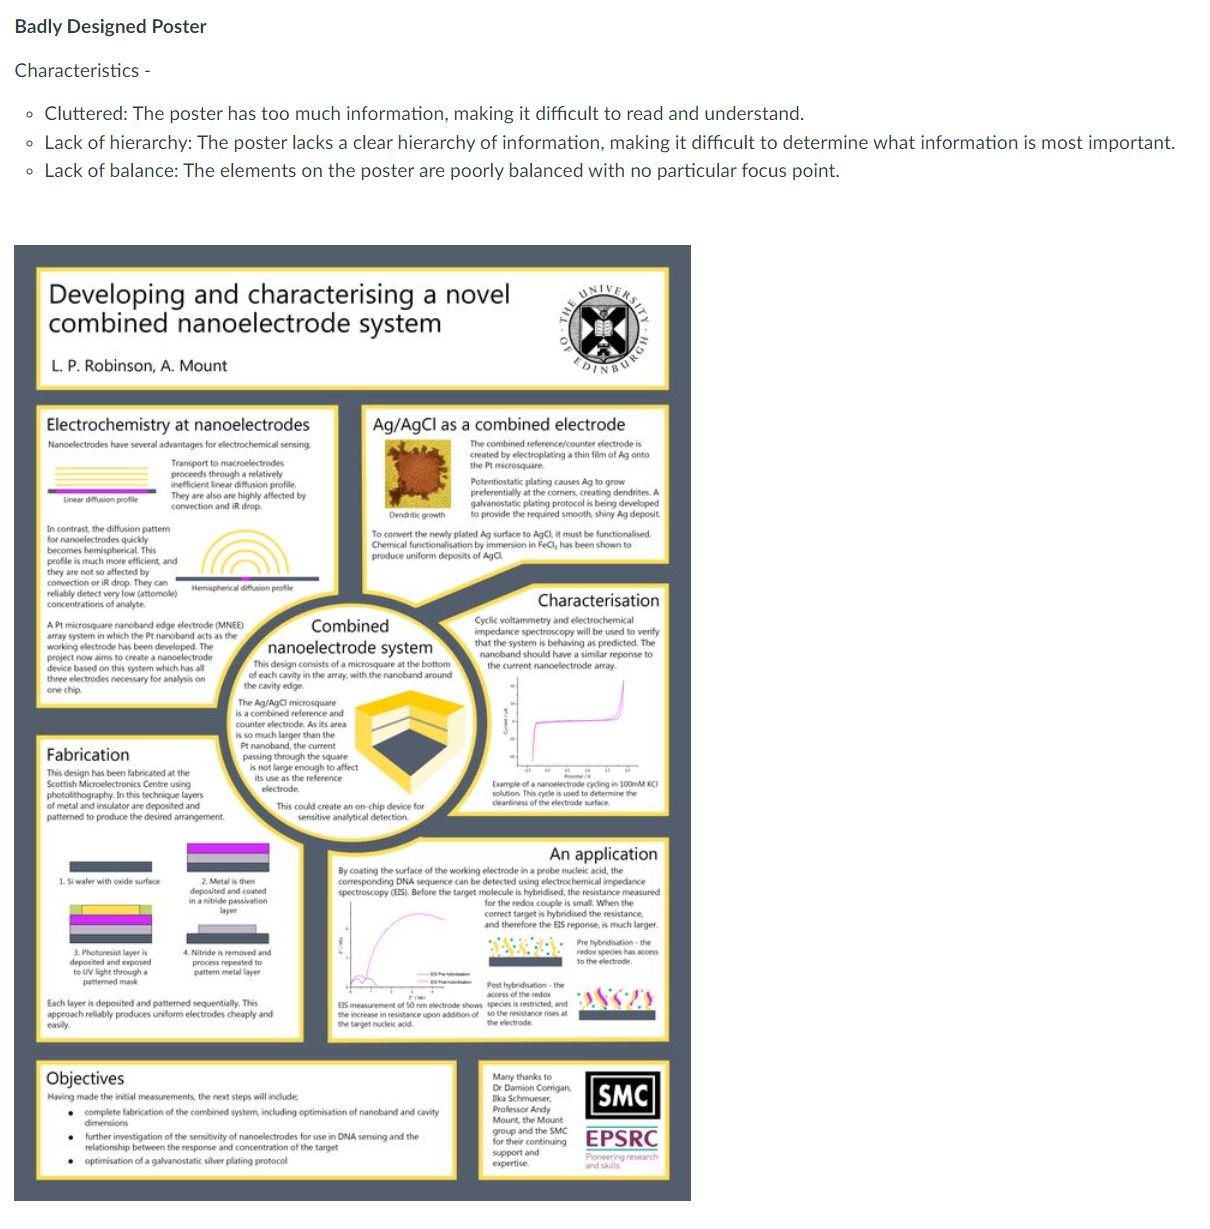
Assignment (on Canvas Discussion board) on “Sharing Poster Examples” for students to collect and evaluate existing good and bad poster designs (2 weeks before poster session).
Tiled-Poster Showcase during Gallery Walk to print samples of their posters for evaluation (4 days prior to poster session).
Guest Lecture + Poster Wireframing
Assignment Description: Sharing Poster Examples
To initiate your process of thinking about how your final poster would like, this is a sharing reflection about poster designs. The intention of this assignment is to have a feed of visual references to good and bad examples to get inspired for the student’s poster design.
As a part of this assignment,
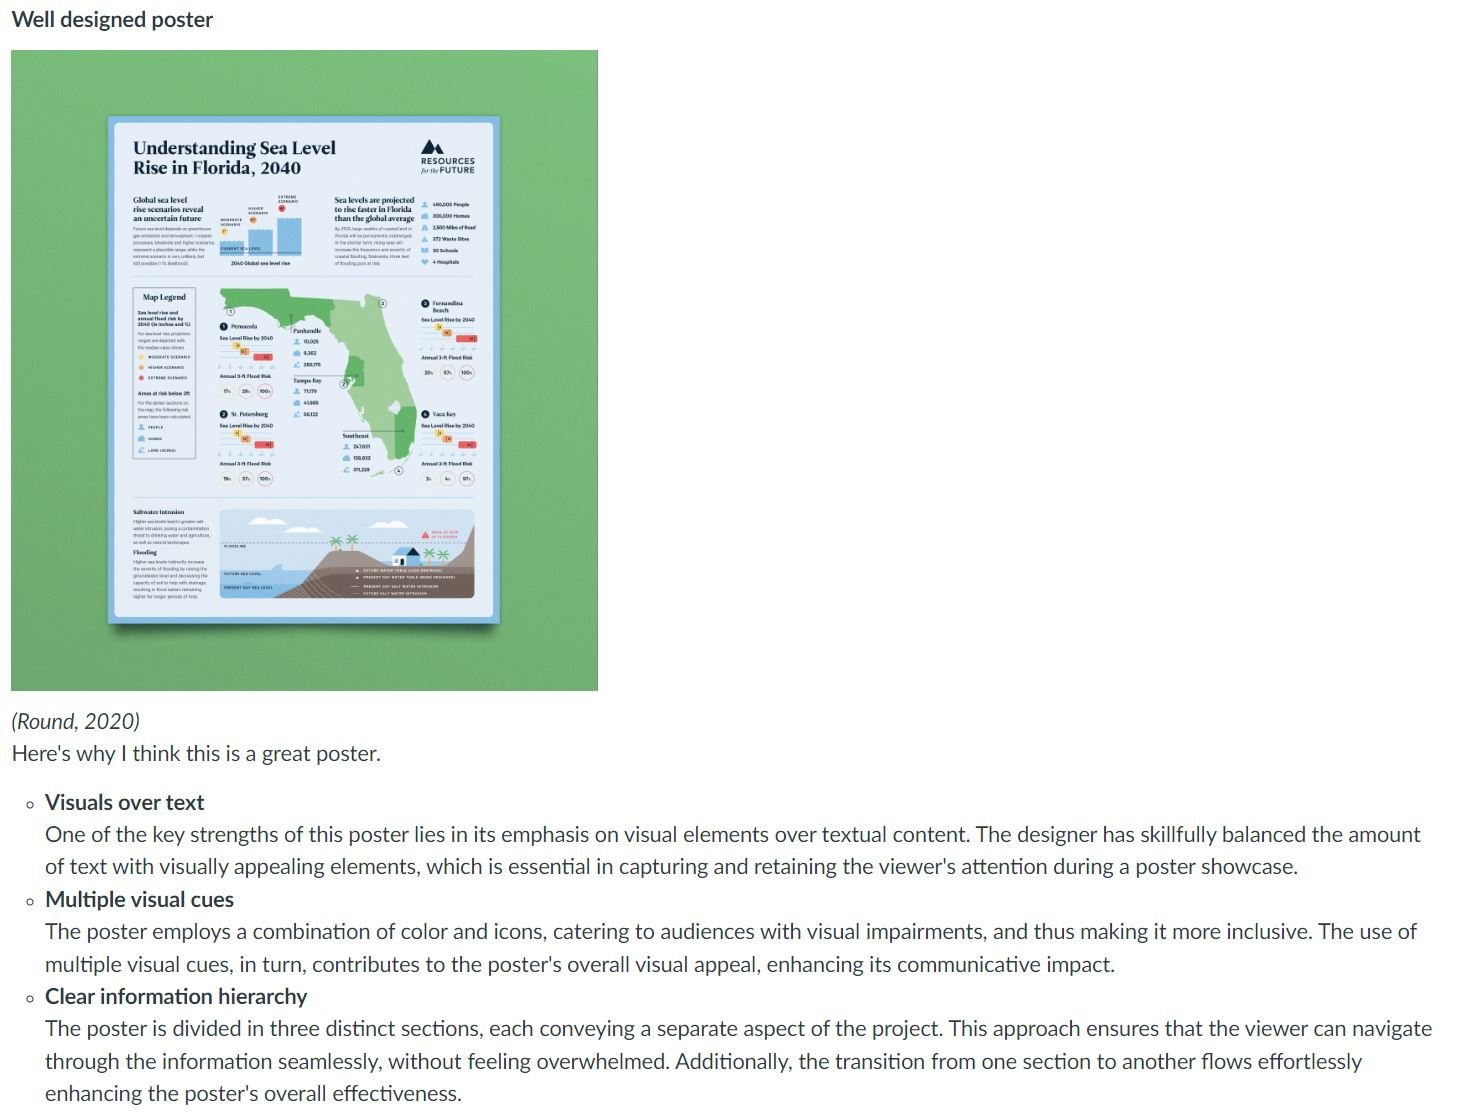
Share an example of a poster design you think is "well designed" and informative for a poster show. Add a visual reference of a "good poster design" and discuss what appeals to you the most as a designer and/or viewer of the poster.
Share an example of a poster design you think is "NOT well designed" and can improve a lot/ not informative for a poster show. Add a visual reference of a "bad/to improve poster design" and discuss what can be improved in this poster and does not appeal to you the most as a designer and/or viewer of the poster.
Properly reference from where you collected the poster and add visual image in the discussion (DO NOT JUST PROVIDE A LINK) (MINUS 10 if failed to add the poster visual in the discussion for everyone to view and not just provide a link). It is easy for you all to just skim through the collection and easily just look at examples.
Poster Show: a very similar one you might have a part of the HCI/d final capstone poster show.
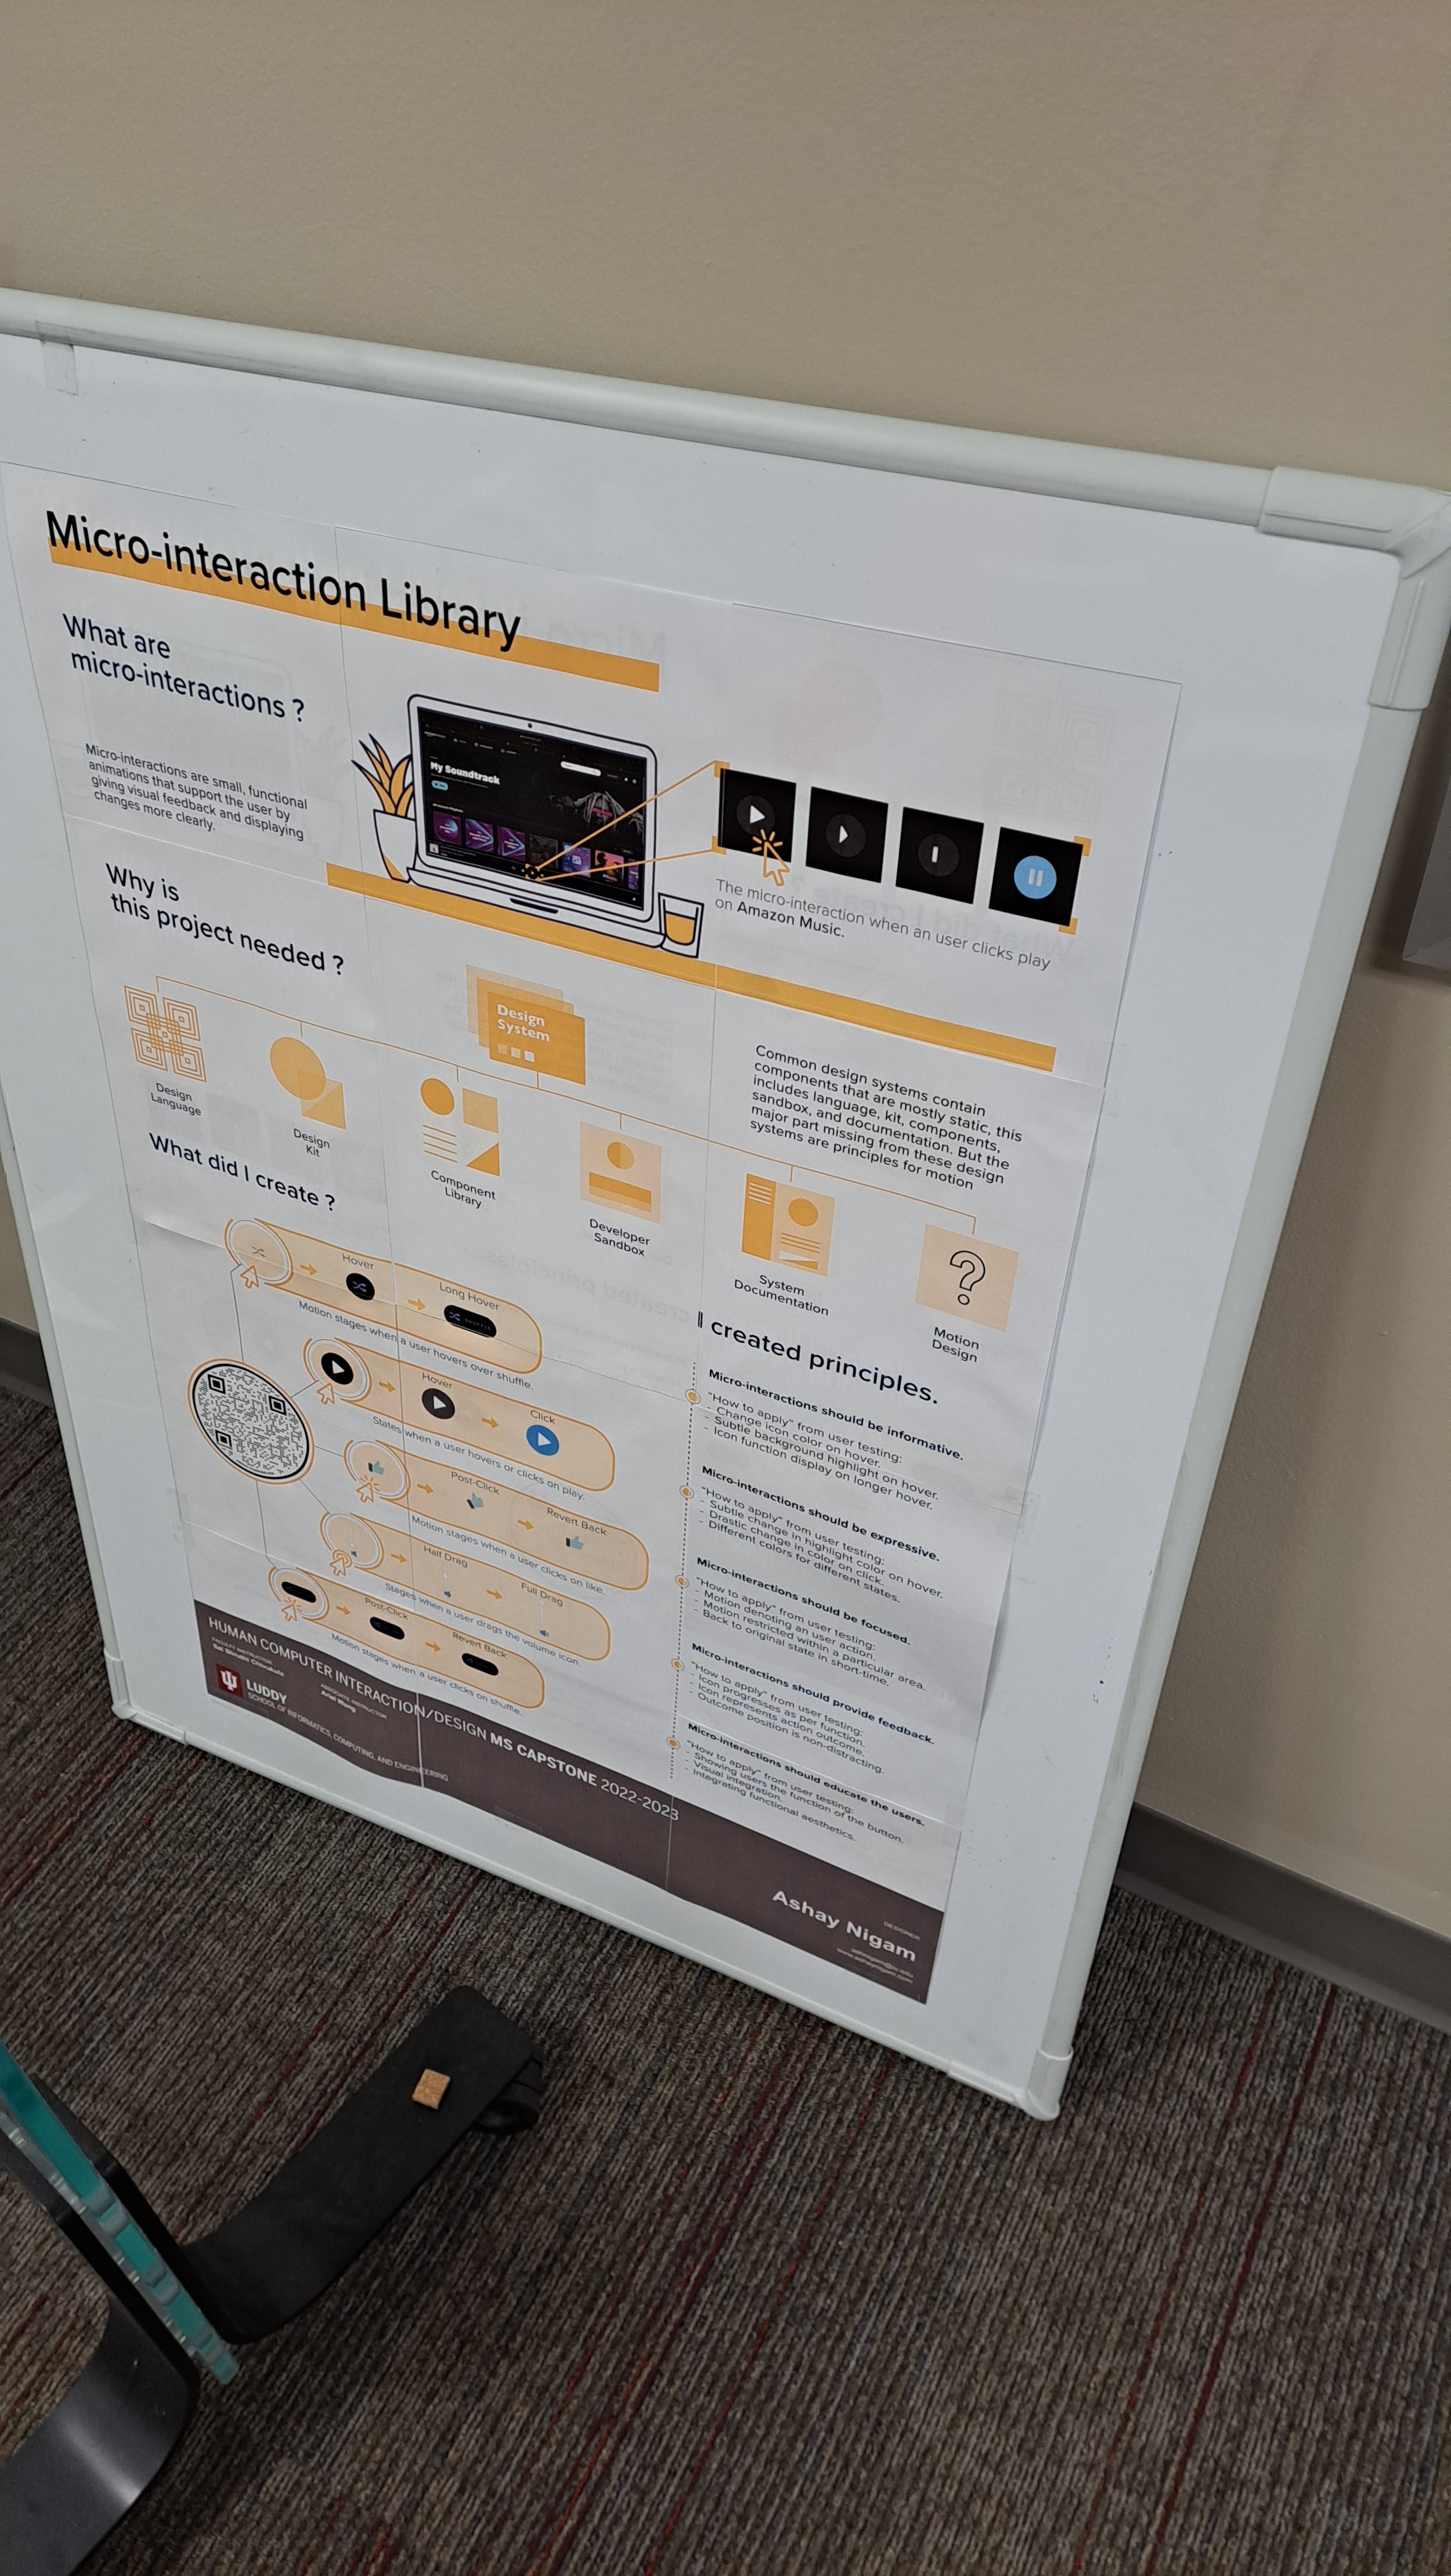
Examples of student submissions
Tiled Poster Showcase
To “prototype” their posters, students were suggested to employ tiled printing techniques for cost effectiveness and receive feedback on their pre-final versions of their posters, right before the final capstone fair 3 days later.

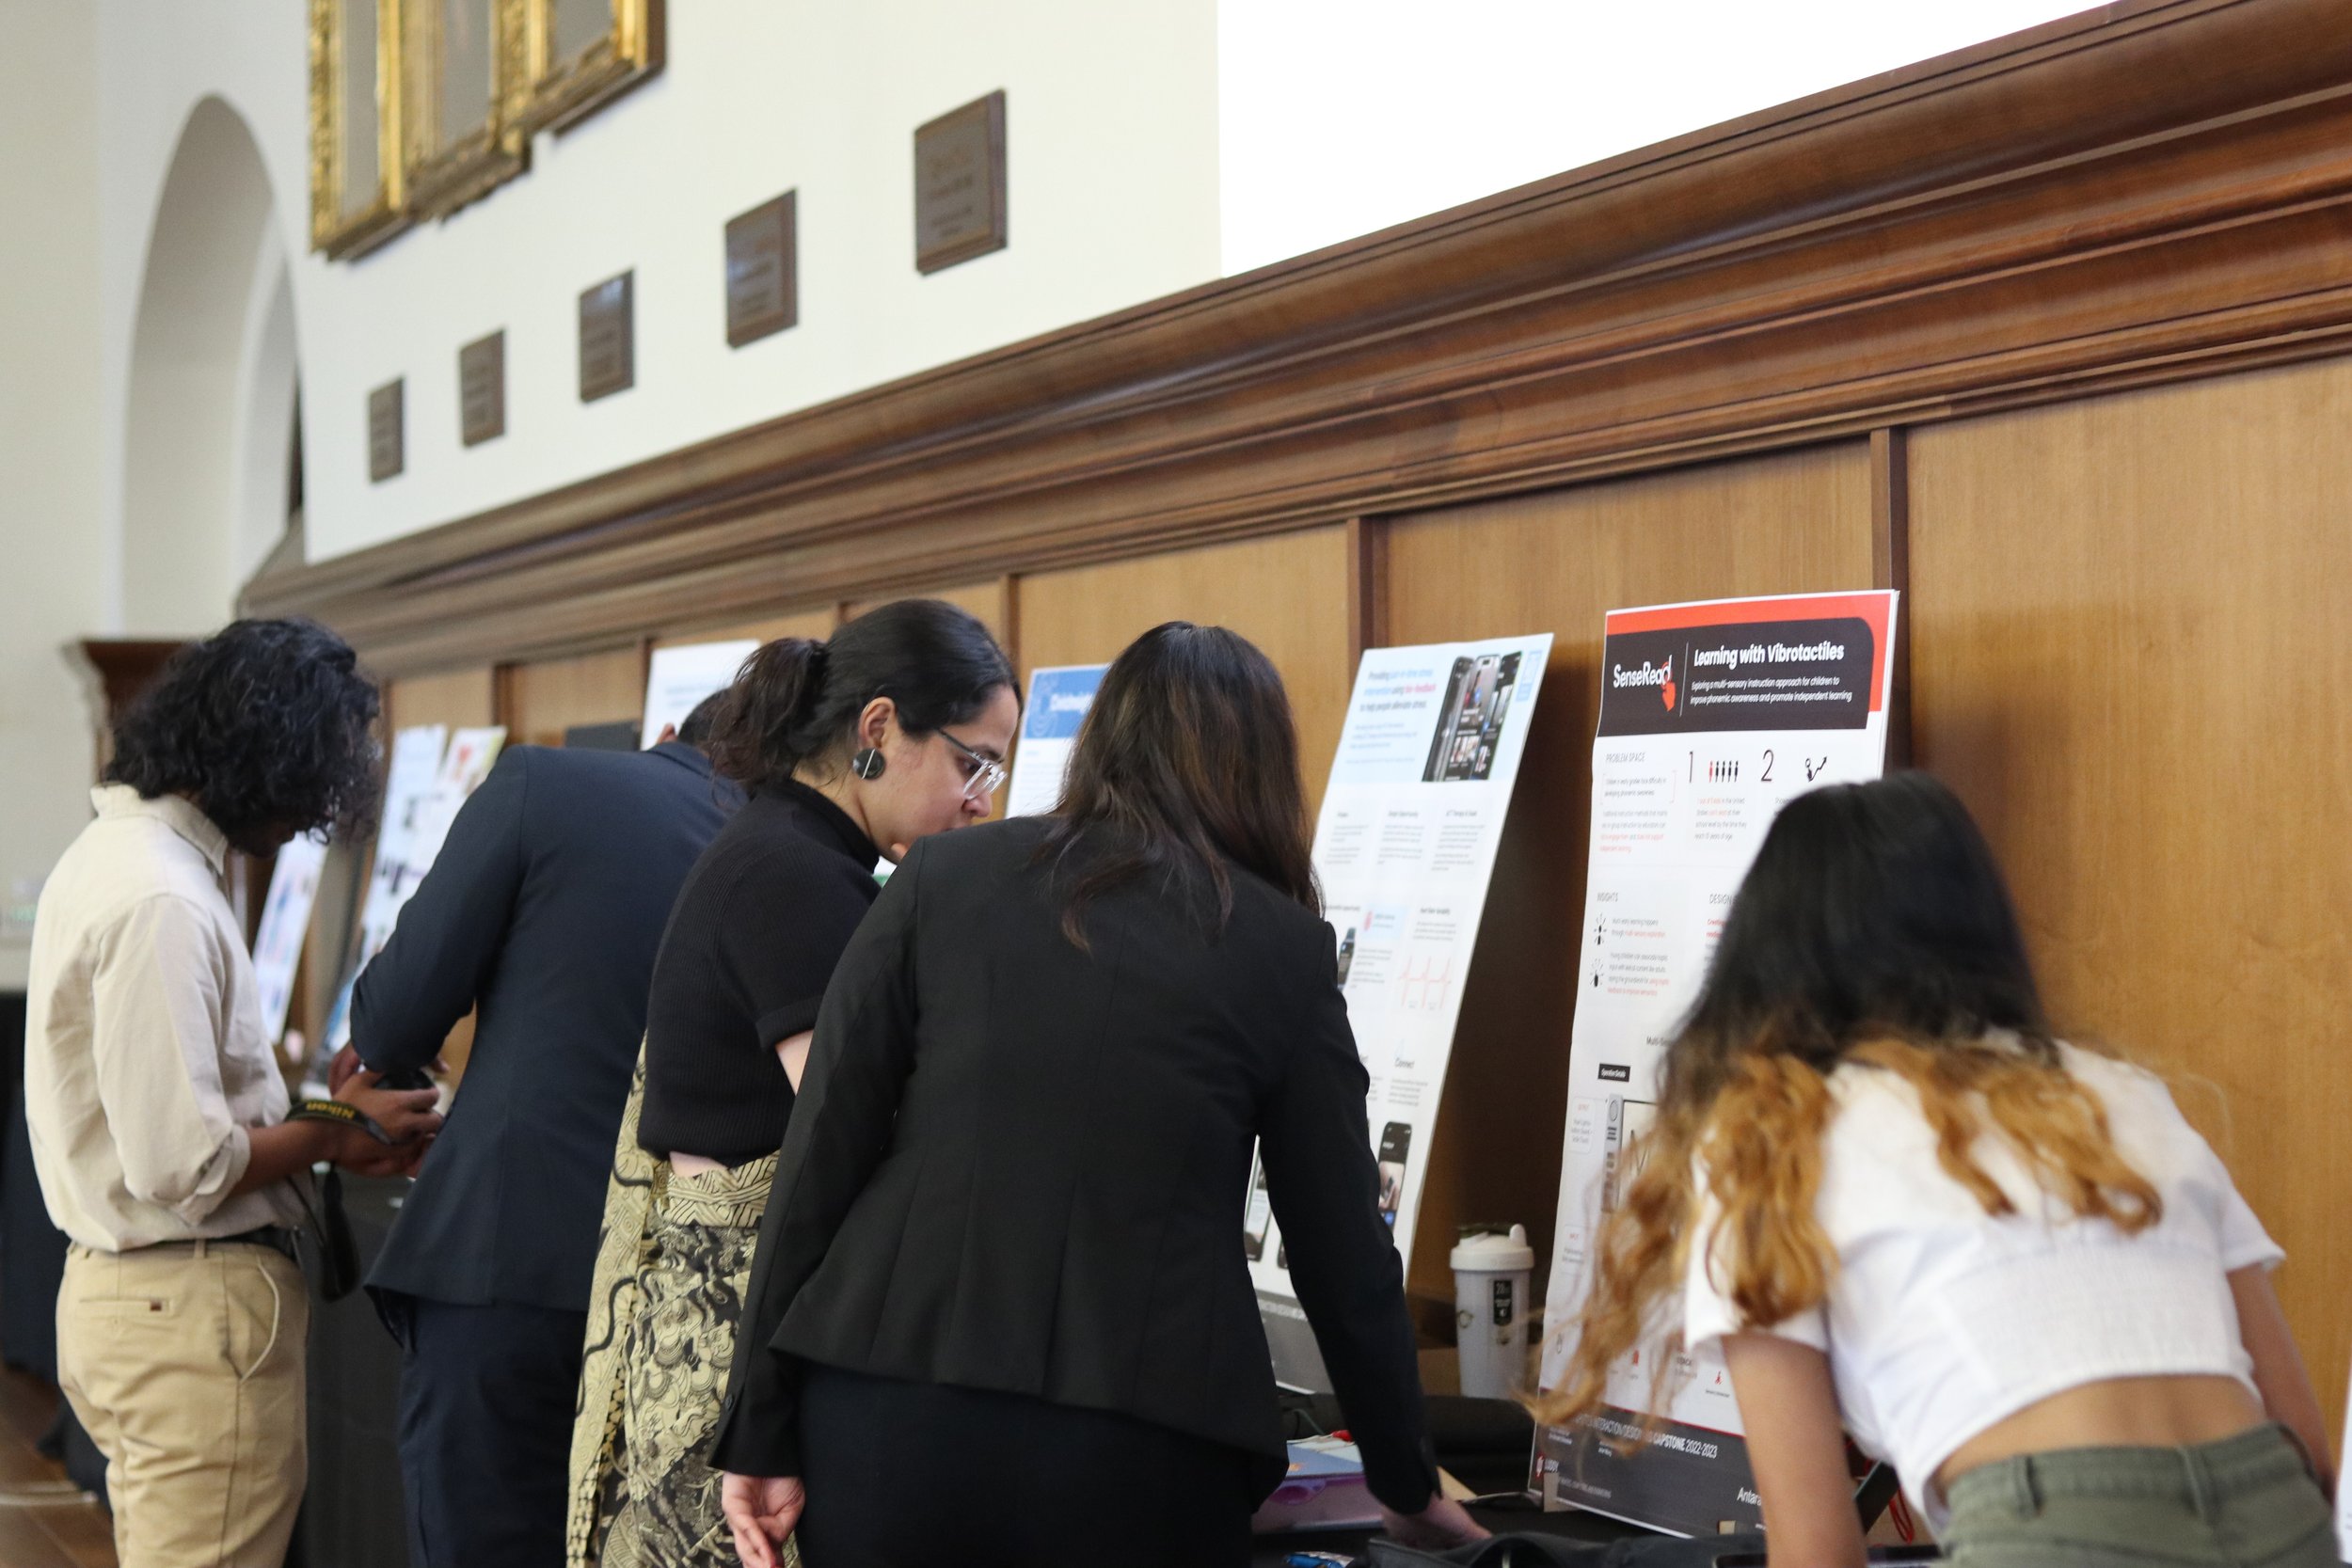
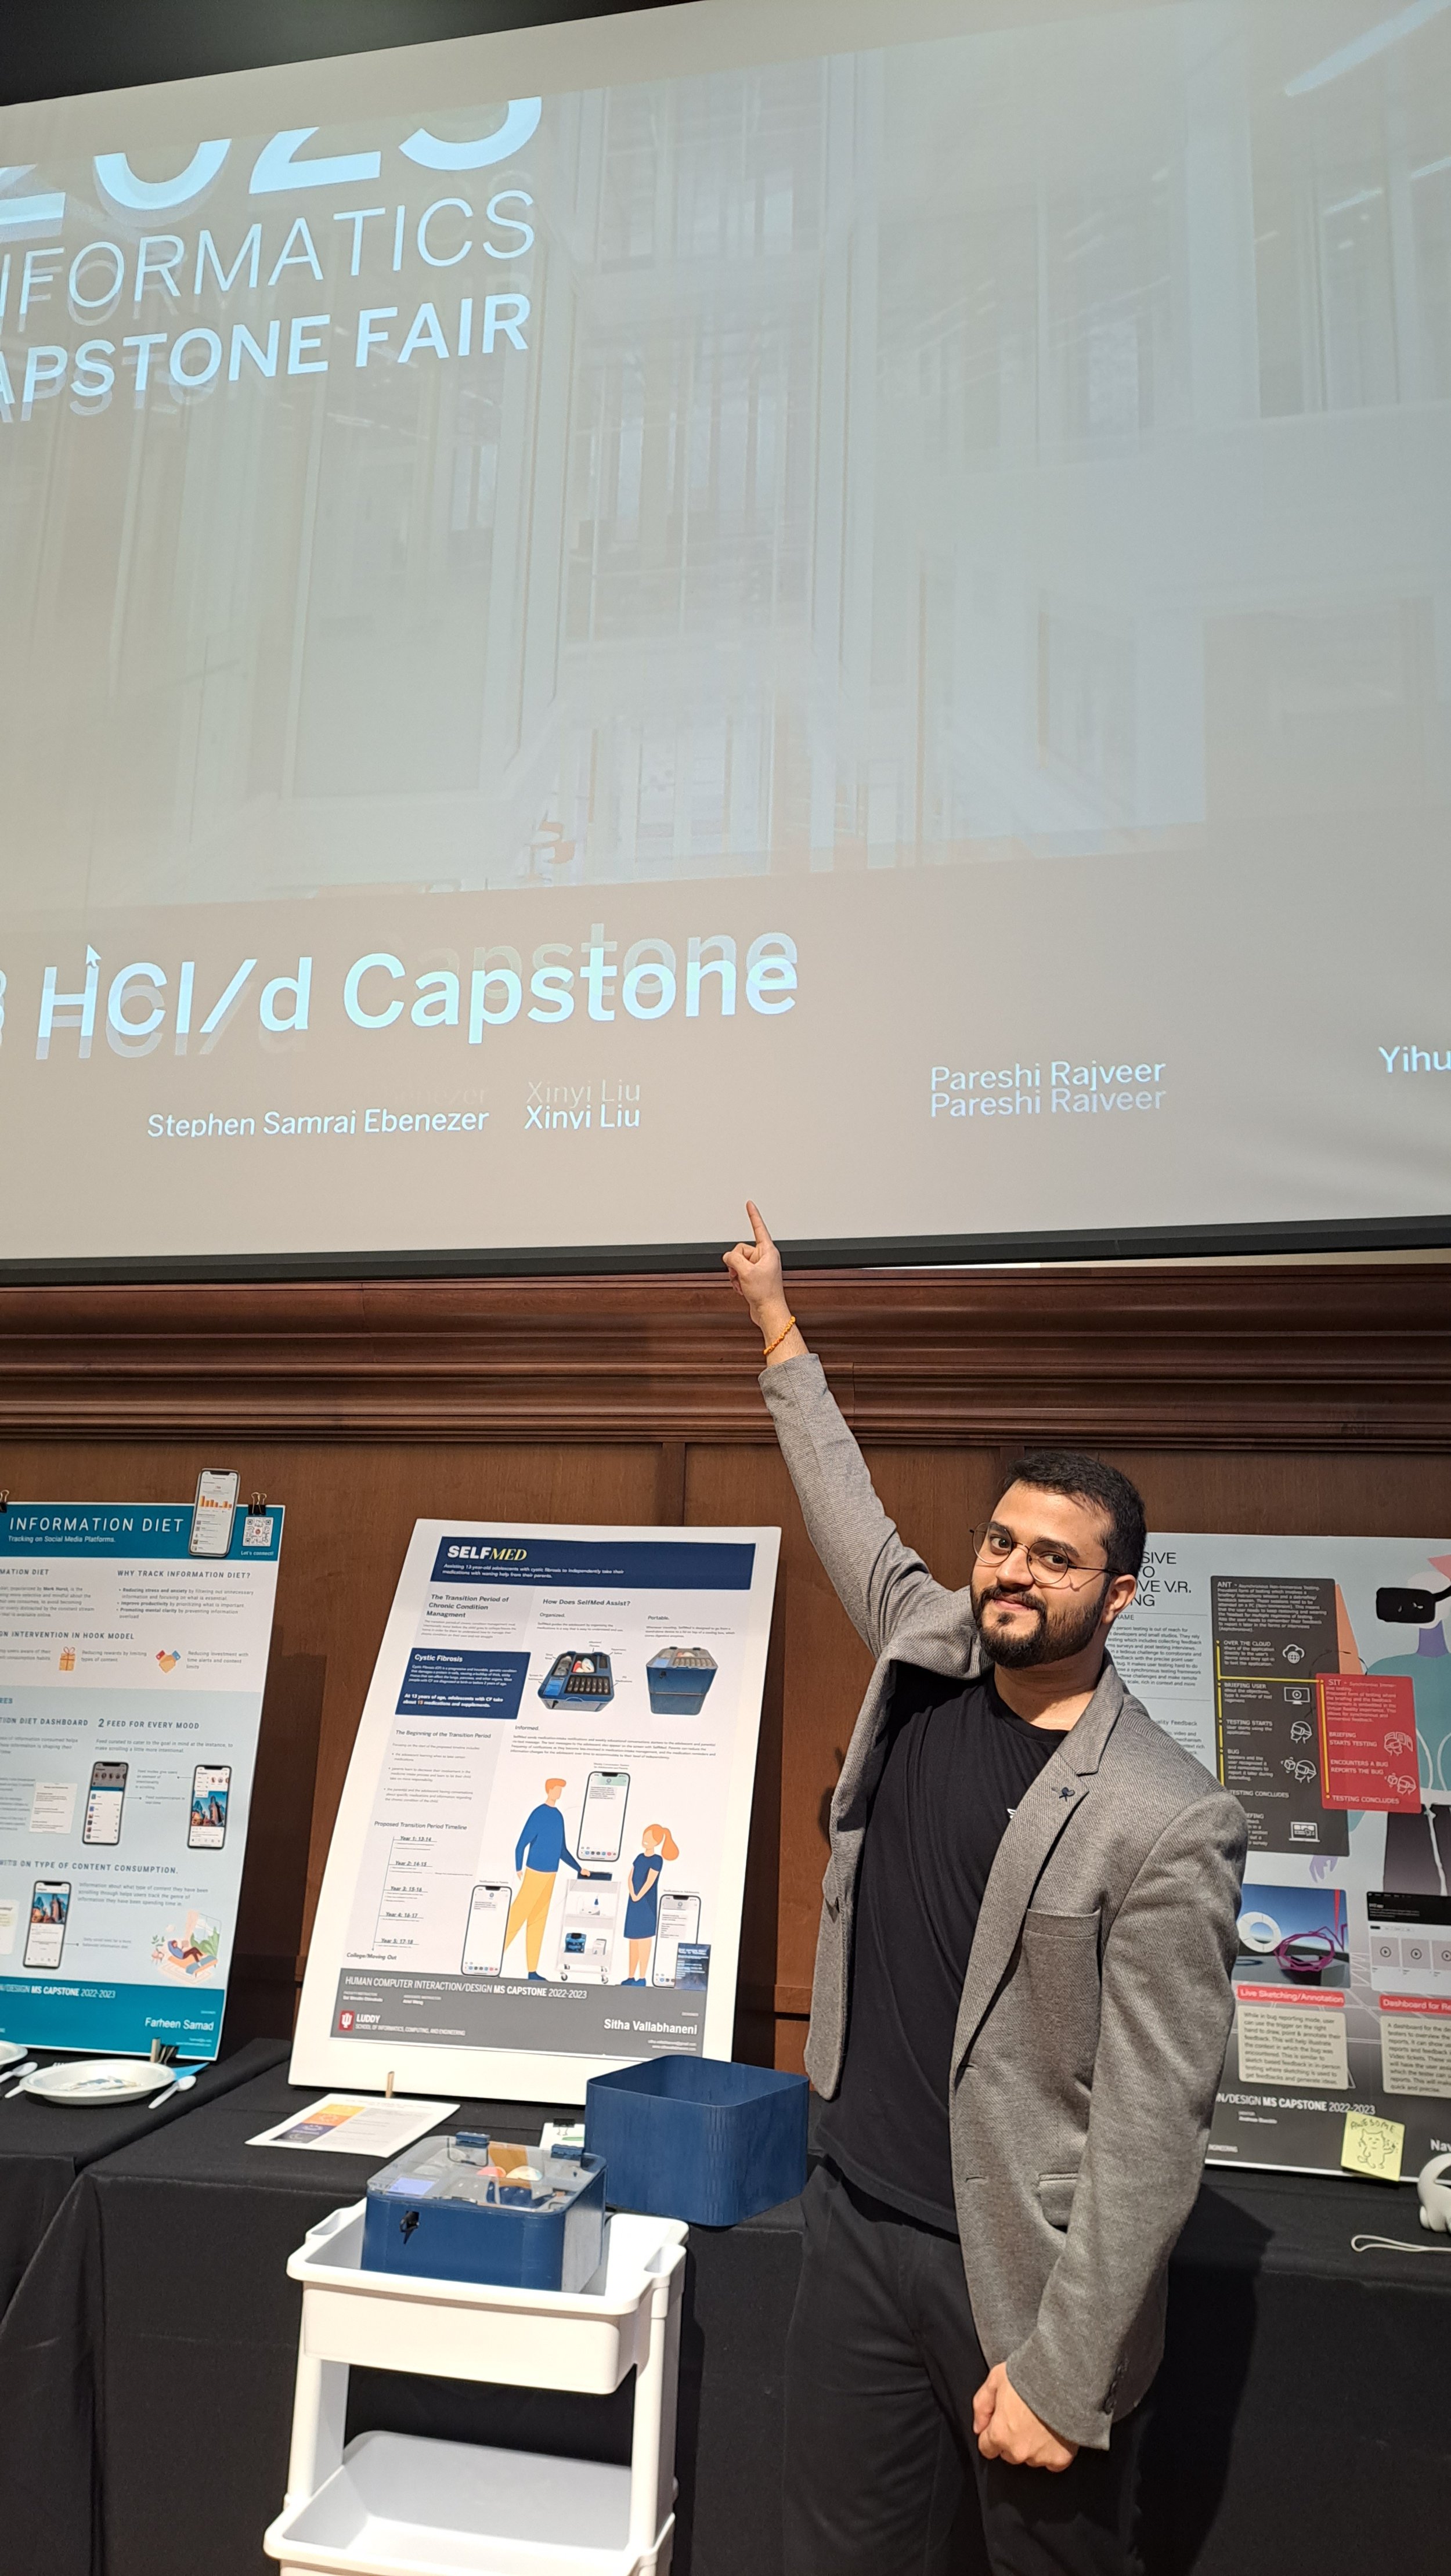
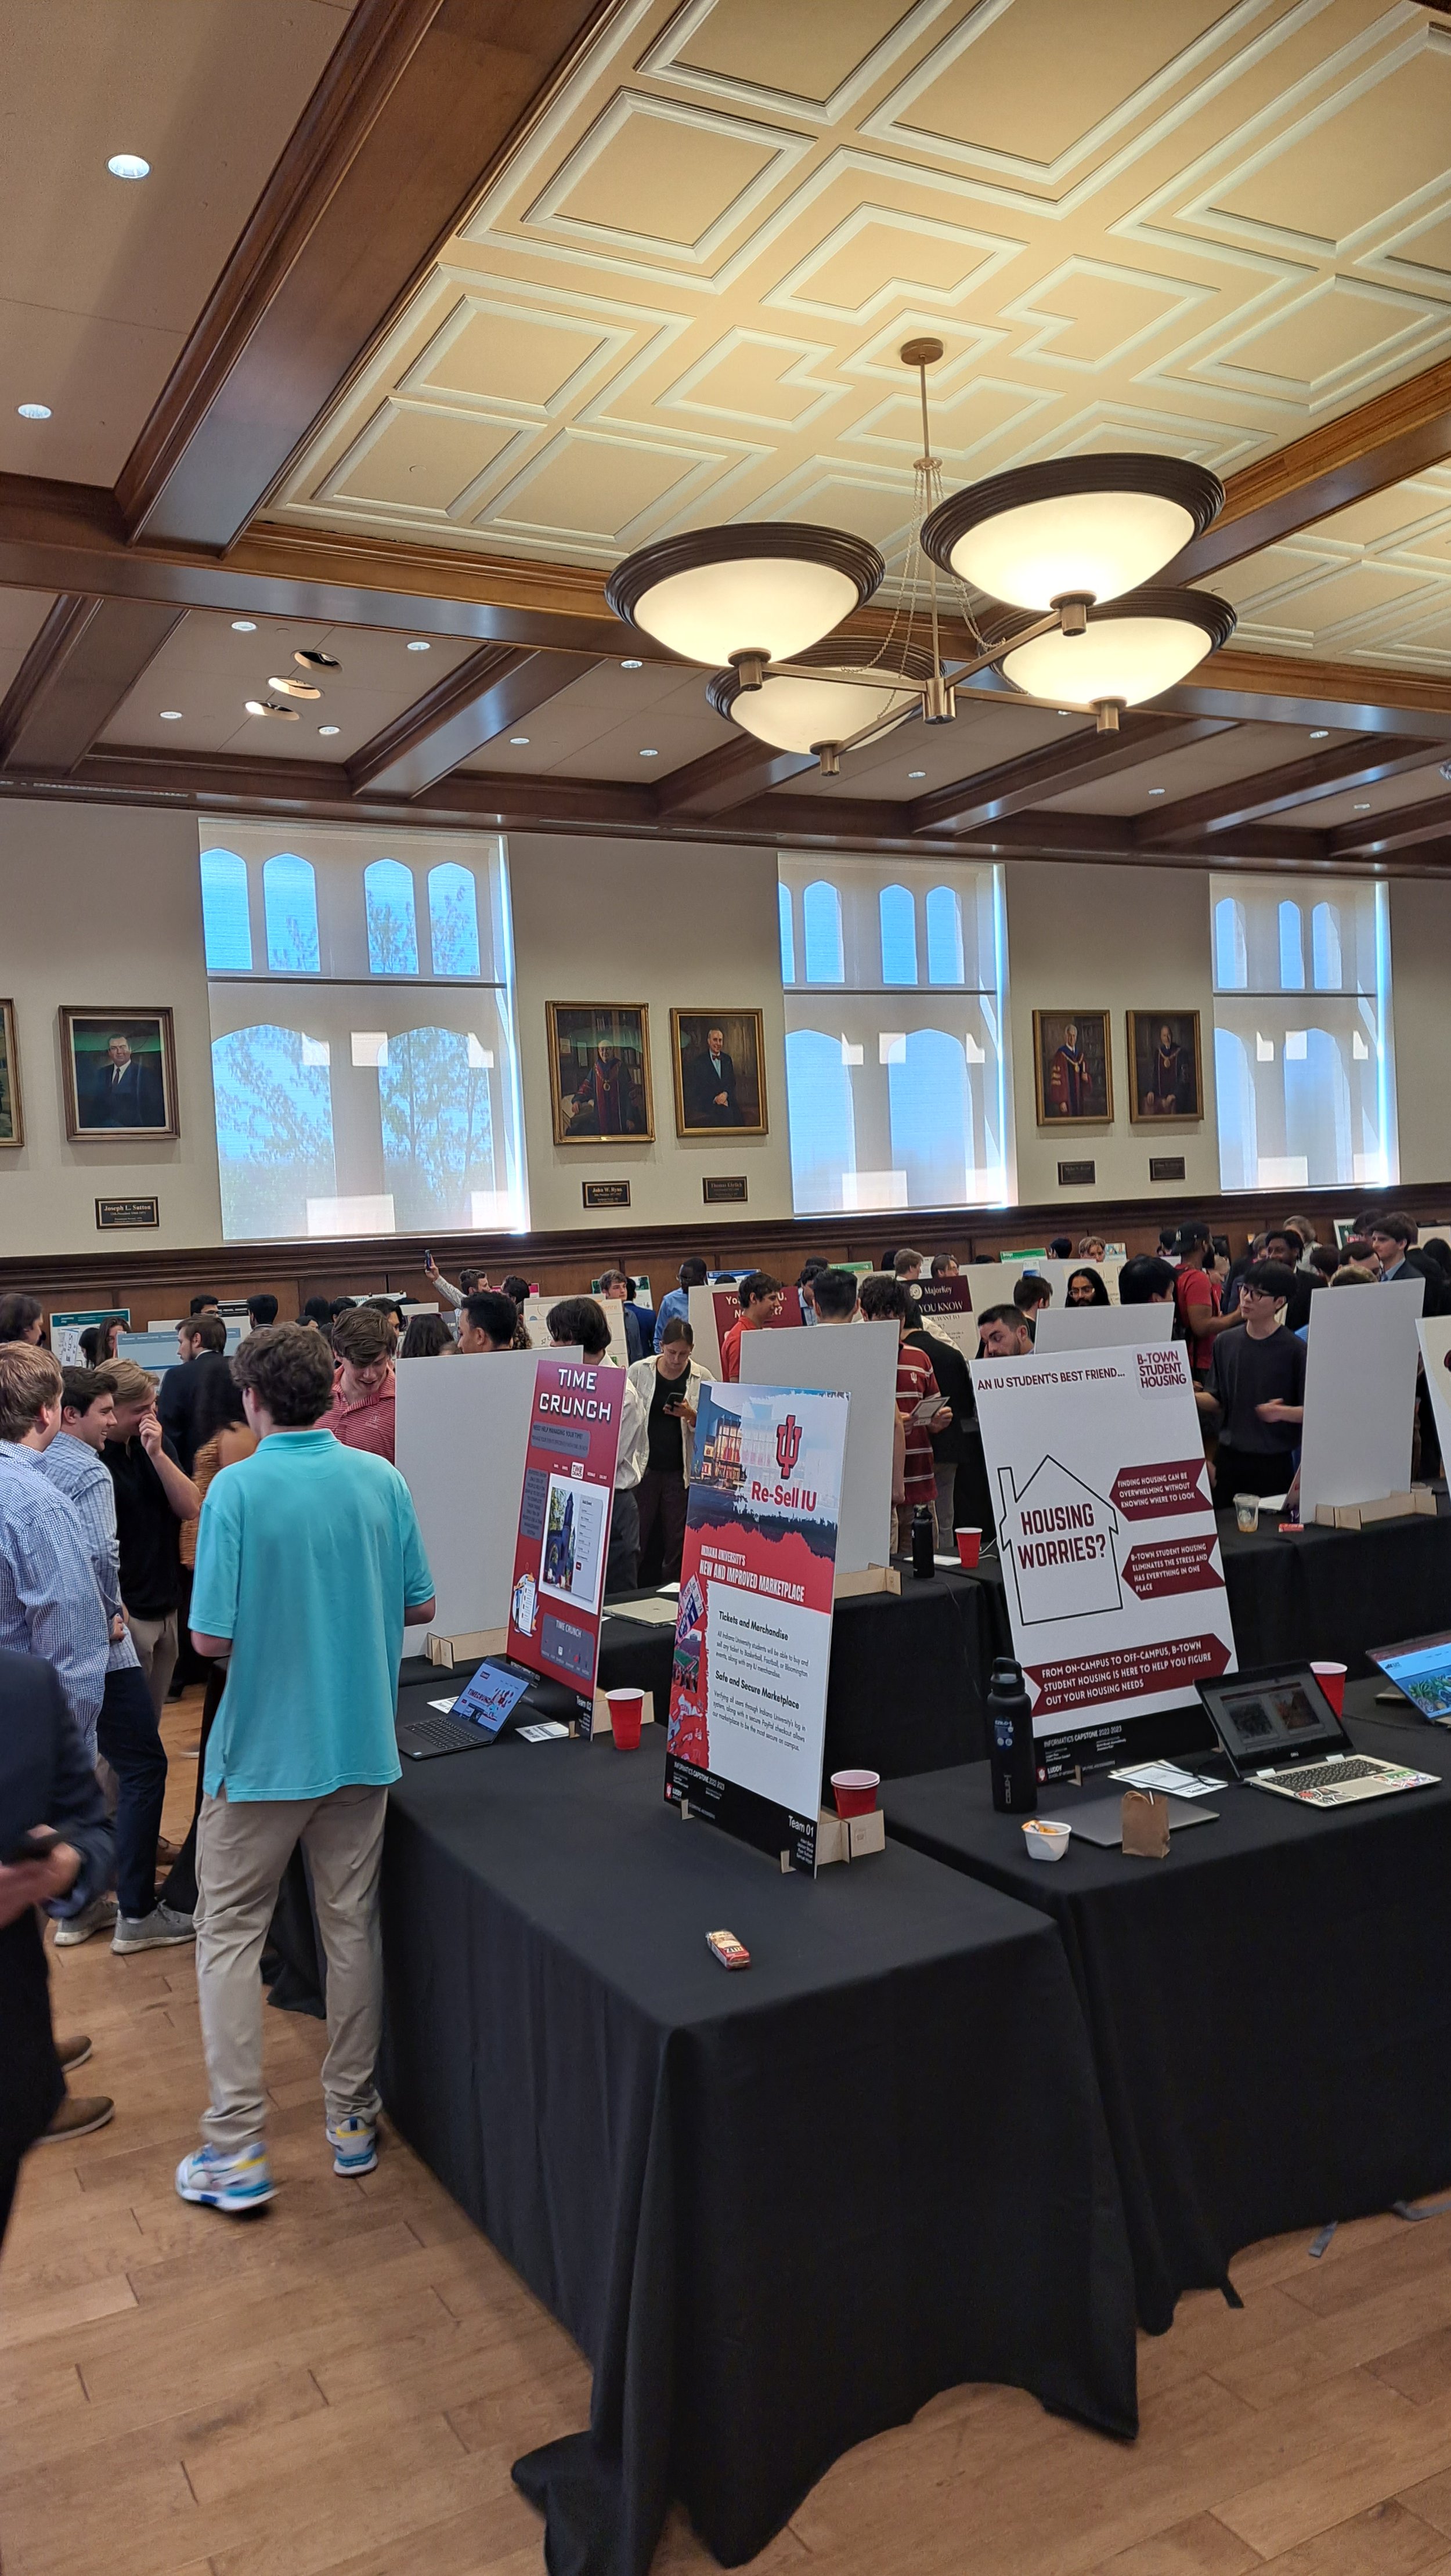
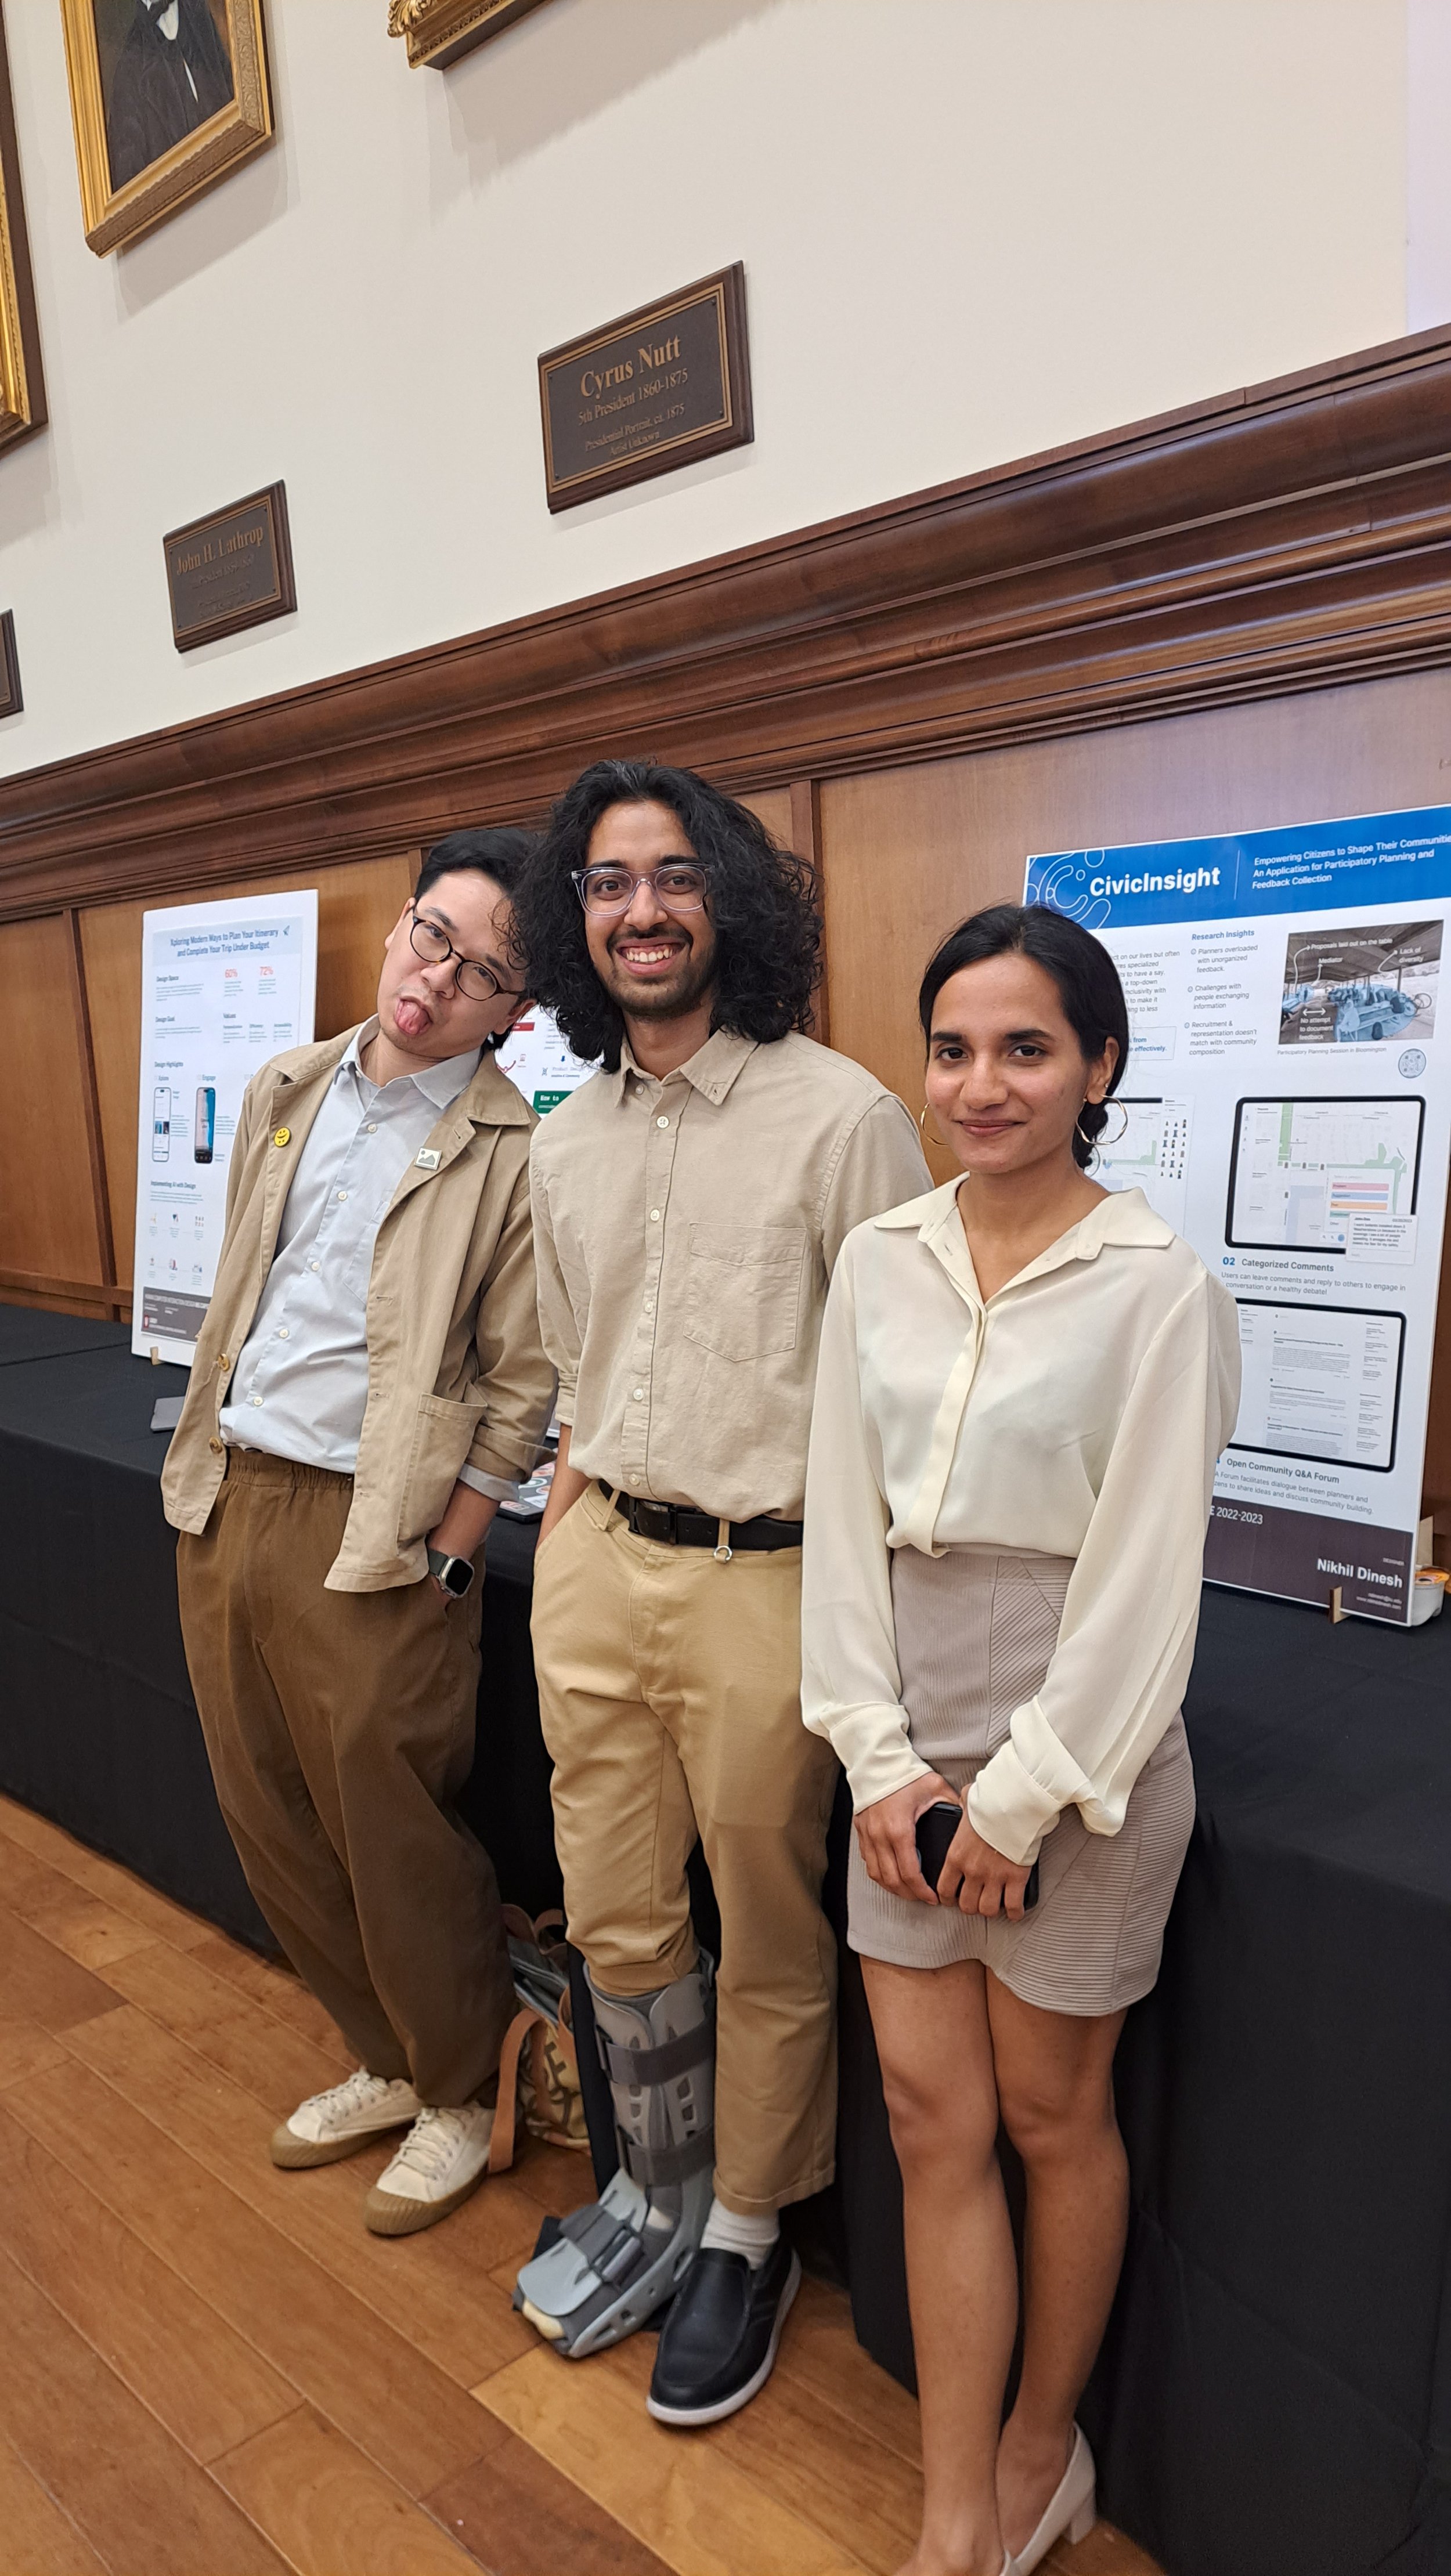
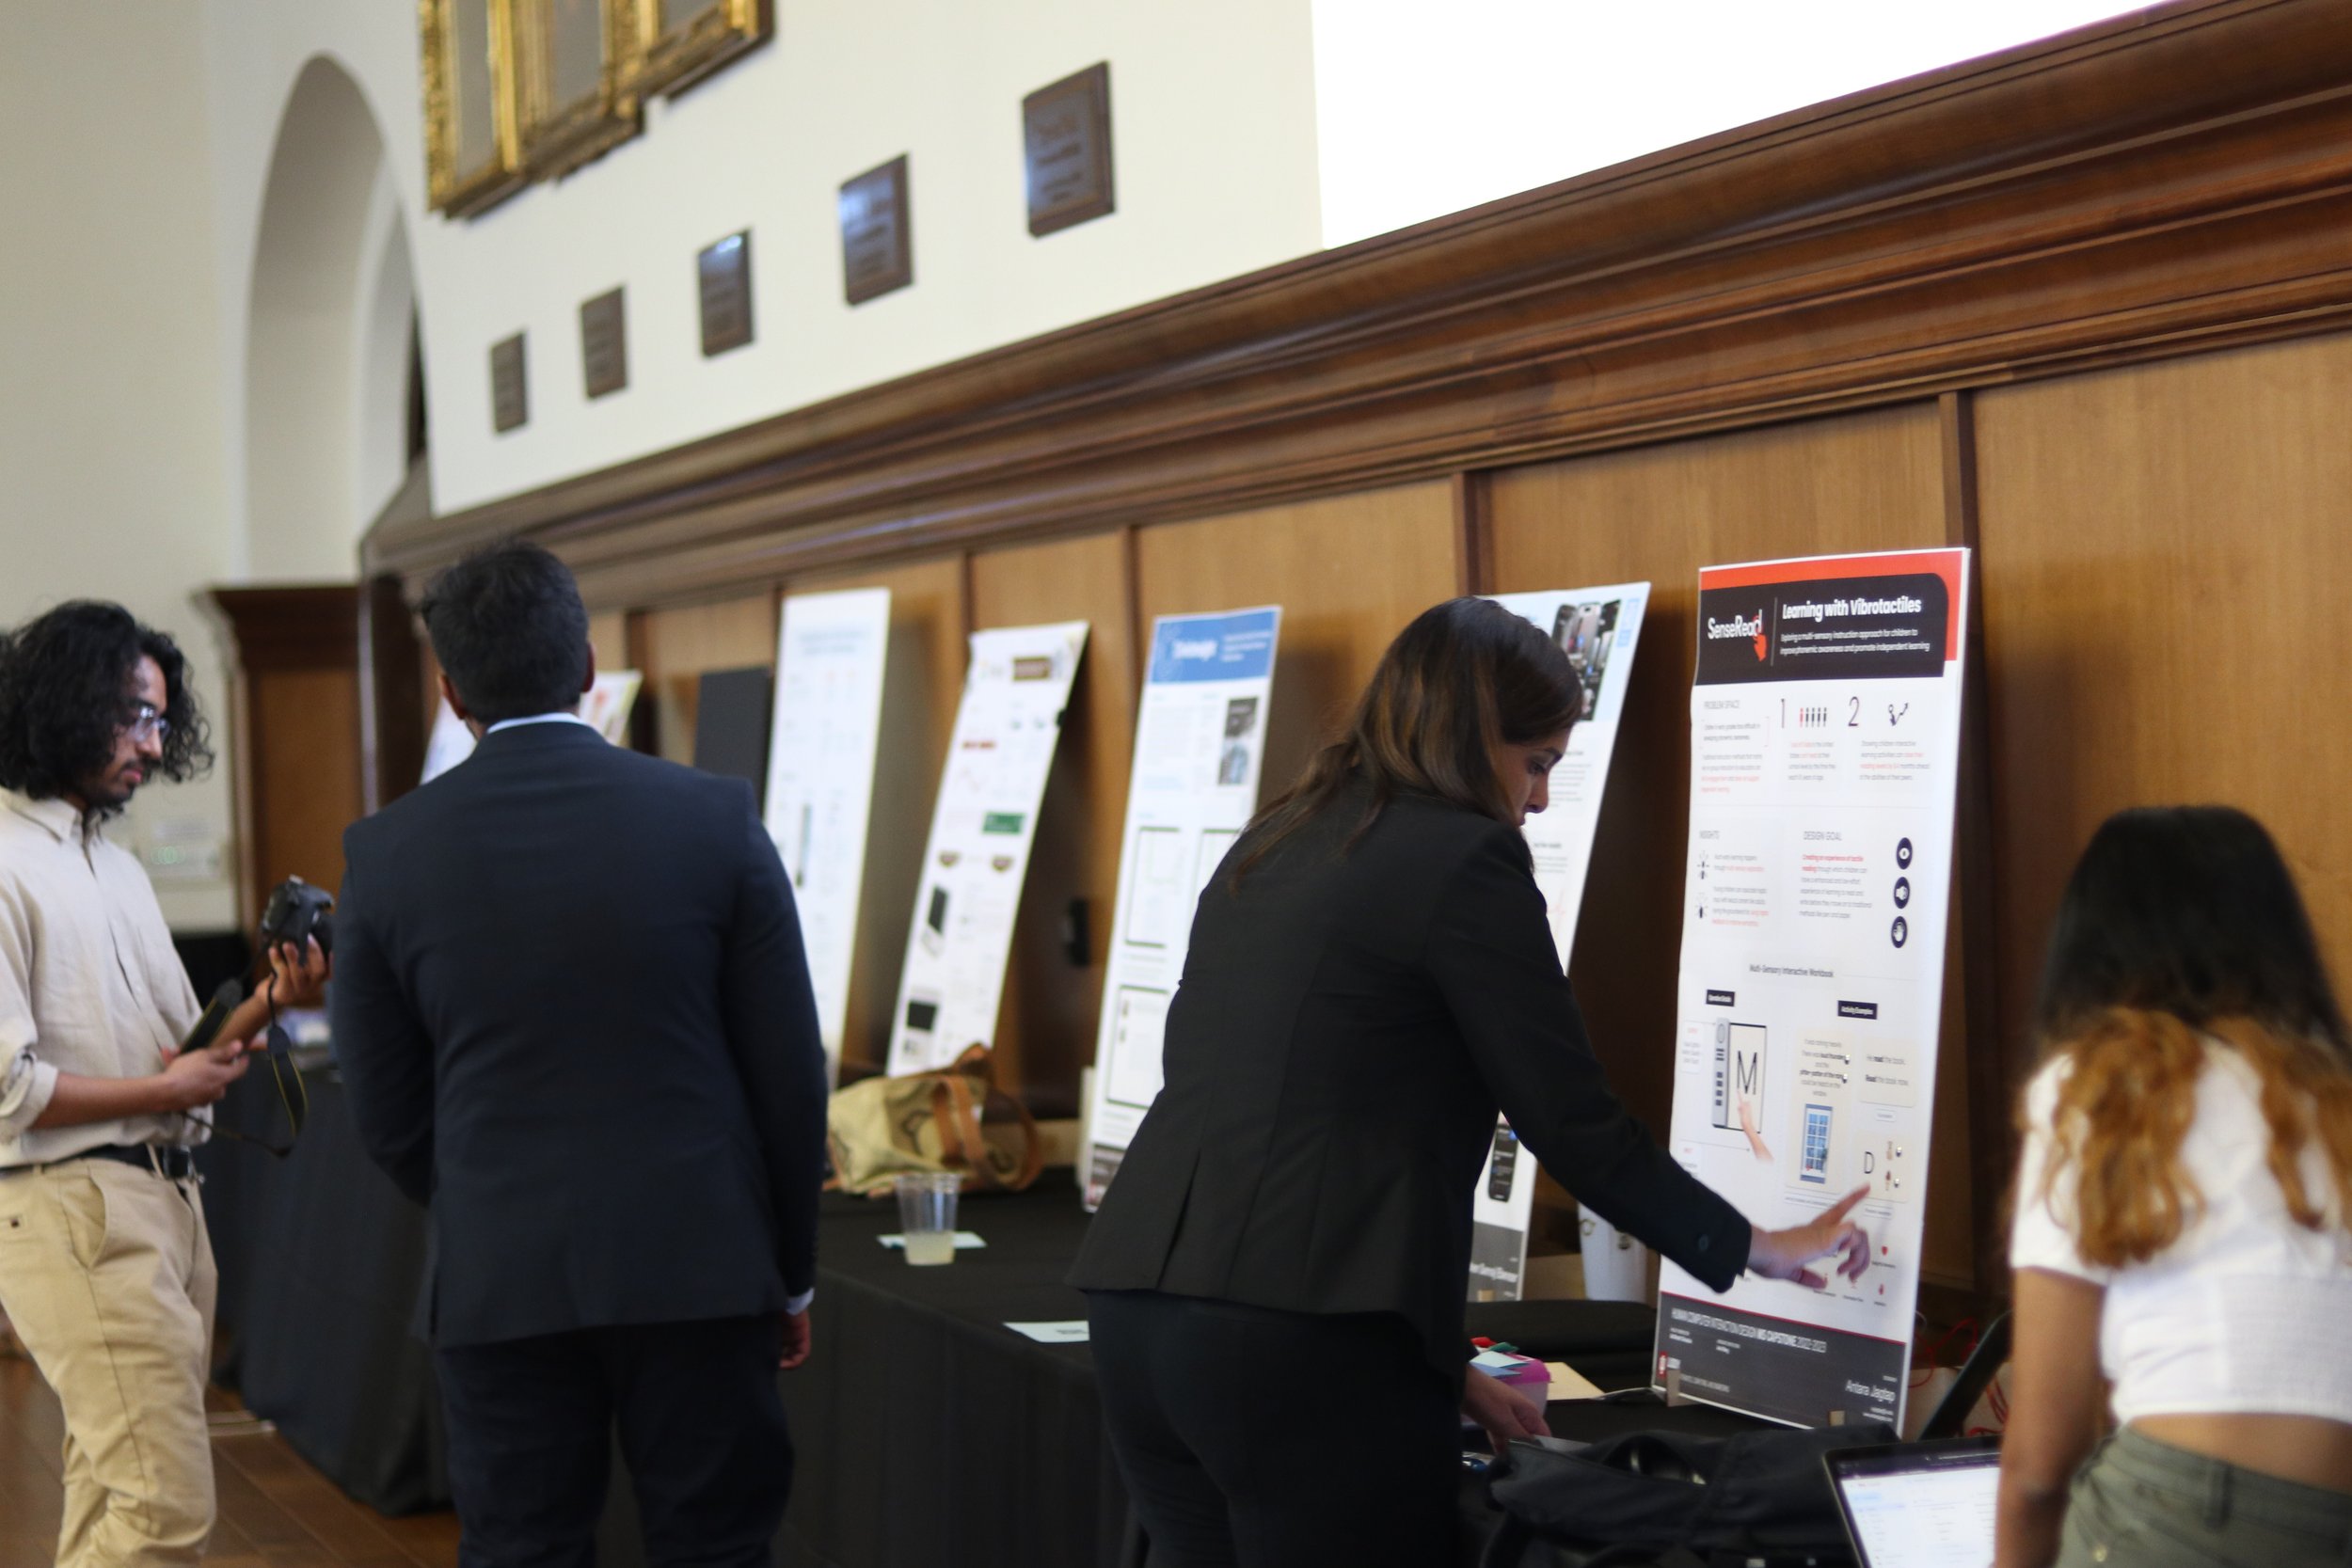
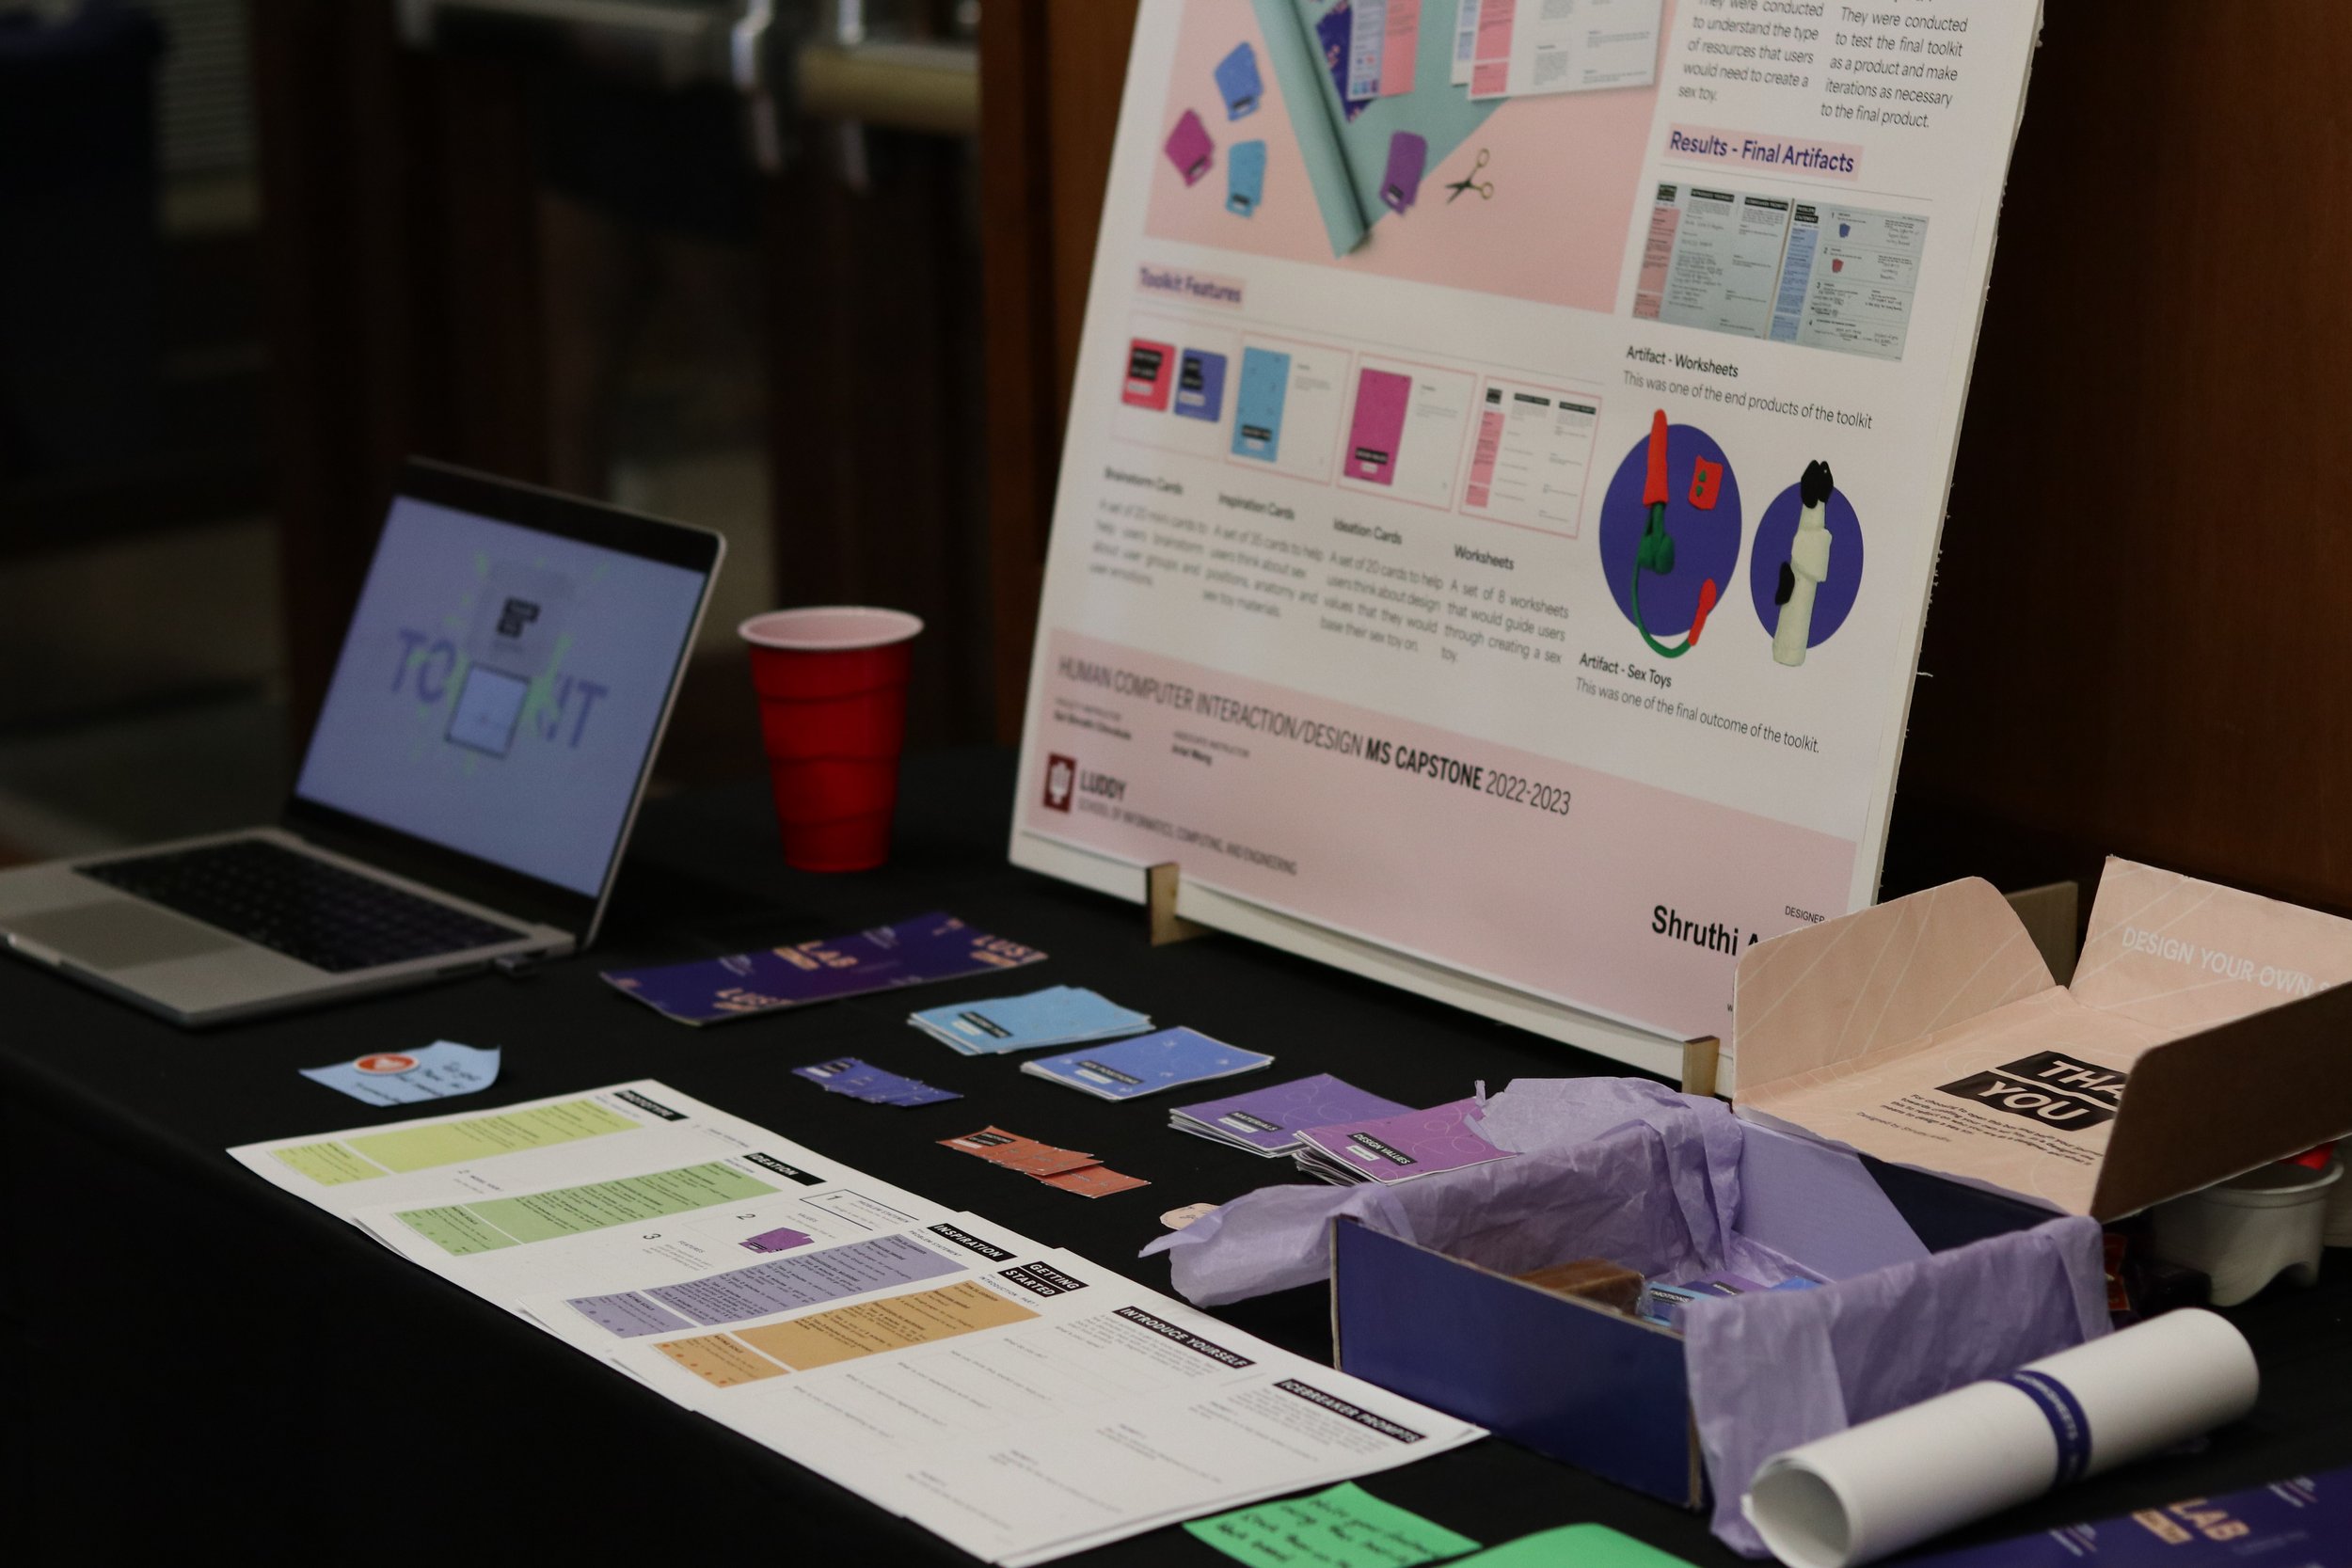
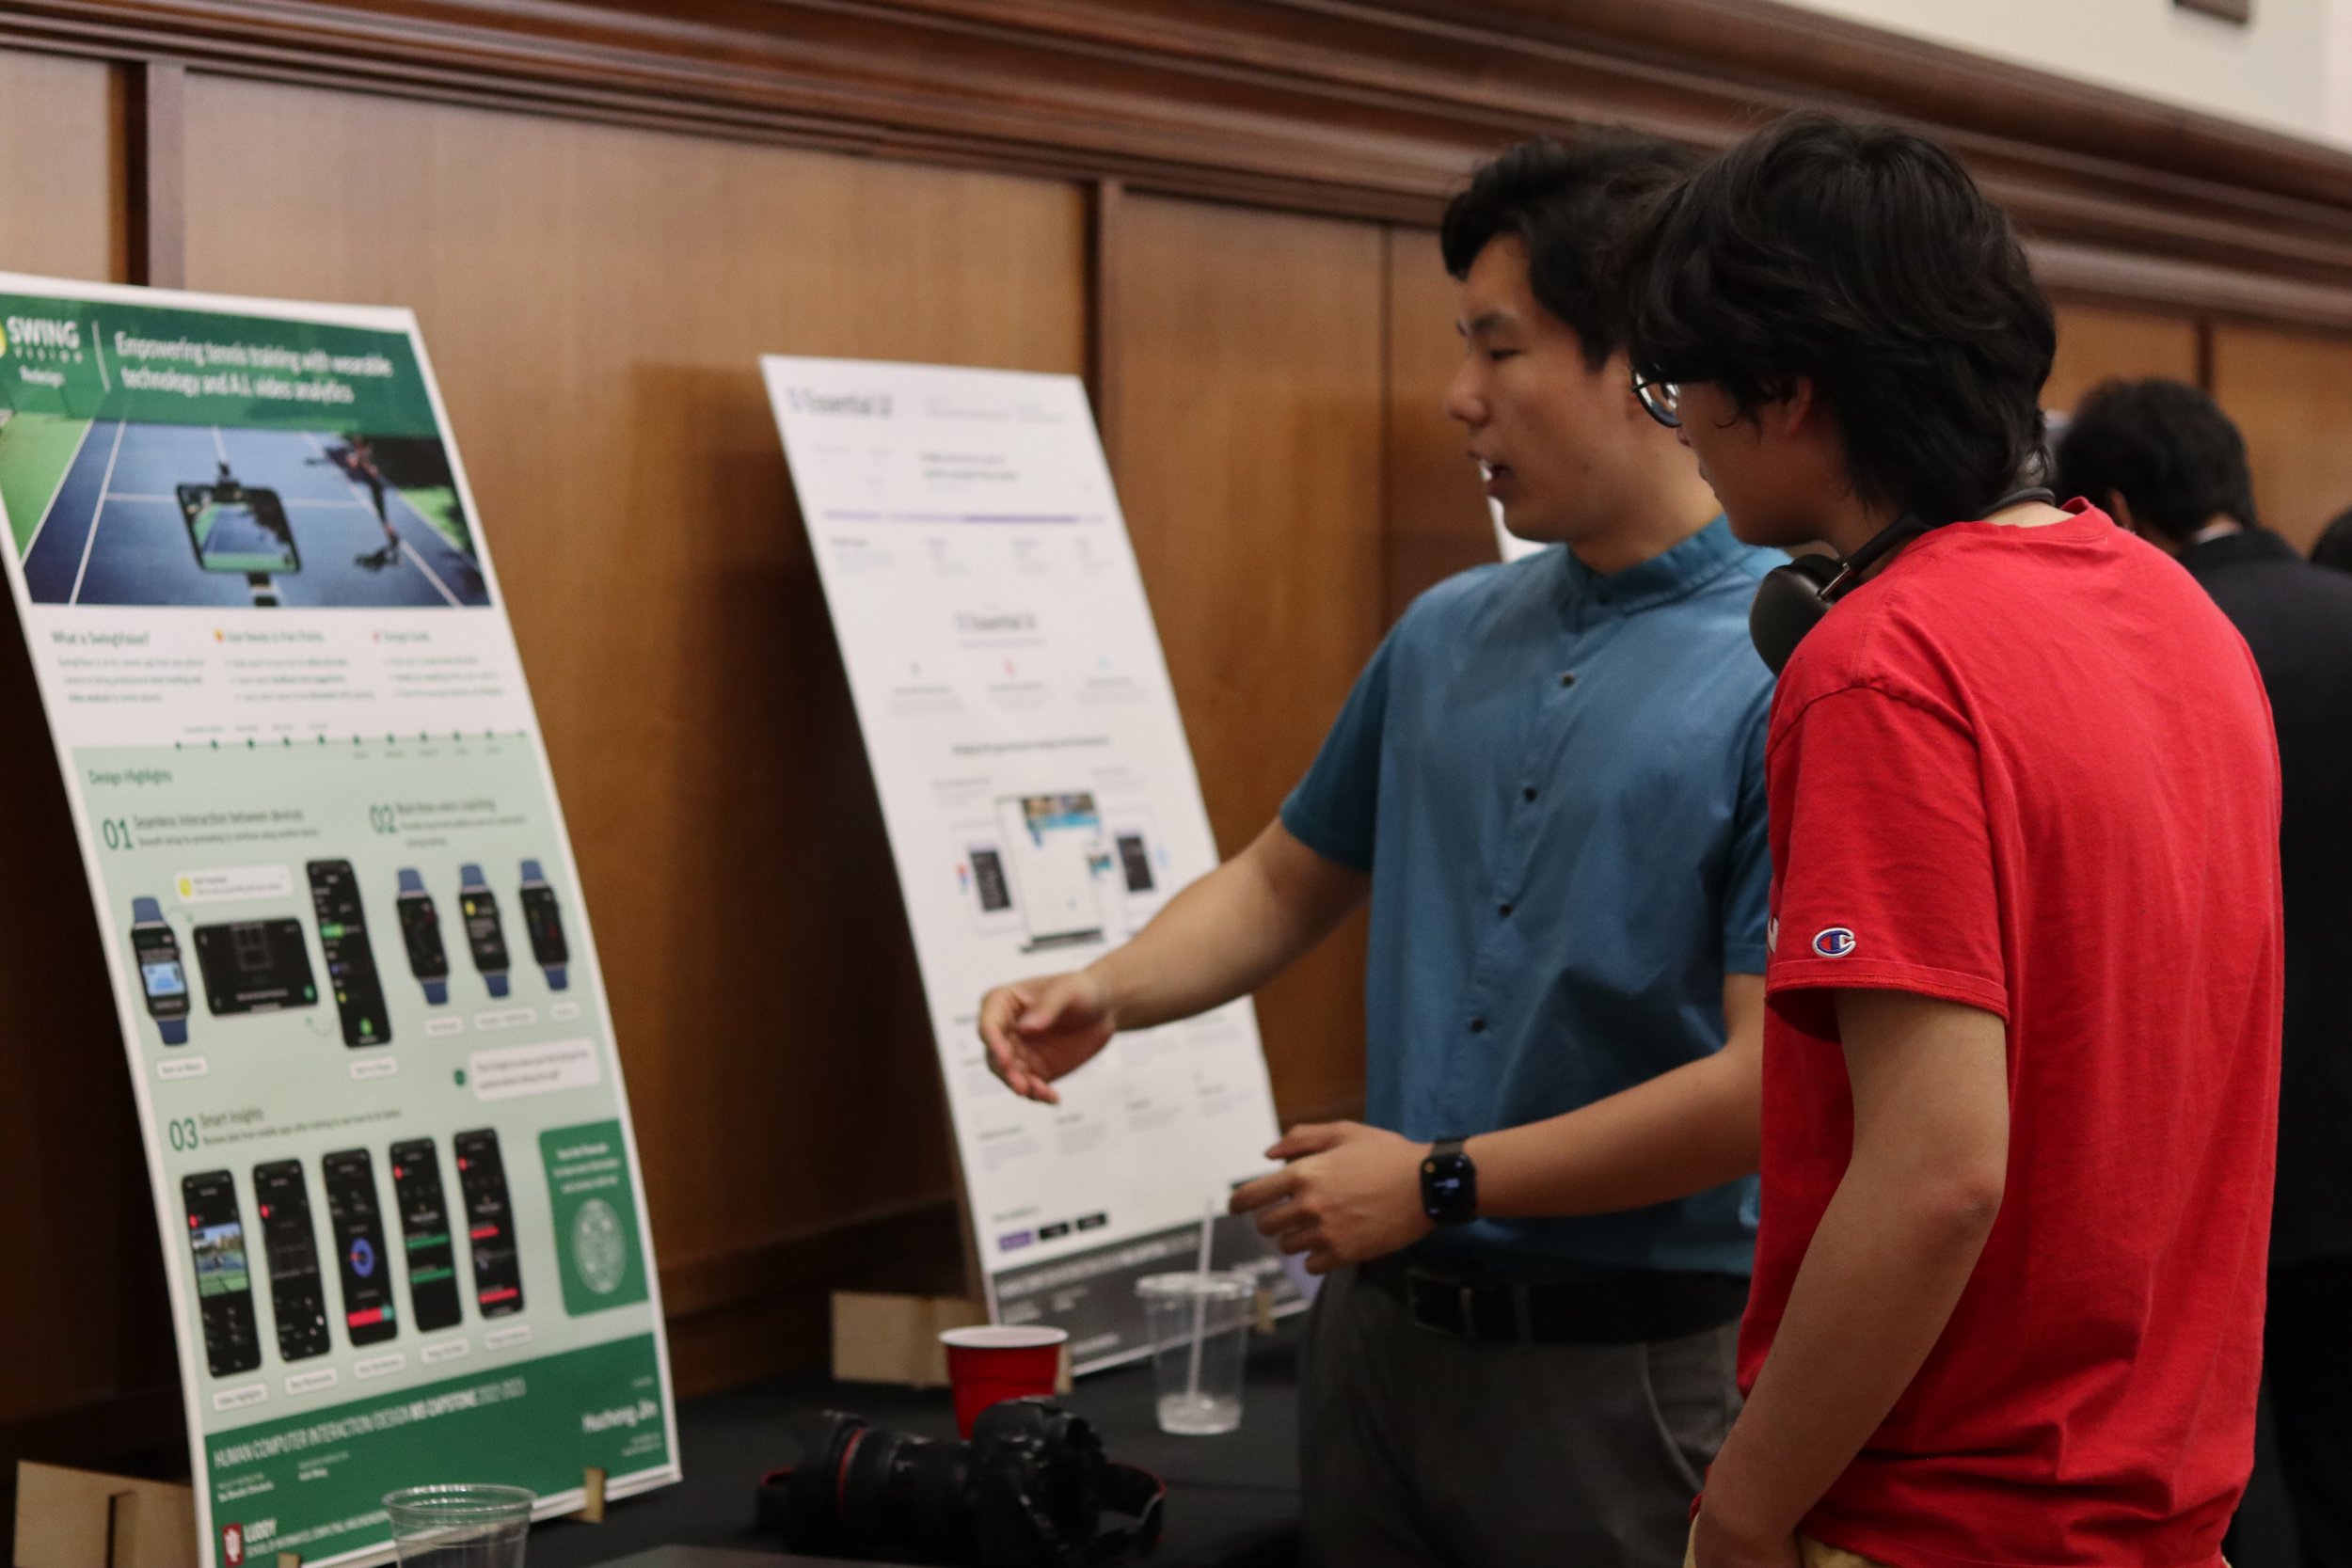
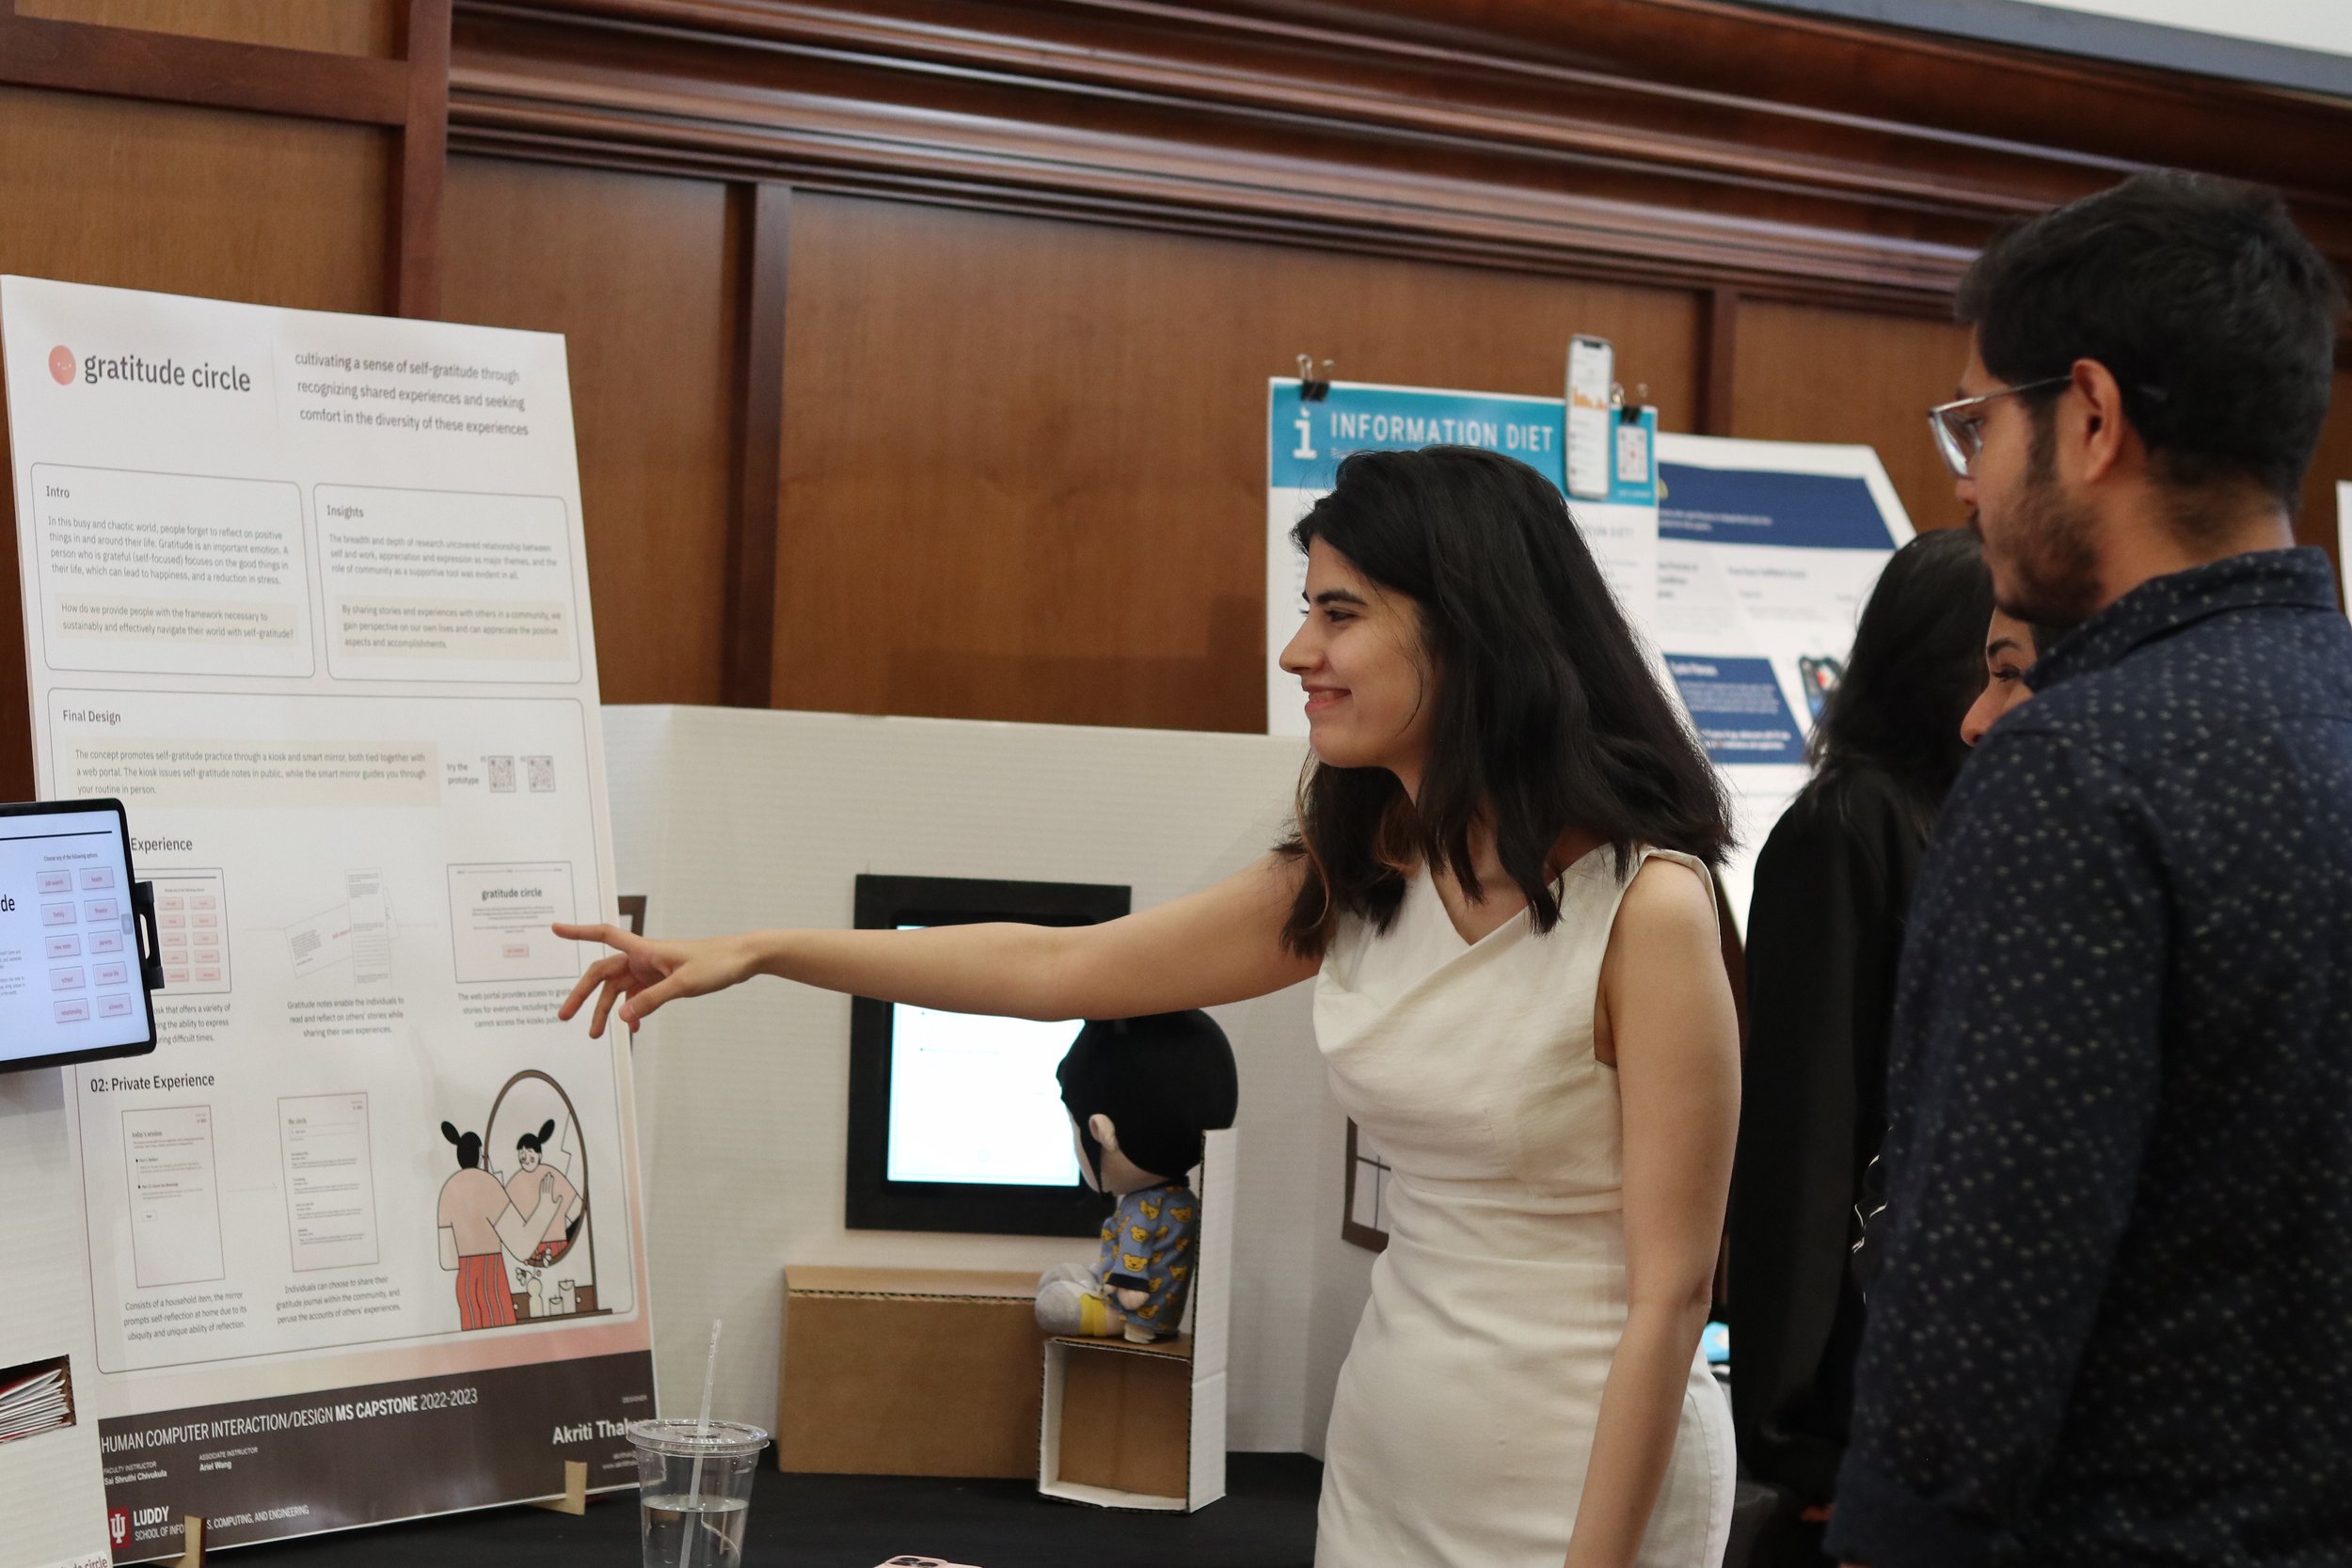
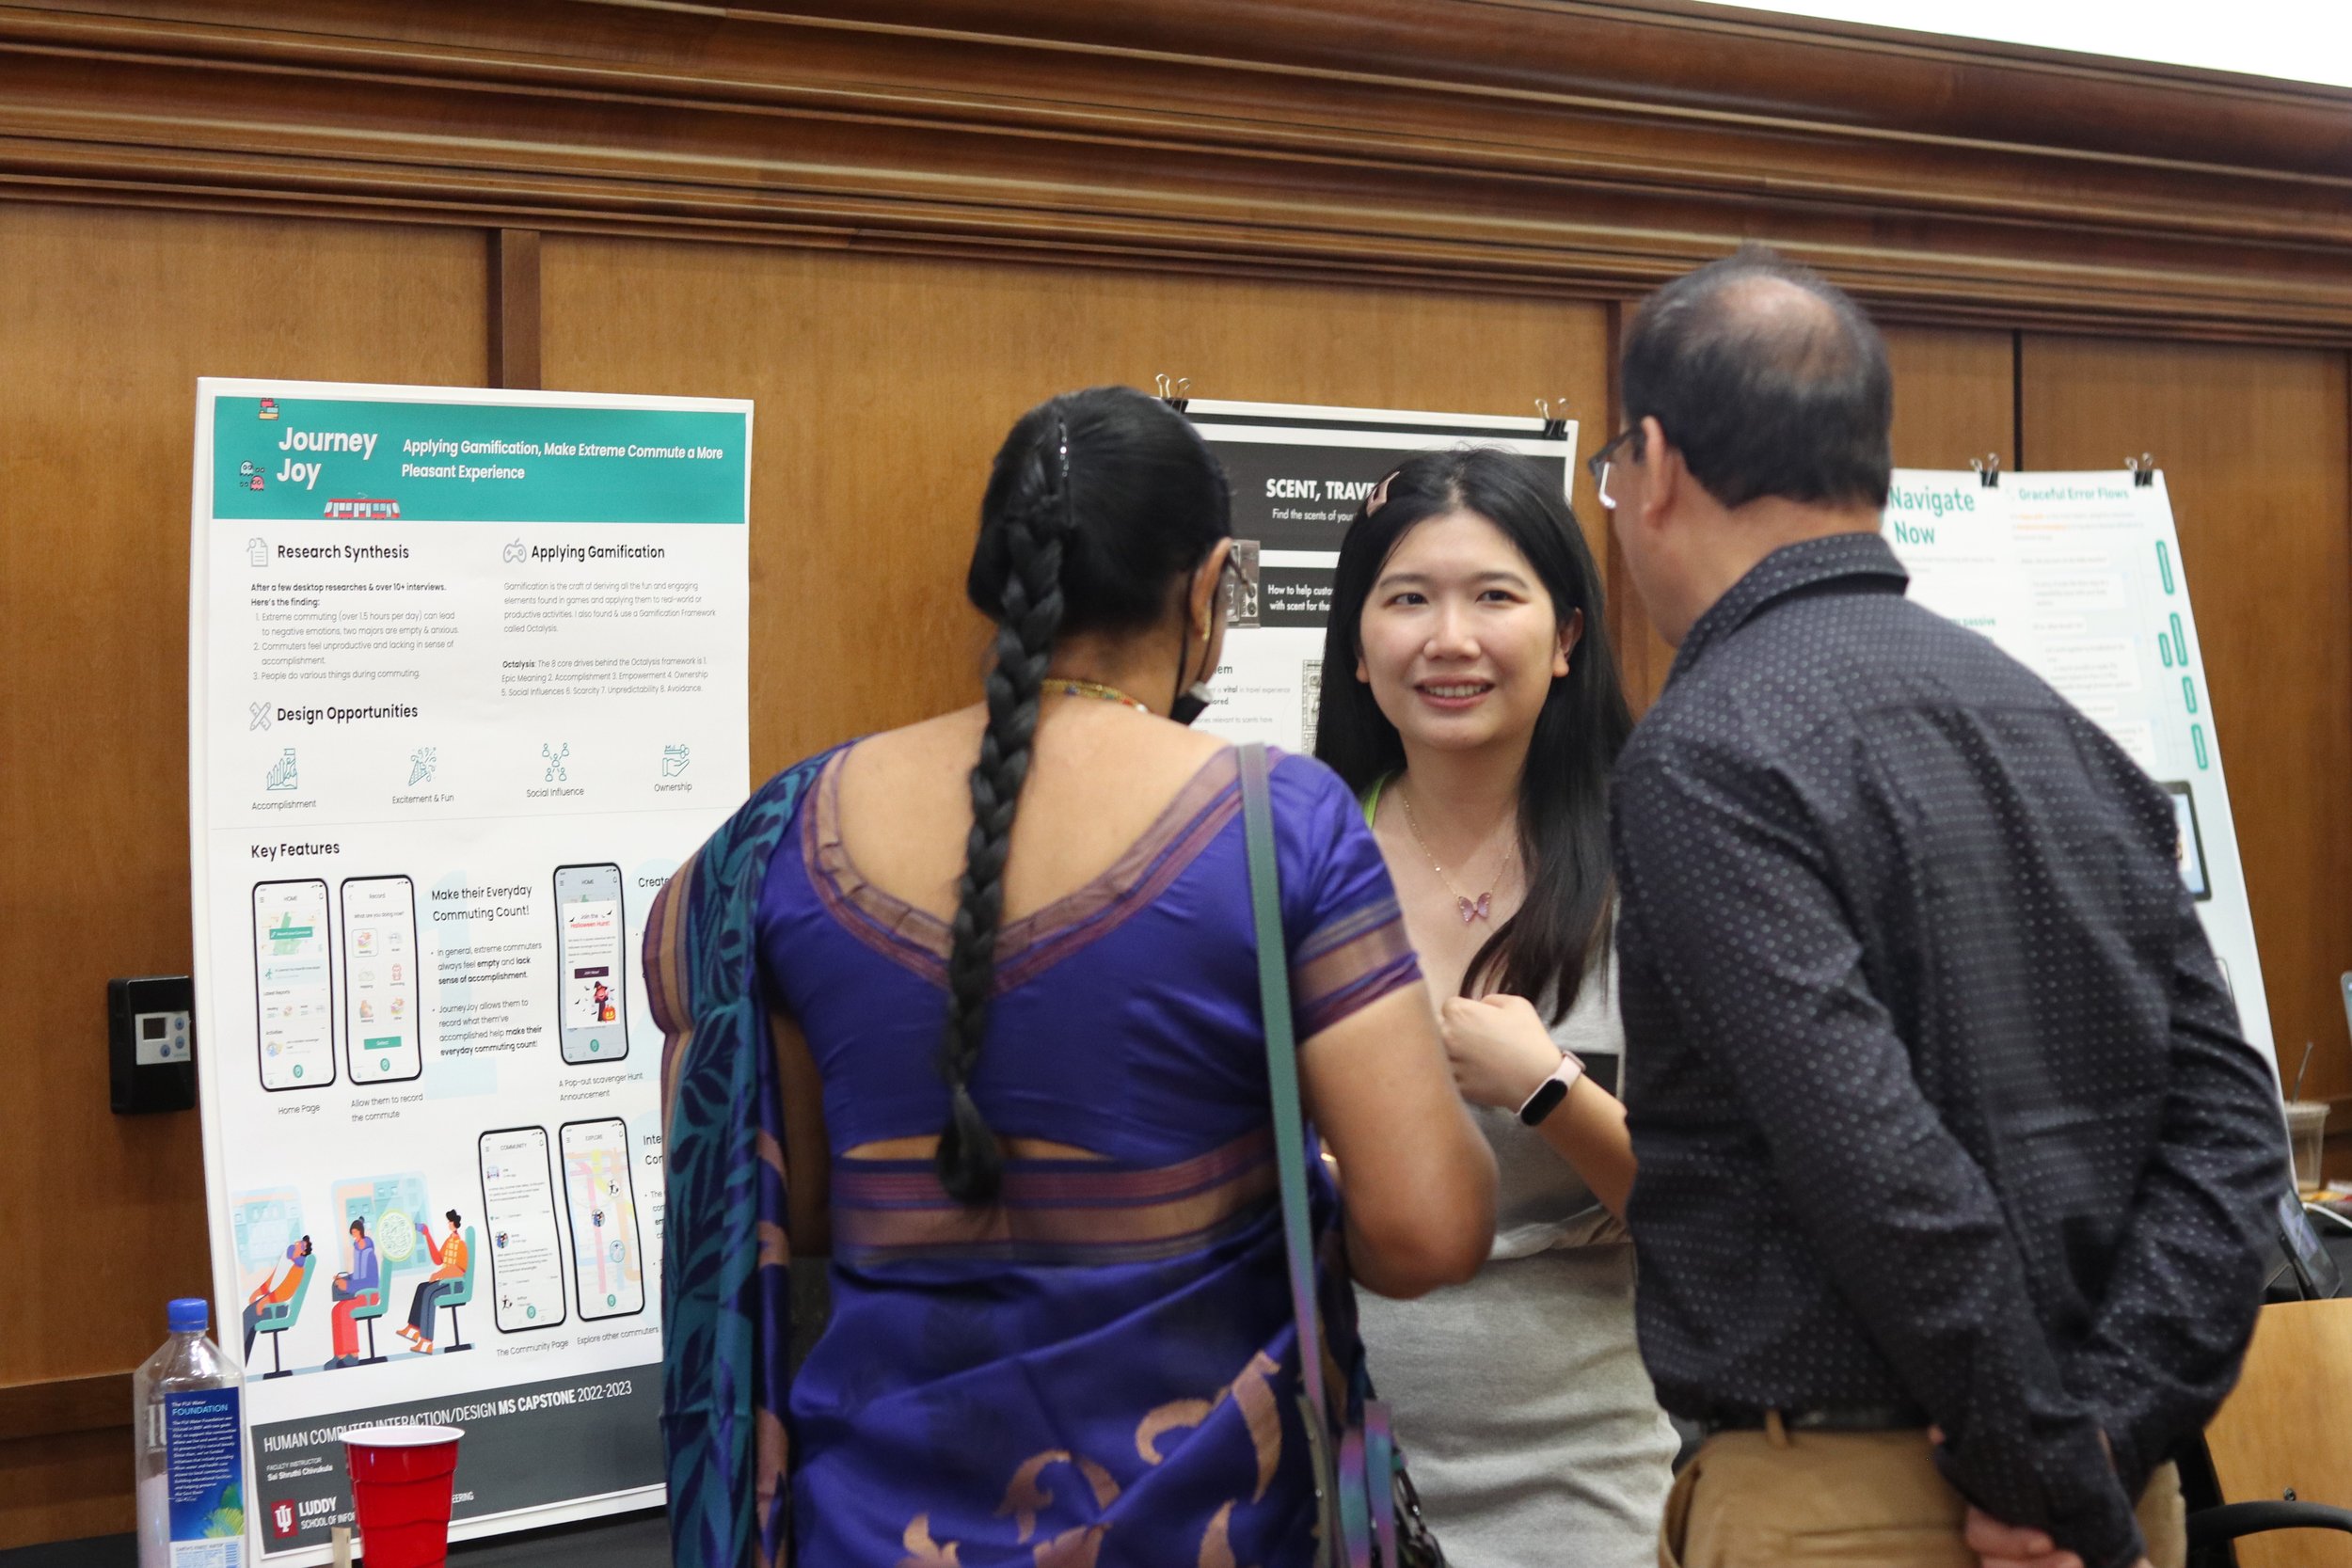
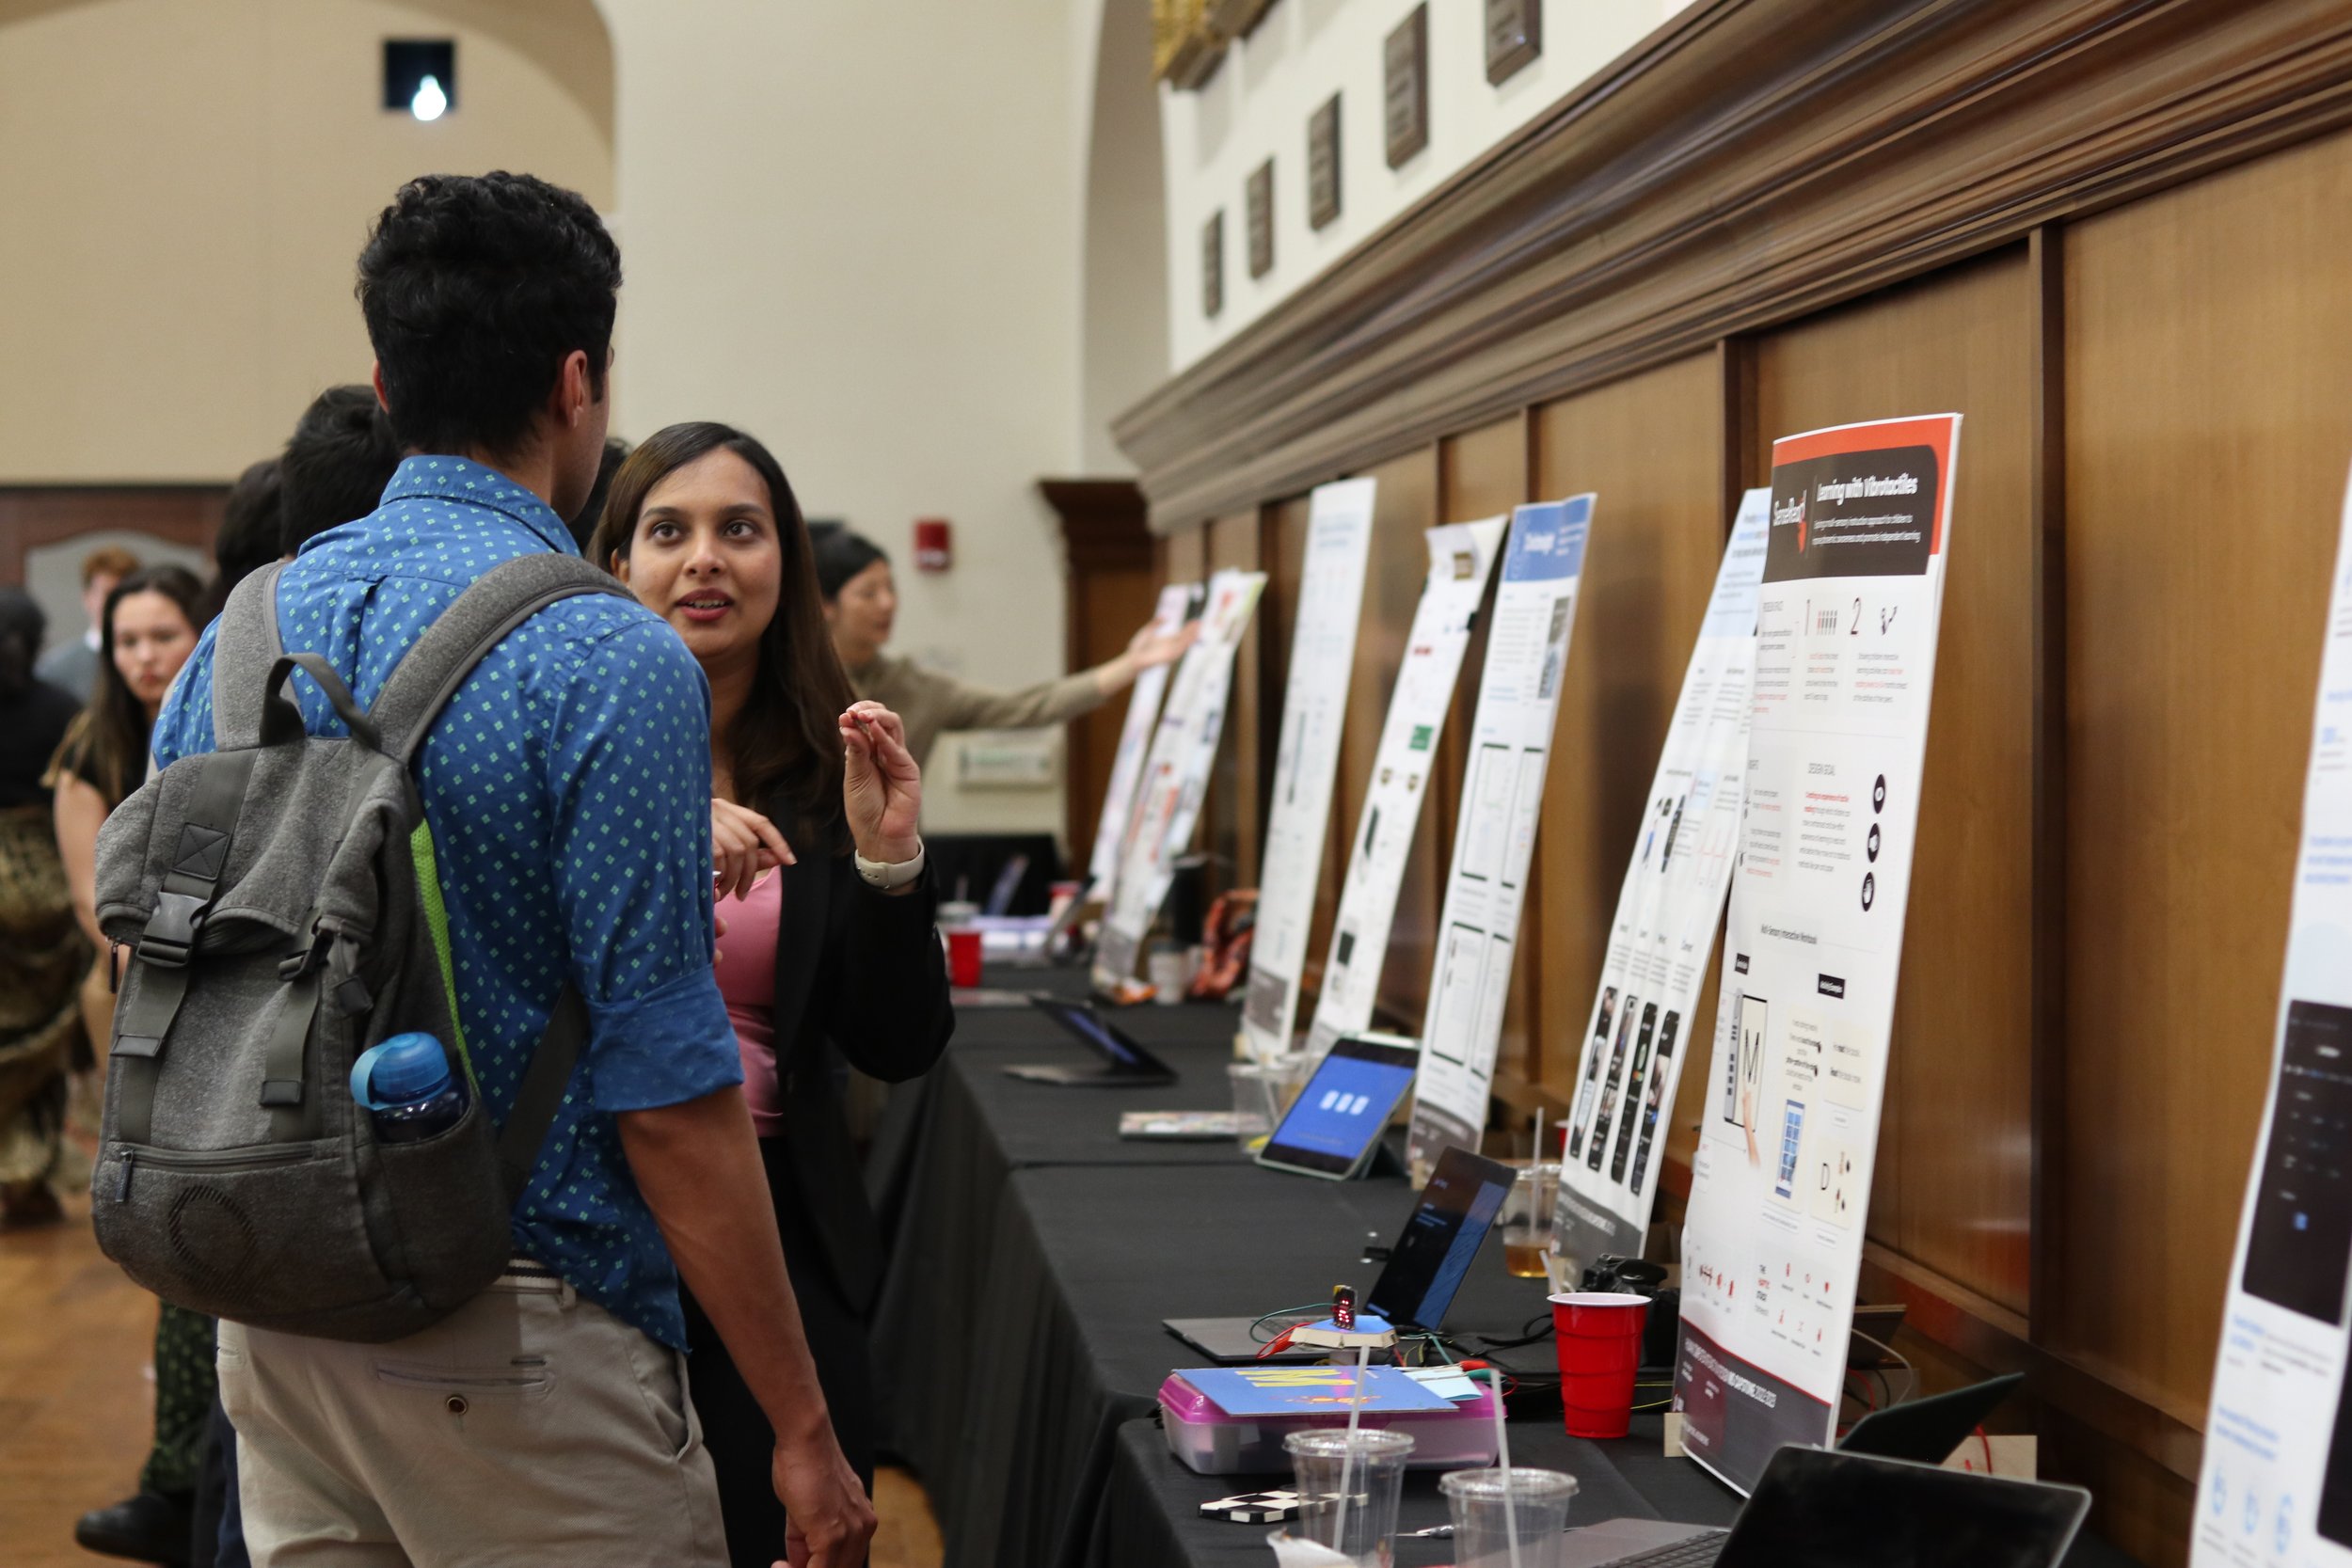
Final Capstone Fair
Just like this beautiful poem written by one of my students:
When I first saw you, I did not know your name
I thought you were a student, just like me, the same
Unbeknownst, I took a leap of faith, I took your class
Did not know, it was a trap, and I fell fast
For it was Methods of Interaction design, INFO-I543
We stalked and not observed people from the top of a tree
Soon it was the thesis class in the autumn
That it would be a semester of stress and anxiety, who could have fathomed?
We researched, we documented
We designed, we lamented
We walked the gallery walk
We talked the desk critique talk
And the climb was precipitous
And the trees were deciduous
The earth took a round around the sun
The sun we sure did outrun.
Thus came the day of posters and boards
Of glue, props, and of electric cords
People ran, people cried
Oh to see projects, oh so divine
And before you knew it, it was over
To overtake us with nostalgia, to give us that closure.
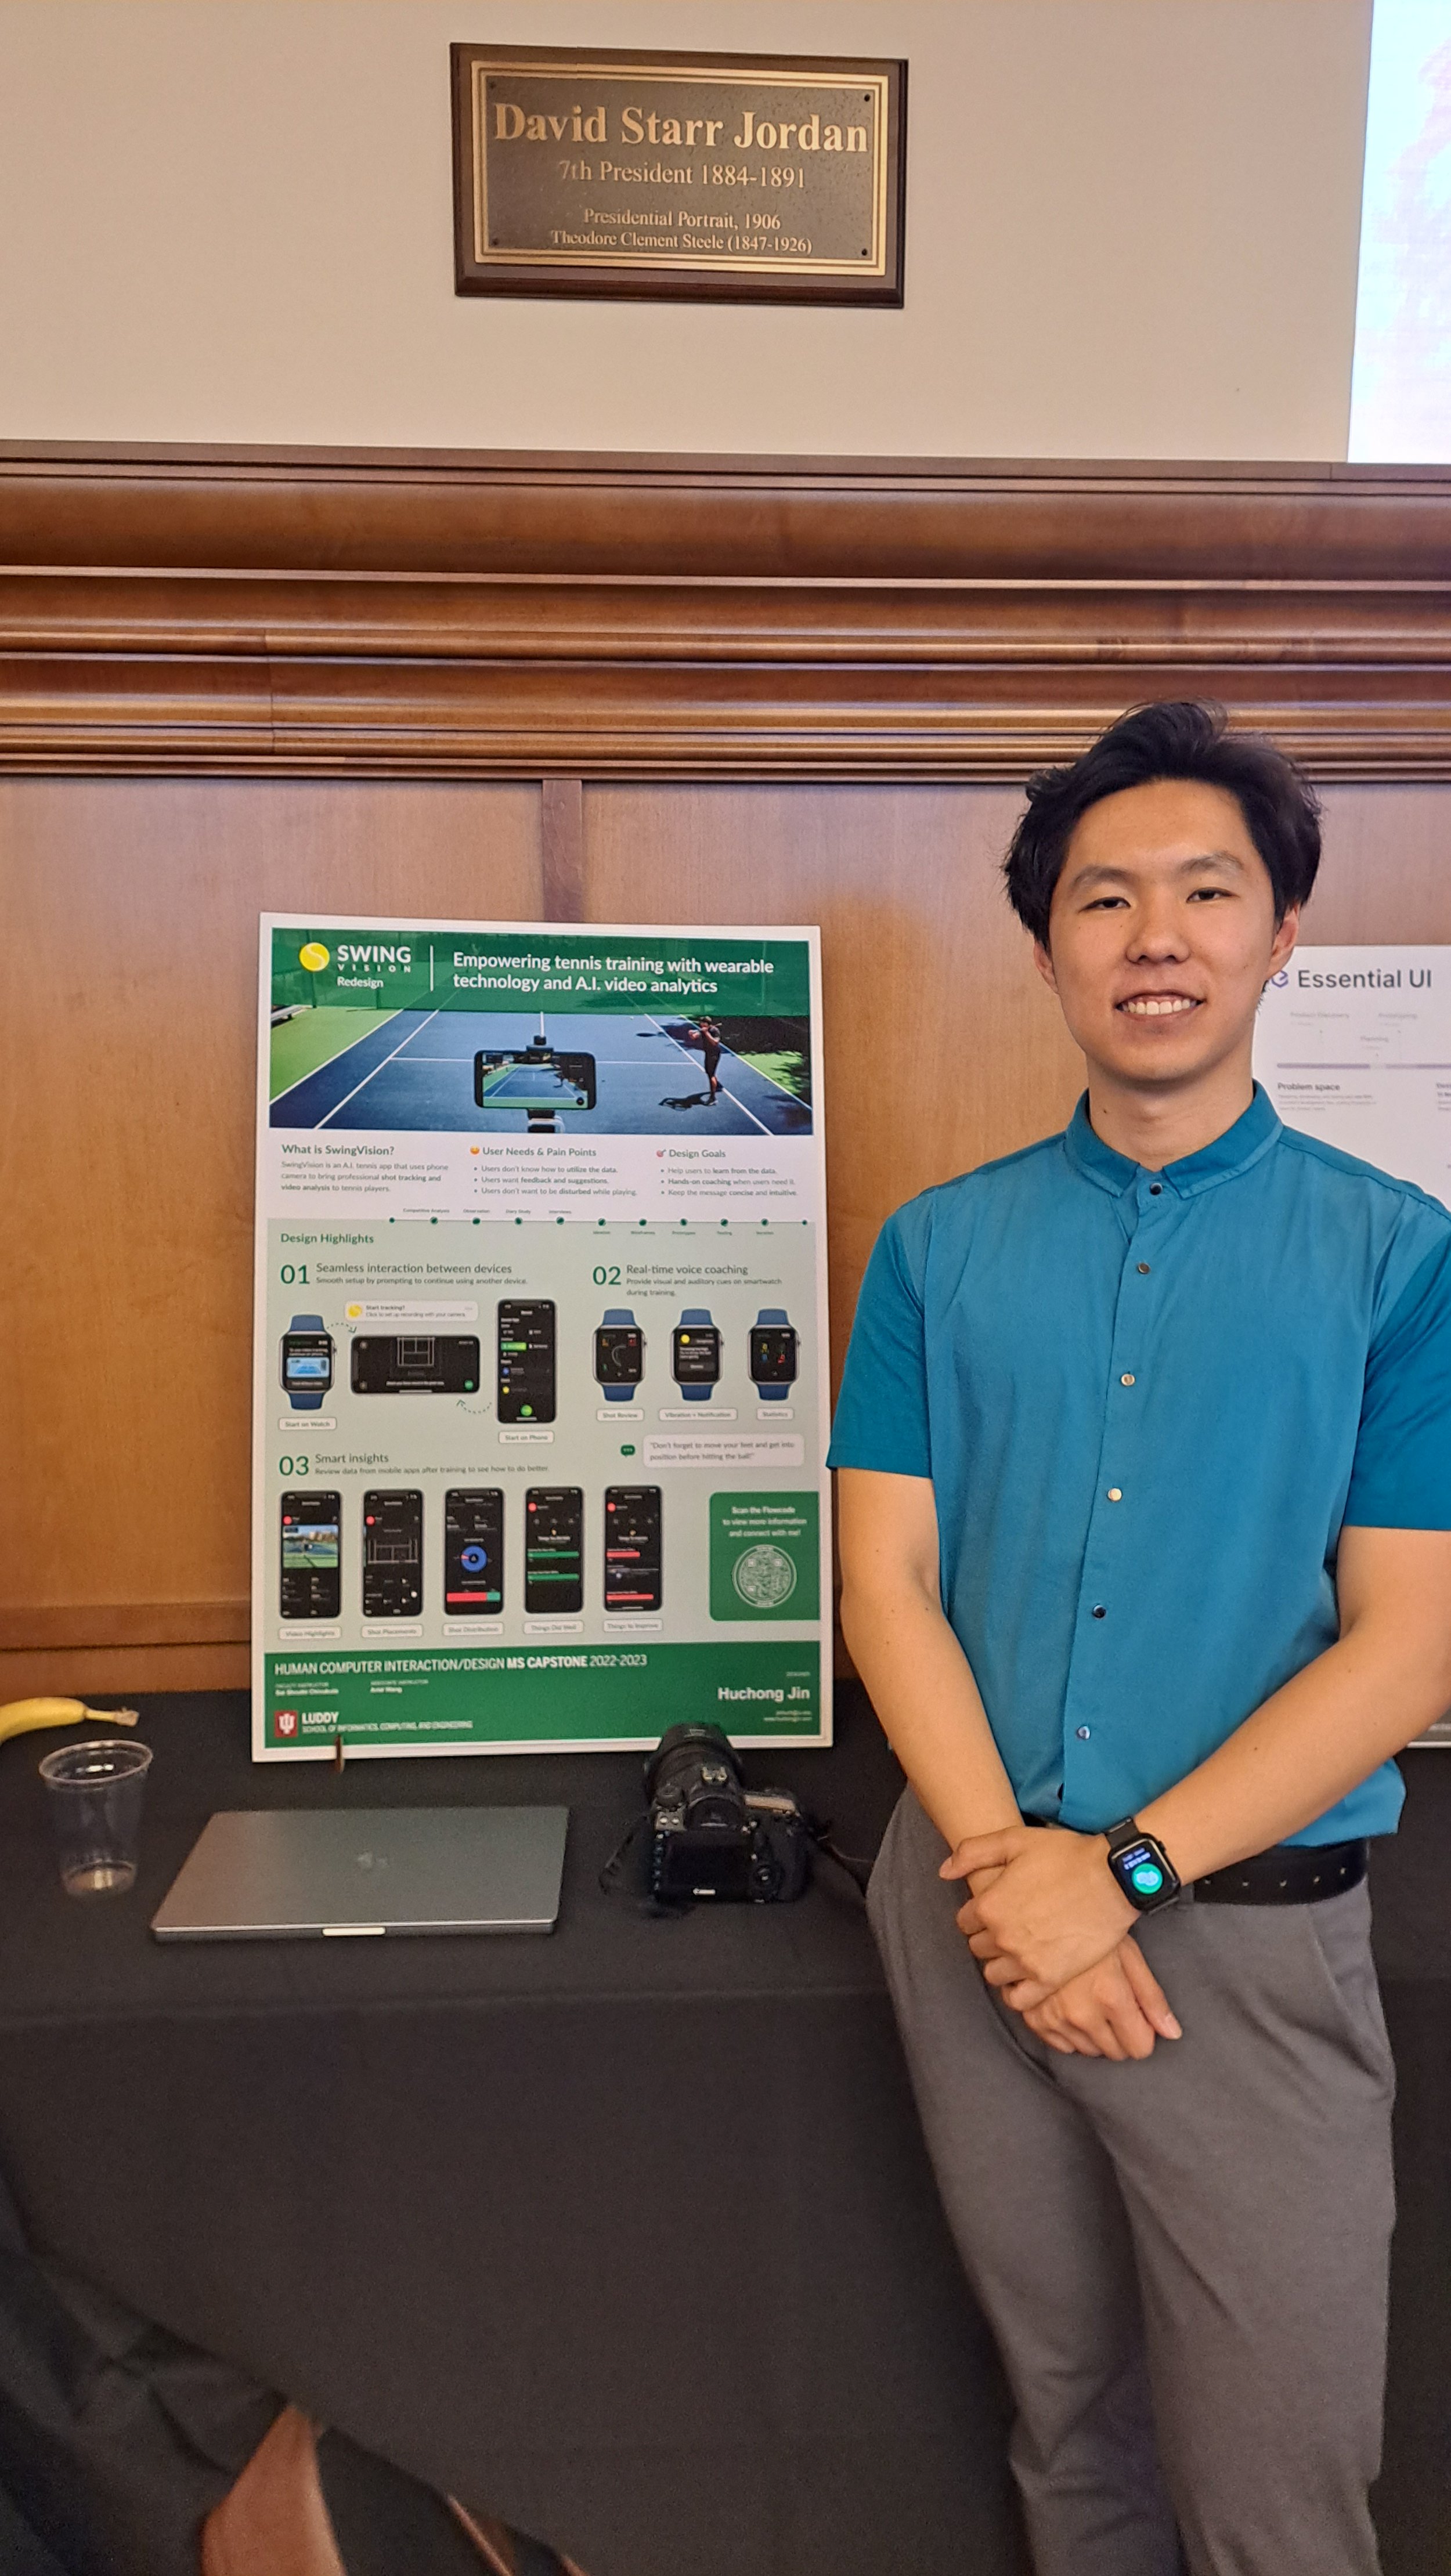
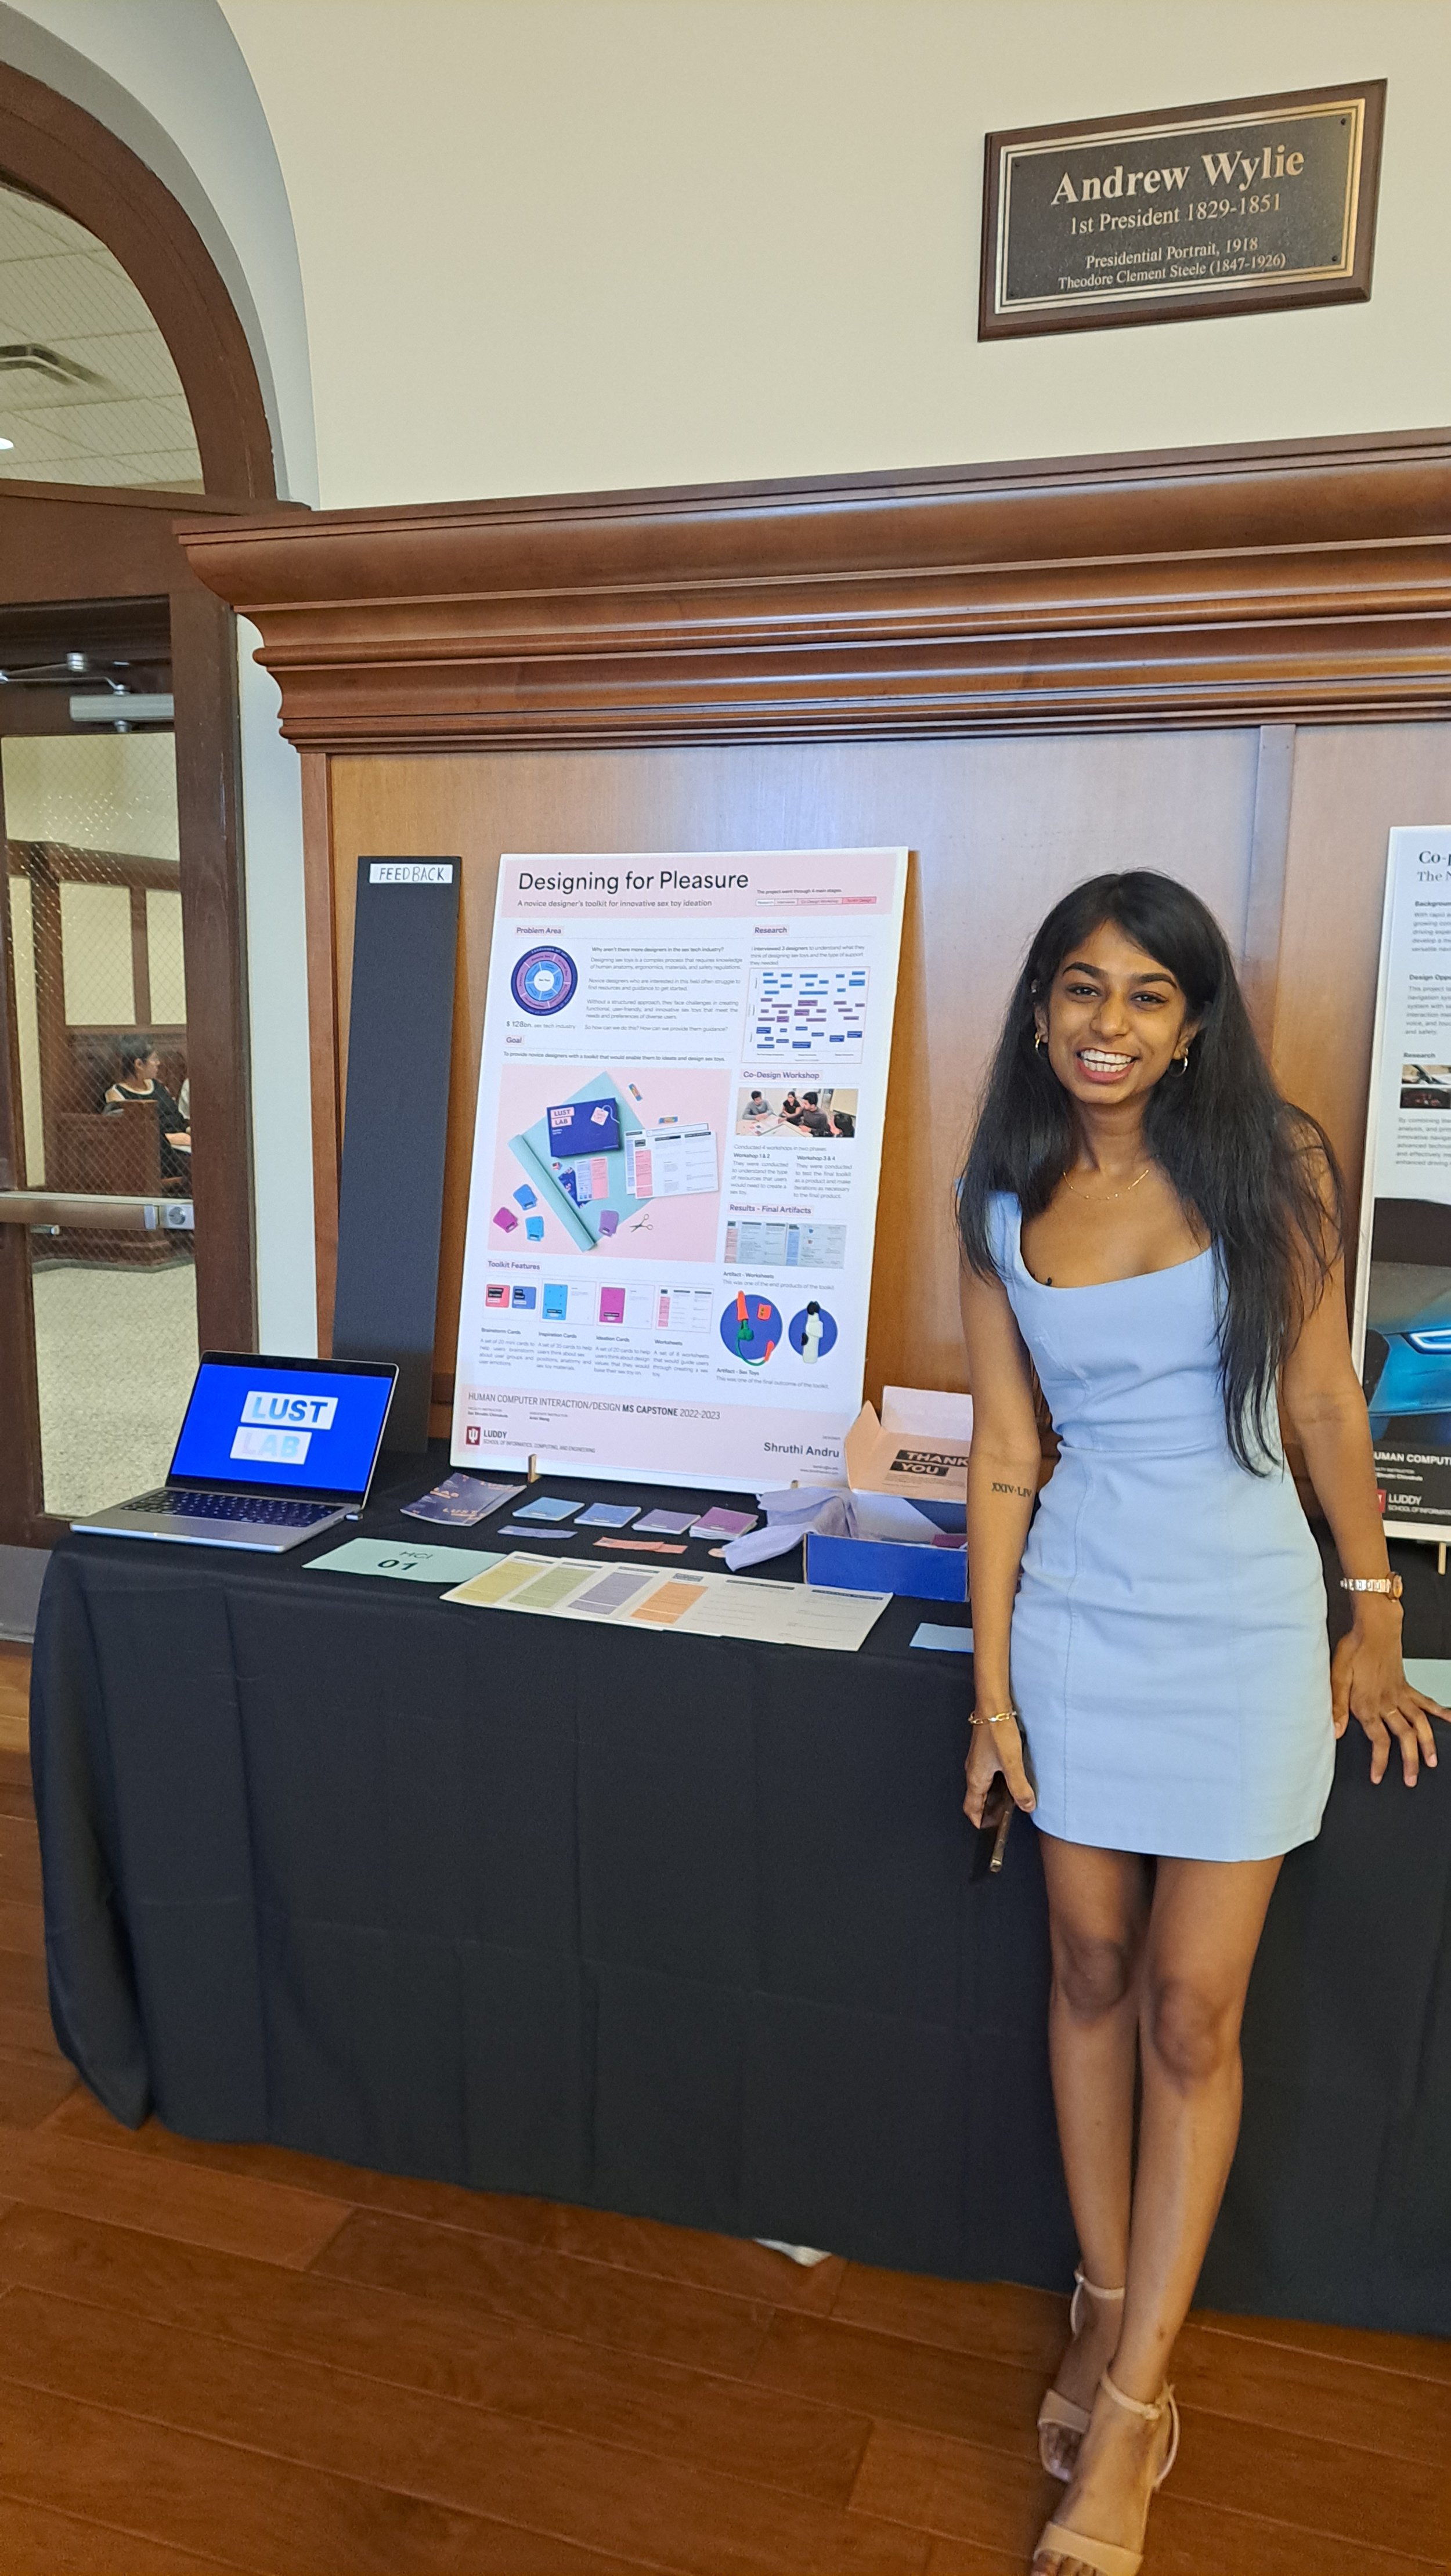
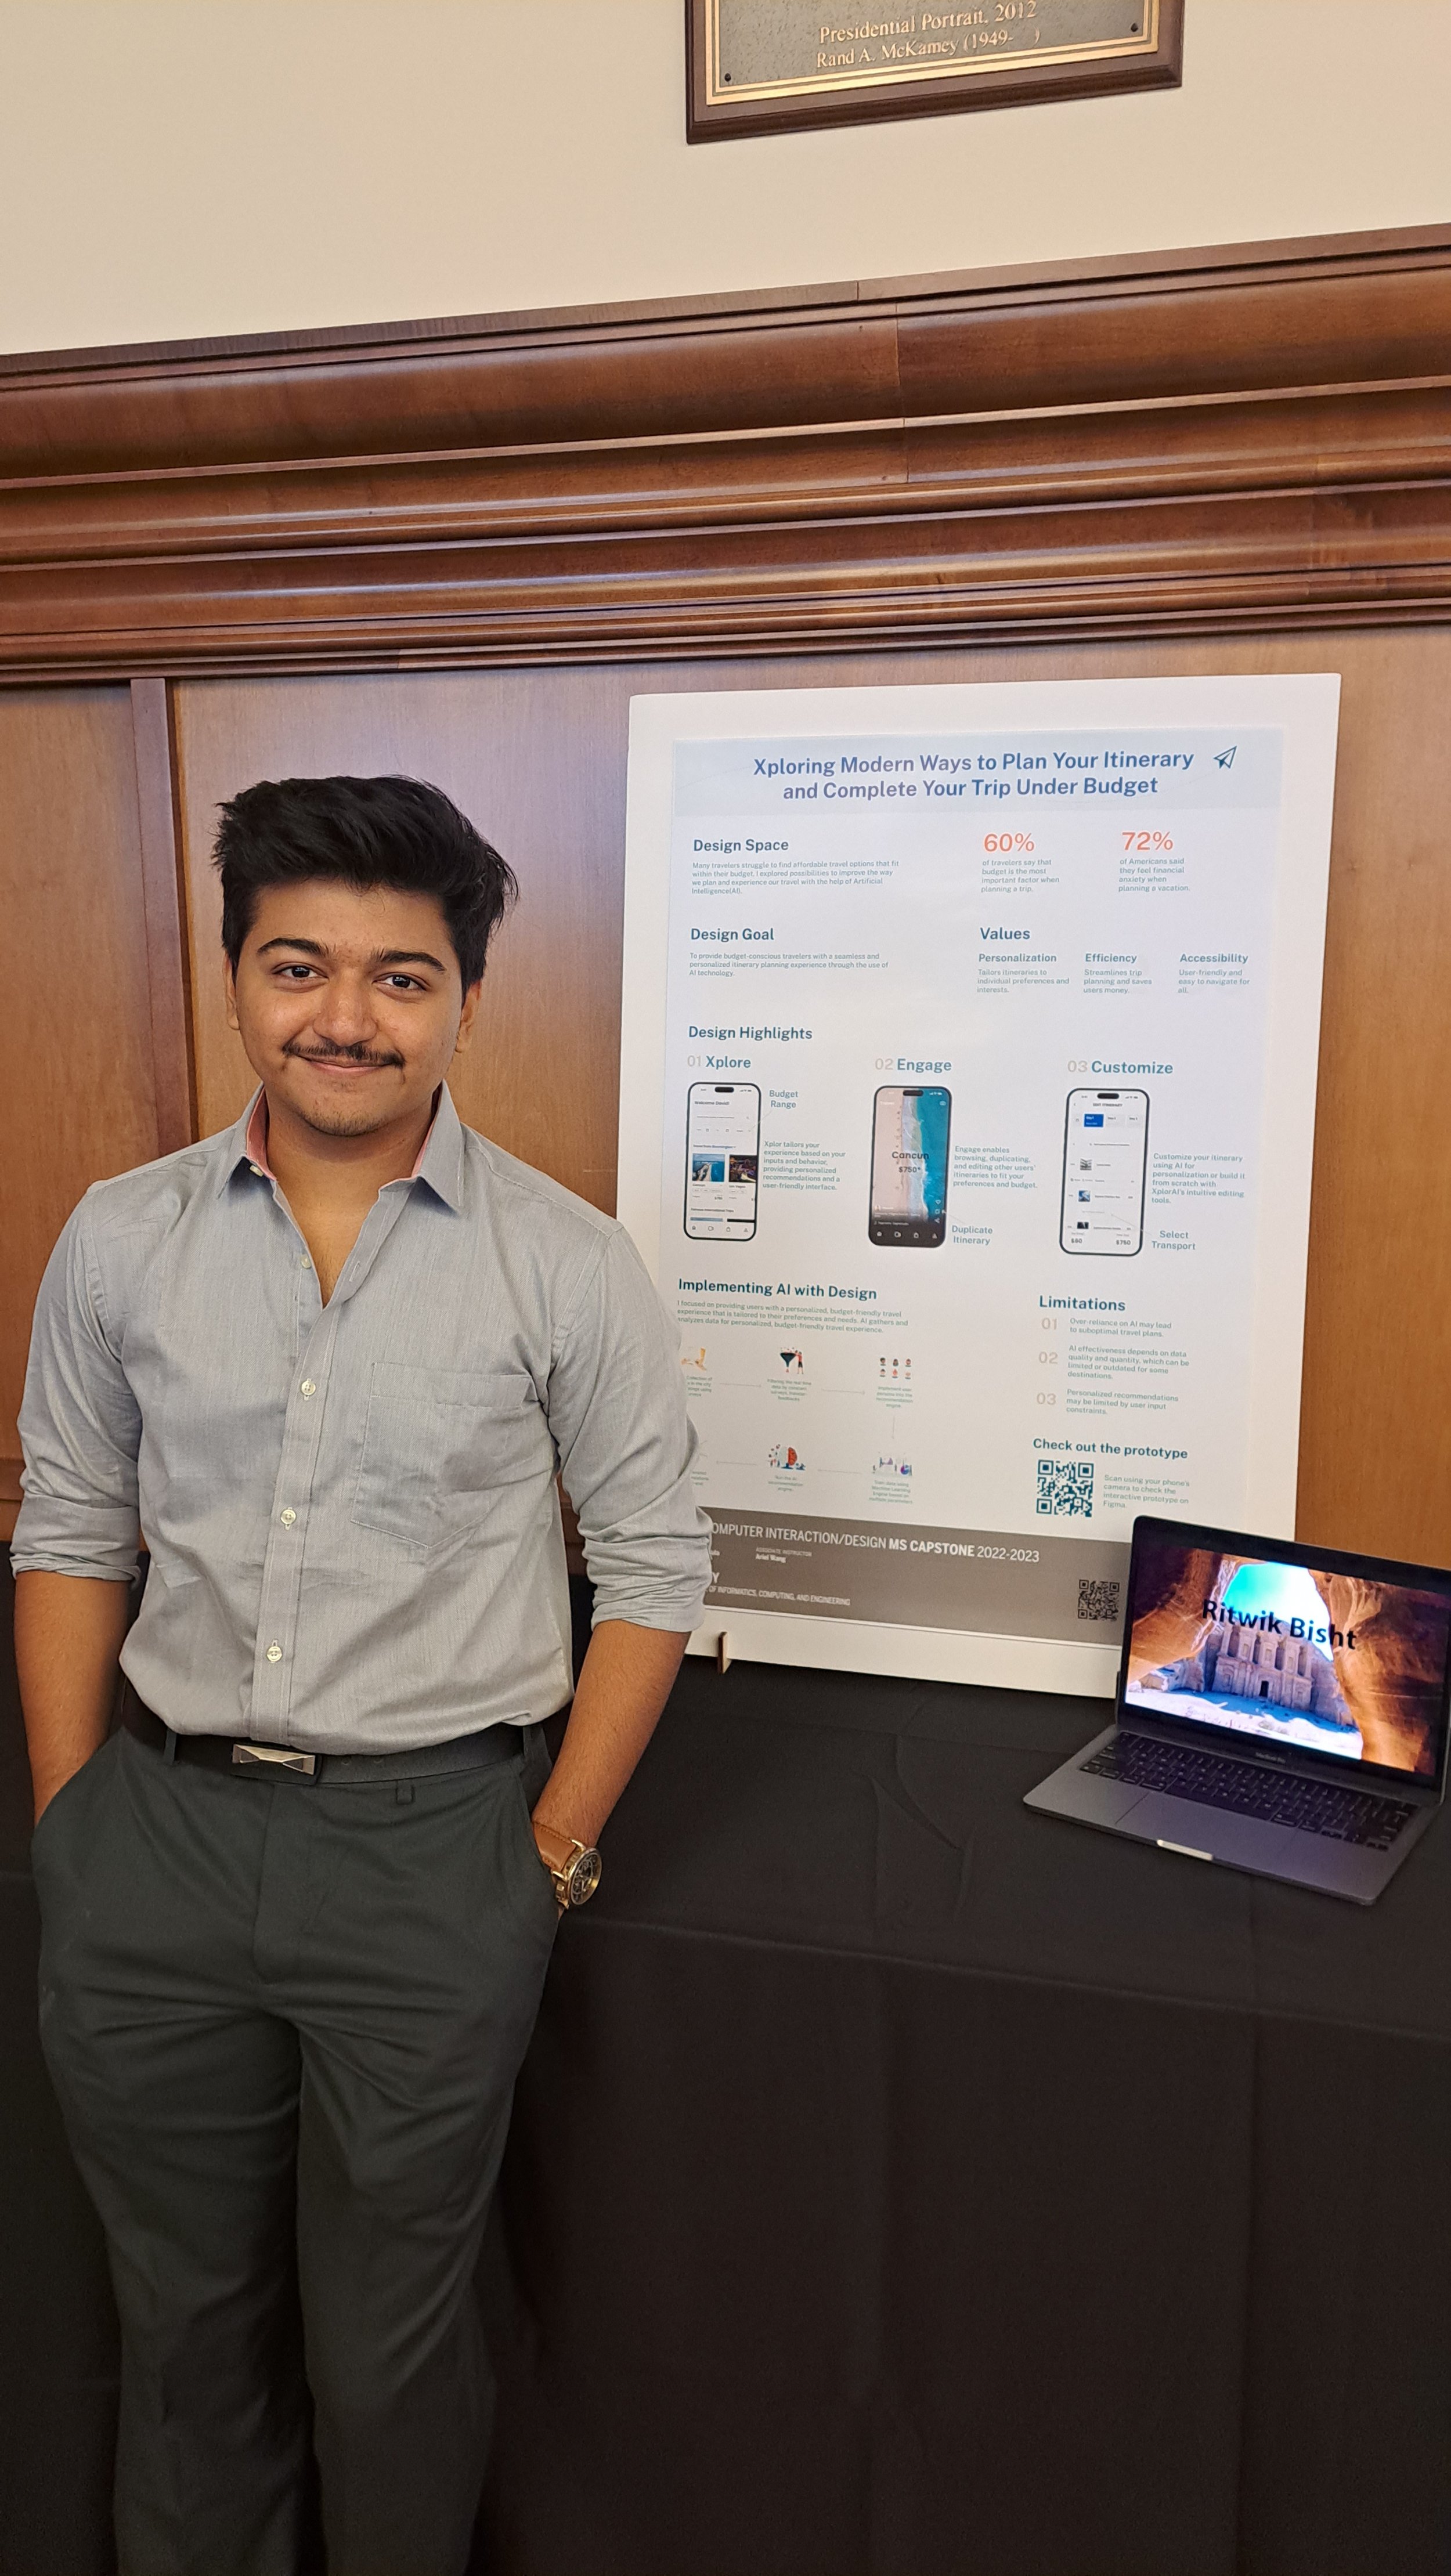
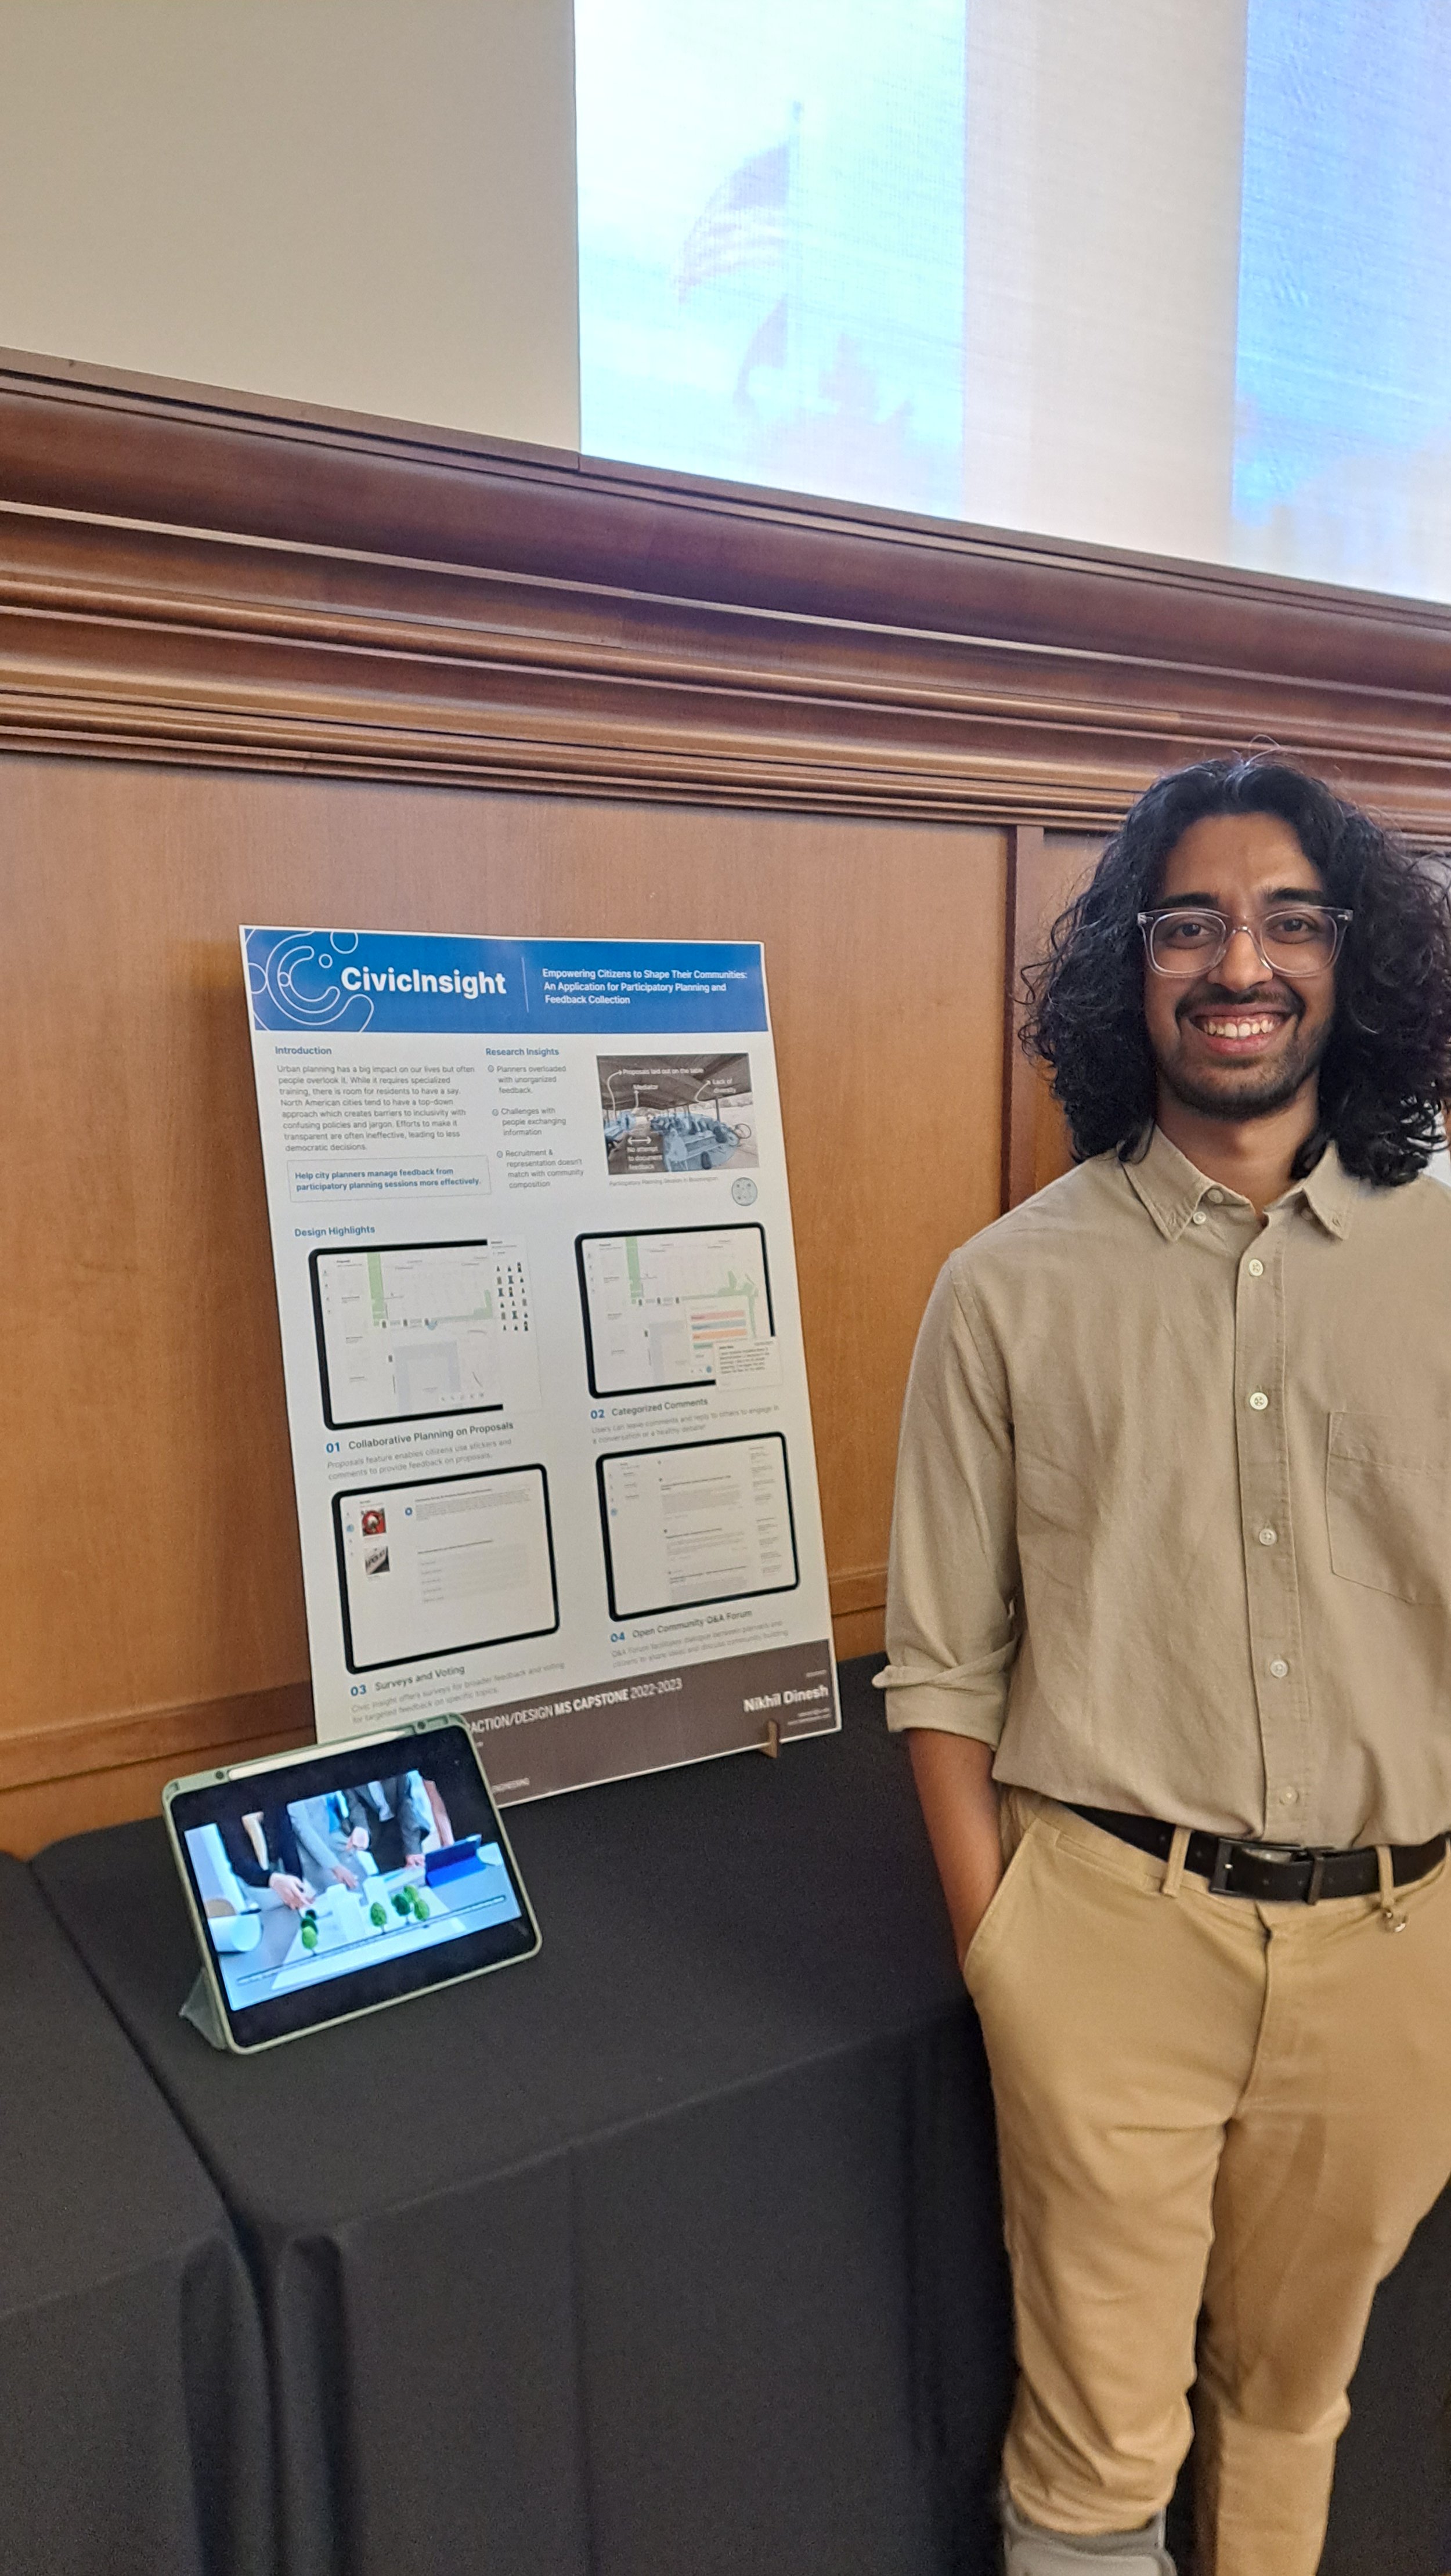

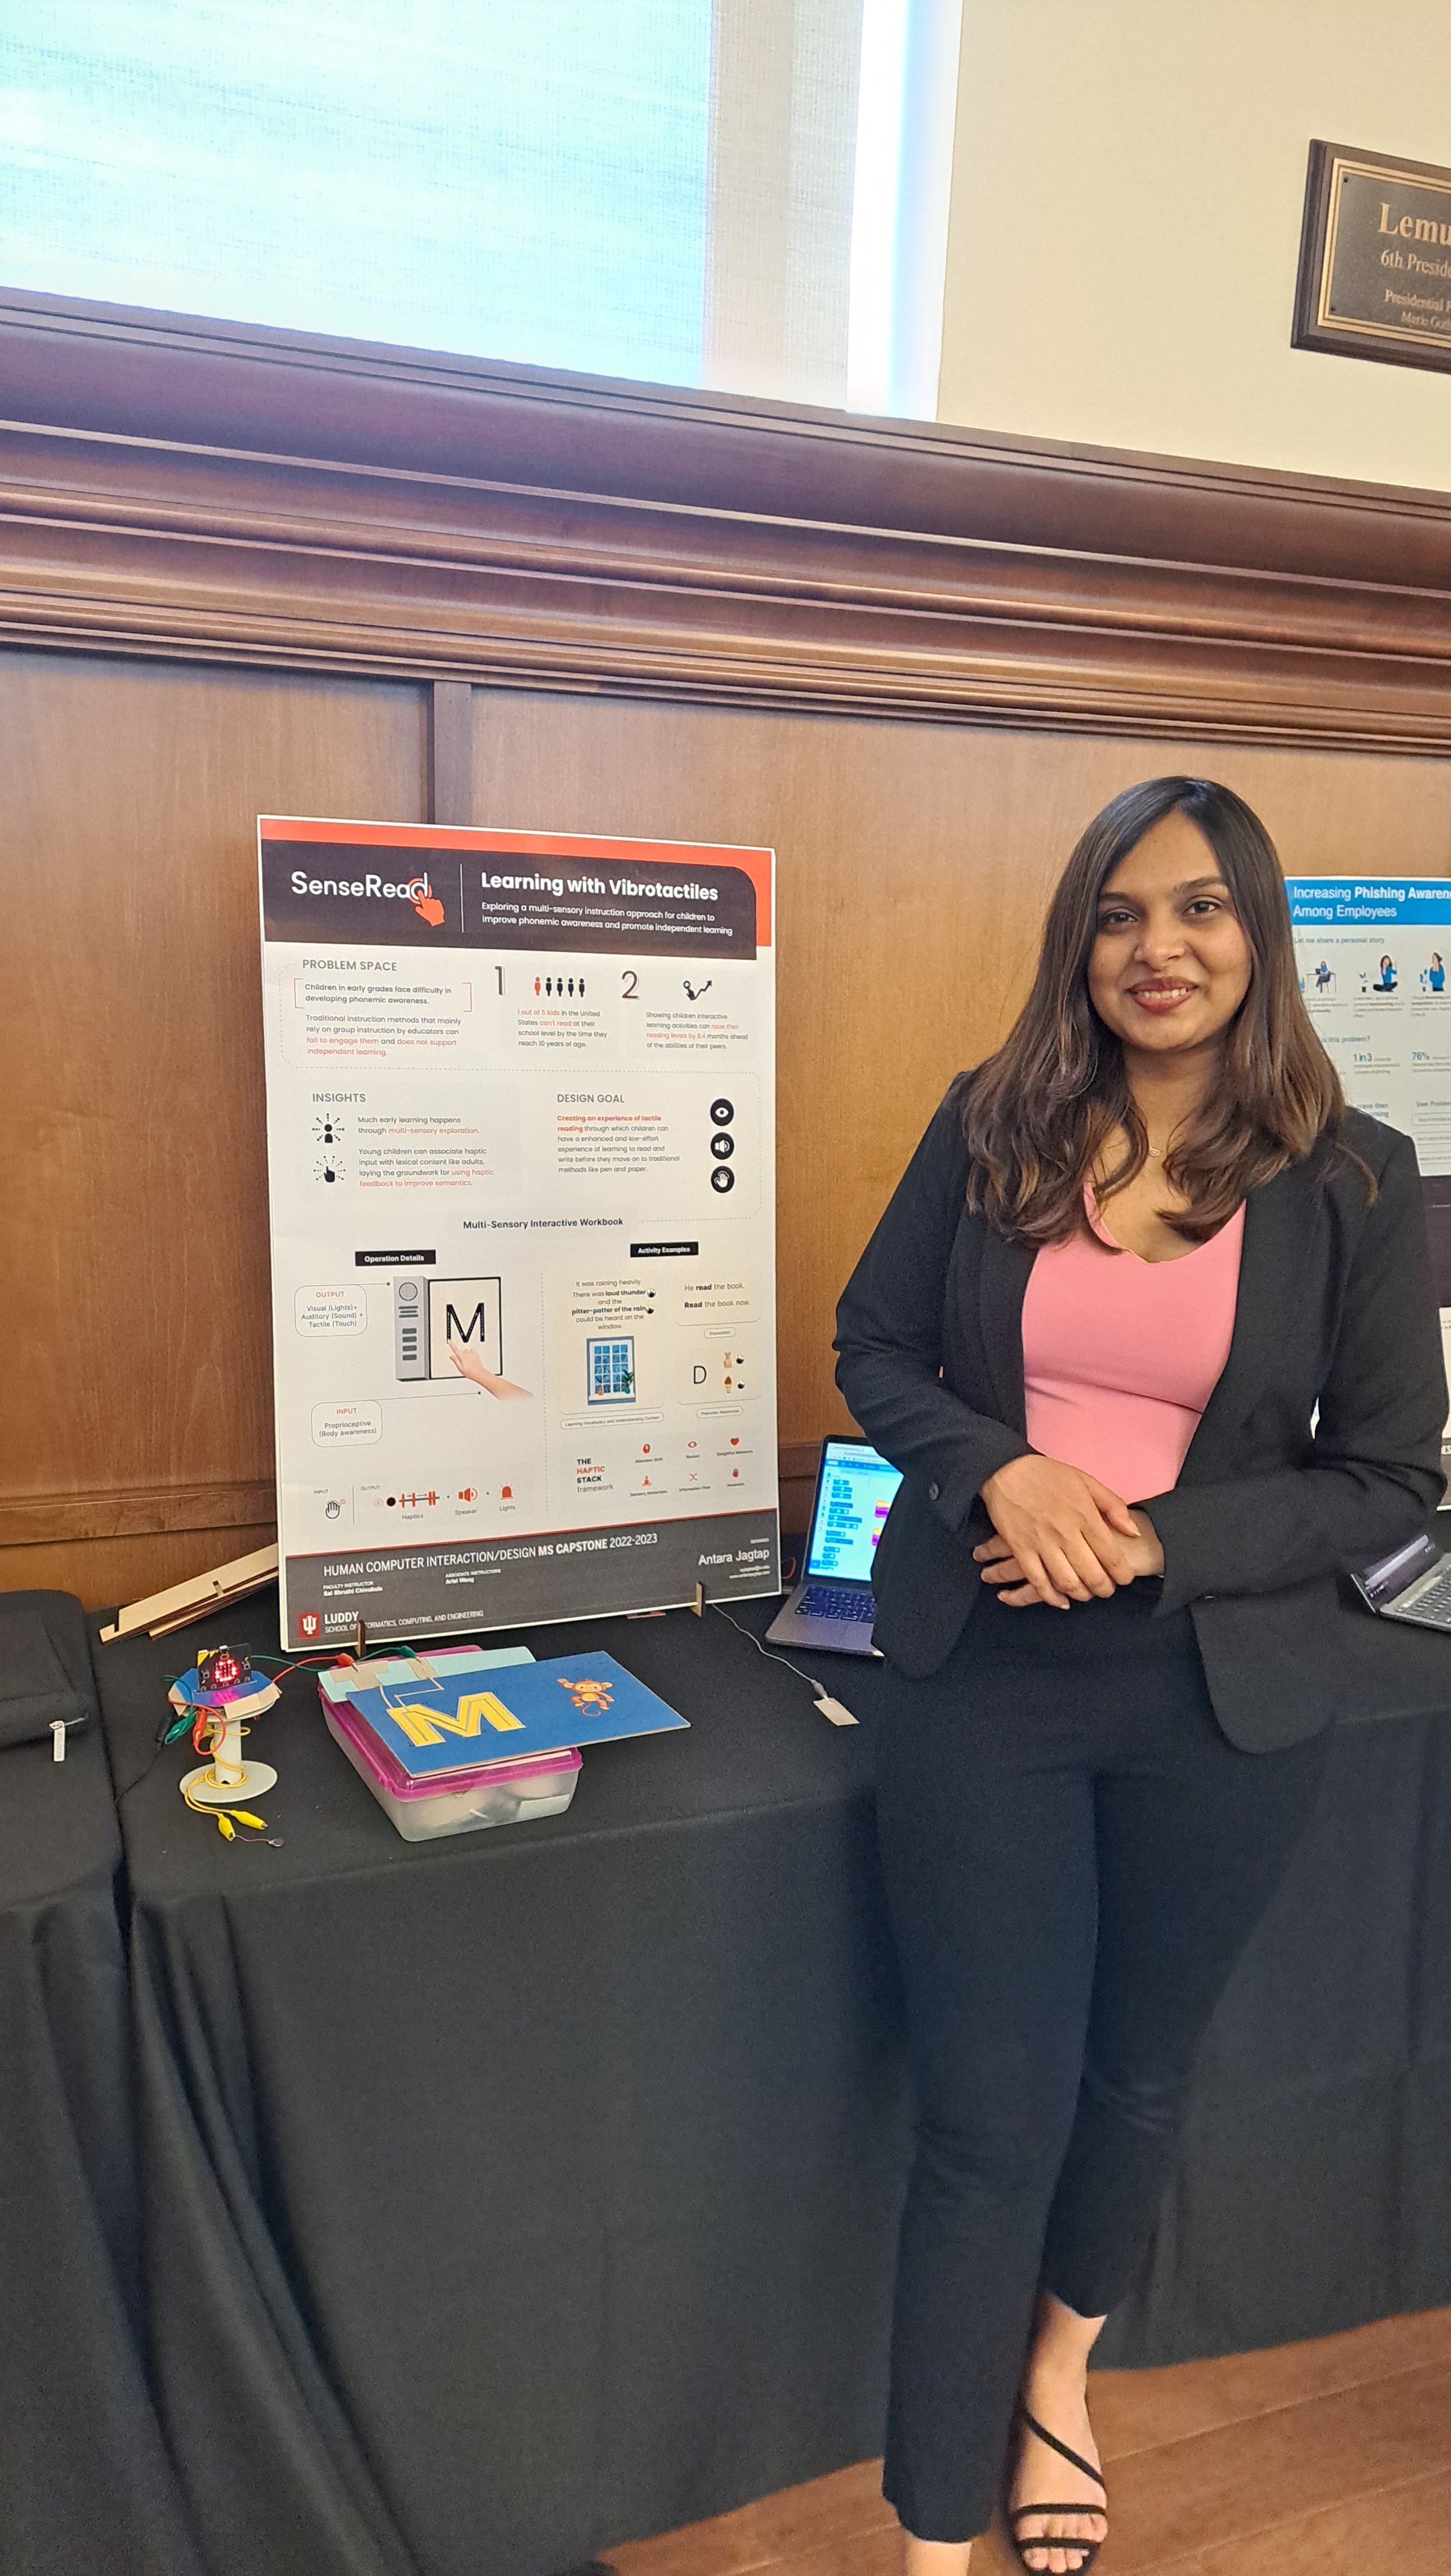
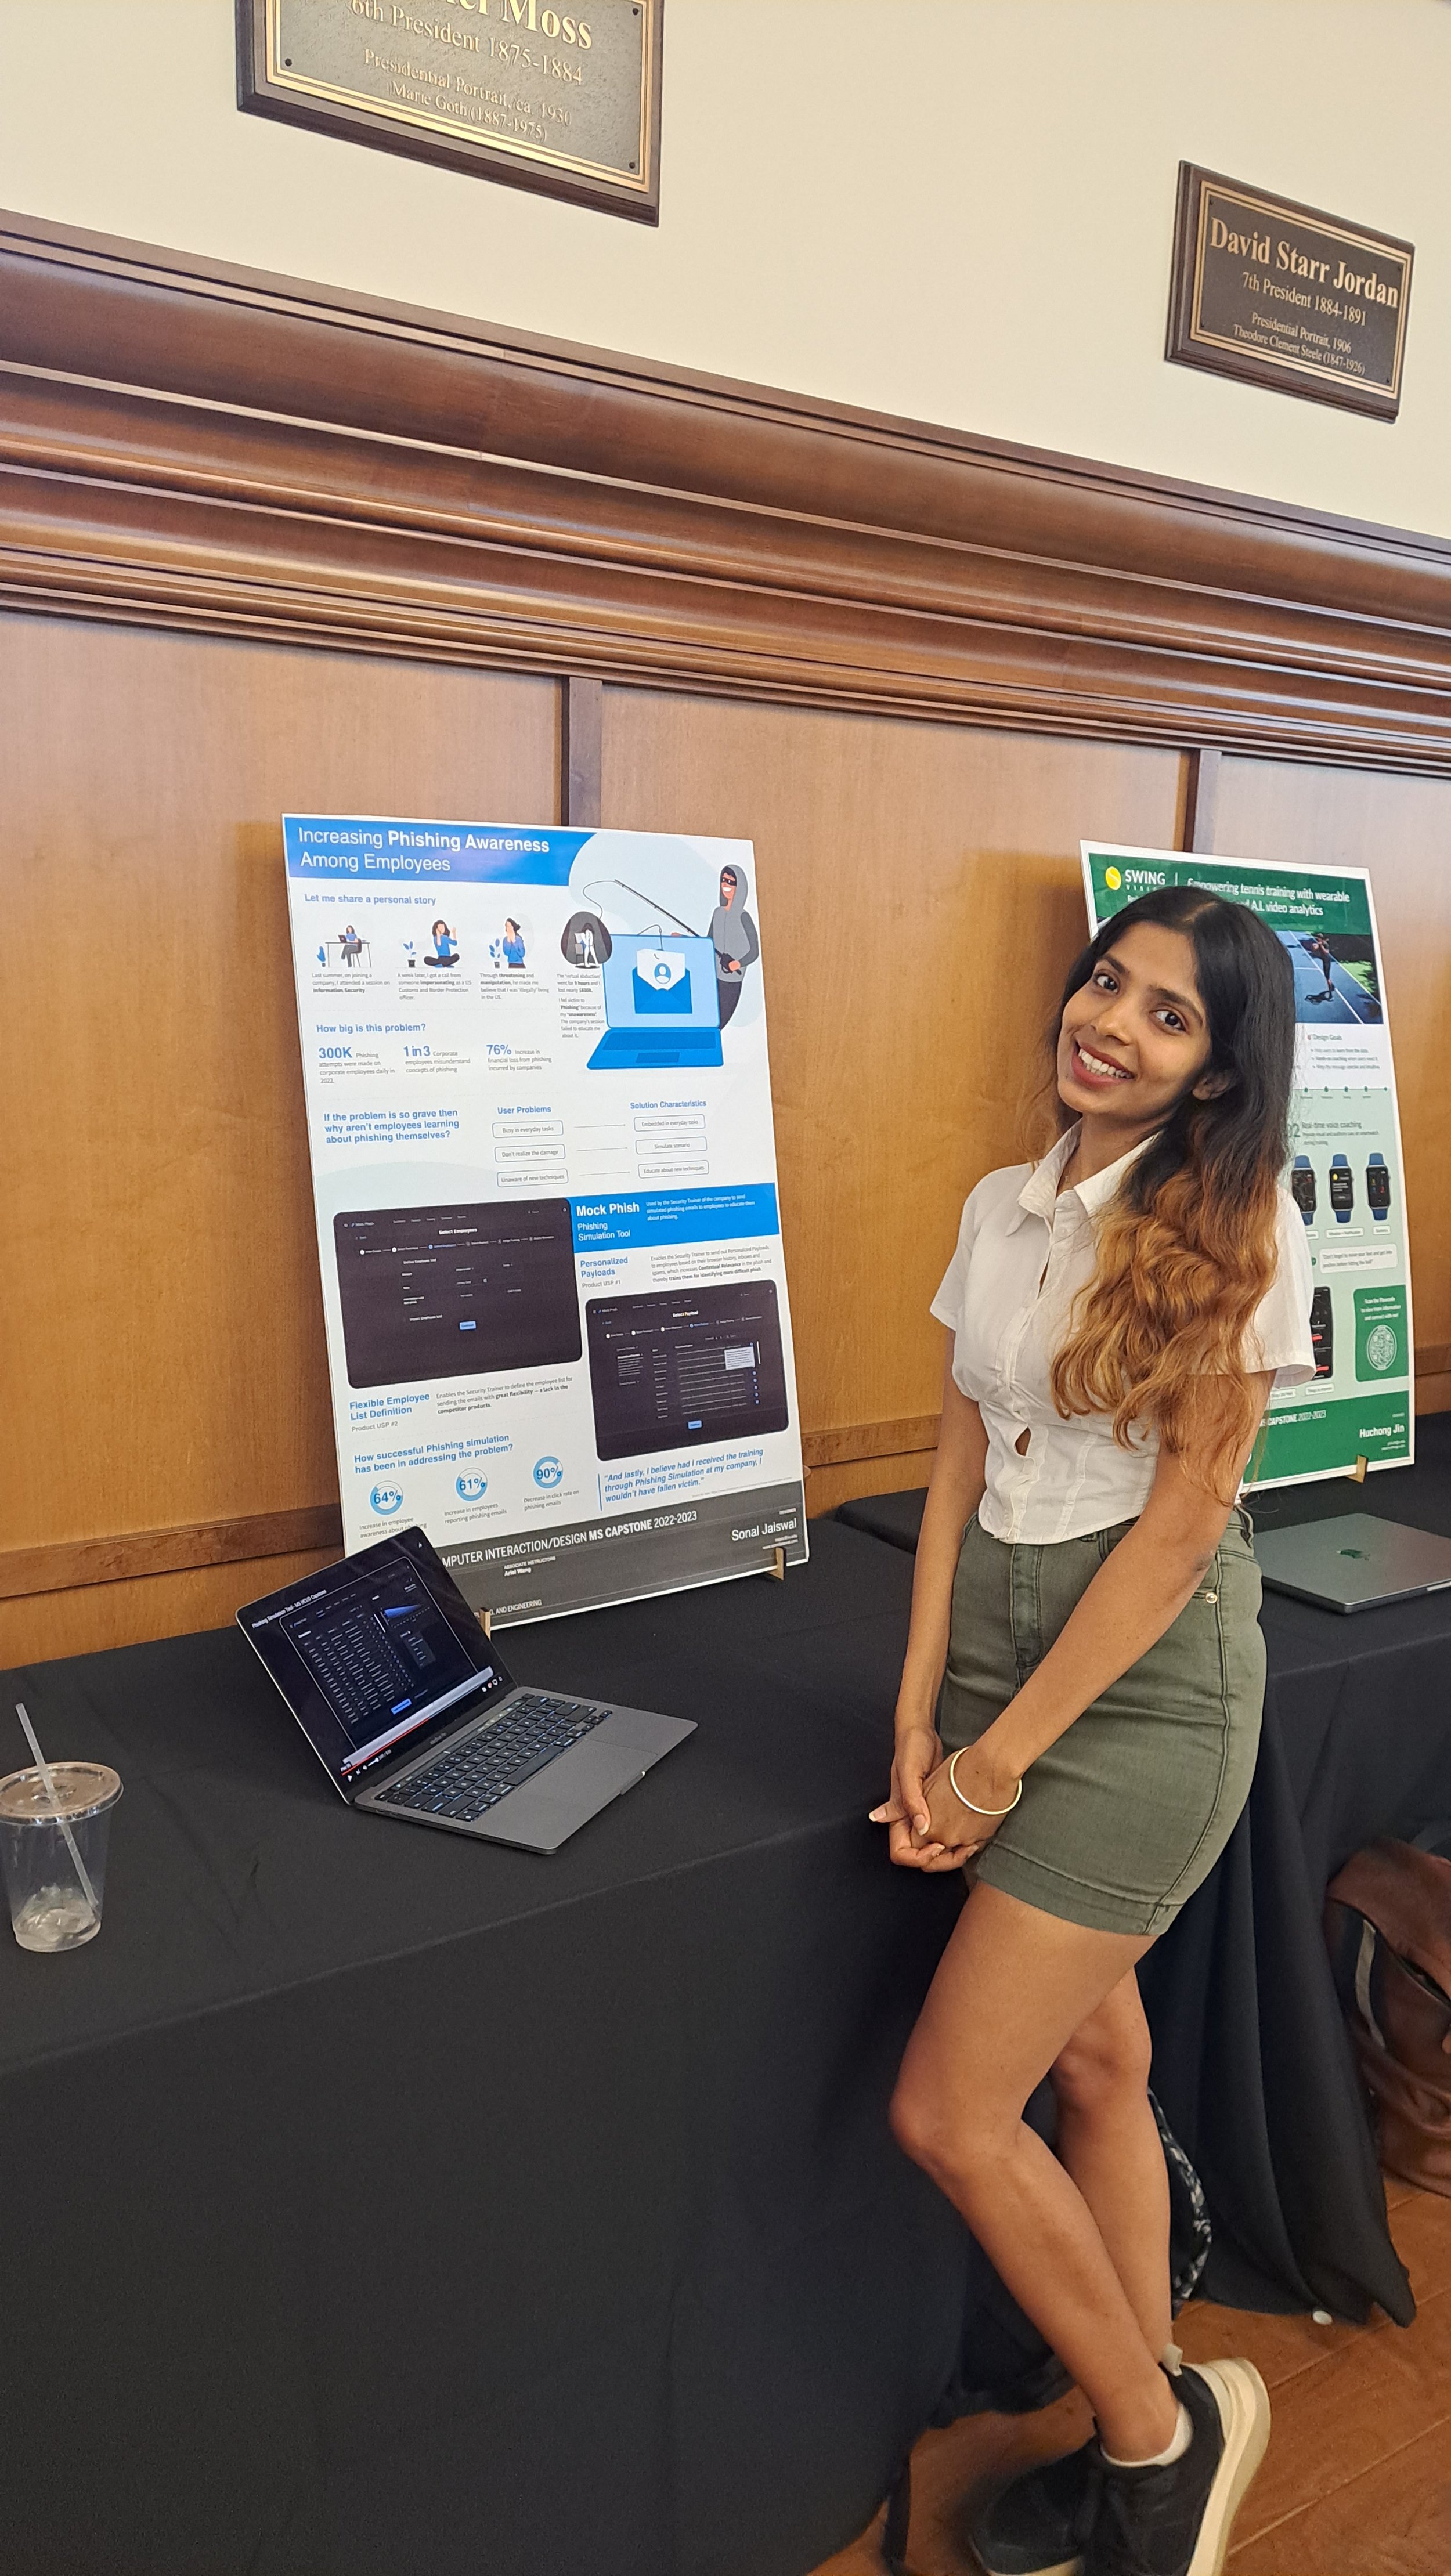
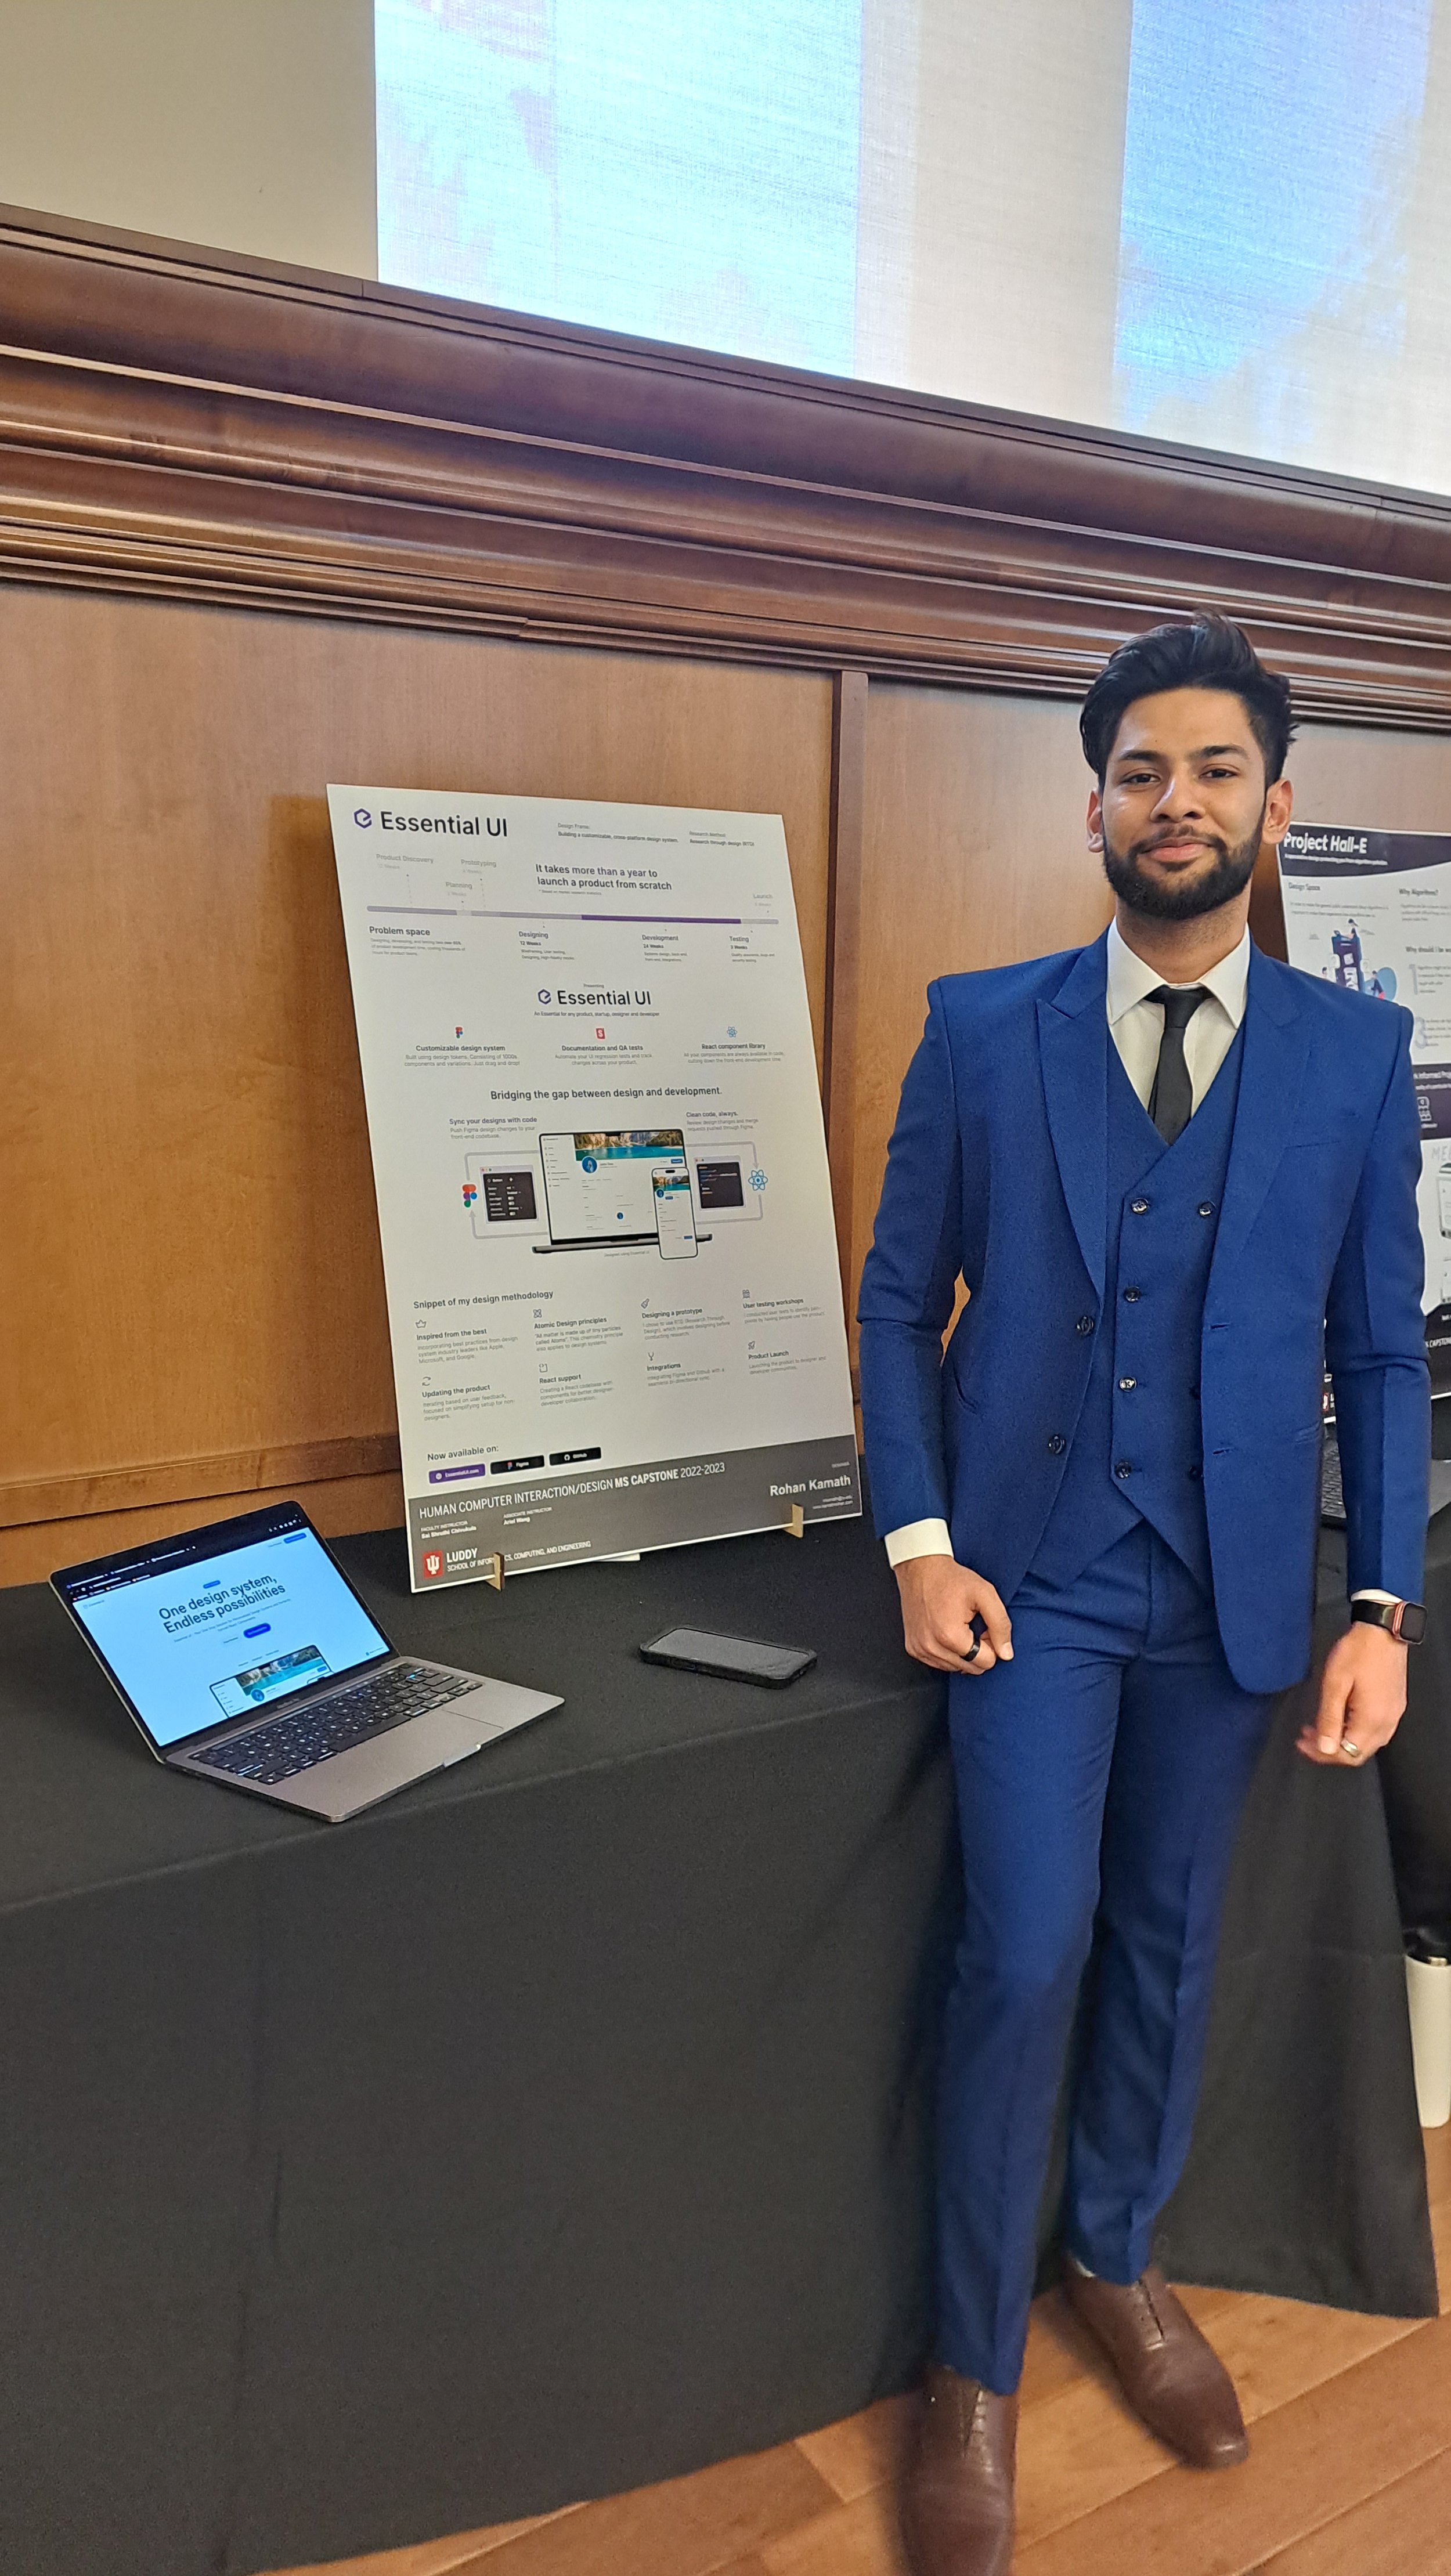
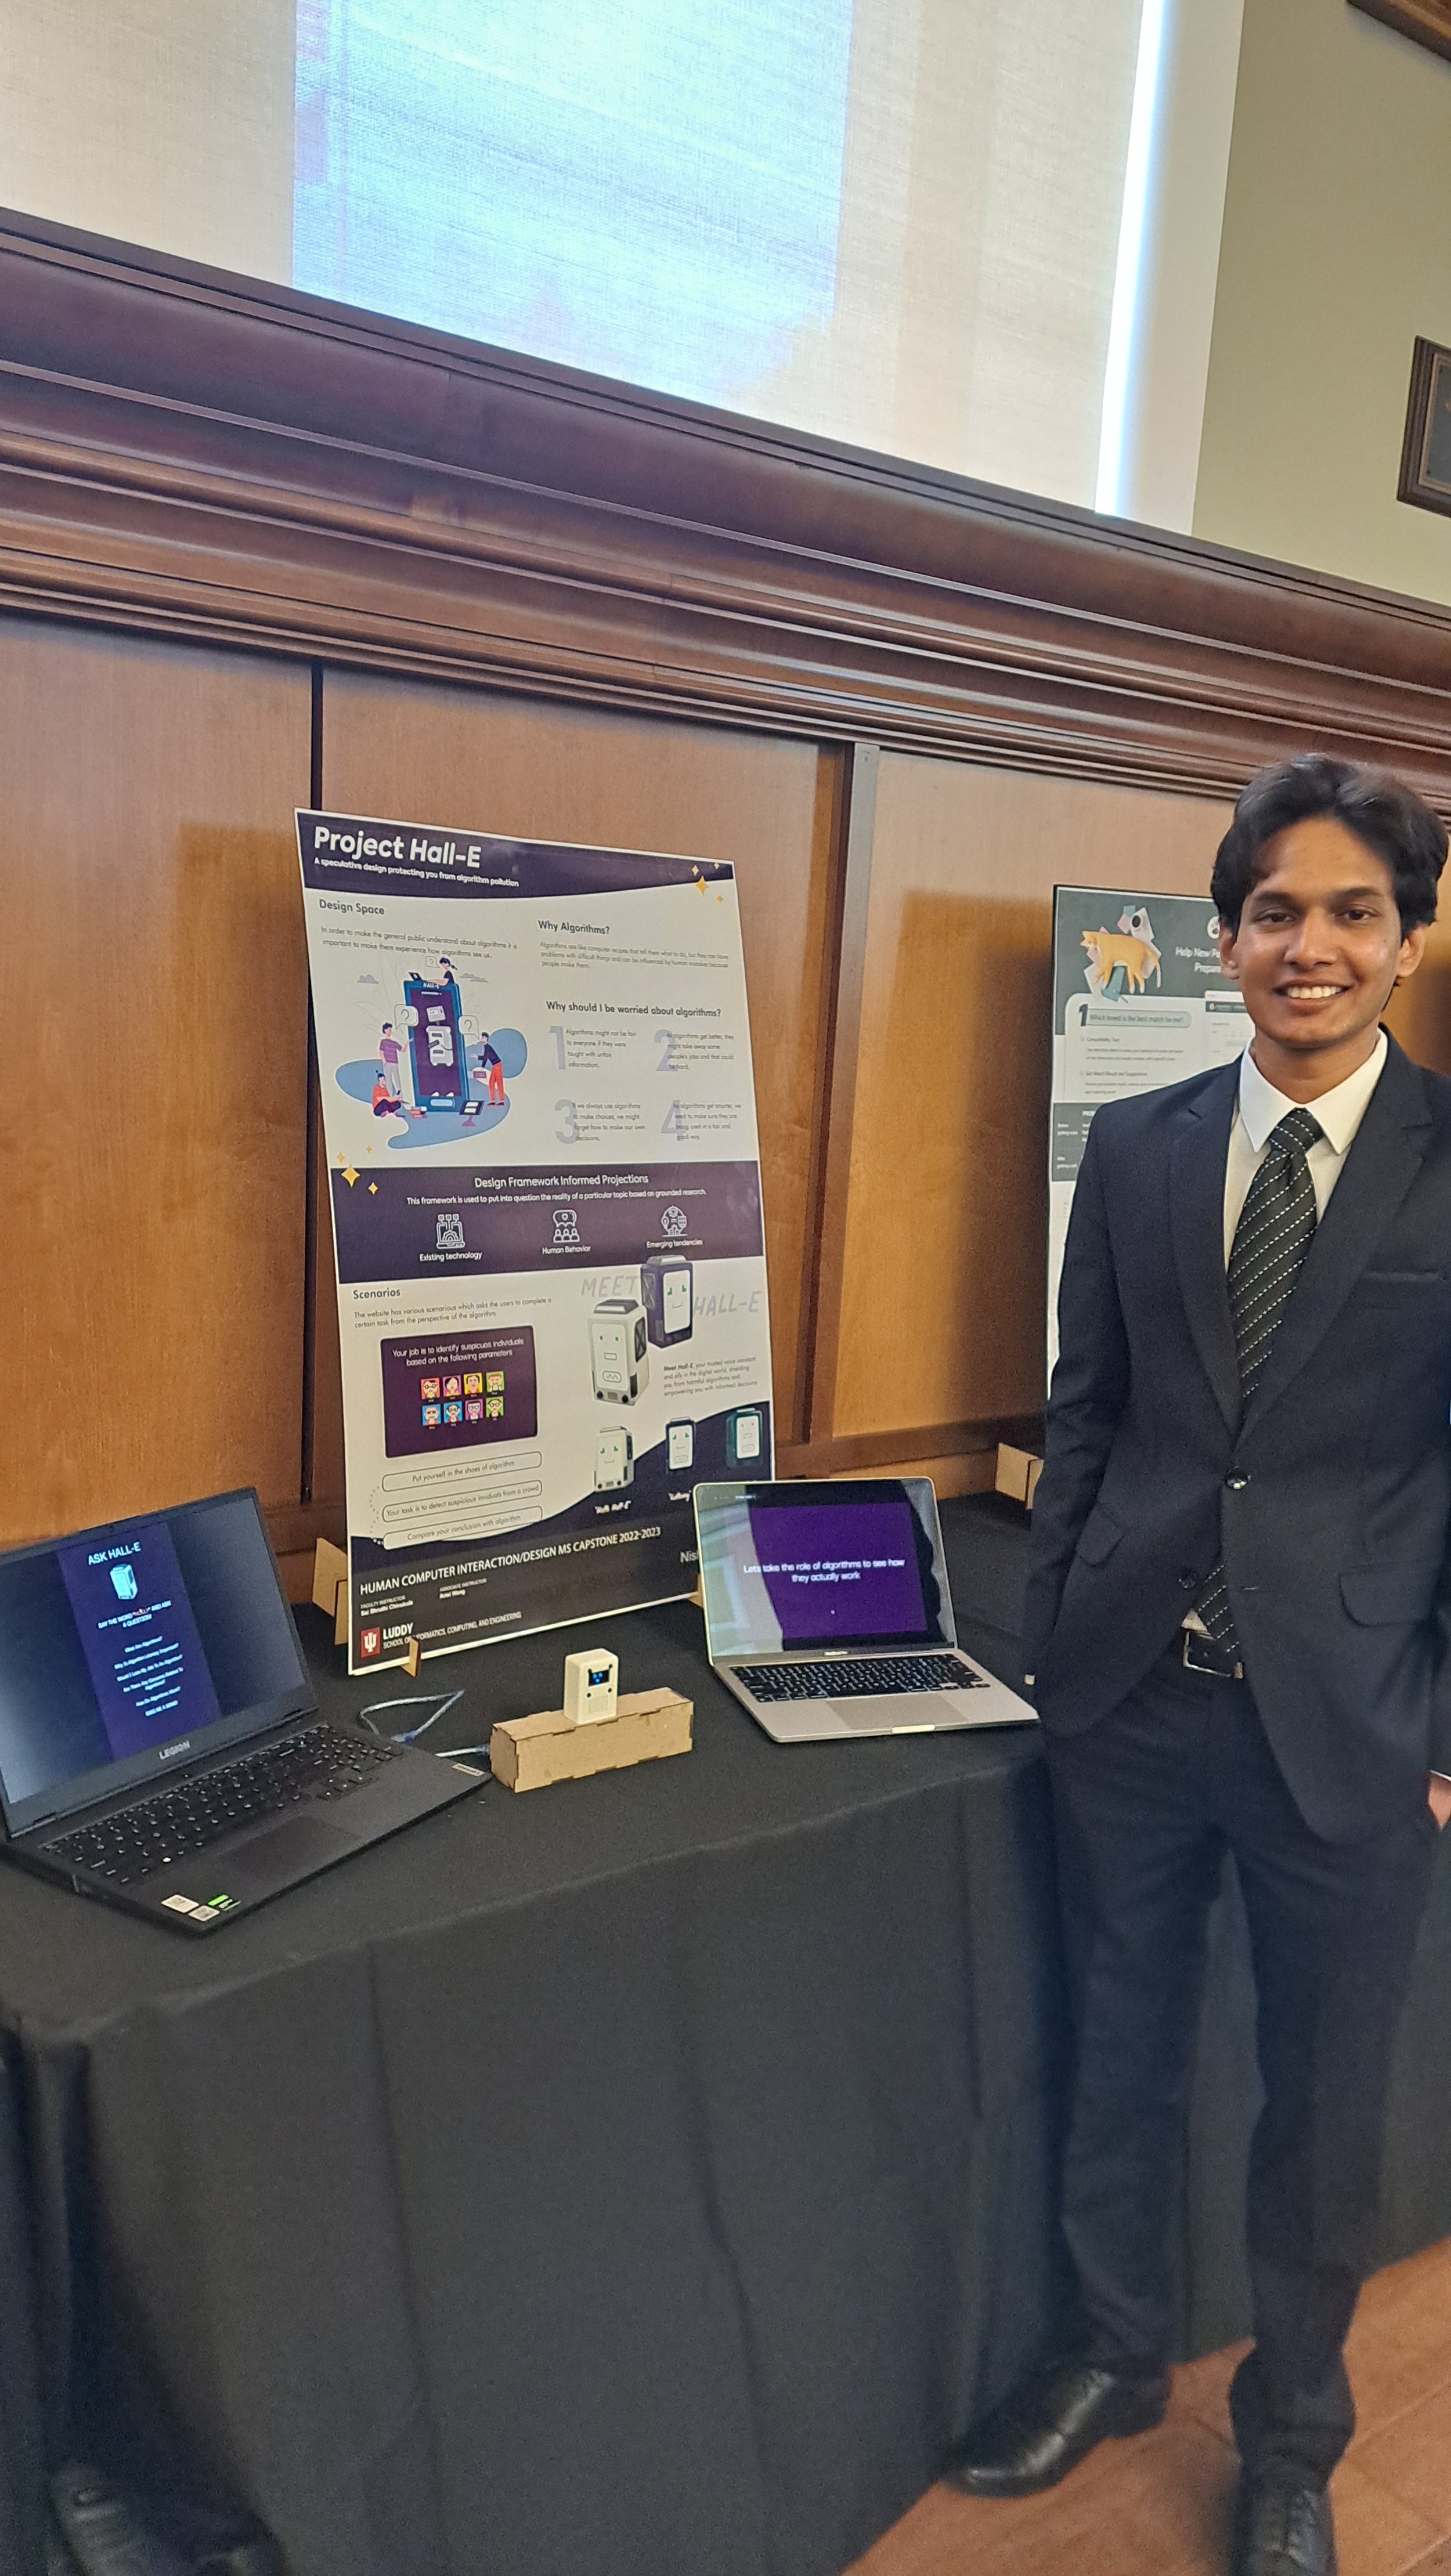

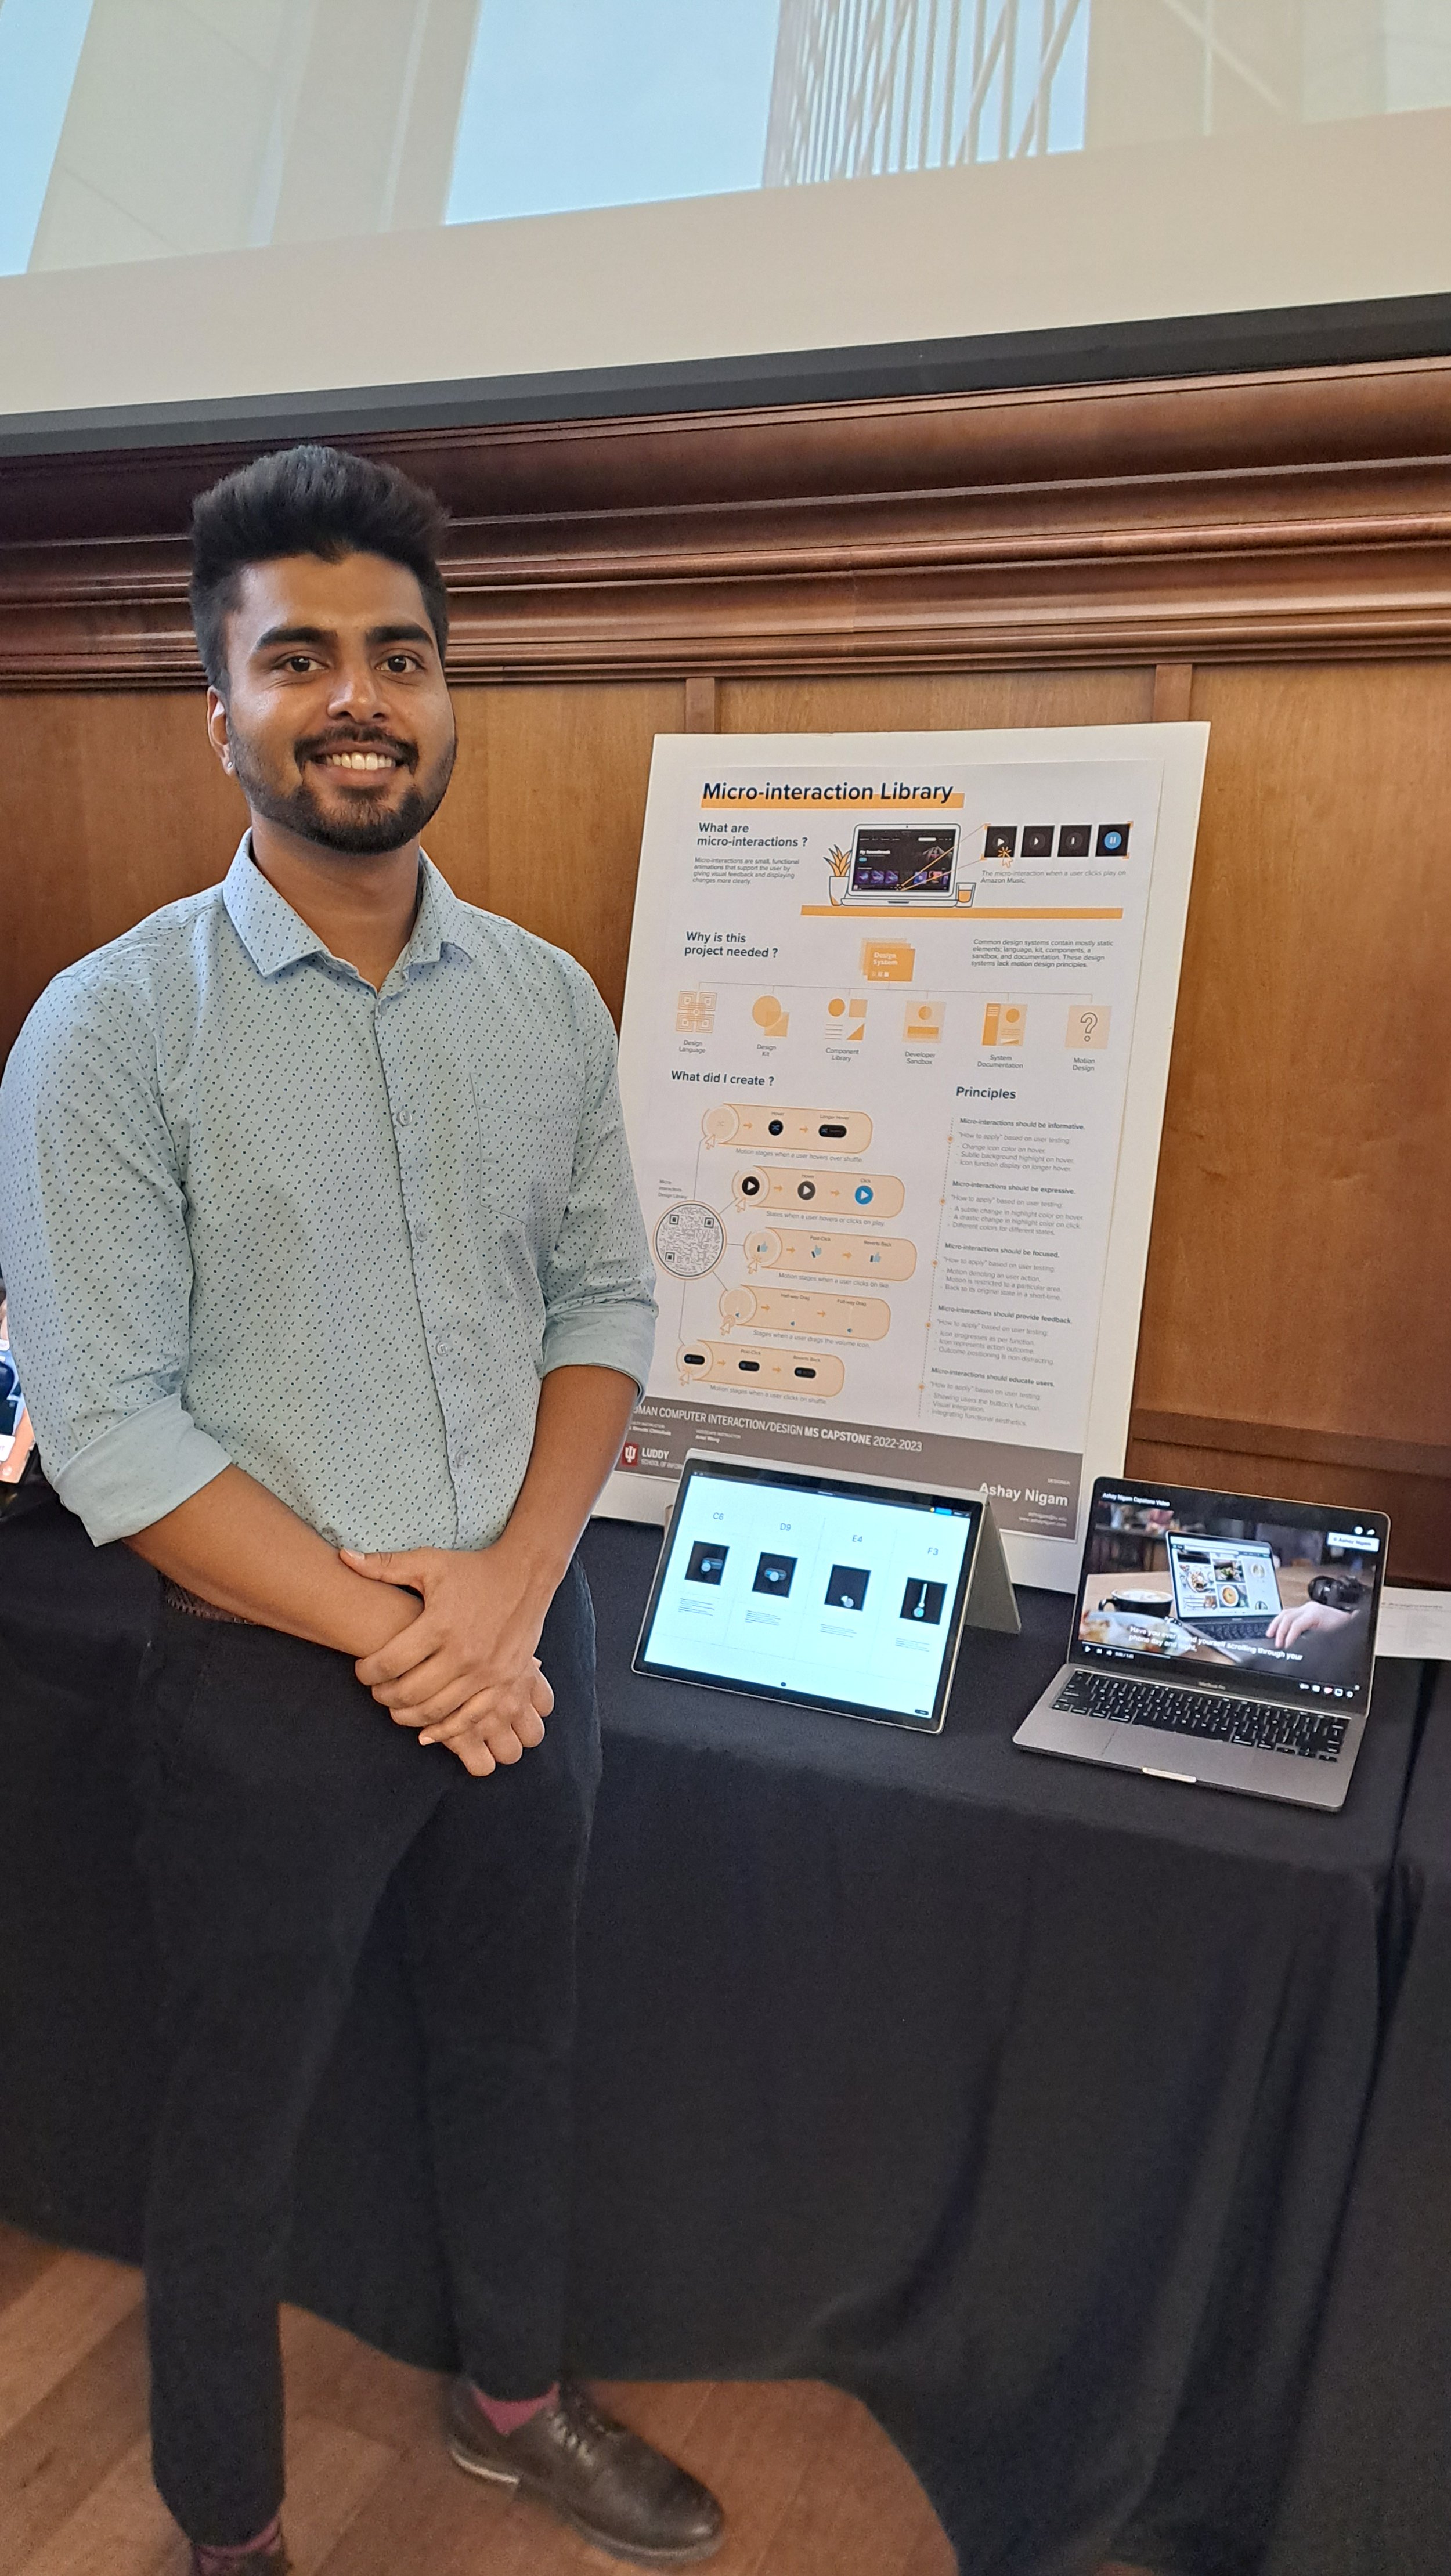
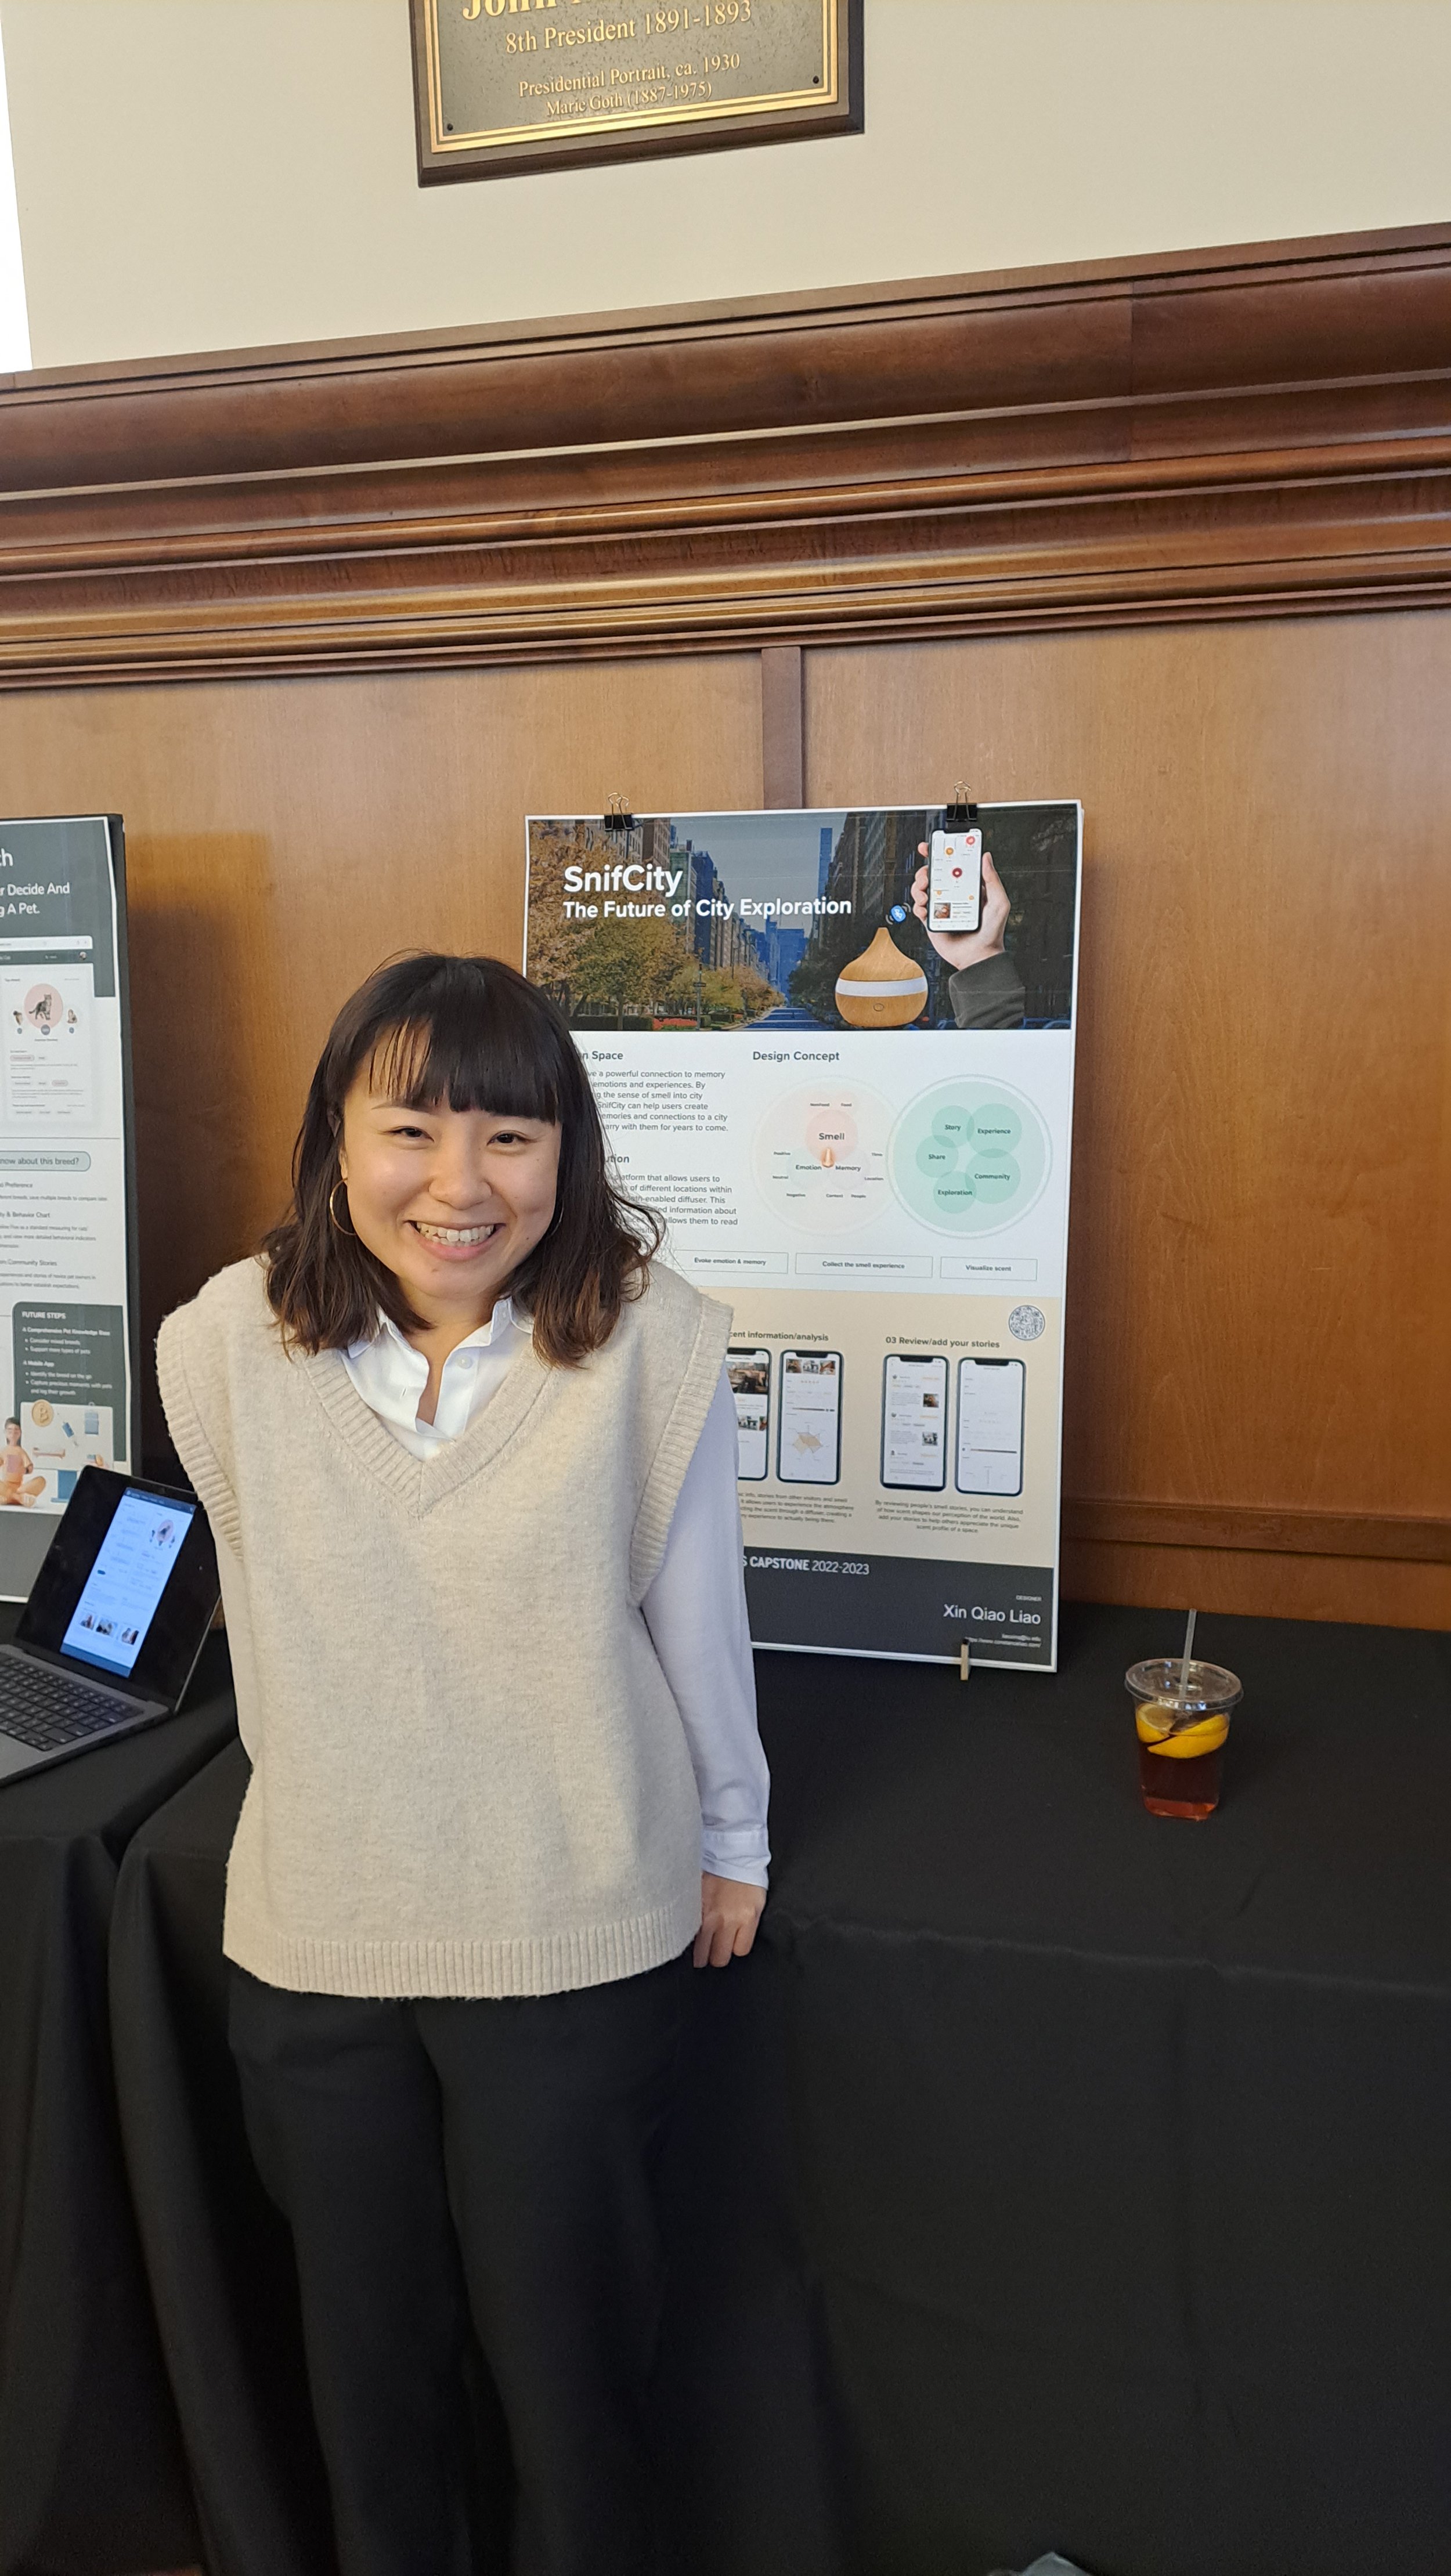
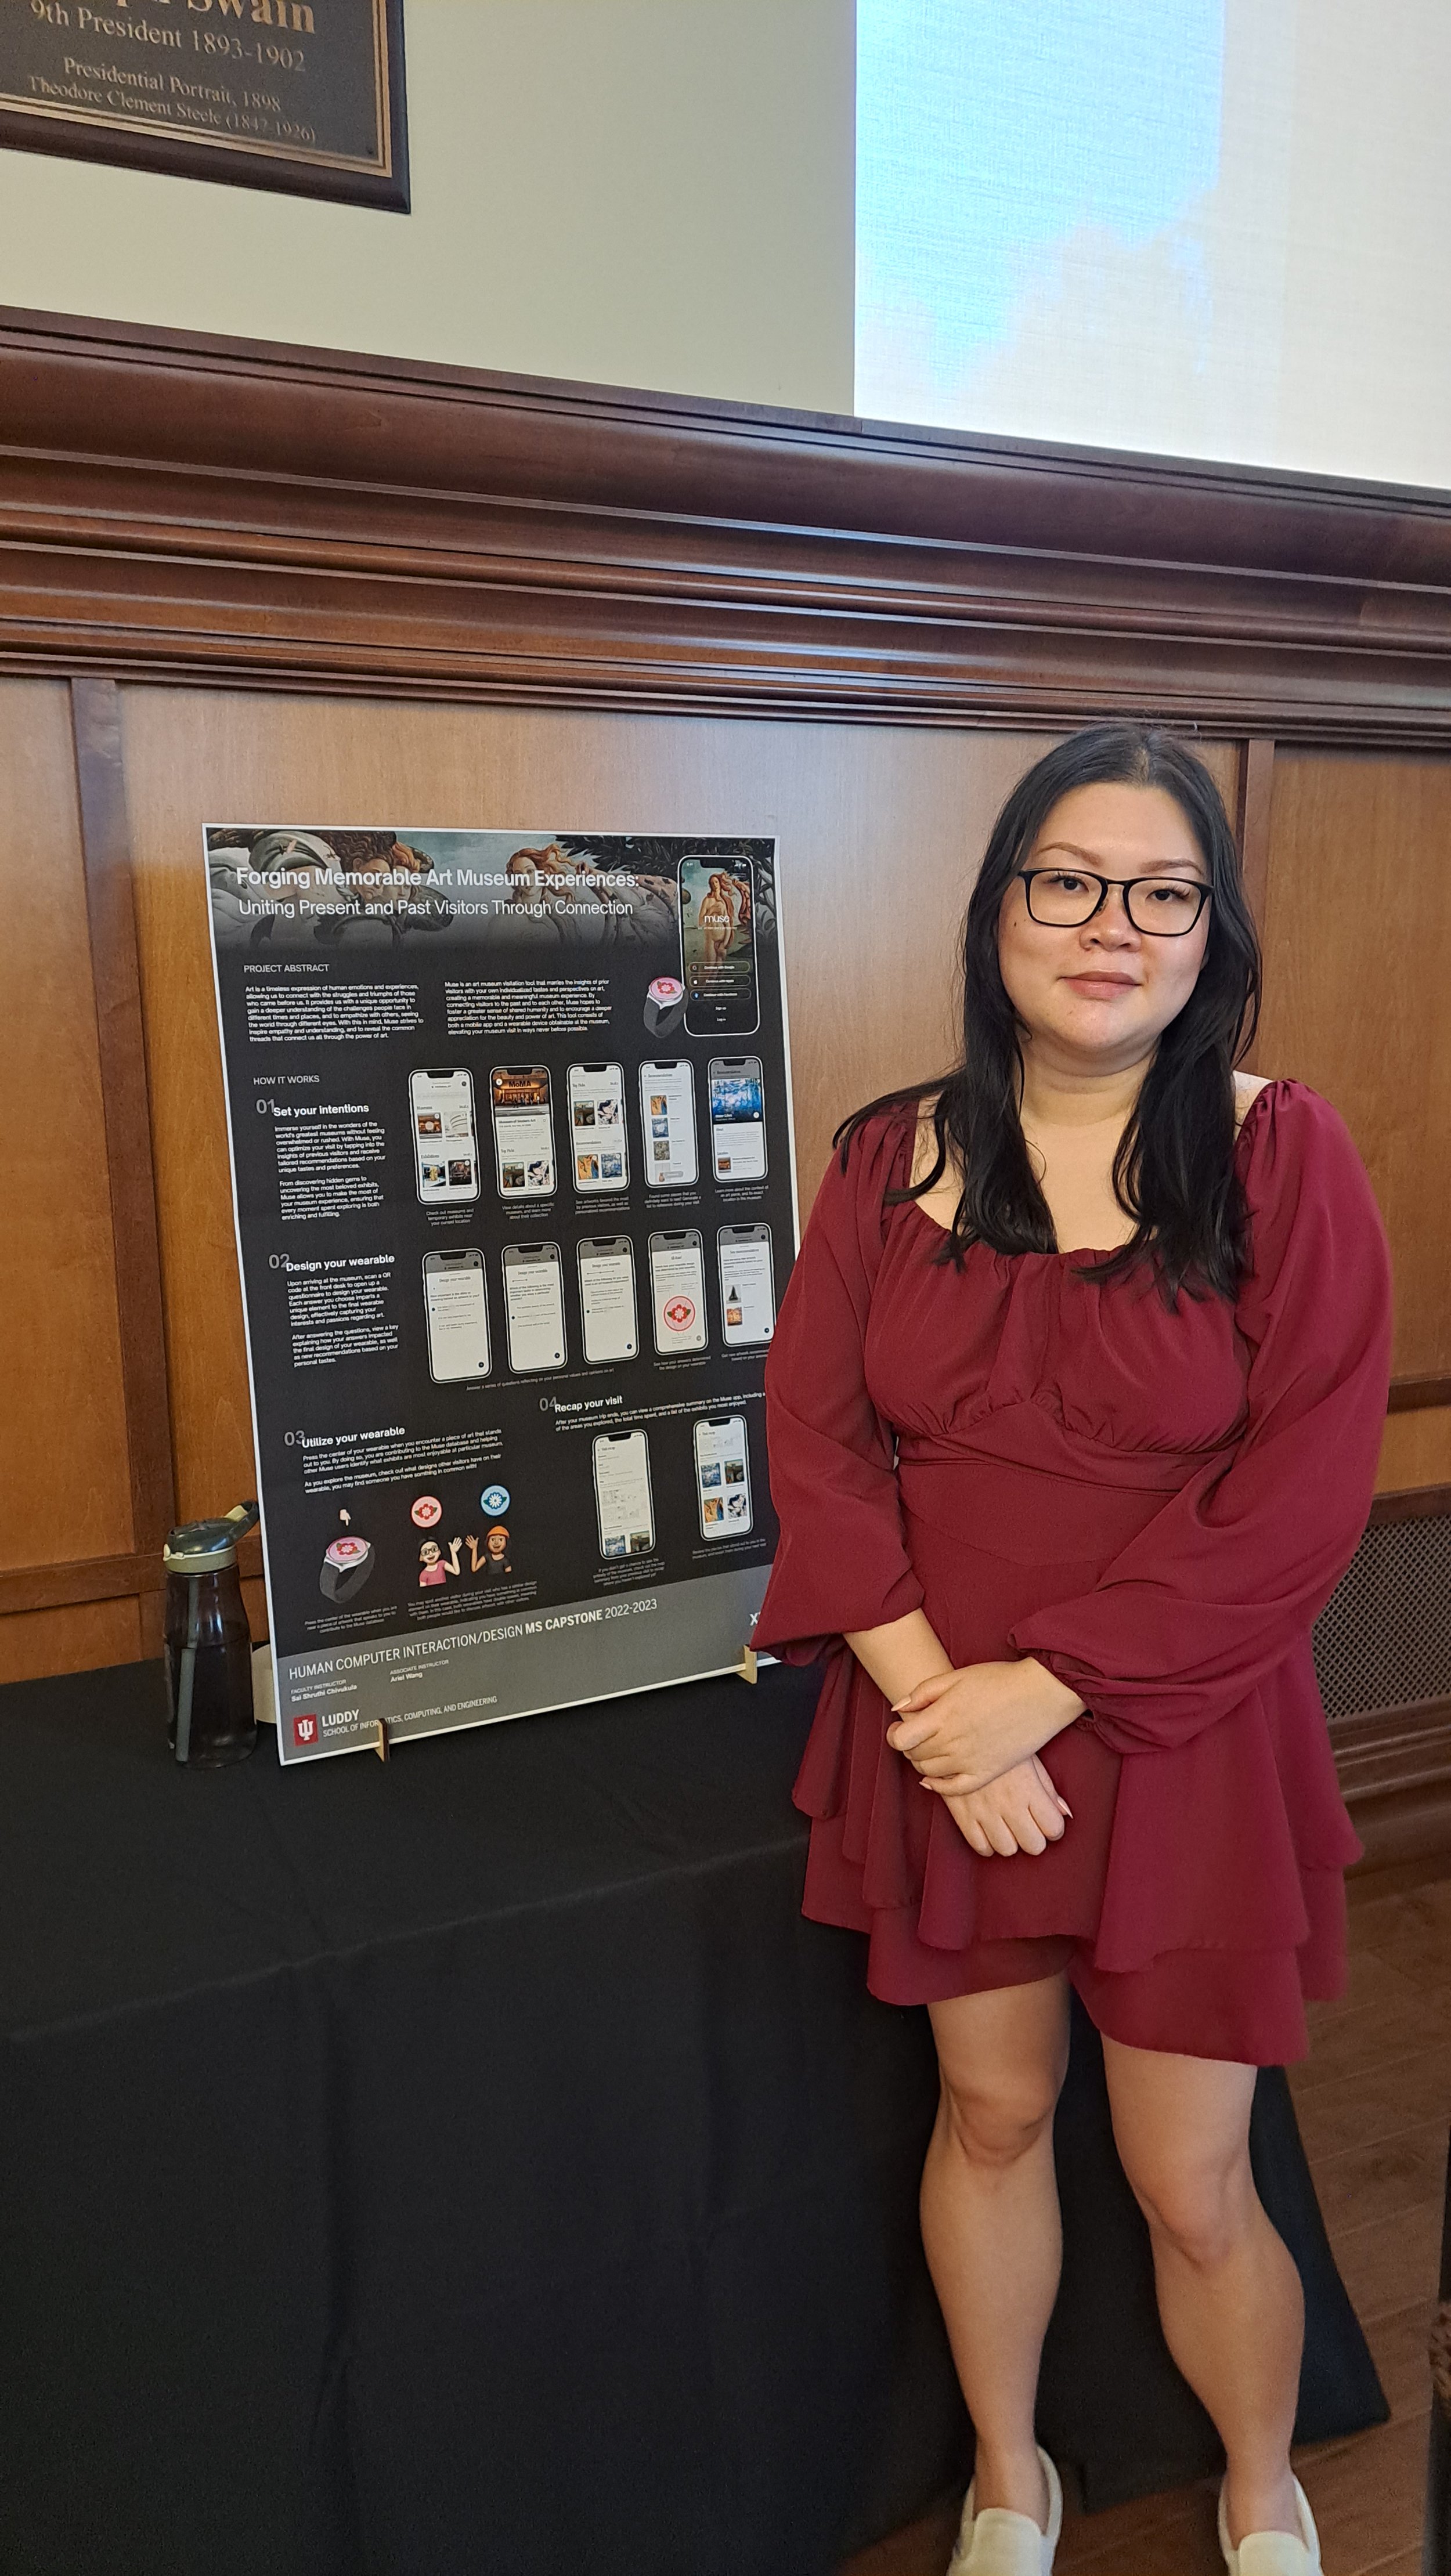

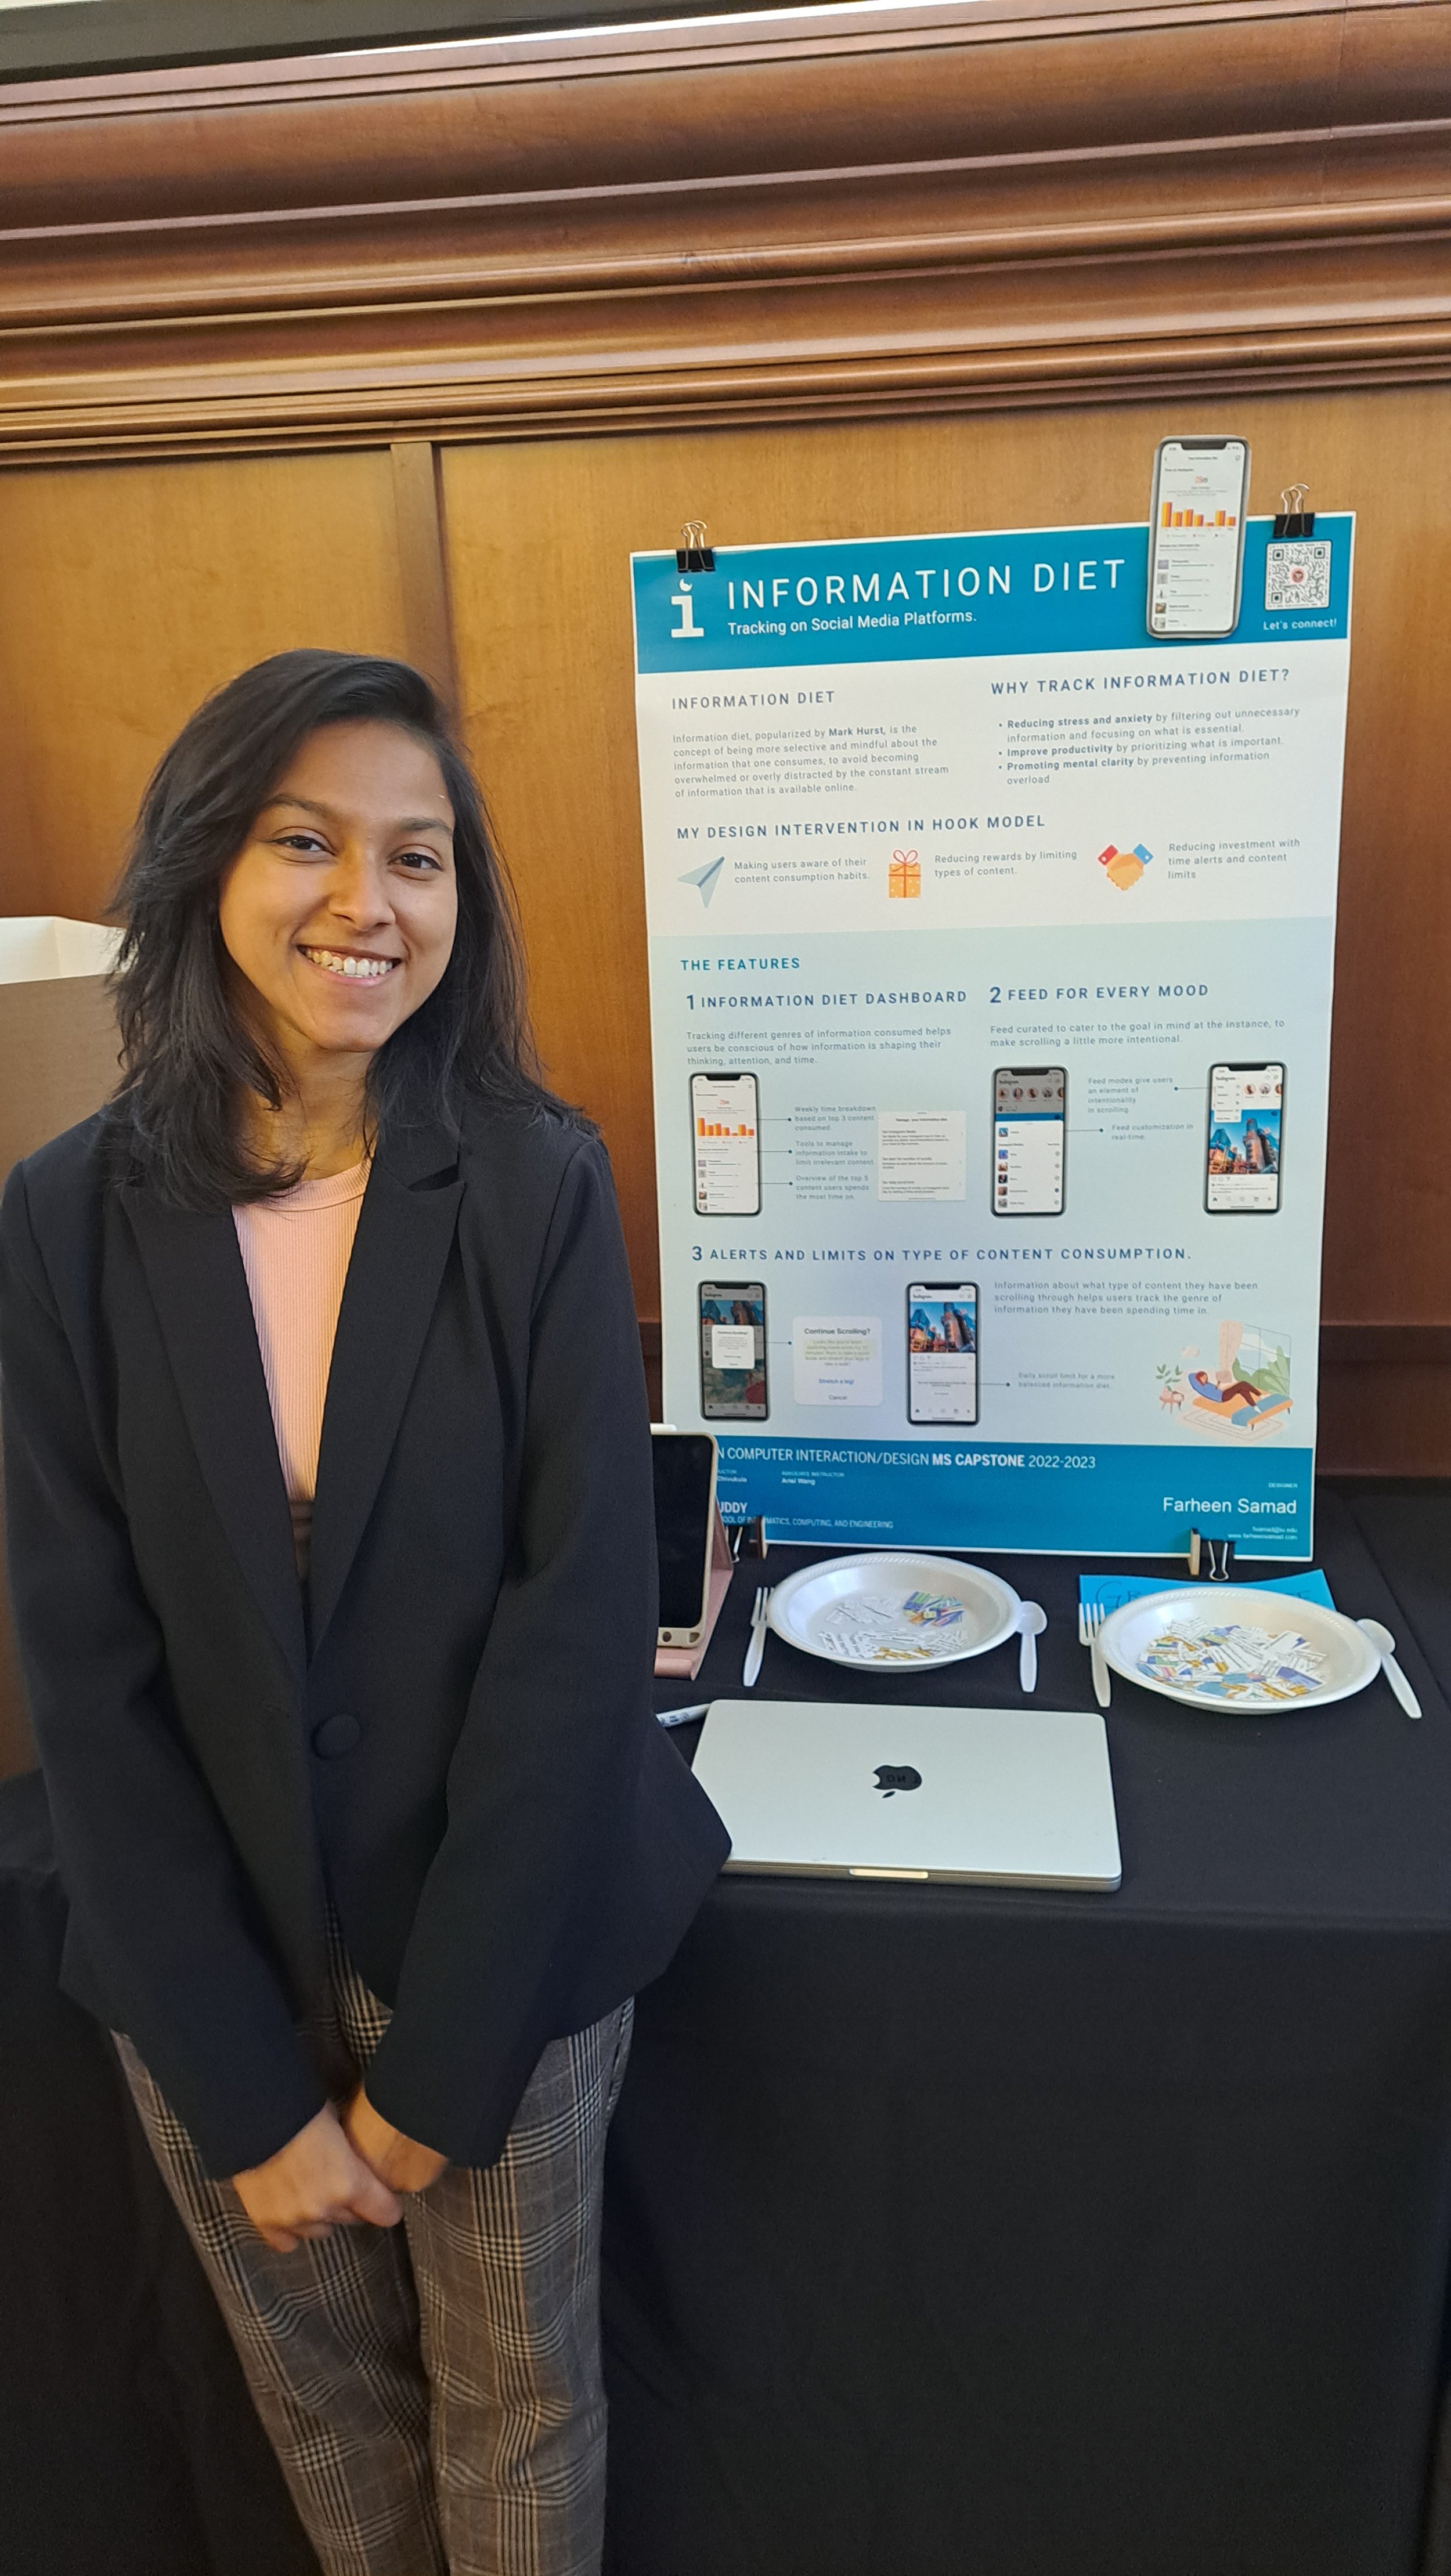

More Snaps!!!