Teaching a Capstone Course (Part 1) (B.T.S)
This blog shares a behind-the-scenes of my Capstone course, which I got to structure and teach in Fall’22 (other courses I am teaching). Here are quick sections of the blog you can jump to read about. Follow more about Part 2 of this course in the Spring 23 semester.
Structure of the Course | Learning Contract? | Gallery Walks | Instructor Emotions | Range of Projects | Guest Lecture: Jenny El-Shamy | Desk Critique, Meh!? | Design Documentation Guidelines and Tips | Lecture: Design Framing- Shruthi Chivukula | One-thing Presentations | One-Q Gallery Walk | What to do for Final Showcase?
Blog Writers:

Sai Shruthi Chivukula
Instructor on Record
(This is her blog)

Associate Instructor
(Her Blog)
My Designer Intentions
A thesis/ capstone class is designed for “individual” designers to apply their design knowledge imparted as a part of their coursework and external design practice in one project over two semesters. As the instructor of record and designer of the course, here are some of my designer intentions for why I incorporate certain practices in this class:
Incorporate feedback mechanisms in as many ways as possible and provide accessible avenues (e.g. gallery walks, desk critique, office hours, circulating peers during gallery walks)
Balance working in silos during a capstone project with class engagements (e.g. gallery walks, resource sharing, group ideations)
Provide forms of external motivation to keep students on track with their progress (e.g. learning contracts, presentations)
Introduce surprise elements and forms of activities to keep students excited in often a silos process (e.g. “one-thing” presentation, changing forms of feedback/responsibilities)
Add assignments as a part of the class that will help students get feedback on their every step (e.g. poster reviews, gallery walks)
Structure of the Course
This is my first time teaching a Capstone course to graduate students in their second year of Masters's in HCI/d program at IU, Bloomington. The thesis course marks the final year showcase of graduate students’ independent design projects, supported and mentored through the course. Students will apply their design learning as individual HCI/d practitioners; with scaffolds provided by the instructor.
But, am I really an instructor in this space or more of a mentor/ advisor? This role shift made me re-think how to frame the course in a way every student—-with a different topic, methodology, goals, and aspirations—- is supported through knowledge, morale, and enthusiasm. I sometimes feel like I am also being a therapist in the space to make sure everything is working like a perfectly oiled gear set. I still had to provide a structure, GIVEN the course already has so many variables.
For the structure of this 13 weeks class (can see Syllabus for more details). The main elements I included in this course are:
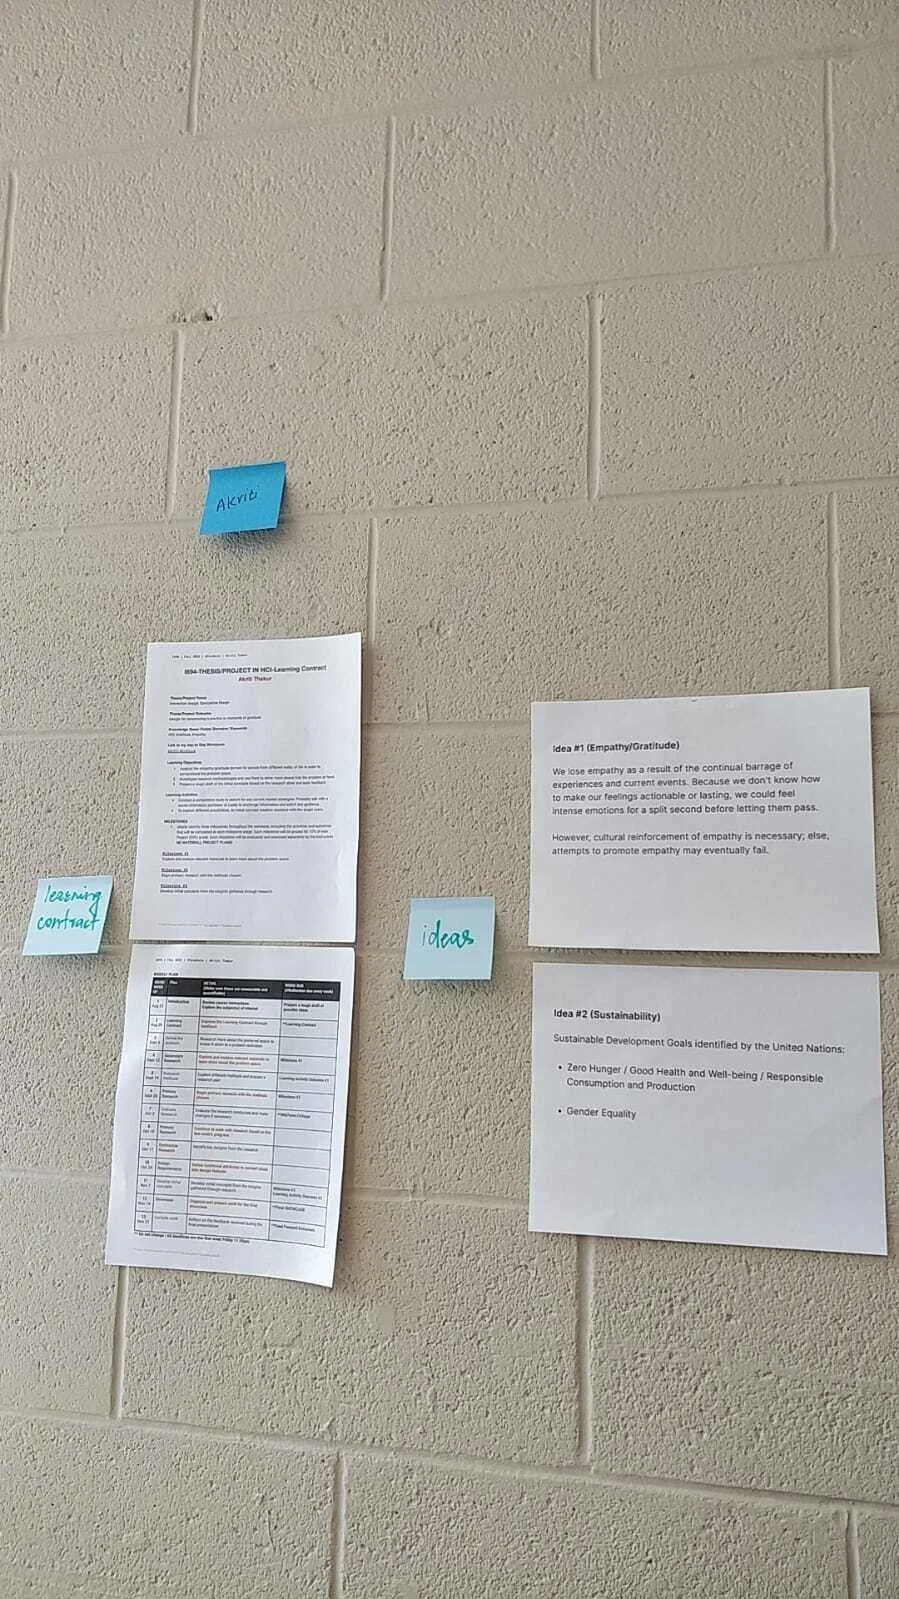
Drafting a Living Learning Contract: After the initial kick-off of the course where students ideated a range of ideas they could work on for their thesis, the students had two weeks to draft a learning contract. A learning contract is a living document where the students, for 1 semester, list their learning objectives, learning activities, 13-week plan in a table with self-set milestones. What are all these different elements cater to? More details about the learning contract are below.
Maintaining a Design Journal in the form of Weekly Reflections: Students are required to post a weekly reflection to share about how their week has been using prompts such as “I felt <so and so> this week...”, “I tried (succeeded/ improved/ failed) at this new thing I did this week....”, “I found this really interesting/ cool thing I can use for my project .....”, “I feel stuck and seek more support for.... (these can be pointers for feedback/help, questions, etc.)”, and/or “I am excited to do this next week...”
Participating in Weekly Gallery Walks: Students present their work weekly using a gallery walk model. The class happens twice a week which spreads the energy in the week and the students are divided into two groups (Teal and Orange). The order is jumbled and one team of students becomes the present as the rest become the feedback-givers and learners in the process. My associate instructor, Ariel, has written an in-depth functioning of our gallery walks. This model was adopted to maximize the number of feedback students get in terms of hours, people, and discussions.
Extending critique through Office Hours: Students also meet with the instructor one-on-one to have beyond the gallery walks to discuss about their topics and thesis progression (and sometimes, confusion:D)
Learning Contract
A Learning Contract is a 2-page document that the students created to list the following items:
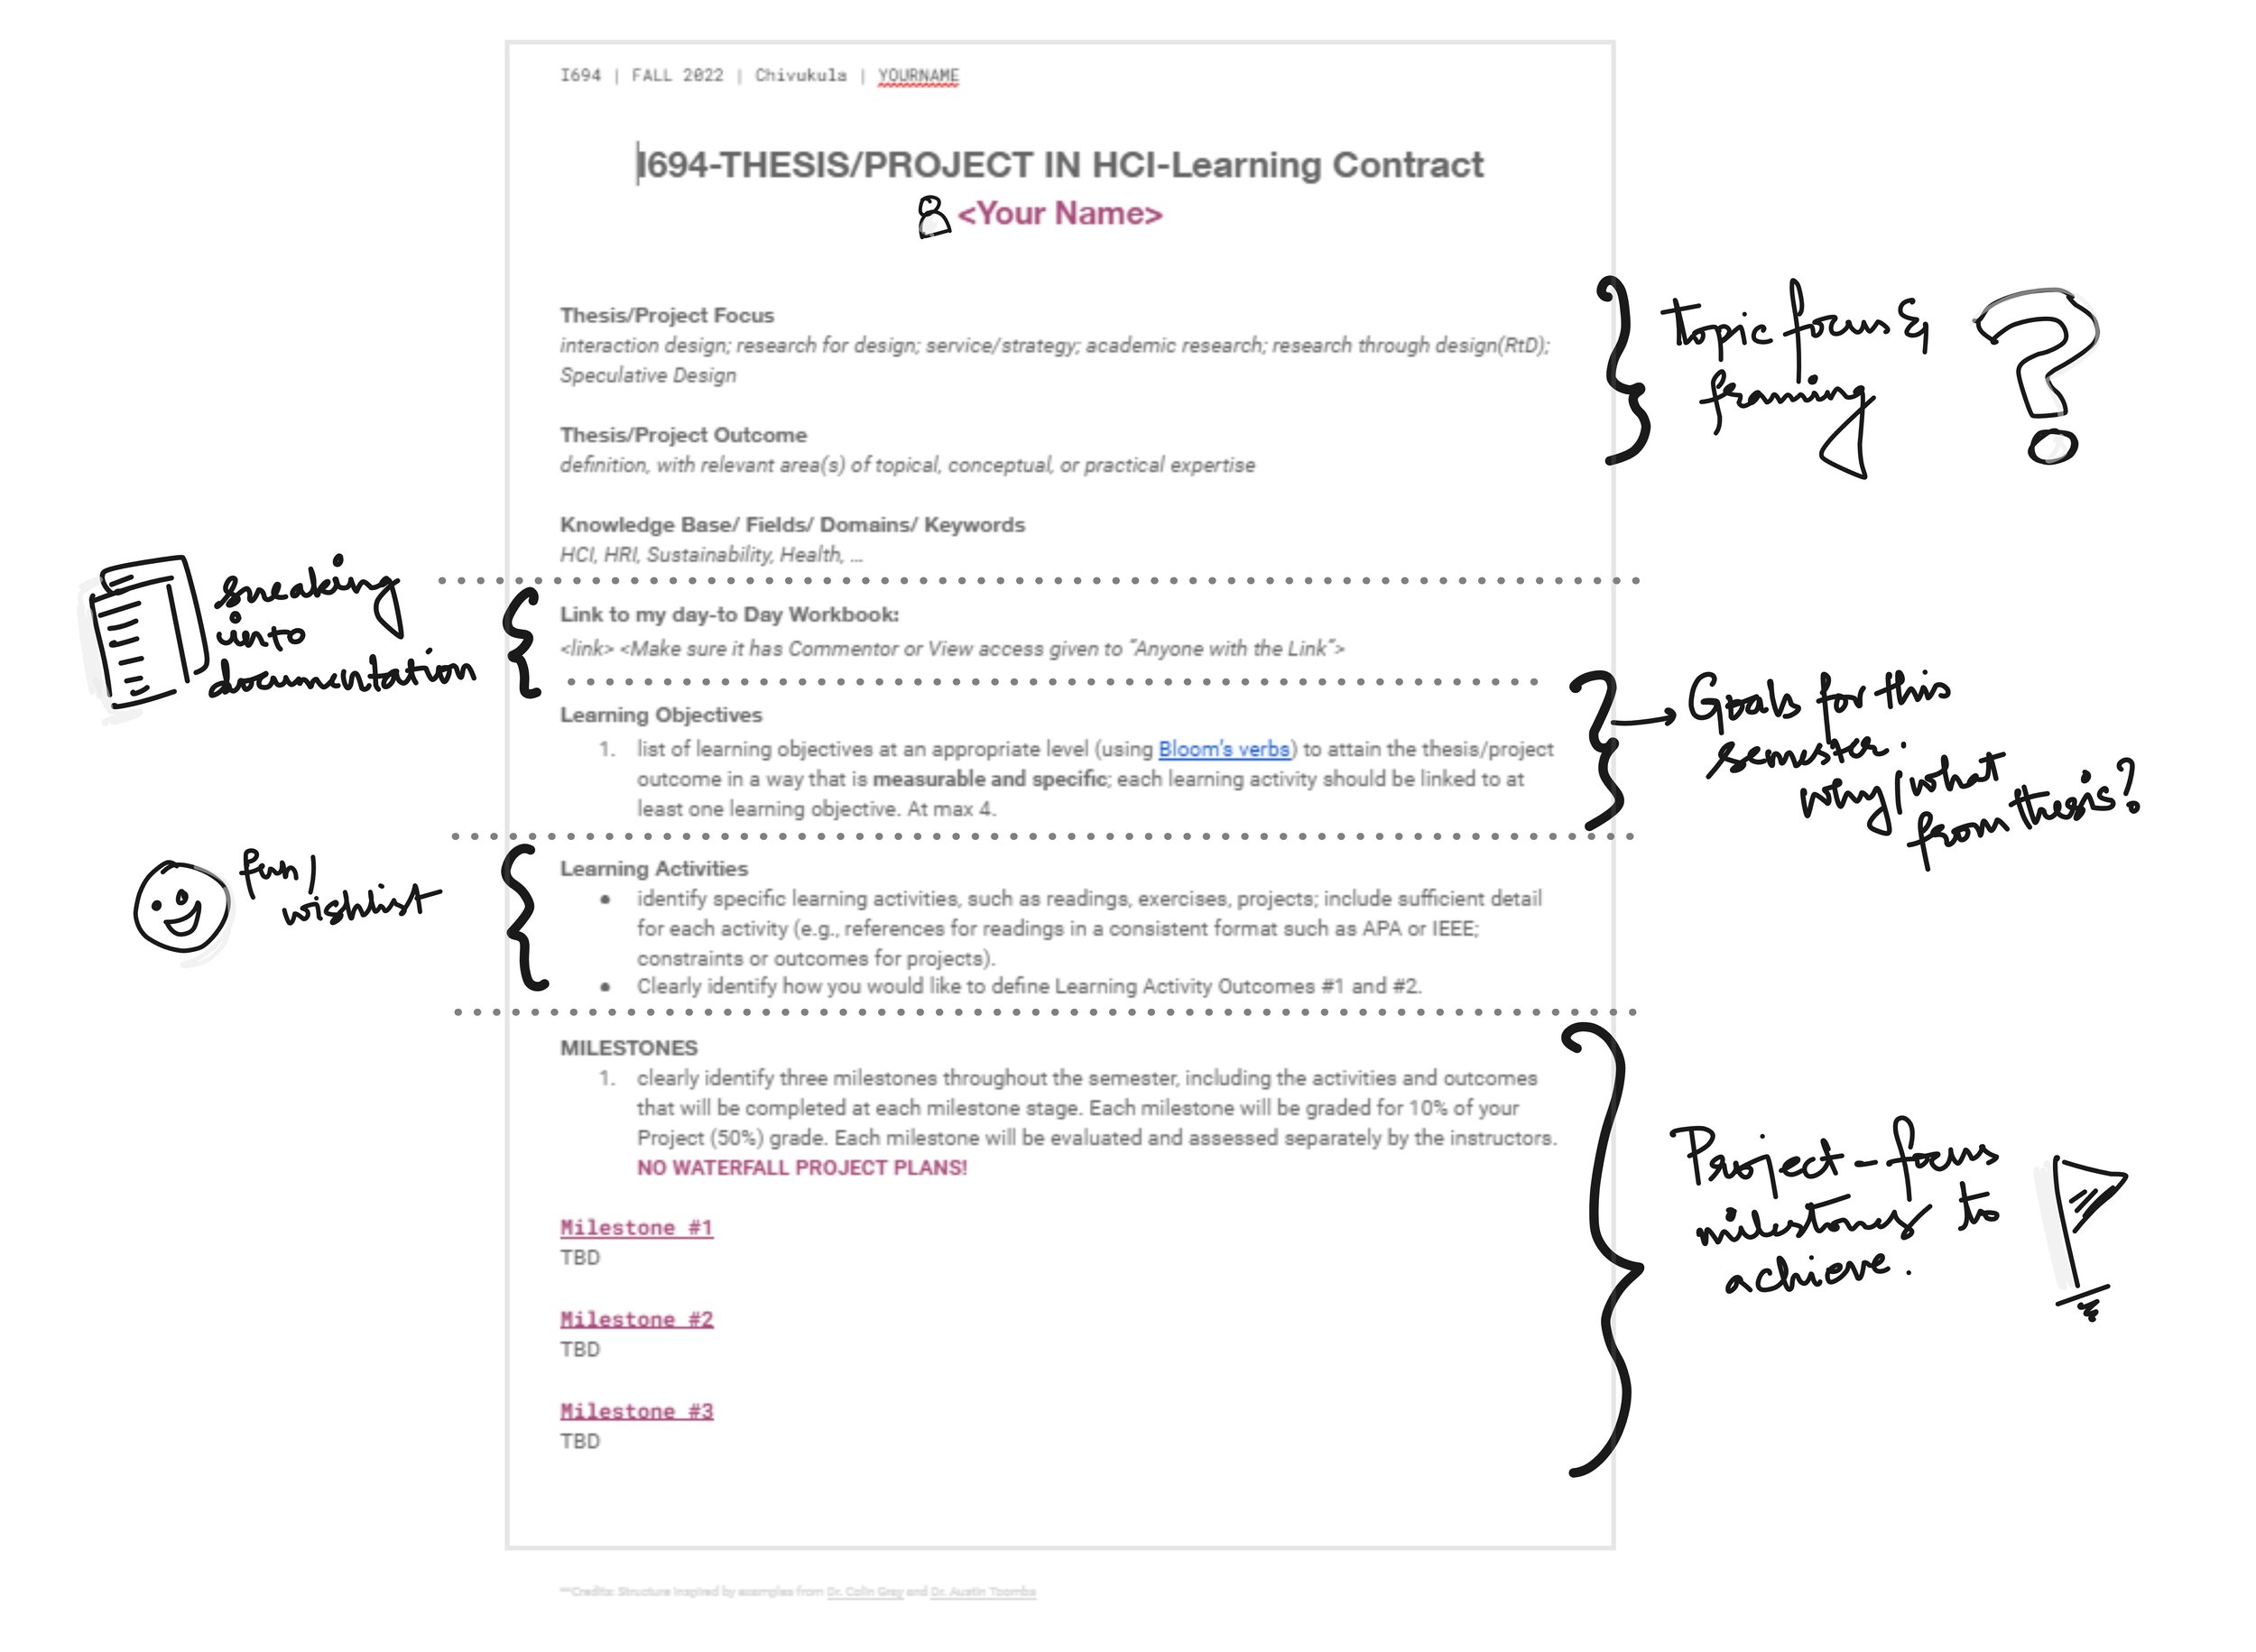
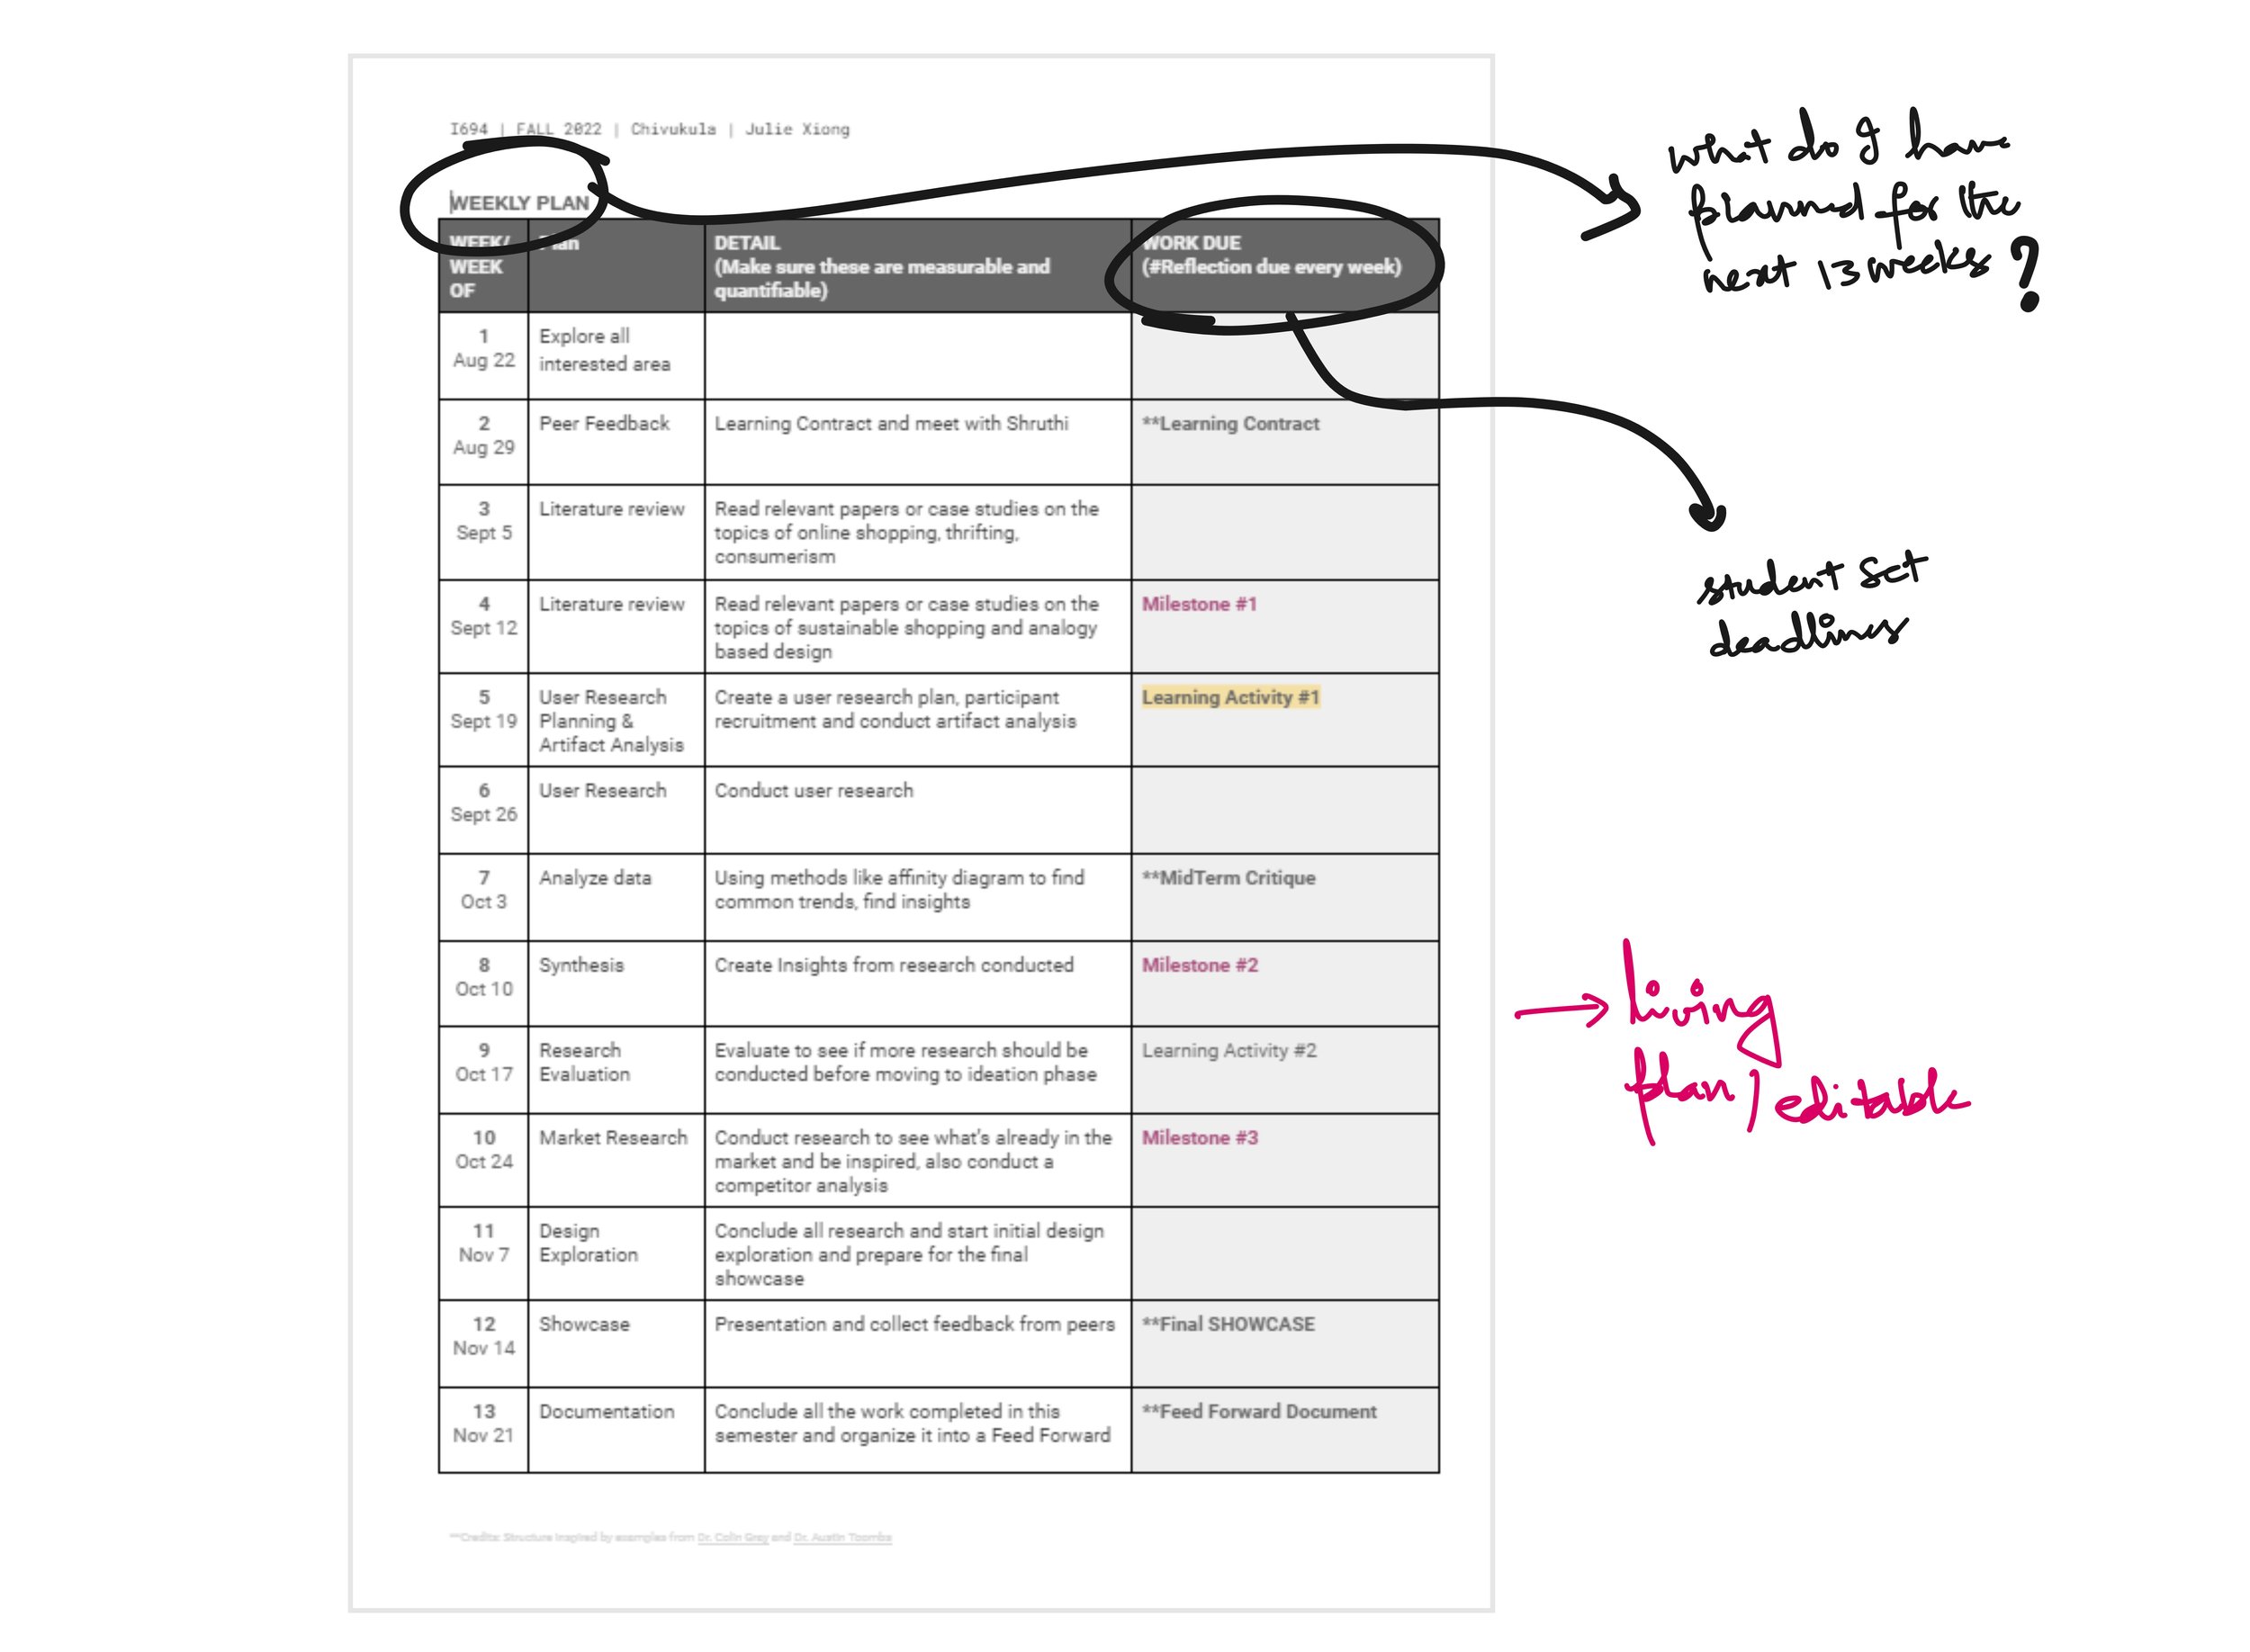
The second image is a page from a student’s learning contract to illustrate how students made their 13 week plan till the final presentation of first semester of thesis. This structure inspired by examples from Dr. Colin Gray and Dr. Austin Toombs
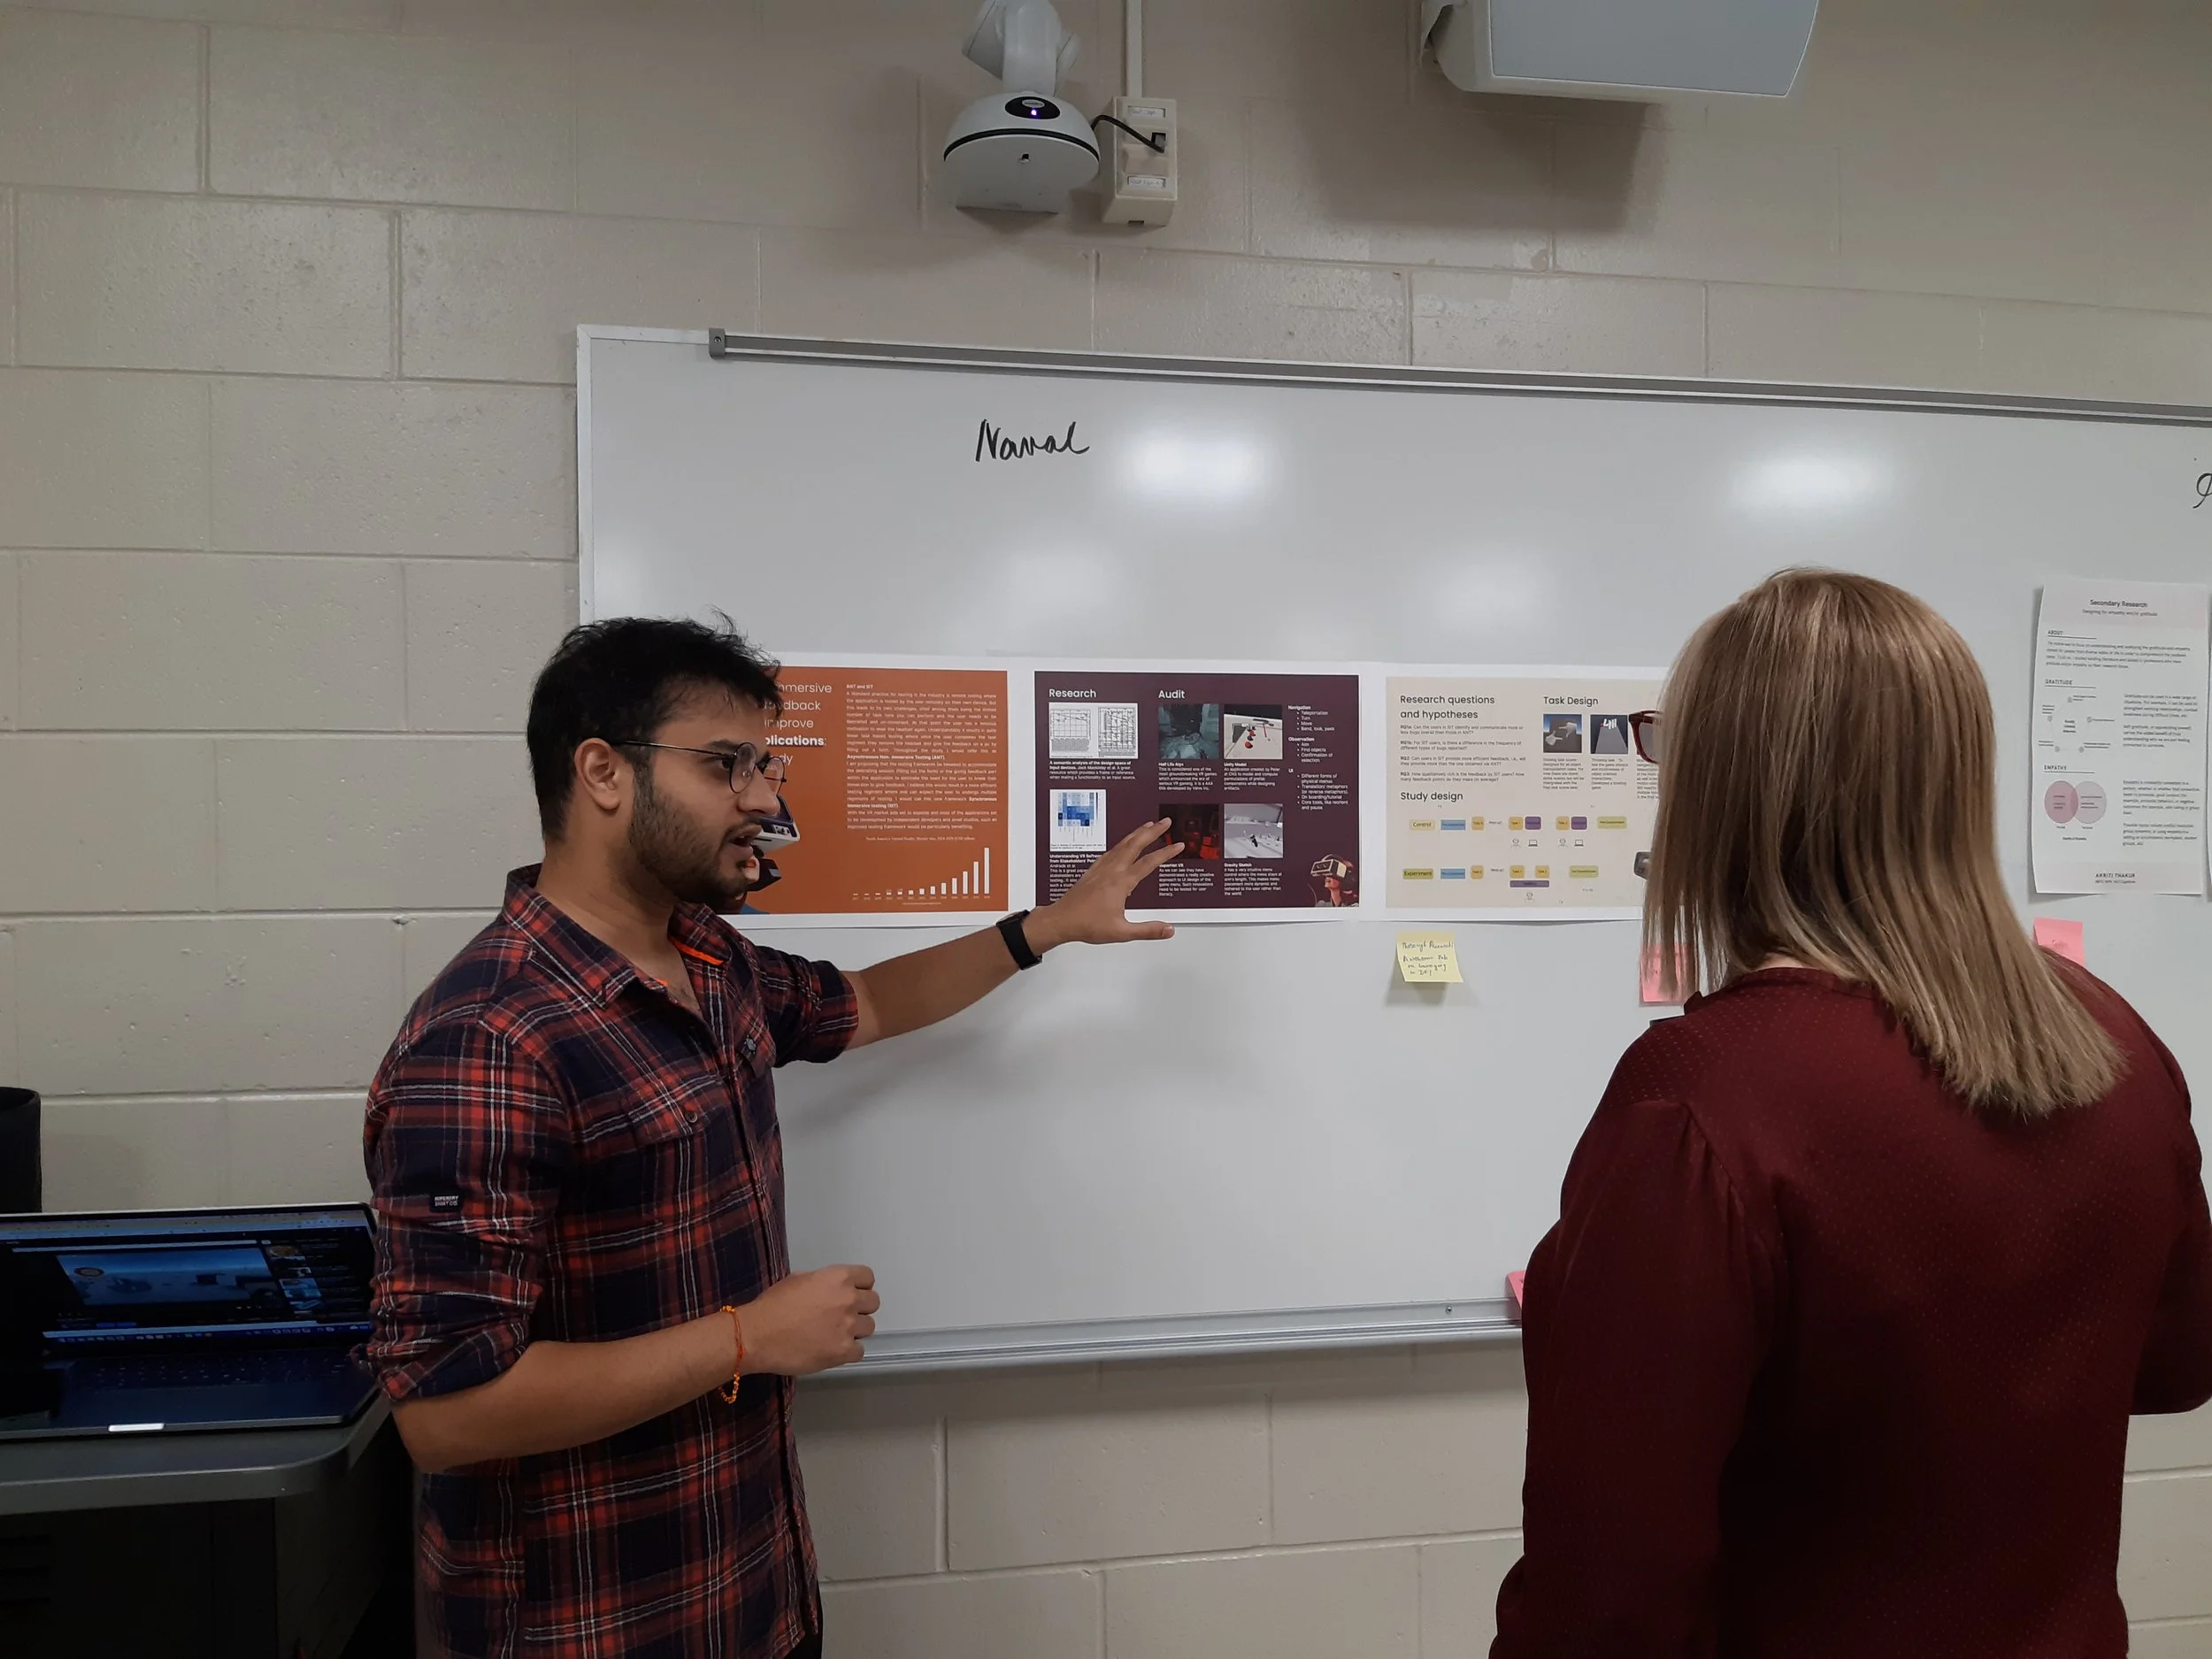
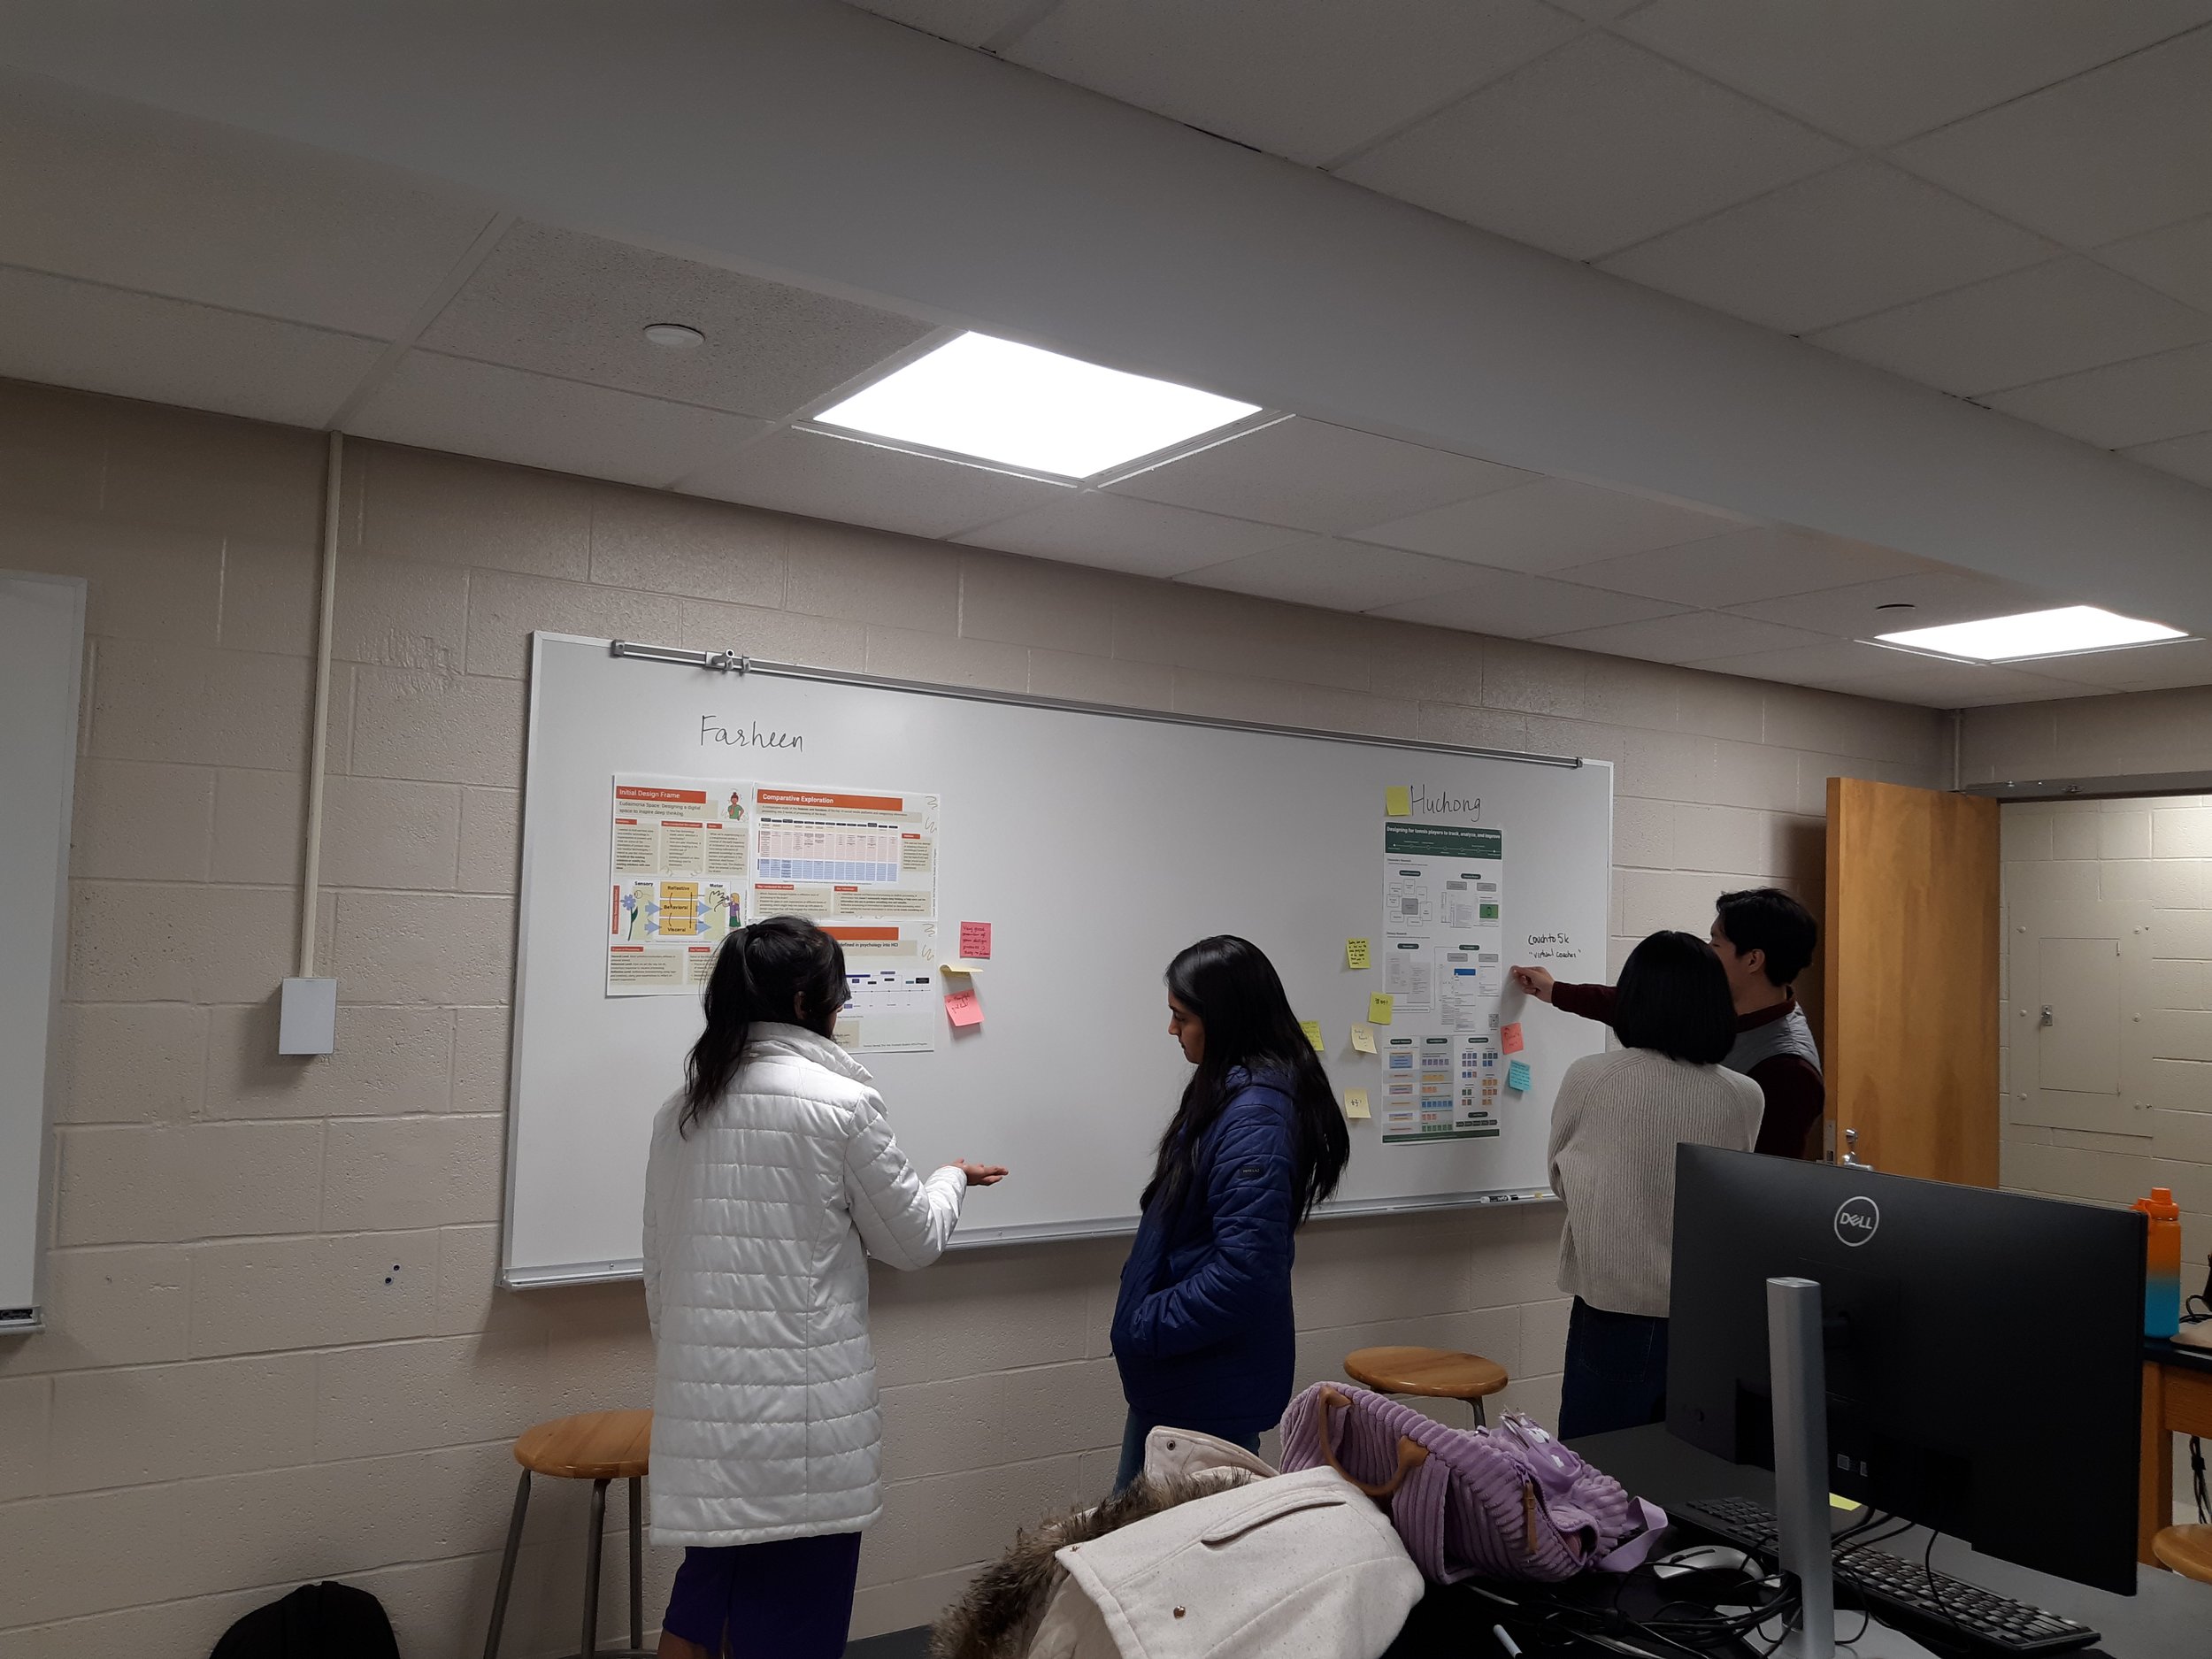
Gallery Walks
Writer of this Section: Ariel Wang
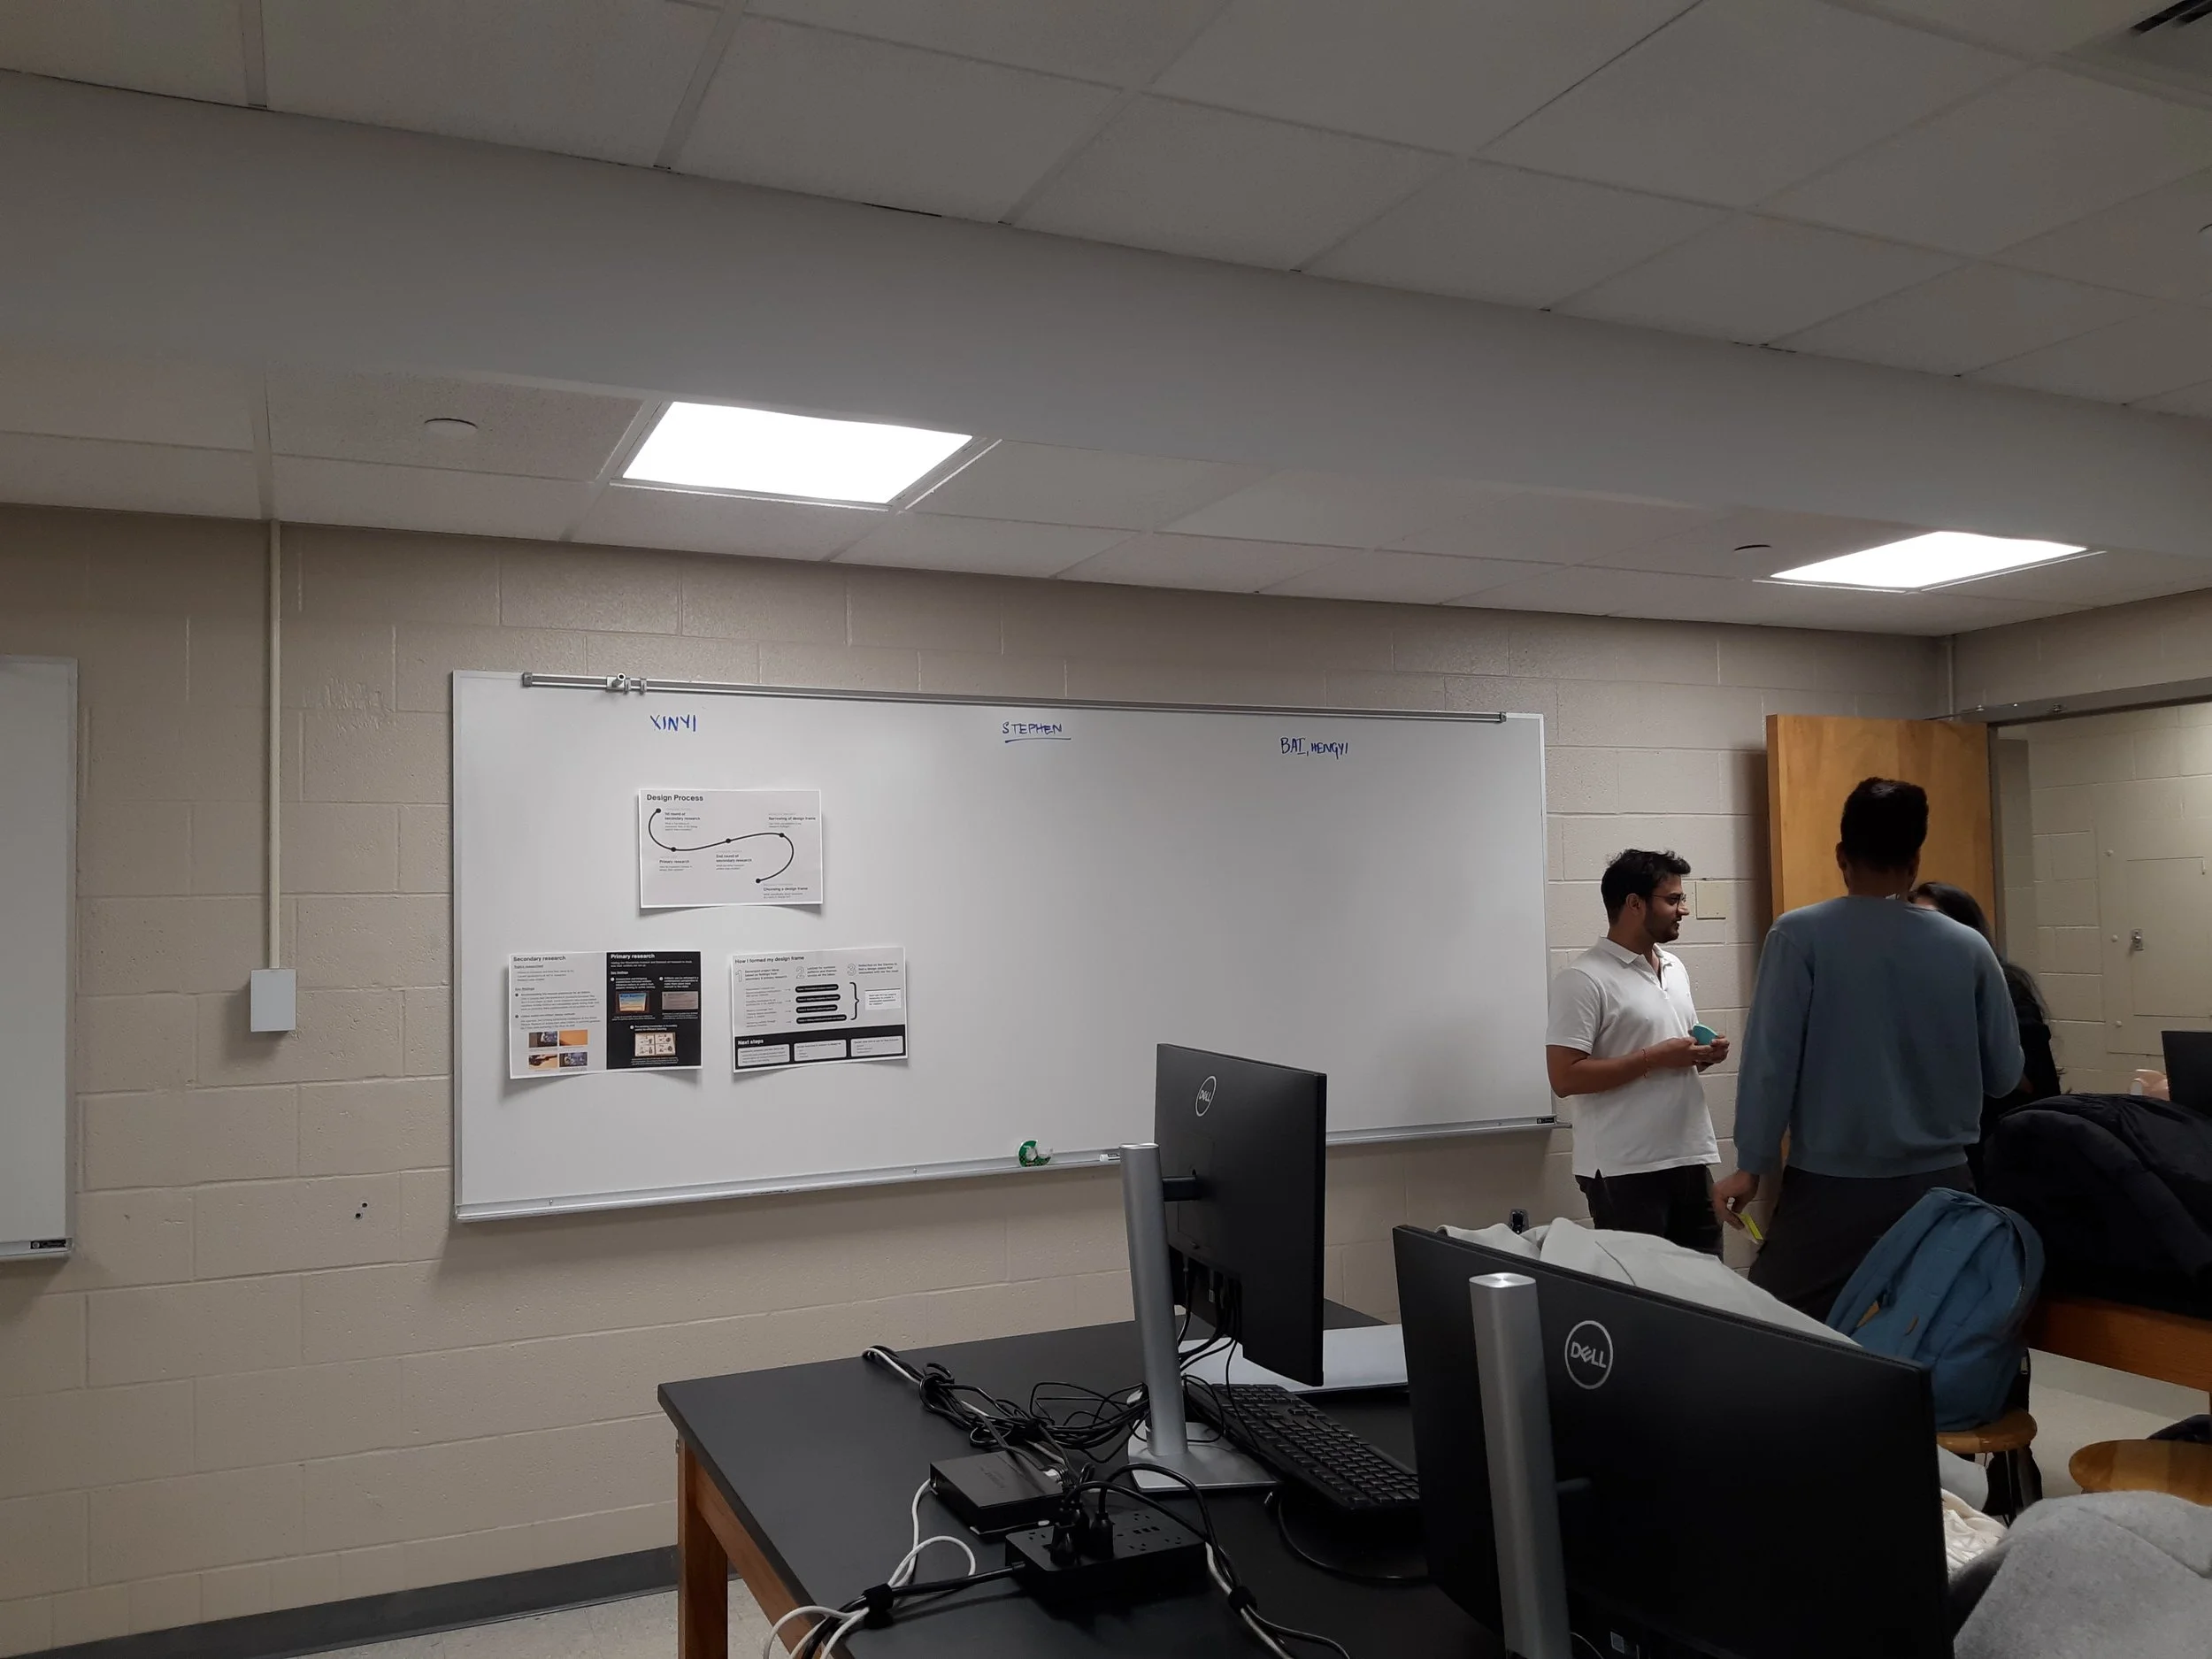
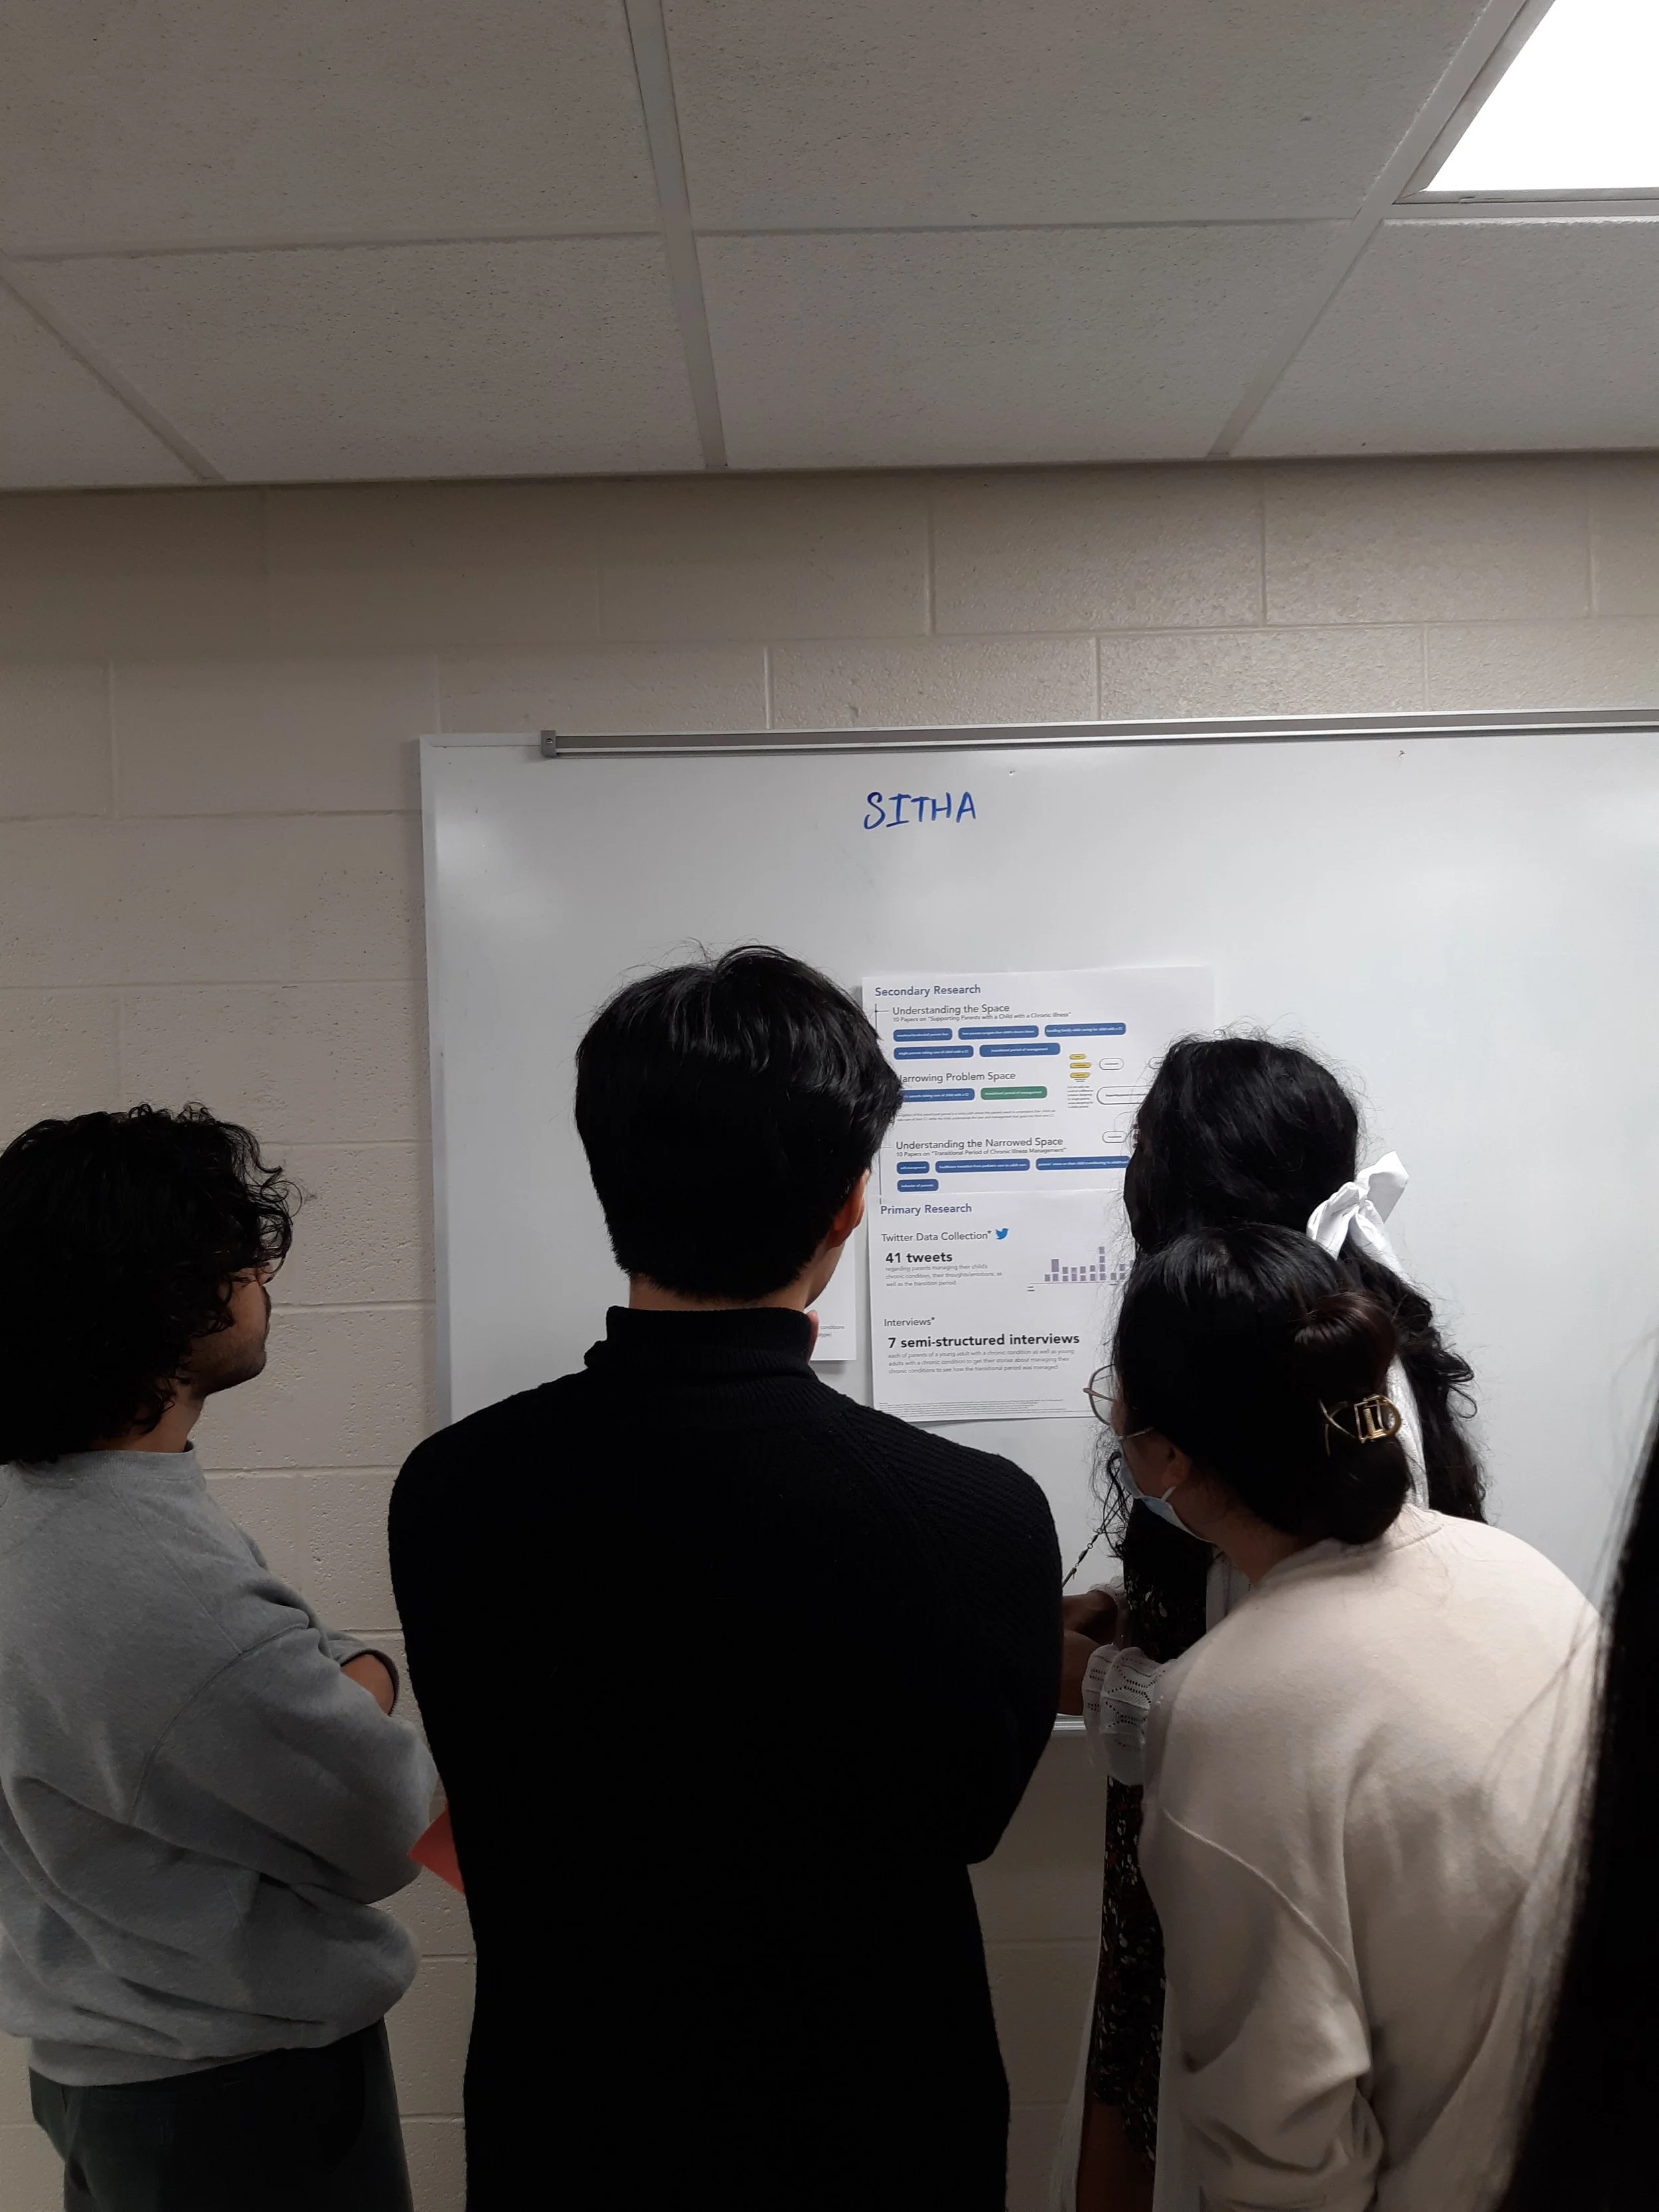
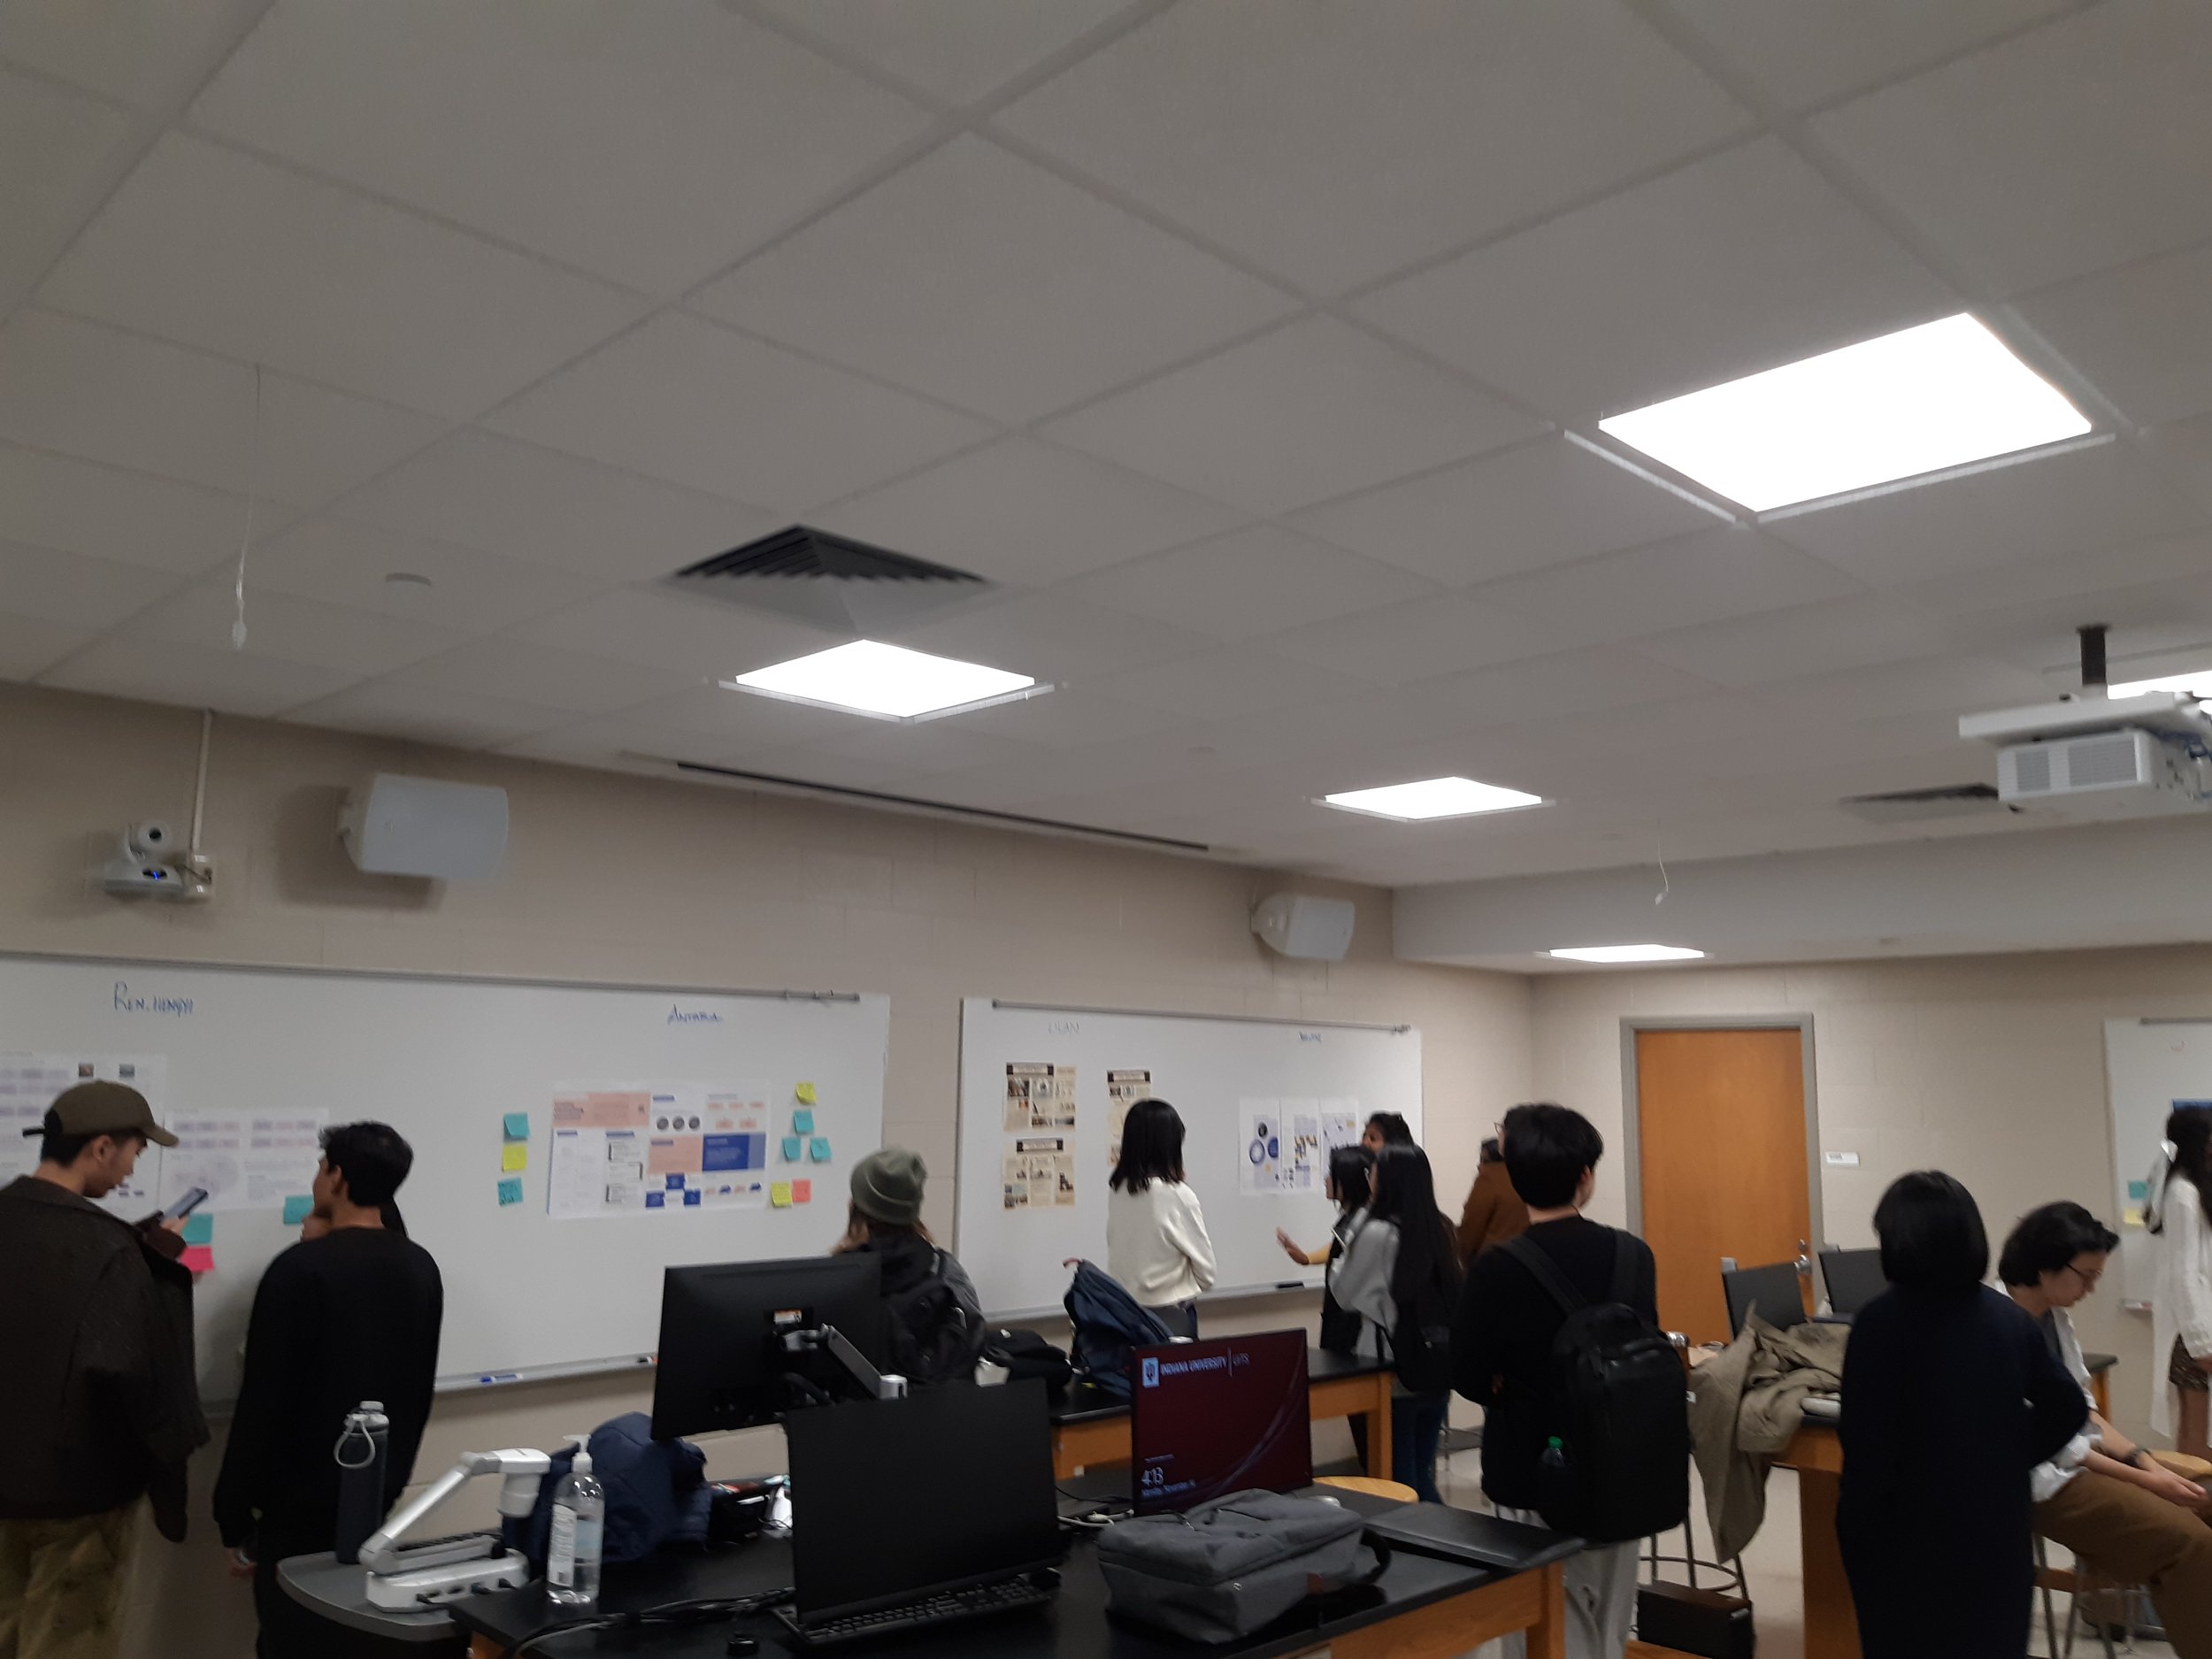
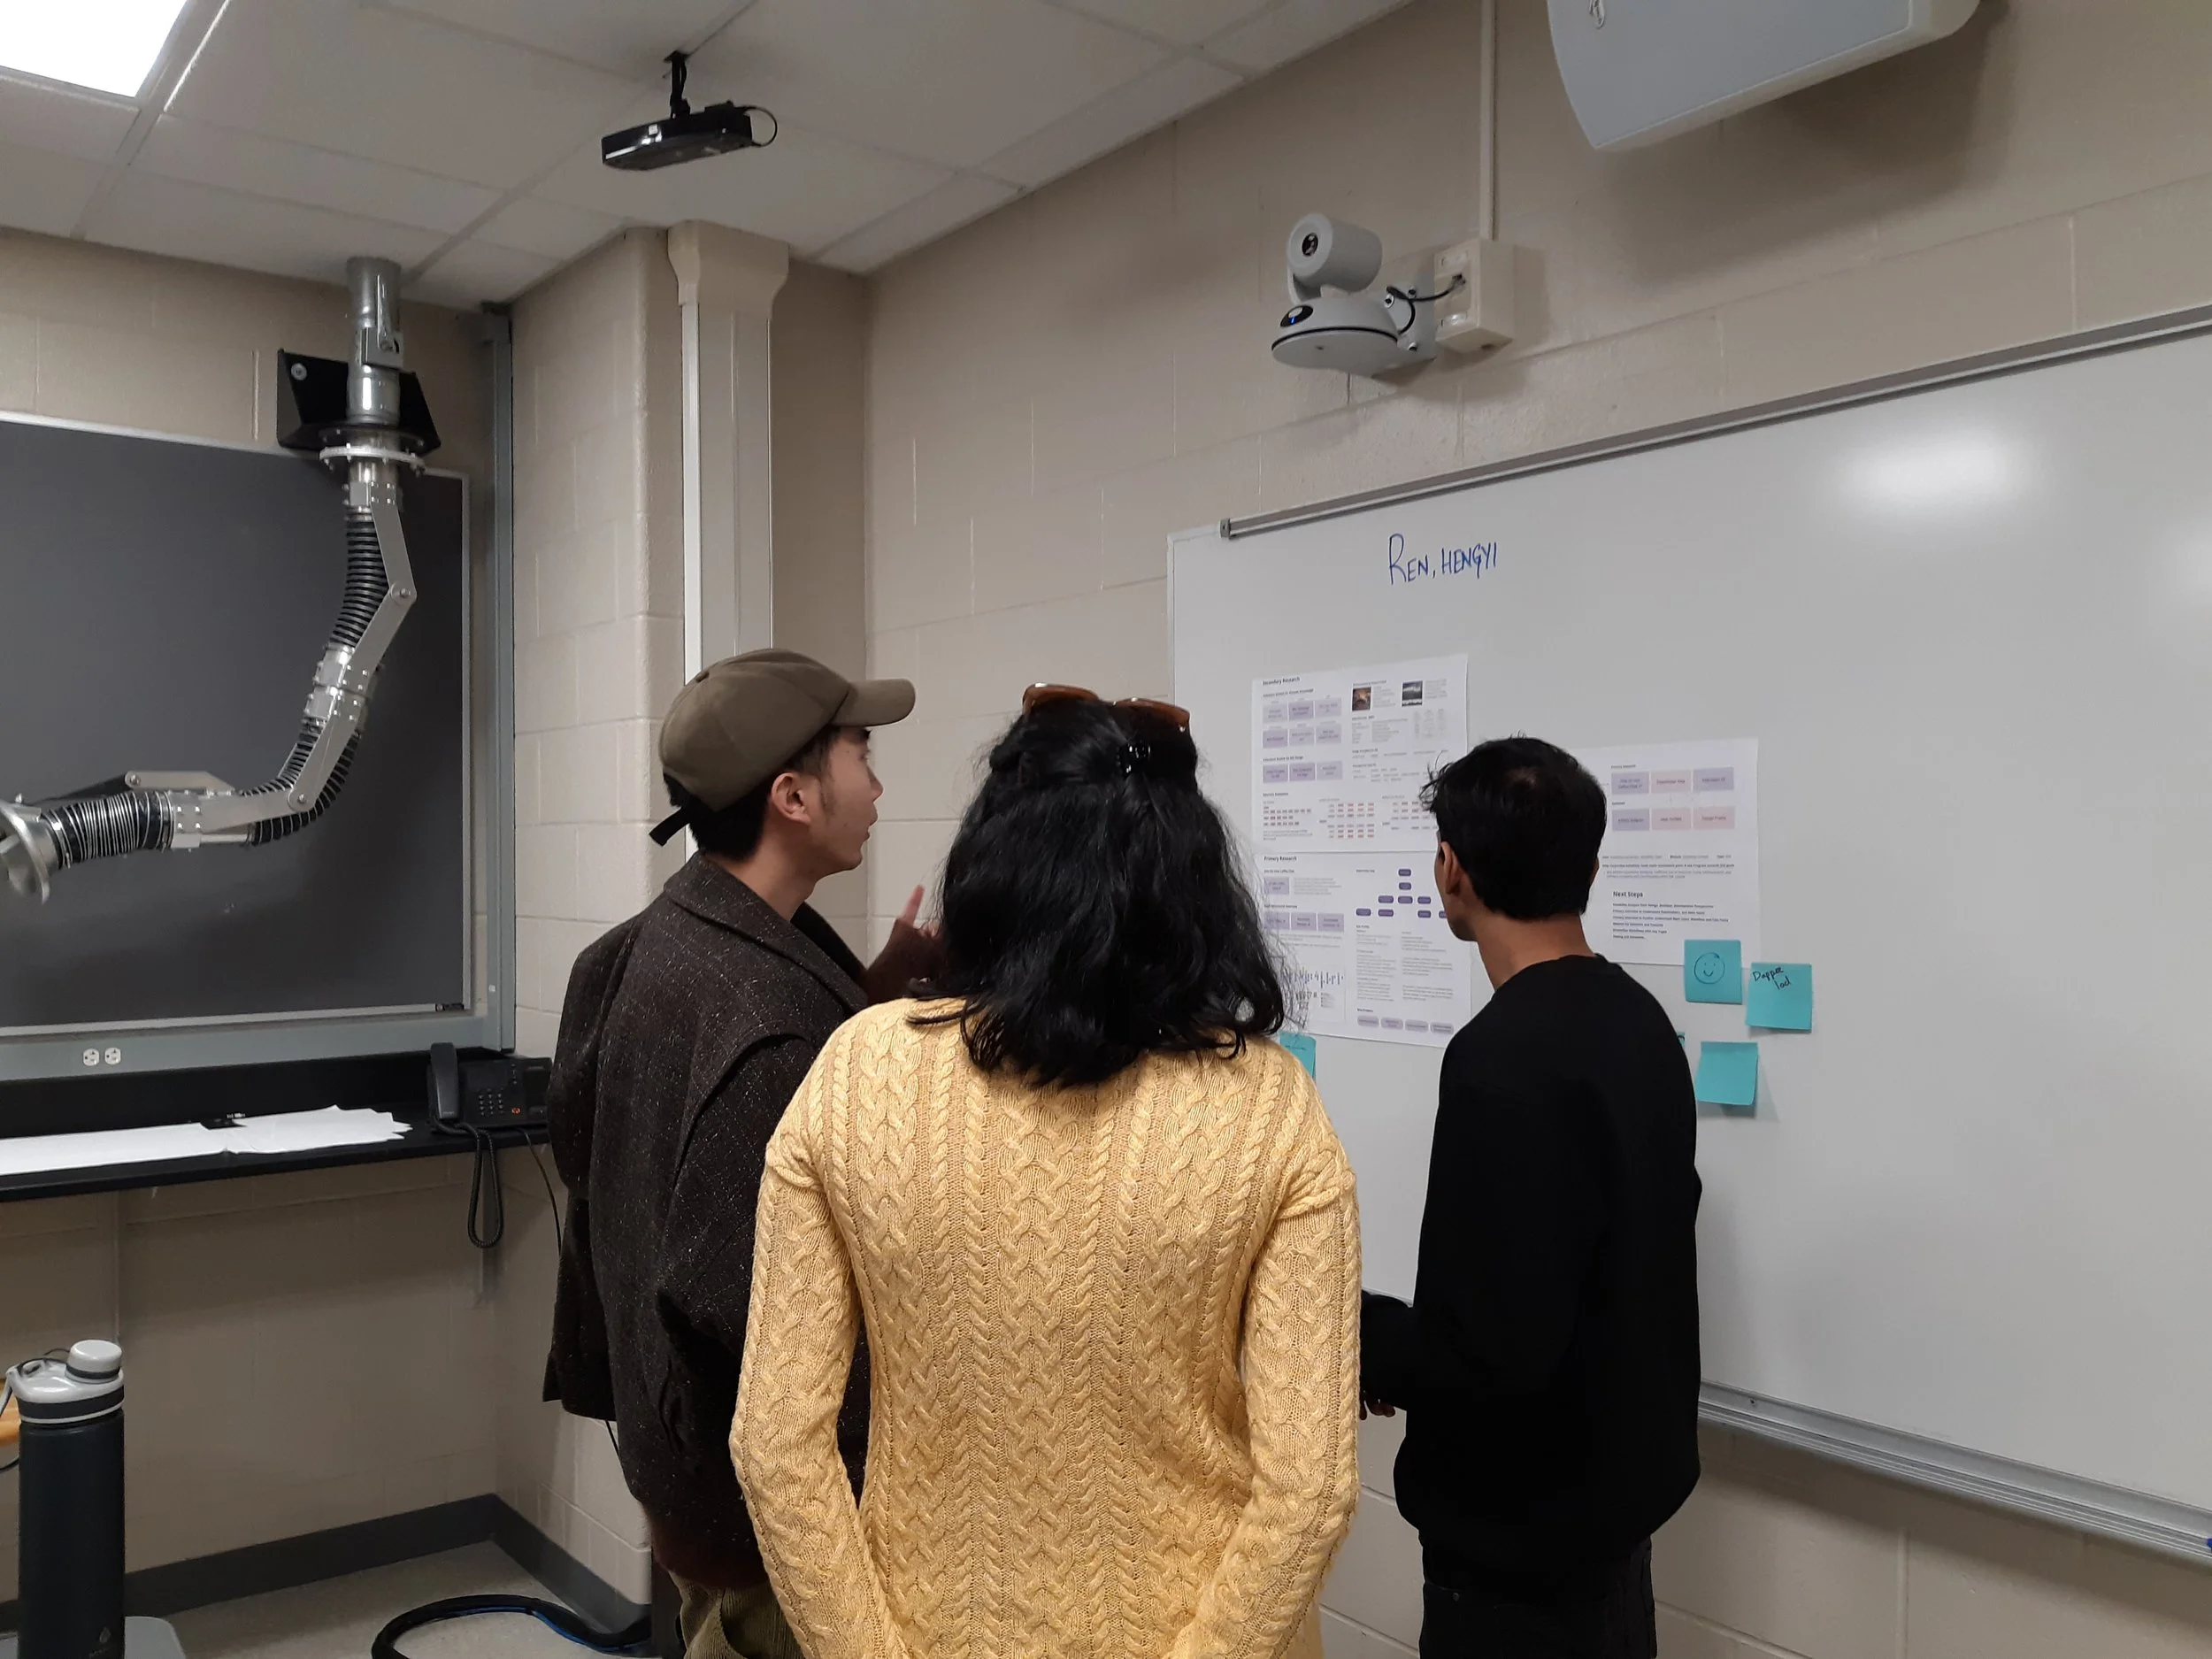
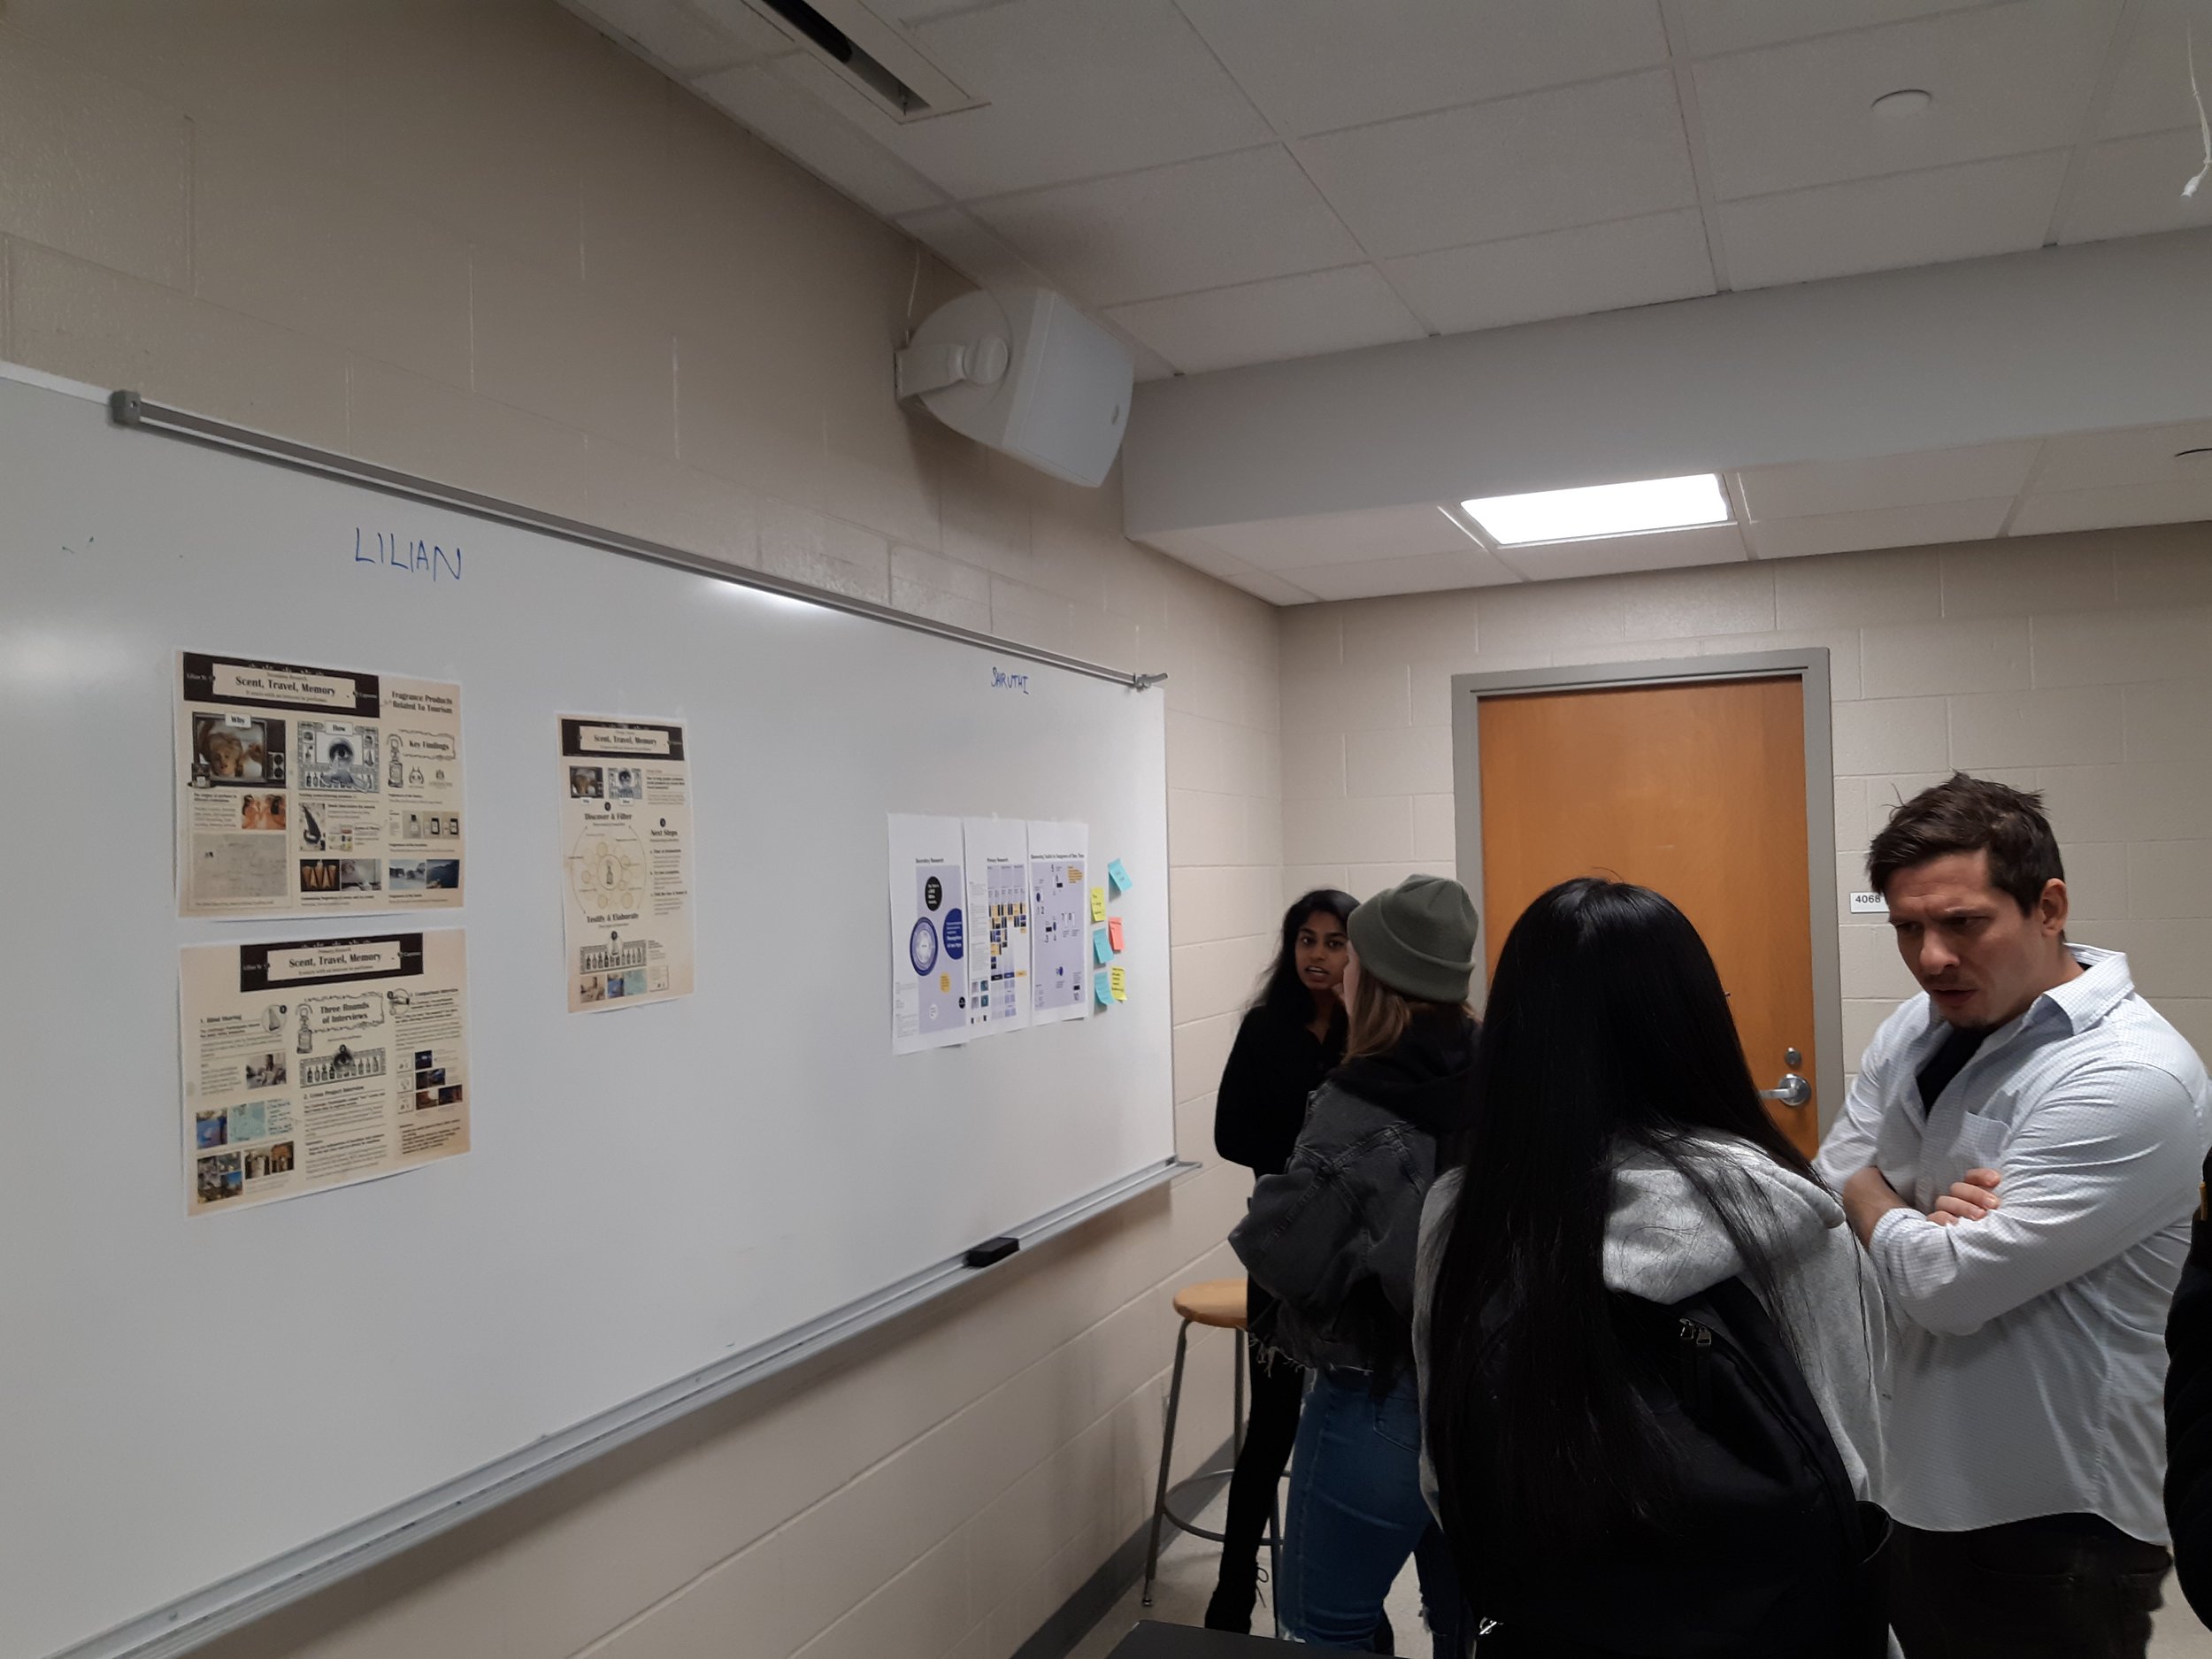
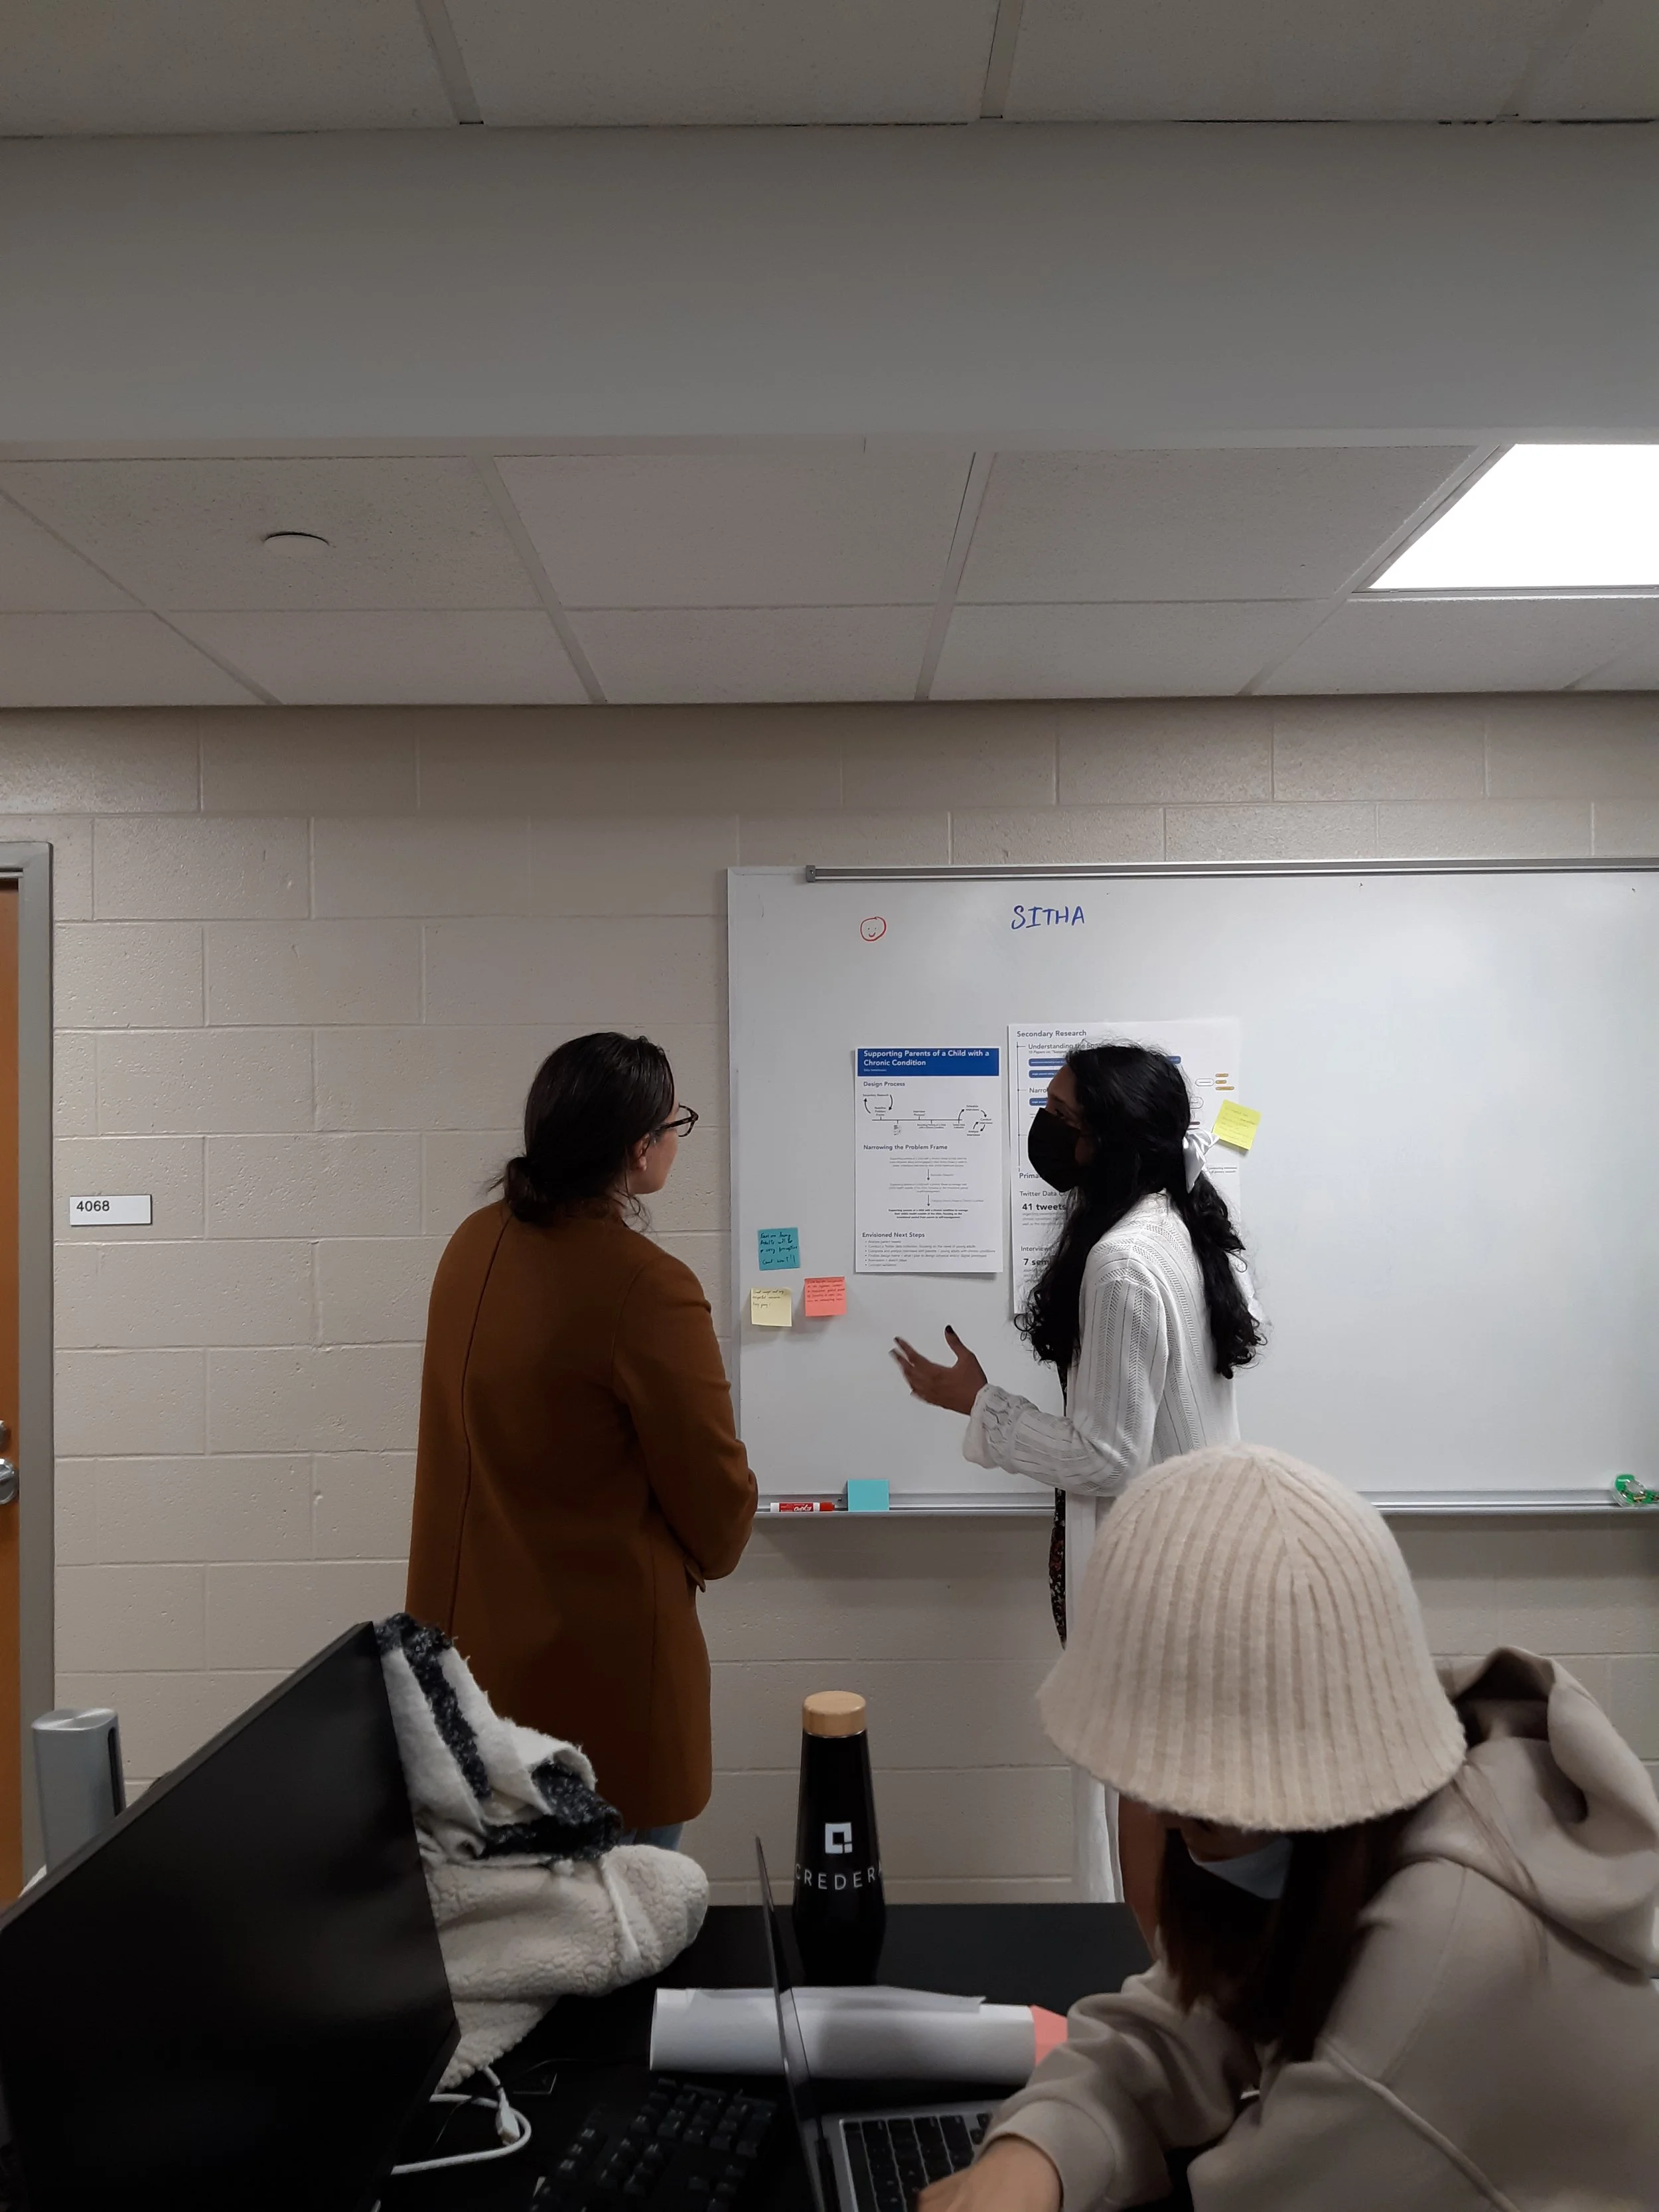
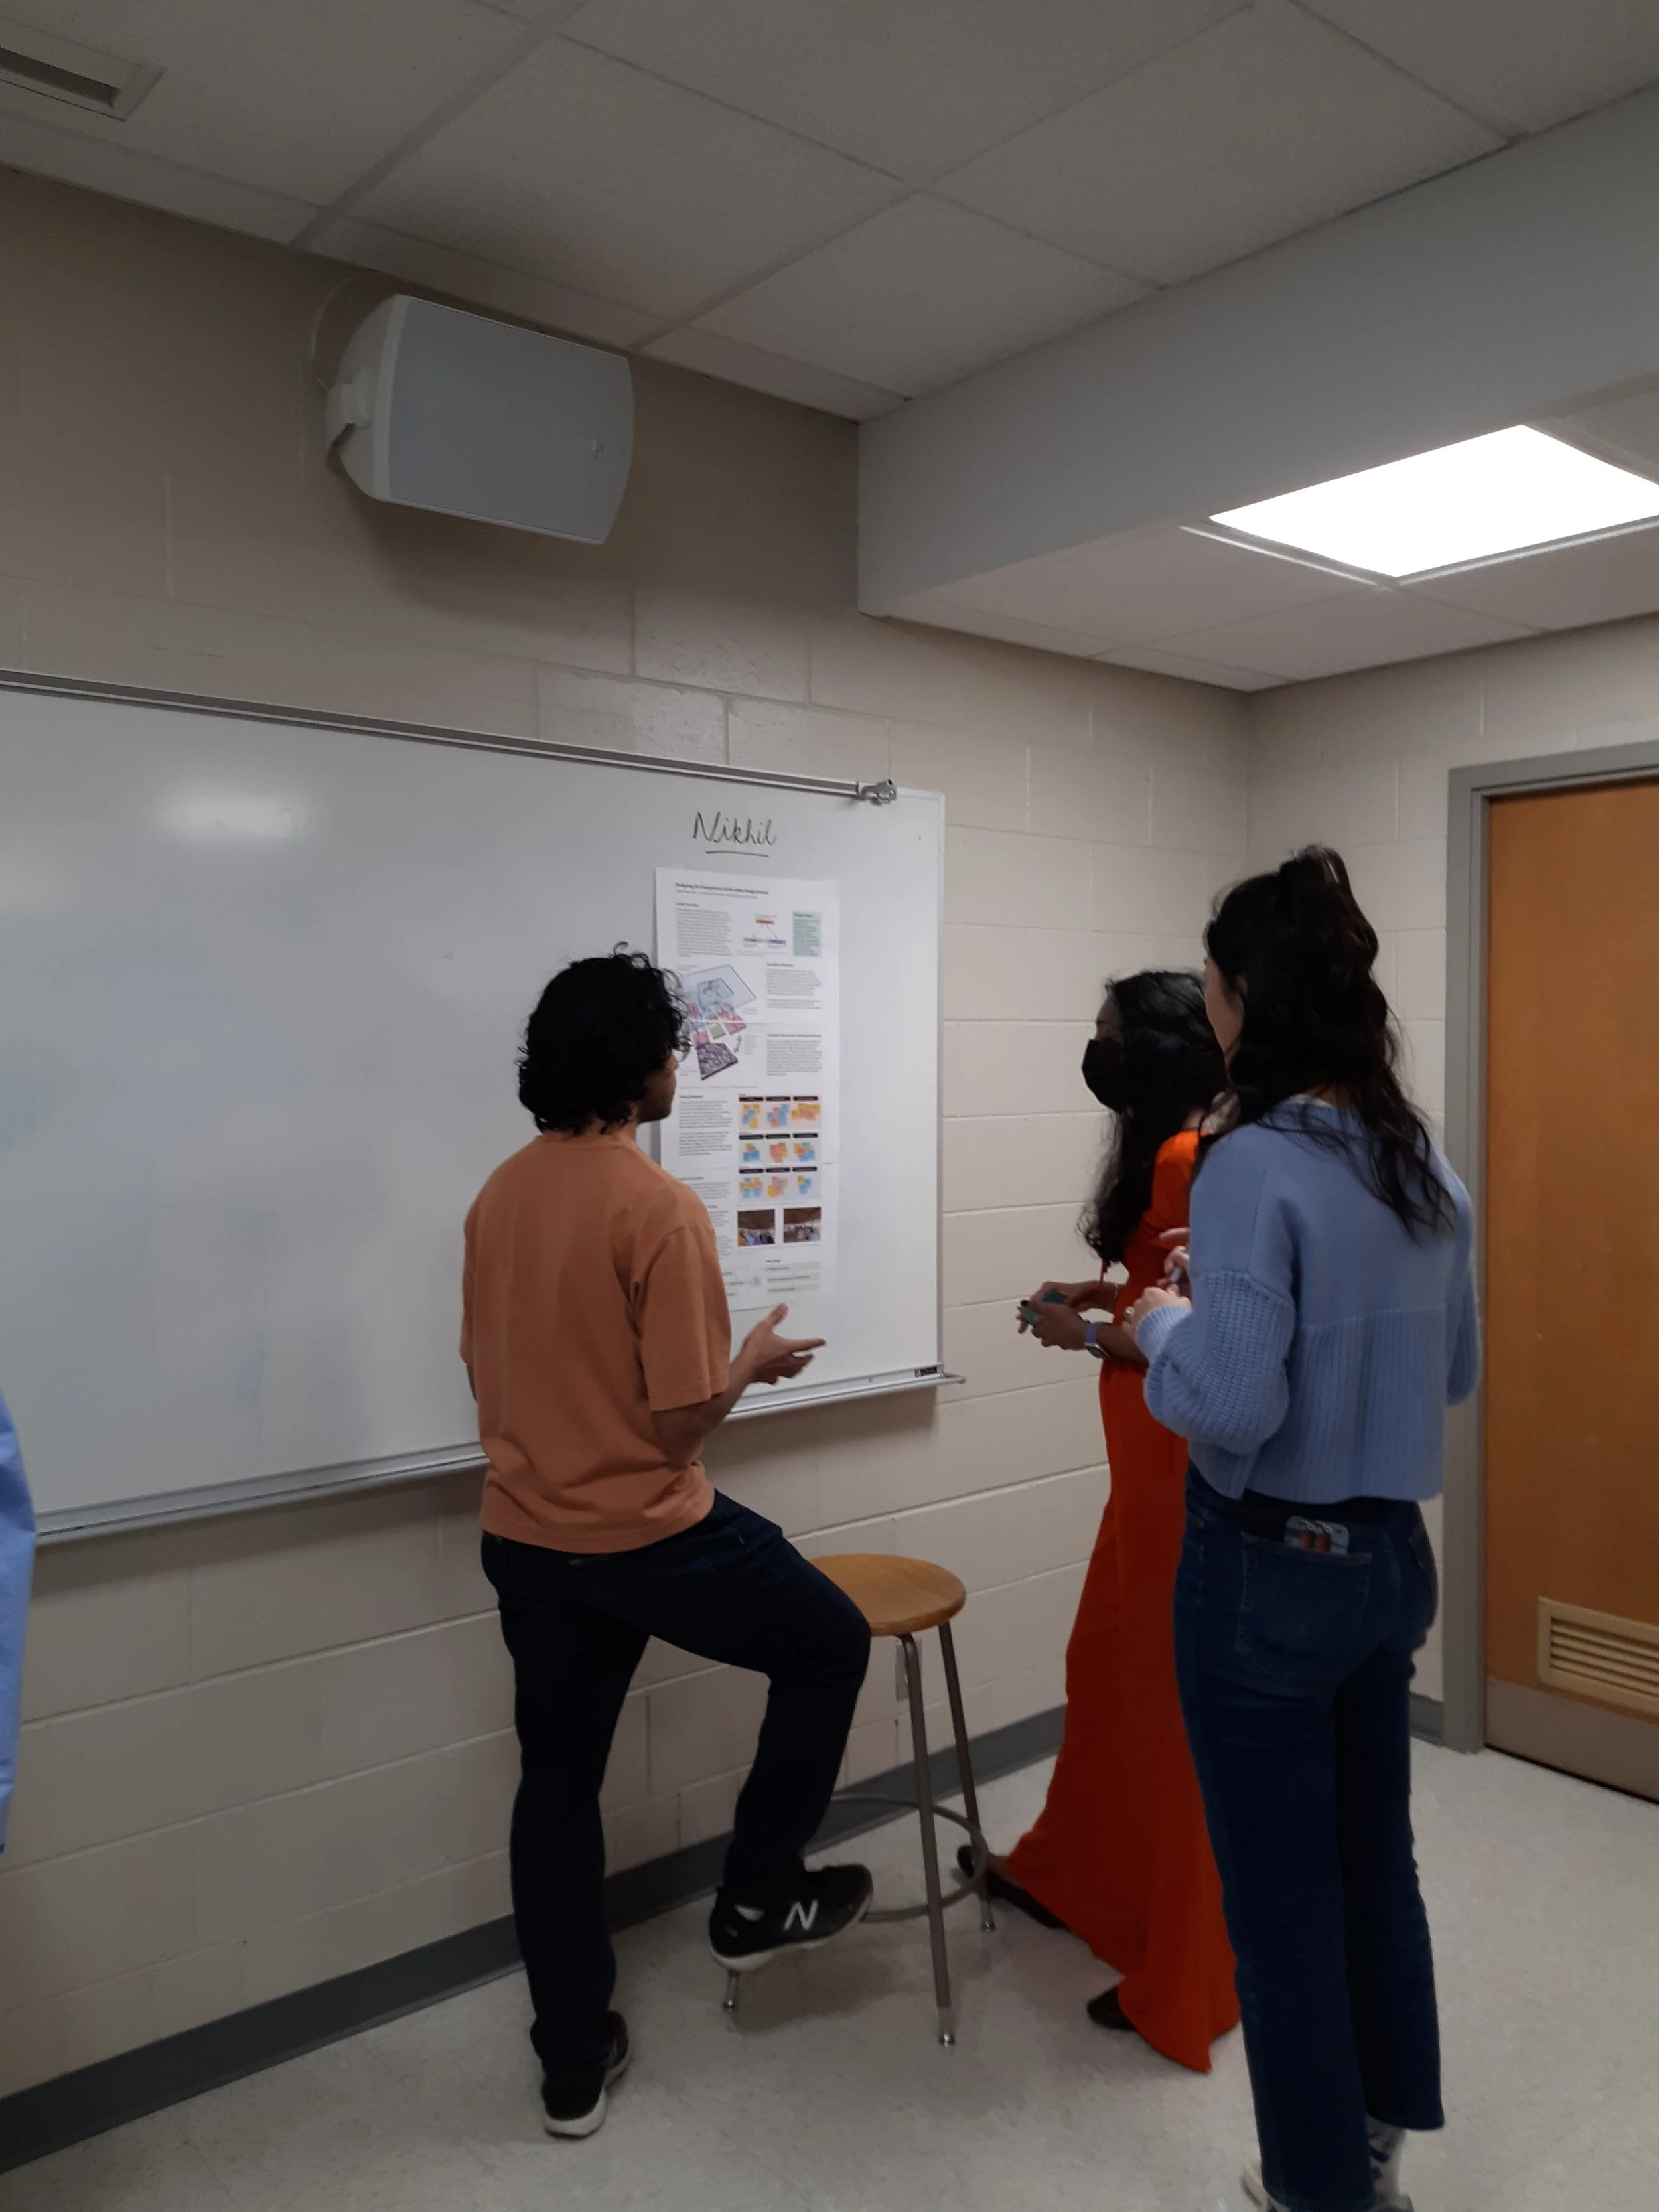
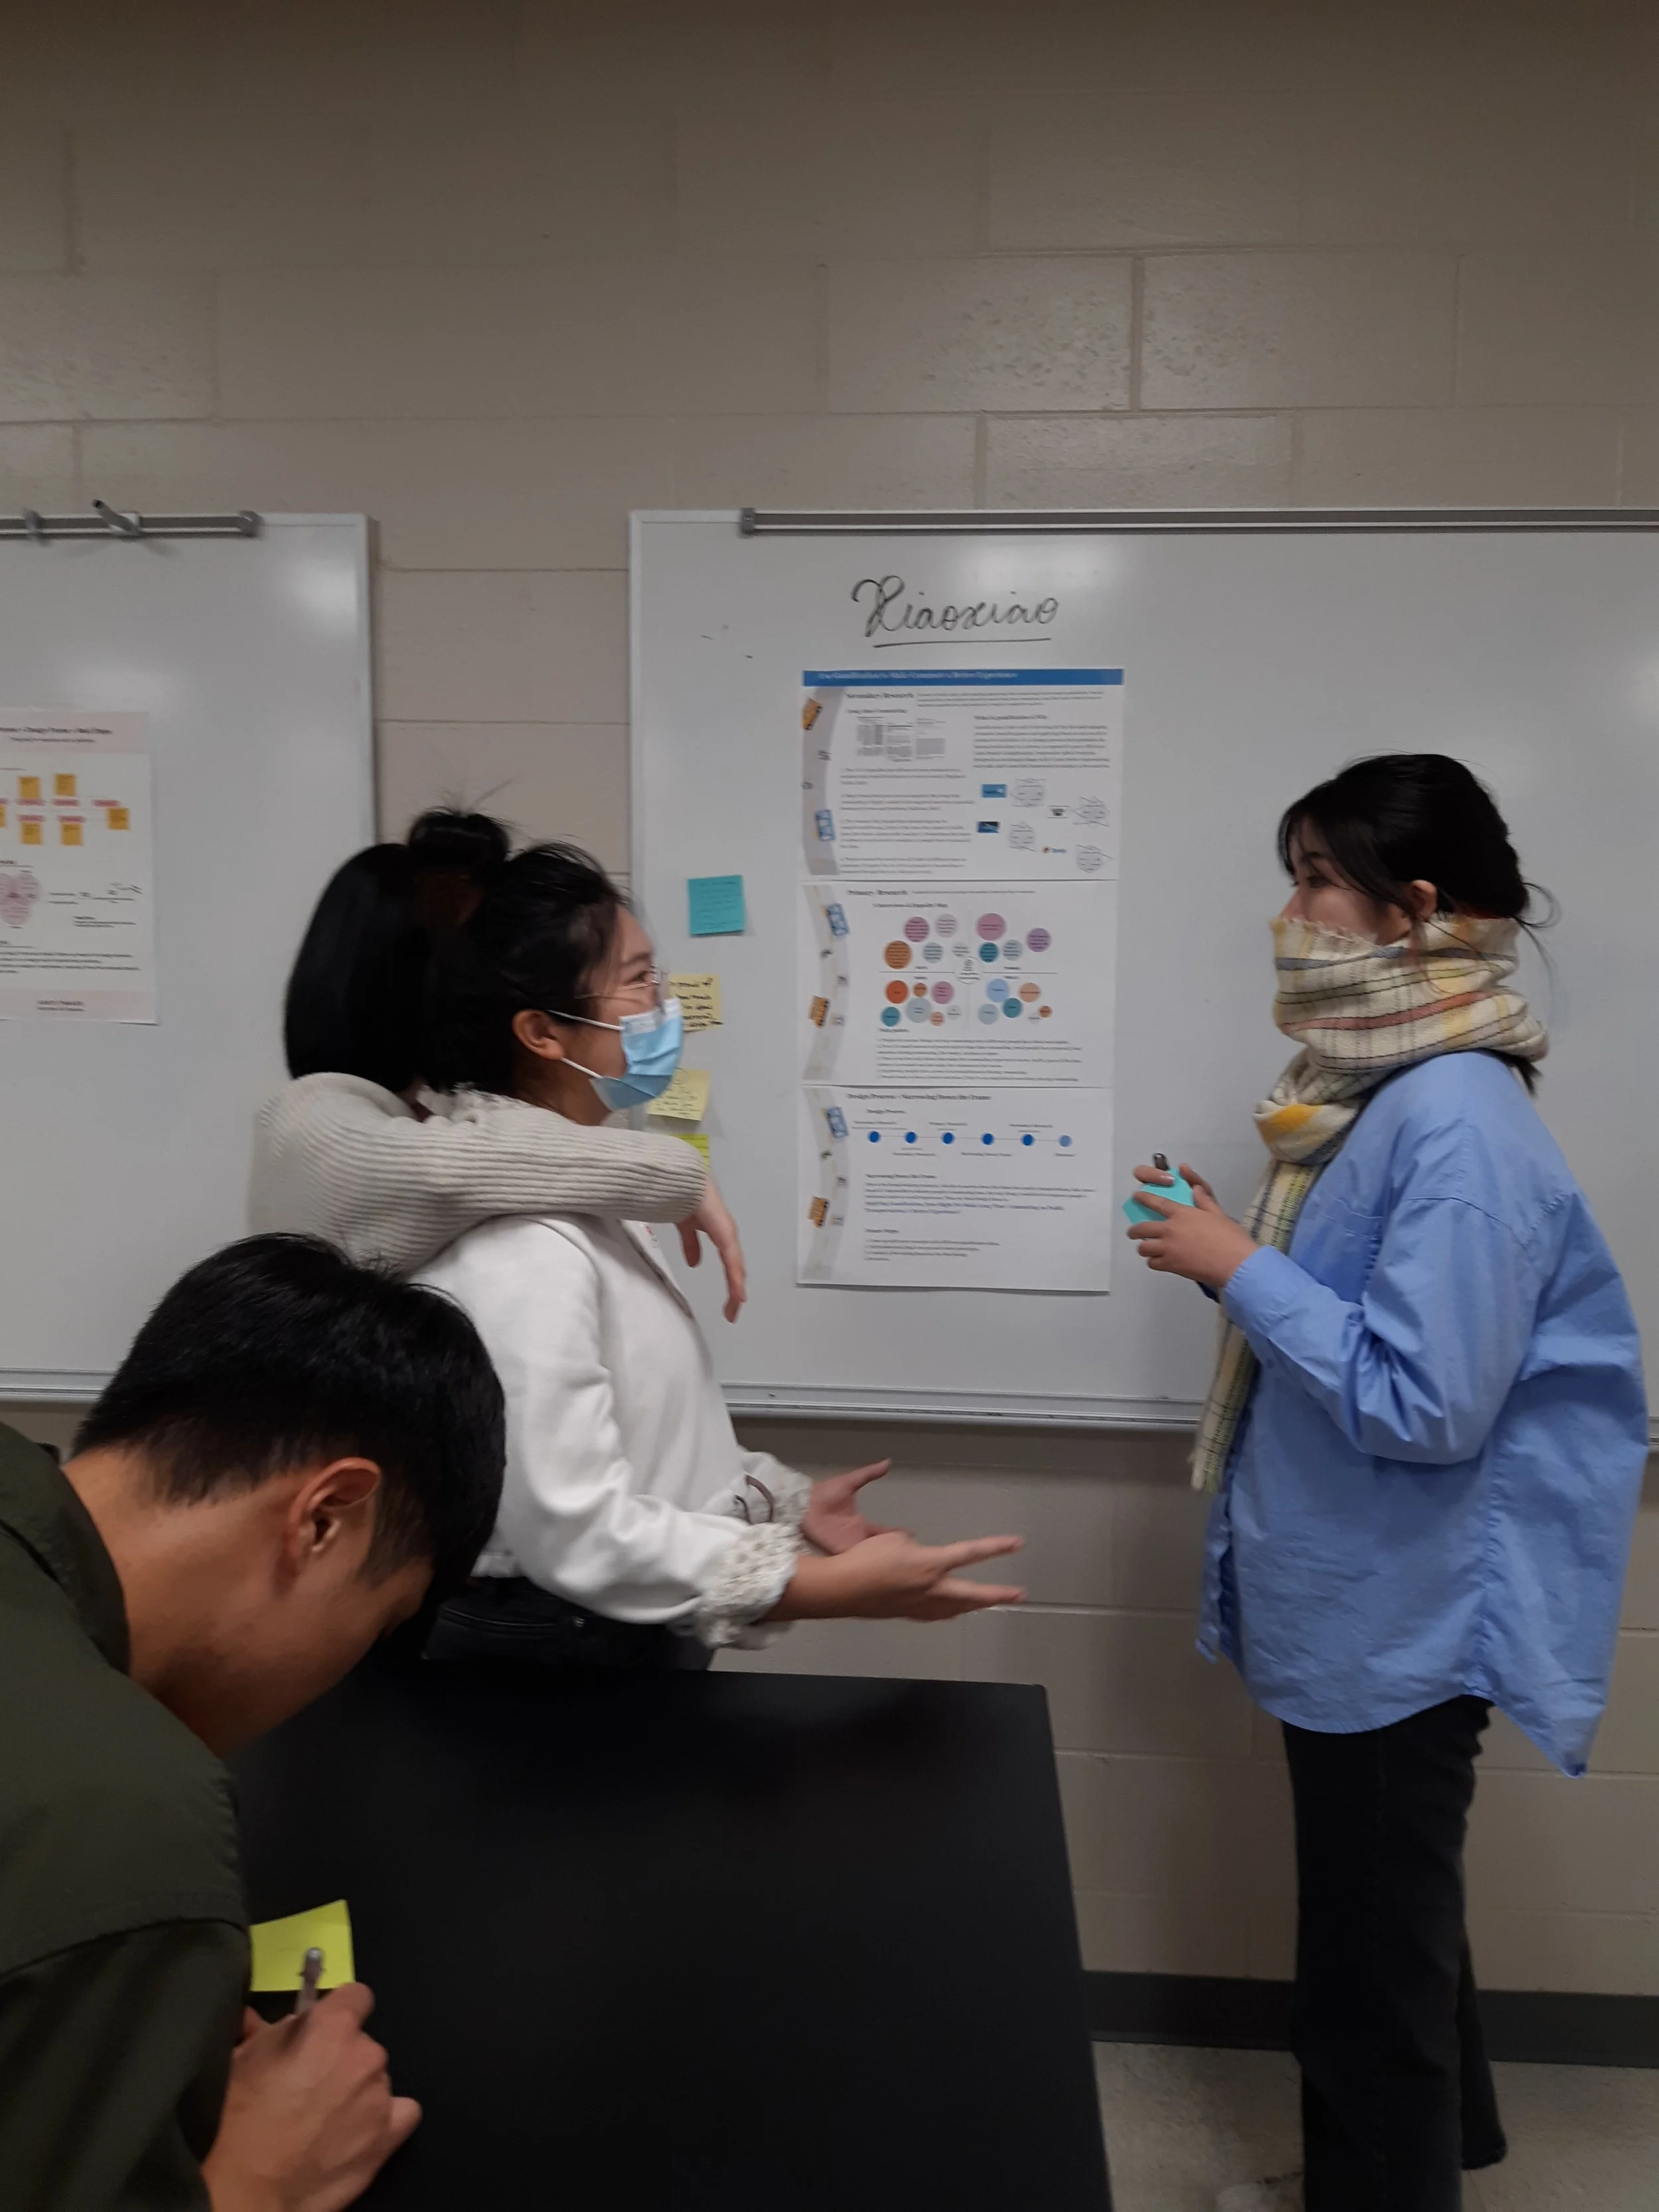
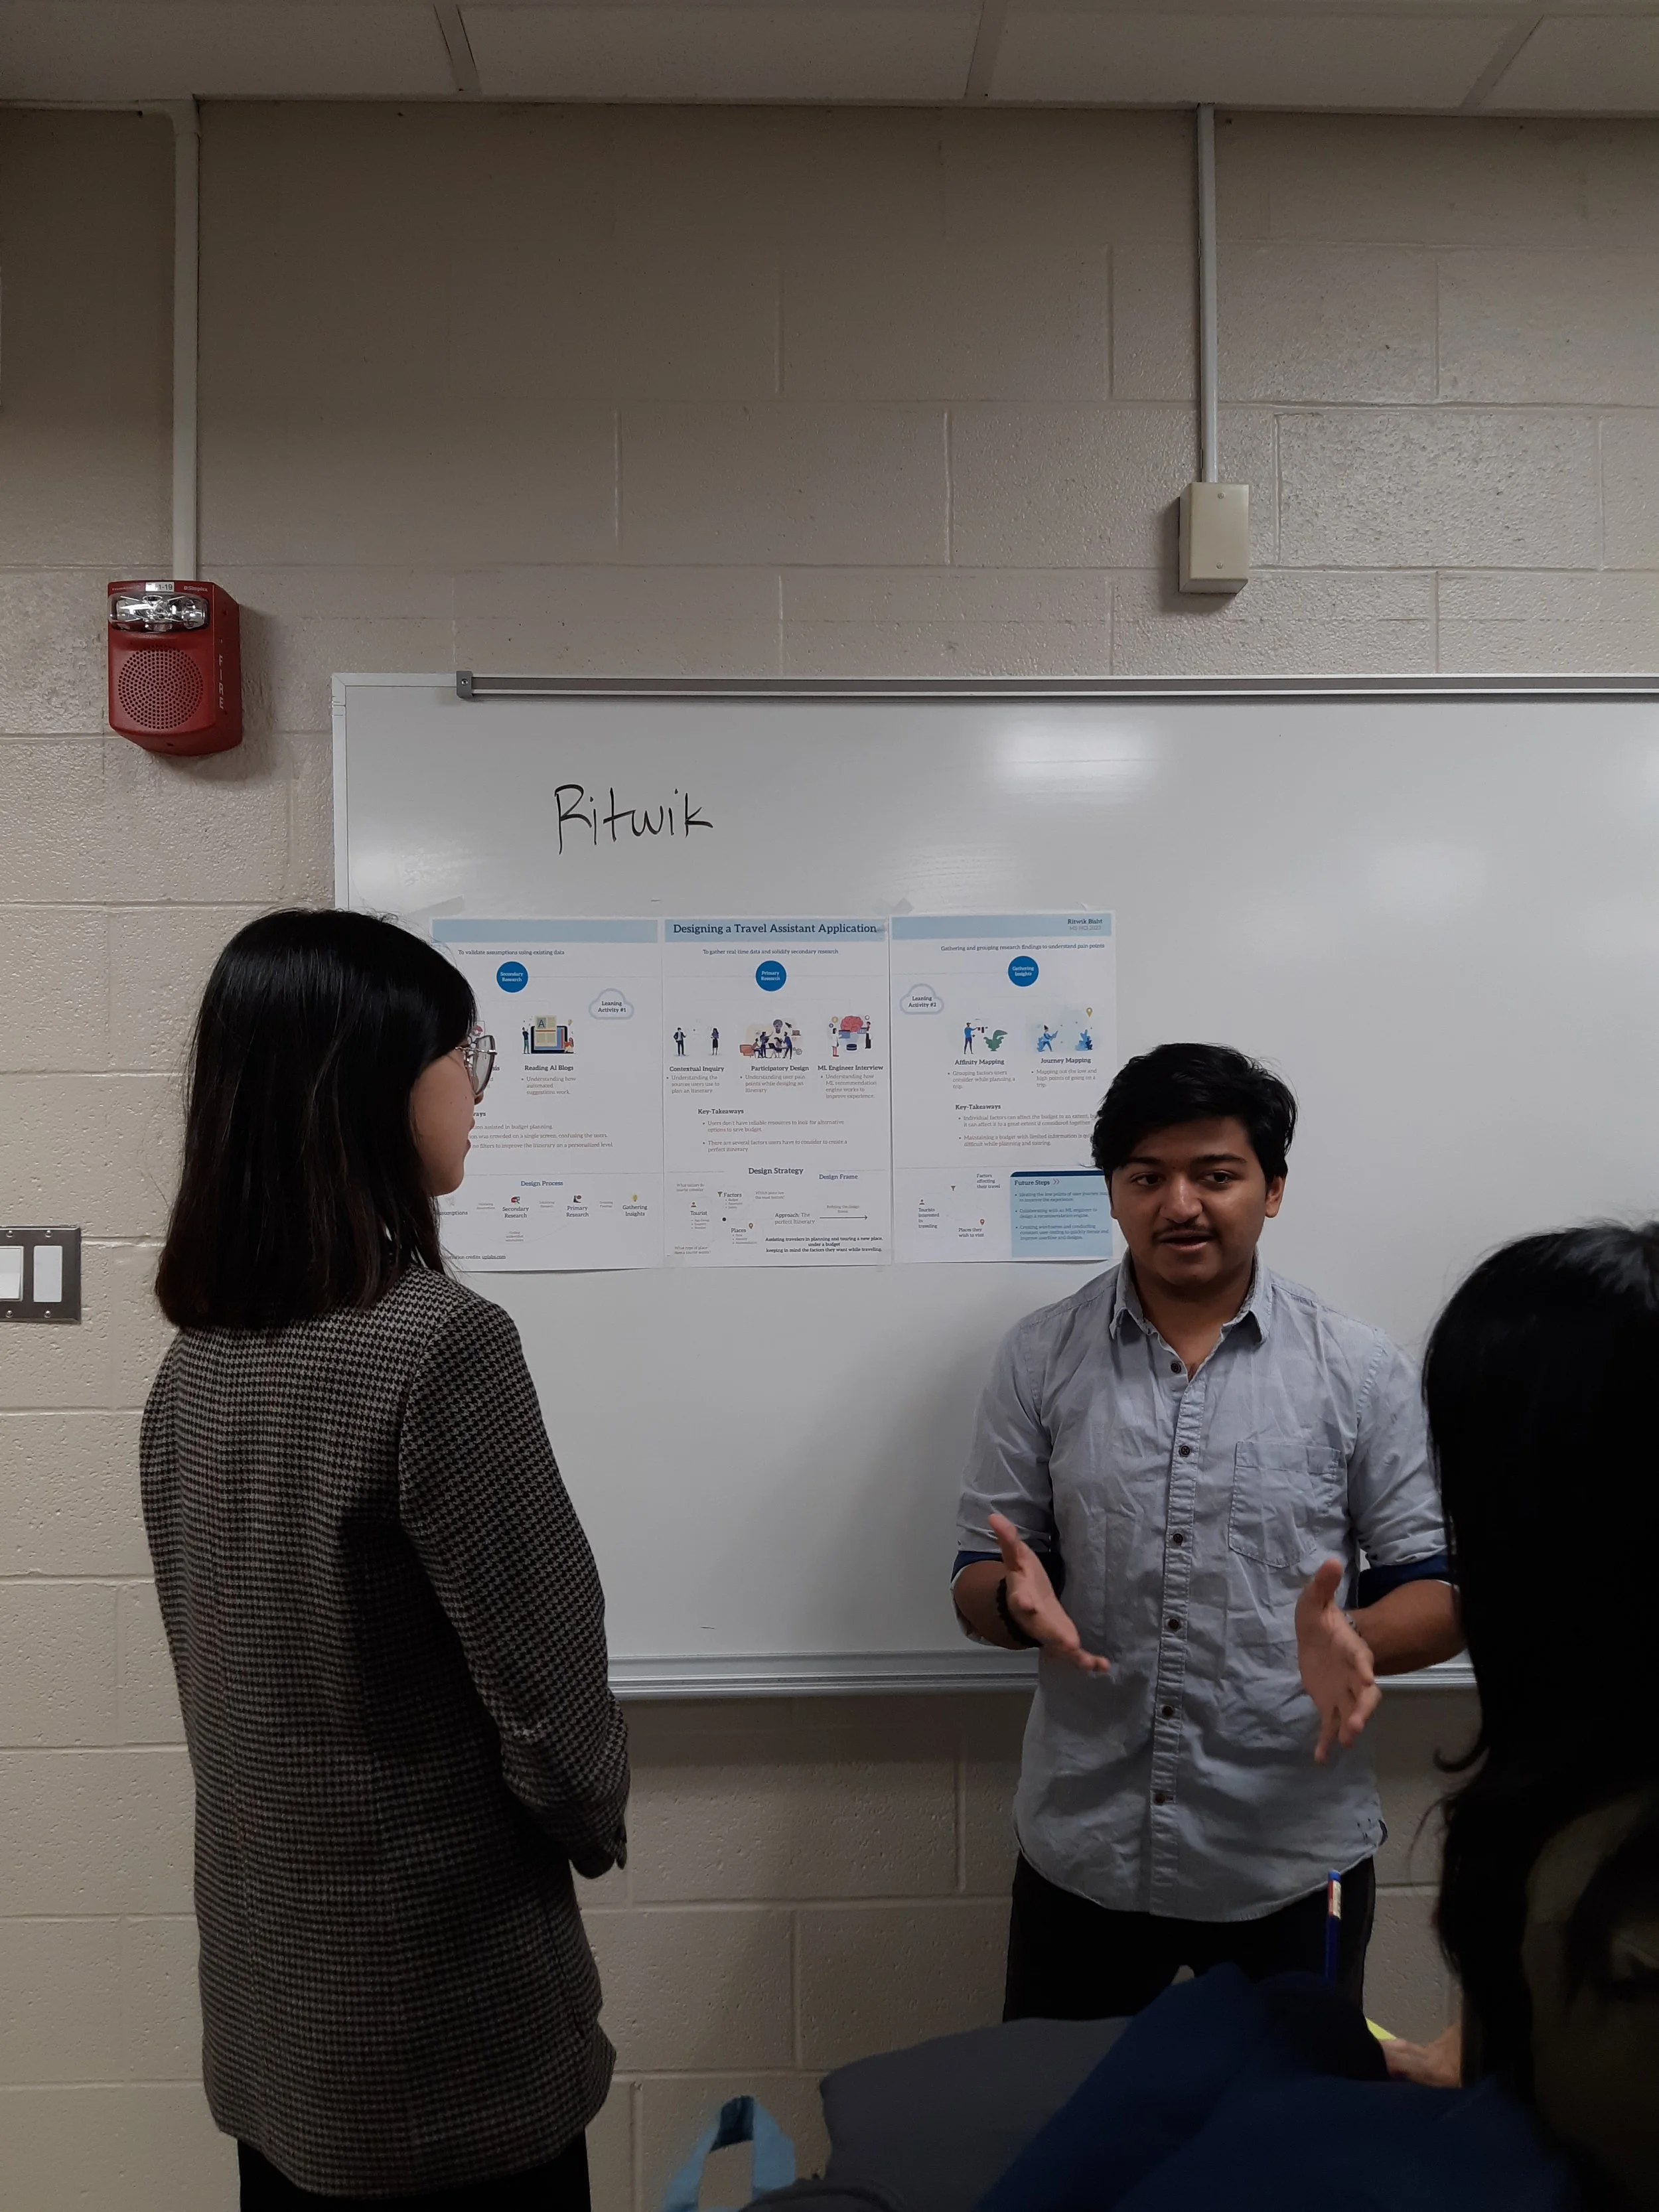
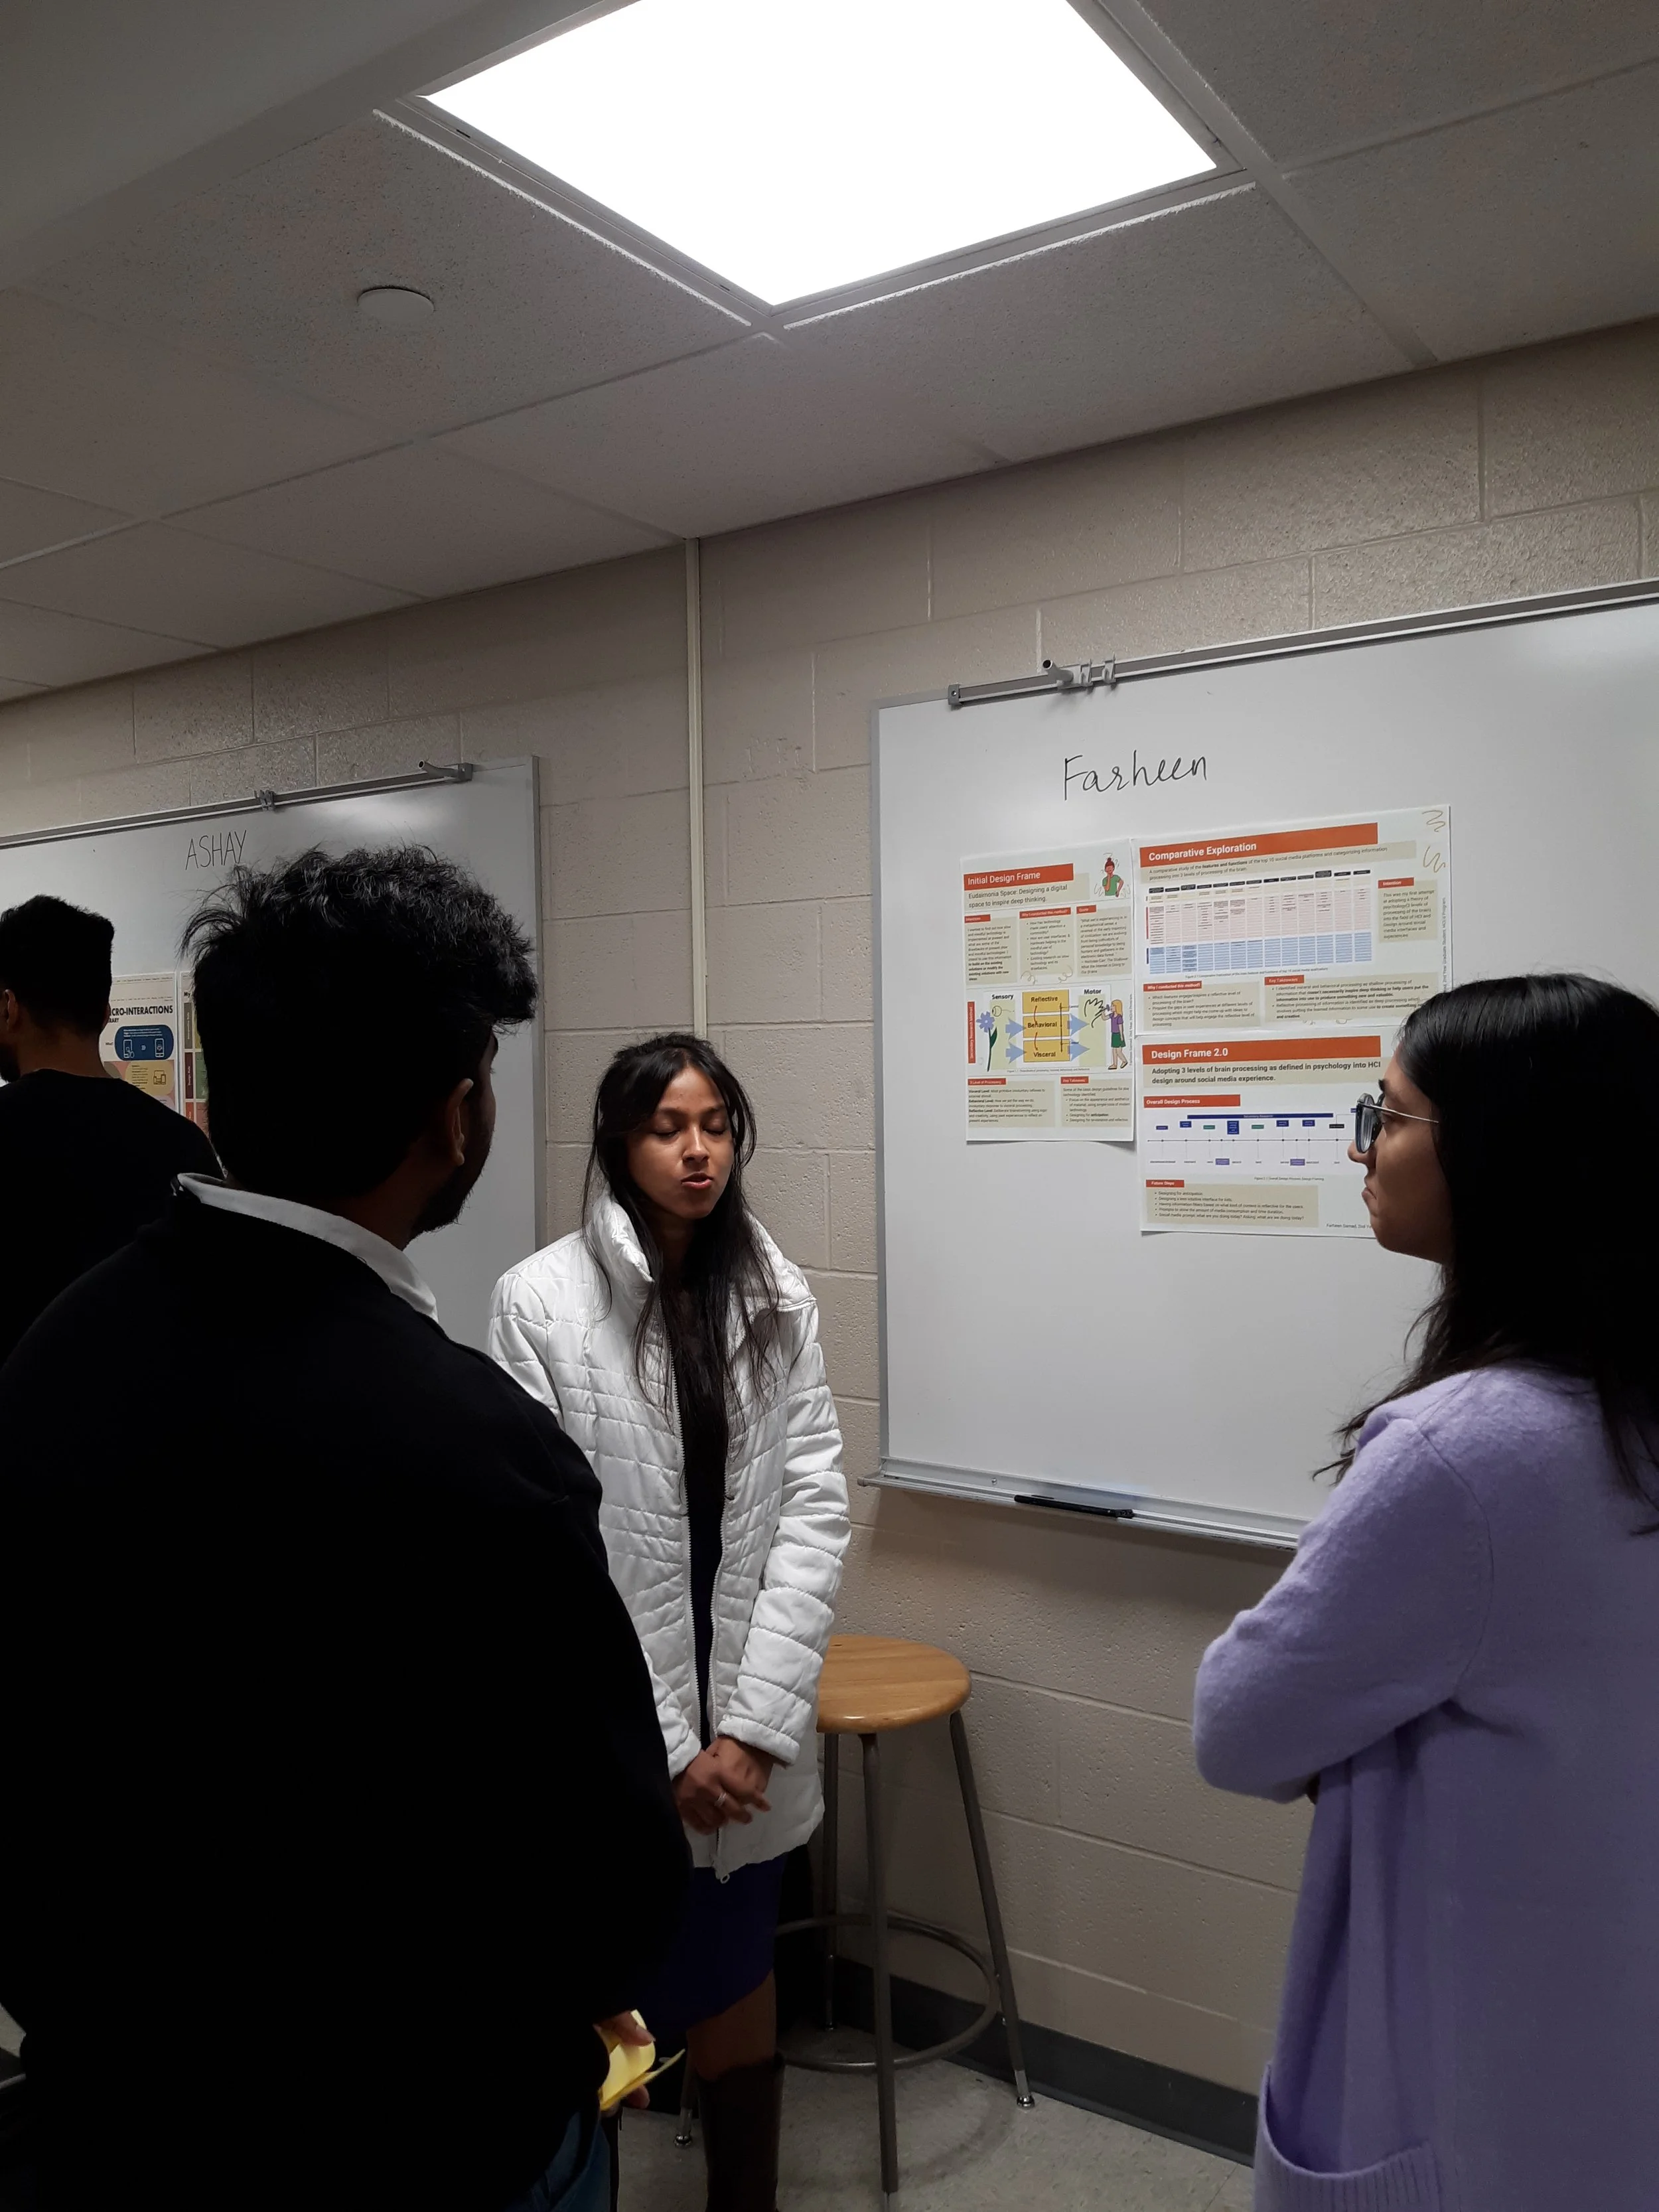
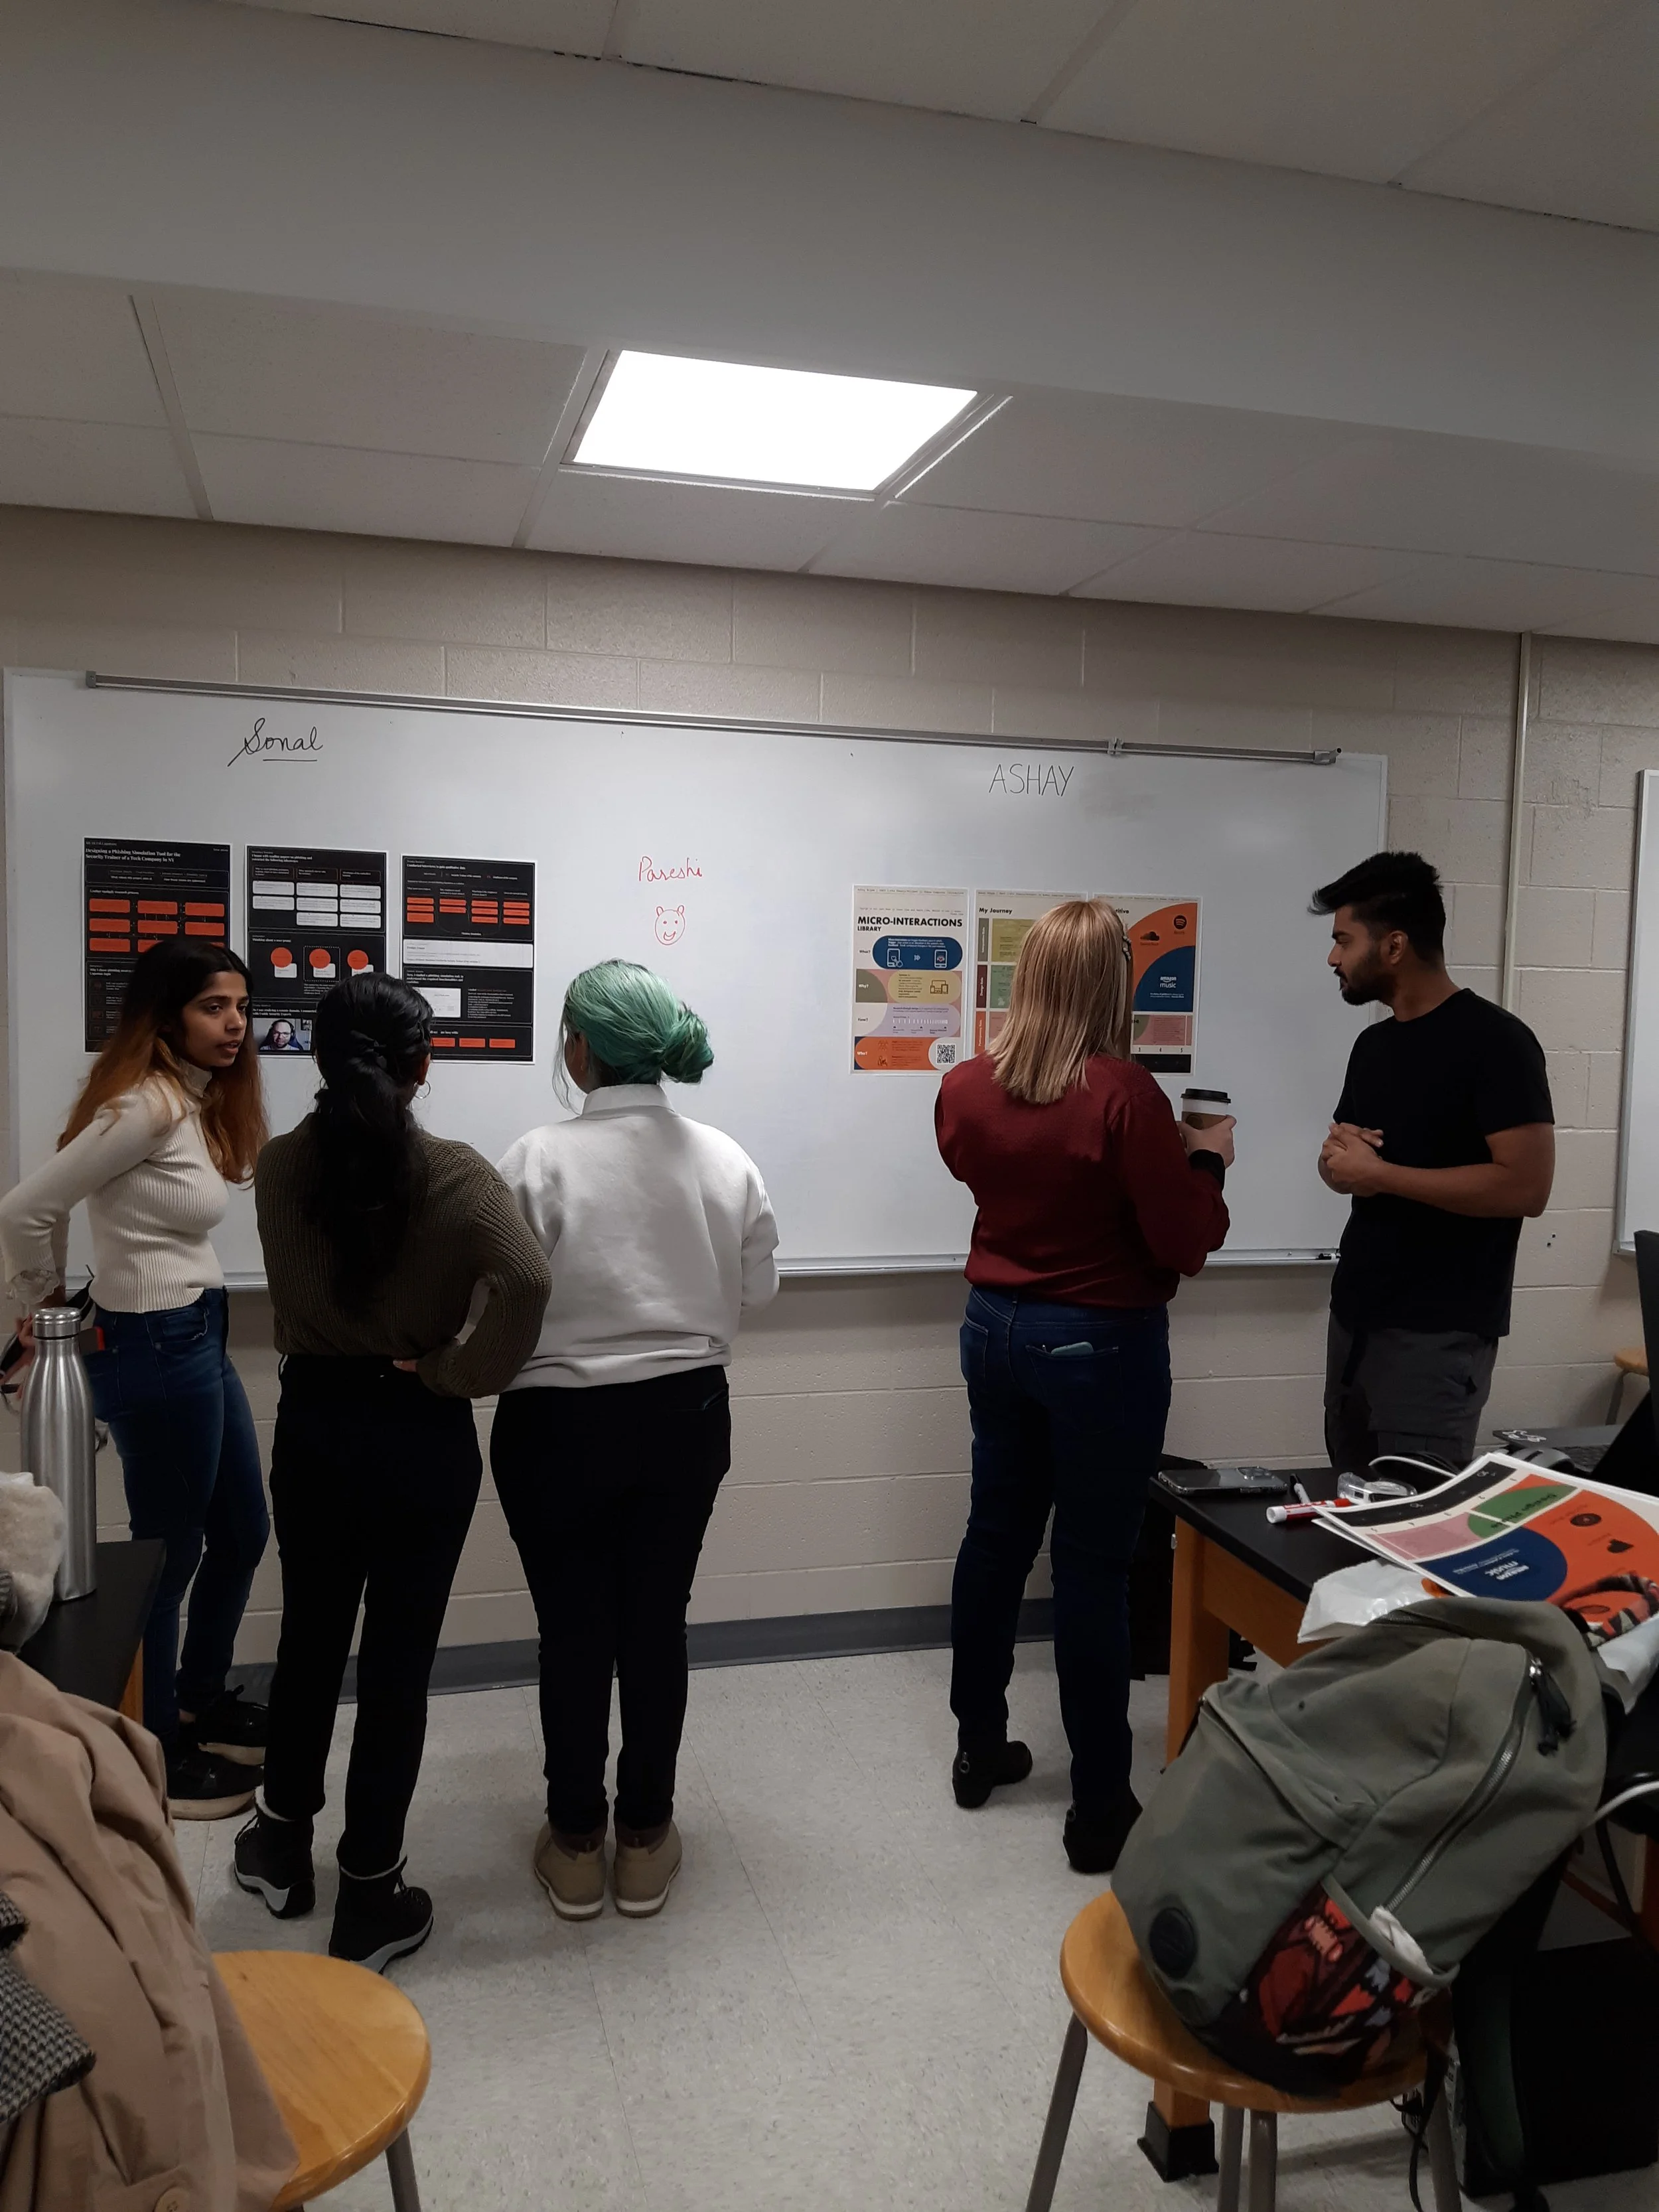
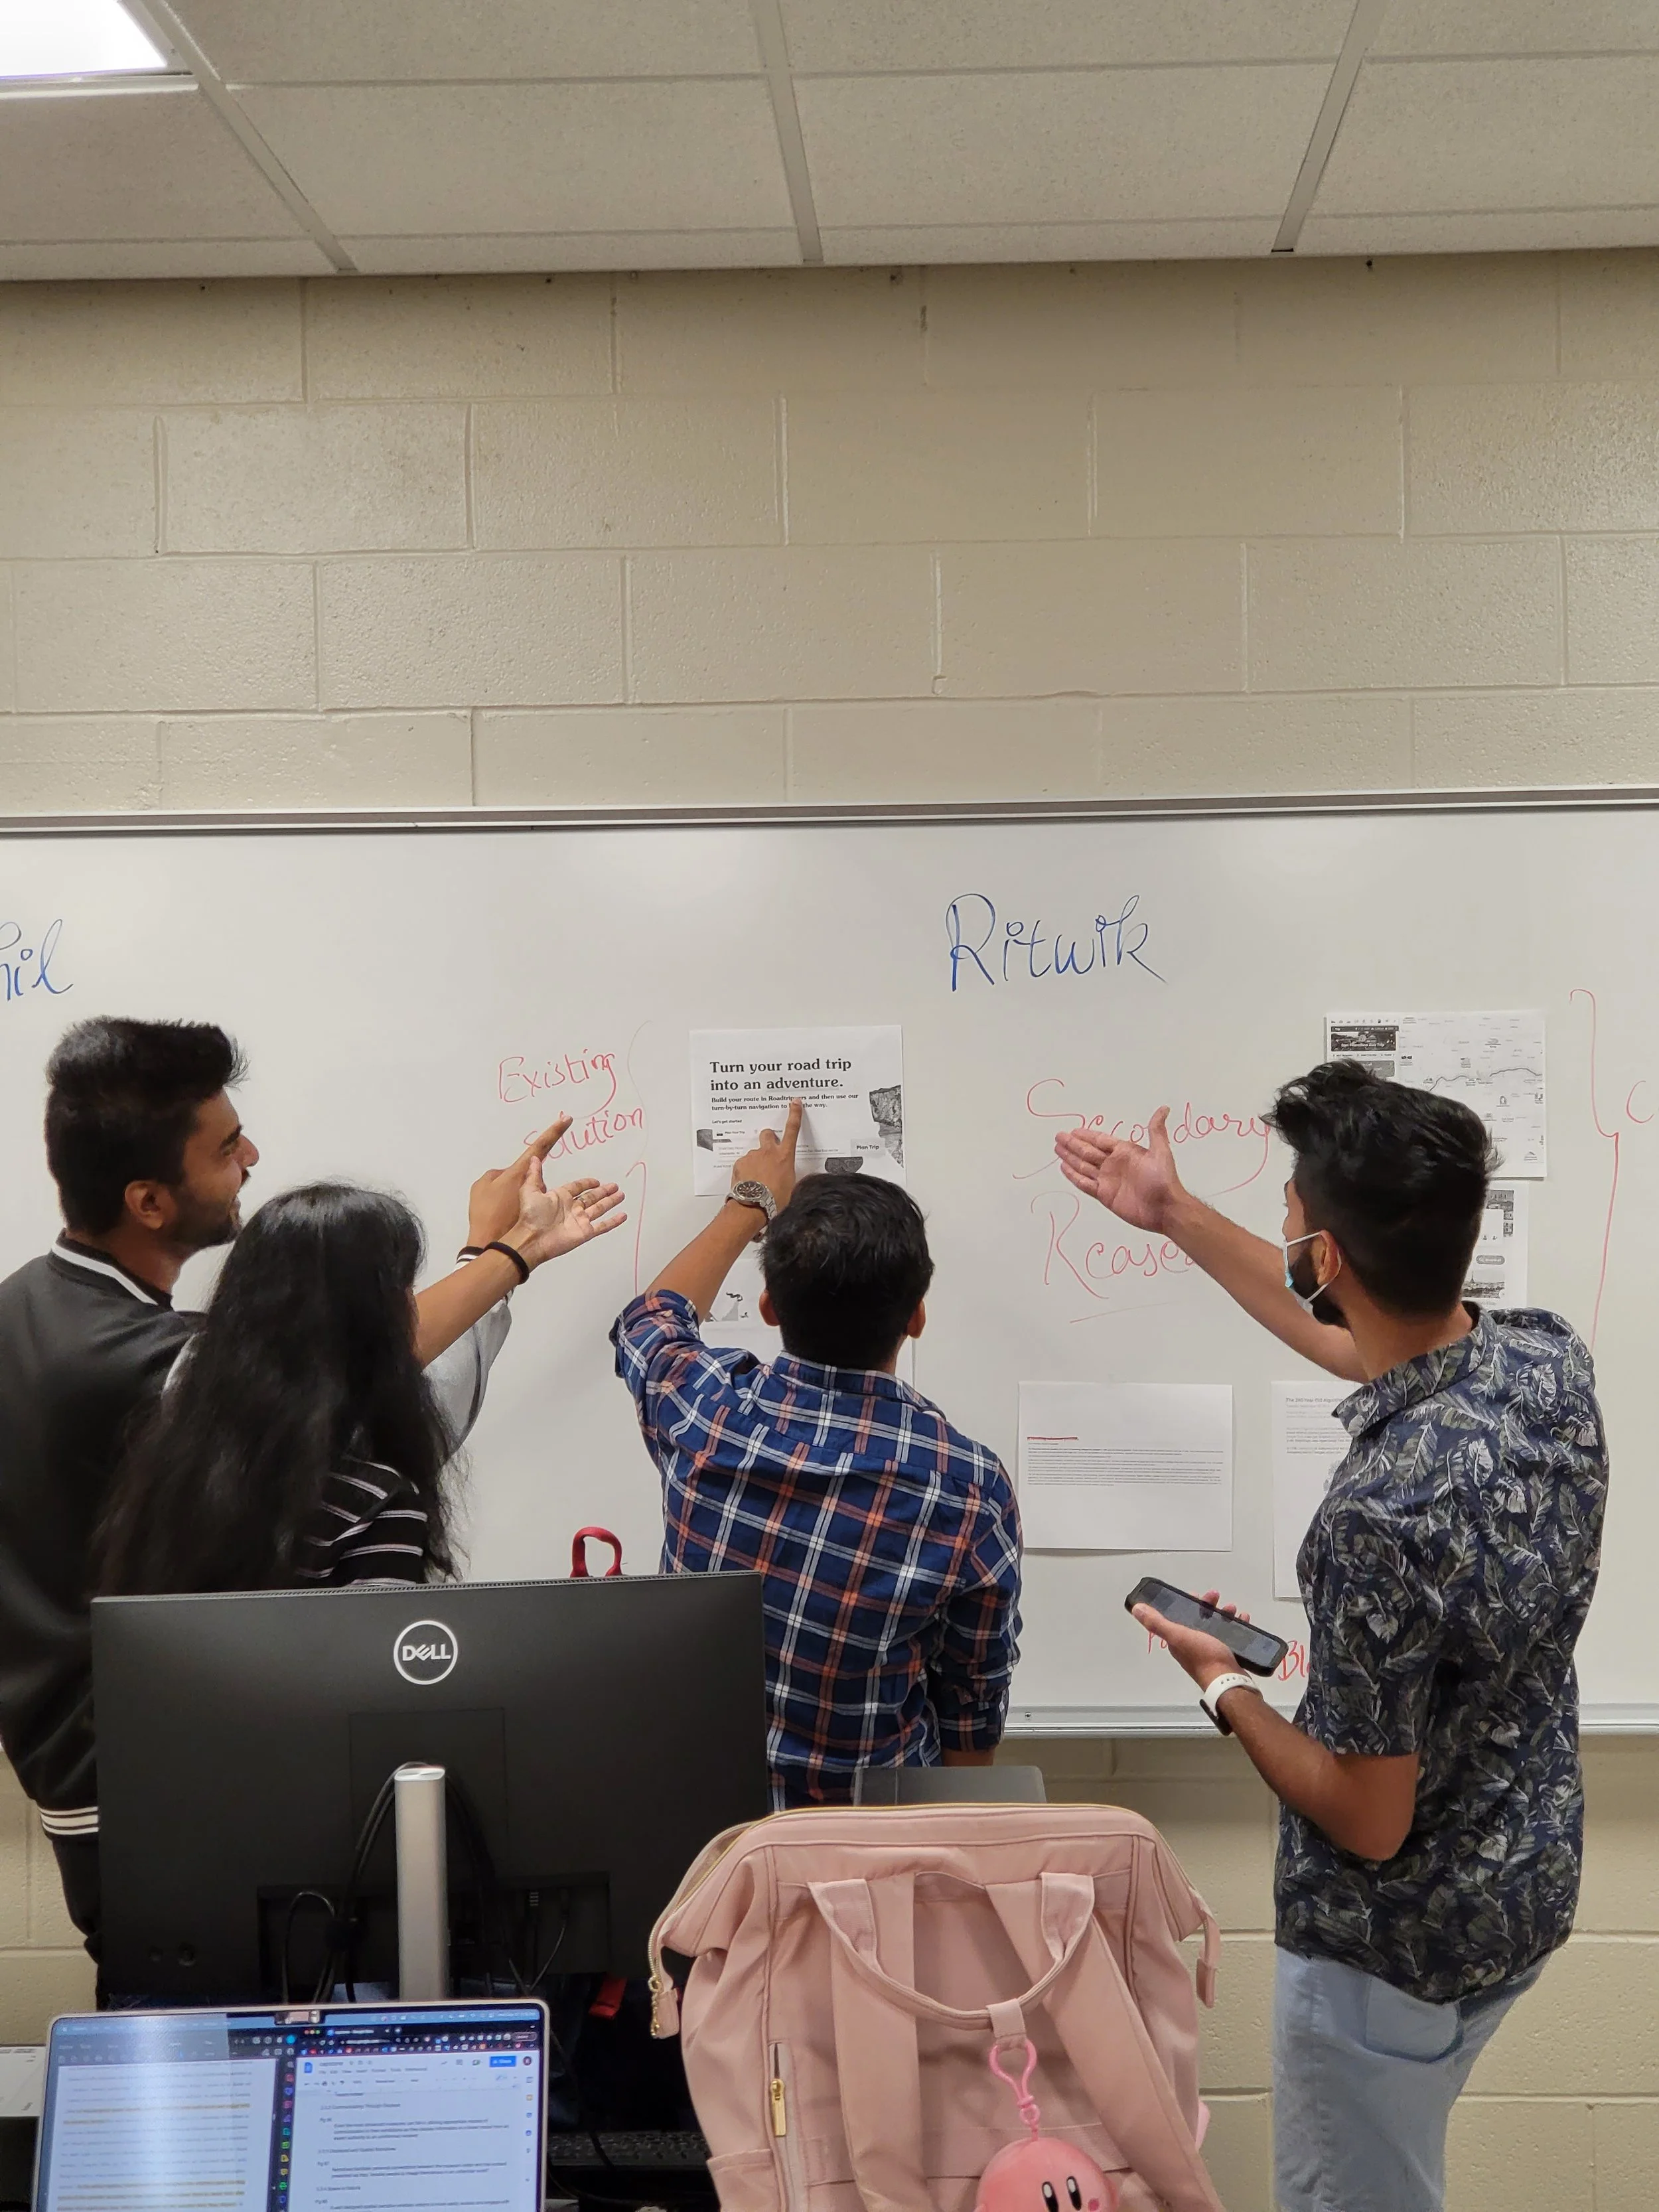
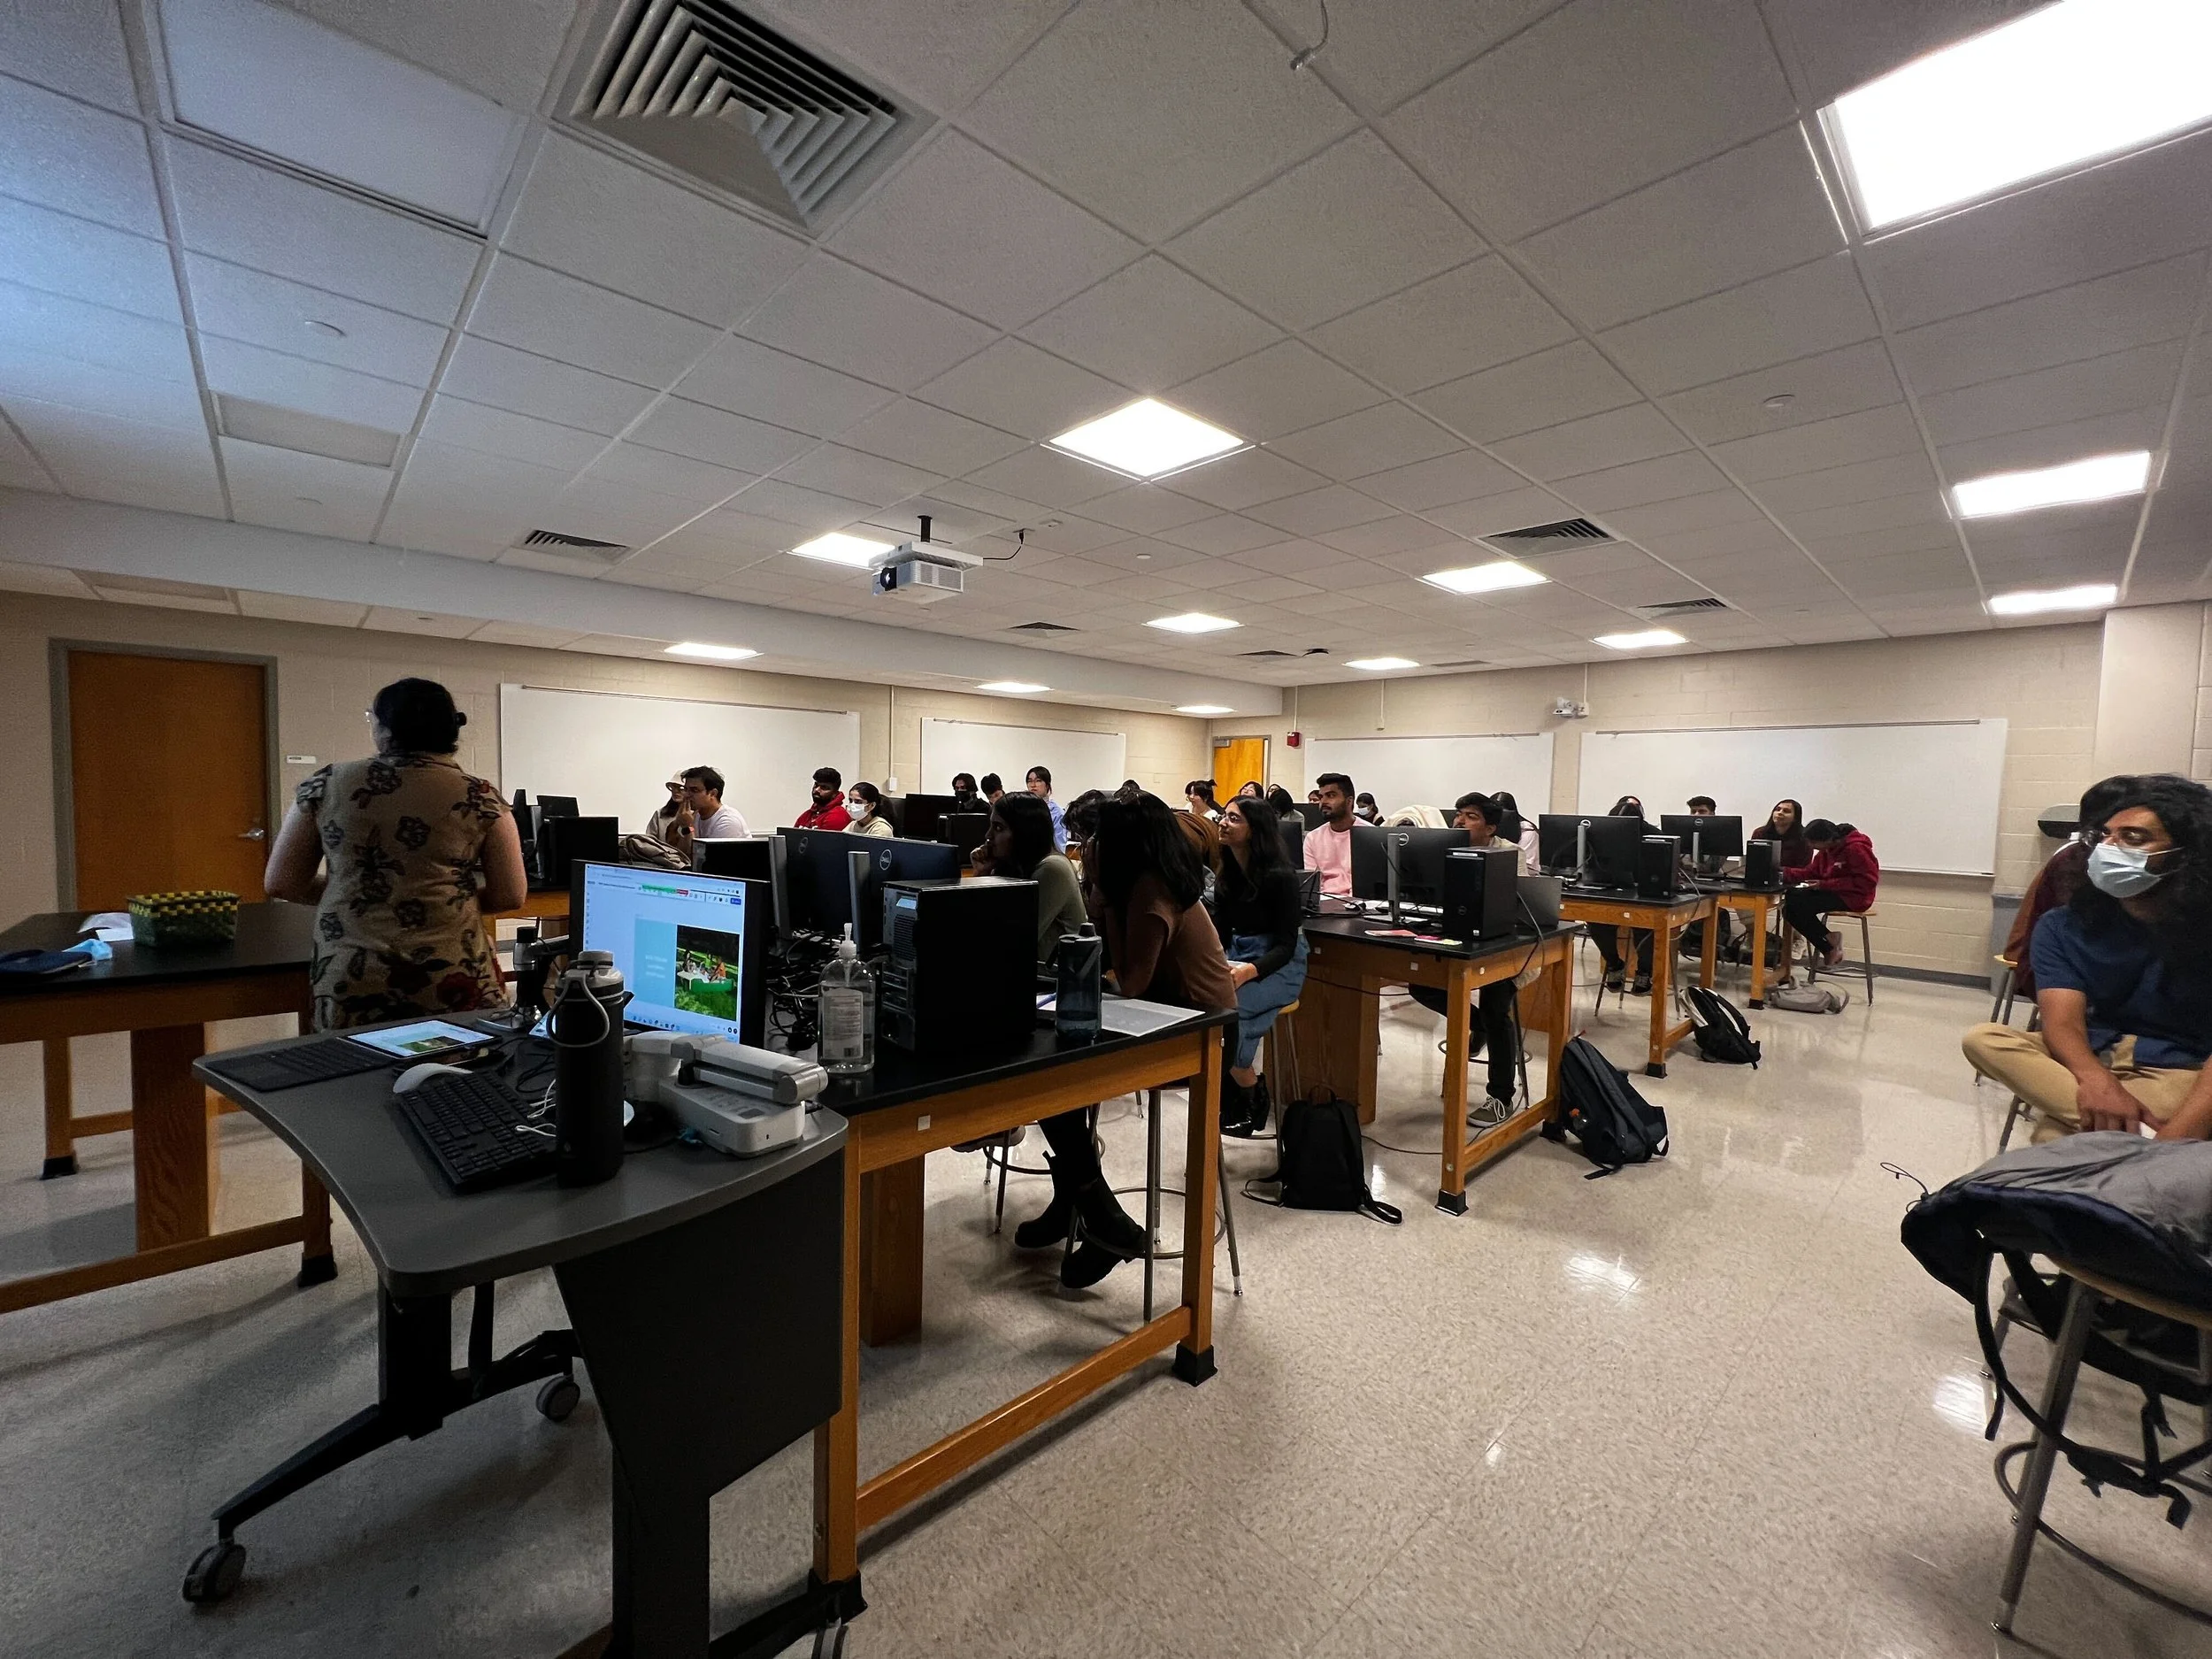
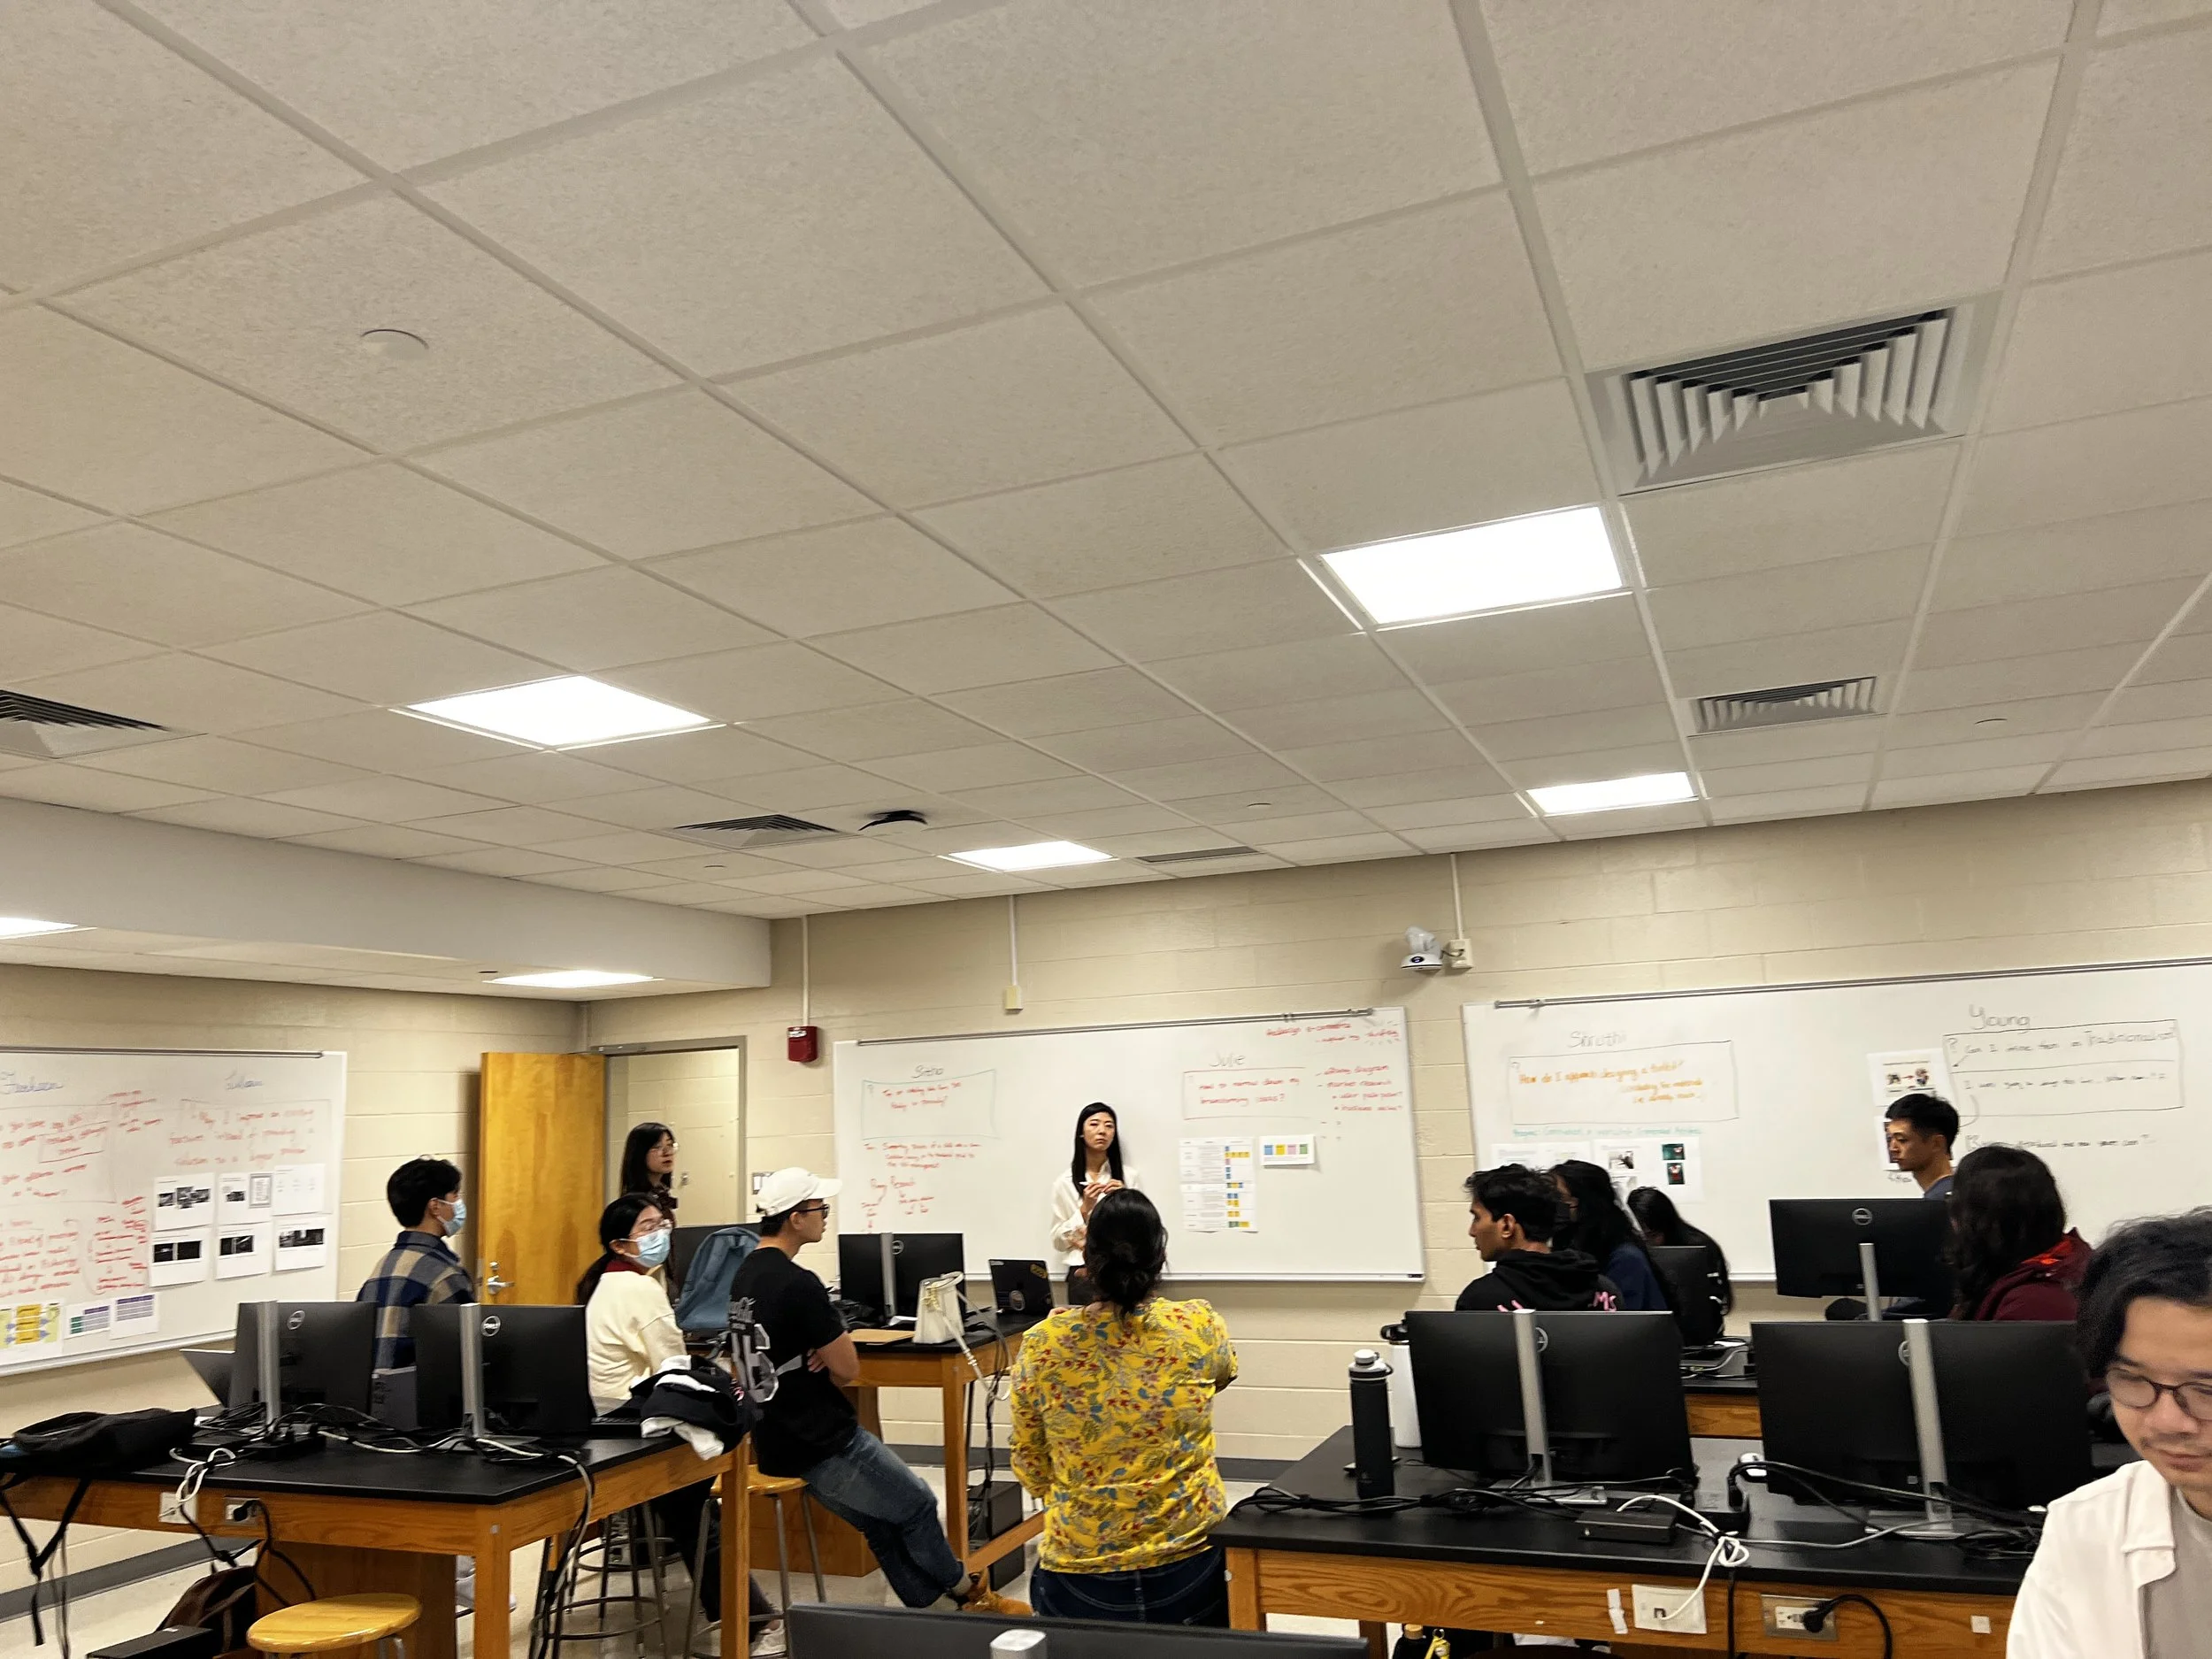
Starting from Week 2, students presented their (almost final) capstone topics and their weekly progress as they drafted their Learning Contracts for the semester in a Gallery Walk, a way for them to discuss their work with their classmates and instructors.
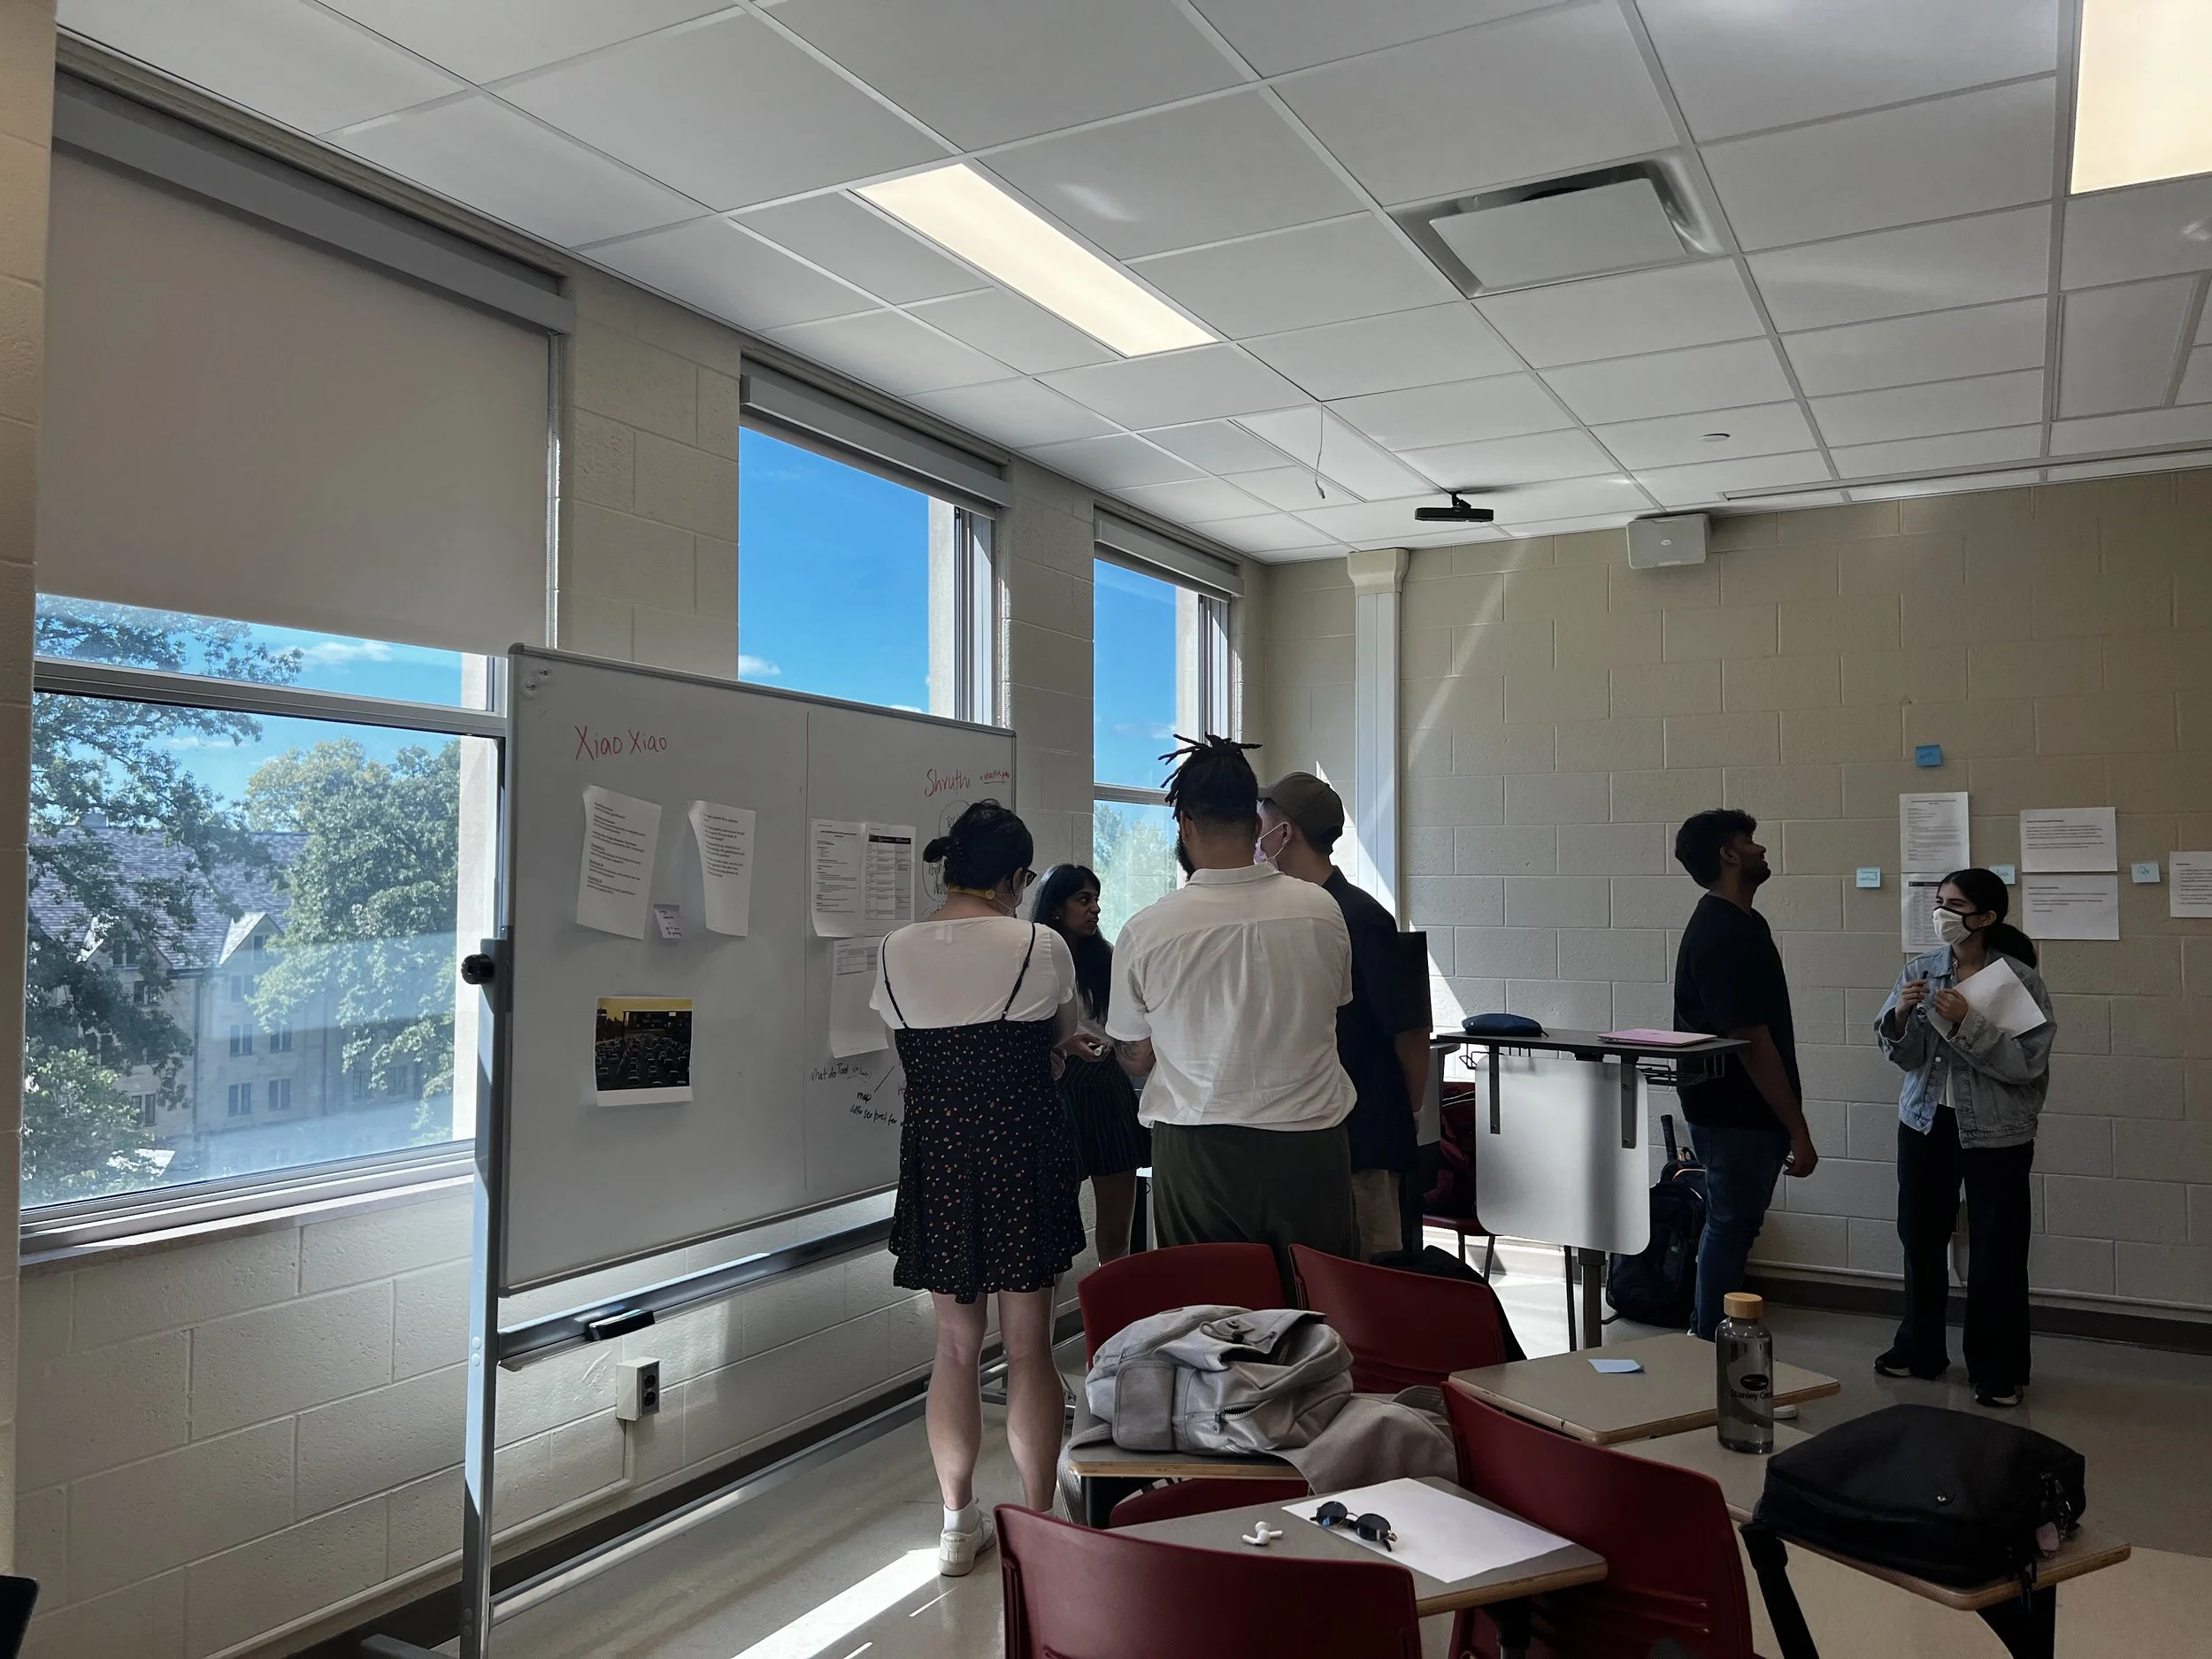
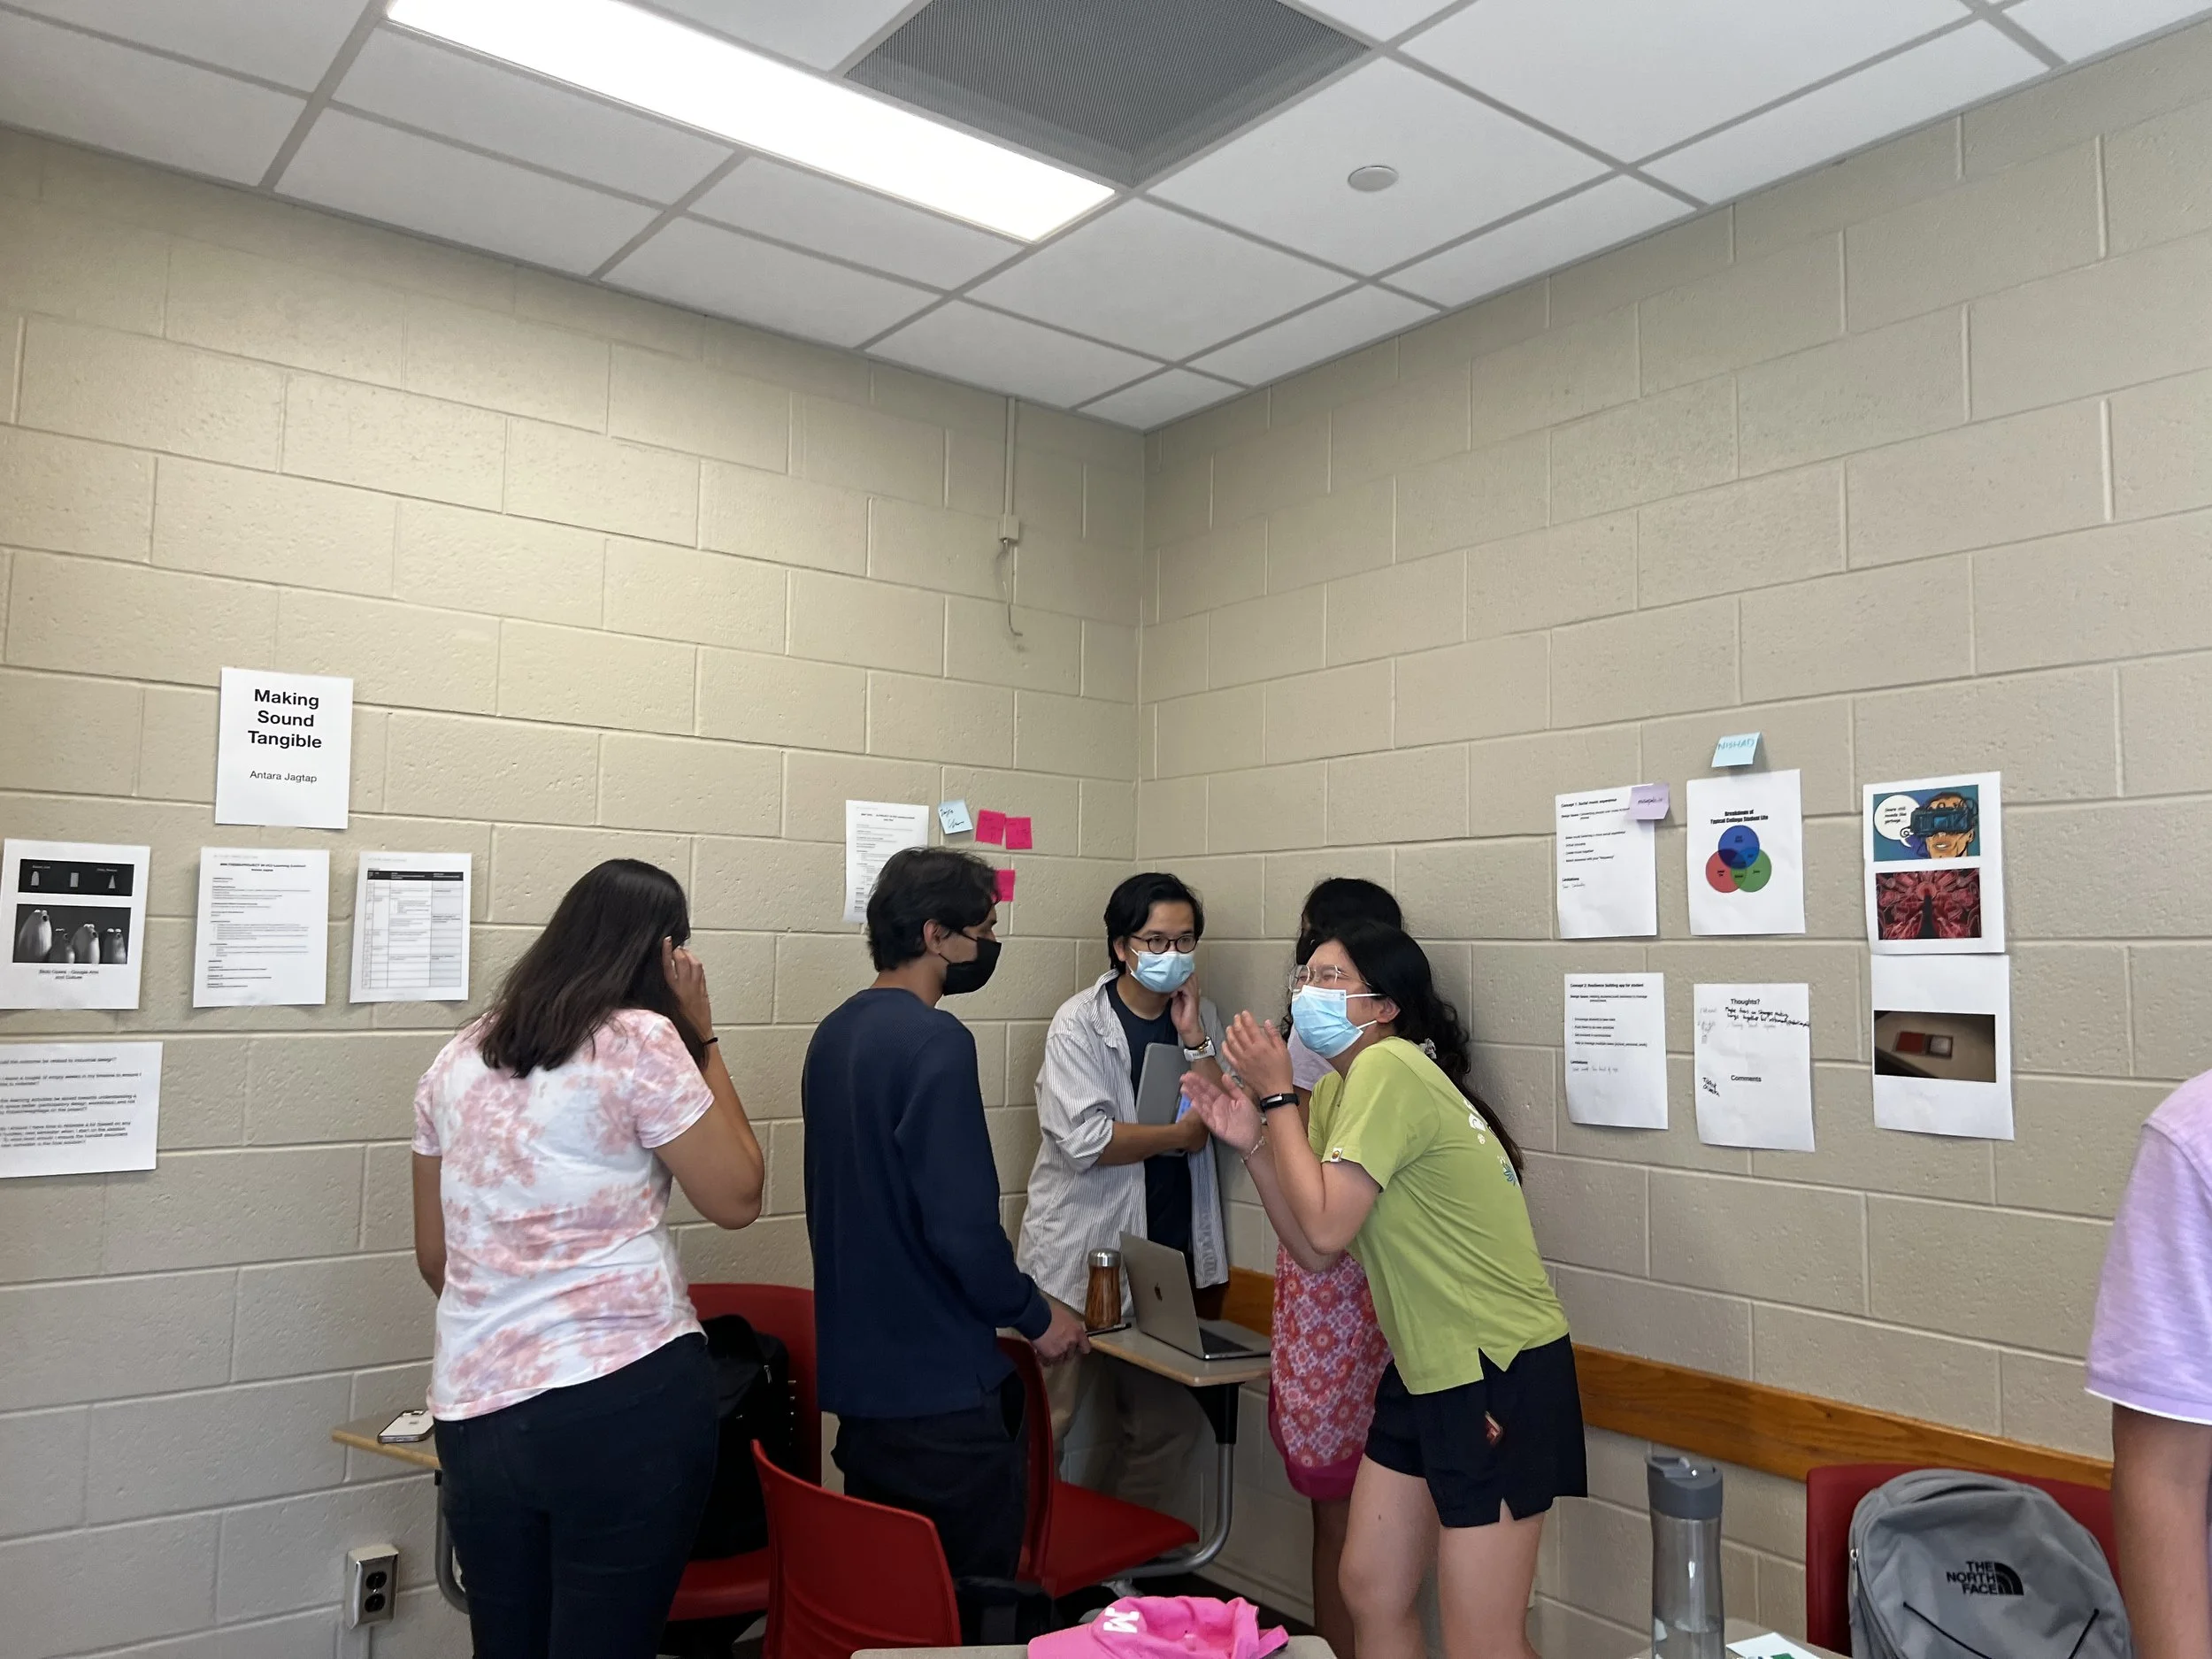
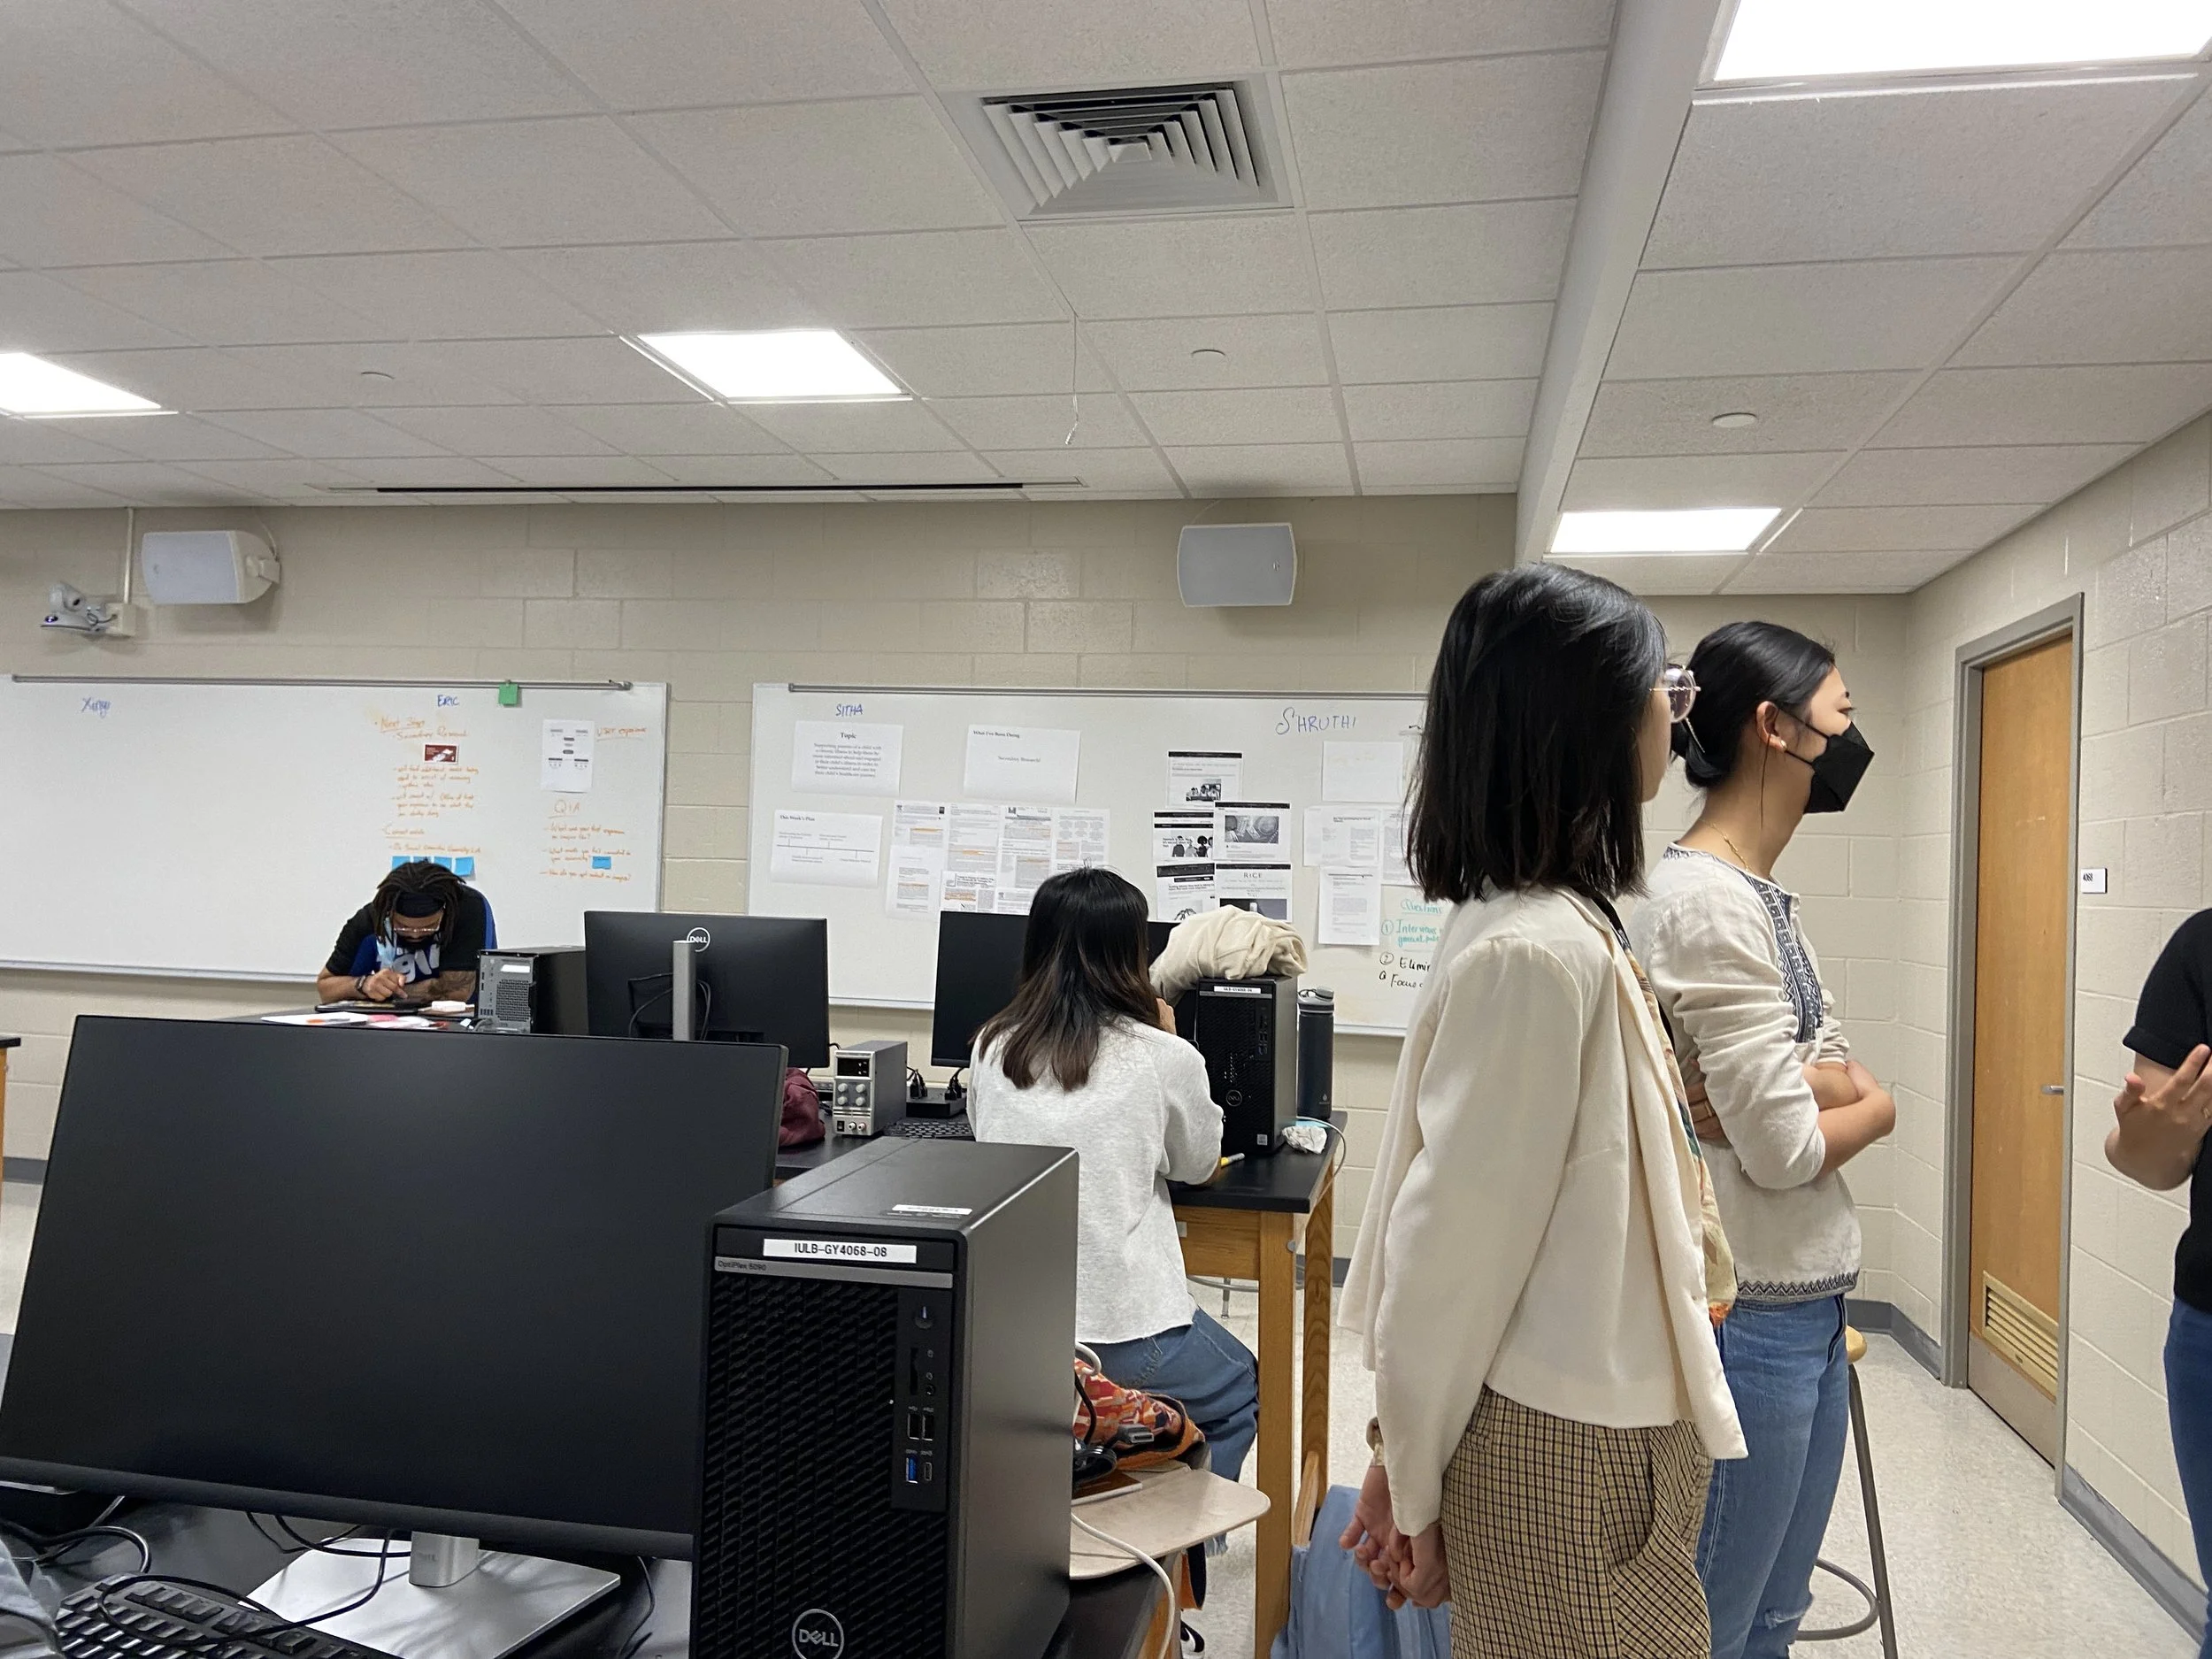
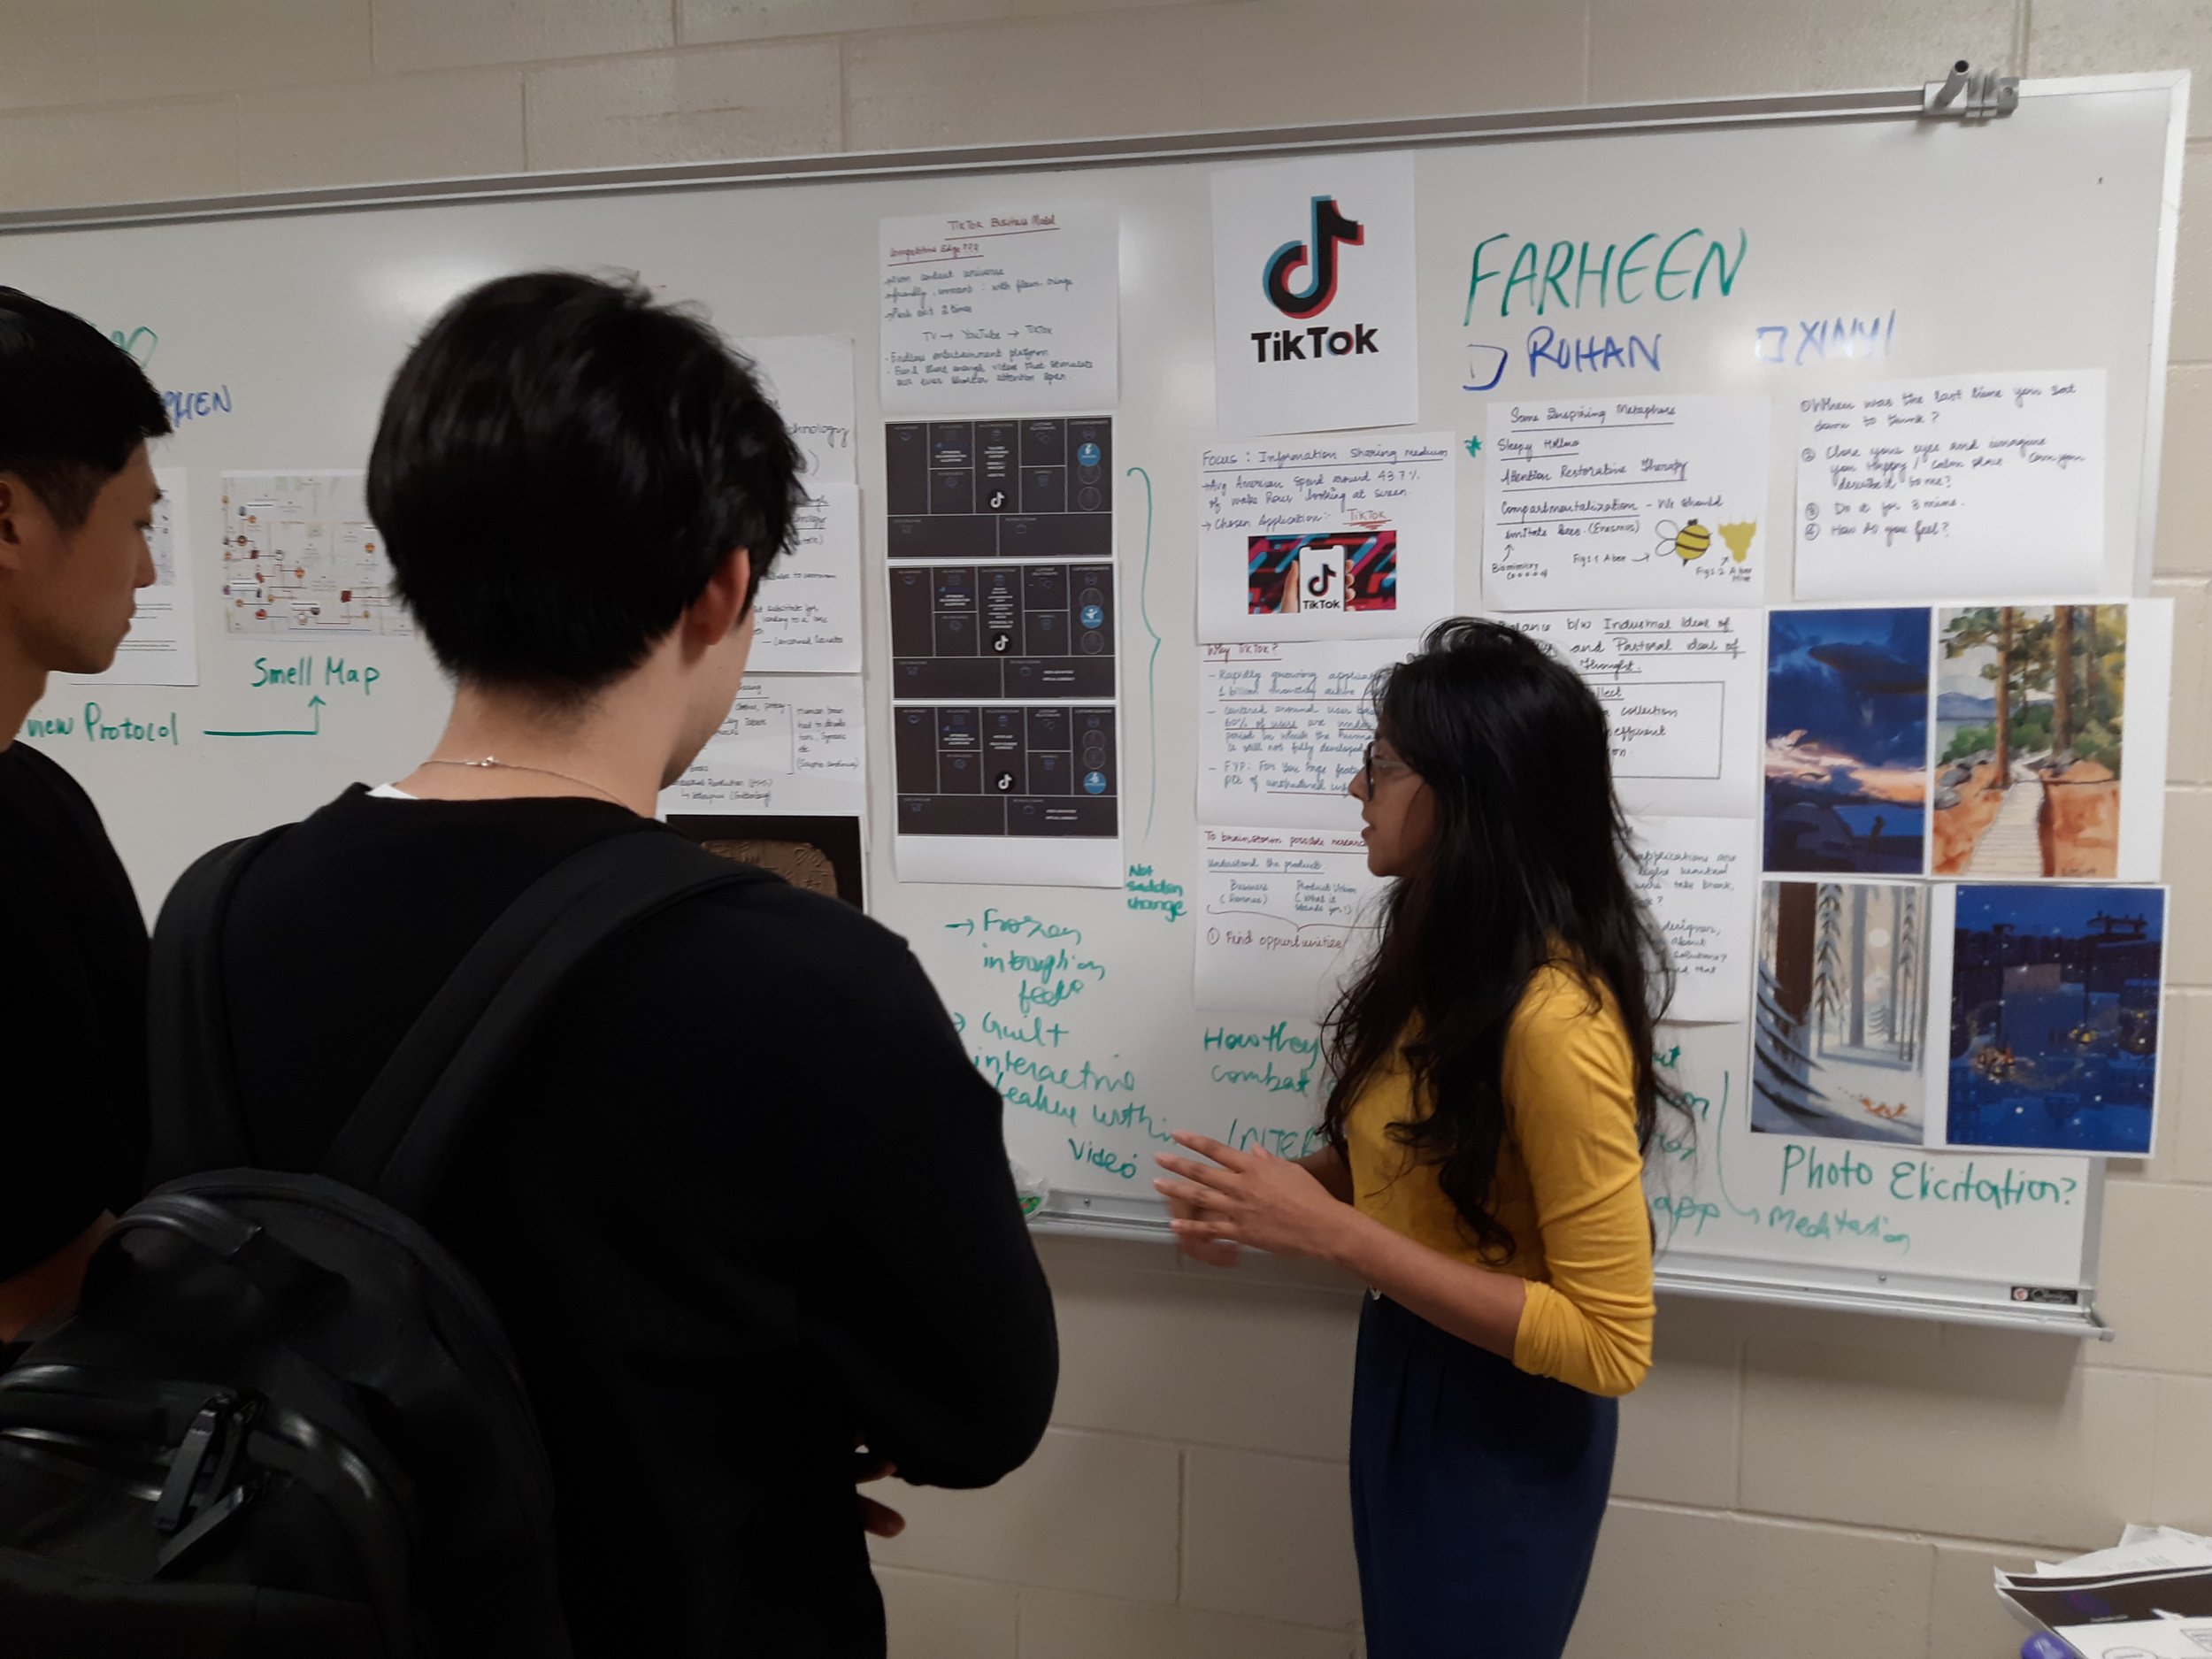
What is a gallery walk? Students that participate in Gallery Walks stand up from their seats and interact with the material and one another. Students may show off their computer or tablet screen, a group poster, a piece they wrote, or a collage they created during gallery visits. Students look over one other's work and may offer critique and feedback.
Gallery walks make learning social, student-centered, and engaging. As cognitive psychologists such as Lev Vygotsky notes, social interaction is essential to learning!
How do we use gallery walk as a method in Shruthi’s HCI class?
We used the gallery walk method to encourage students to discuss their work with their classmates, present the resources they have found that are relevant to their project, and brainstorm to help others out by answering questions others have. This method also allowed people to efficiently gather feedback from others, and learn to give helpful feedback for their peers. Through this method, each student had 80 mins of class time to get feedback from the two instructors (Shruthi and Ariel) as well as 26 other peers; which maximized their weekly feedback time for the class. This is also added with 5 hours of office hours provided by the instructors during the week.
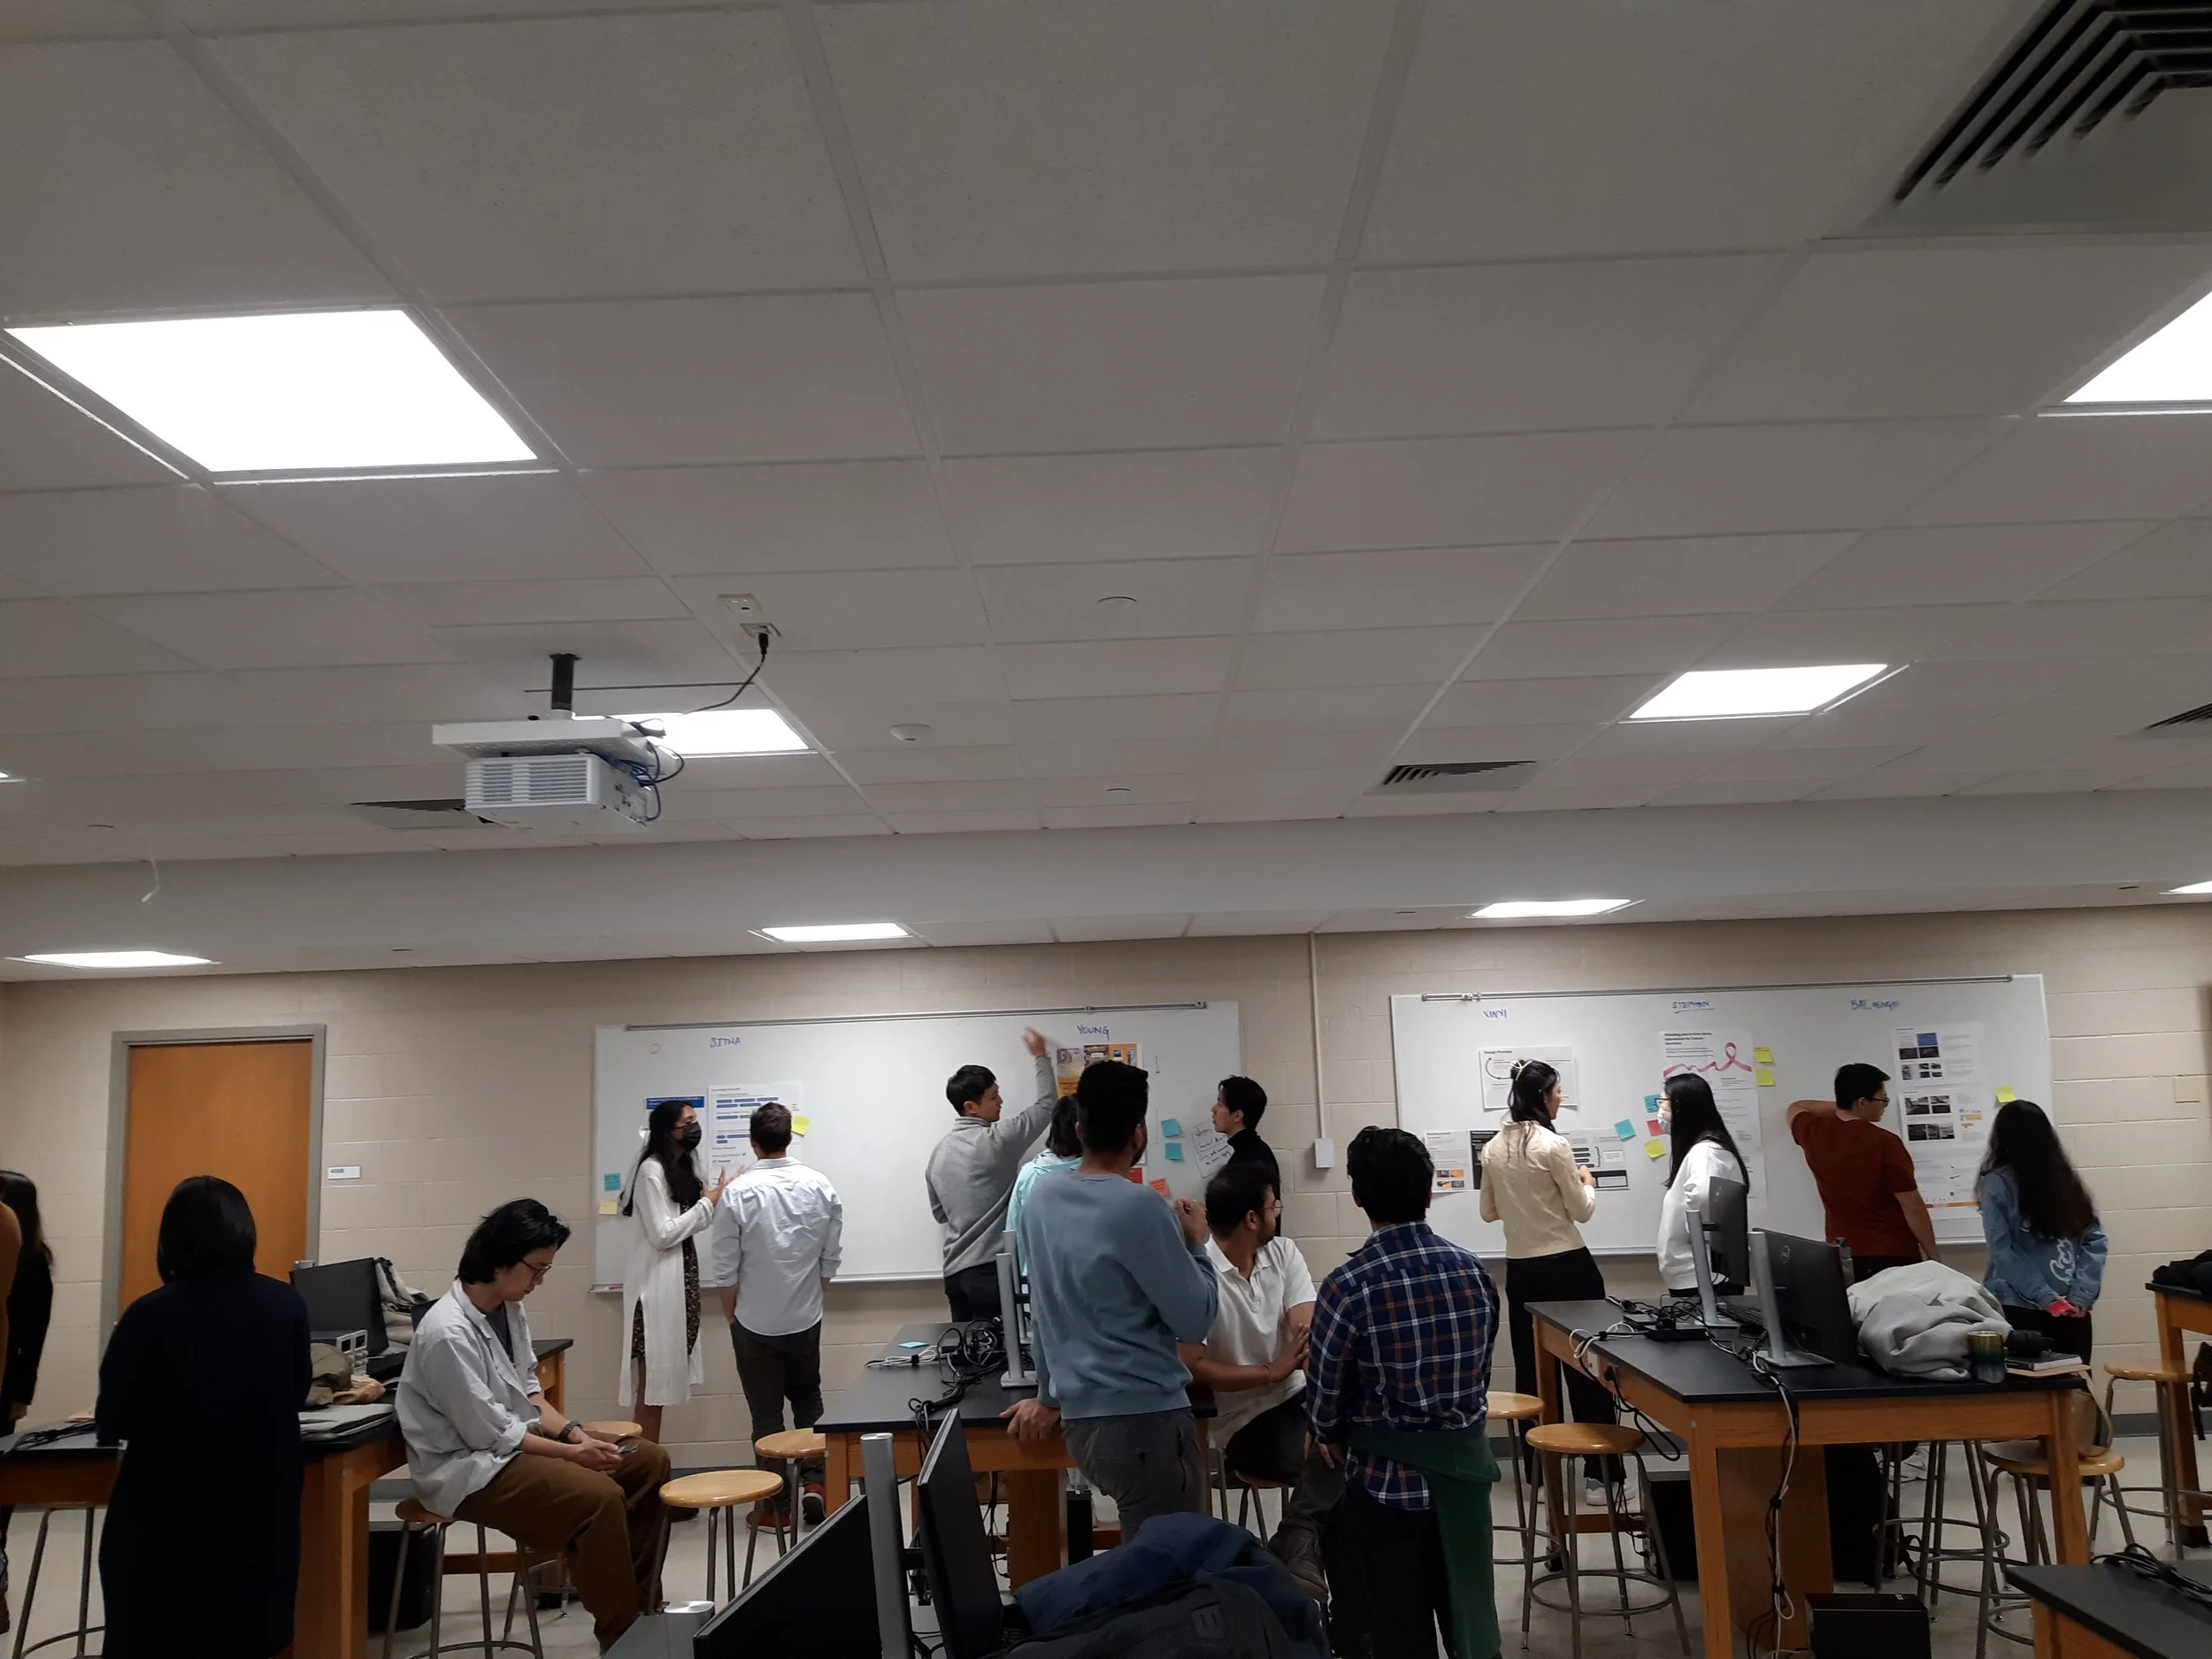
Students were divided into two groups, and the groups each presented on the first and second class of Week 2. Having the teams divide throughout the week, also allowed the students to have distributed sets of feedback throughout the week of them working towards their weekly goals. Yes, we definitely anticipate moments of fracture and information overload, but students have the freedom to have their downtime to work on their projects in the class when they want to break from the Gallery Walk interaction.
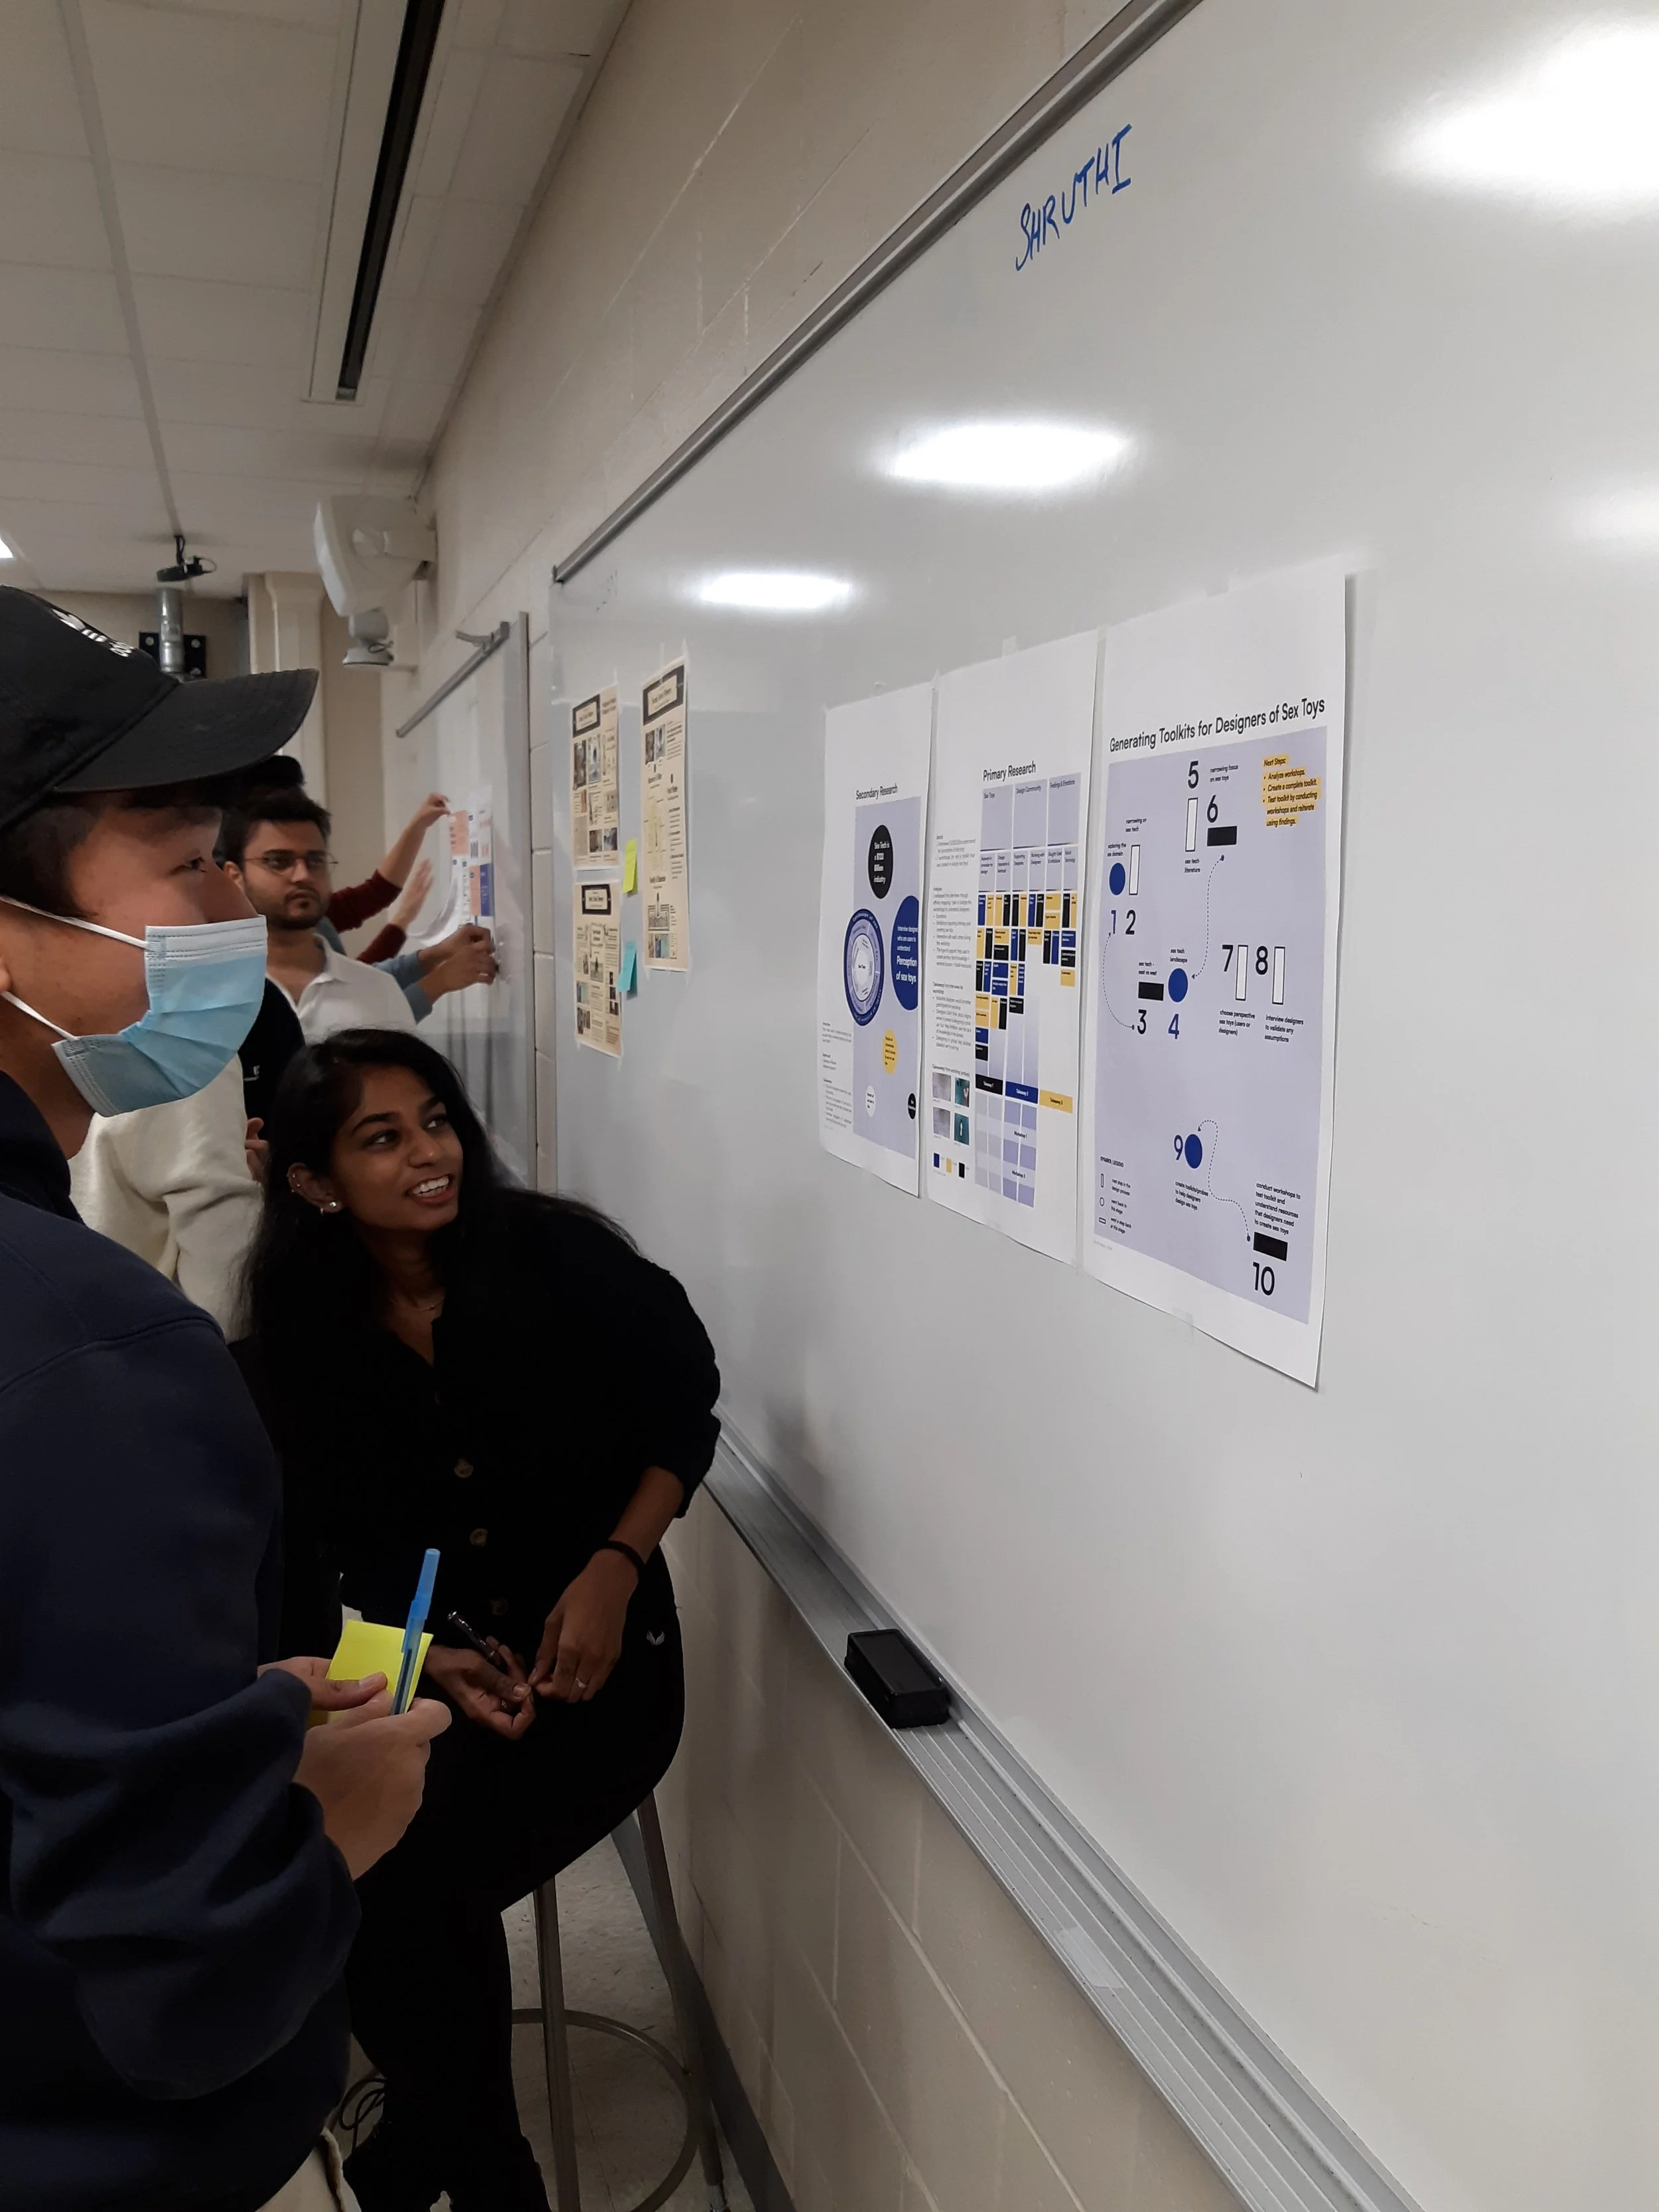
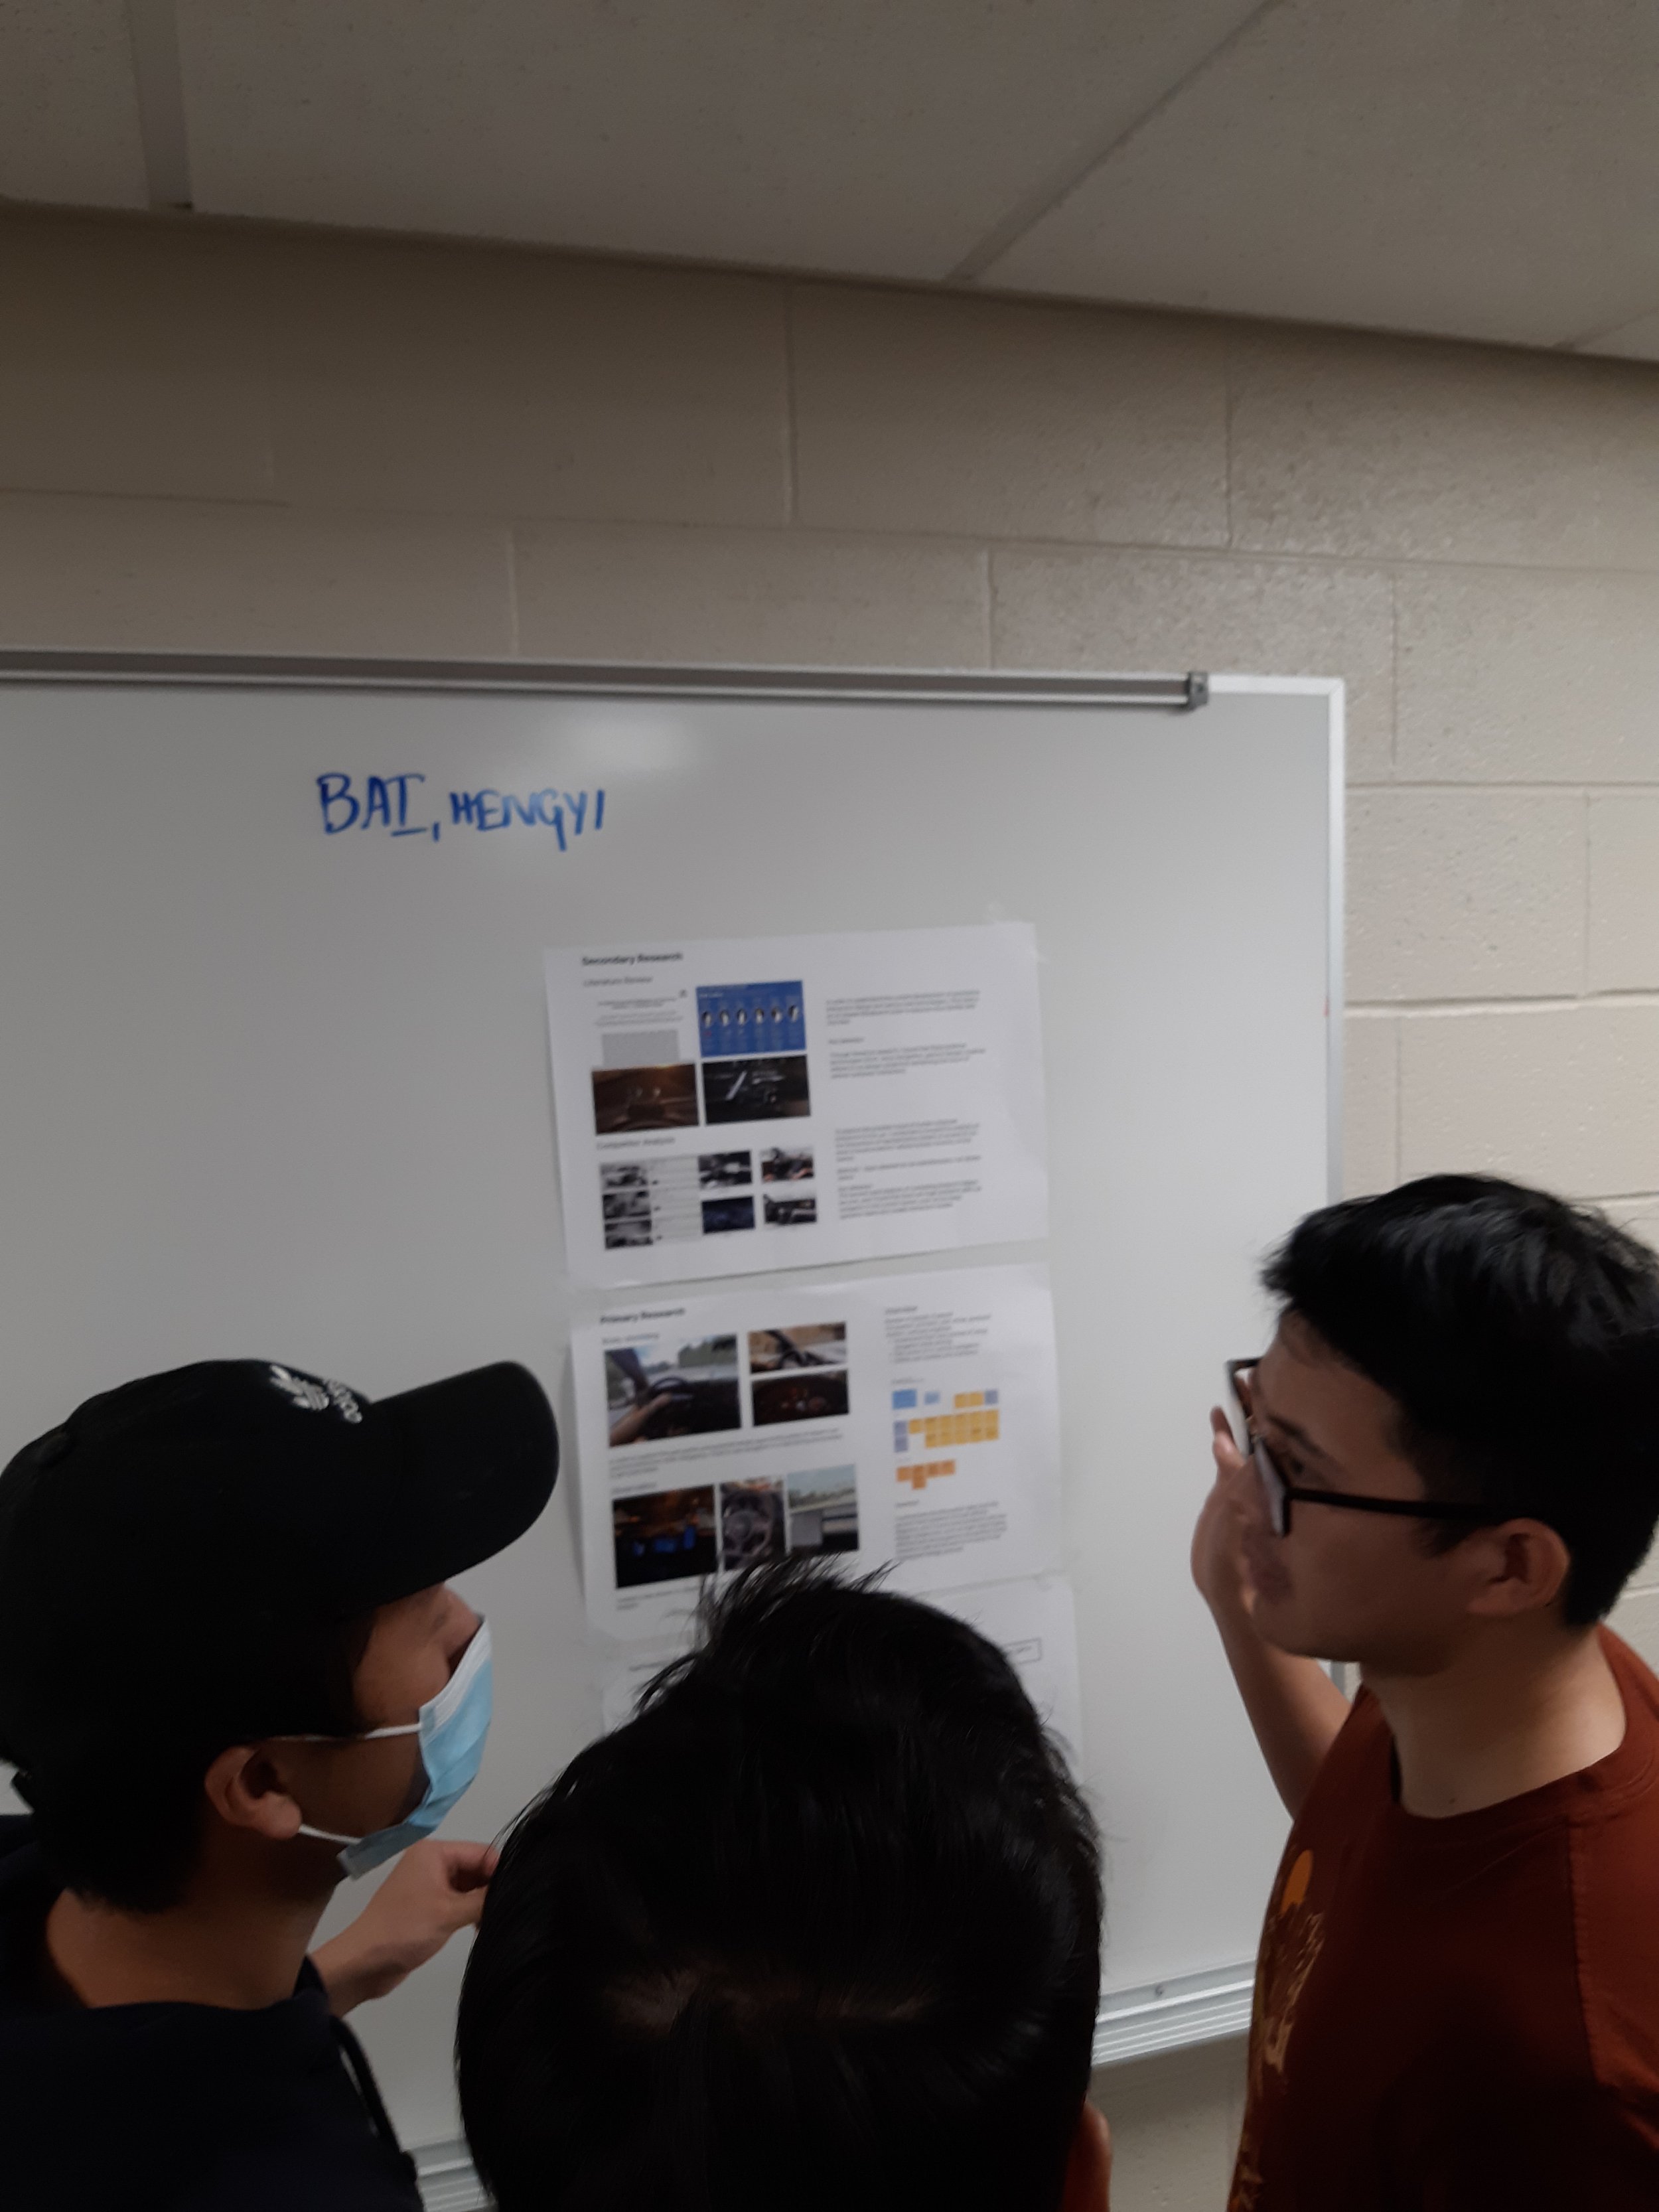
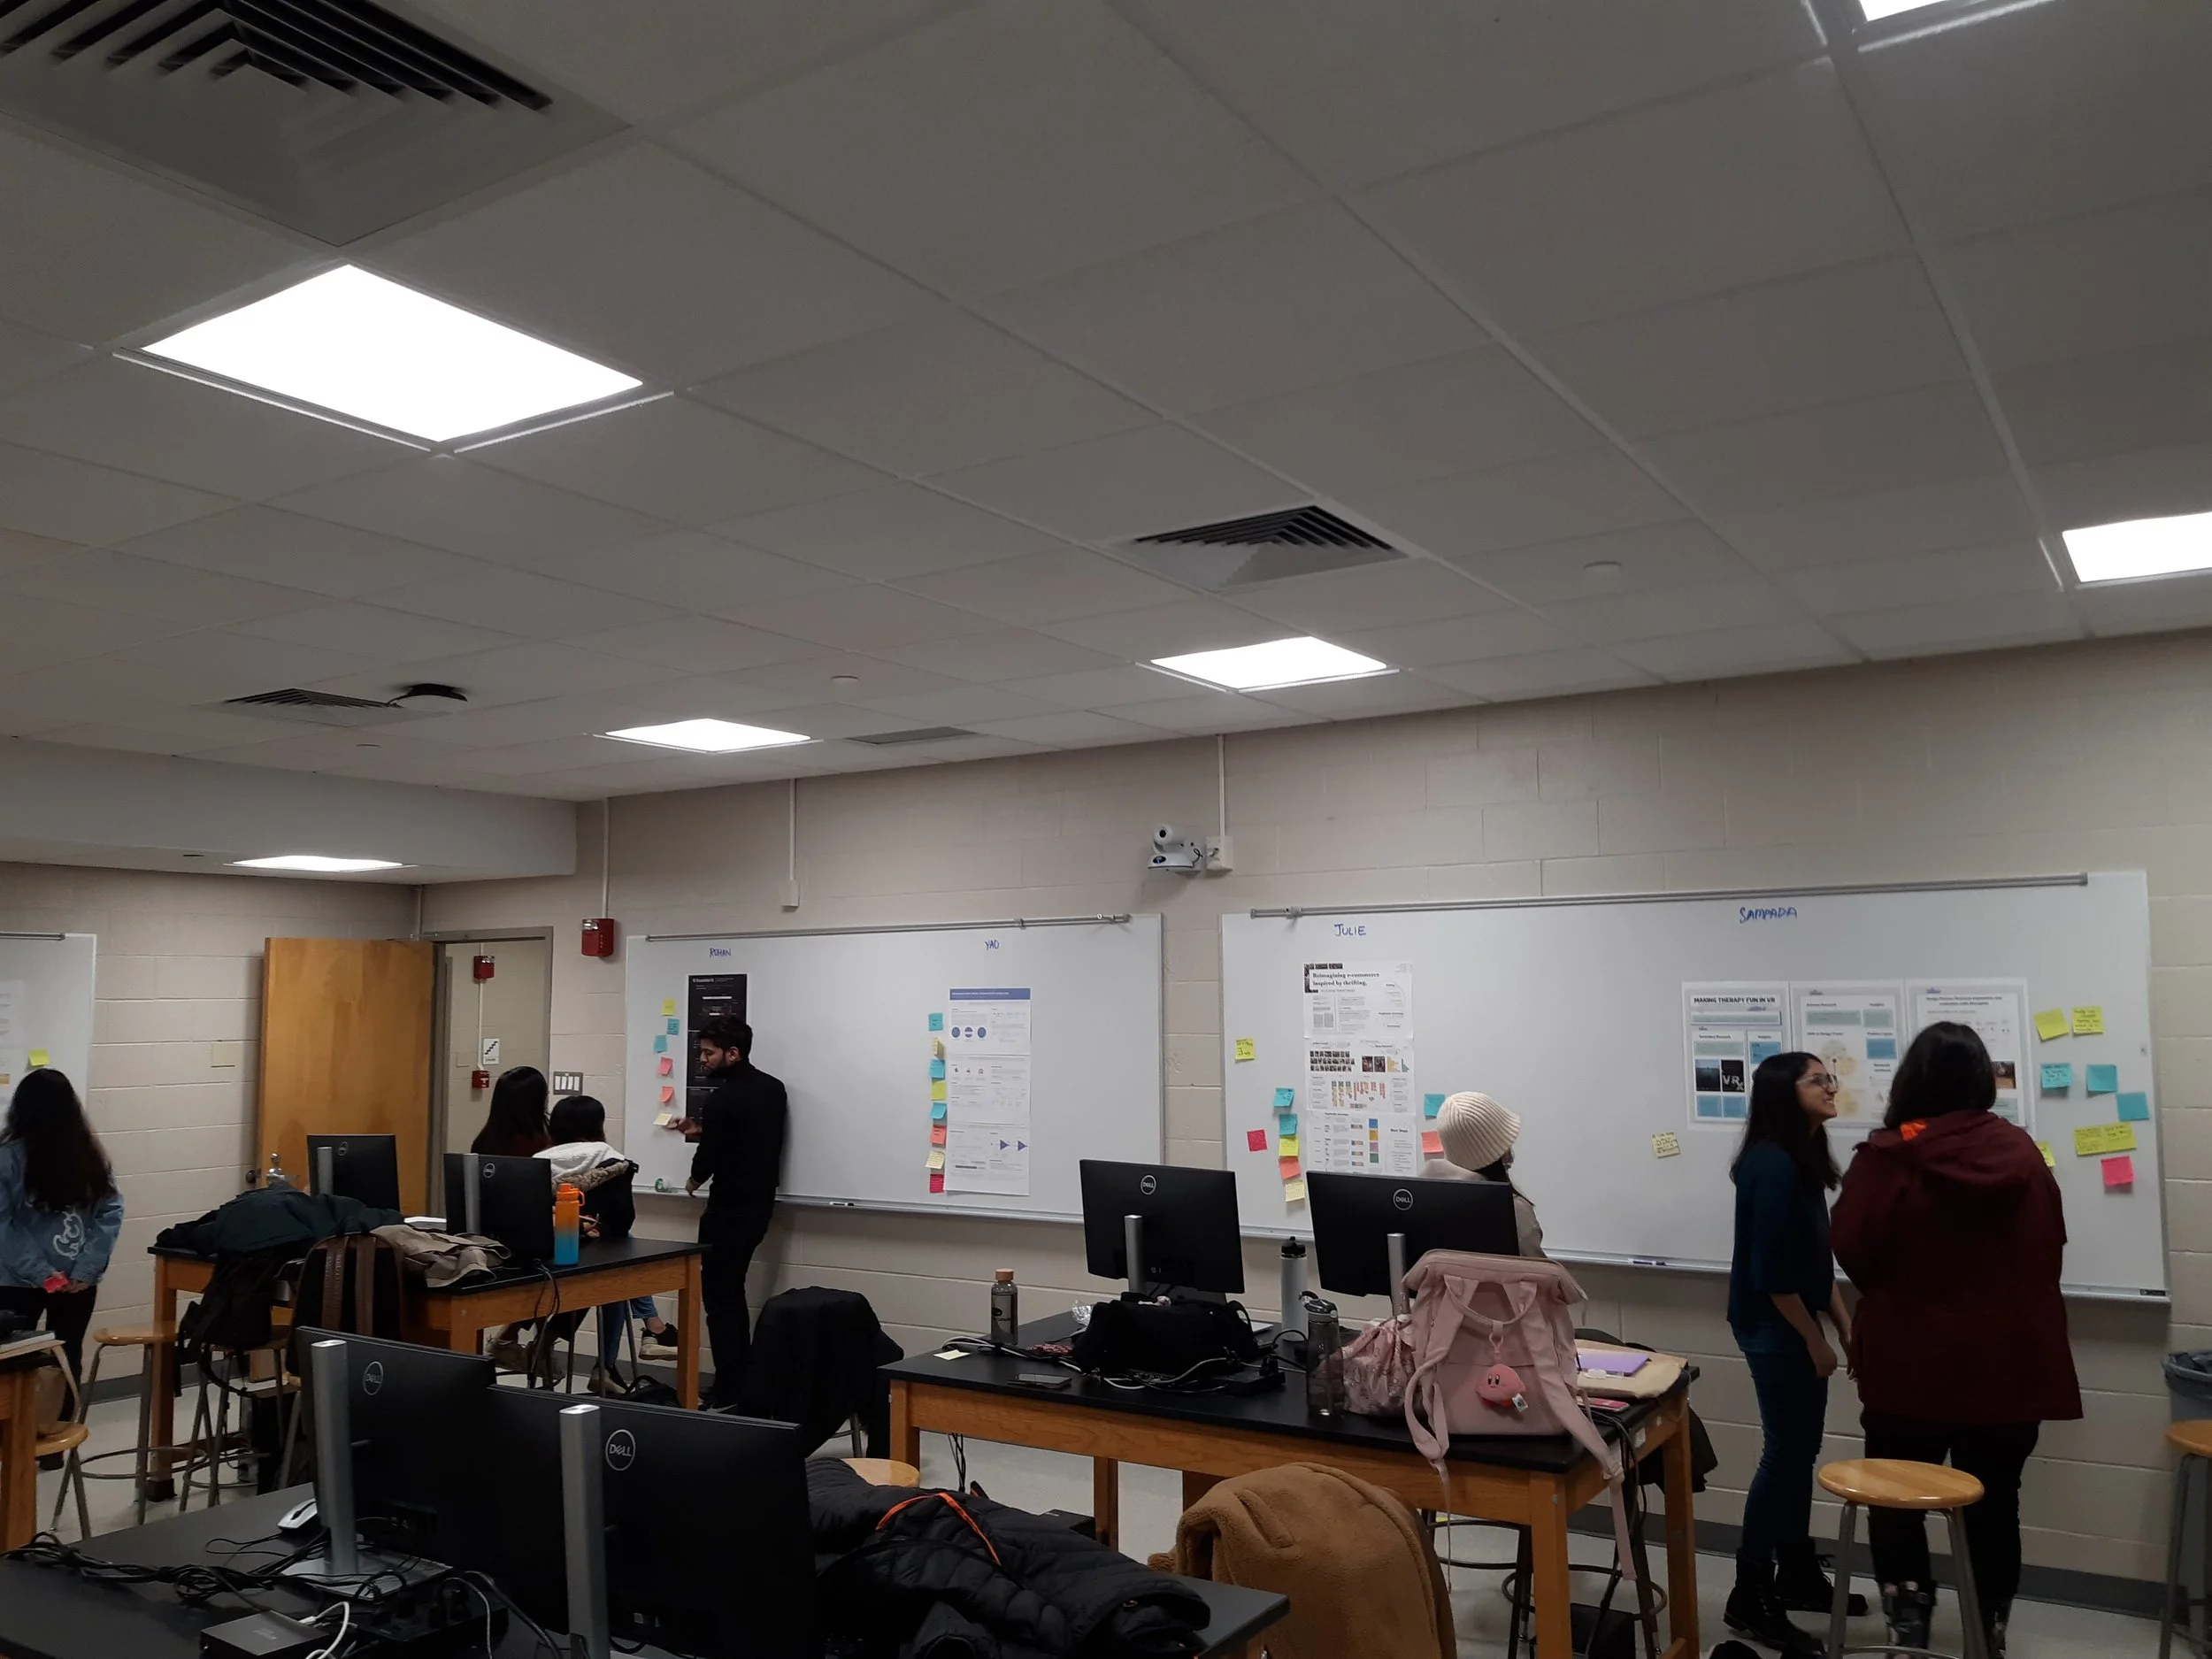
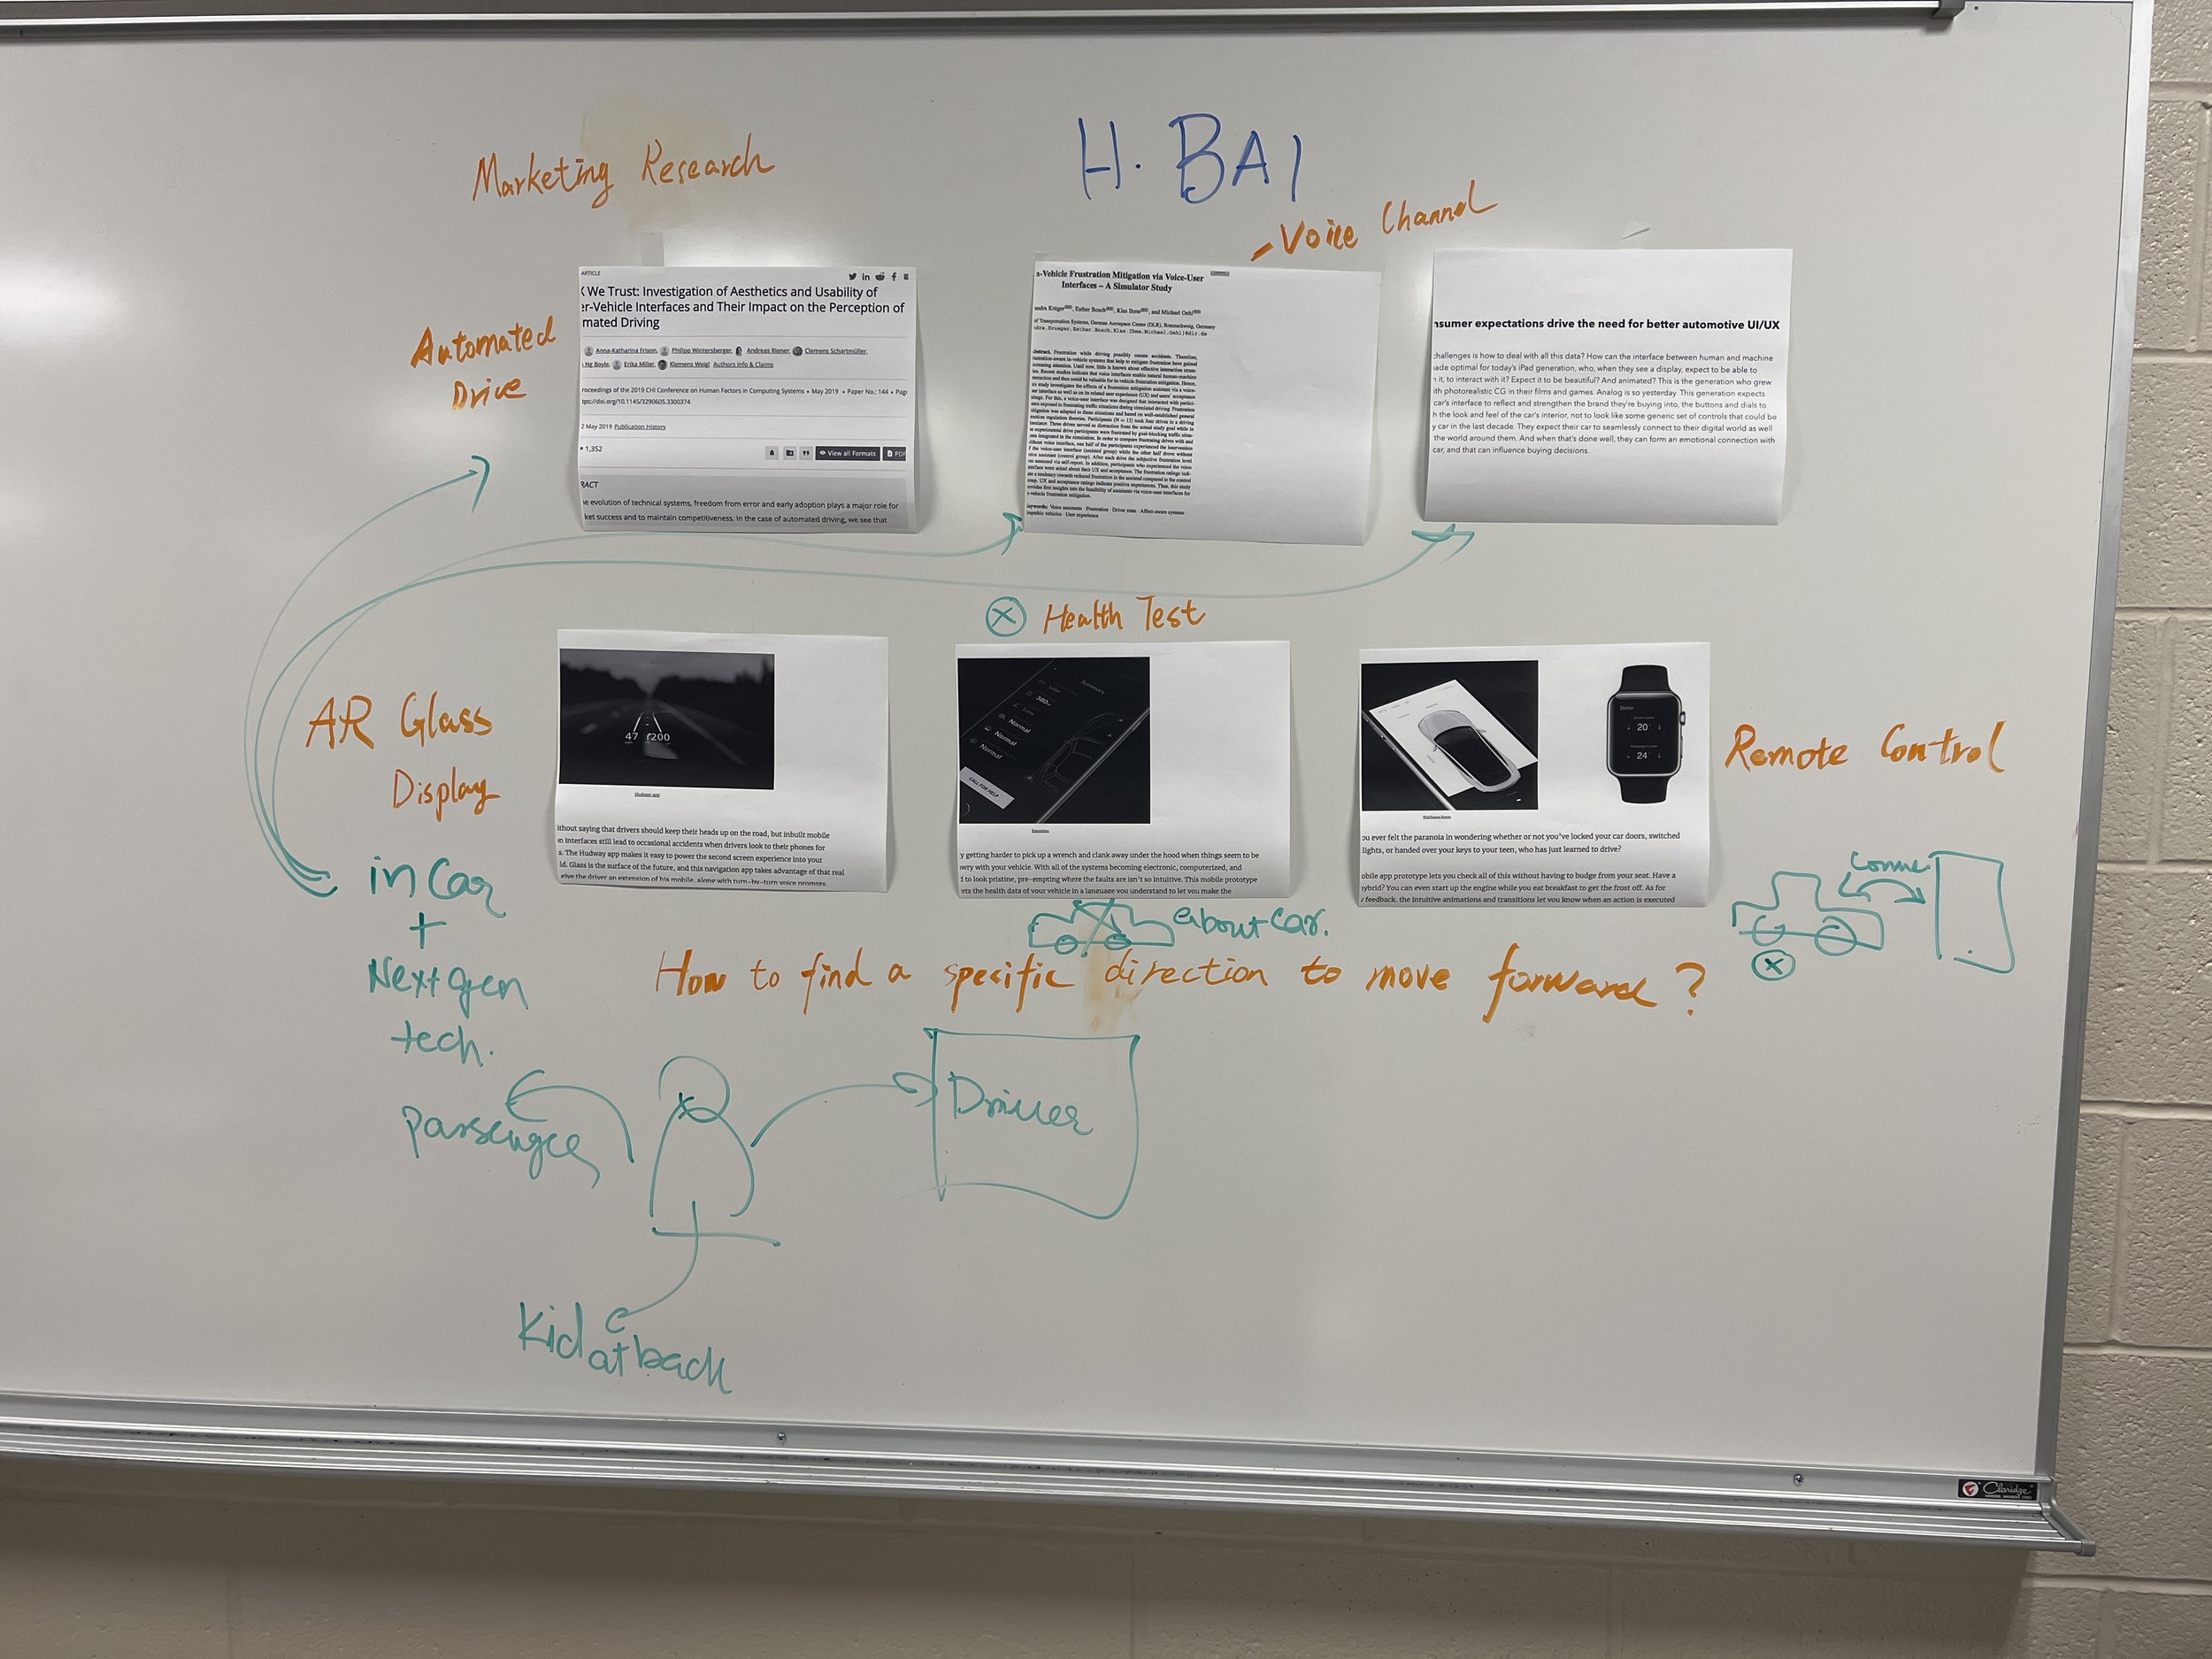
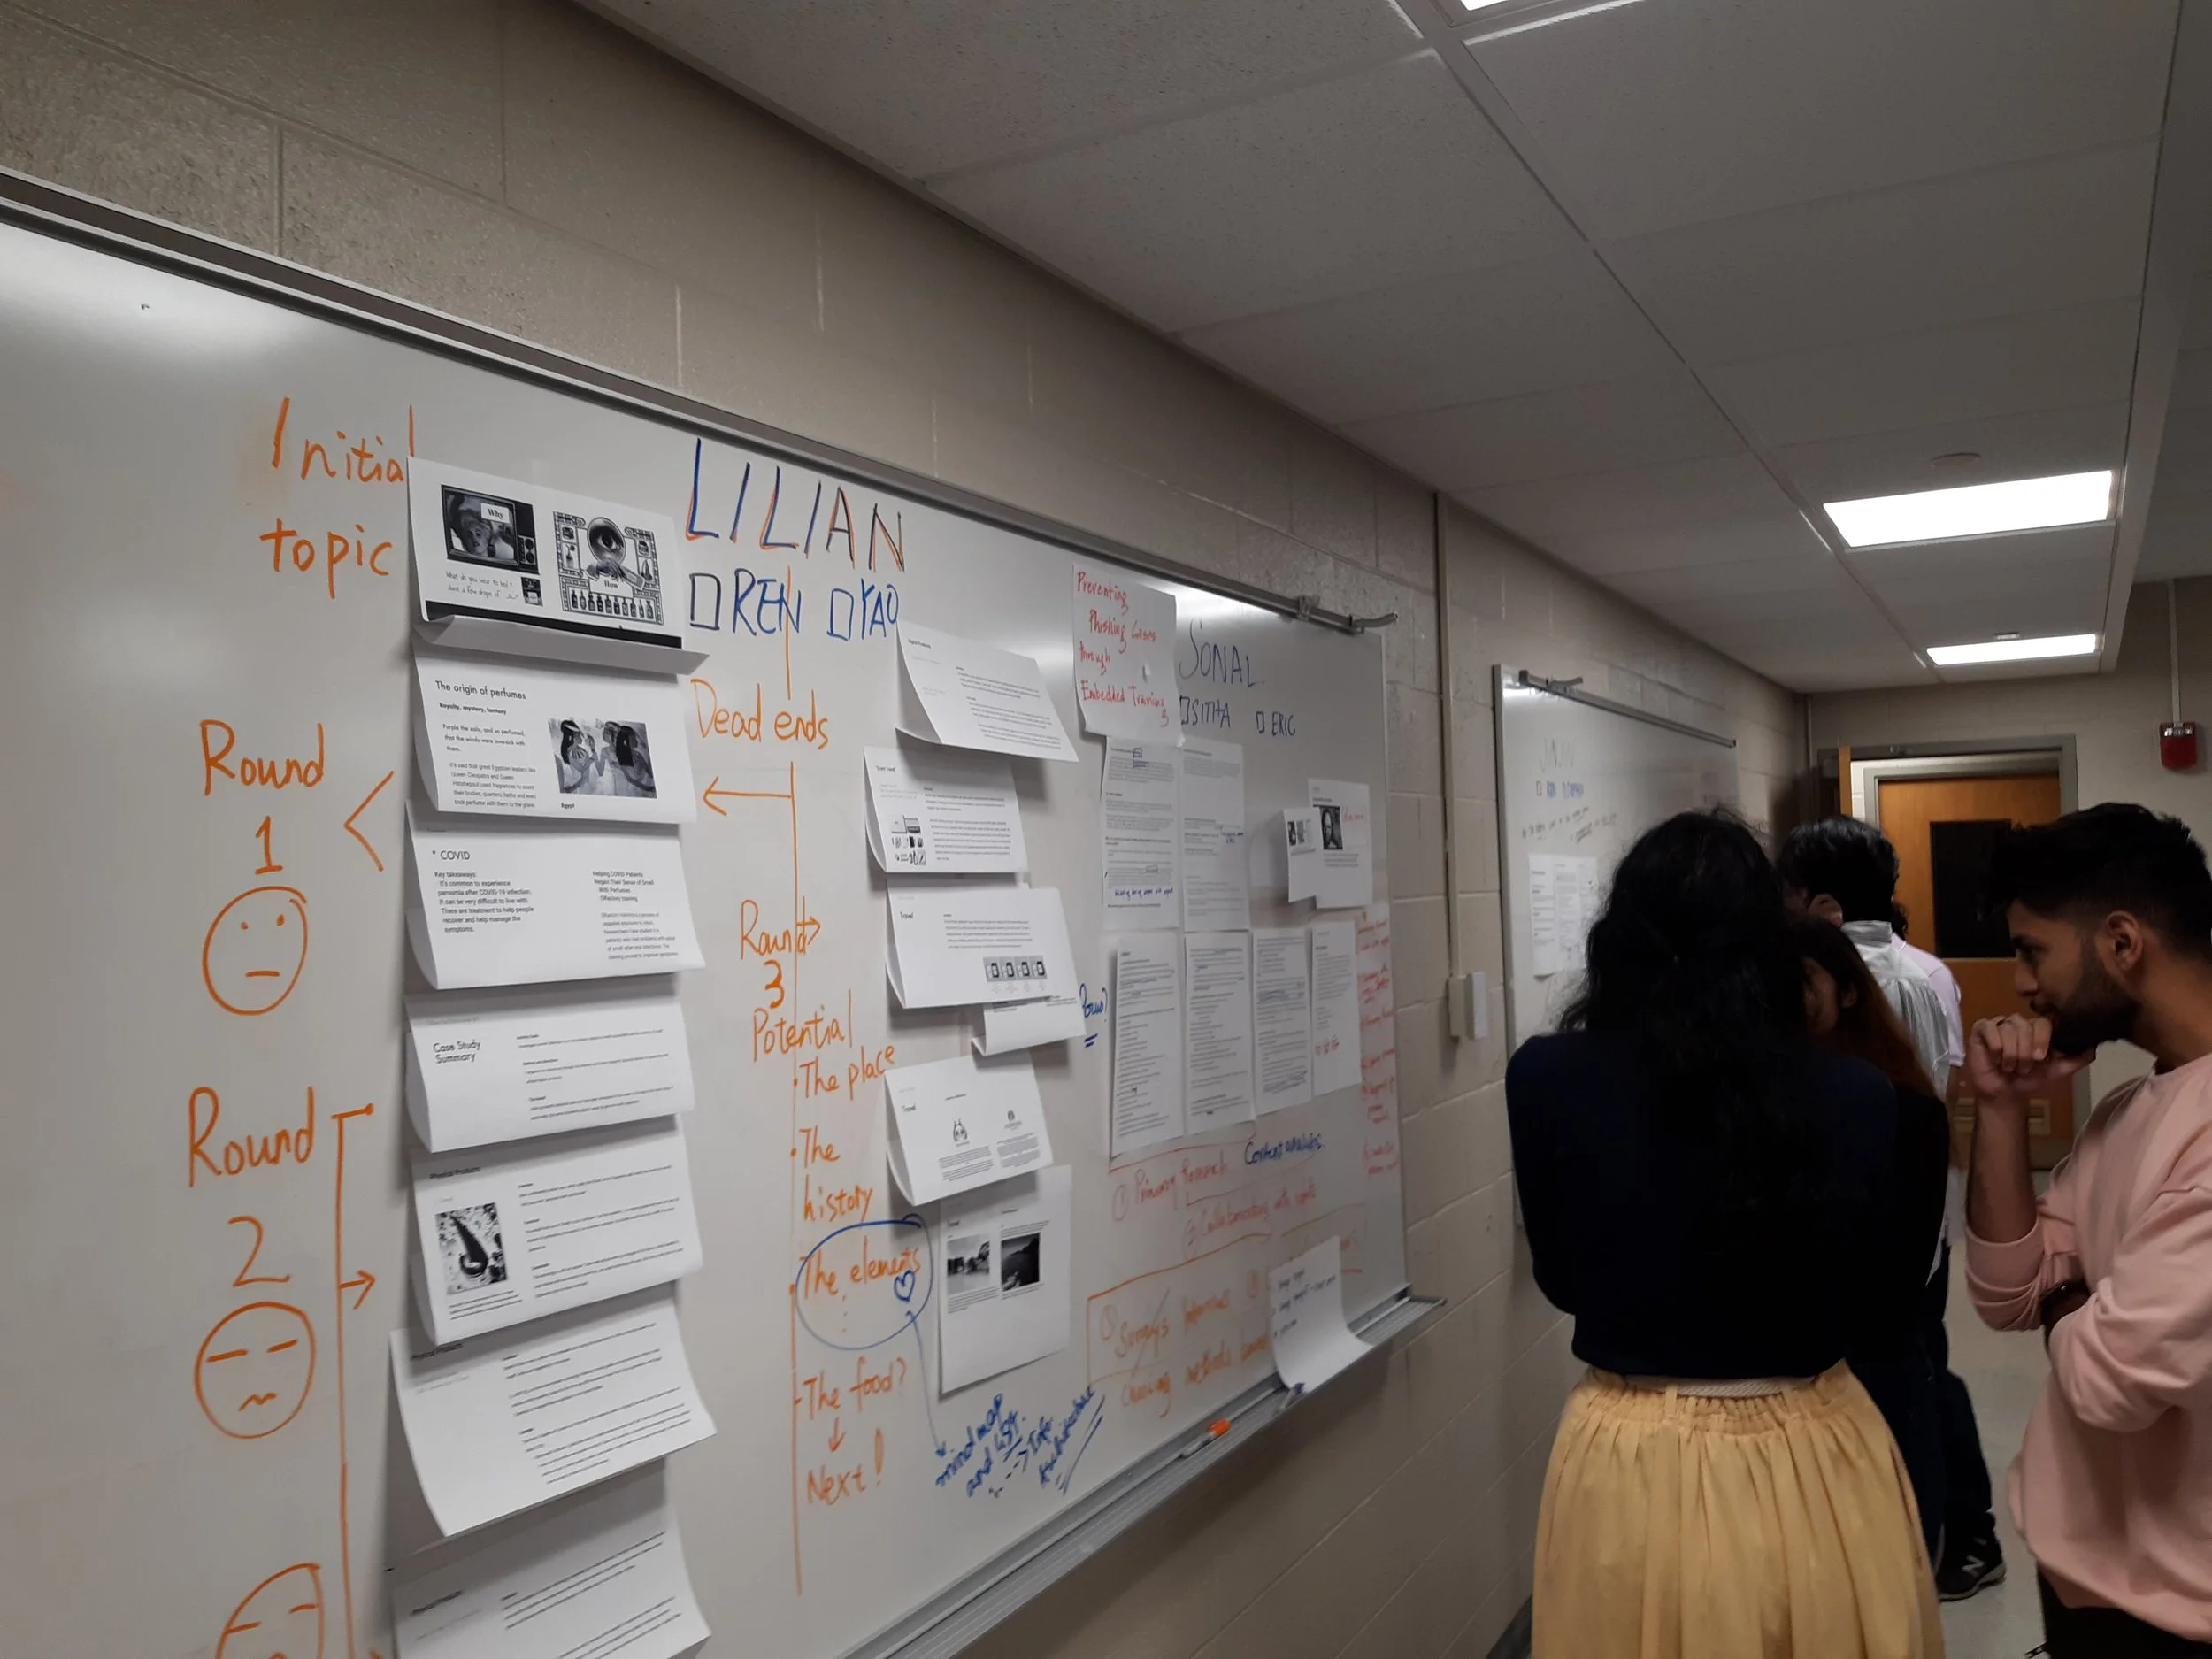
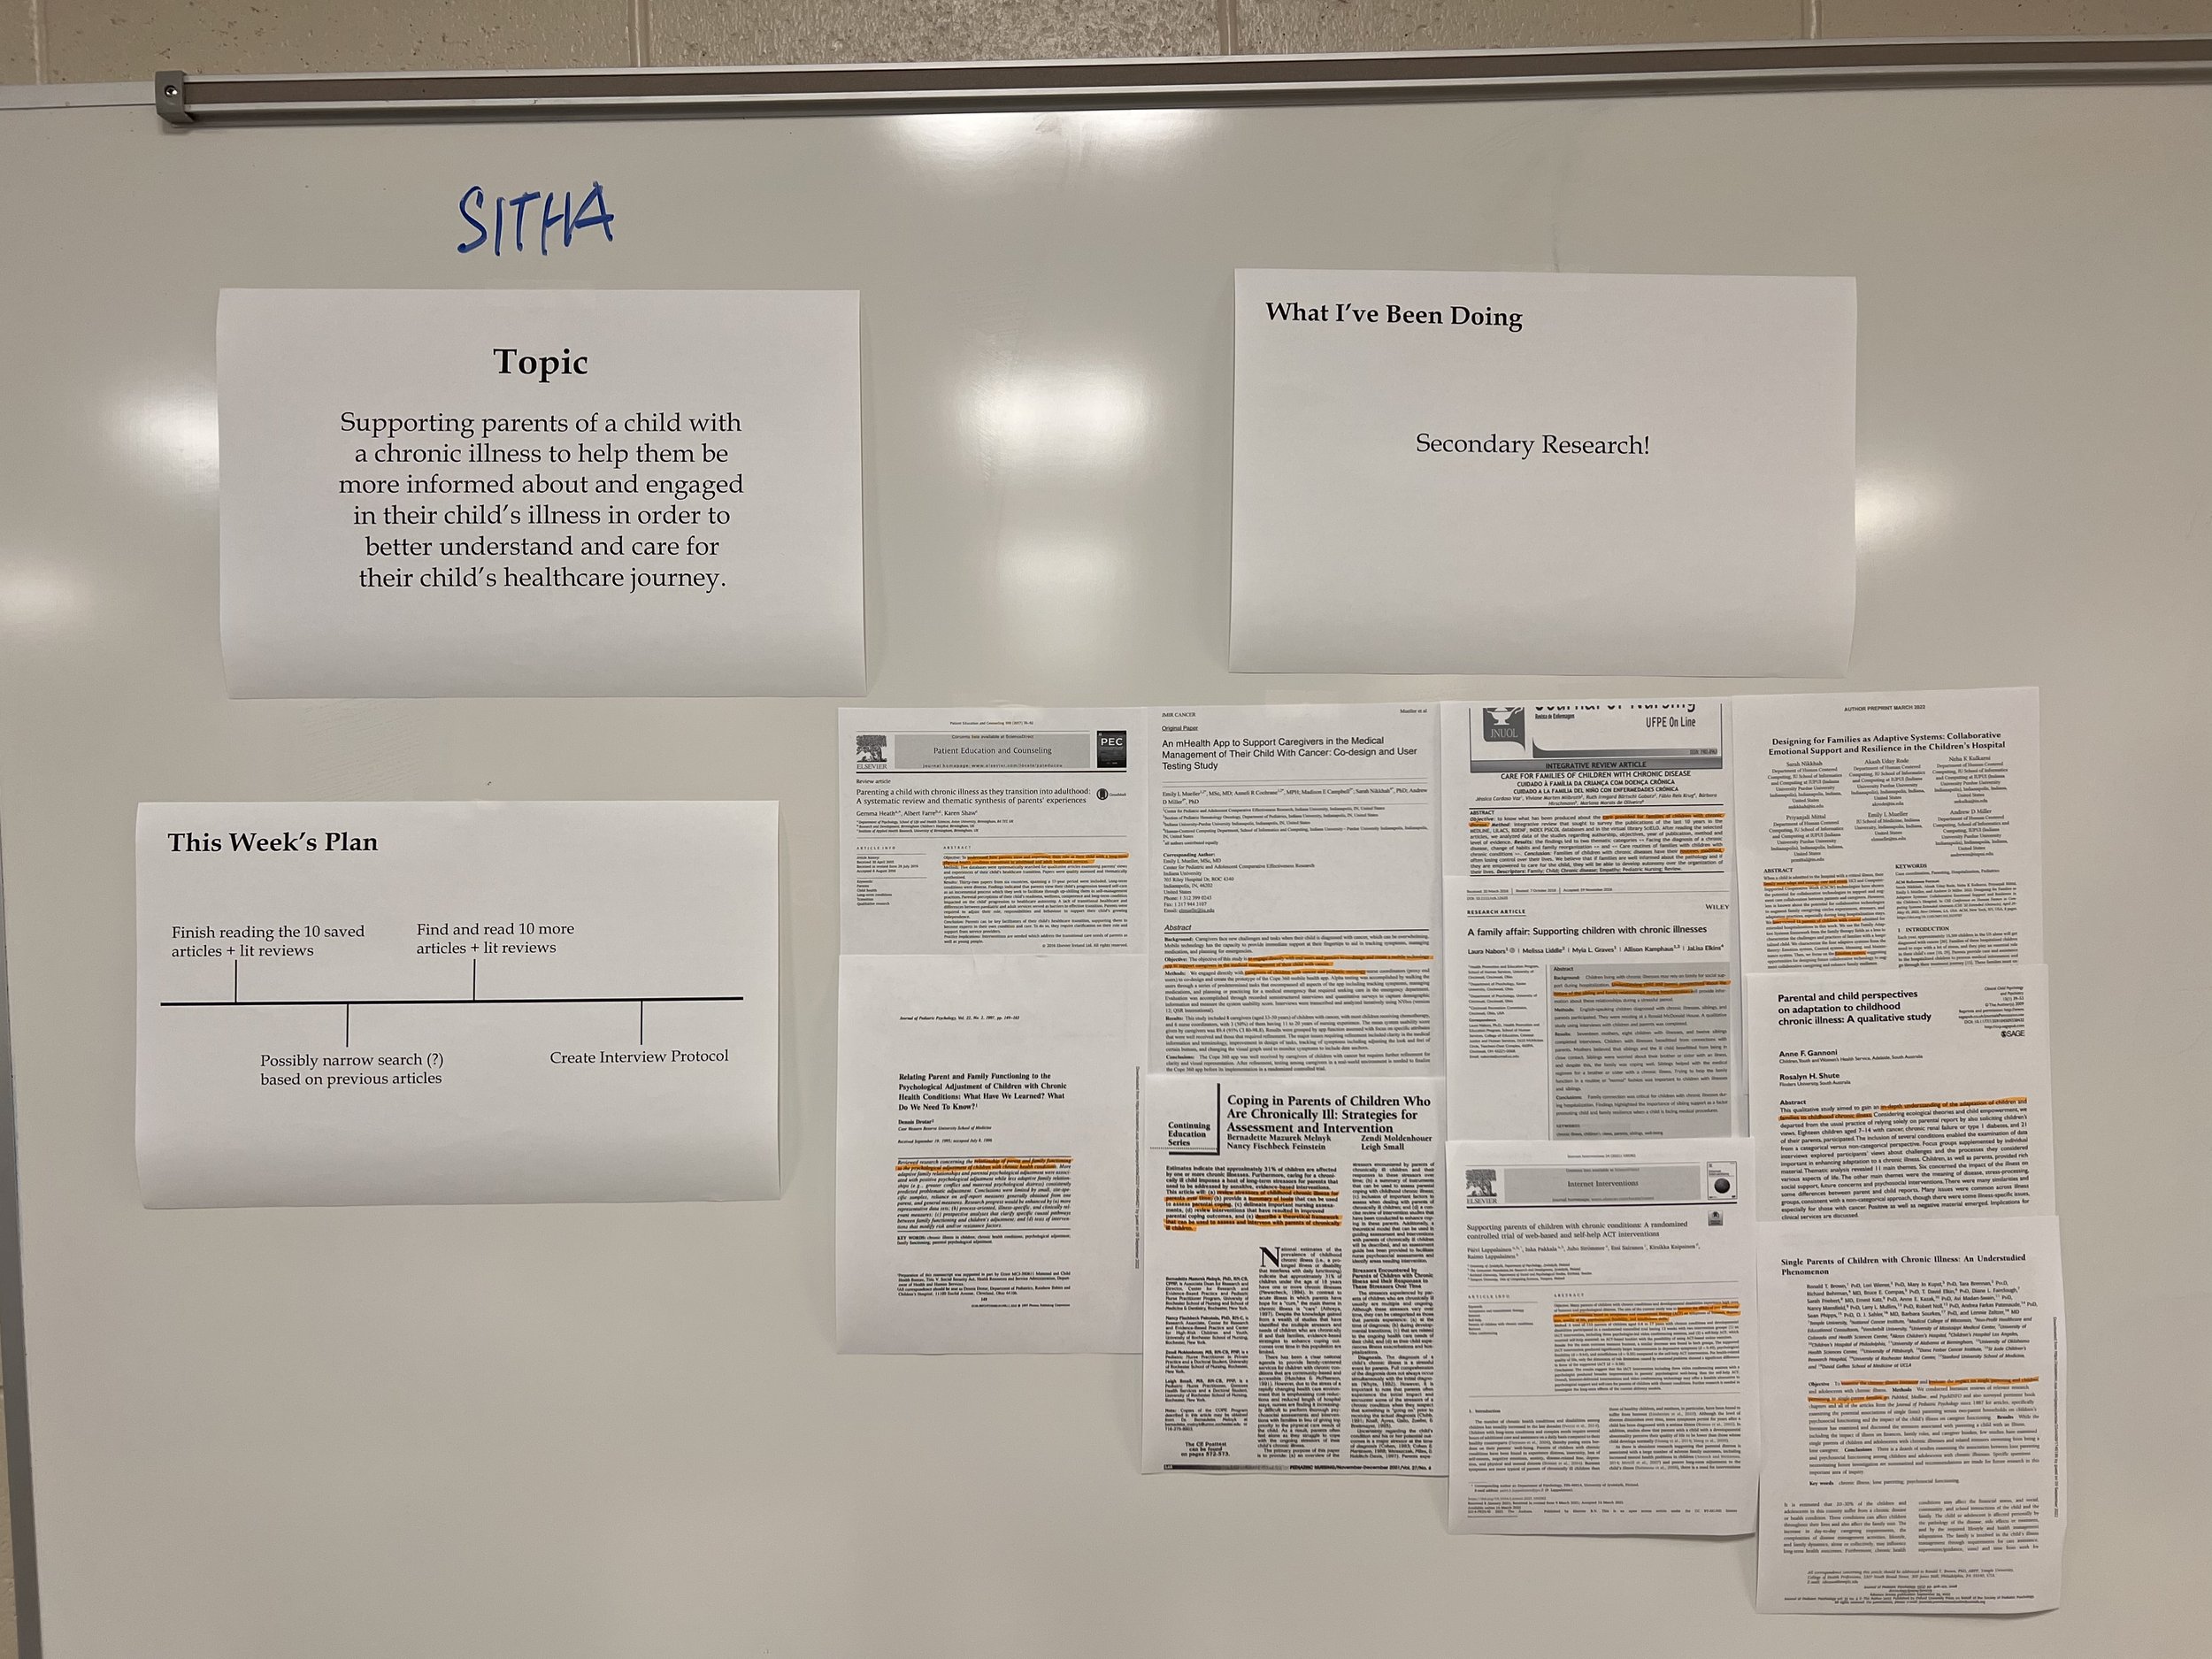
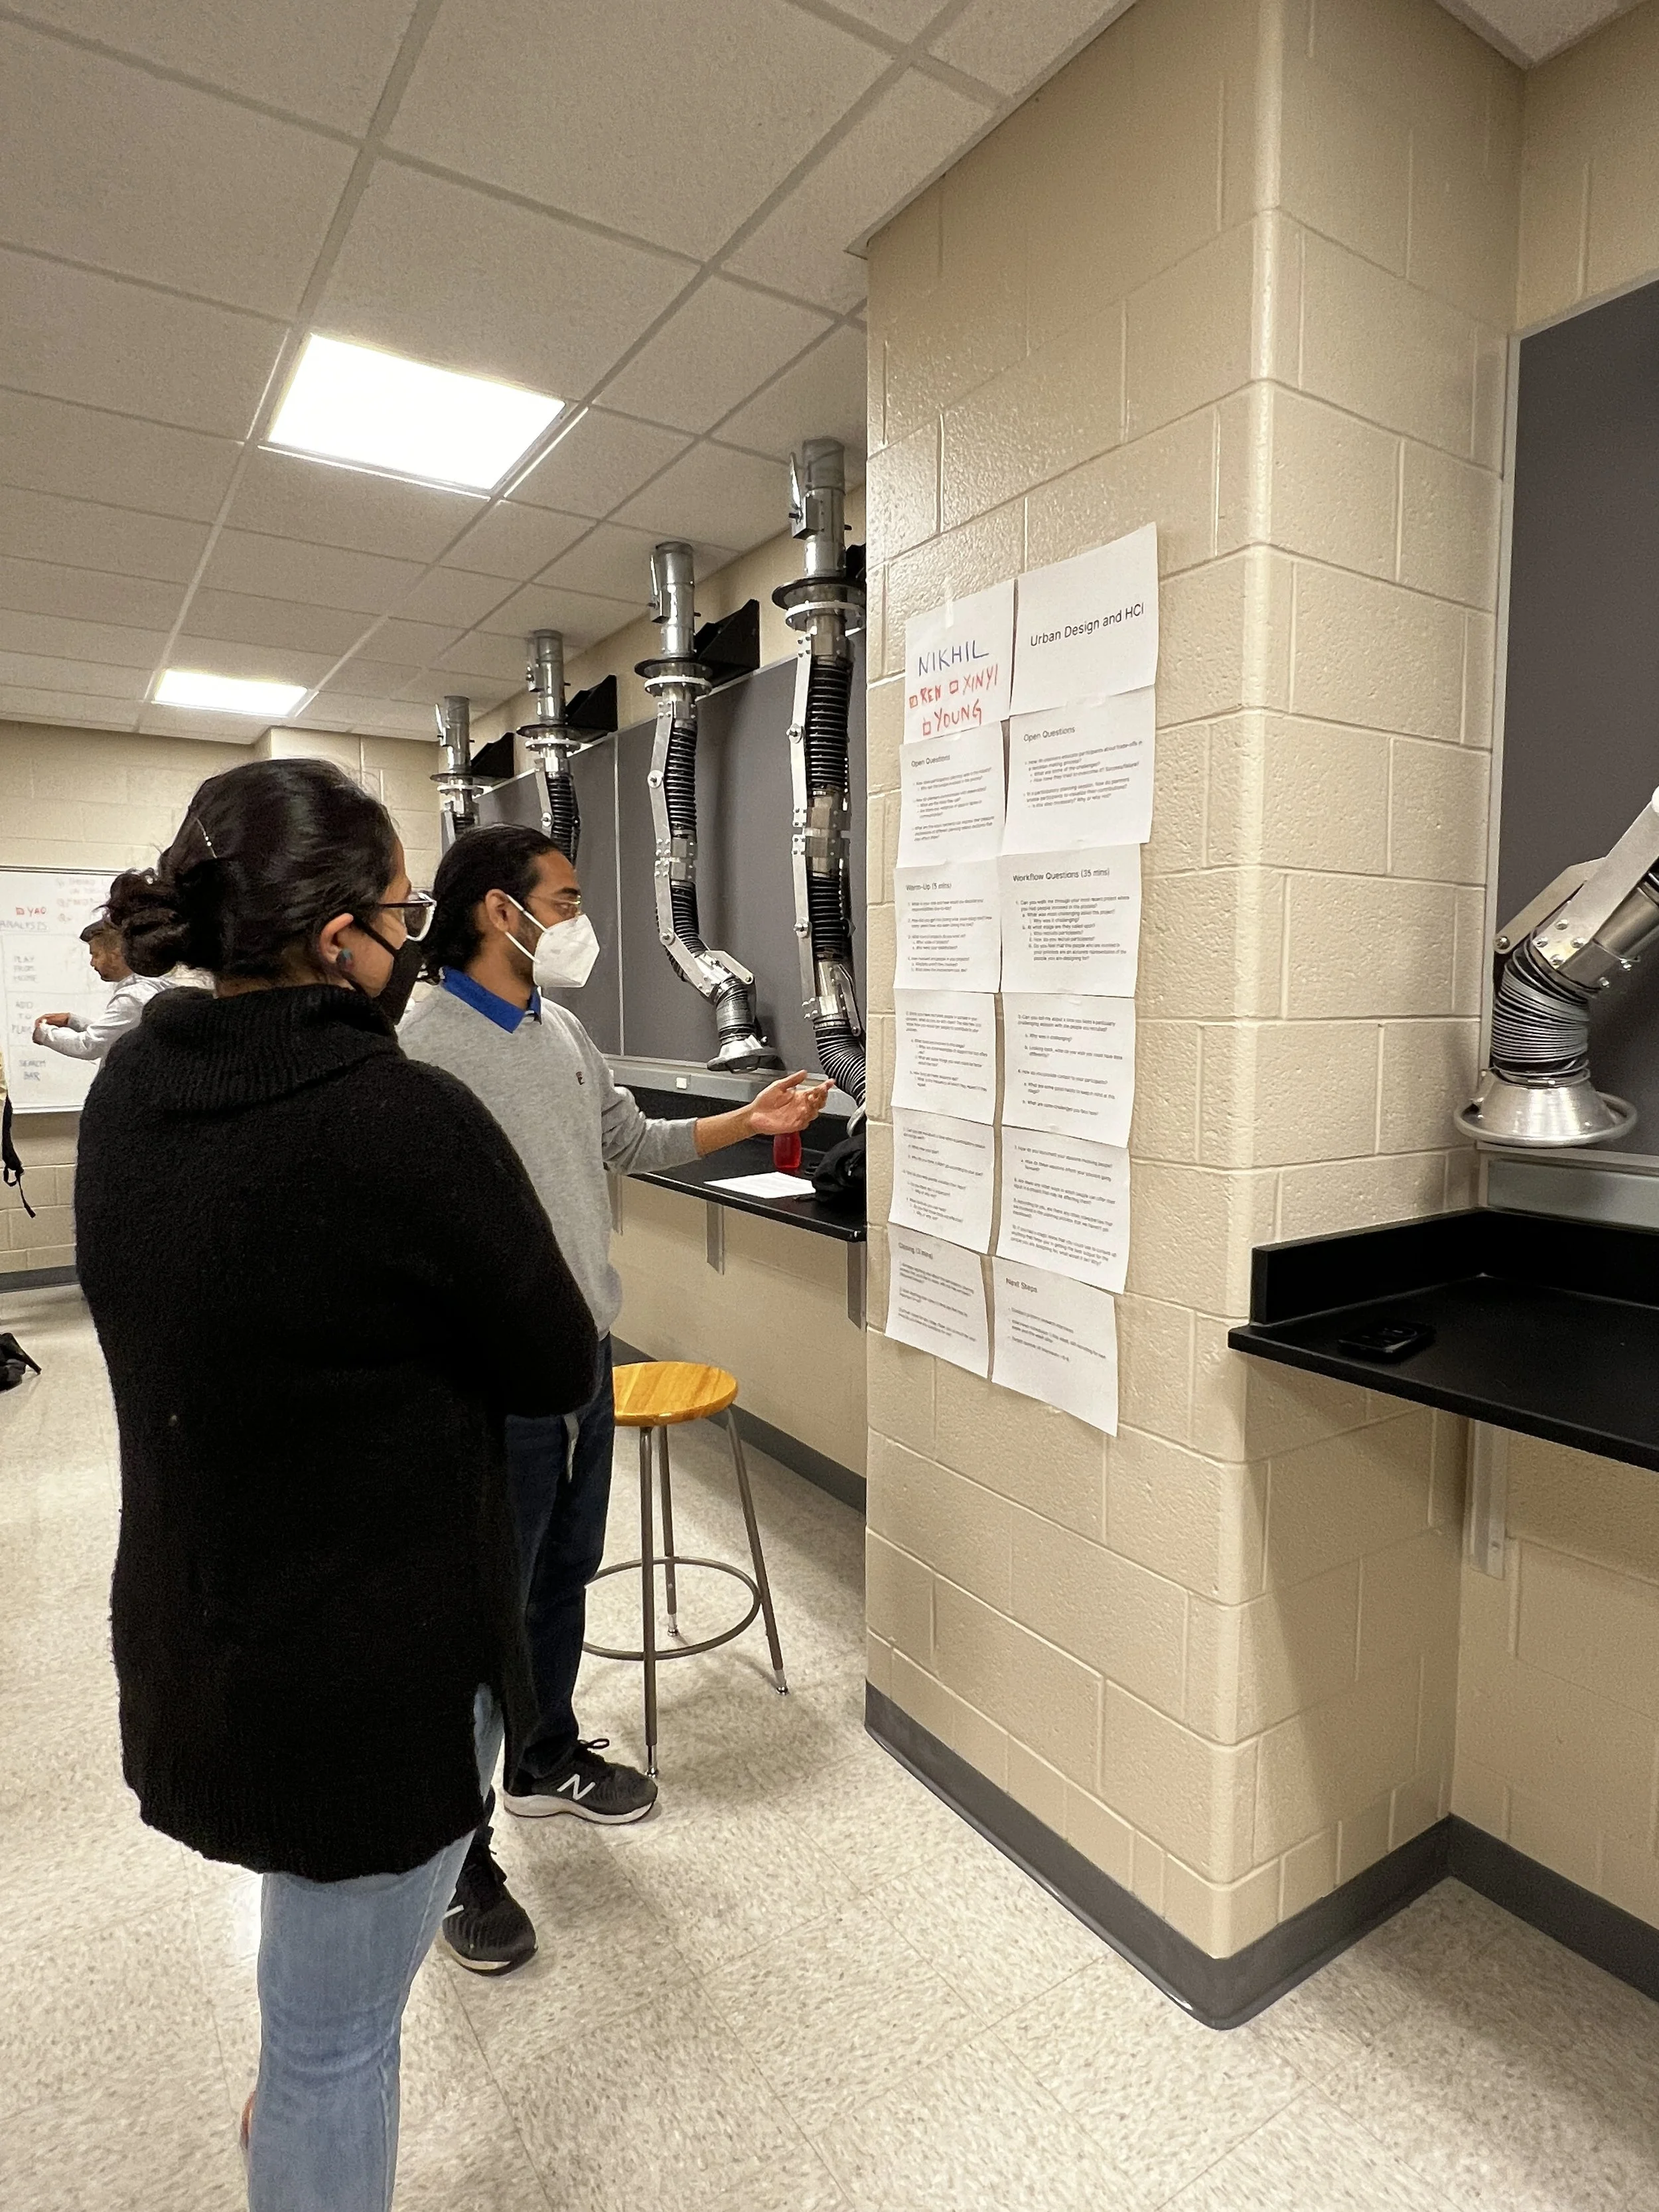
The presenters prepared materials that communicate their rationale and plans for their project. They printed out the materials, including pictures and texts, along with three to four questions they needed answers to, and displayed it on their part of the wall. Both classes had approximately 13 students each presenting at the same time, while students that were not presenting could visit their peers and give feedback or ask questions.
Asking questions about their topic: Can we do this? How about this framing? Discussion included extending knowledge on topic select beyond typical mobile HCI interactions and domains.
Framing Learning Objectives for their Thesis/Project overall using the Learning Contract. Discussions include feedback or ideas around innovative, fun, and essential learning activities, structuring the time ahead, and overall planning.
Selecting from multiple topics: Discussions with a few students went around narrowing down or helping through through deciding a particular topic to work on for the rest of the semester (and actually, two semesters).
Providing resources and additional information to read or access based on the topic, based on instructors’ knowledge and awareness about the topic of interest.
Besides asking for advice on the scope and direction of their projects, the practicality of their research, and other sources that would give them more information, HCI students also made good use of this method by:
Asking questions that would gather initial data for their user study: This is a smart way of working especially when their peers constitute their target users. At the end of the gallery walk, they got at least 13 answers that they could refer to as their further research aims.
Asking for opportunities of networking with experts in the industry/academia: “Do you know anyone who is an expert in (the topic that I am interested in)?” is a good way of reaching out to connections of peers or instructors that might provide more insight as an expert/user. Connecting to those who had experiences doing similar projects and learning from them would also help in learning tips on setting plans and managing expectations.
Asking for ways to connect to the group of people that they want to design for: Although it is always great if we can conduct research with people that we are already familiar with, this project allows all students to walk out of their comfort zones and challenge themselves in doing something they might not have imagined doing before. Whether it be connecting with the elderly, children, or people with chronic diseases, “Where can I reach out to (the group of people I am interested in designing for)?” is an awesome question for gathering different ideas from people–and some may be really helpful!
Lastly, students gave feedback on what they liked and what they thought could be improved in this gallery walk method in class. Overall, they were interested in getting feedback from their peers and seeing each others’ work. They also wished that they could have the opportunity to see the work of people in their own group, since it was hard for the presenting team to go around and see other presenters’ work.


Instructor Emotions
This is honestly a very fun course, yet I have so many mixed emotions. I am a person who needs structure and discipline. I over-do things when it comes to other people, and sometimes it also ends up them hating that about me. This course is perfect for me to practice how NOT to do that. I am still working on it! Give me some time. There are a range of emotions I go through during the time of this course:
YAY! I need not have to prepare for class.
Who said that? (stern and grin) I get to now read about 27 new topic domains and I am just constantly reading to make sure I am well equipped to give feedback.
I need to be mentally awake to understand each and every topic. AND I AM NOT A COFFEE/ TEA PERSON. How did other instructors do this? Hats off.
DAMN IT! I want to do all these projects myself!! But, I have some 5-6 papers in my backlog pile, but who cares!
After the Gallery Walks, I am mentally high and charged. But, my feet want to disown me and walk away from me.
HOW DID THEY COME UP WITH THIS IDEA? Jealous! I am honestly jealous of each and every topic that the students propose and get to do every week and they are damn smart!
OMG! I feel like a therapist to encourage them to do this project and they are doing the right things. What if I am misguiding them? :o
Definitely, mixed and chaotic!!!
Range of Projects
Across 27 students, the range of projects they are working on and I got to mentor for is just spectacular. I anticipated this course to be a learning experience for me as well as I always love learning about others’ design process and aspirations. I think I am going to live vicariously through their design explorations, UFF!, such a me thing to say. Sorry realists!
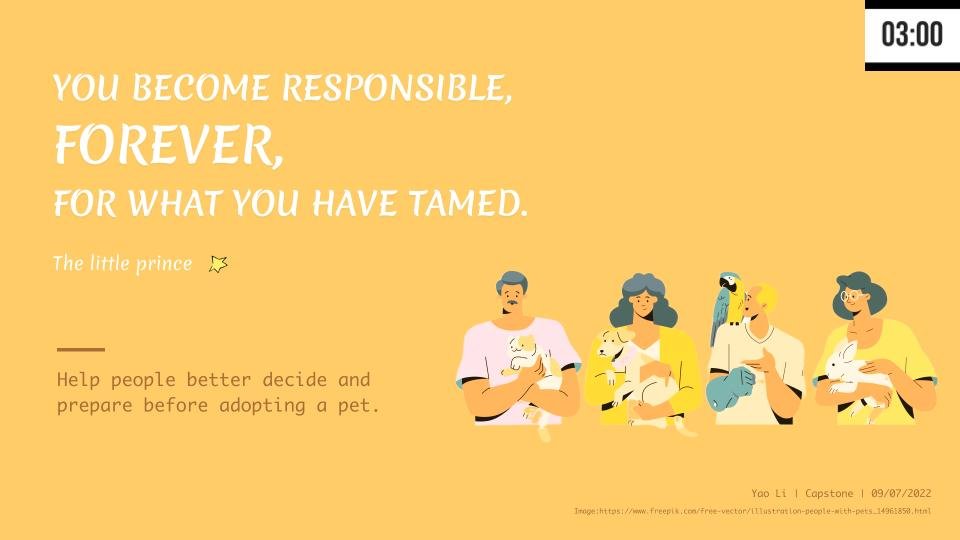
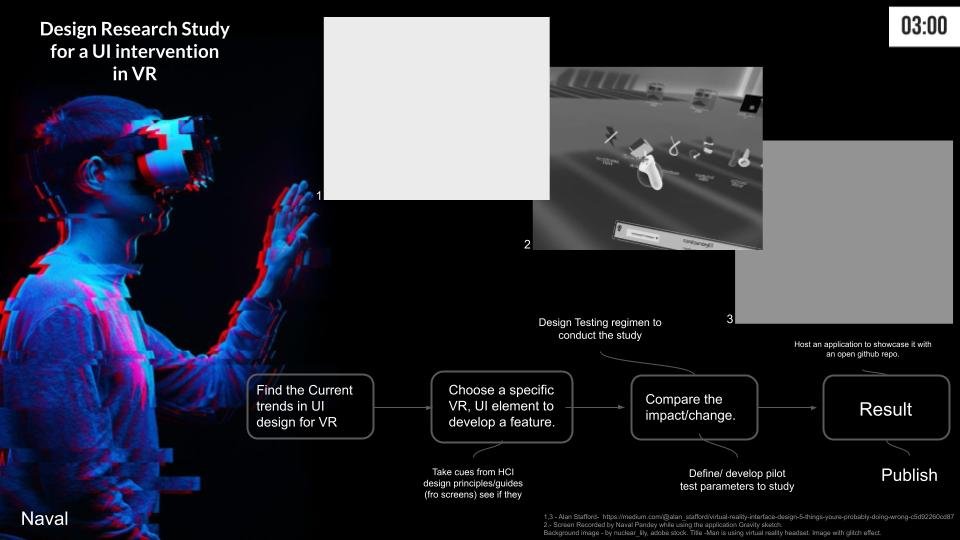

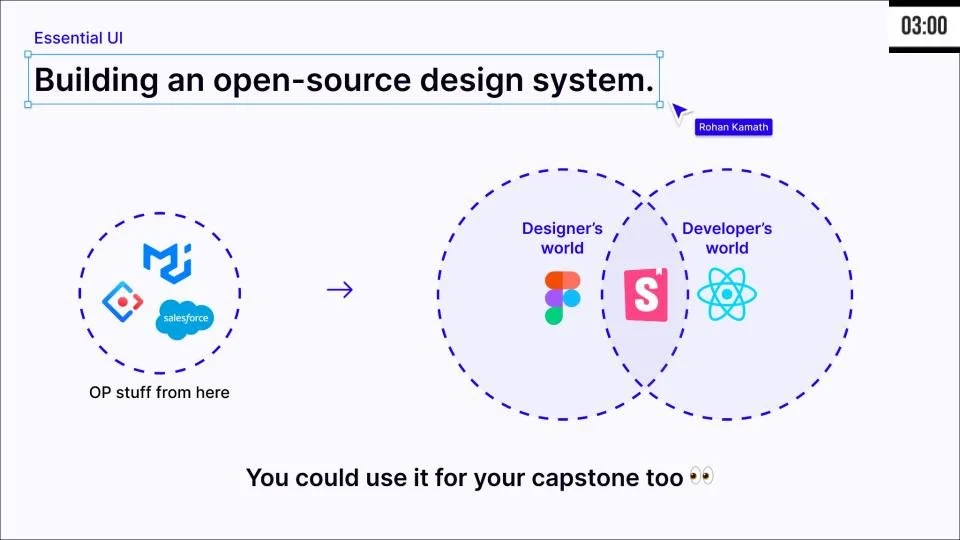
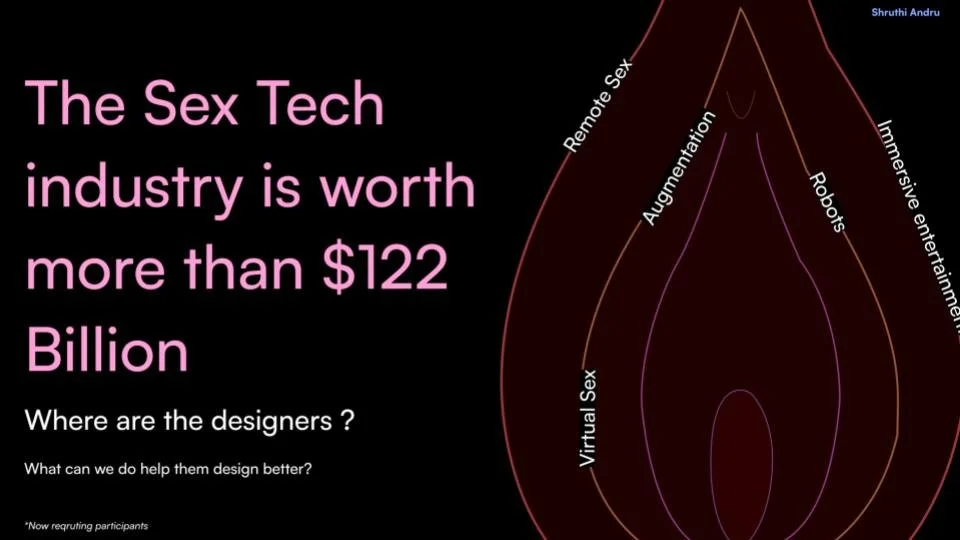
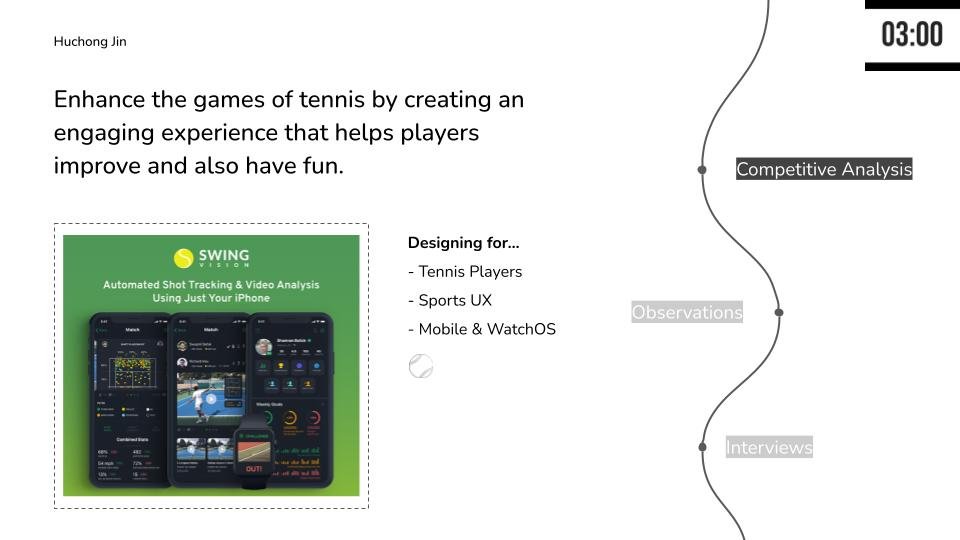
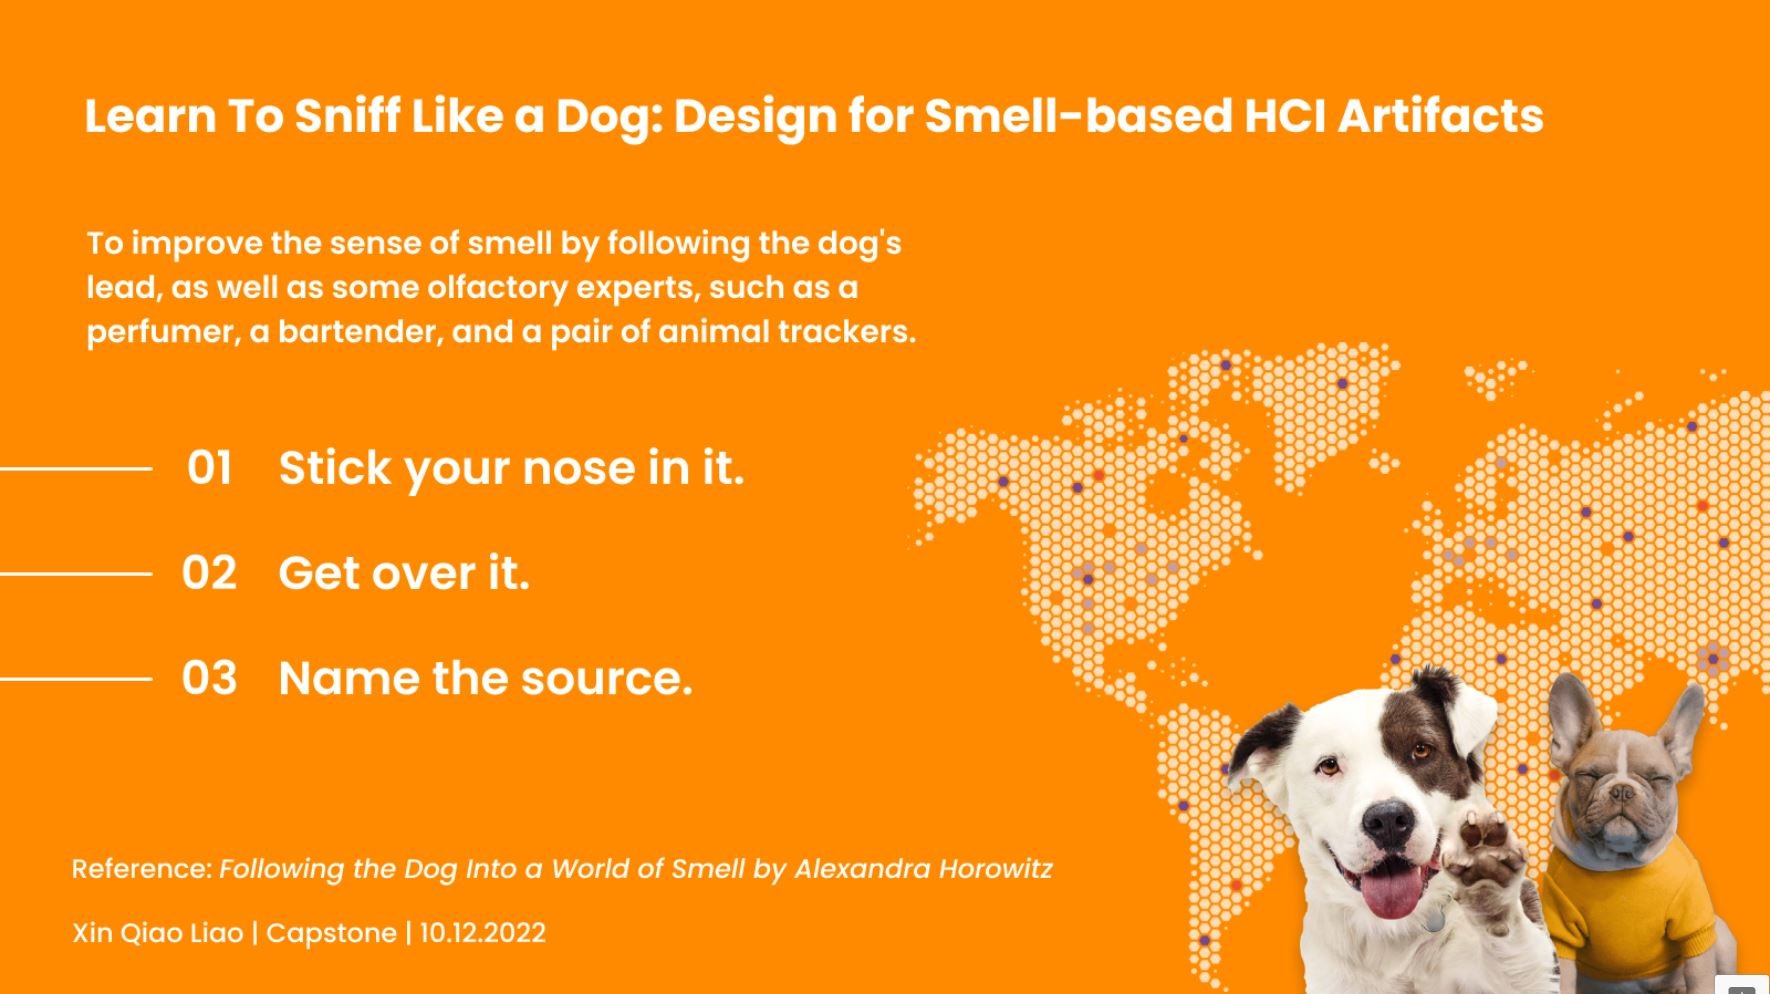
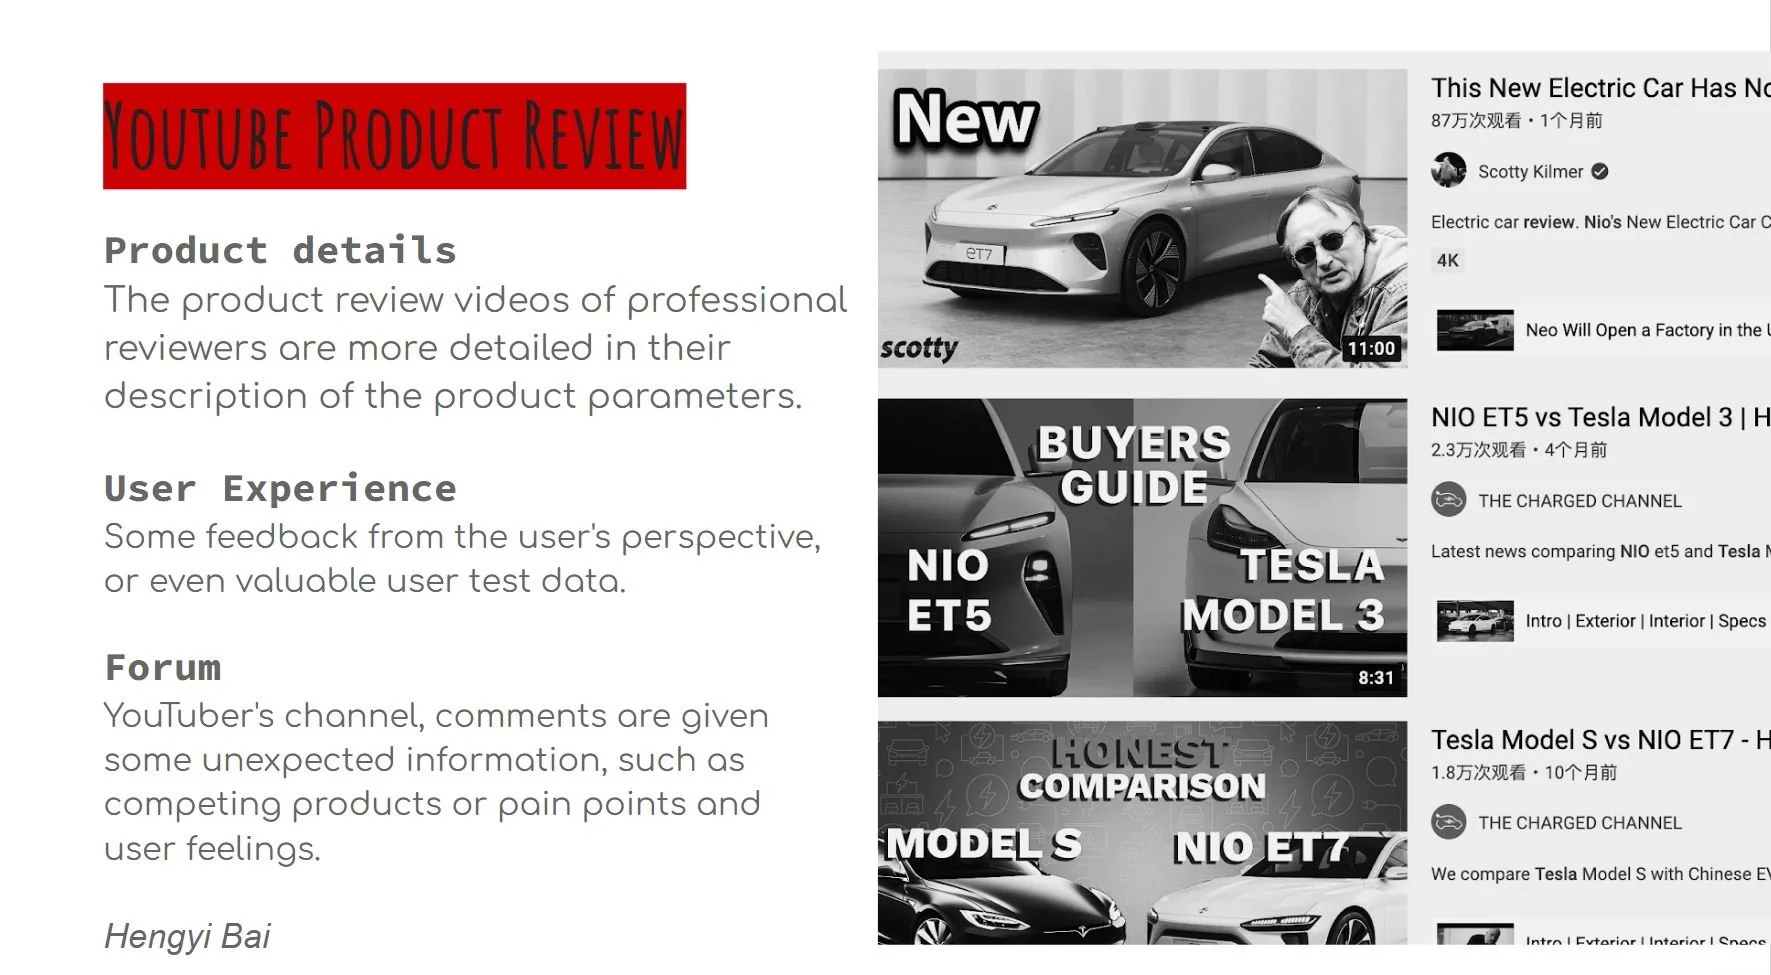
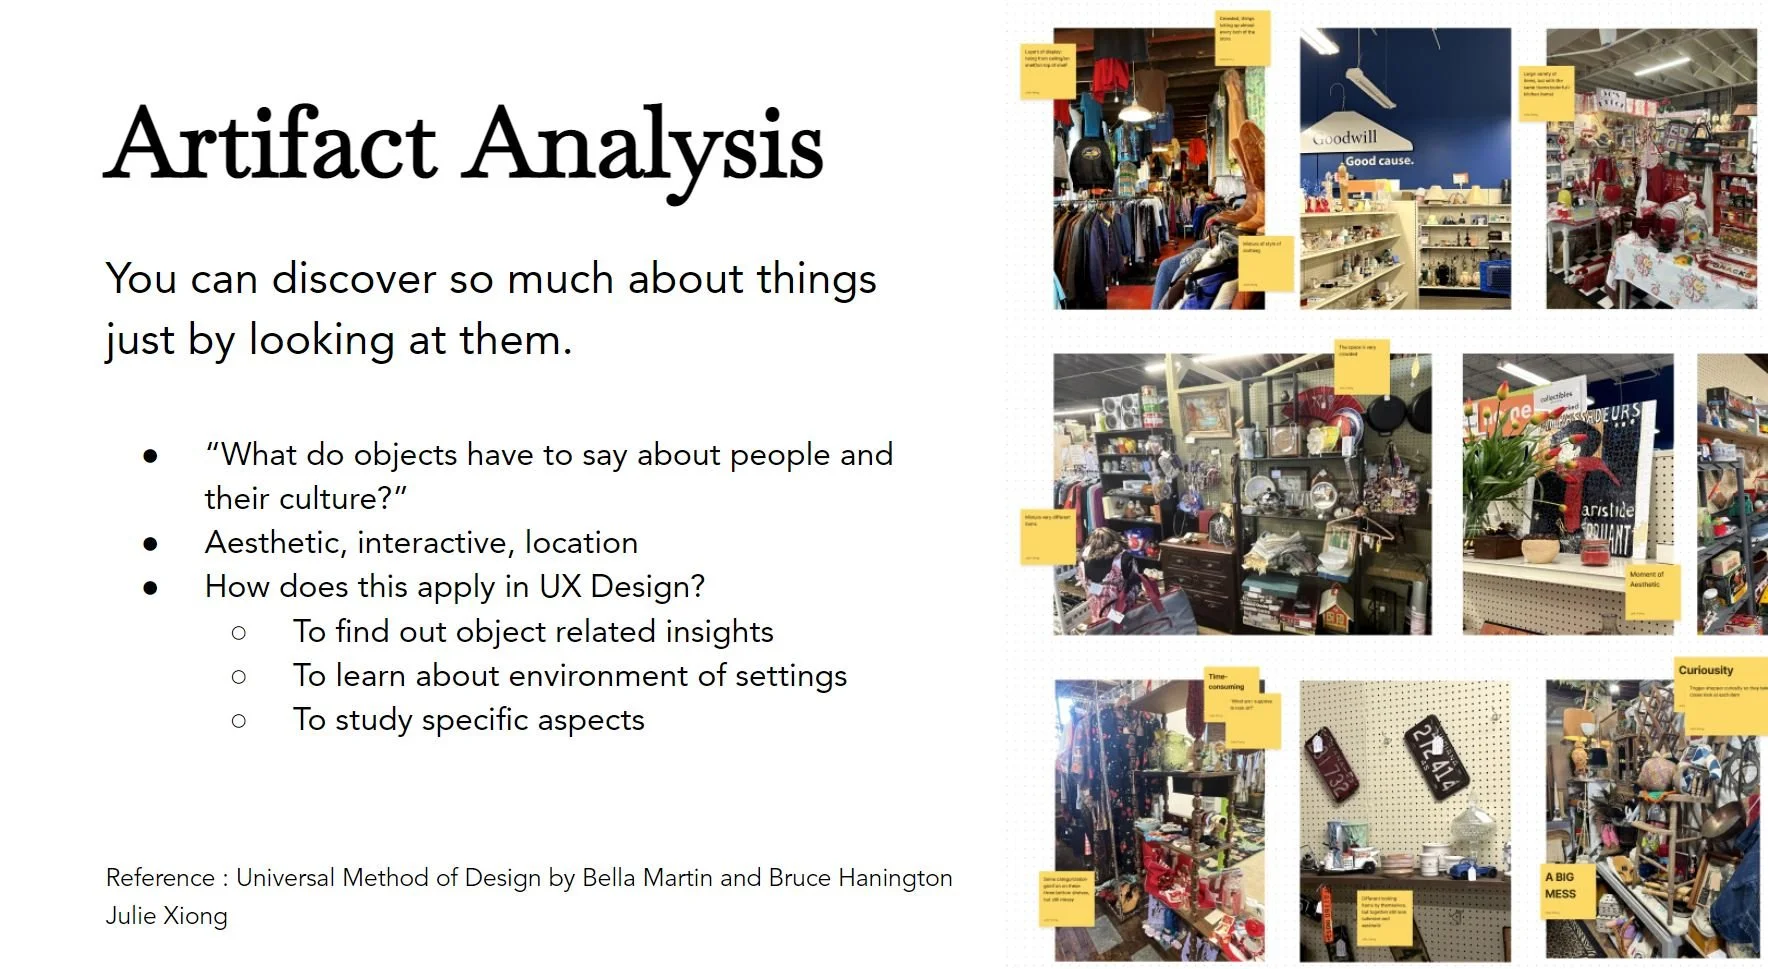
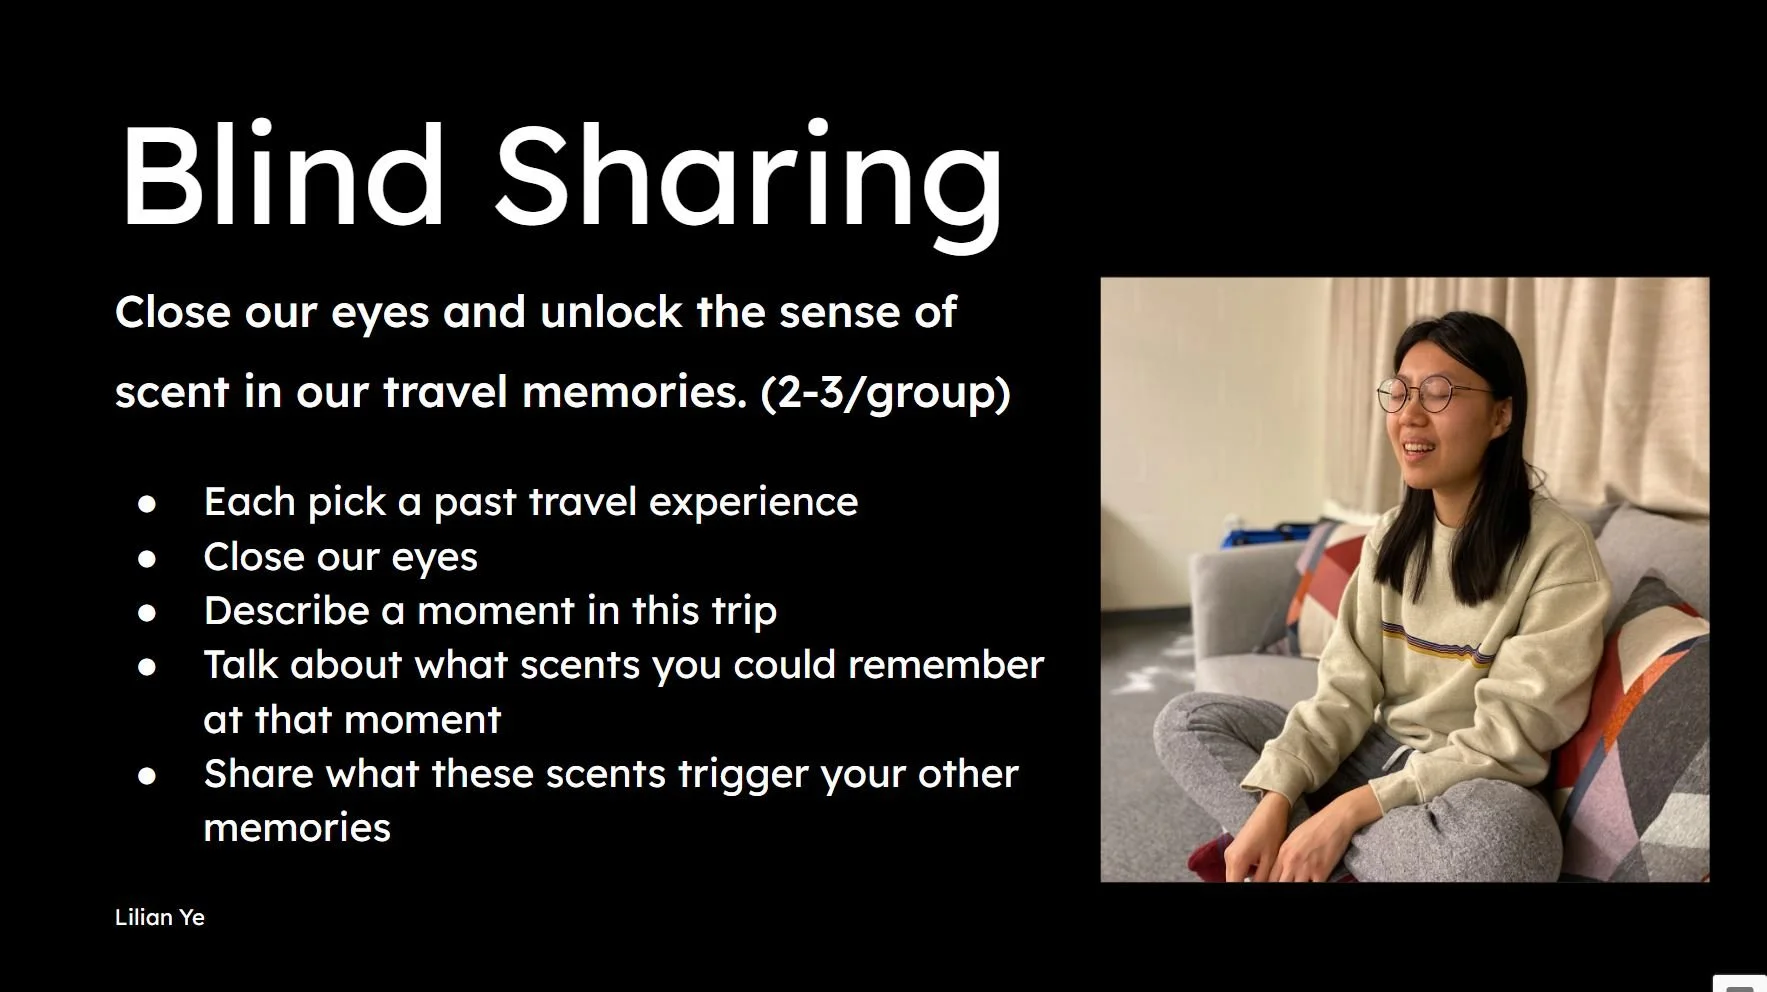
Elevator Pitch examples of a few students.
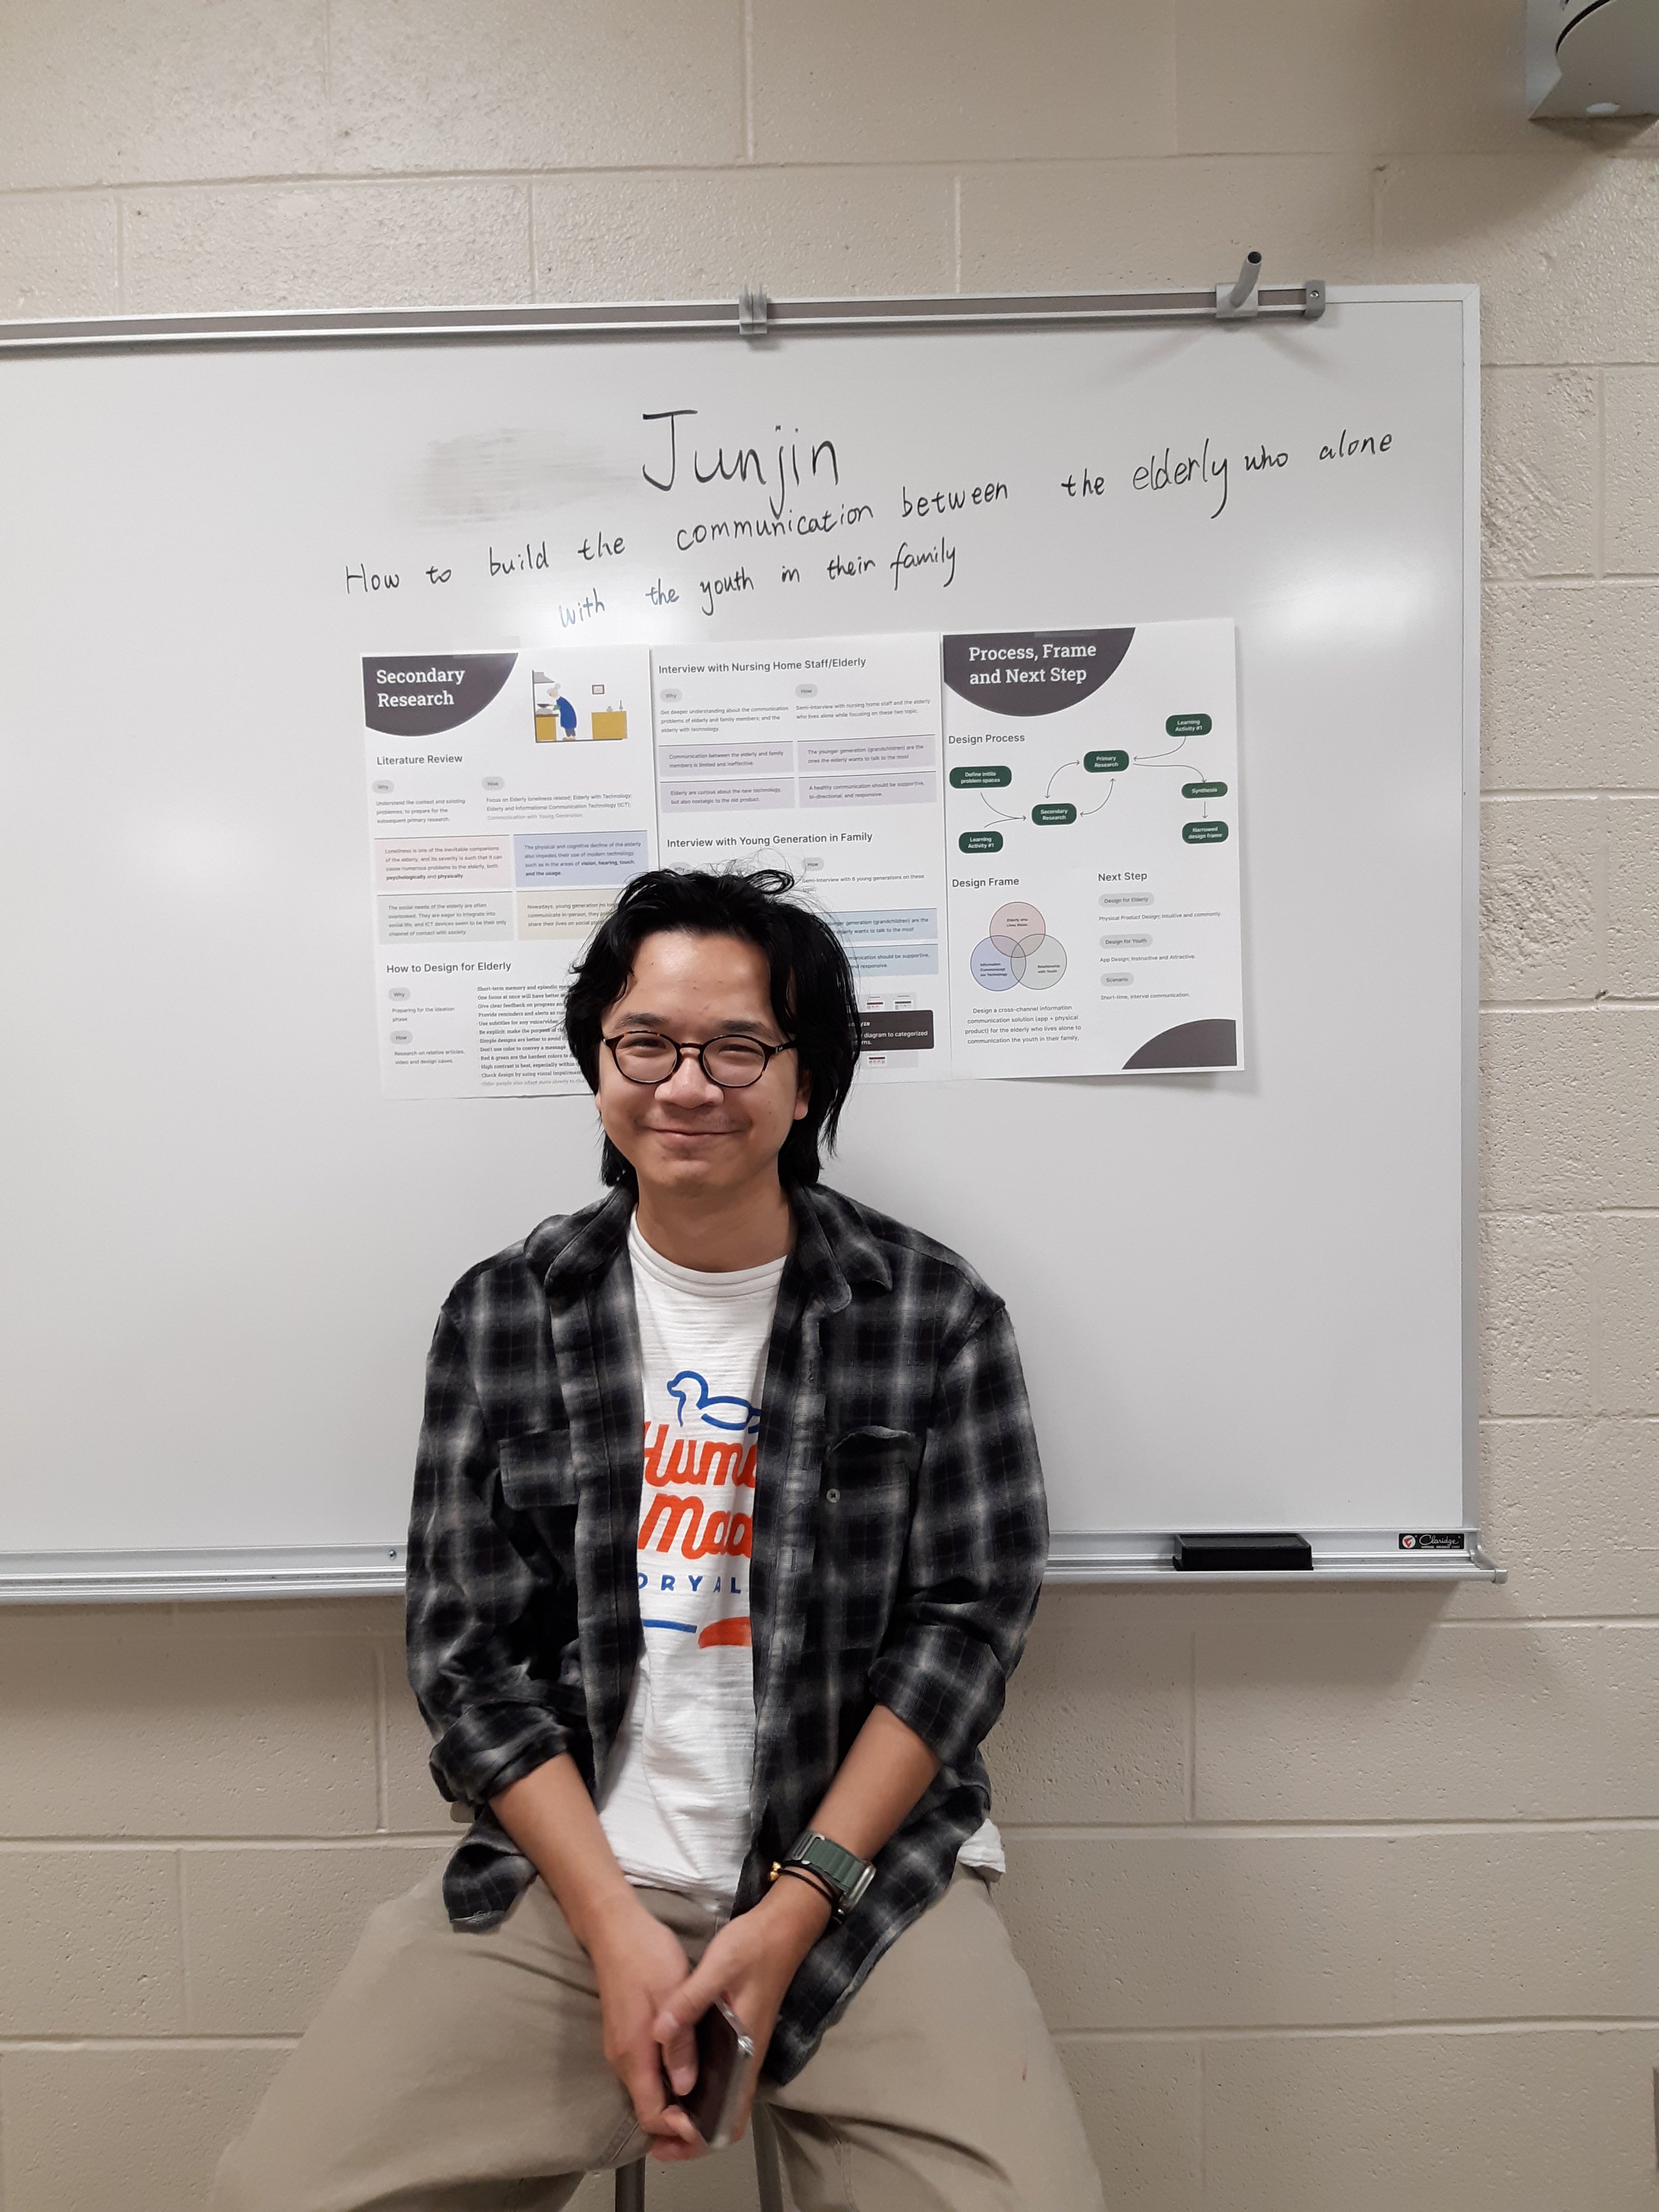
The range of projects my students are working on for their thesis/ projects include:
Mobile interaction design projects to support family members of chronic disease patients, pet adoption, perfume selection through digital interfaces, budget-friendly ML-based travel solutions, gamifying daily public travel.
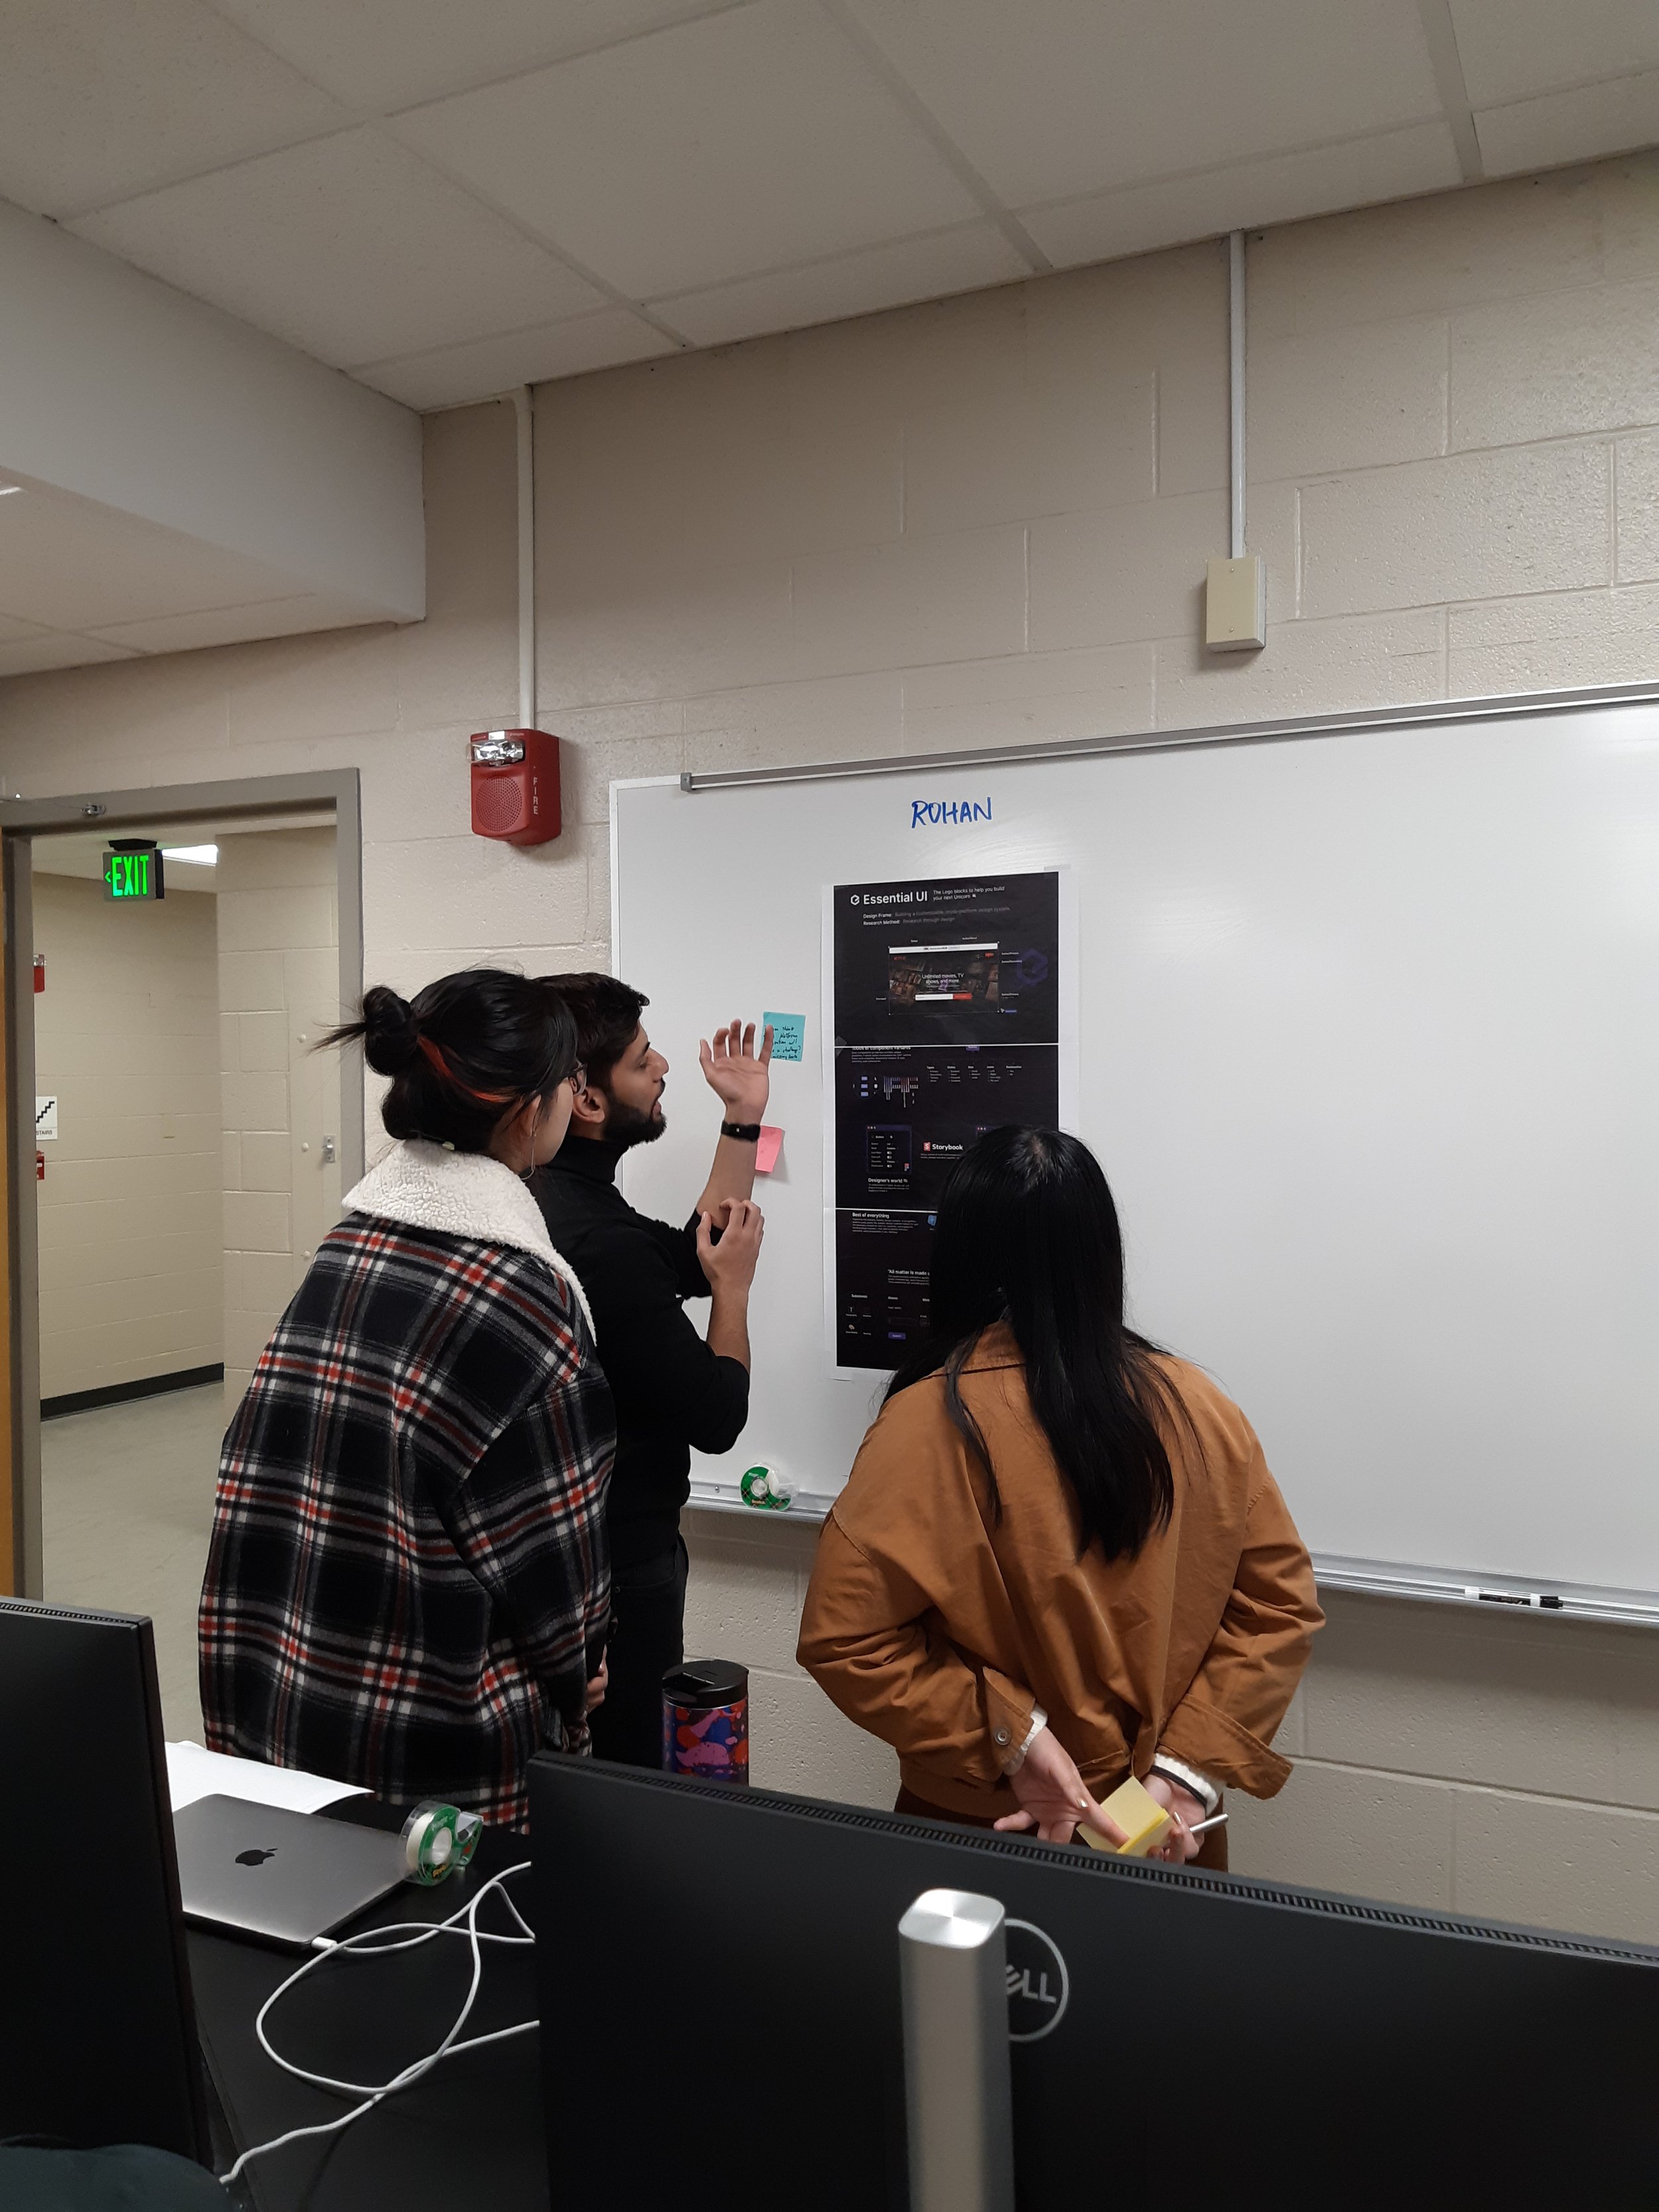
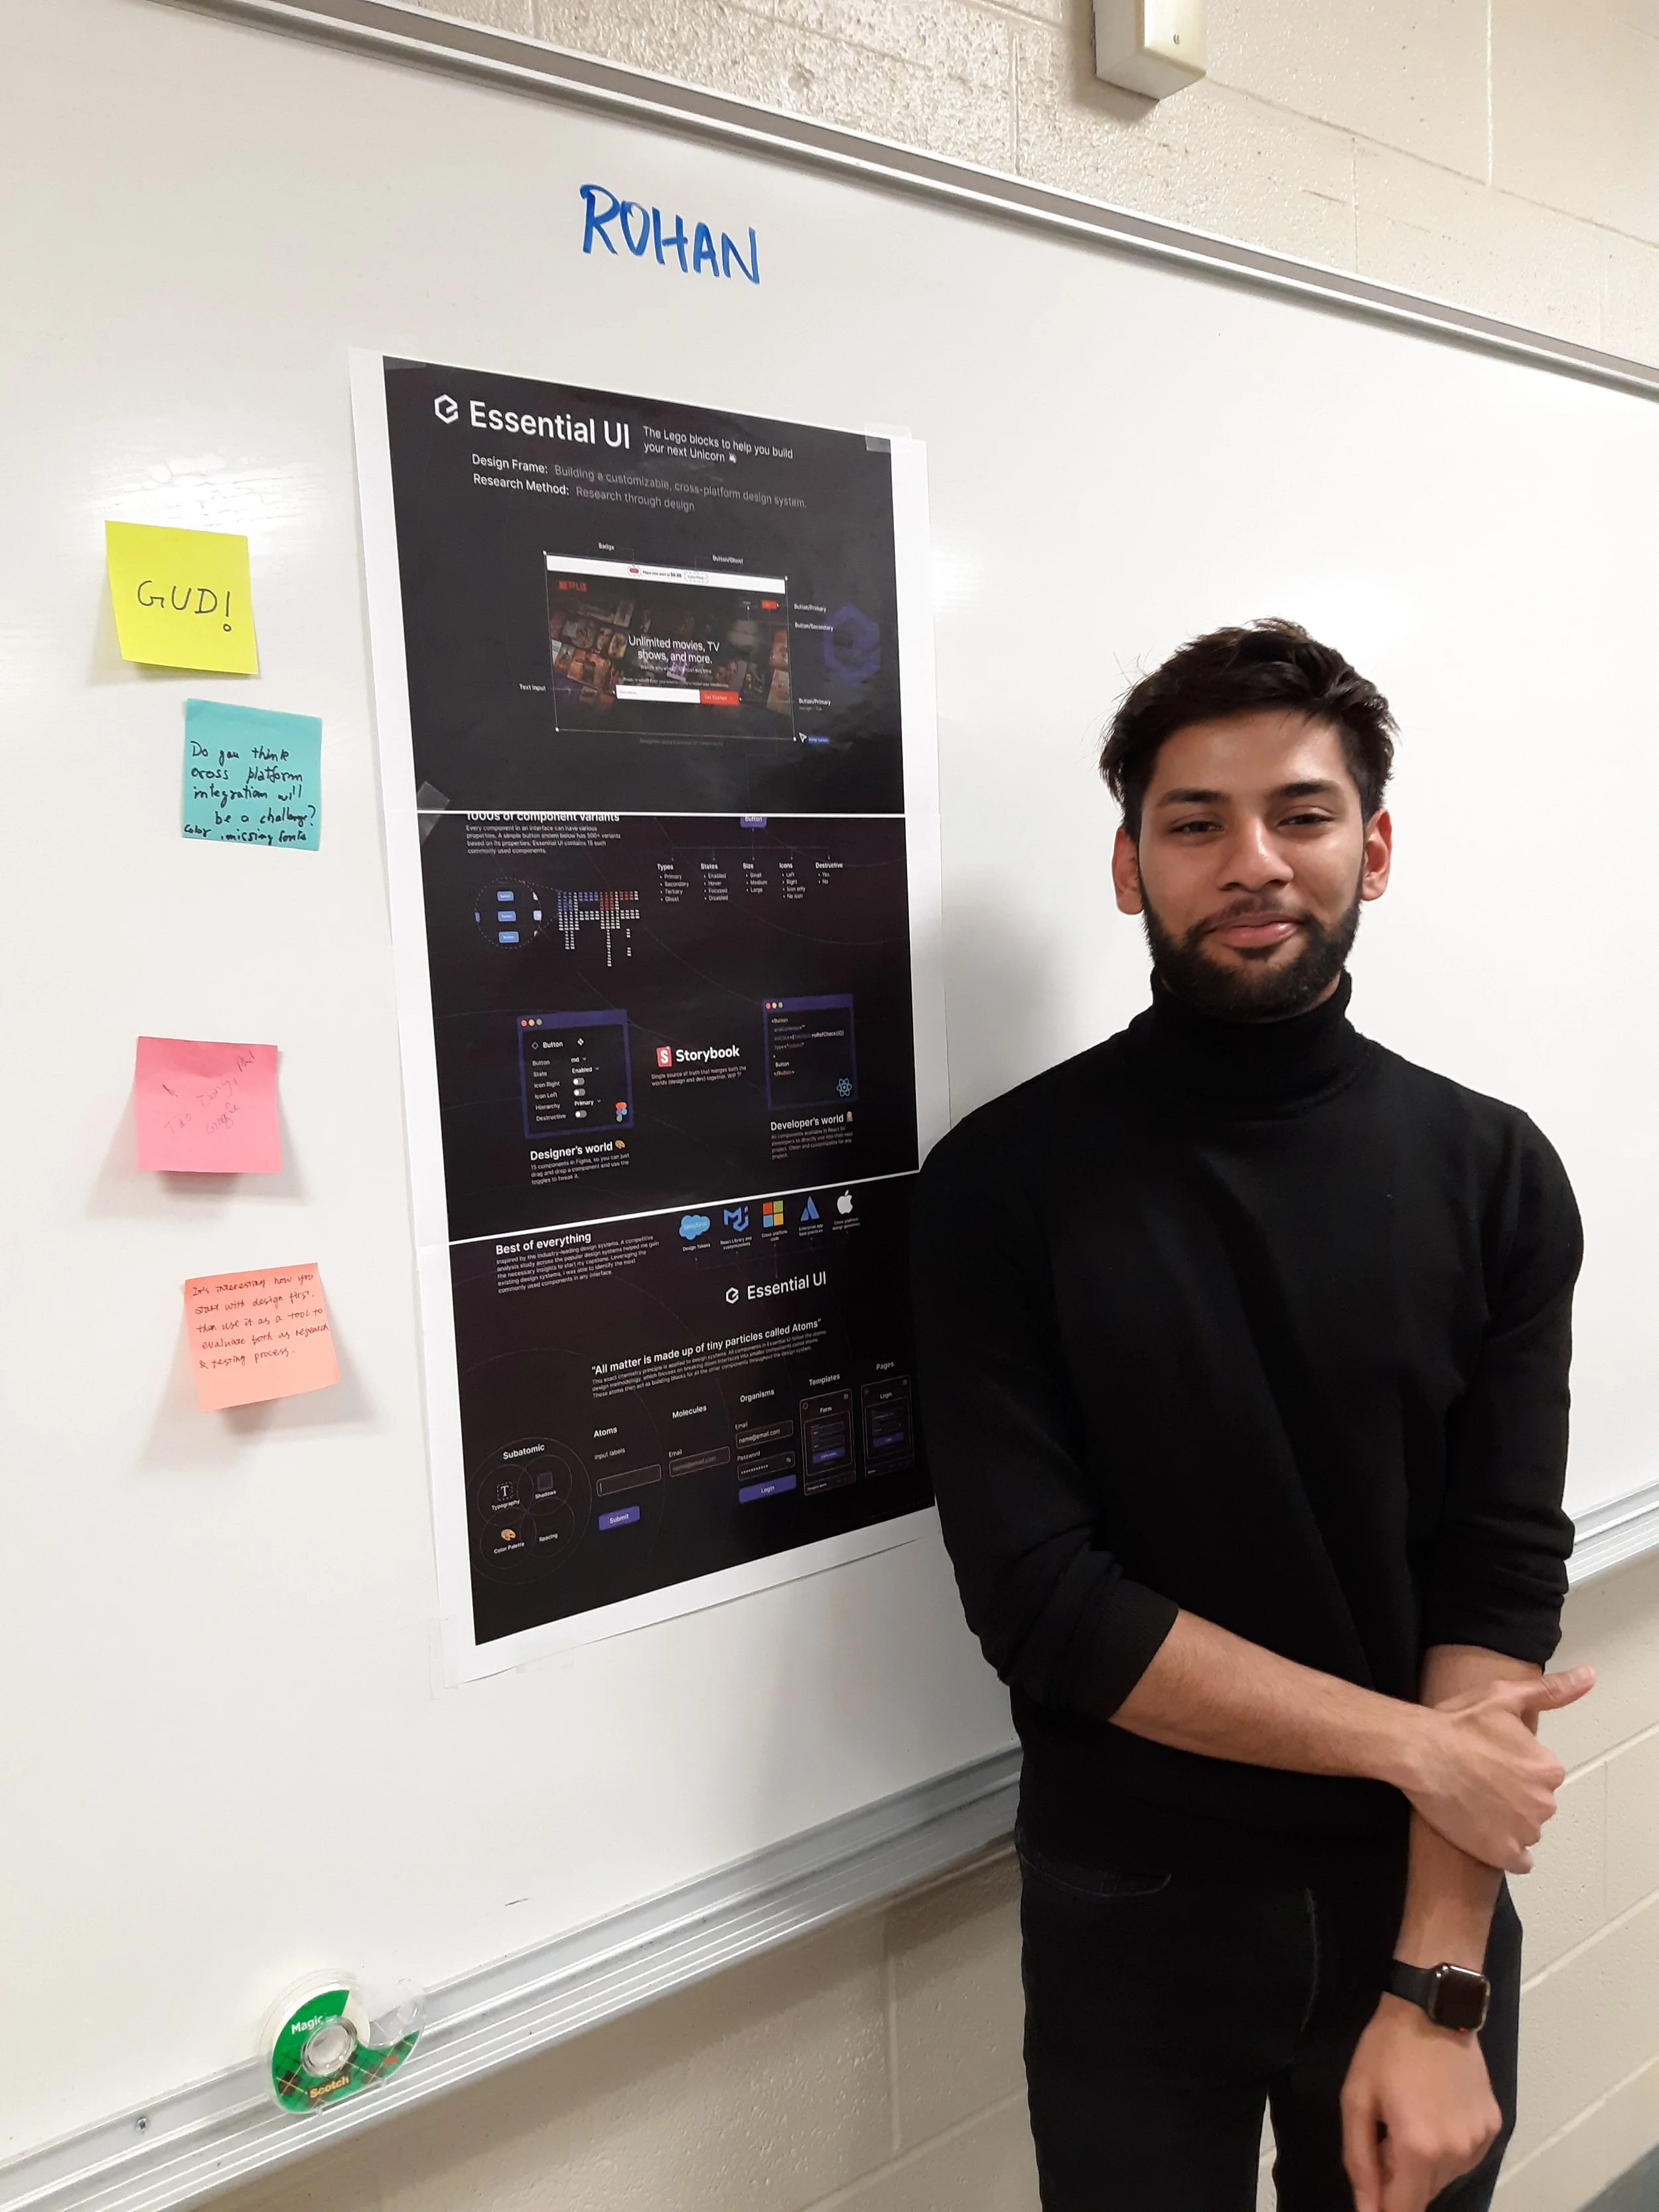
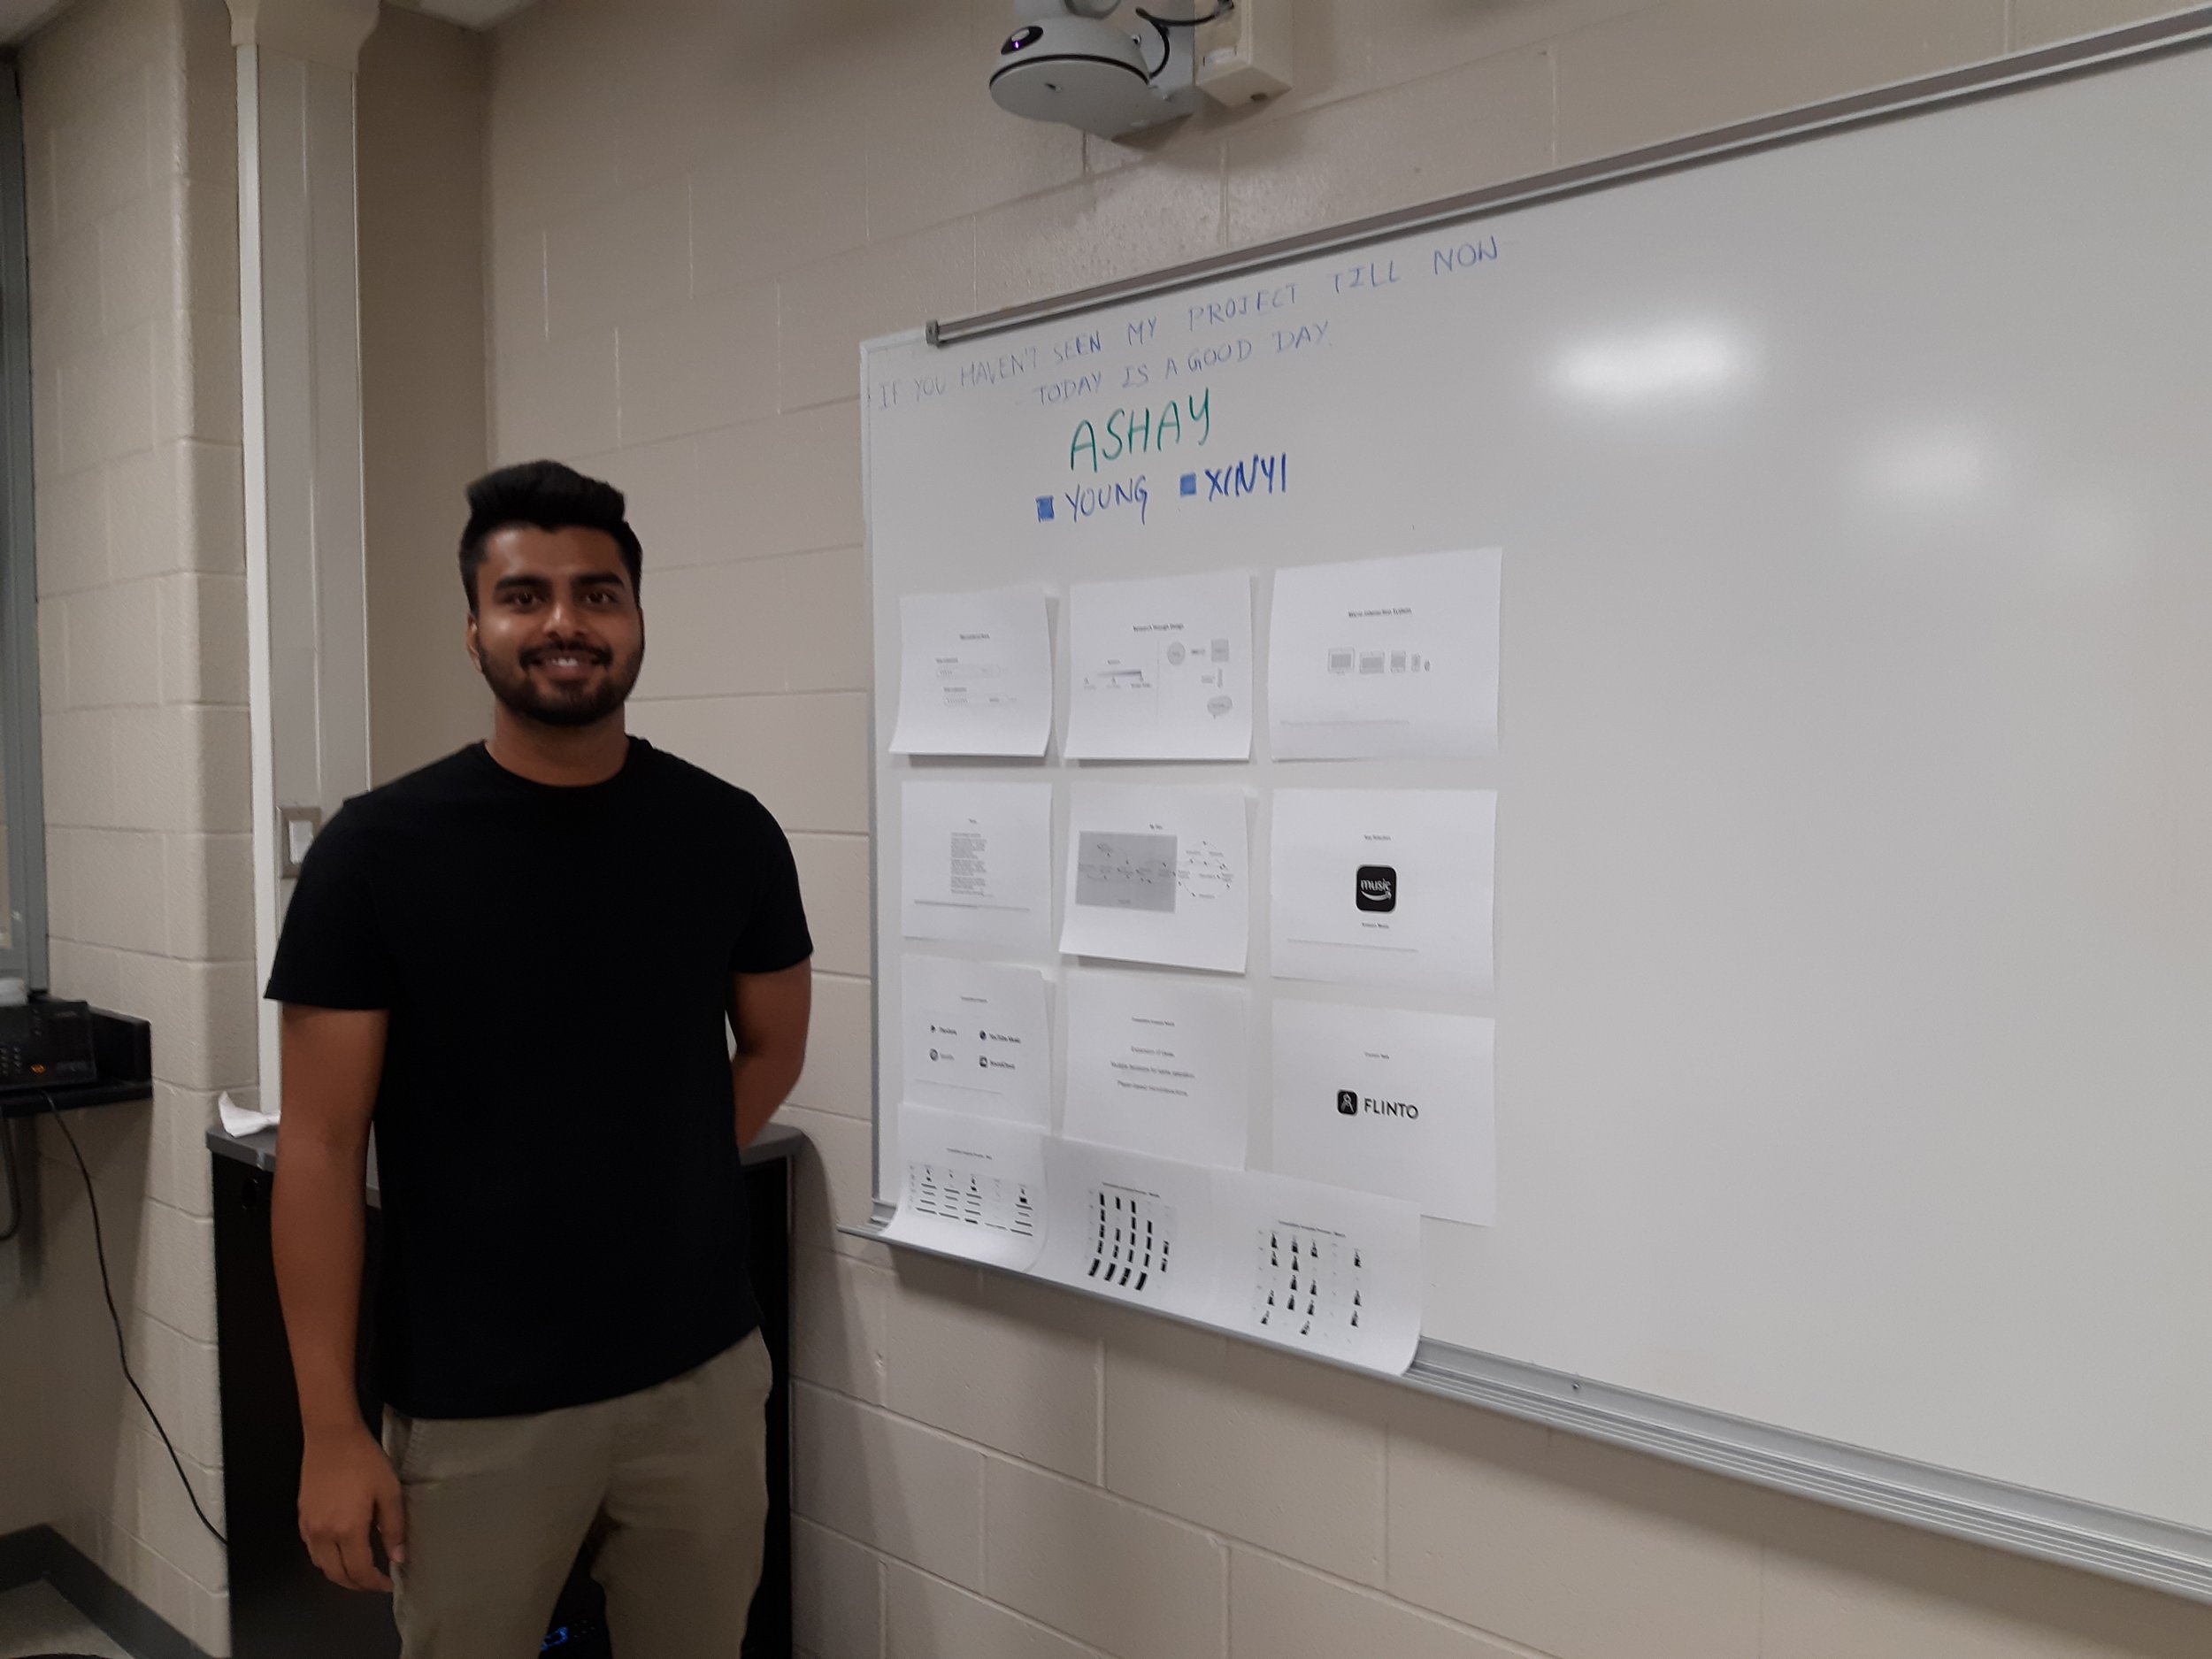
Research through design explorations to build UI design systems to support designerly tools for design practitioners, micro-interactions in everyday interfaces, and less-addictive technologies.
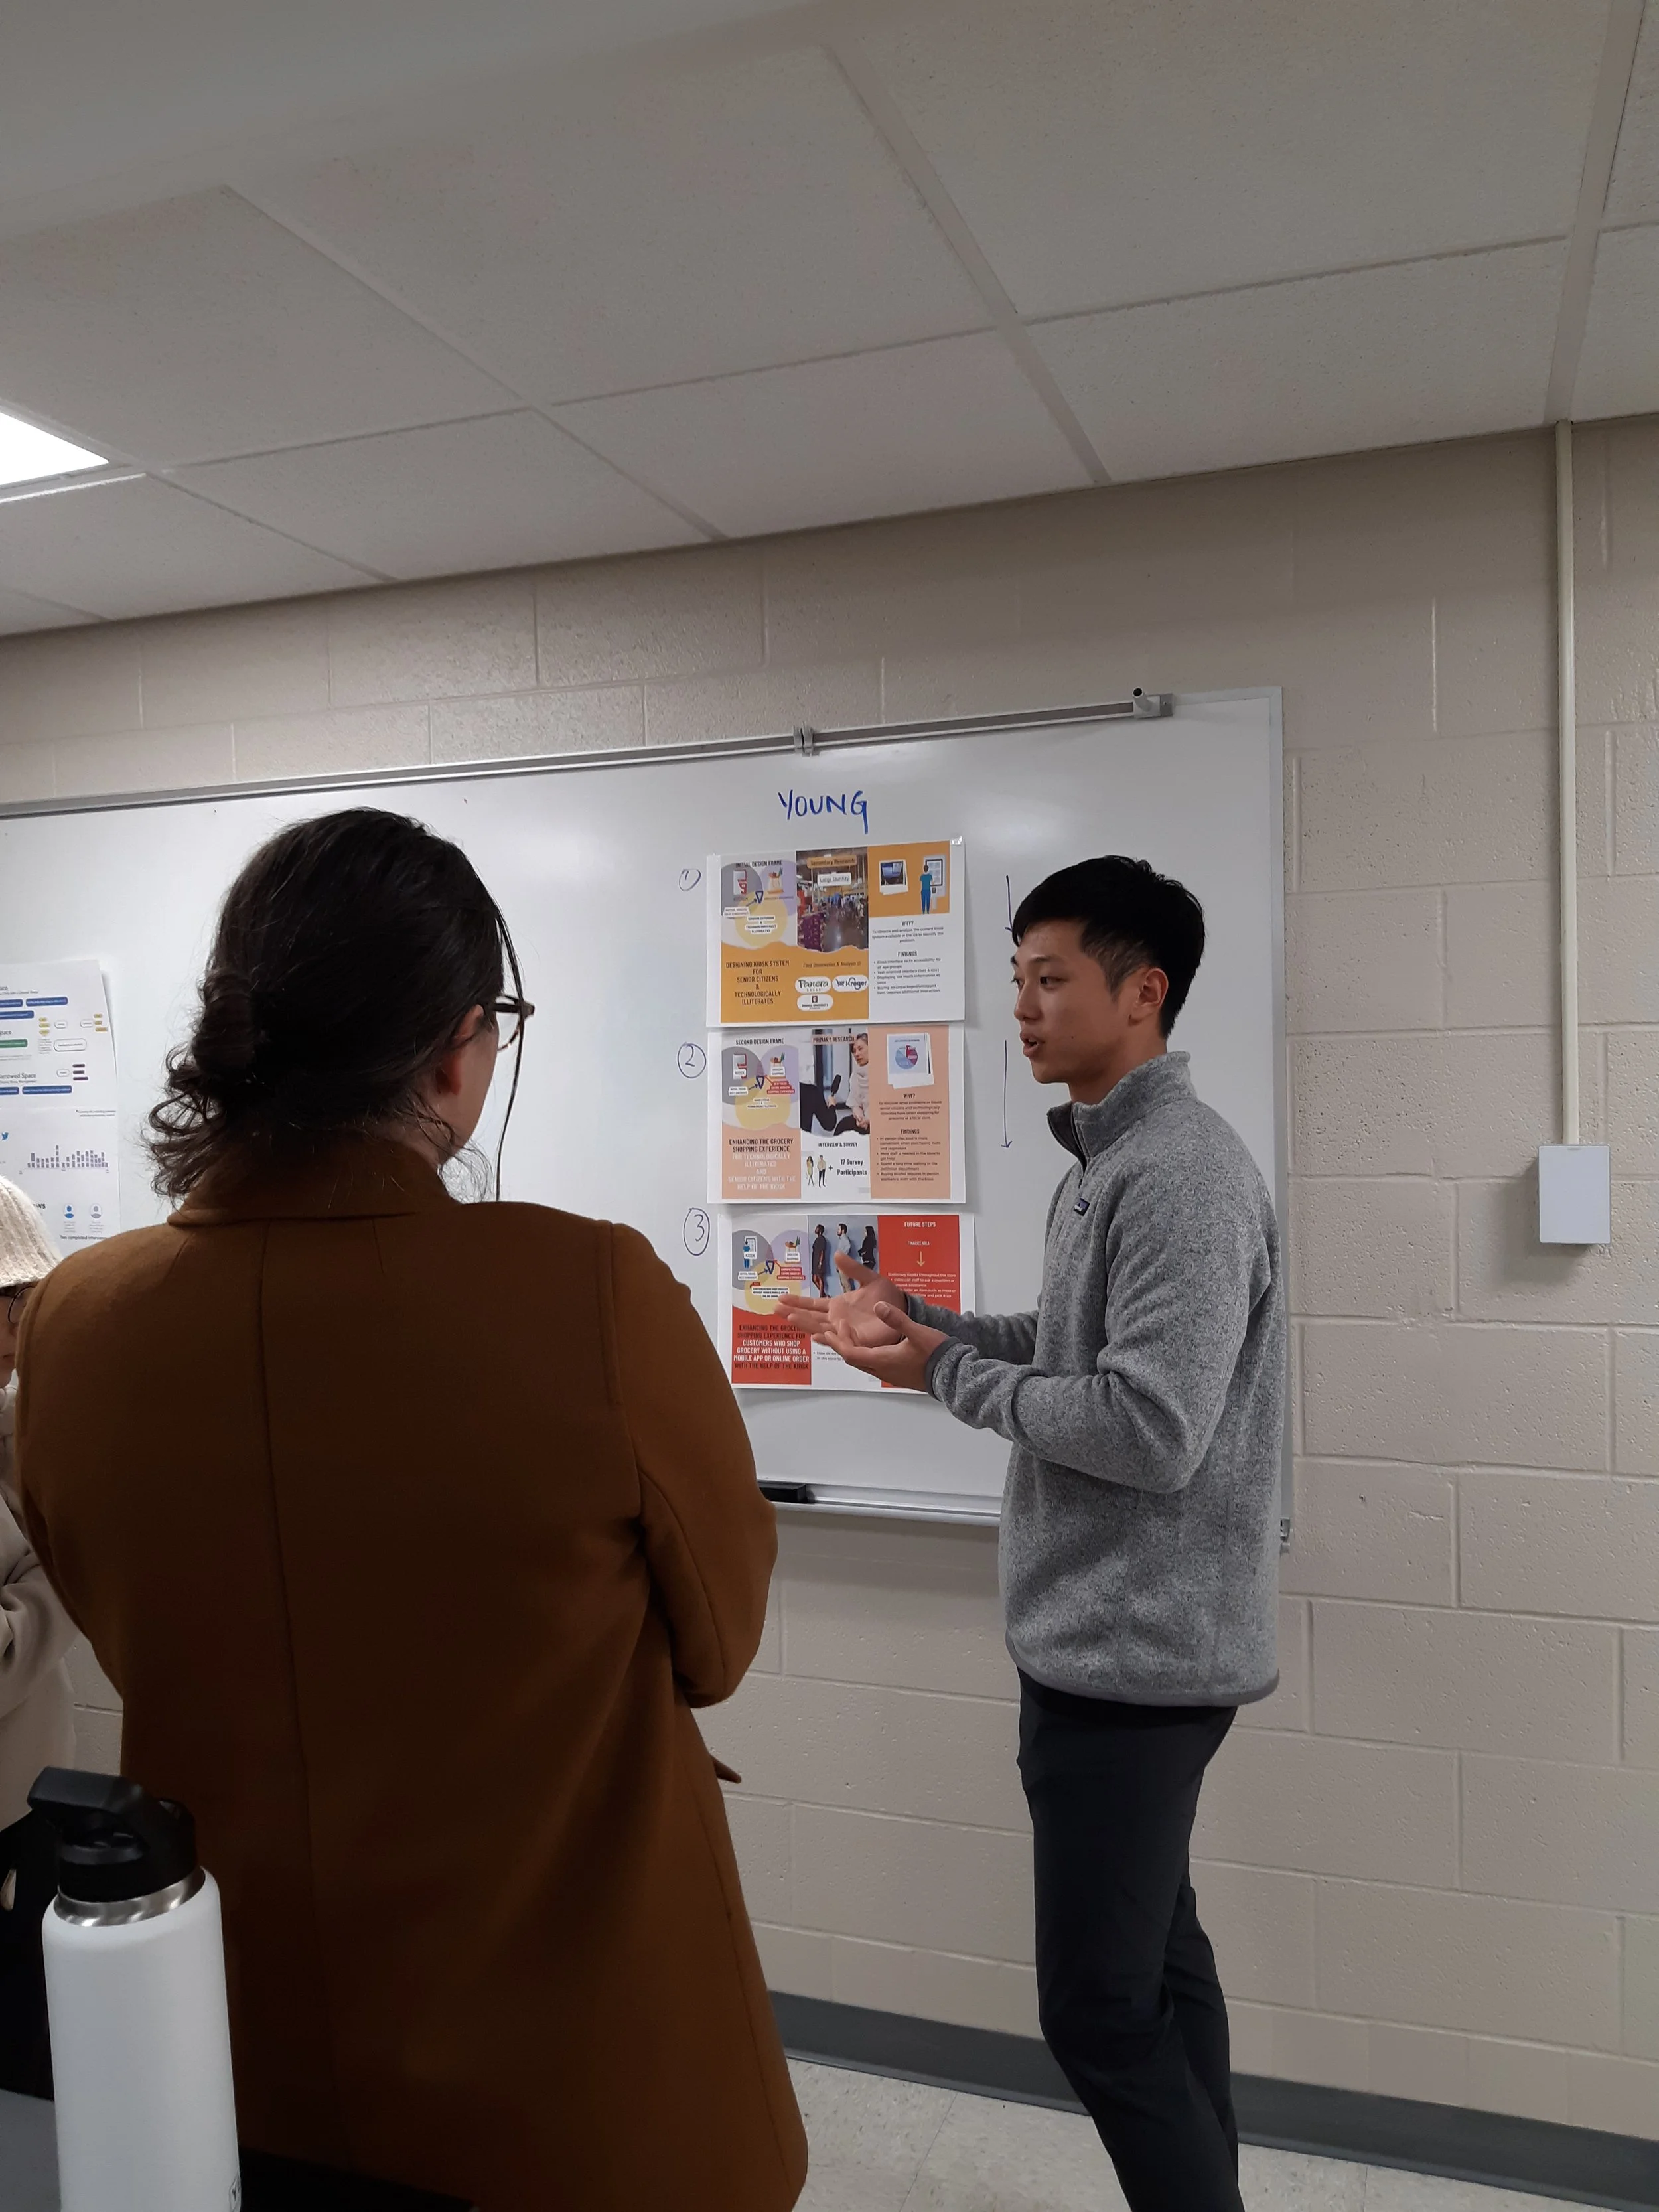
Beyond Mobile-device interactions such as designing kiosks for elderly population, space/museum experience design leveraged through HCI and digital interactions, and car UX to design interfaces for better driving experiences and maintenance.
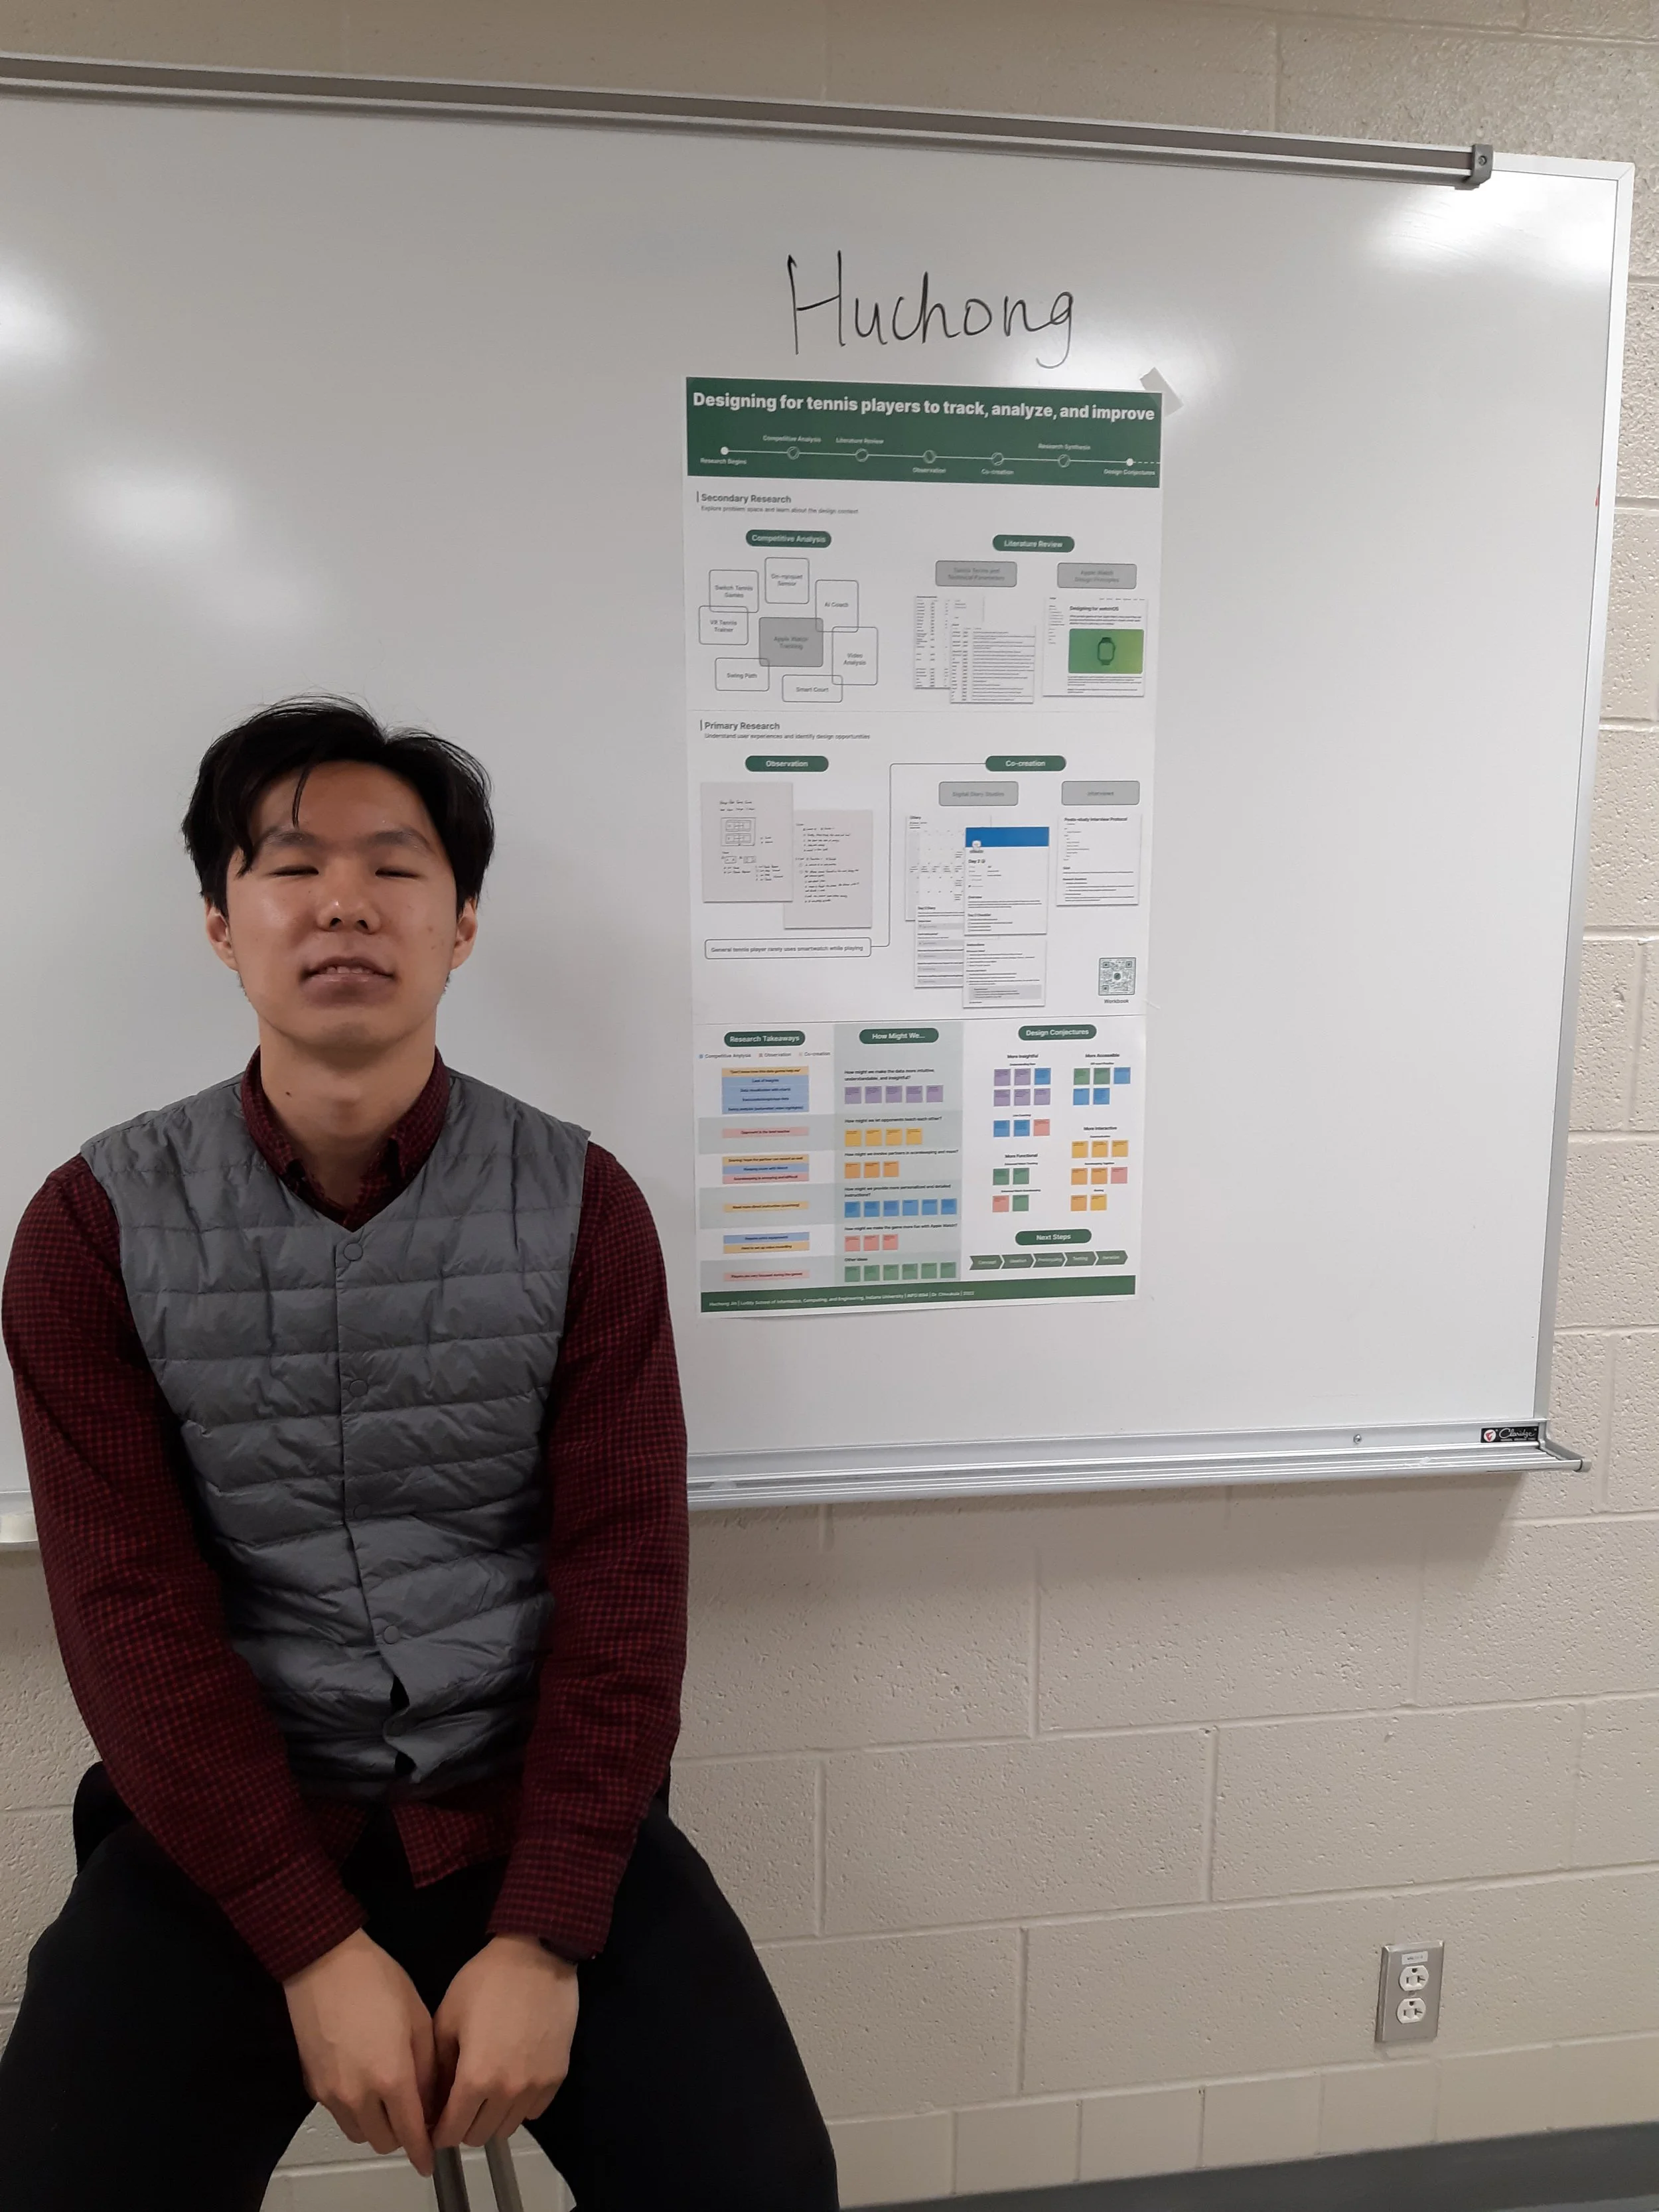
Next-gen tech interaction design such as VR for trauma therapy in health, multi-sensory interactions to connect emotions, memory and HCI, and wearable device cross channels for tennis players and everyday Sports HCI.
Industrial design explorations to build vibrotactile physical products to make sound tangible, communication building between elderly populations and their caregivers/family members.
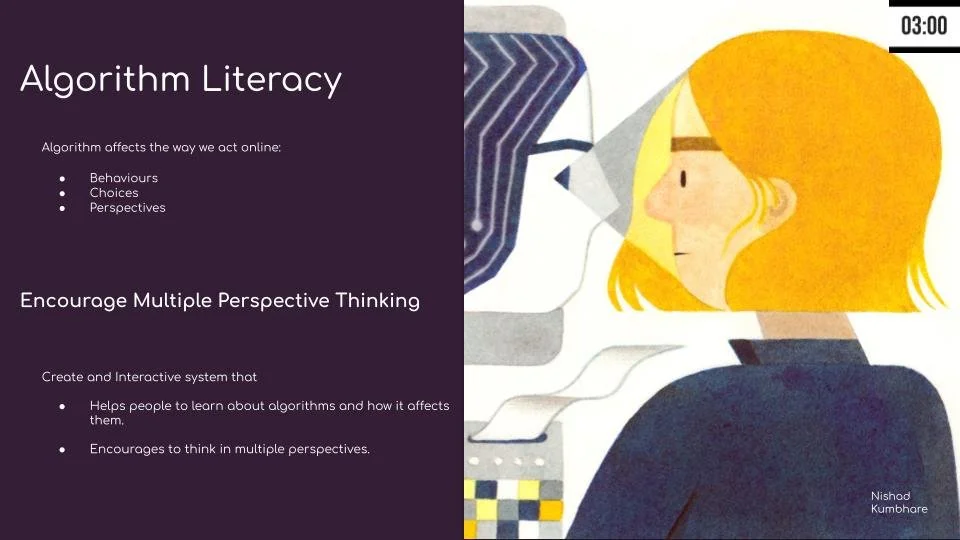
Designing toolkits and design systems to support designing for sex-tech, fraud/phishing prevention through daily tech, UI profiles and systems for sustainability, and algorithm literacy in teenagers.
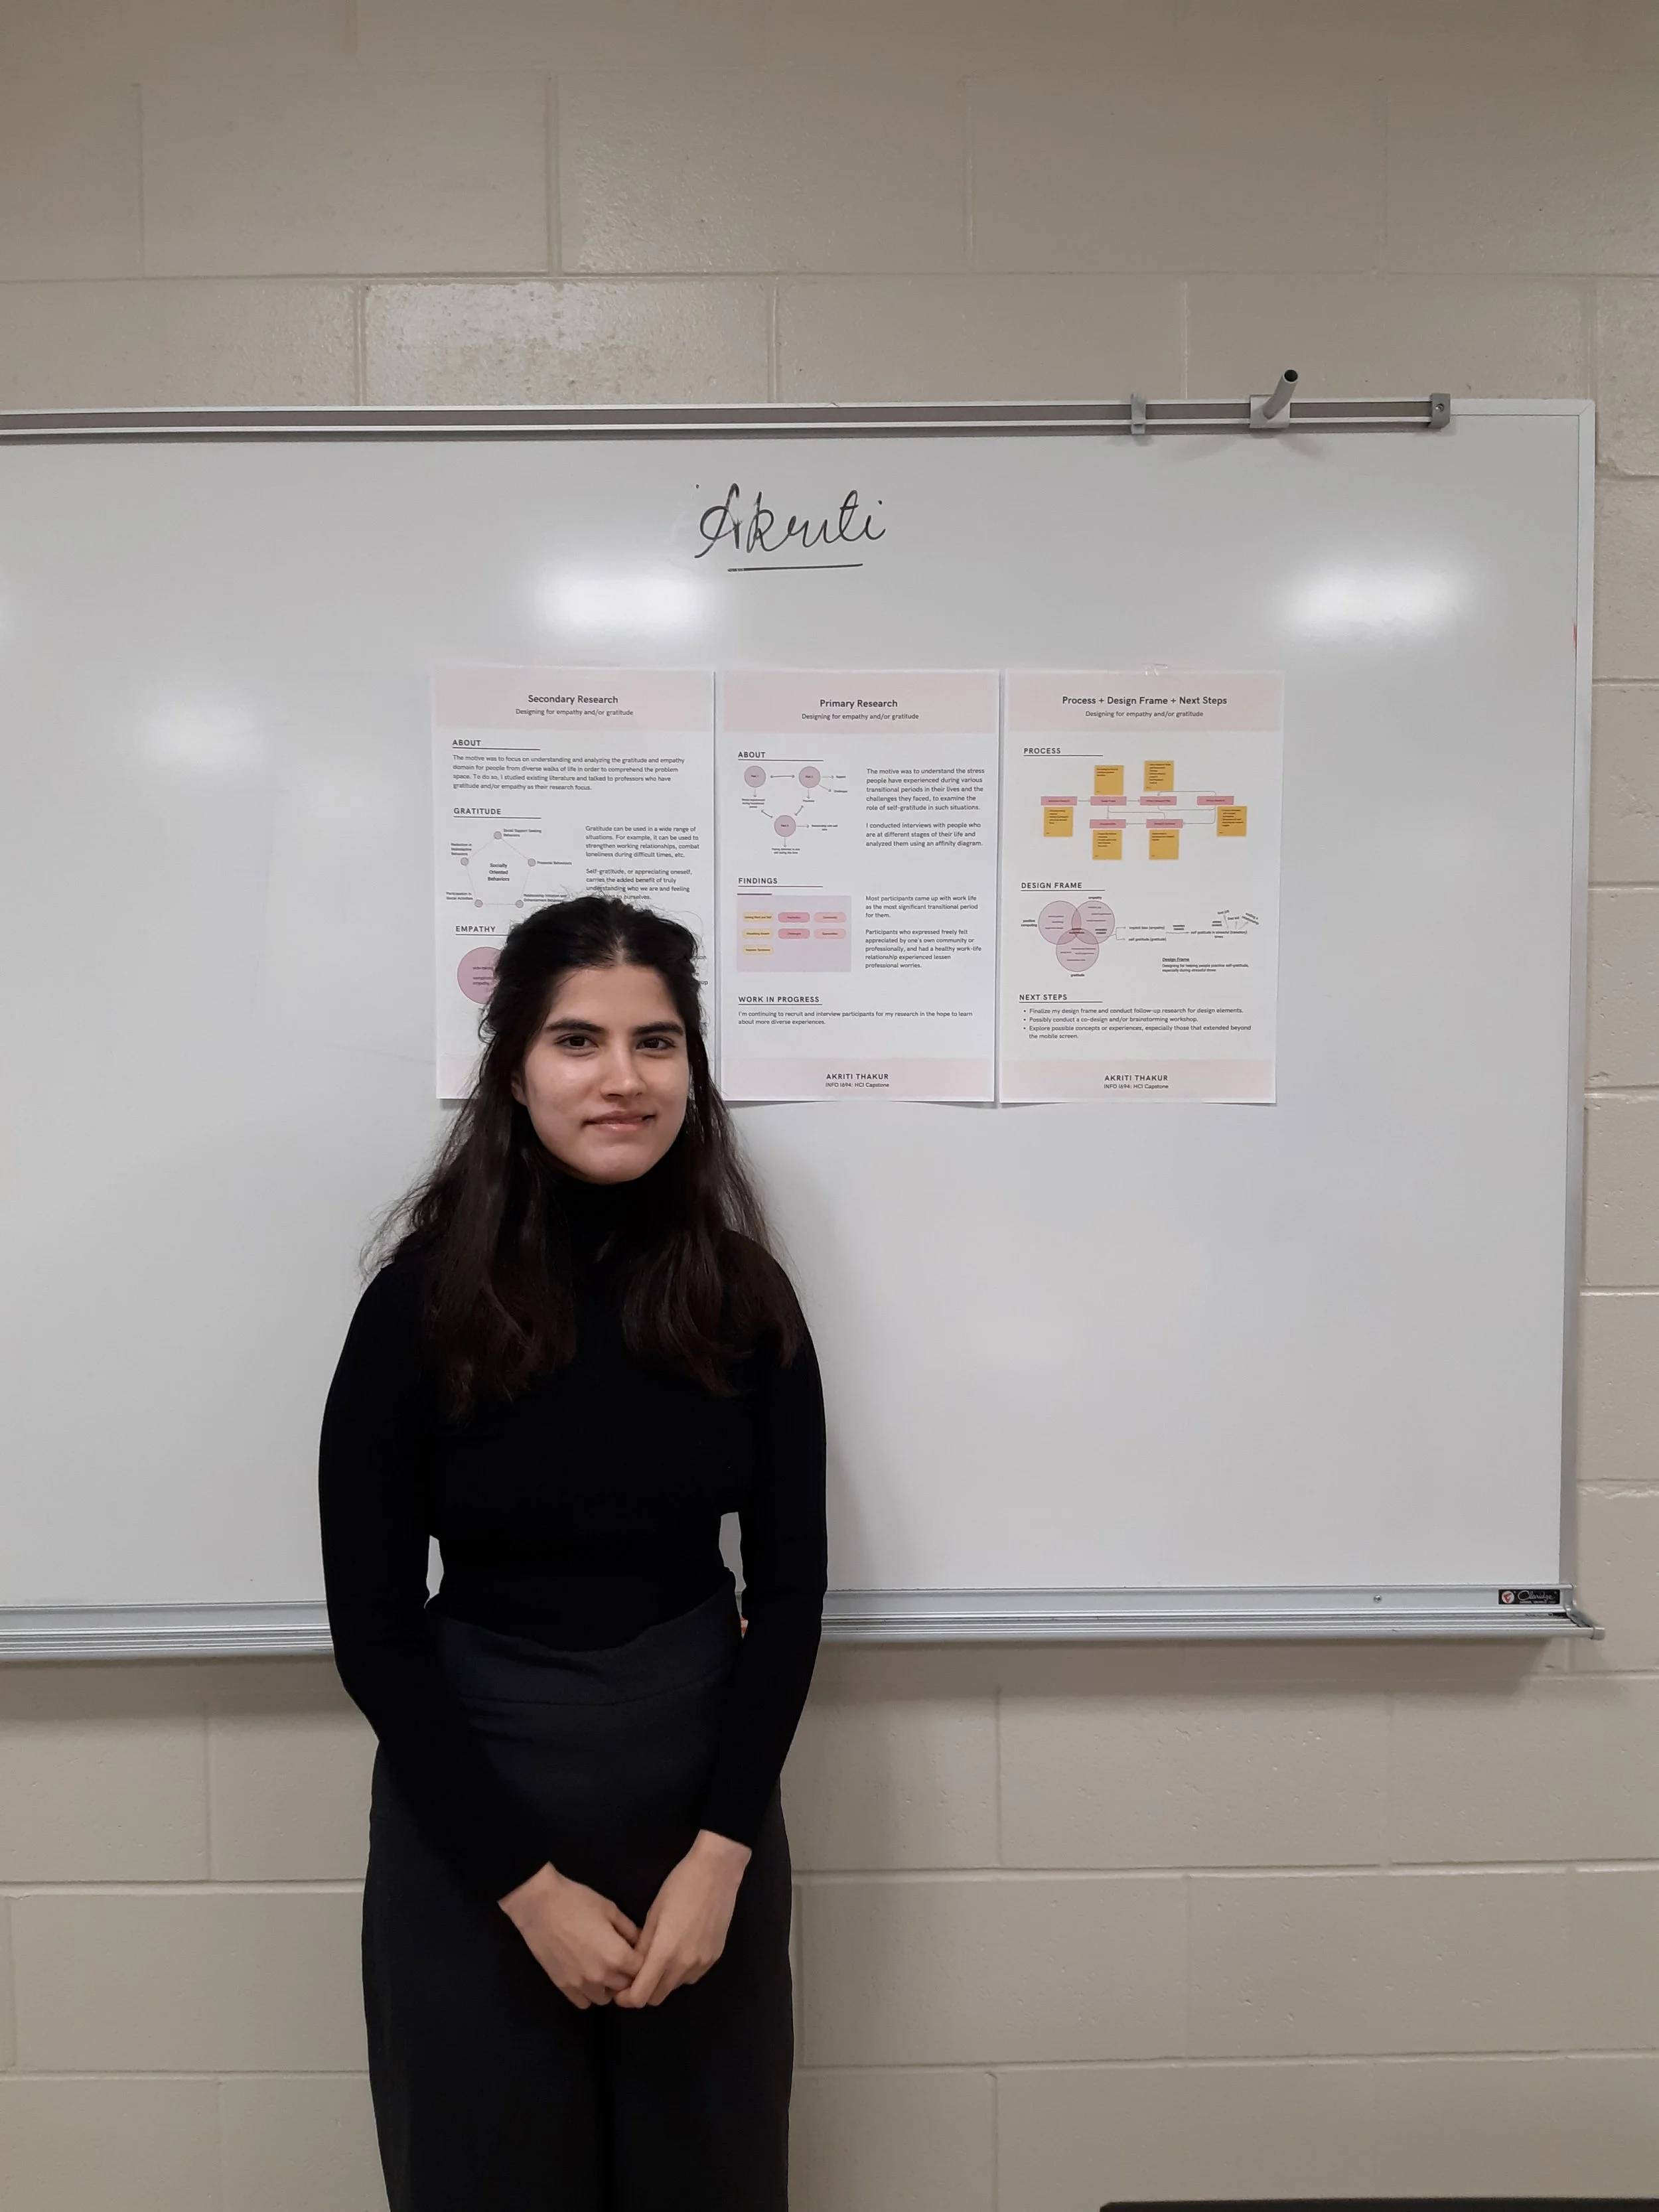
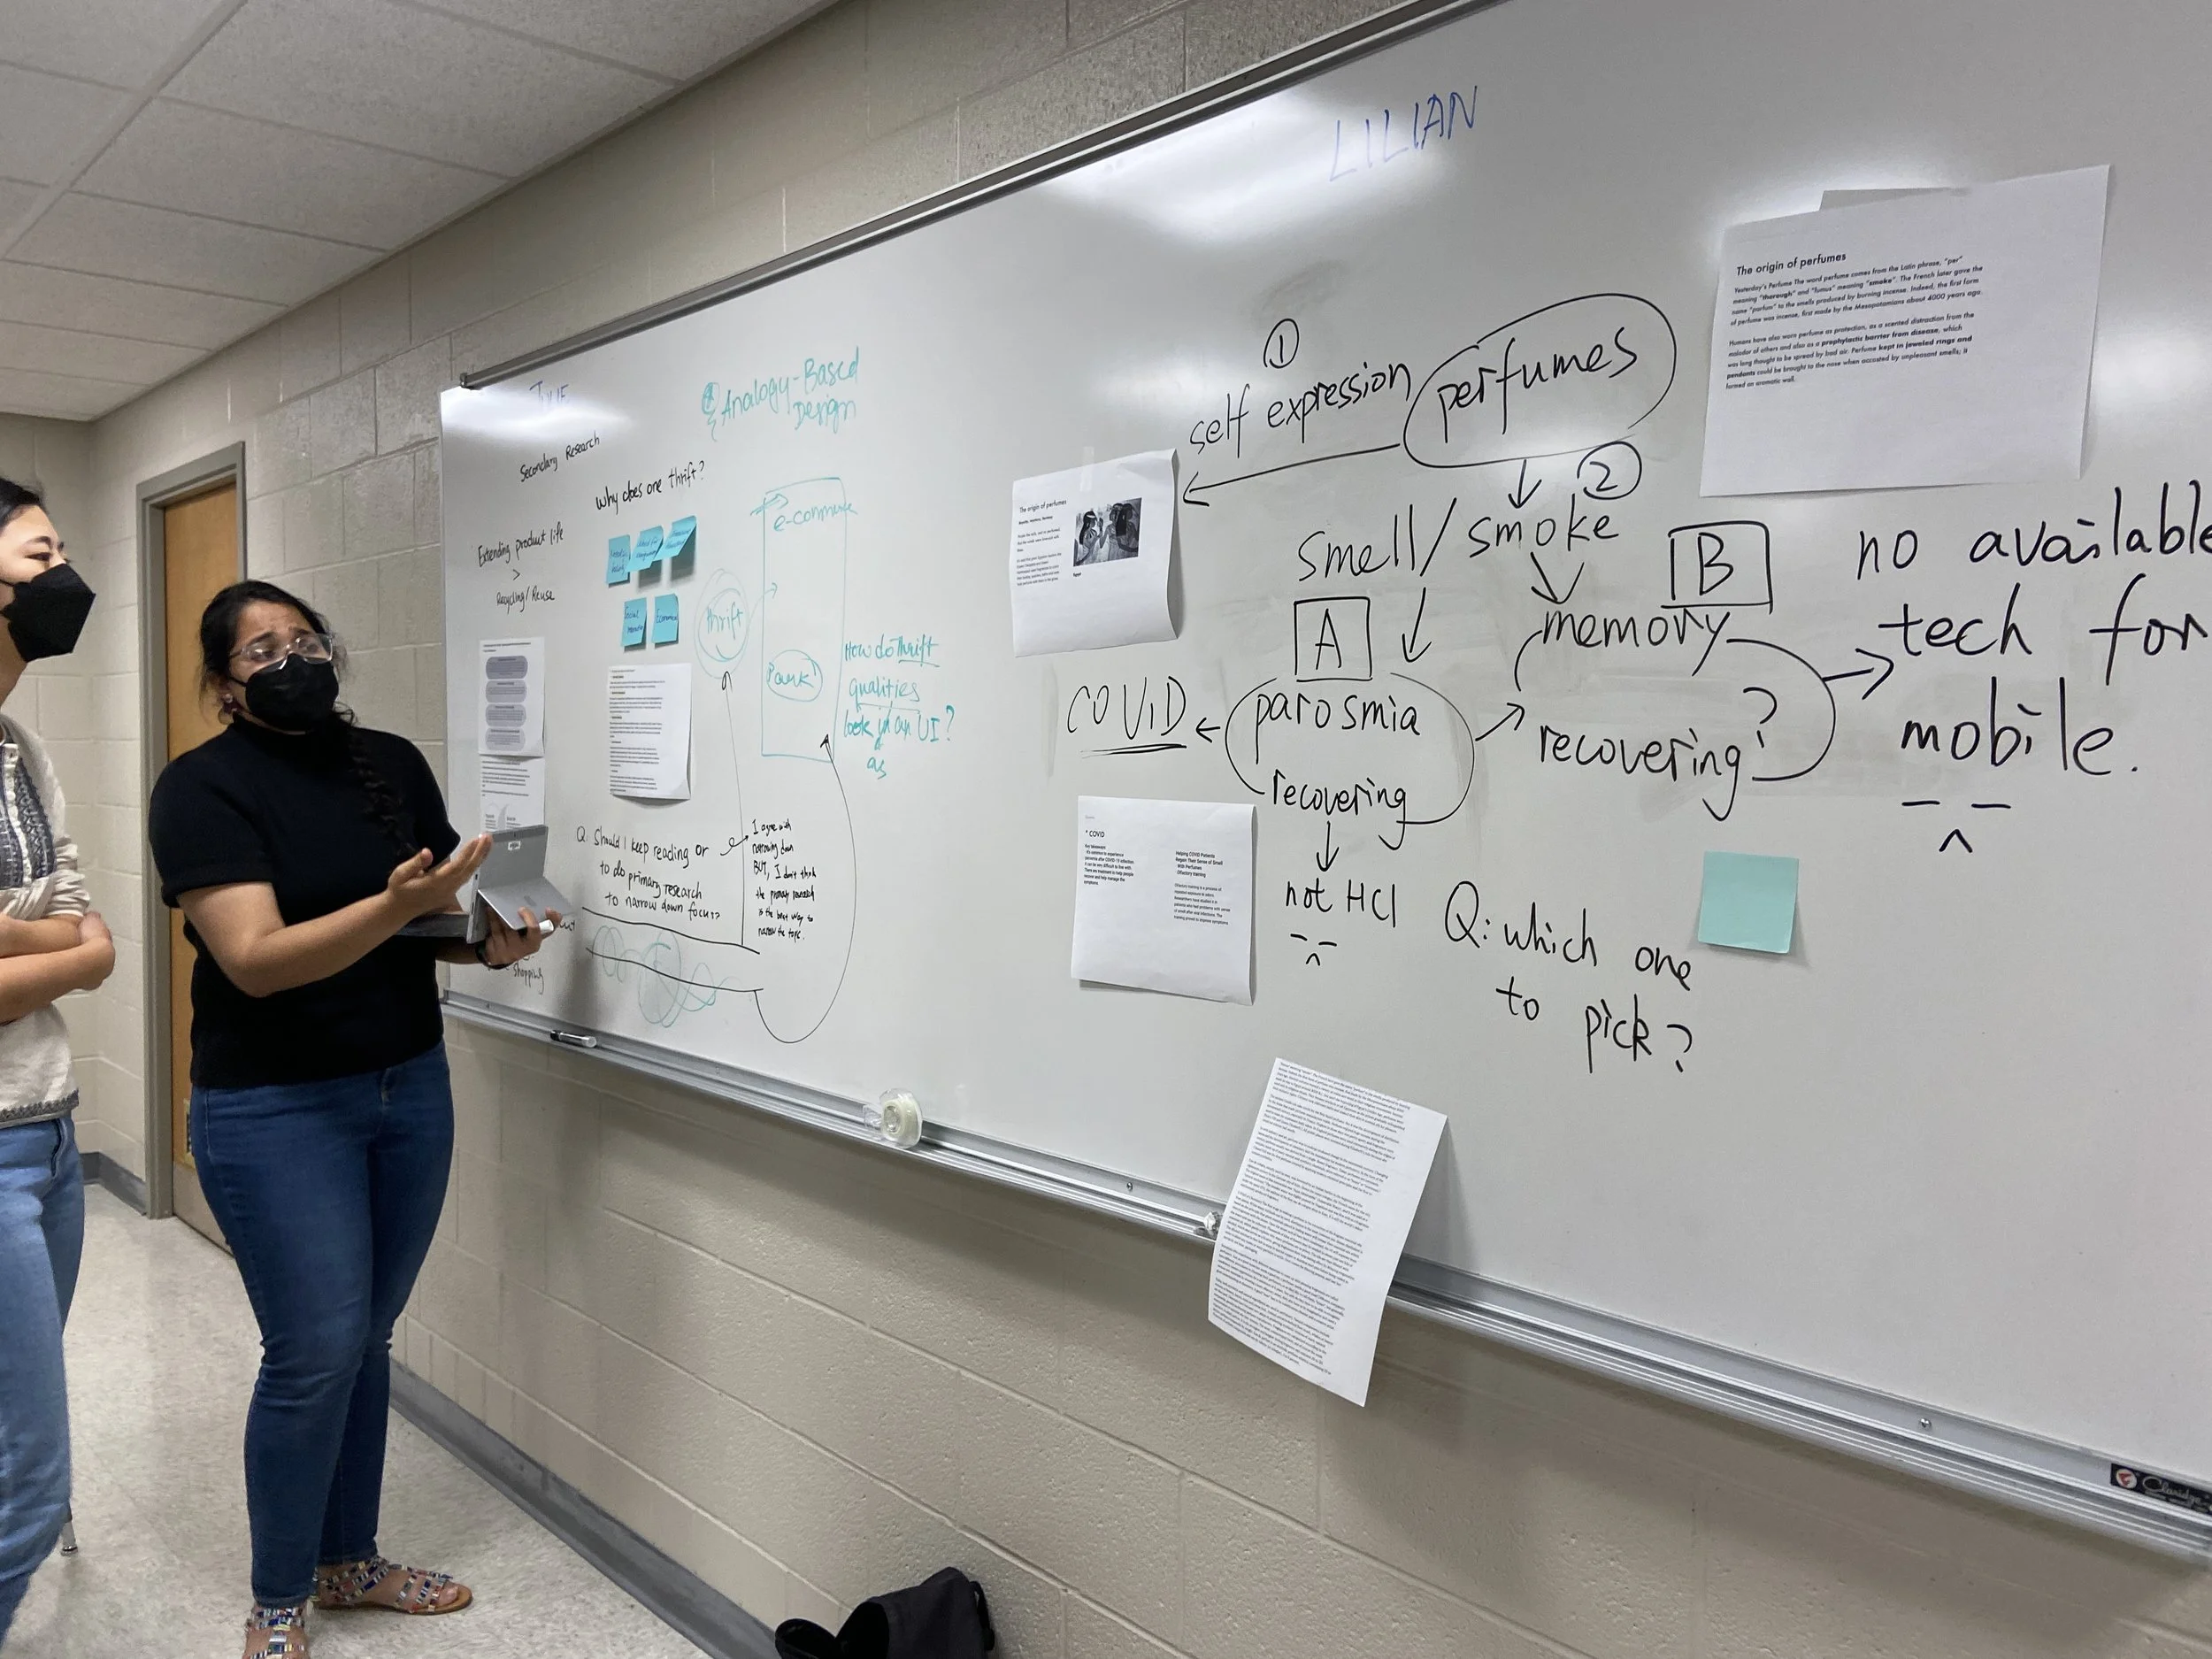
Analogy-based design to make current e-commerce interfaces more sustainable and filled with emotional attachments drawing from thrifting experiences, and speculative design explorations to design for gratitude and empathy through HCI.
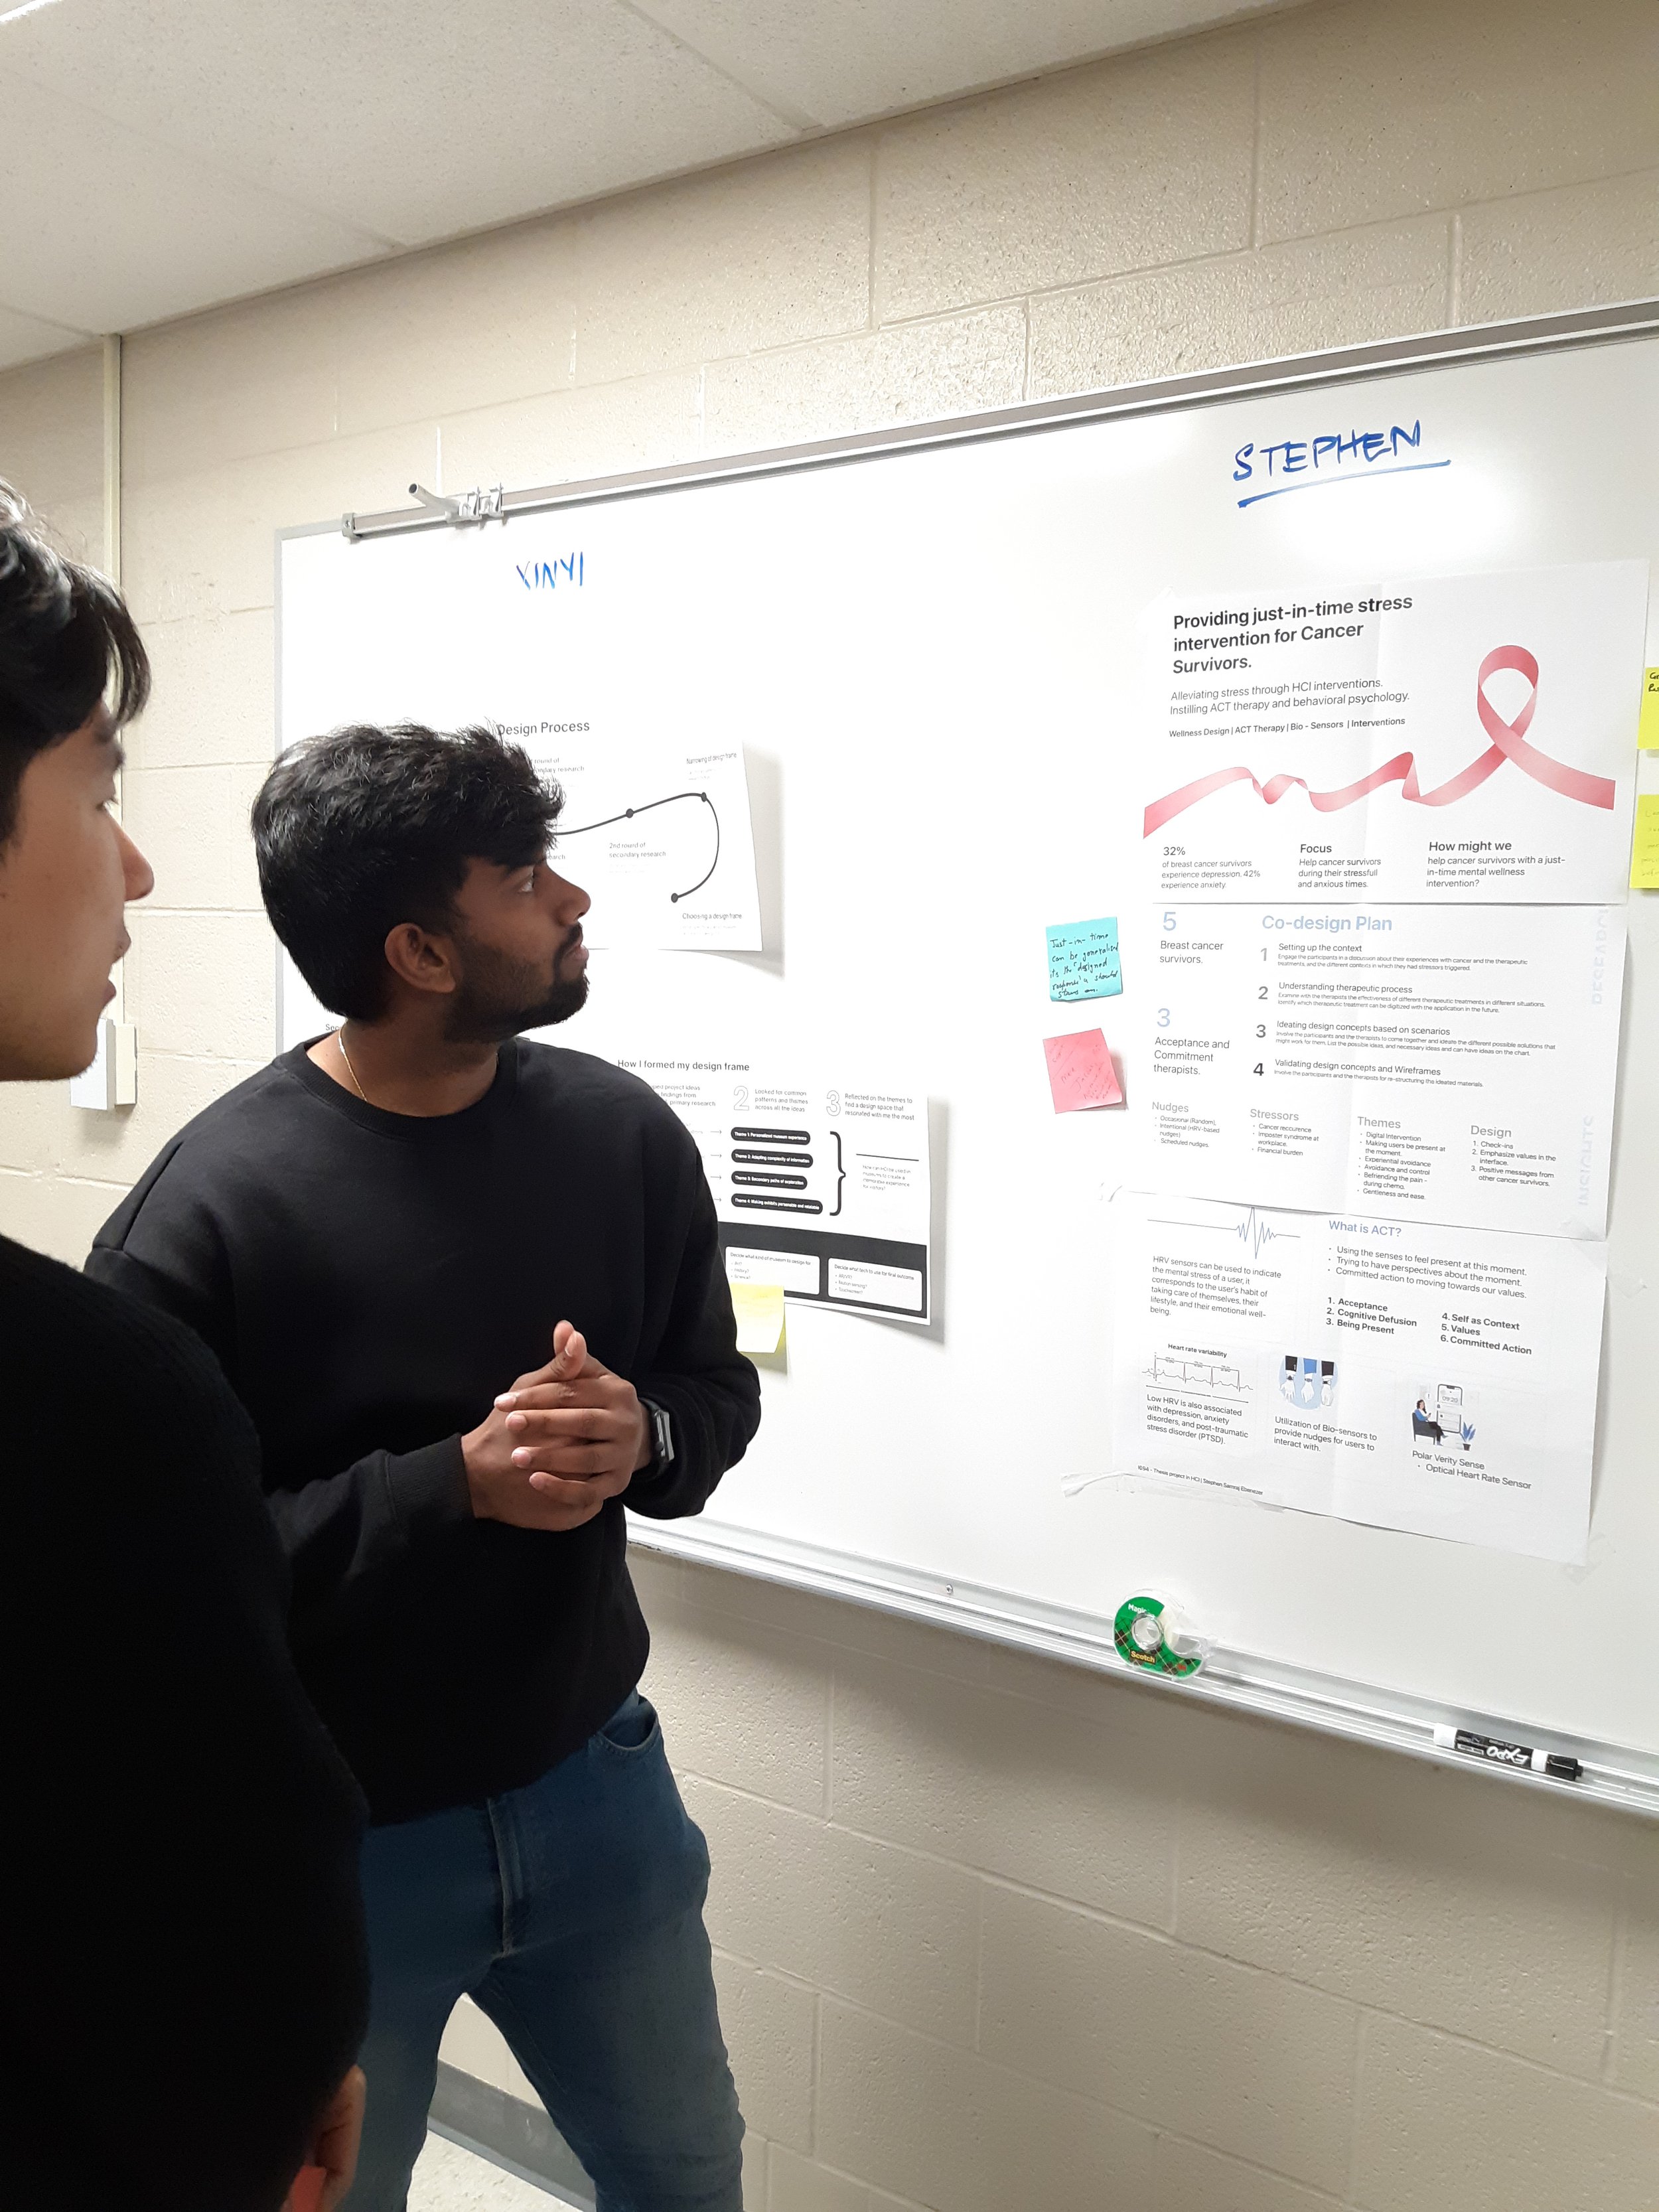
Academic Research efforts to experiment efficiency of UI designs in VR setups through design and evaluation, and helping build solutions for breast cancer patients through co-design methodology.
Many topics and domains, different user-groups, various methodologies, a range of values, and all the learning that it brings with it!
Guest Lecture : Jenny El-Shamy
Writer of this section: Ariel Wang.
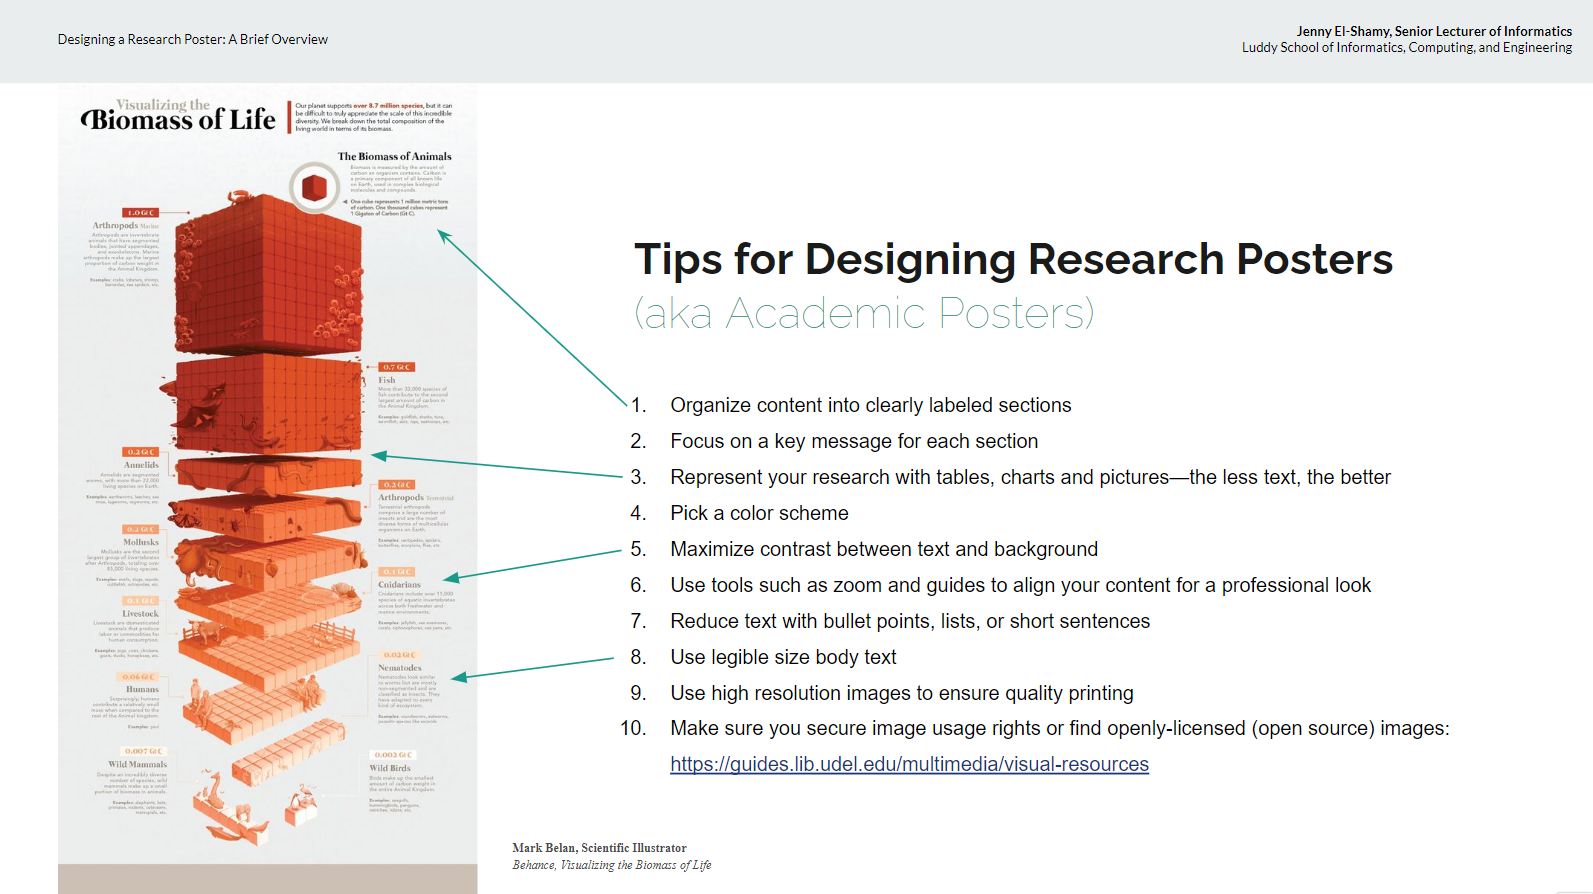
Week 5 started with an invited talk from Jenny El-Shamy, Senior Lecturer of Informatics, about designing a HCI/d research poster; aligning with the research-focused outputs a lot of students might produce by the end of the Fall Semester.
Designing a poster that demonstrates our design or research is as important as our project, since it facilitates the communication of our project with our audience. It is also direct evidence that we are great designers.
Quick suggestions shared by Jenny:
First of all, the most important thing is to know what you want to include on your poster.
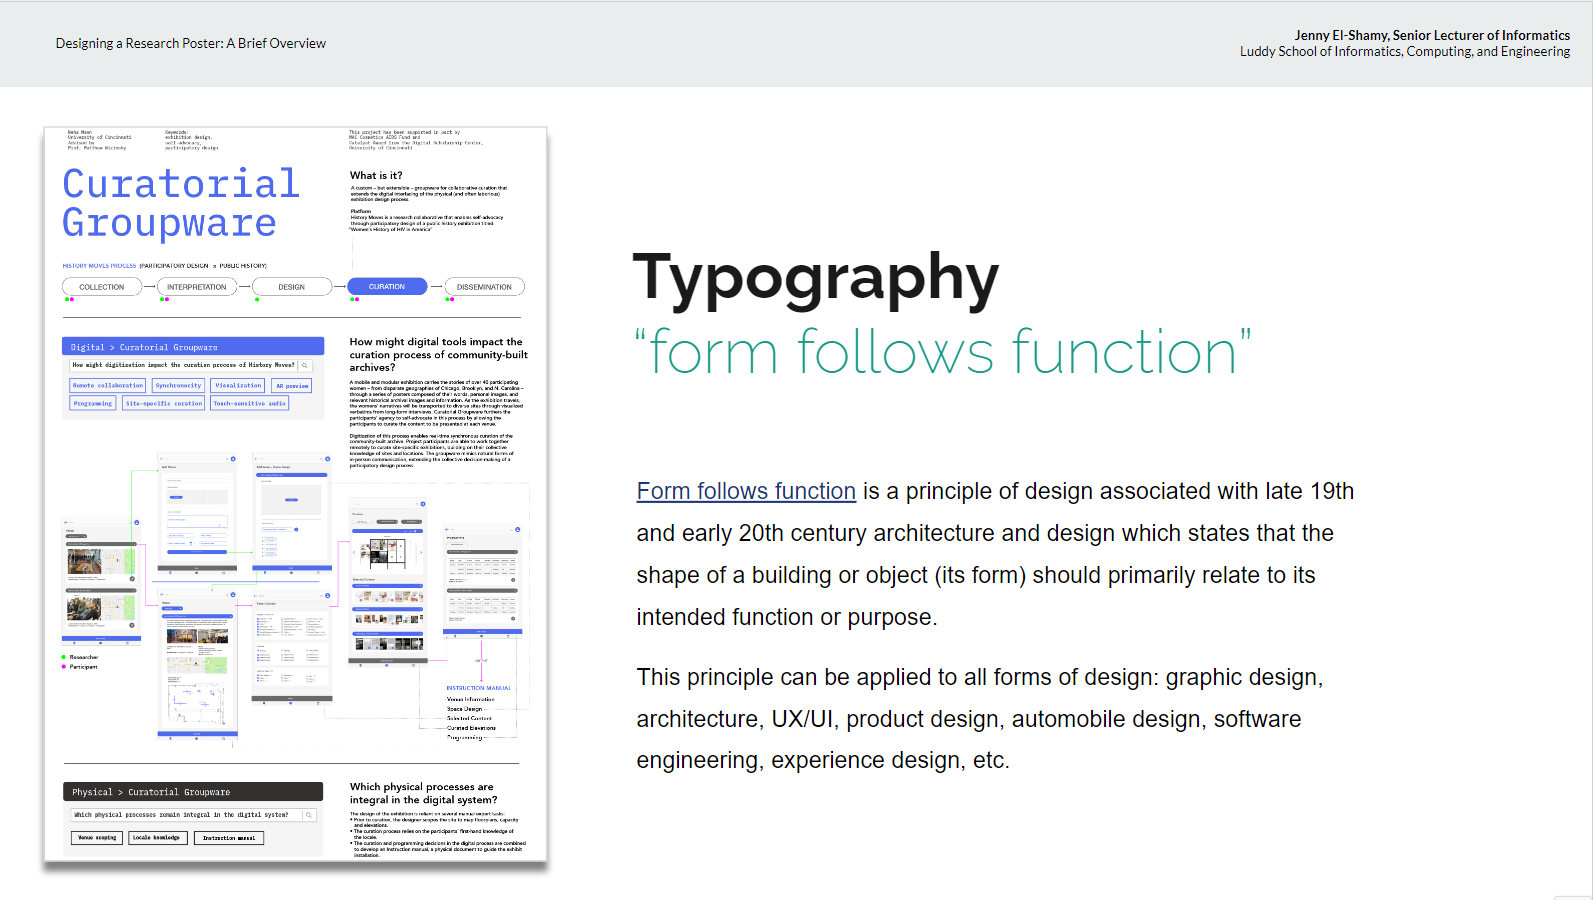
Then, we should note that the flow in which the average viewer would read your poster is important. It is because people will not look into the poster as closely upon seeing it, and would rely on the “guide” (either visually or info-graphically) you give them to go through a great experience of learning about your work.
Additionally, we should also take into account what people’s habits of consuming information are. For example, English speakers would start from the top left corner of a document.
Also, use visual elements as a hook for your poster. You can also deliberately change the way people comprehend your project by adding highlighted elements to your design, for example, adding a relevant image in the middle that manifests your key ideas!
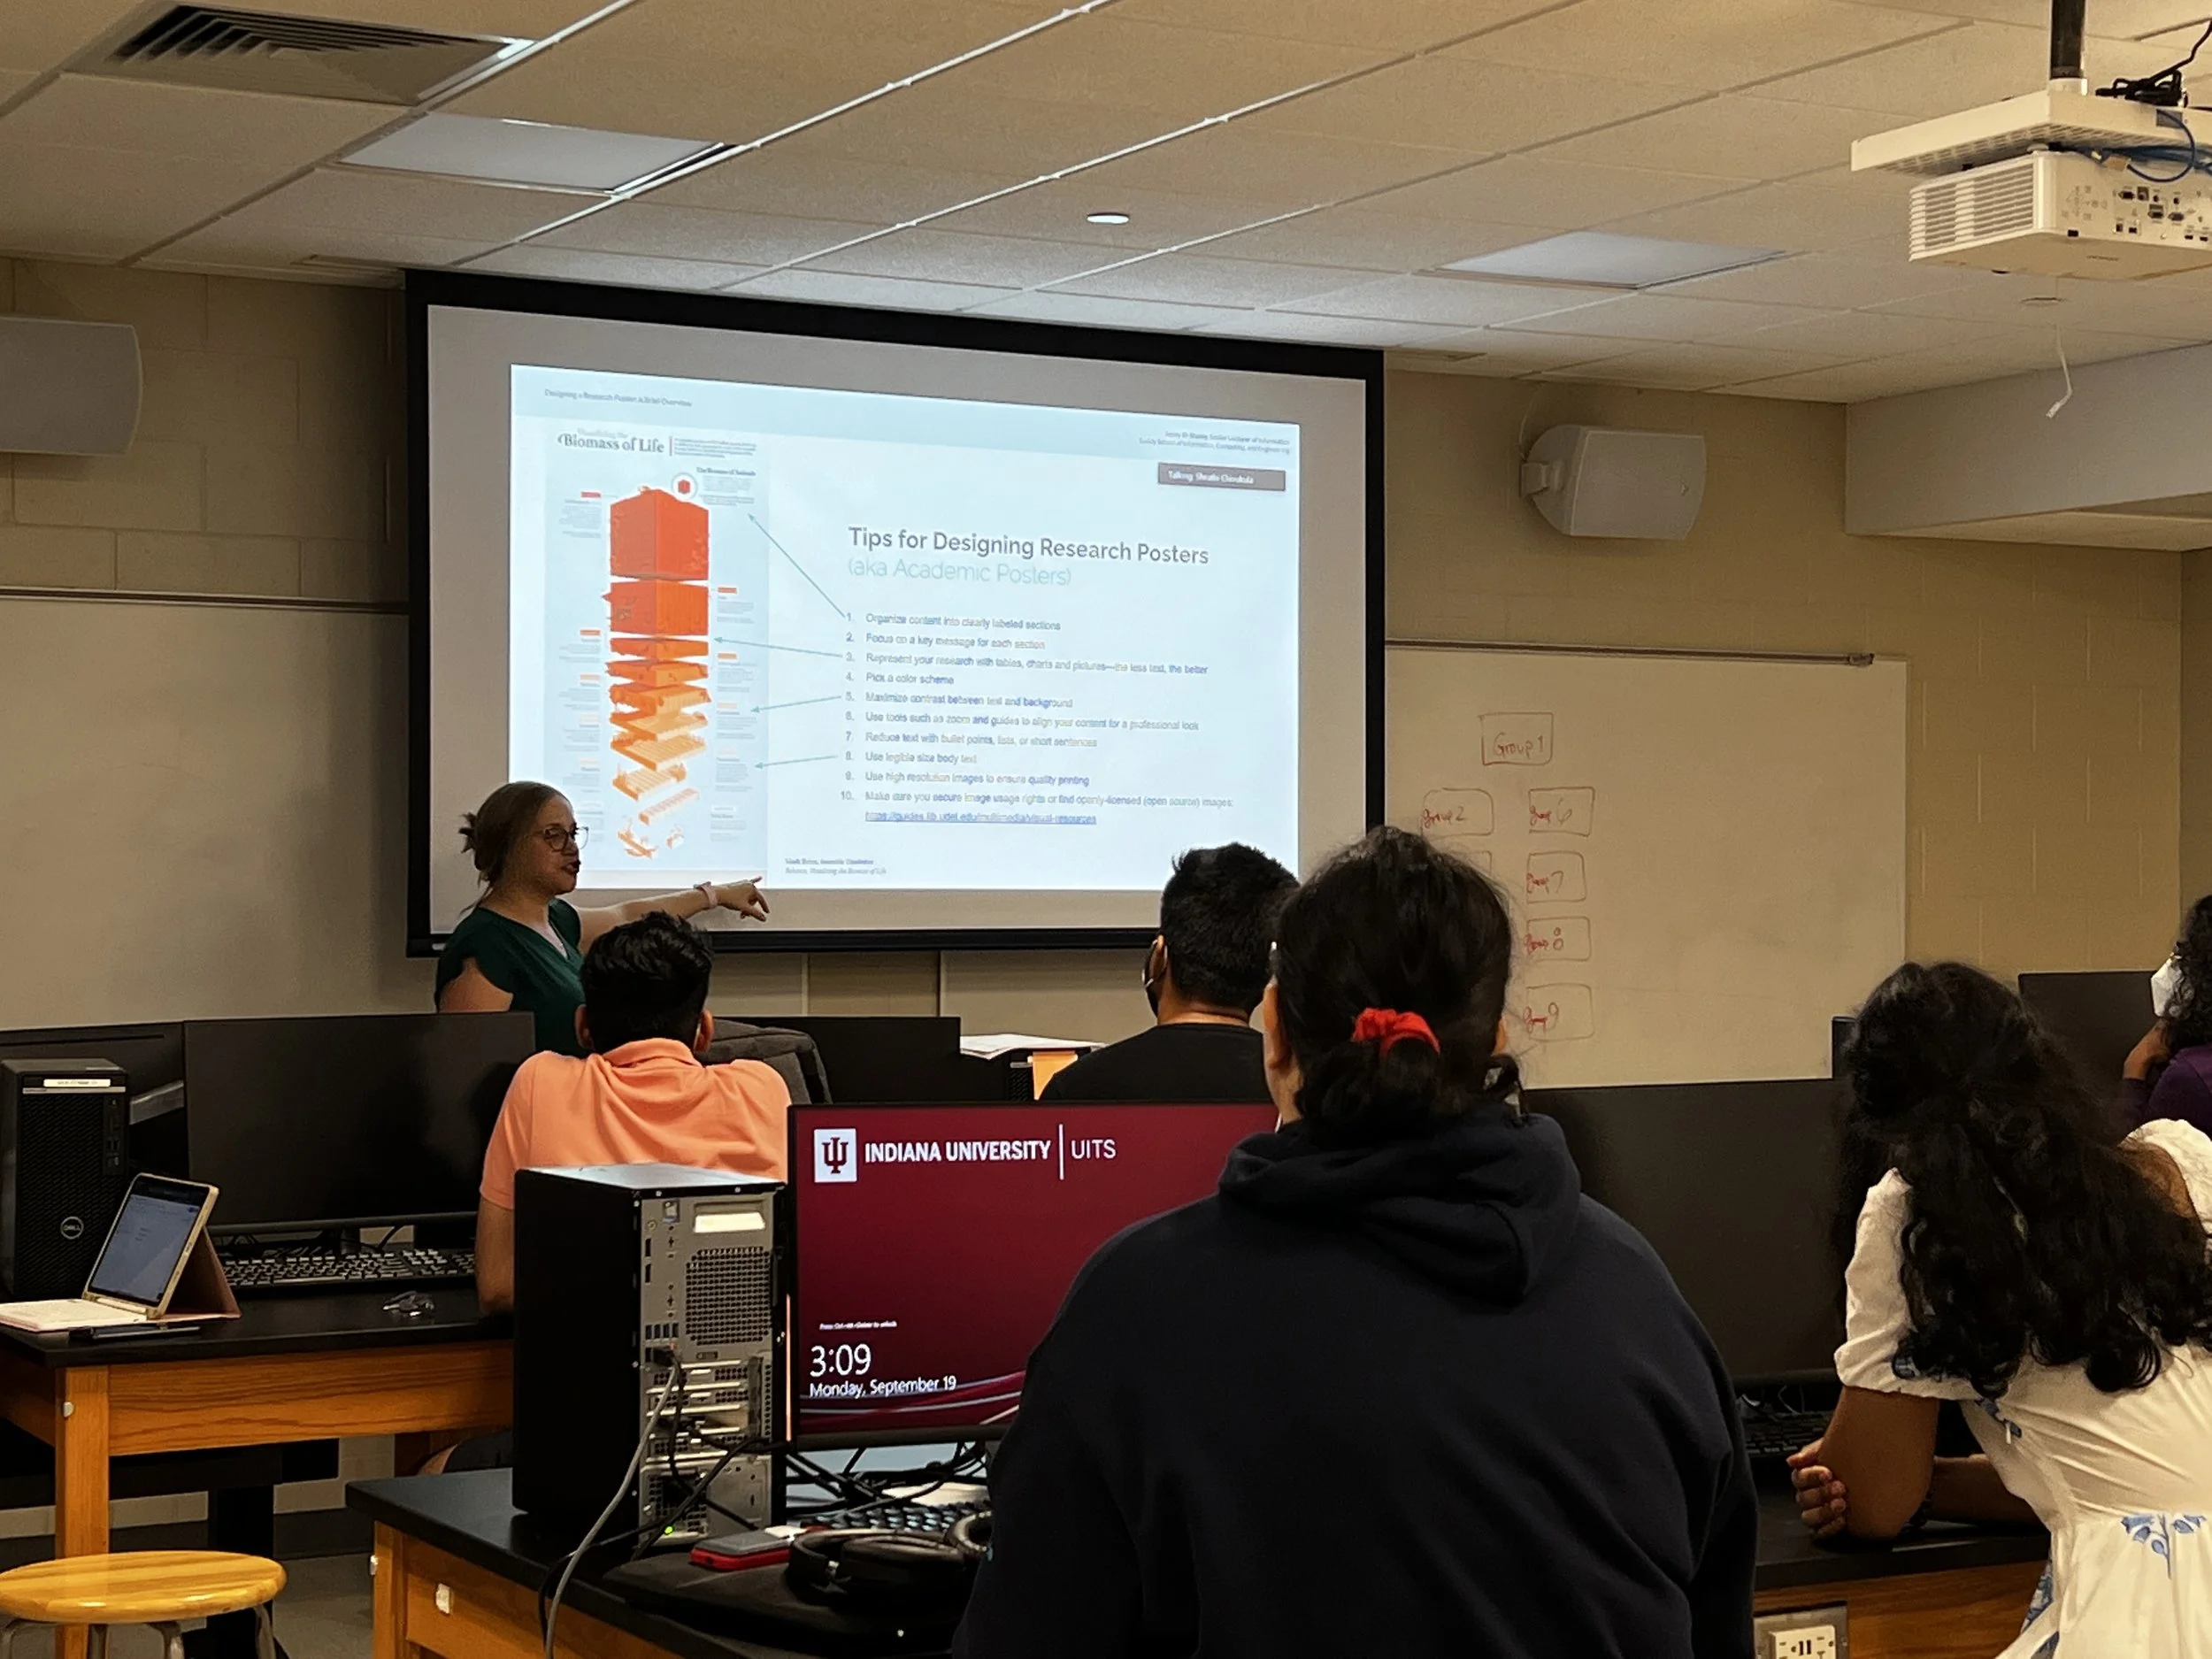
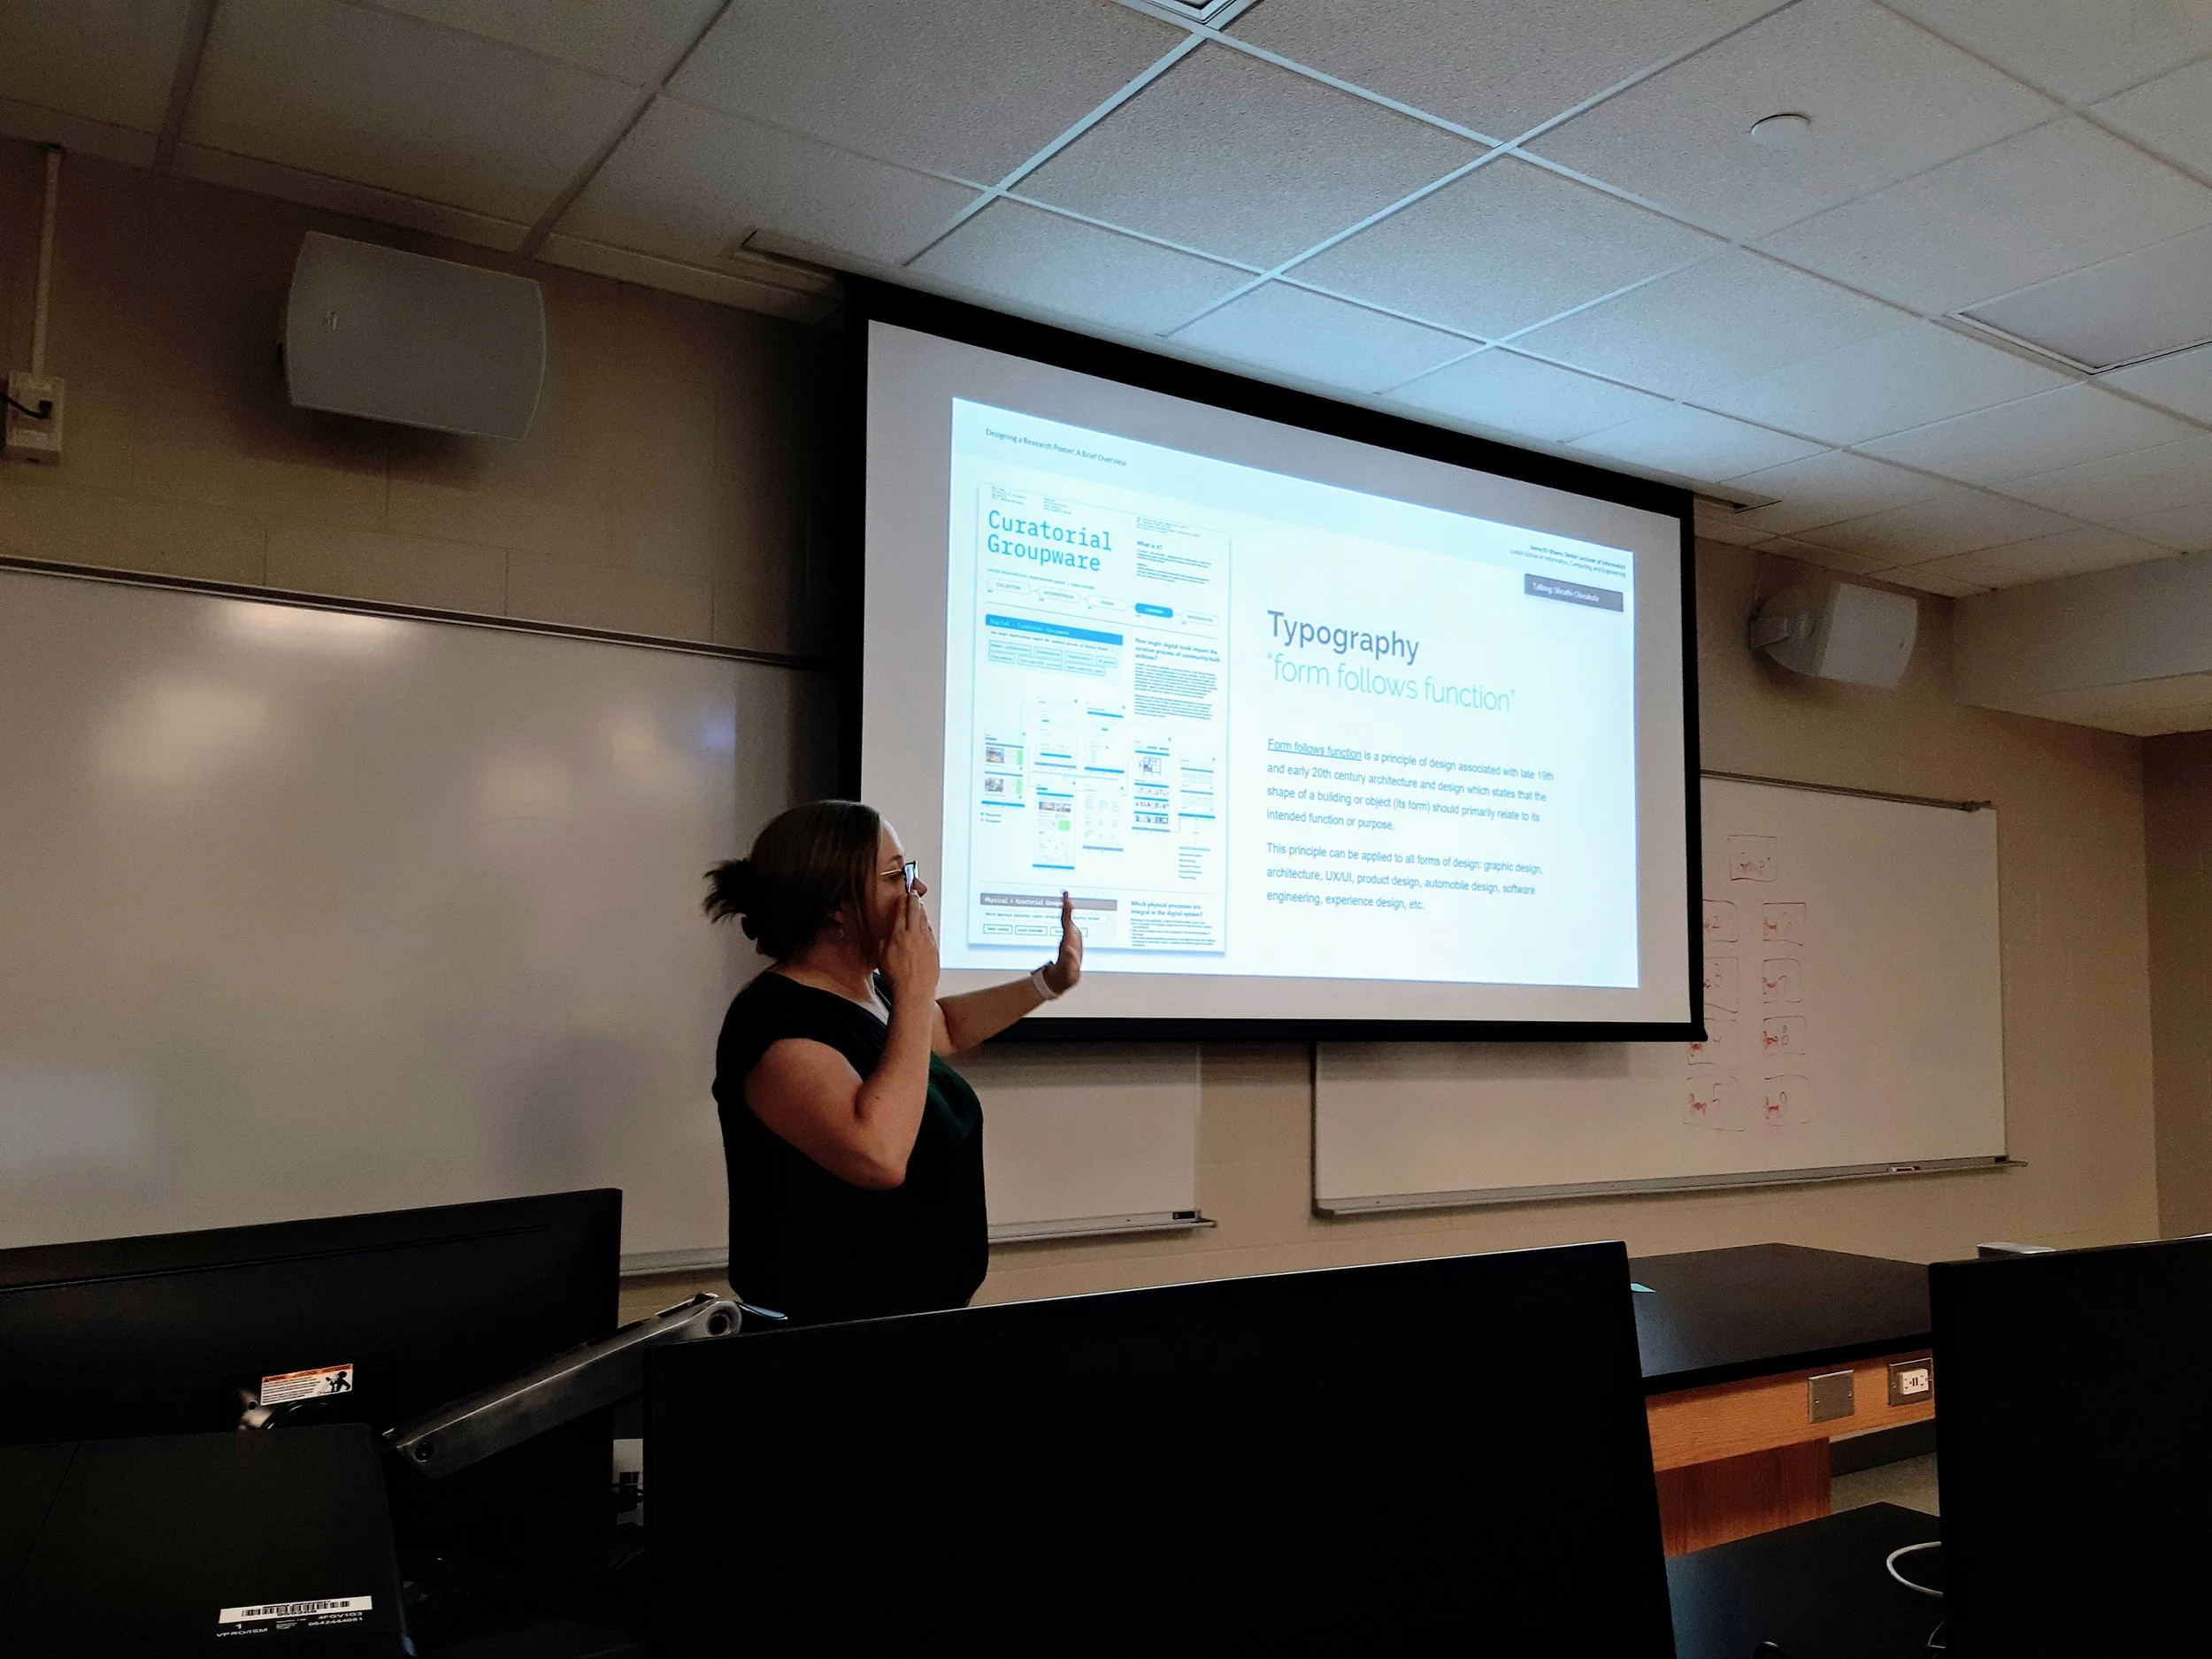
Jenny El-Shamy Giving presentation in Fall’22- Thesis Class by Sai Shruthi Chivukula
Student Questions
Students asked about the grid systems that are highlighted as useful in the talk. Jenny advised students to use design tools like InDesign, Illustrator, Figma, and Photoshop to ensure the software allows us to turn on the grid, and snap to the grid. Determining the grids at the early stages will help us structure information to dictate the flow of our posters.
Deciding the right fonts will help the audience read easier. Jenny recommended the Serif fonts due to their readability.
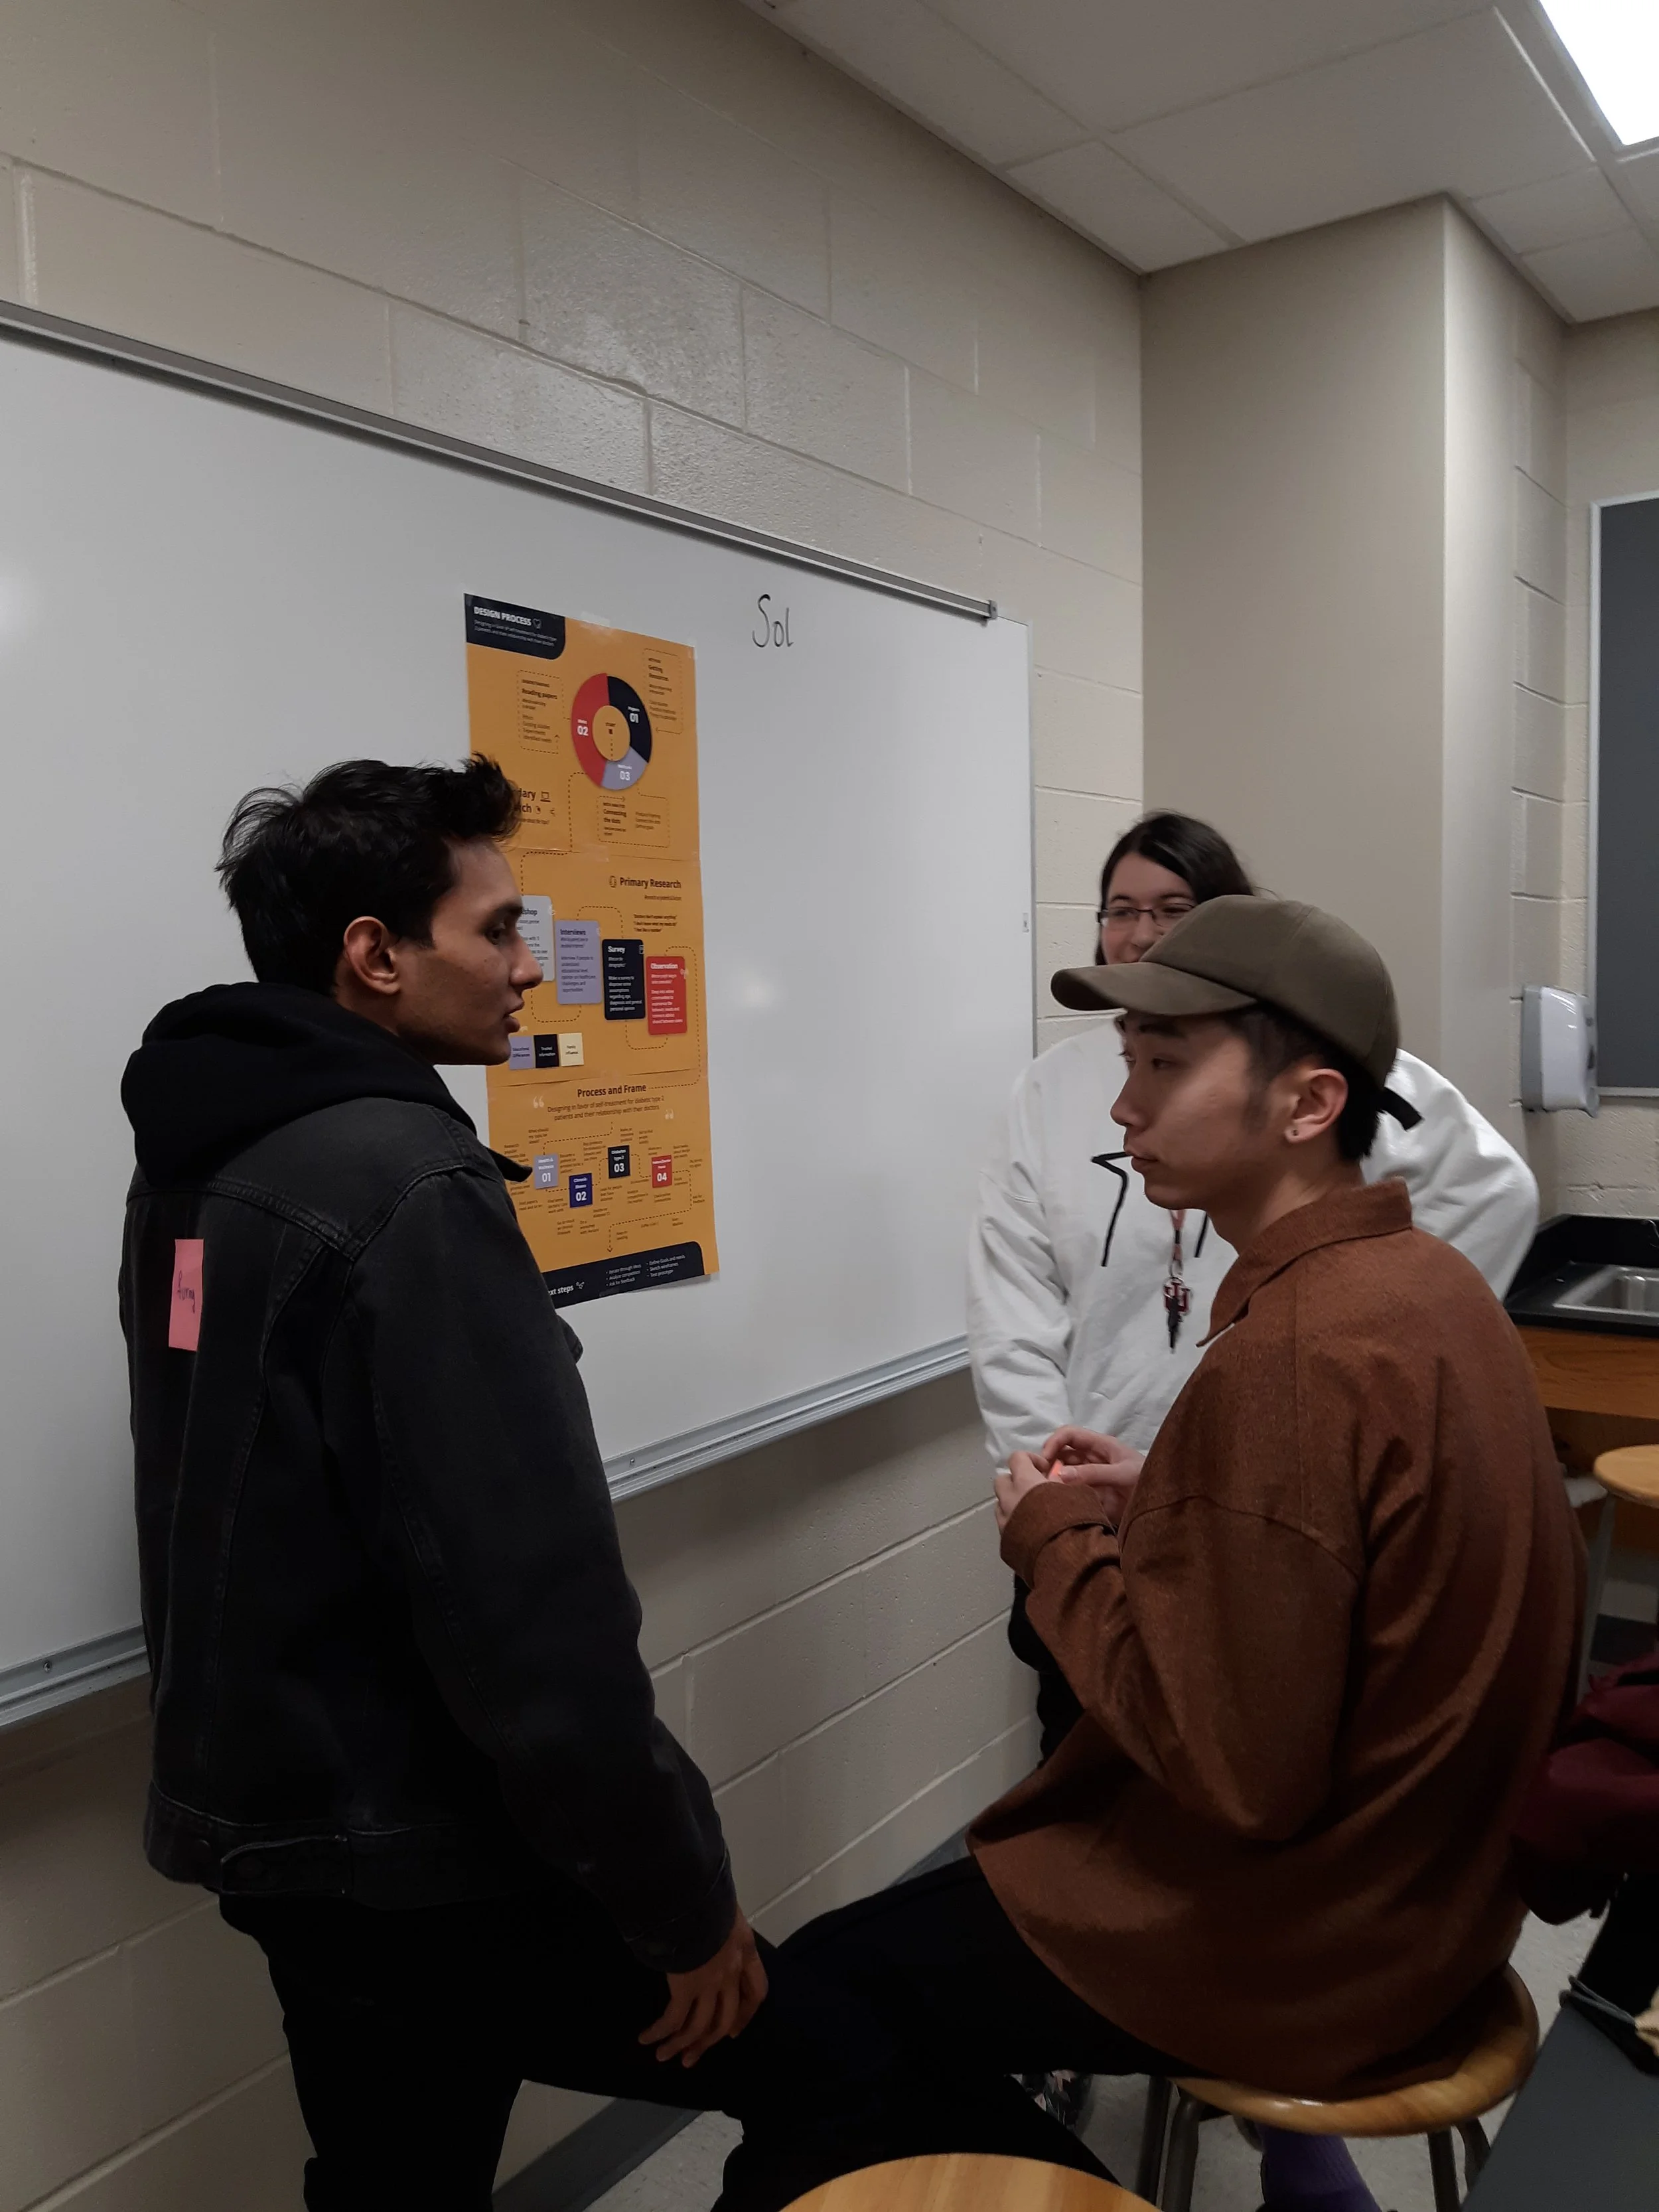
Desk Critiques, Meh!?
In Week 5, we arranged desk critiques (differently from weekly gallery walks) for students to discuss in smaller groups of three, with their peers with similar projects, topics, methods, or directions with them. They are seated in assigned groups where each student could take 2-4 minutes to discuss their progress or topics; then, solve each other’s queries they might be having regarding their projects; and have a chance to ask the instructors “ONE FRAMED QUESTION” that they could not/ do not resolve in their discussion. The instructors anticipated this model to allow students to have a deeper and more consistent conversation in their focused groups (than a larger group of people during the gallery walks), and also have work time at their own desks if finished with all their conversations.
Did we expect it to be successful? What did the students feel about this model? We started the second class of this week by asking students’ opinions about their overall thoughts on the form of this class. While we designed desk critique sessions for a change of the flow in class, after asking students to share their thoughts about this model, there were obviously mixed feelings. More commonly:
From the desk critique, they acknowledged the importance of acquiring the skill to ask and give critique to others as designers. How to politely and respectfully provide feedback on others’ work is crucial when communicating design ideas, and how understanding others’ critiques is equally important. A few students found it very helpful and insightful to have focused group discussions;
Another thing that is brought up by several students is the preference of doing gallery walks instead of the desk critique. Students felt that gallery walks provided them with more meaningful feedback from peers since they can receive comments from more than half of the class rather than just within their desk critique group, where three to four students were present.
Desk-critique model, apparently, slacked off the motivation to produce design work. The form of the gallery walk also served as a motivation to push themselves to work on their capstone more since they have to print out documents that demonstrate their progress in a week and present it to peers.
Design Documentation Guidelines and Tips
Find below two documents that list some helpful tips for design documentation. I wish I prepared this earlier in my career.
Lecture : Design Framing- Shruthi Chivukula
A week after the Midterm documentation, I decided to give a quick lecture on “Design Framing.” It was that time in the semester (half-way through) that students are trying to frame their explorations and define their design spaces. Through my observations (and self-created murder investigation board of my Gallery Walk feedback), I have identified that students might benefit from learning about some techniques around design framing and its importance. But, do we really have material about design framing for novice designers? NO, a big NO! (Another whole paper that is going on in my head.)
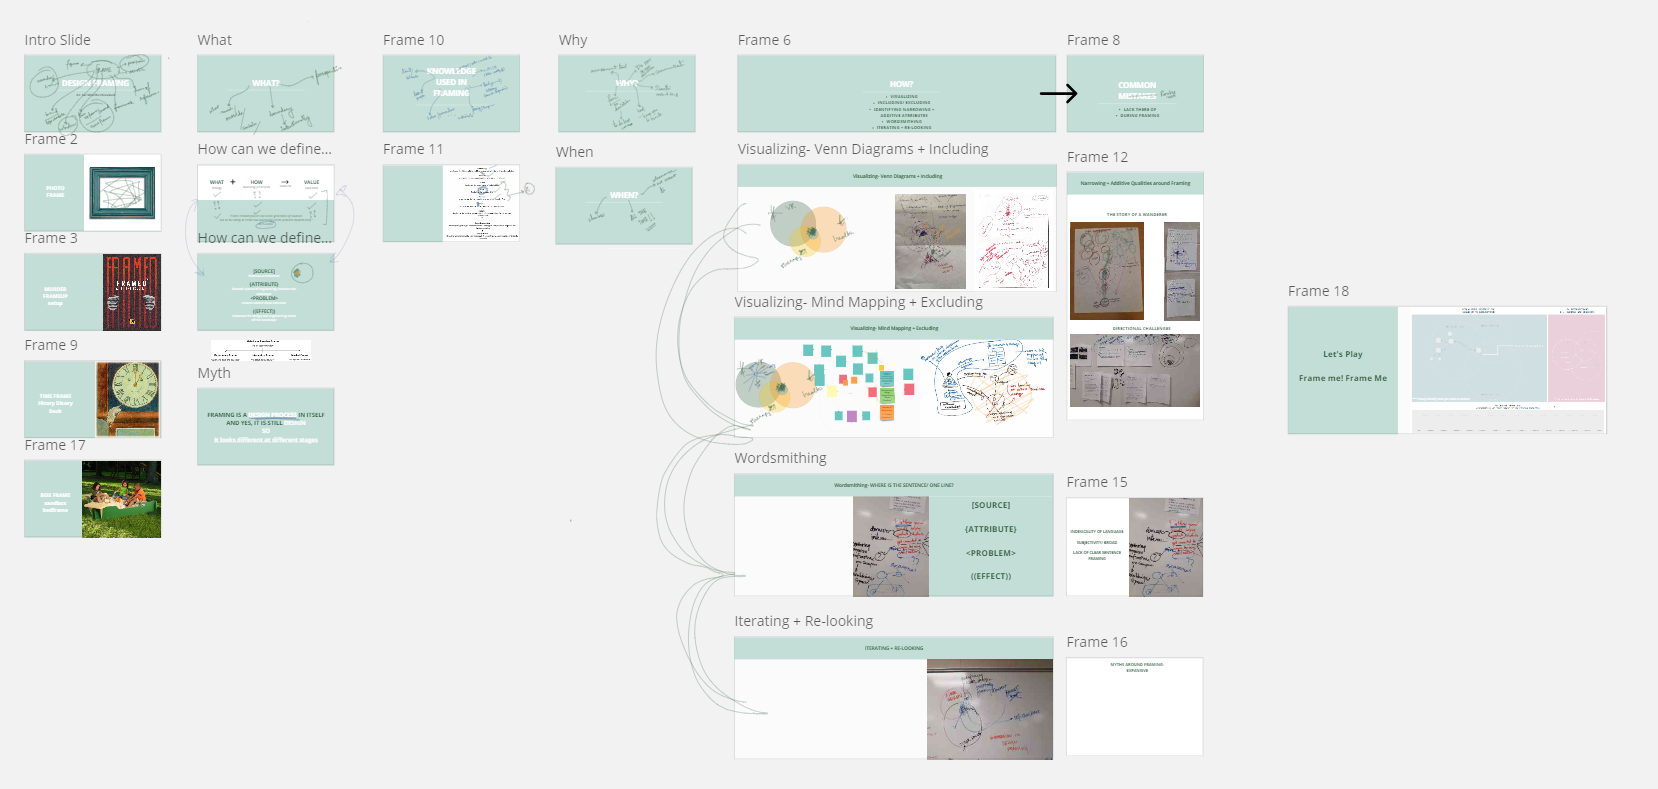
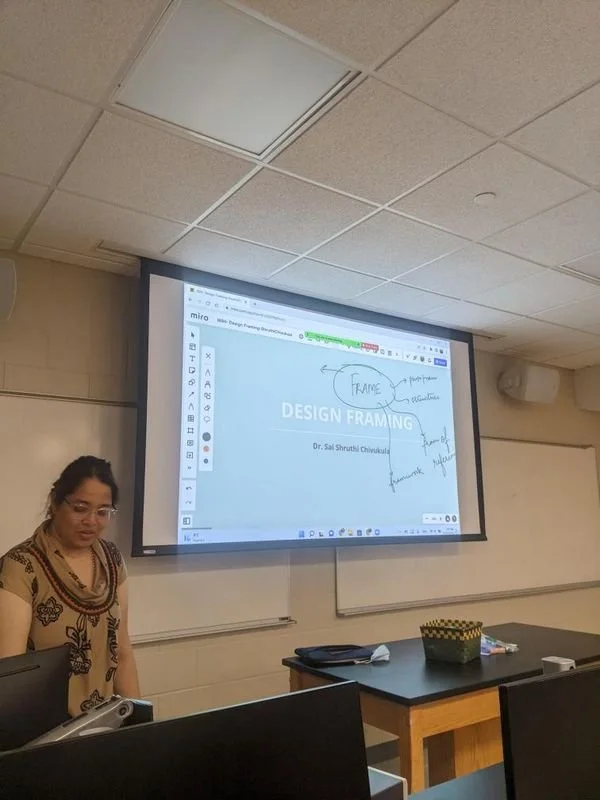
So, I created, for the first time a slide deck with flexible whiteboarding areas on Miro board to presents about design framing.
If anyone is interested in a video of the lecture, reach out to me at schivuku@iu.edu.
What was discussed in the lecture? These are the broad categories discussed in the lecture:
Metaphors around “Frame” or “Framing”: Beginning the discussion around defining design framing using the metaphors of photo frame, murder frame-up, time frames/ reference, box-frame and sandbox. As well remembering our Framing God- Kees Dorst, who made it sound like a very easy, yet creative and complex process.
What is Design Framing? How can we define Design Framing?: Elevating different structures of design framing such as: 1) What, How, and Value; and 2) Source, Attribute, Problem, Effect.
Why do we do design framing? When do we do design framing?: Concluding various reasons why we do design framing, but mostly because “Shruthi asked to do so :P”
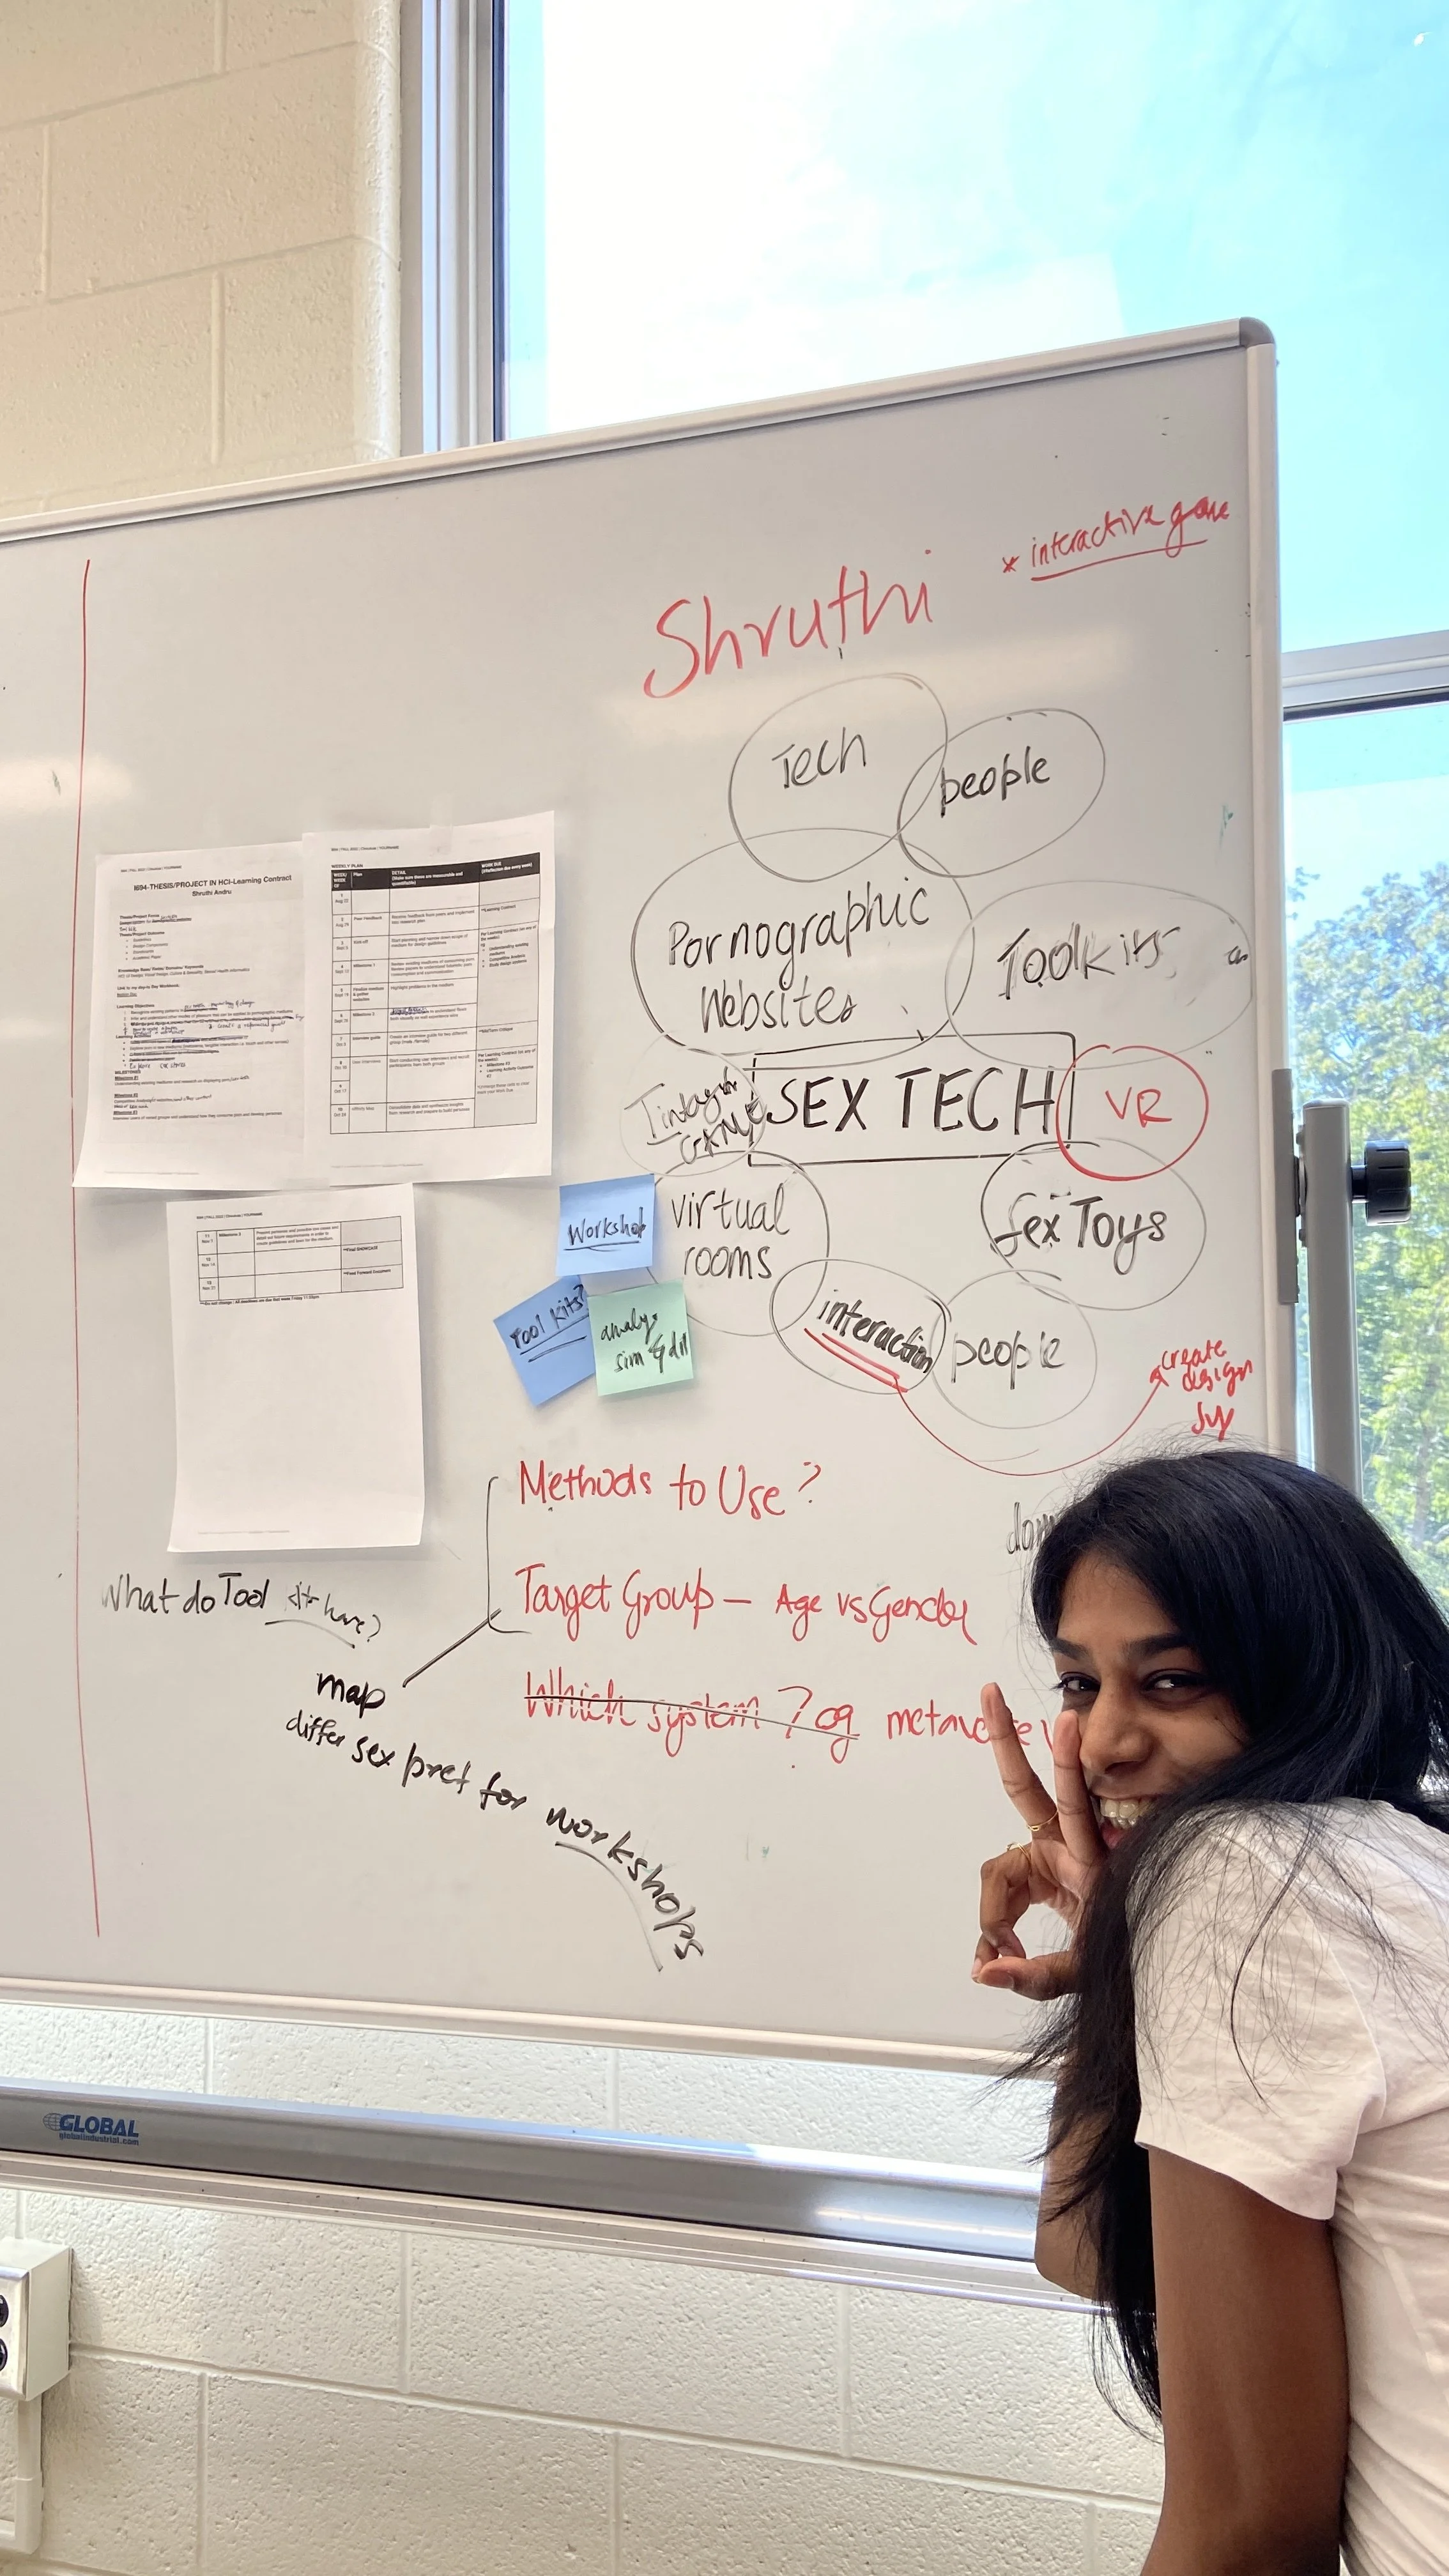
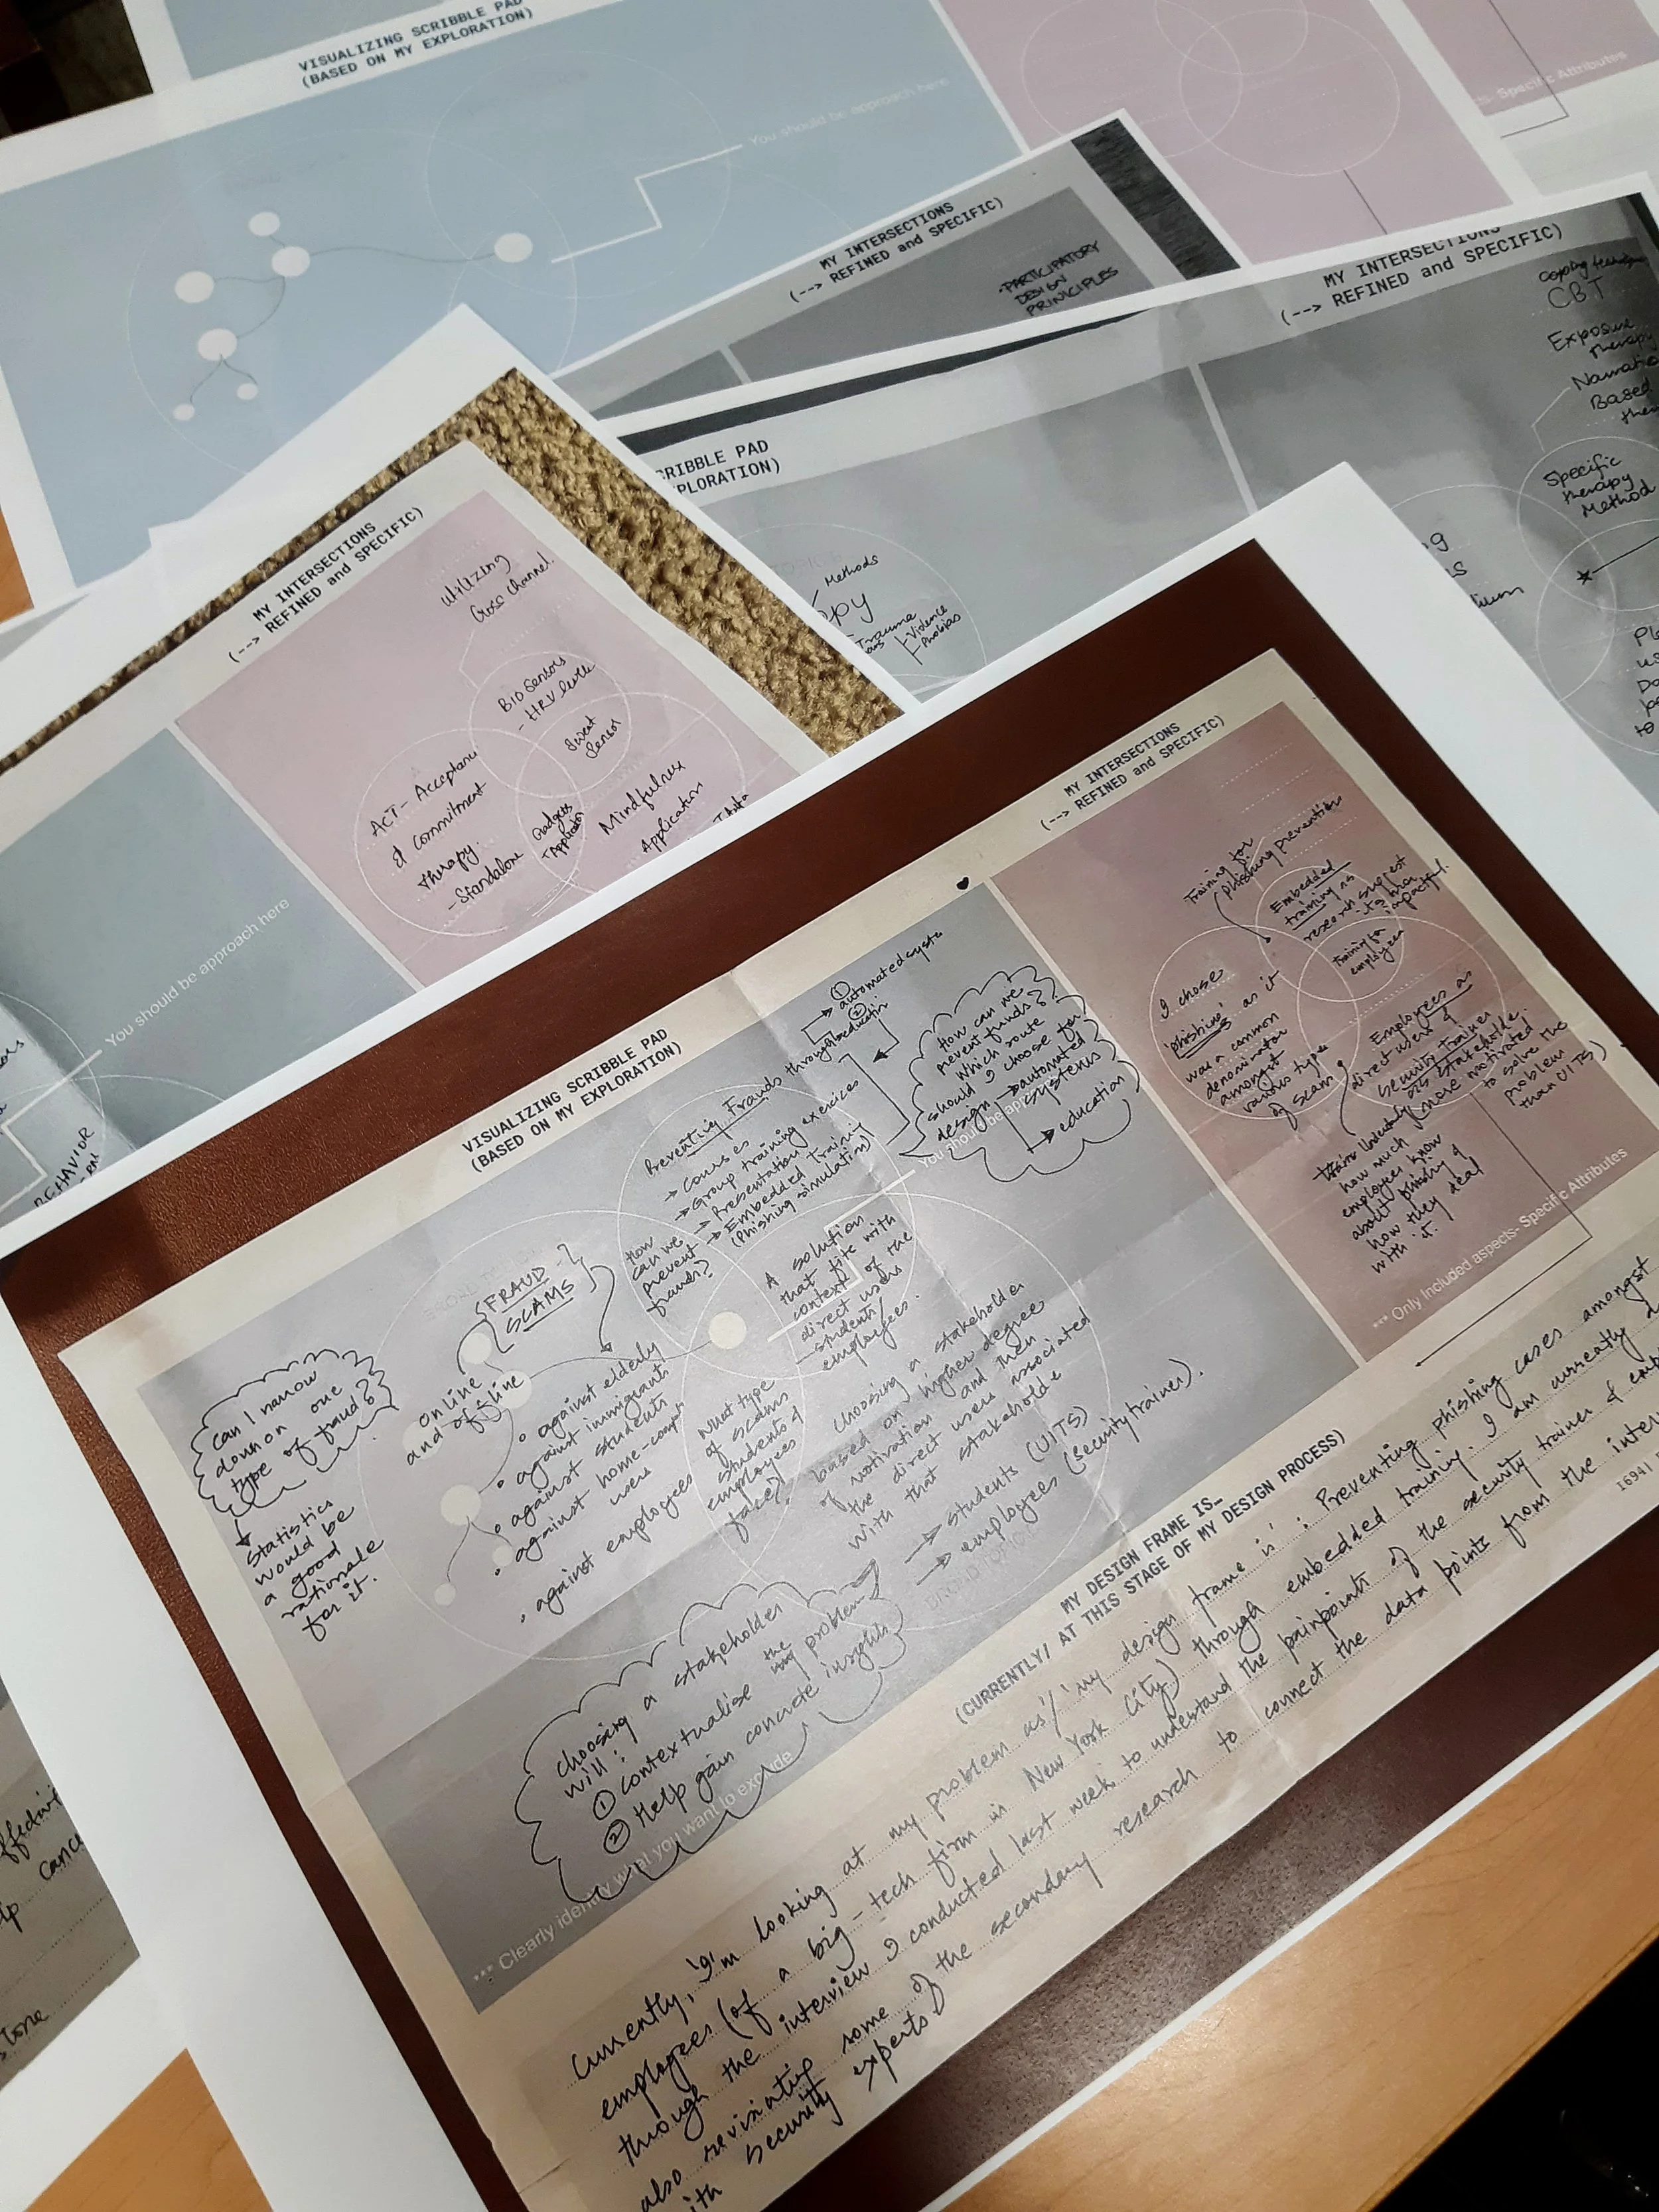
How do we do design framing?: (Shruthi’s creation and obsessed part of the lecture) Sharing tips and tools around design framing such as visualizing using mind-maps and Venn diagrams, coupling of inclusion and exclusion of themes/ frames, wordsmithing to write that “one-line” of design frame, and iterating to constantly re-look at the design frame for the day/week/month/ project.
What are some common mis-routes during these ways?: Illustrating the mistakes often done through or about design framing through the metaphor of “Story of a Wanderer.”
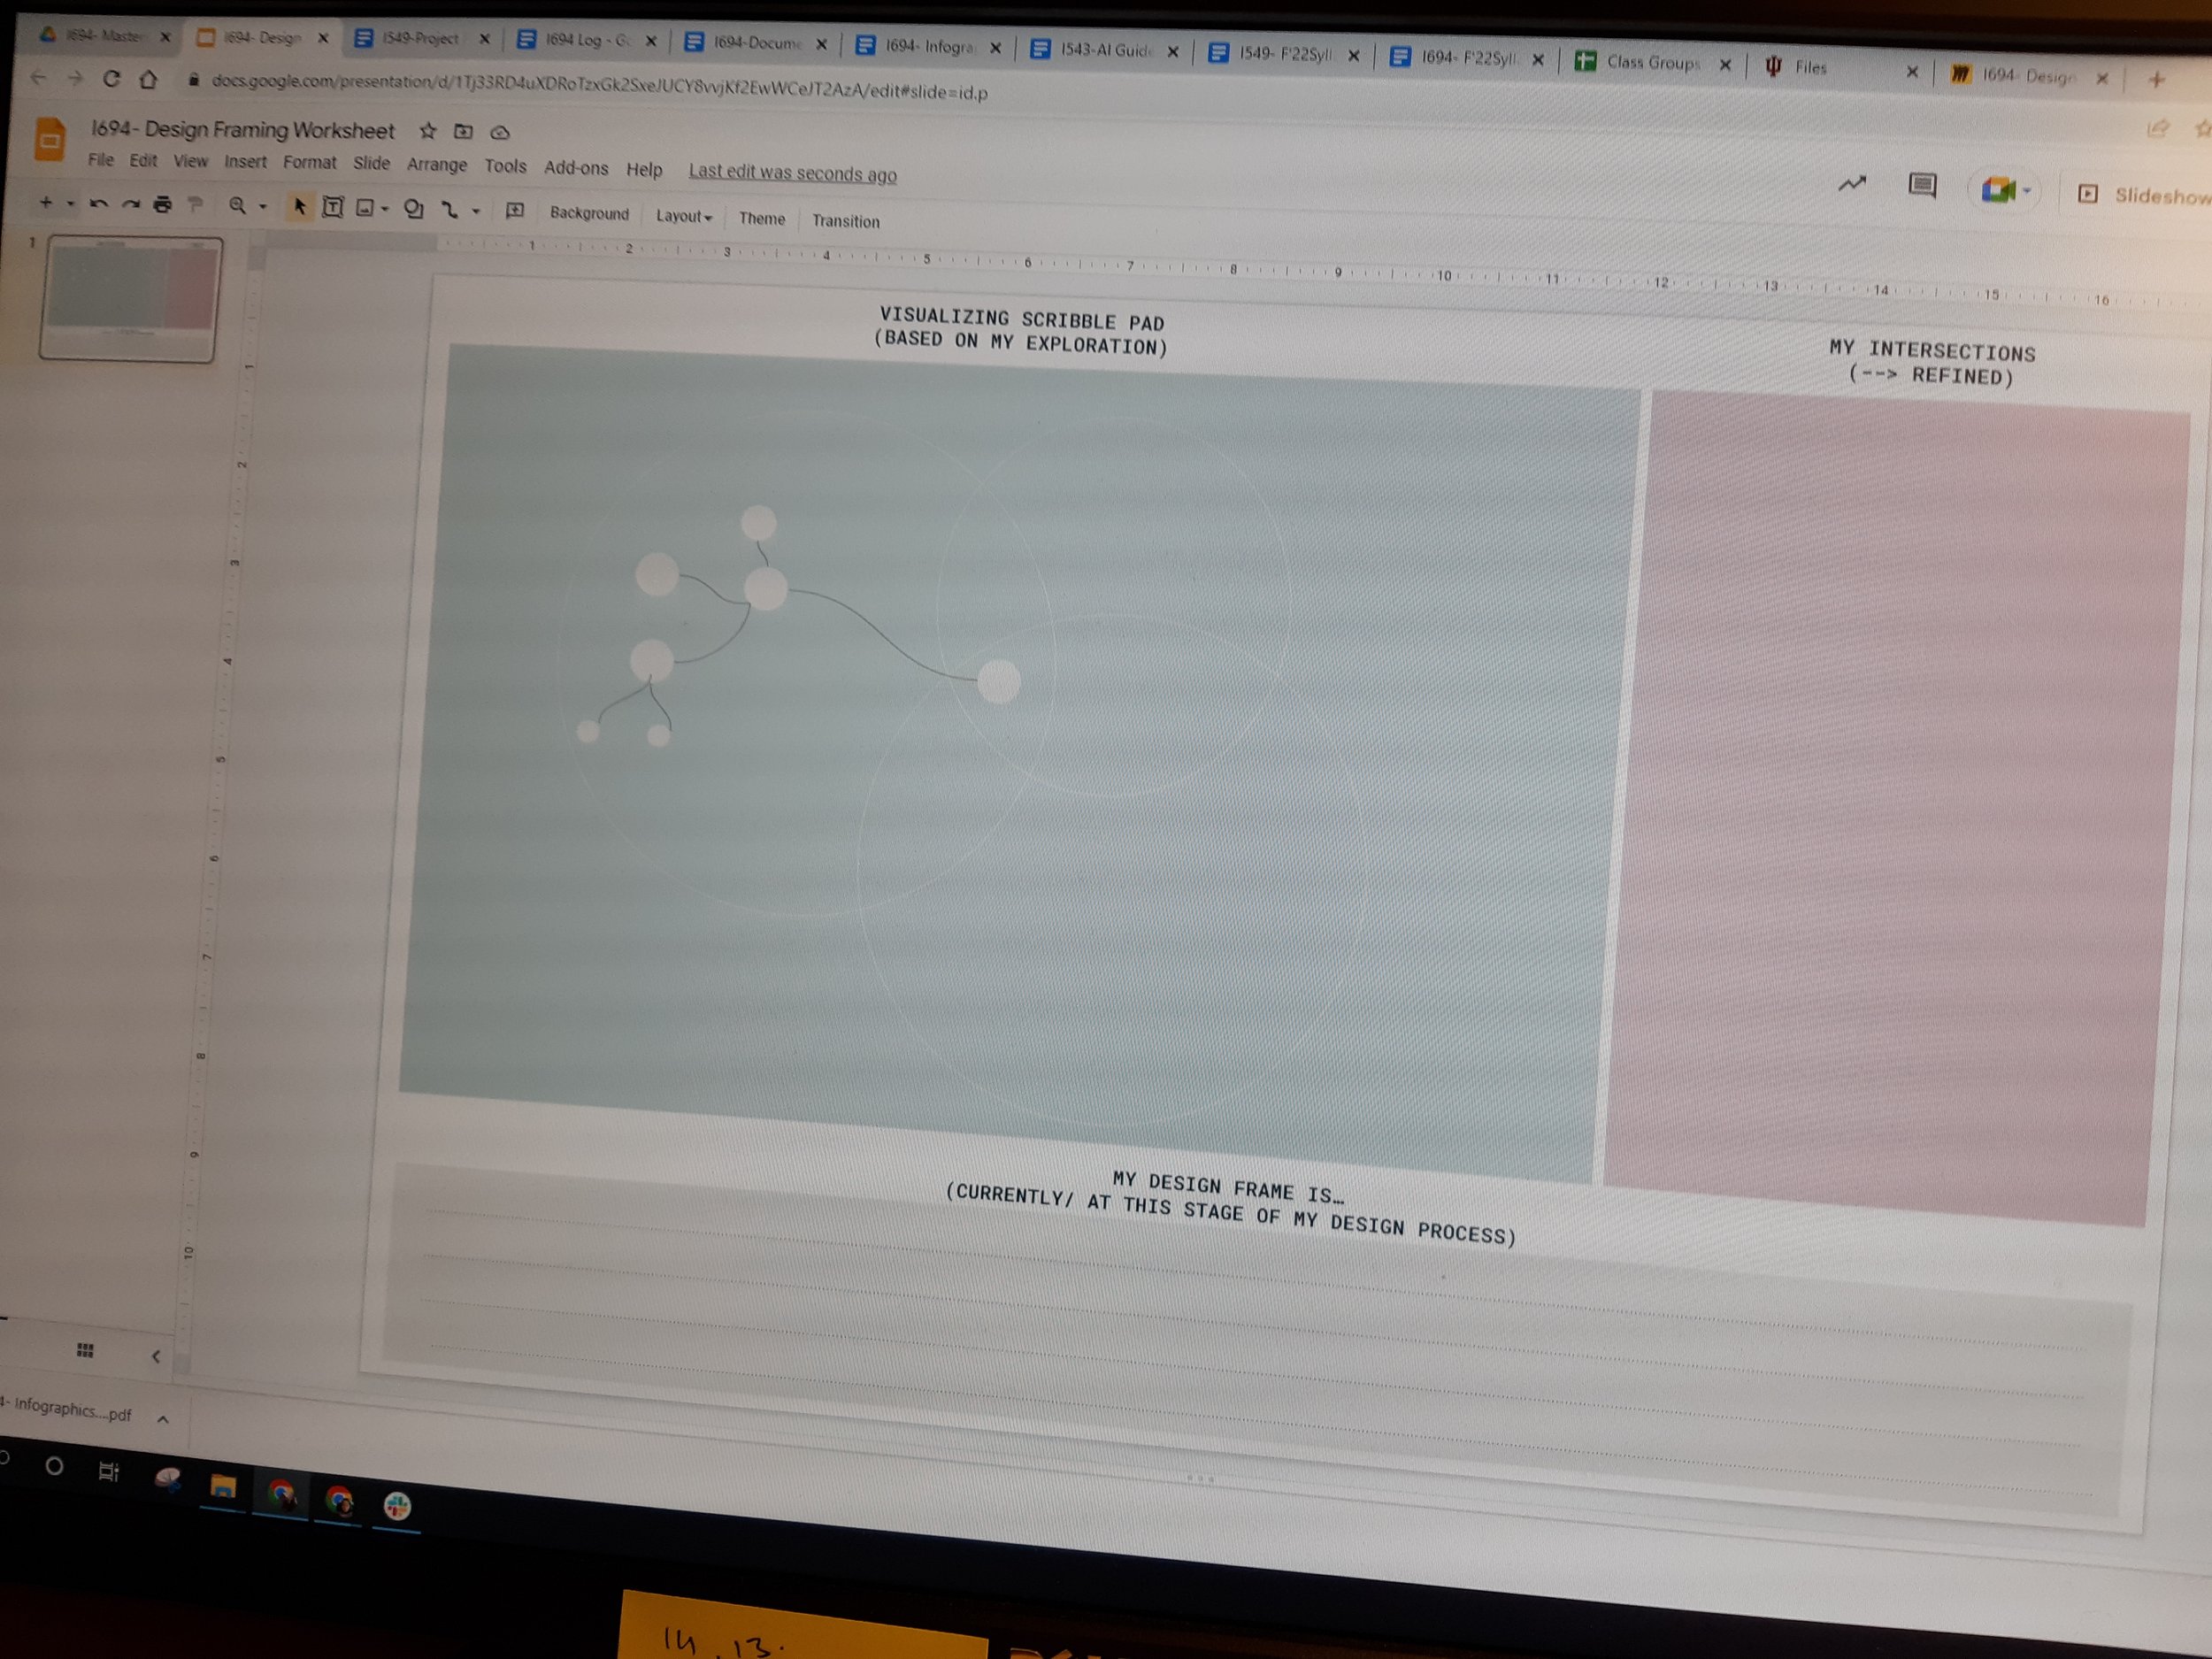
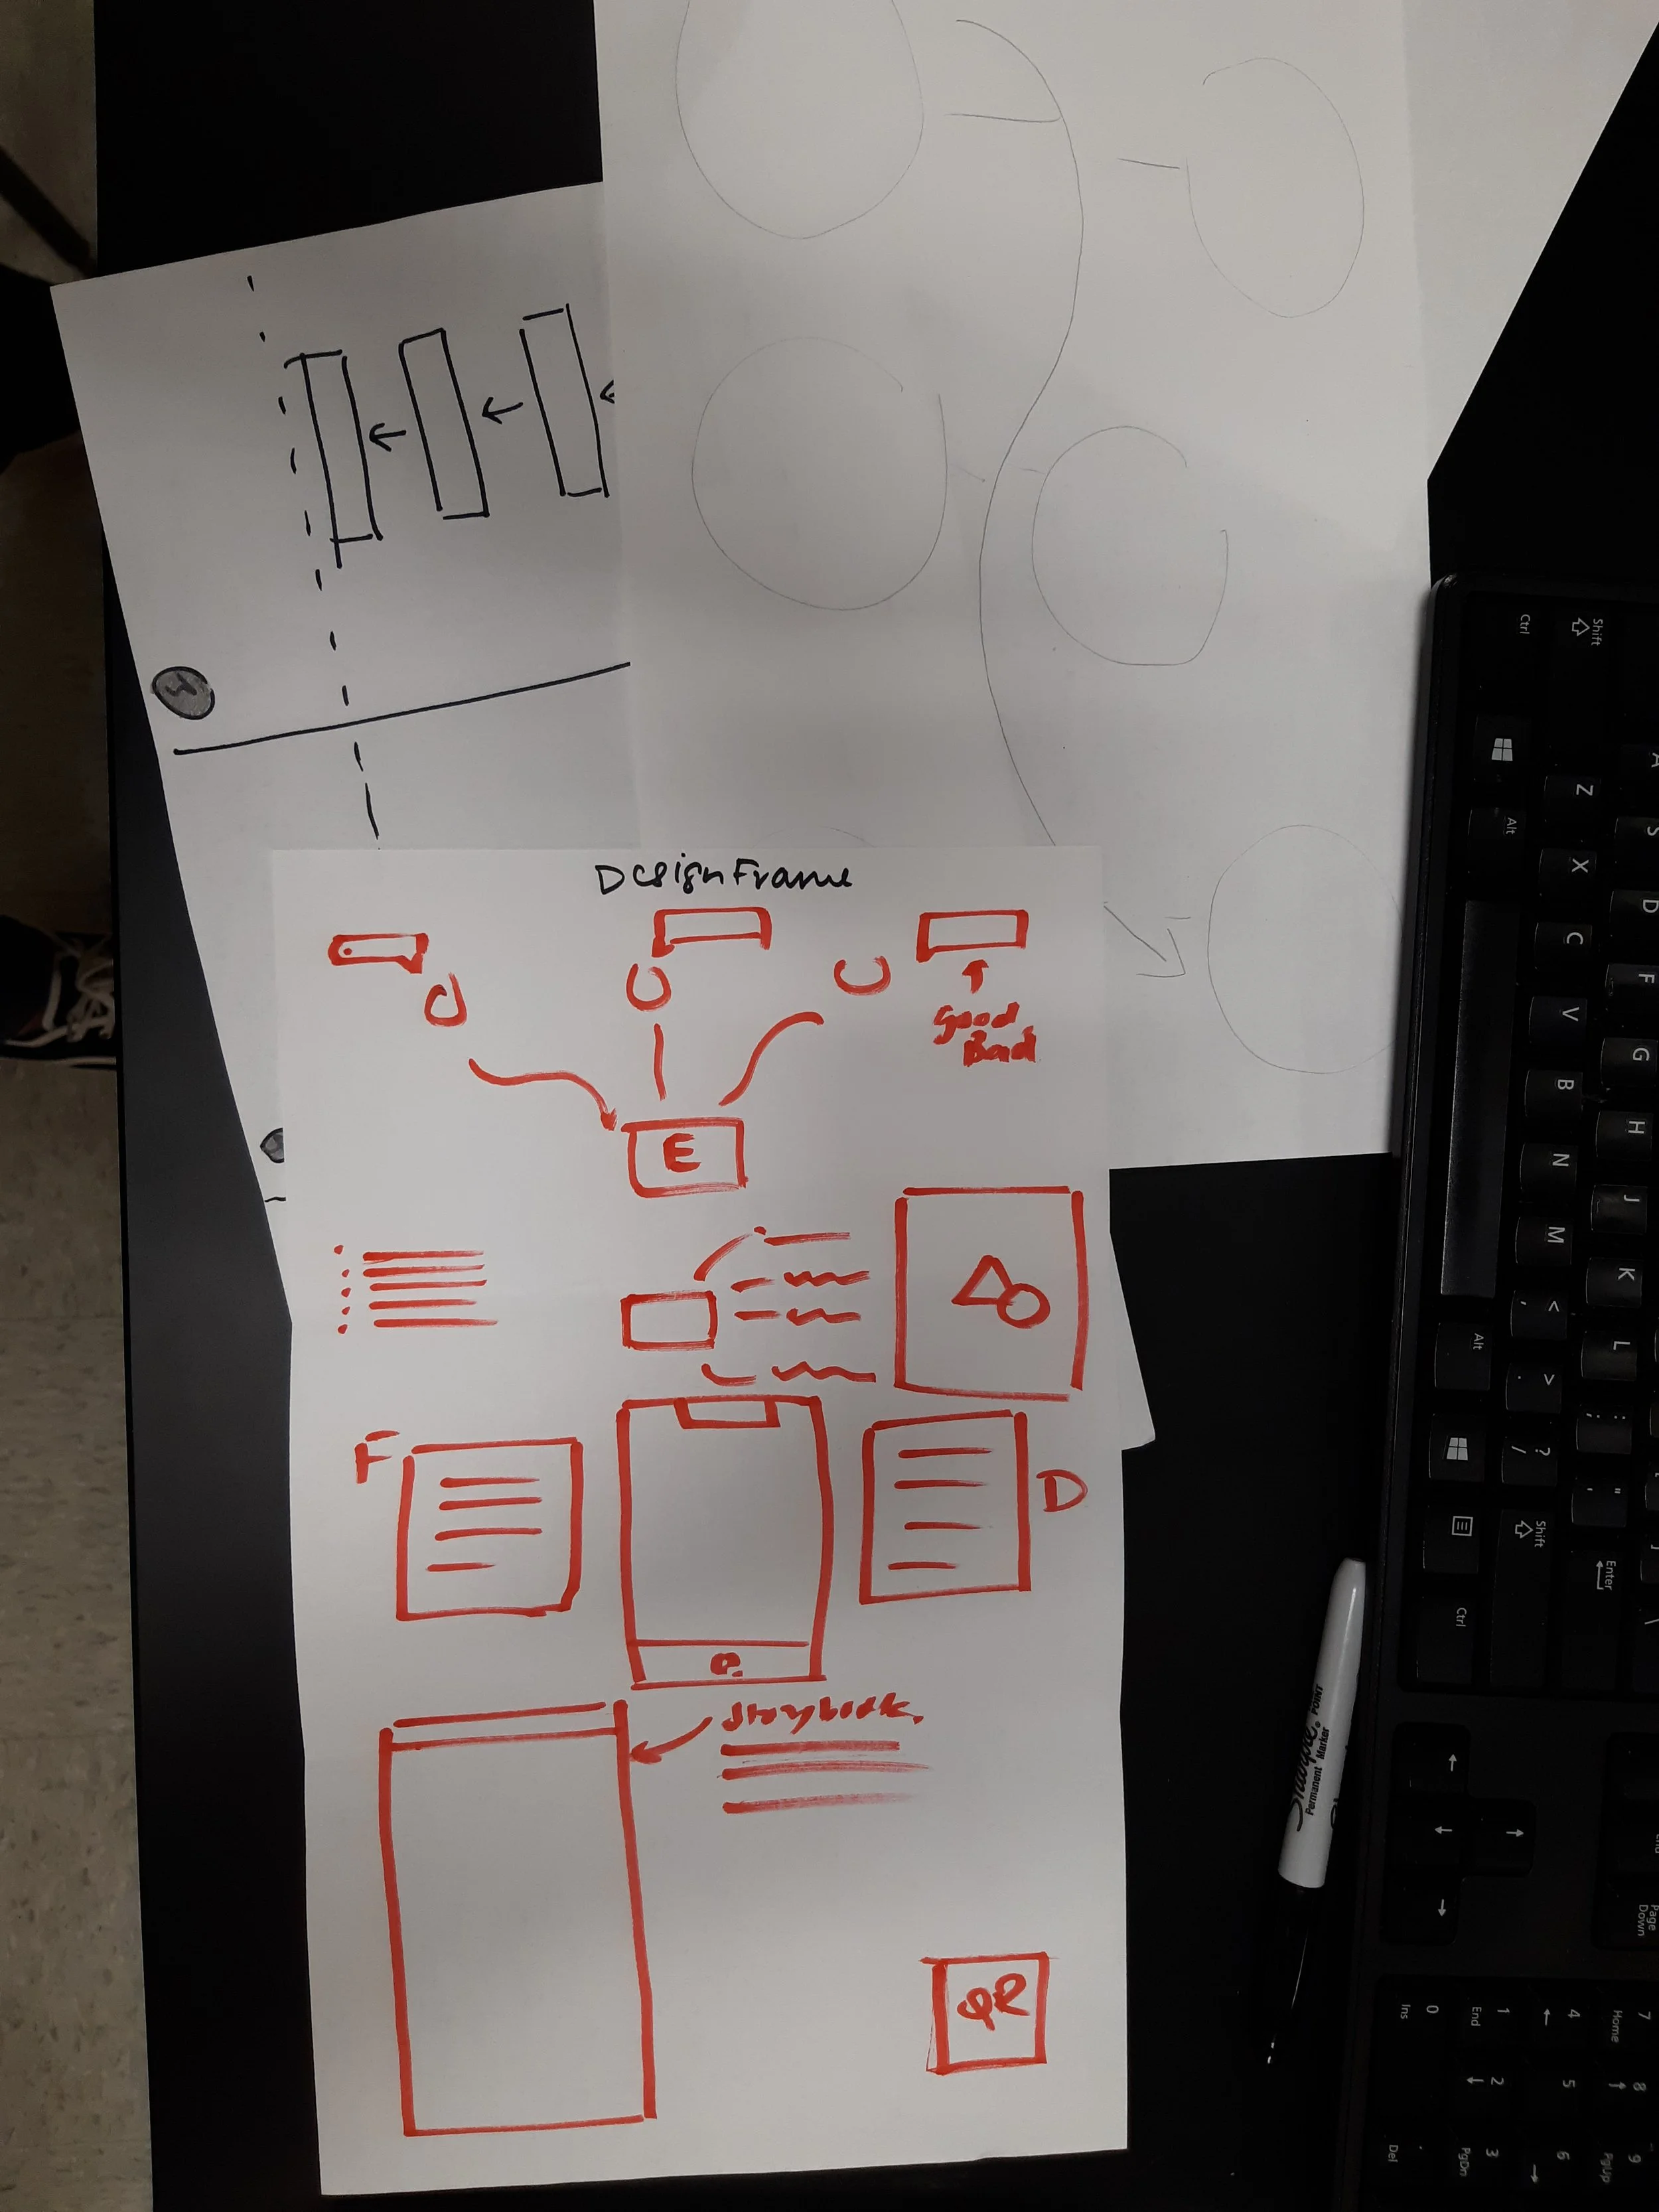
Application using a design worksheet (see images below). Unfortunately, we did not get to this point in the class, but students were given a take-home exercise to apply the lecture discussion using a design frame worksheet designed by me.

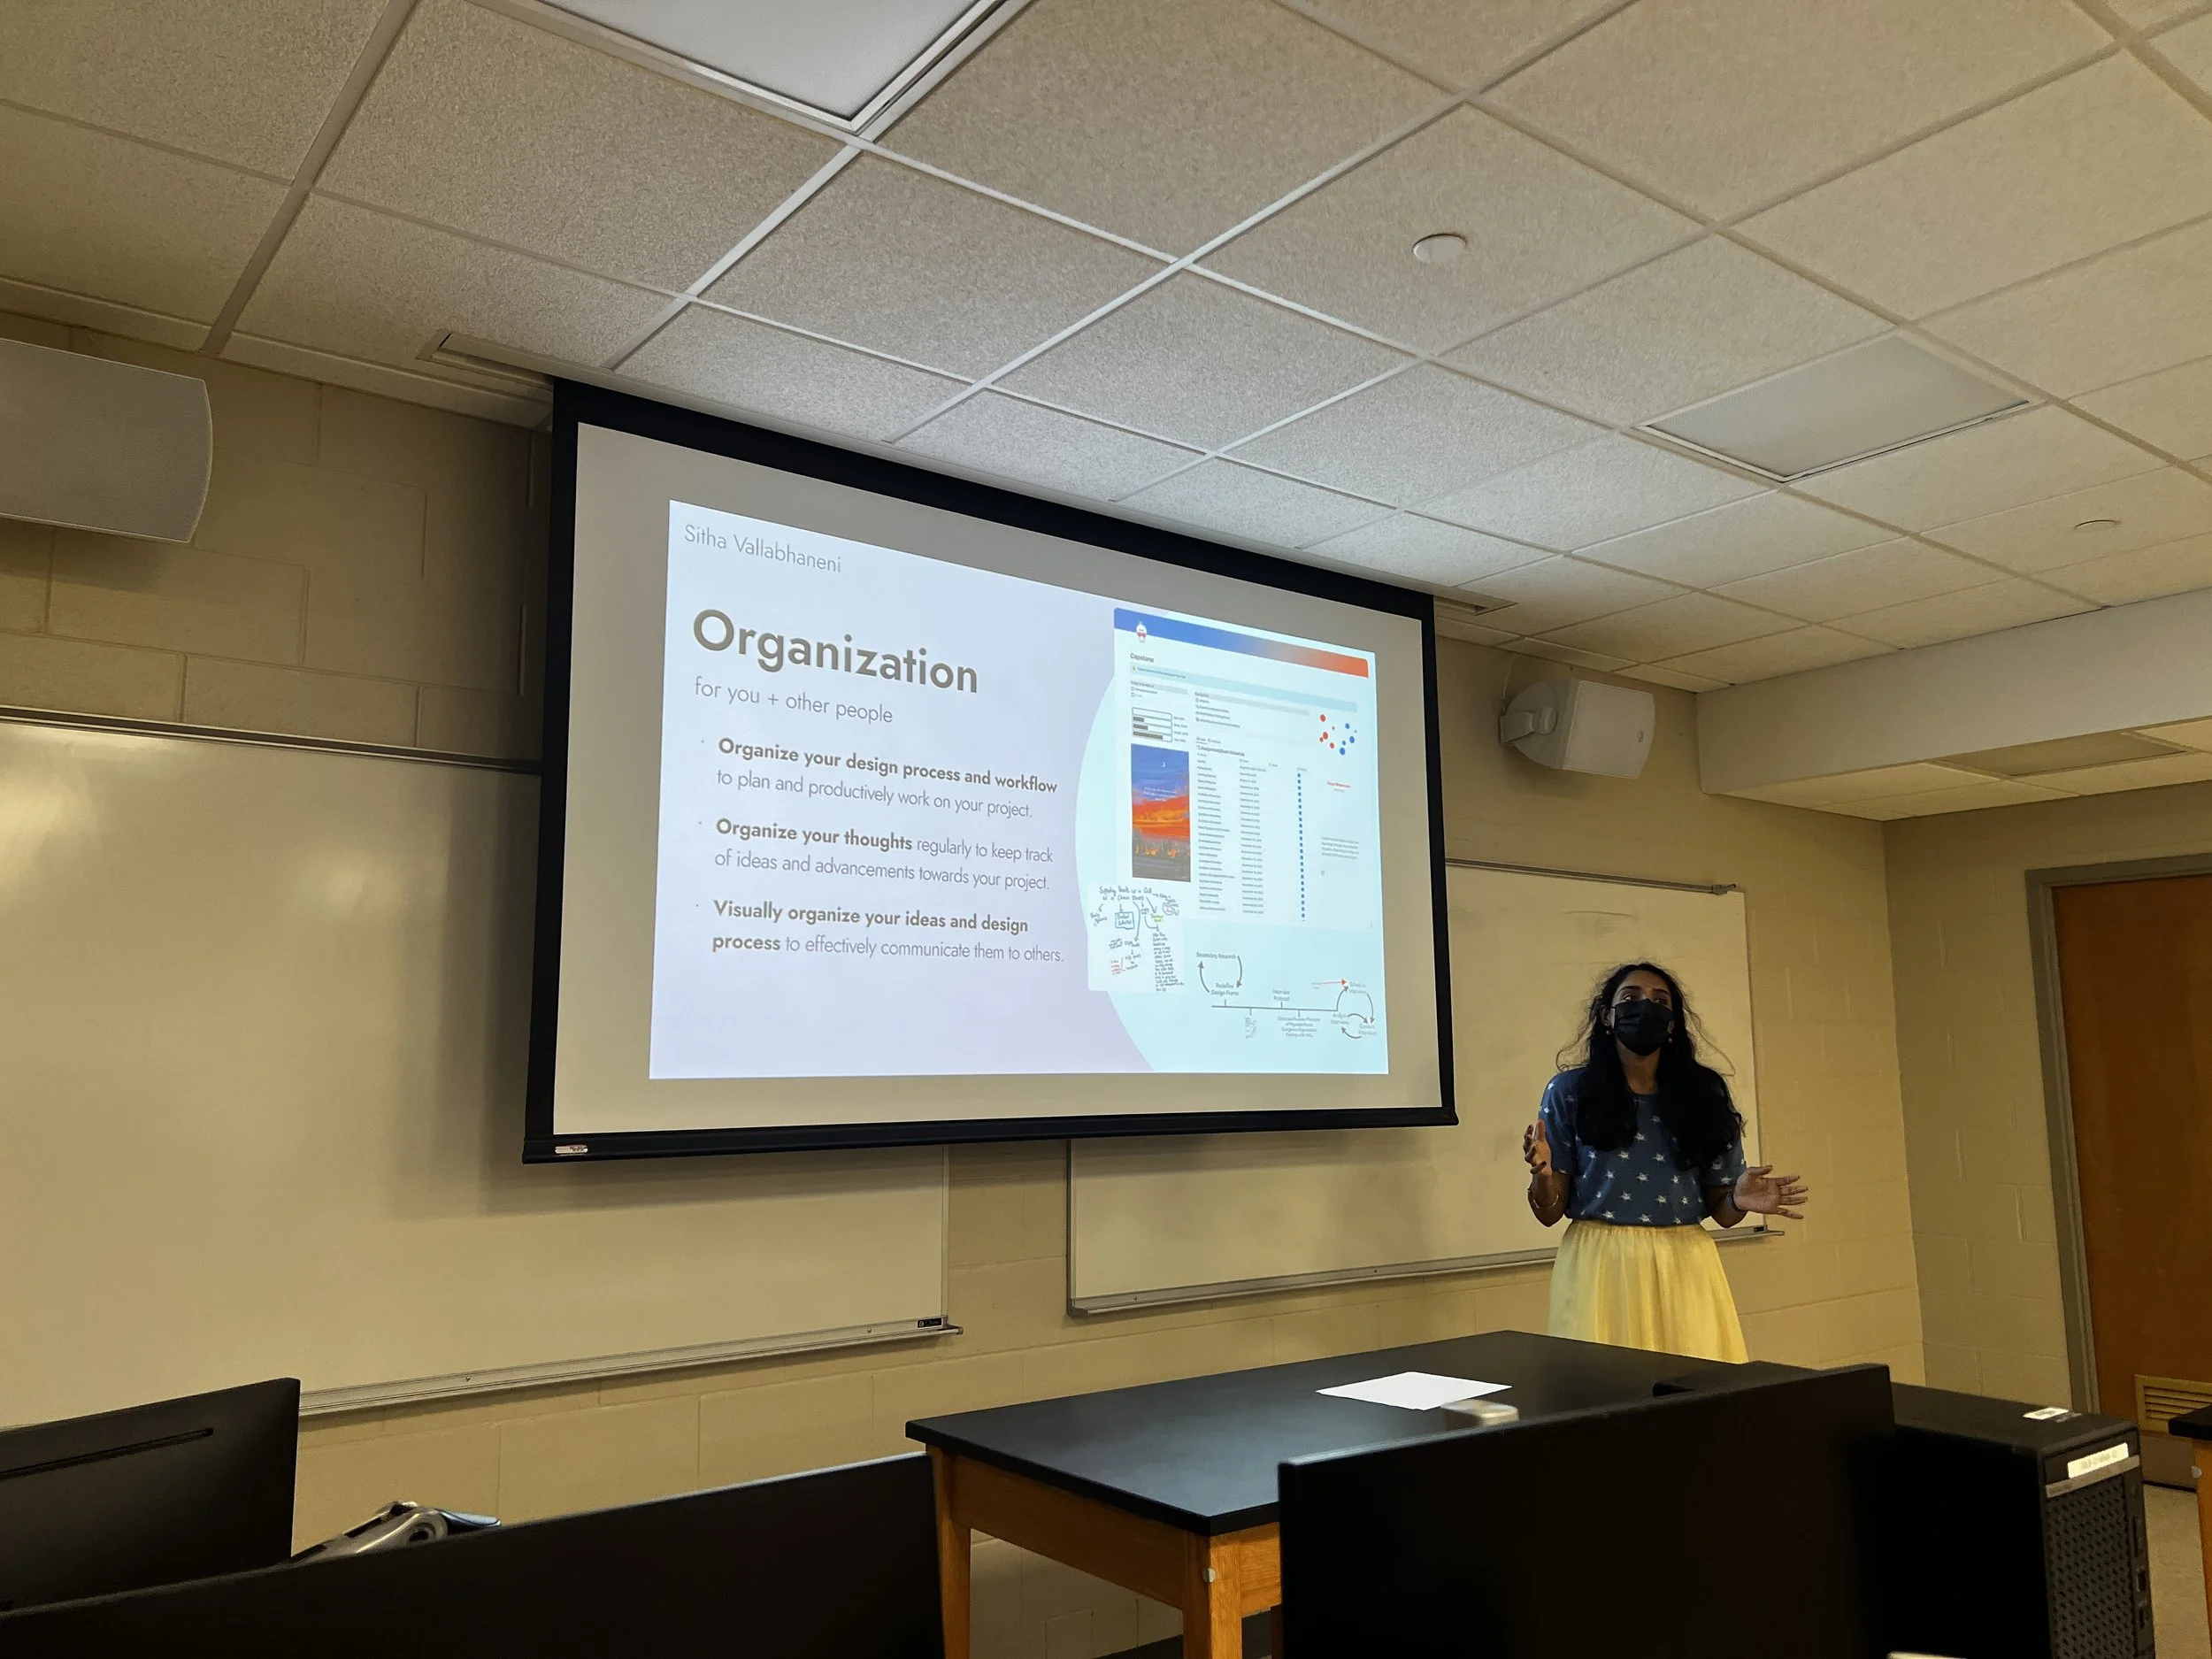
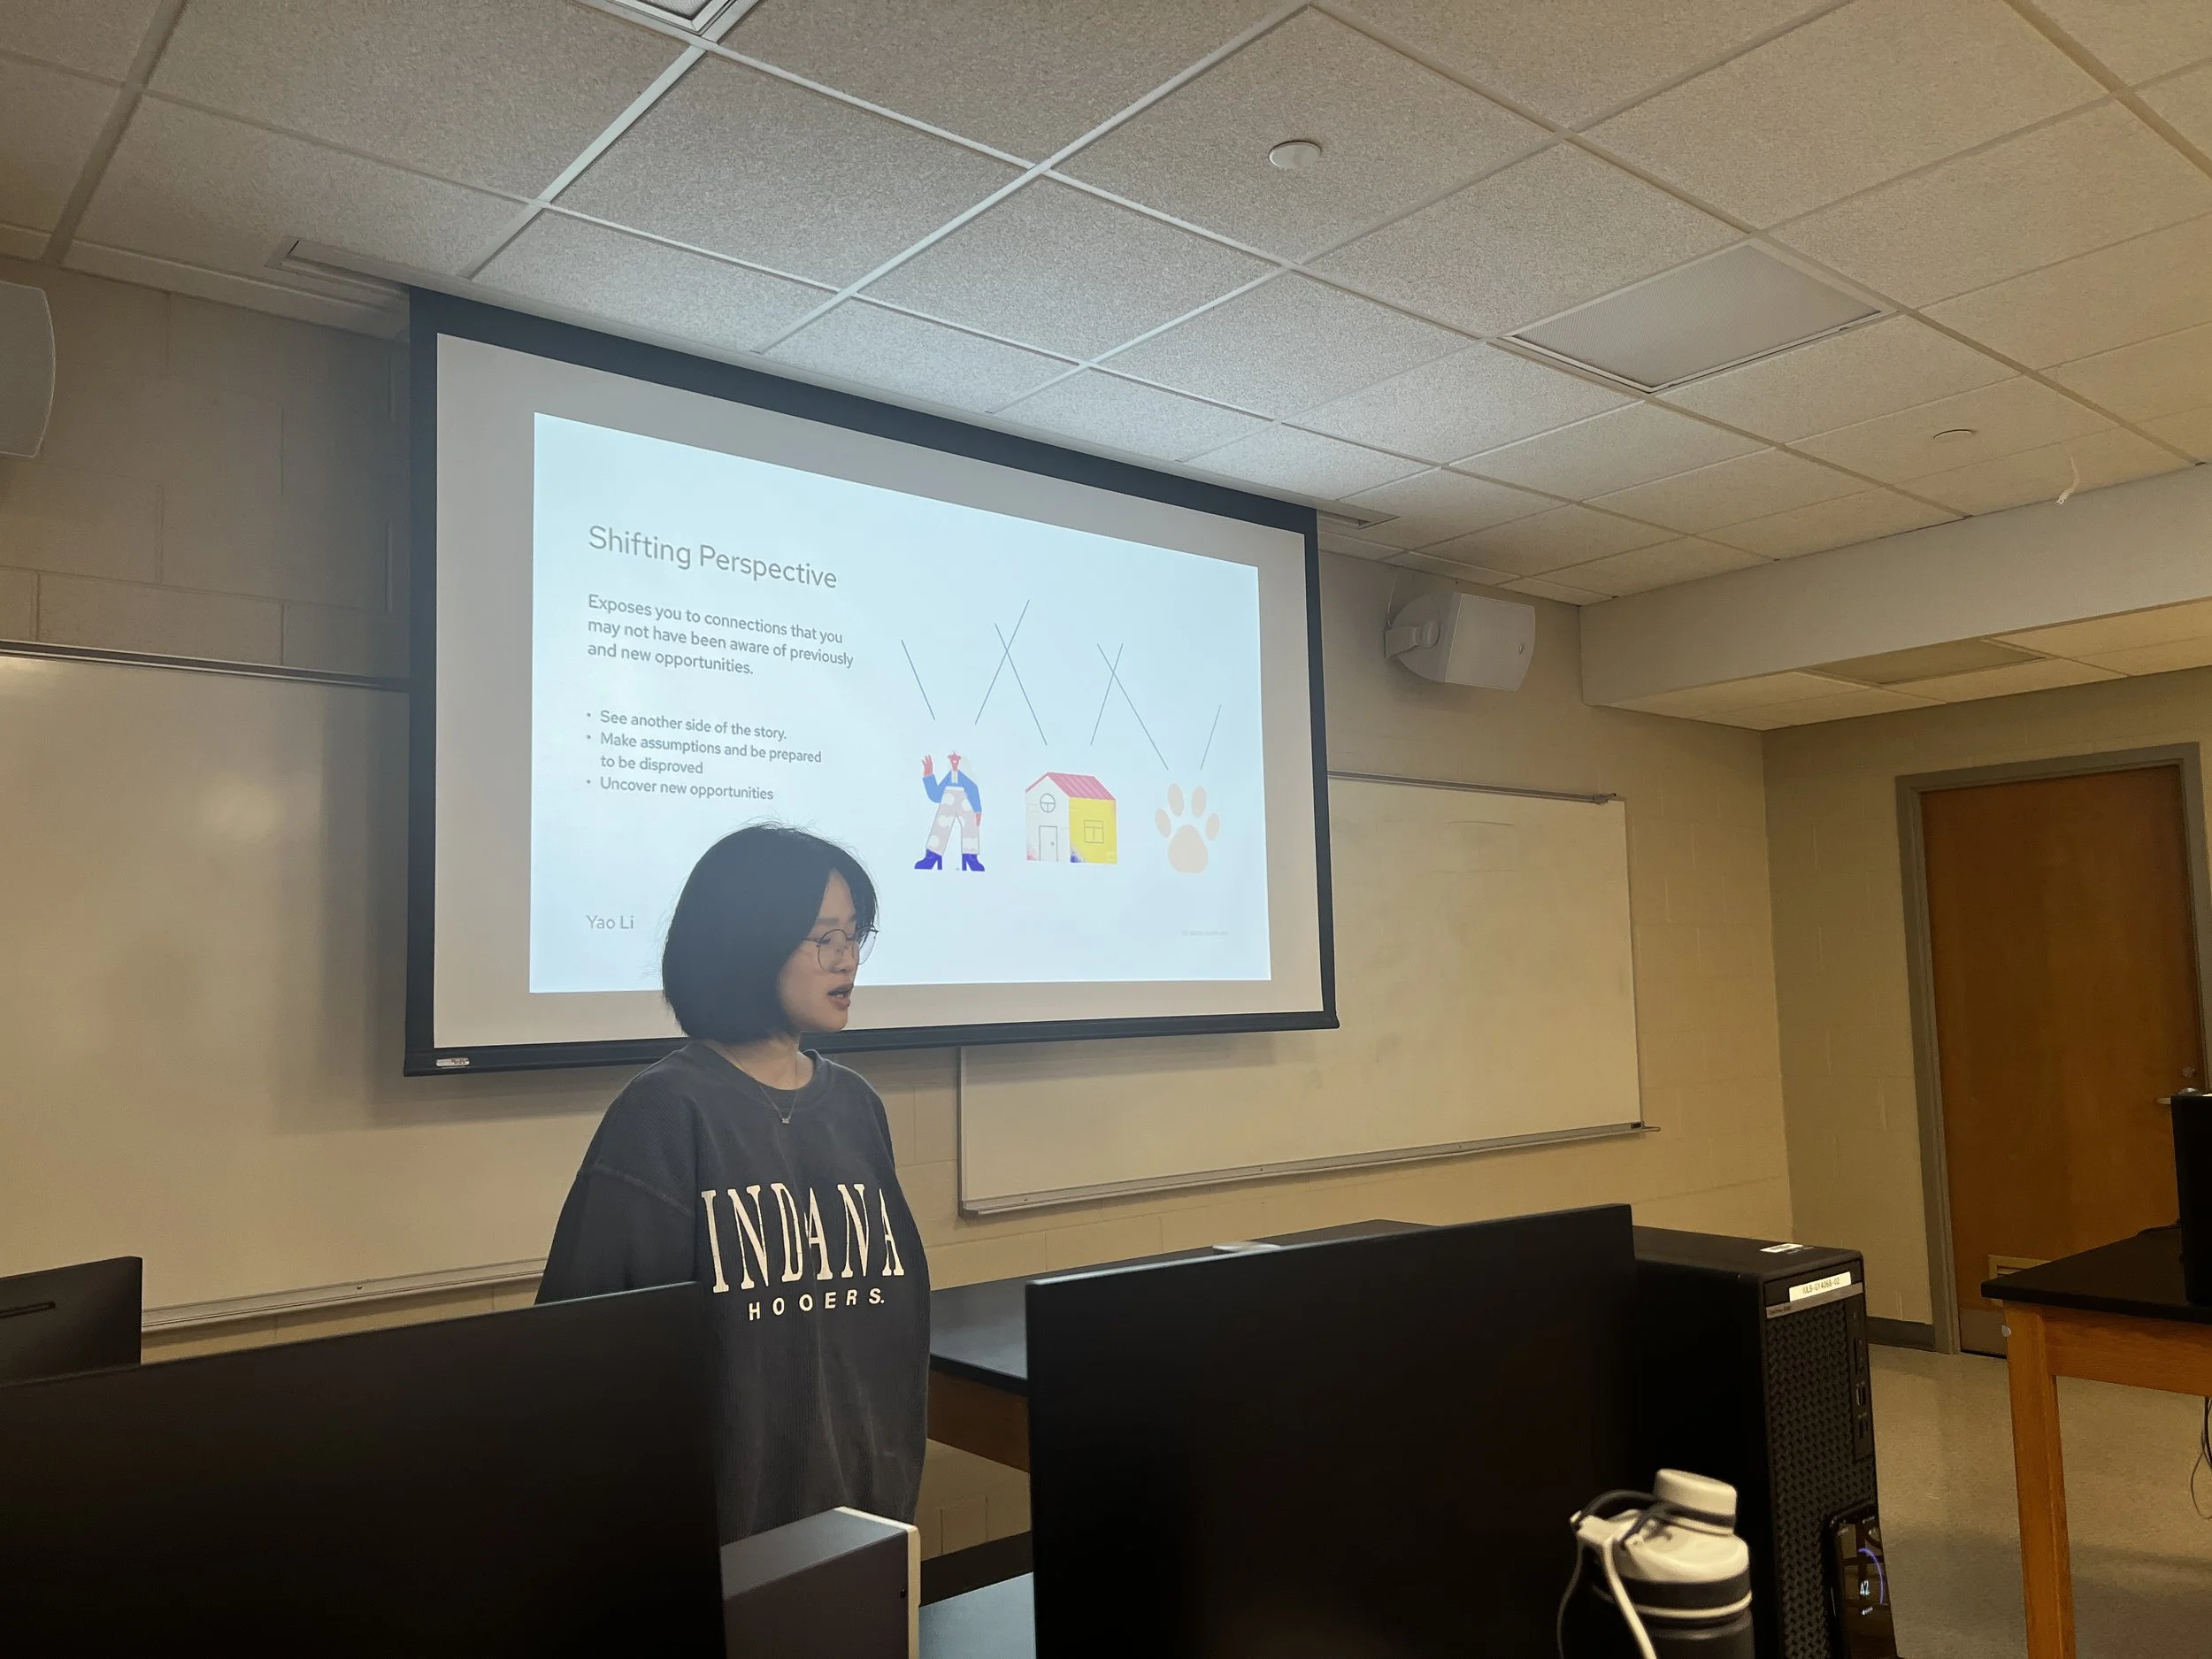
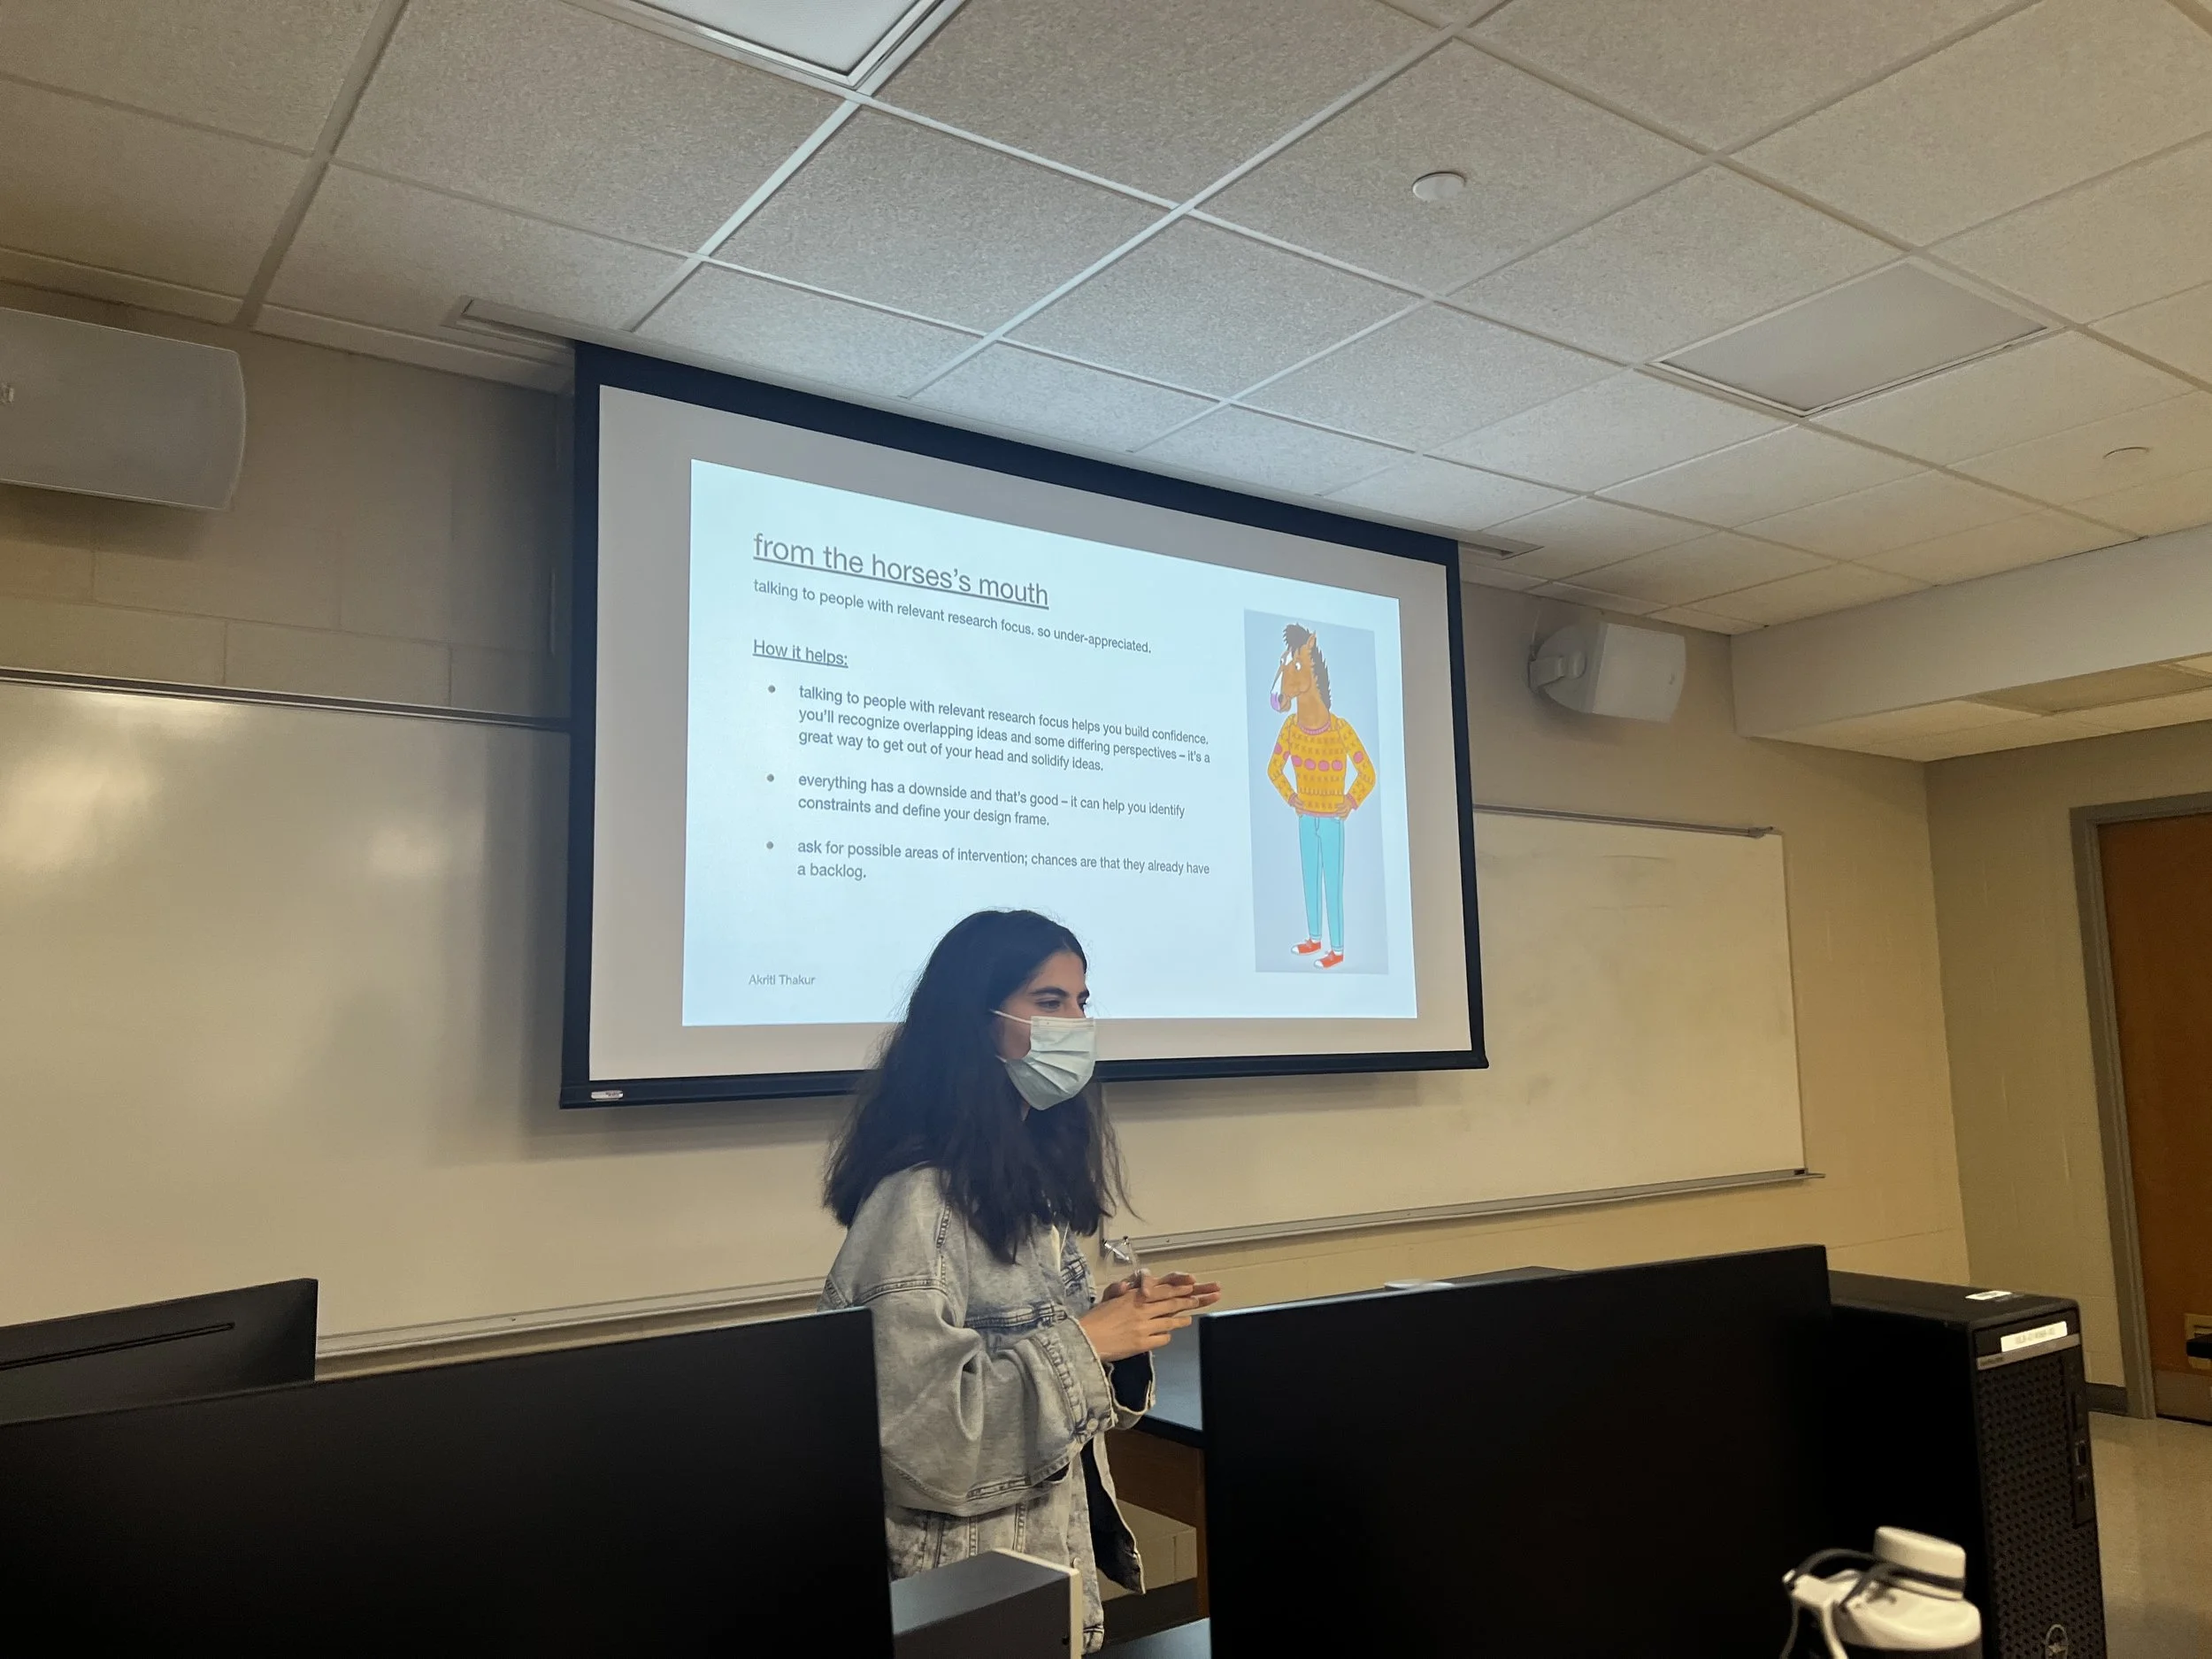
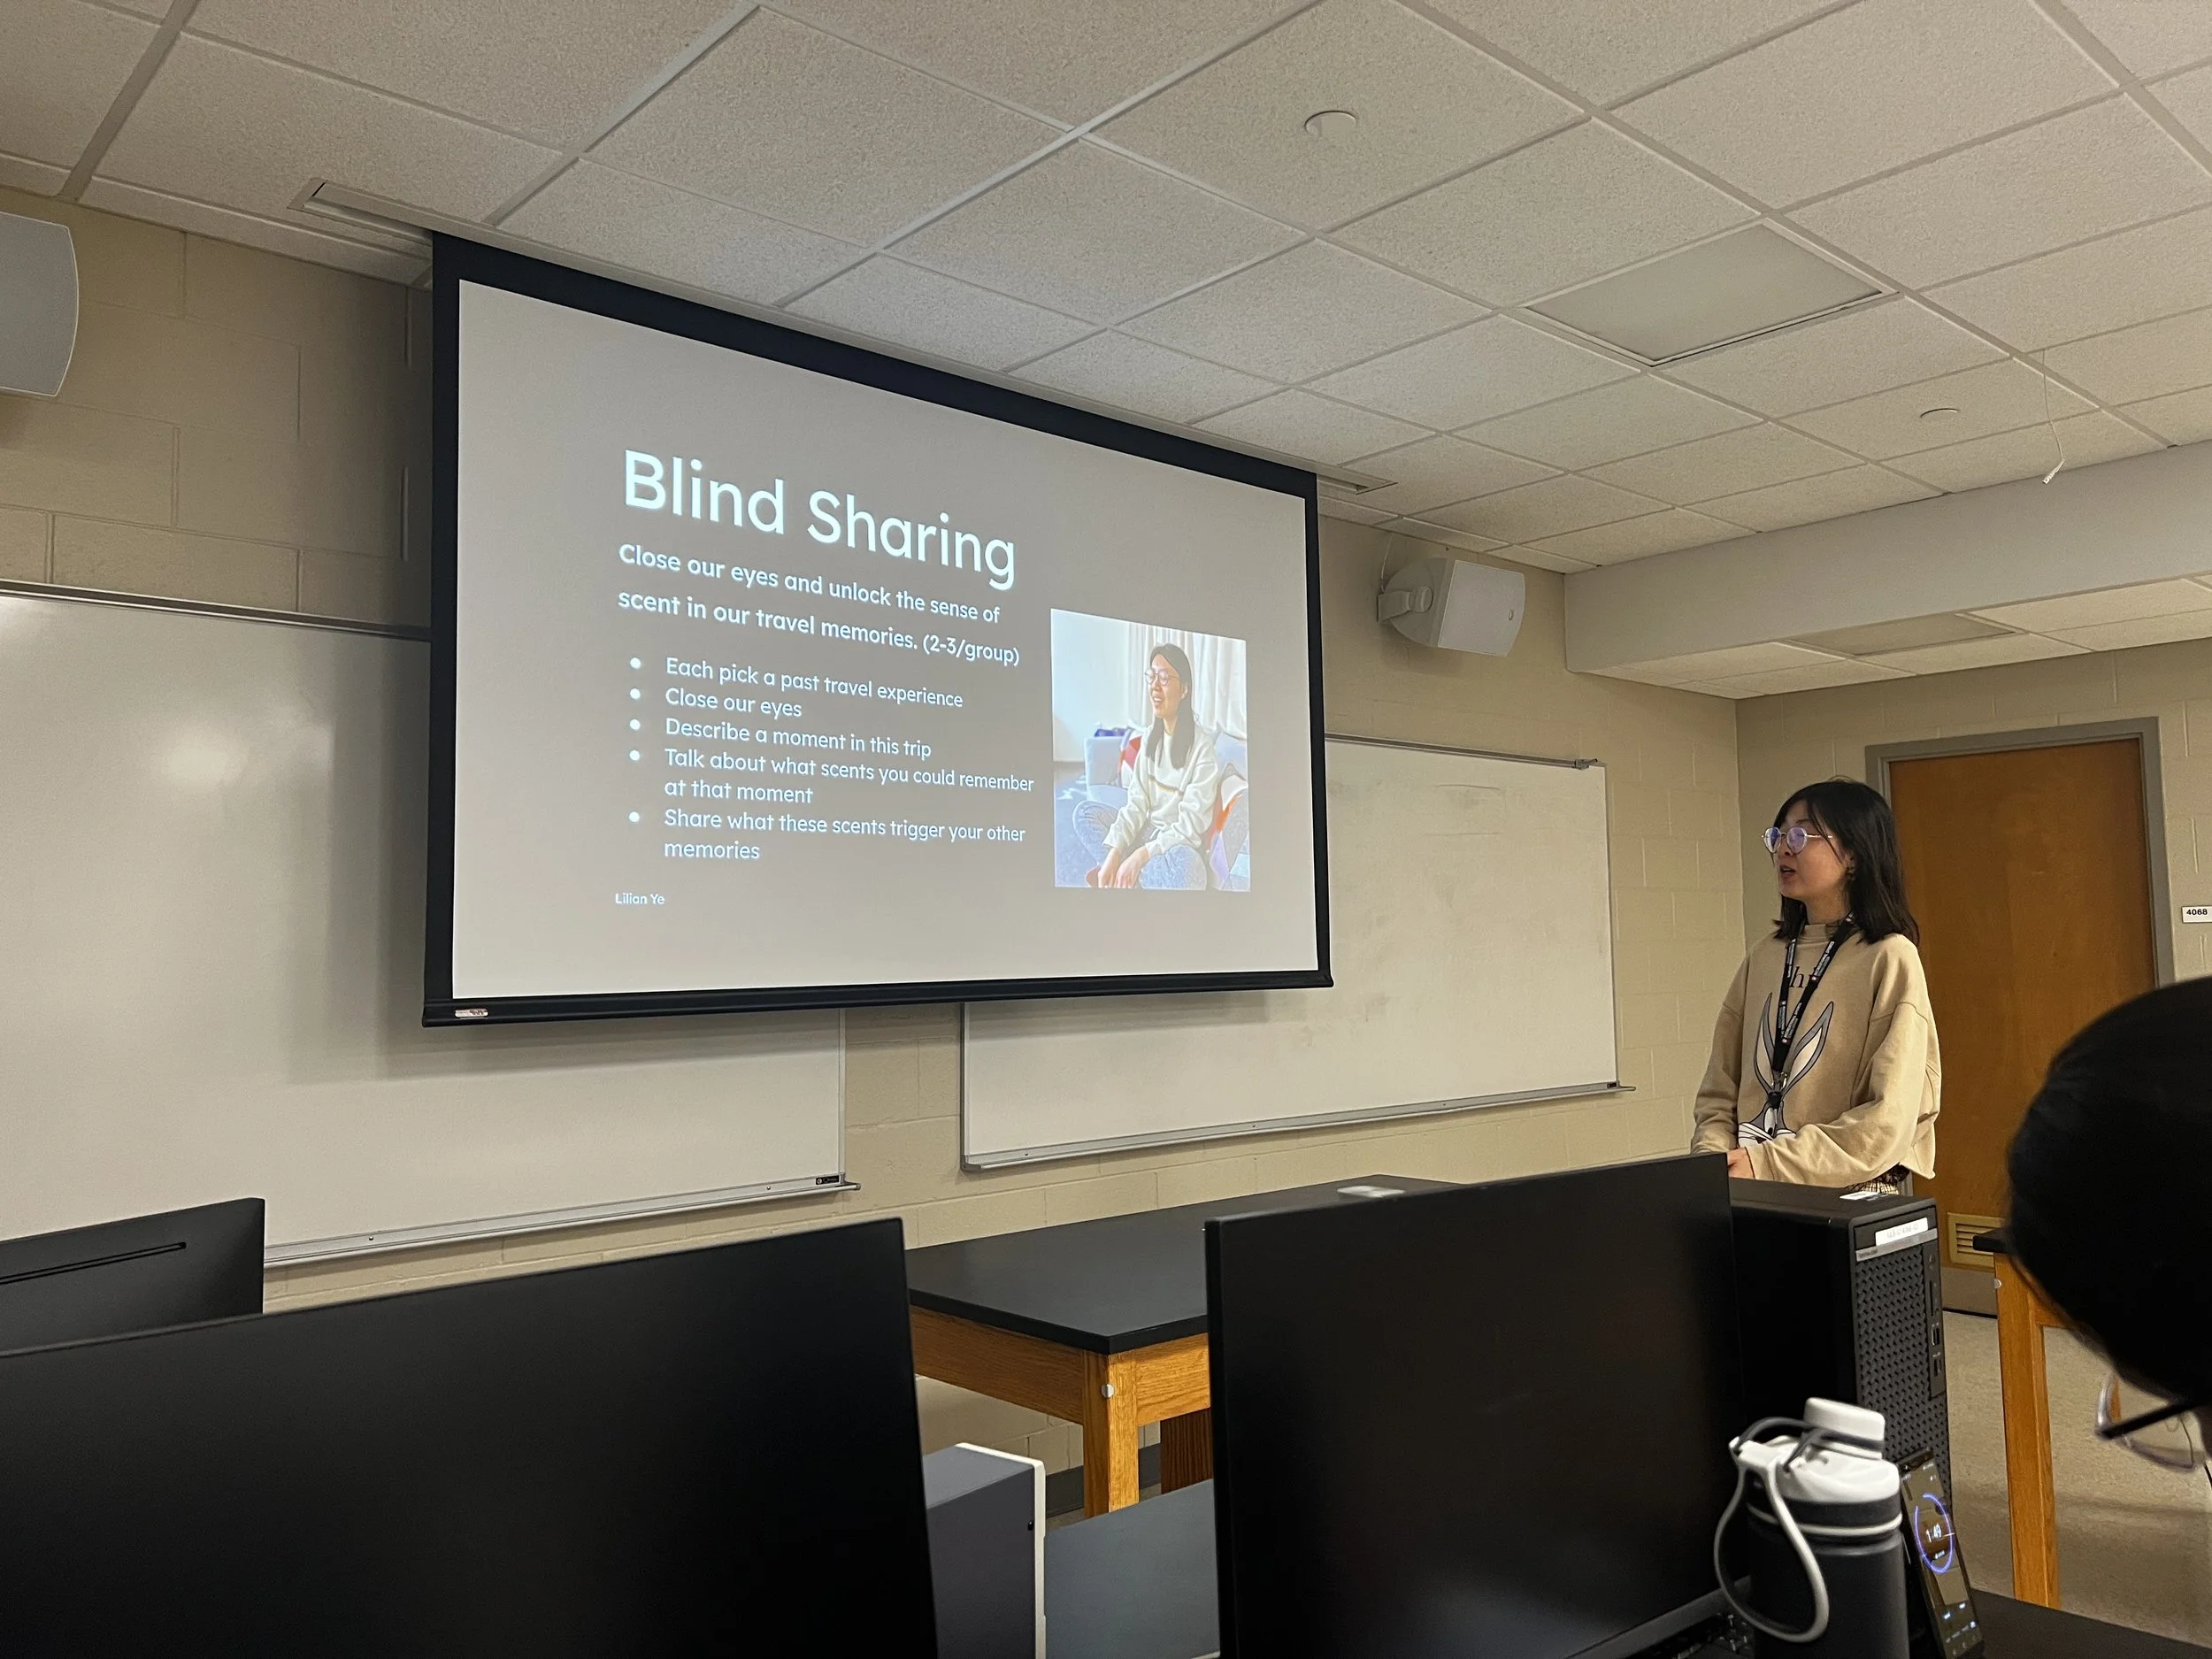
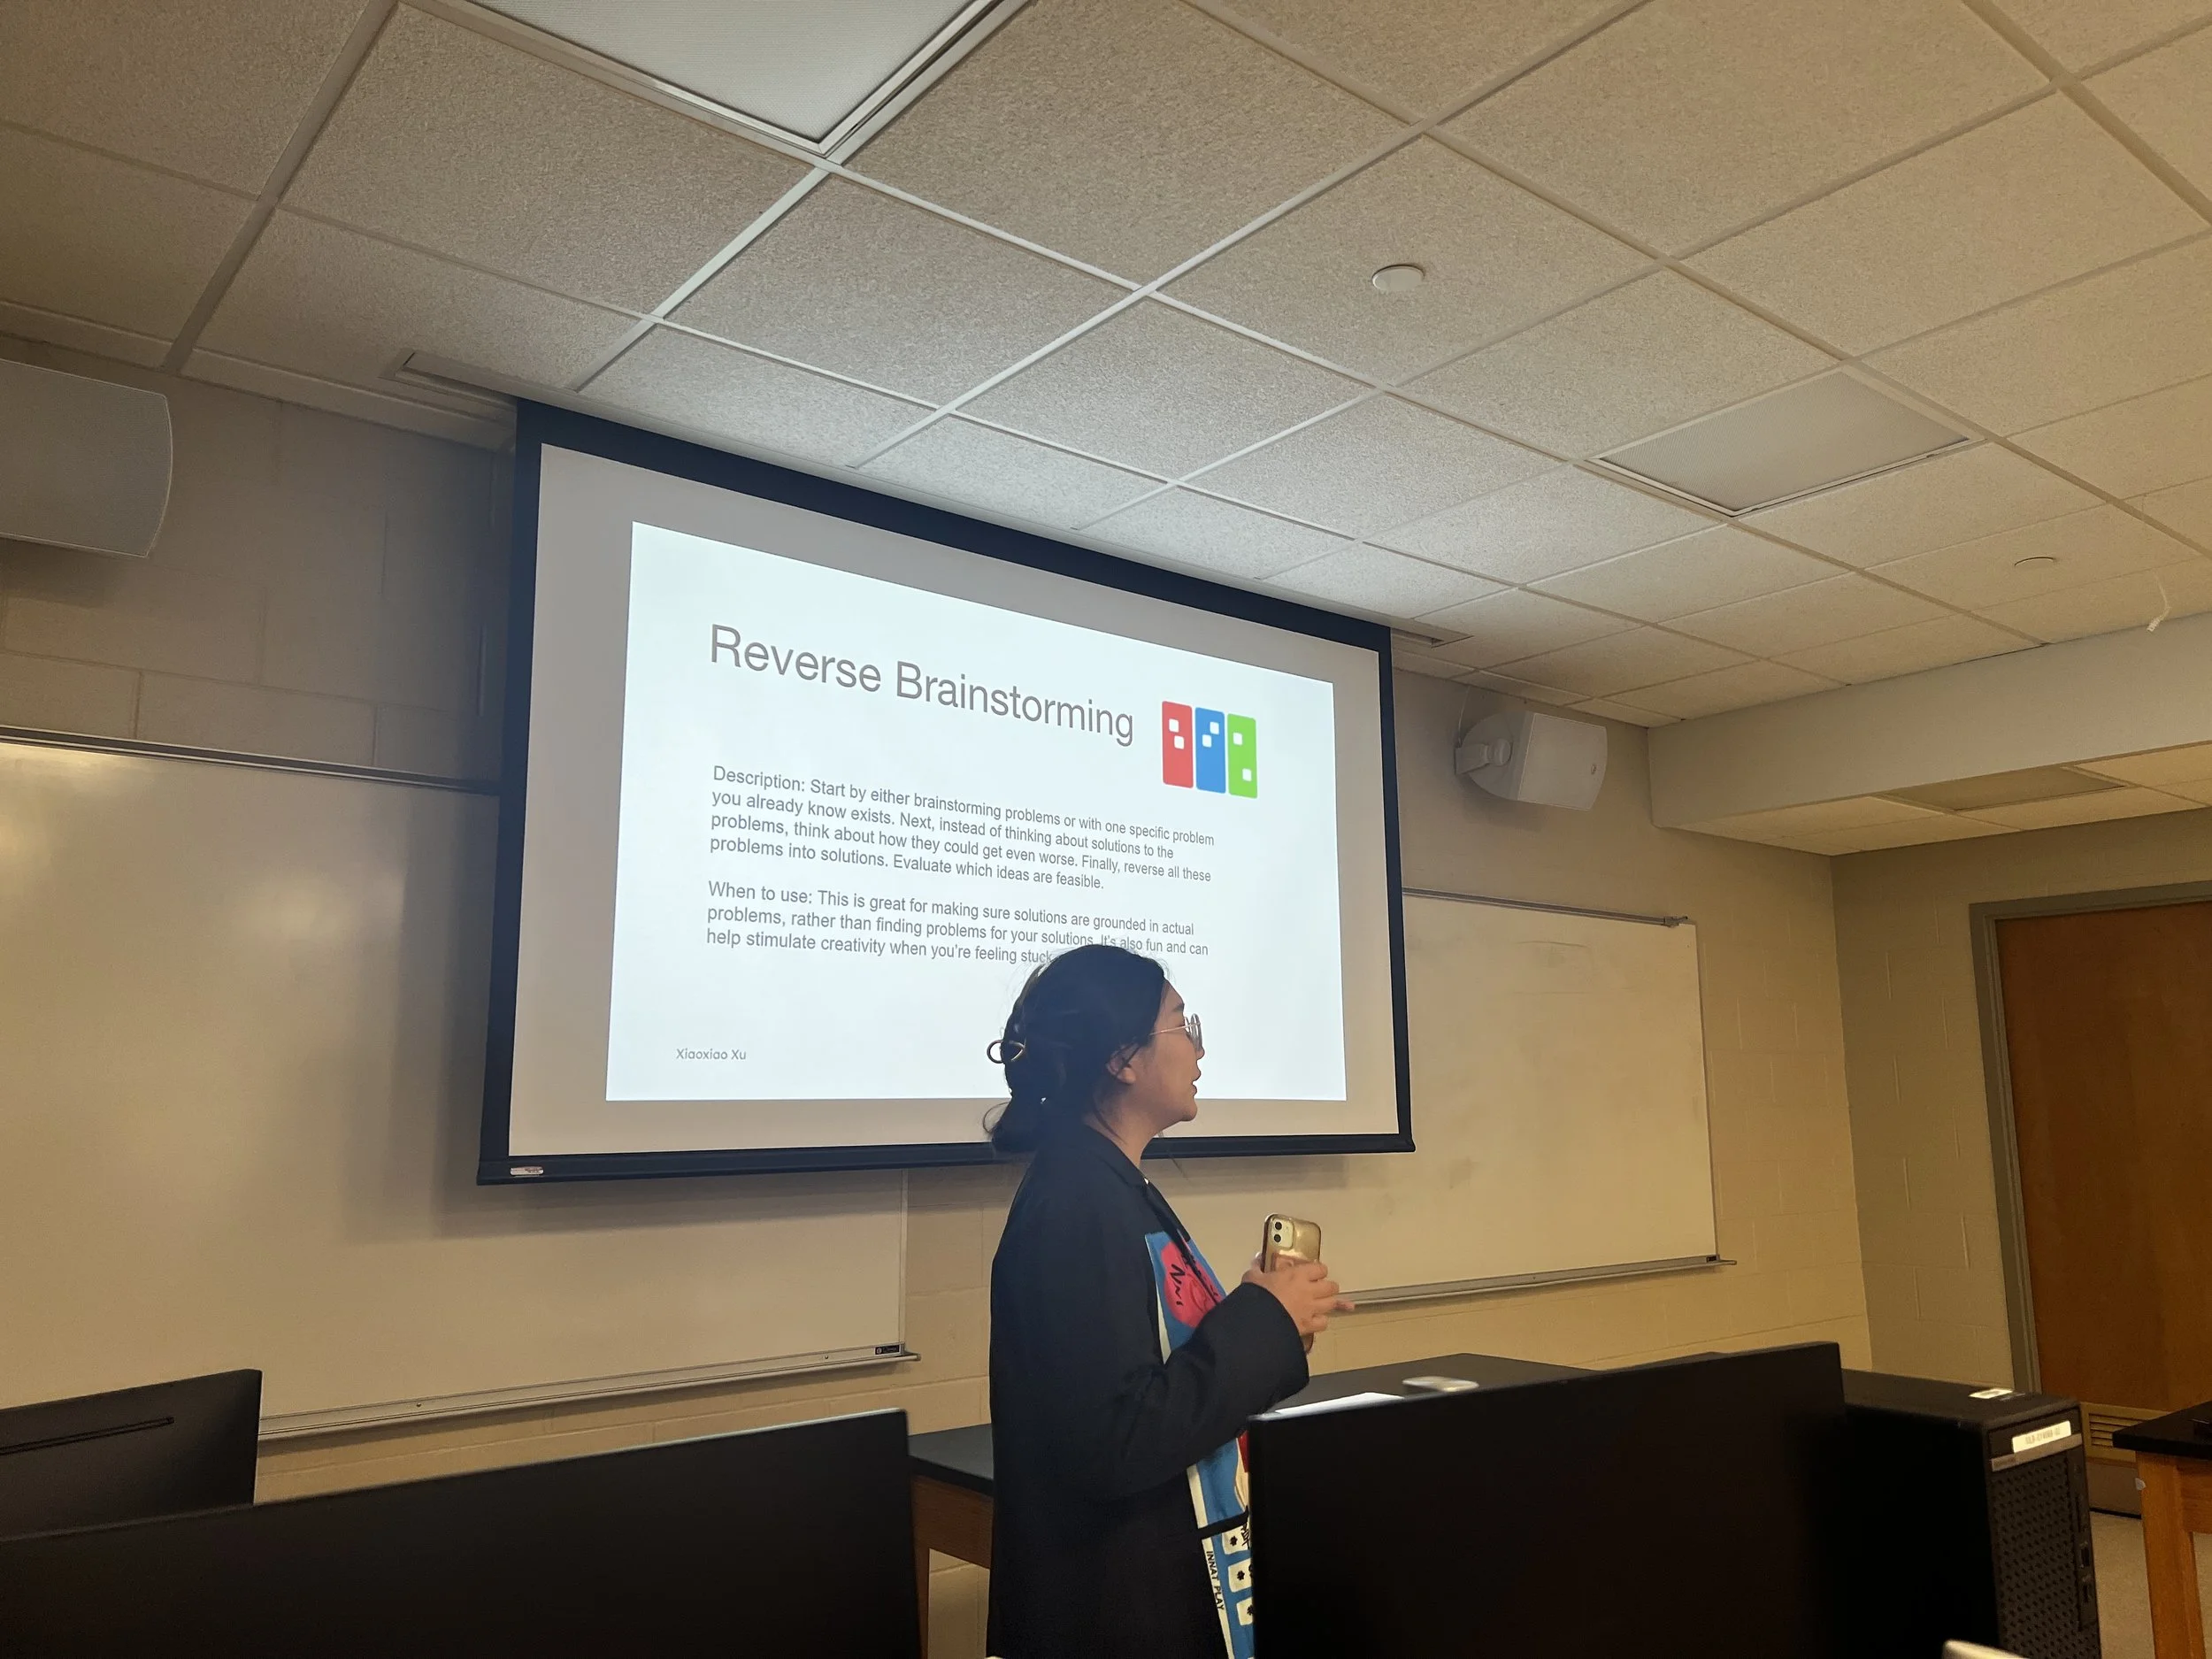
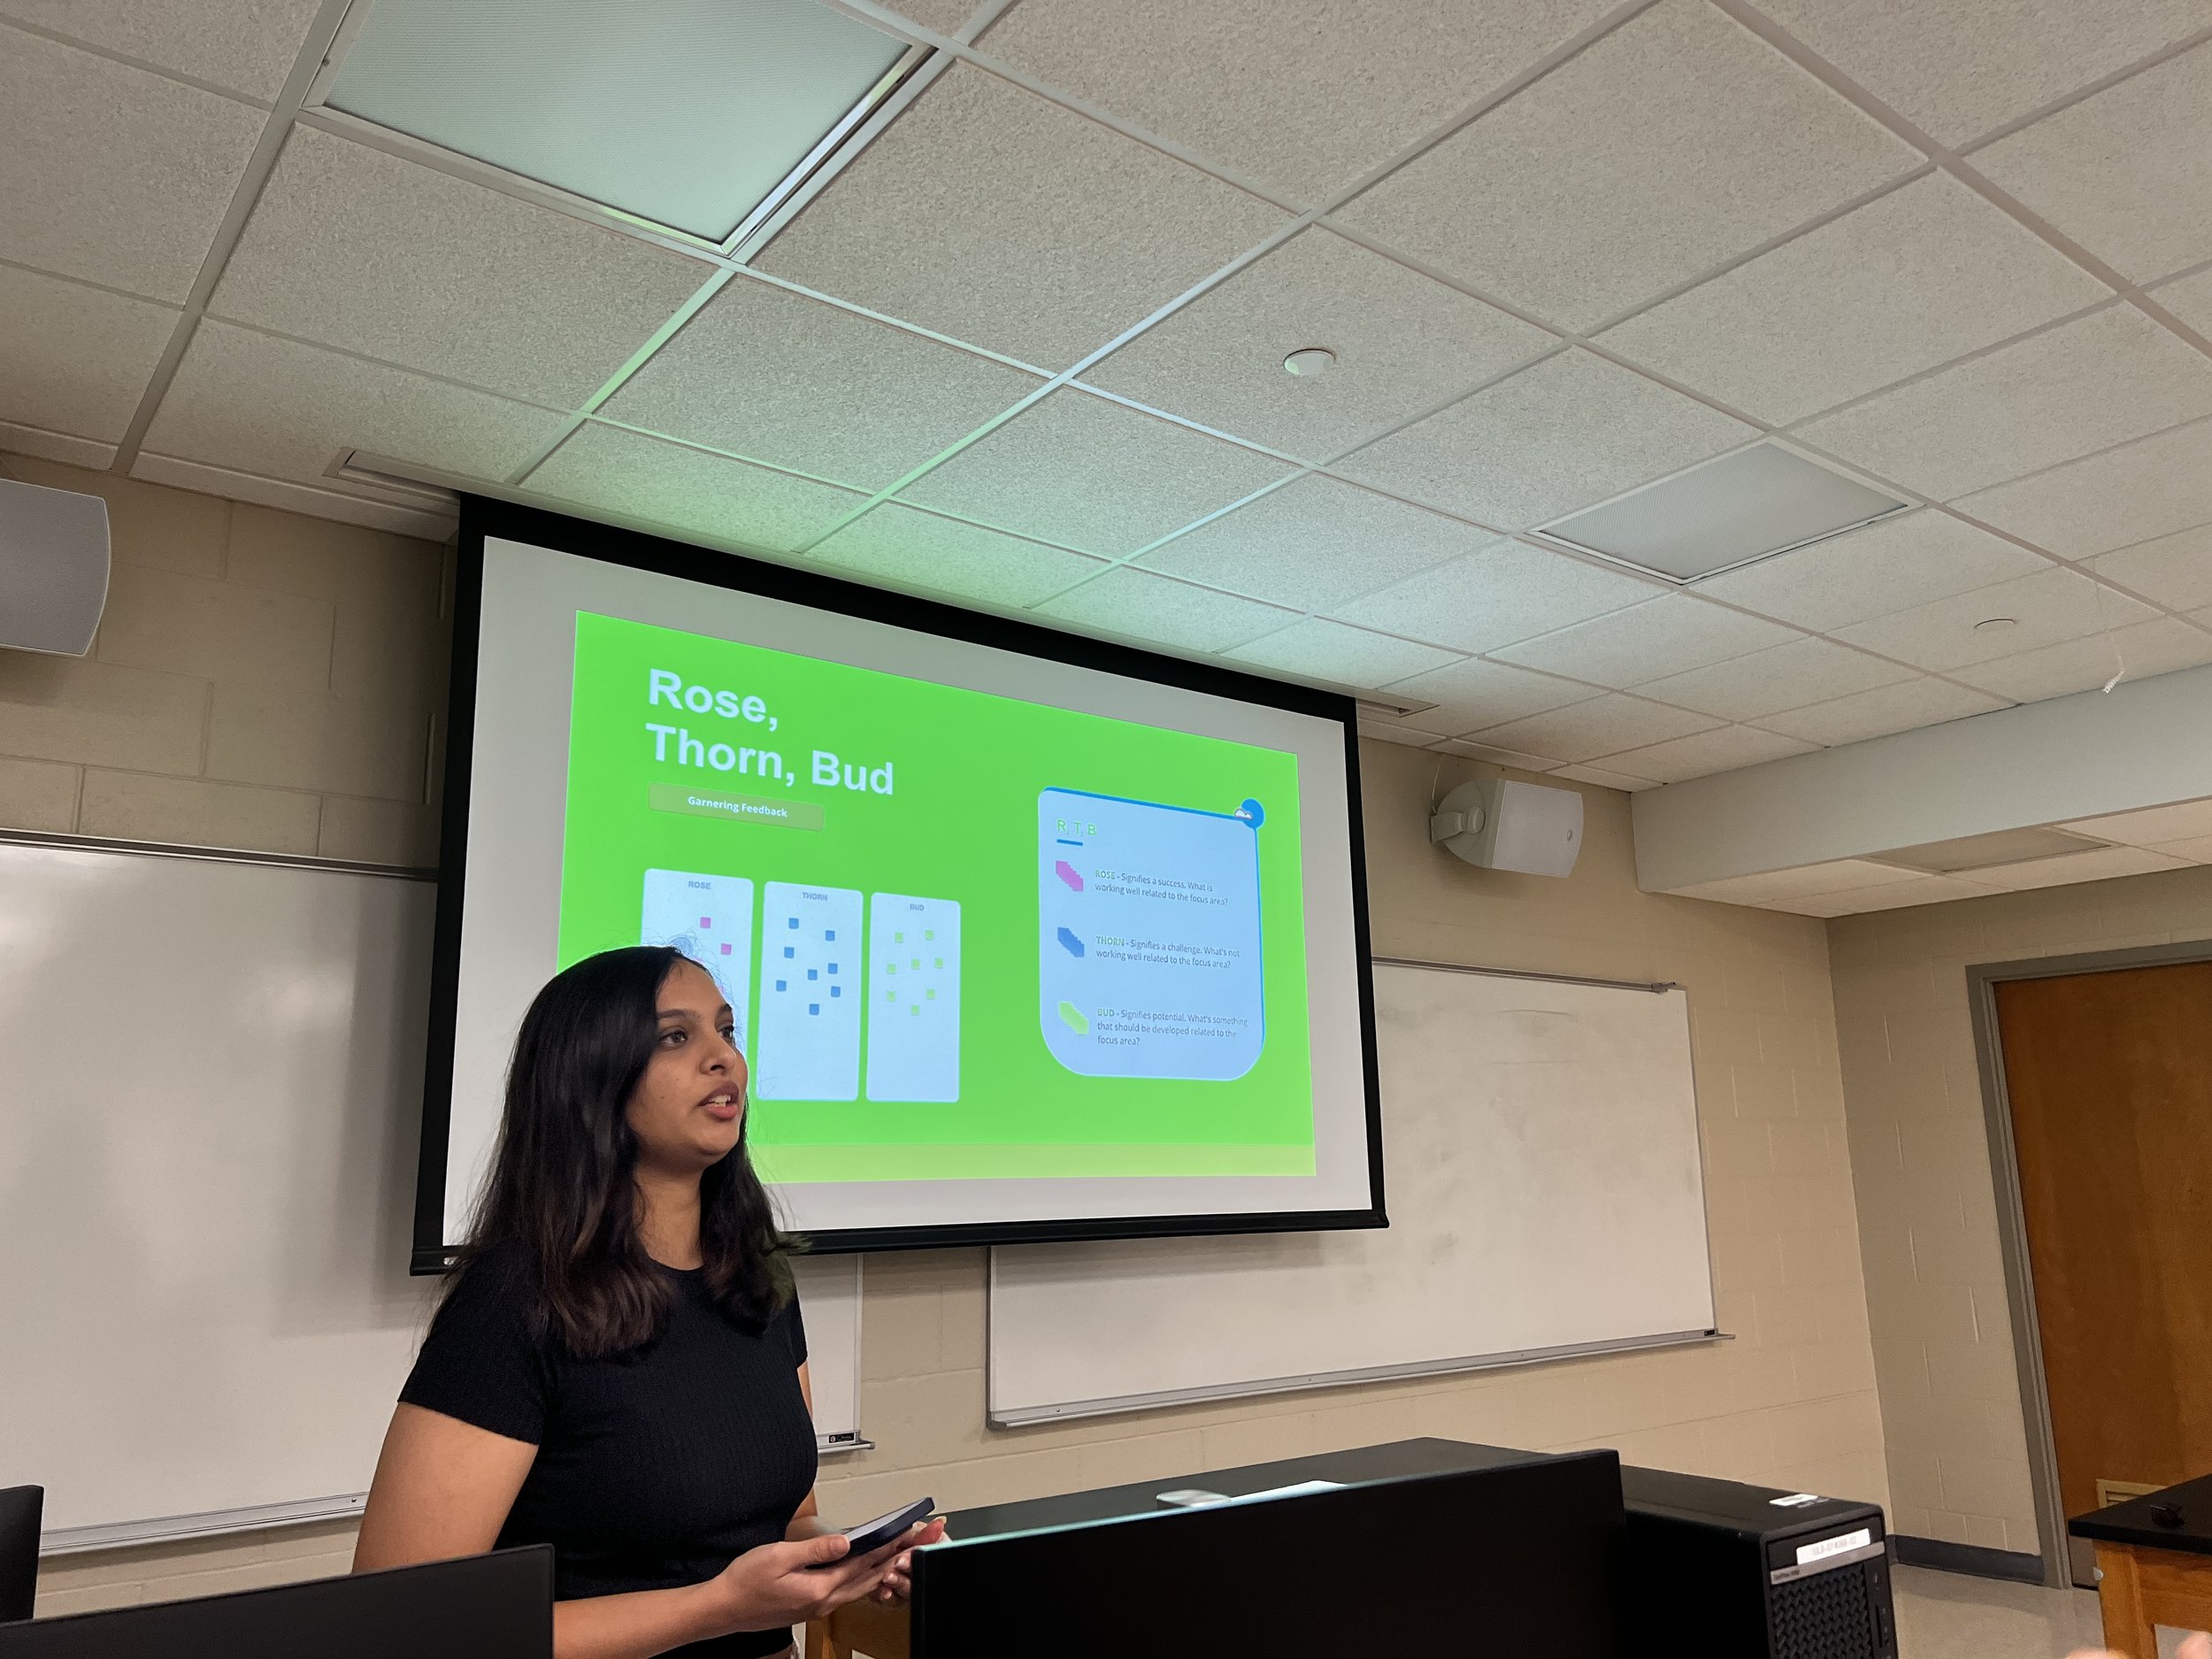
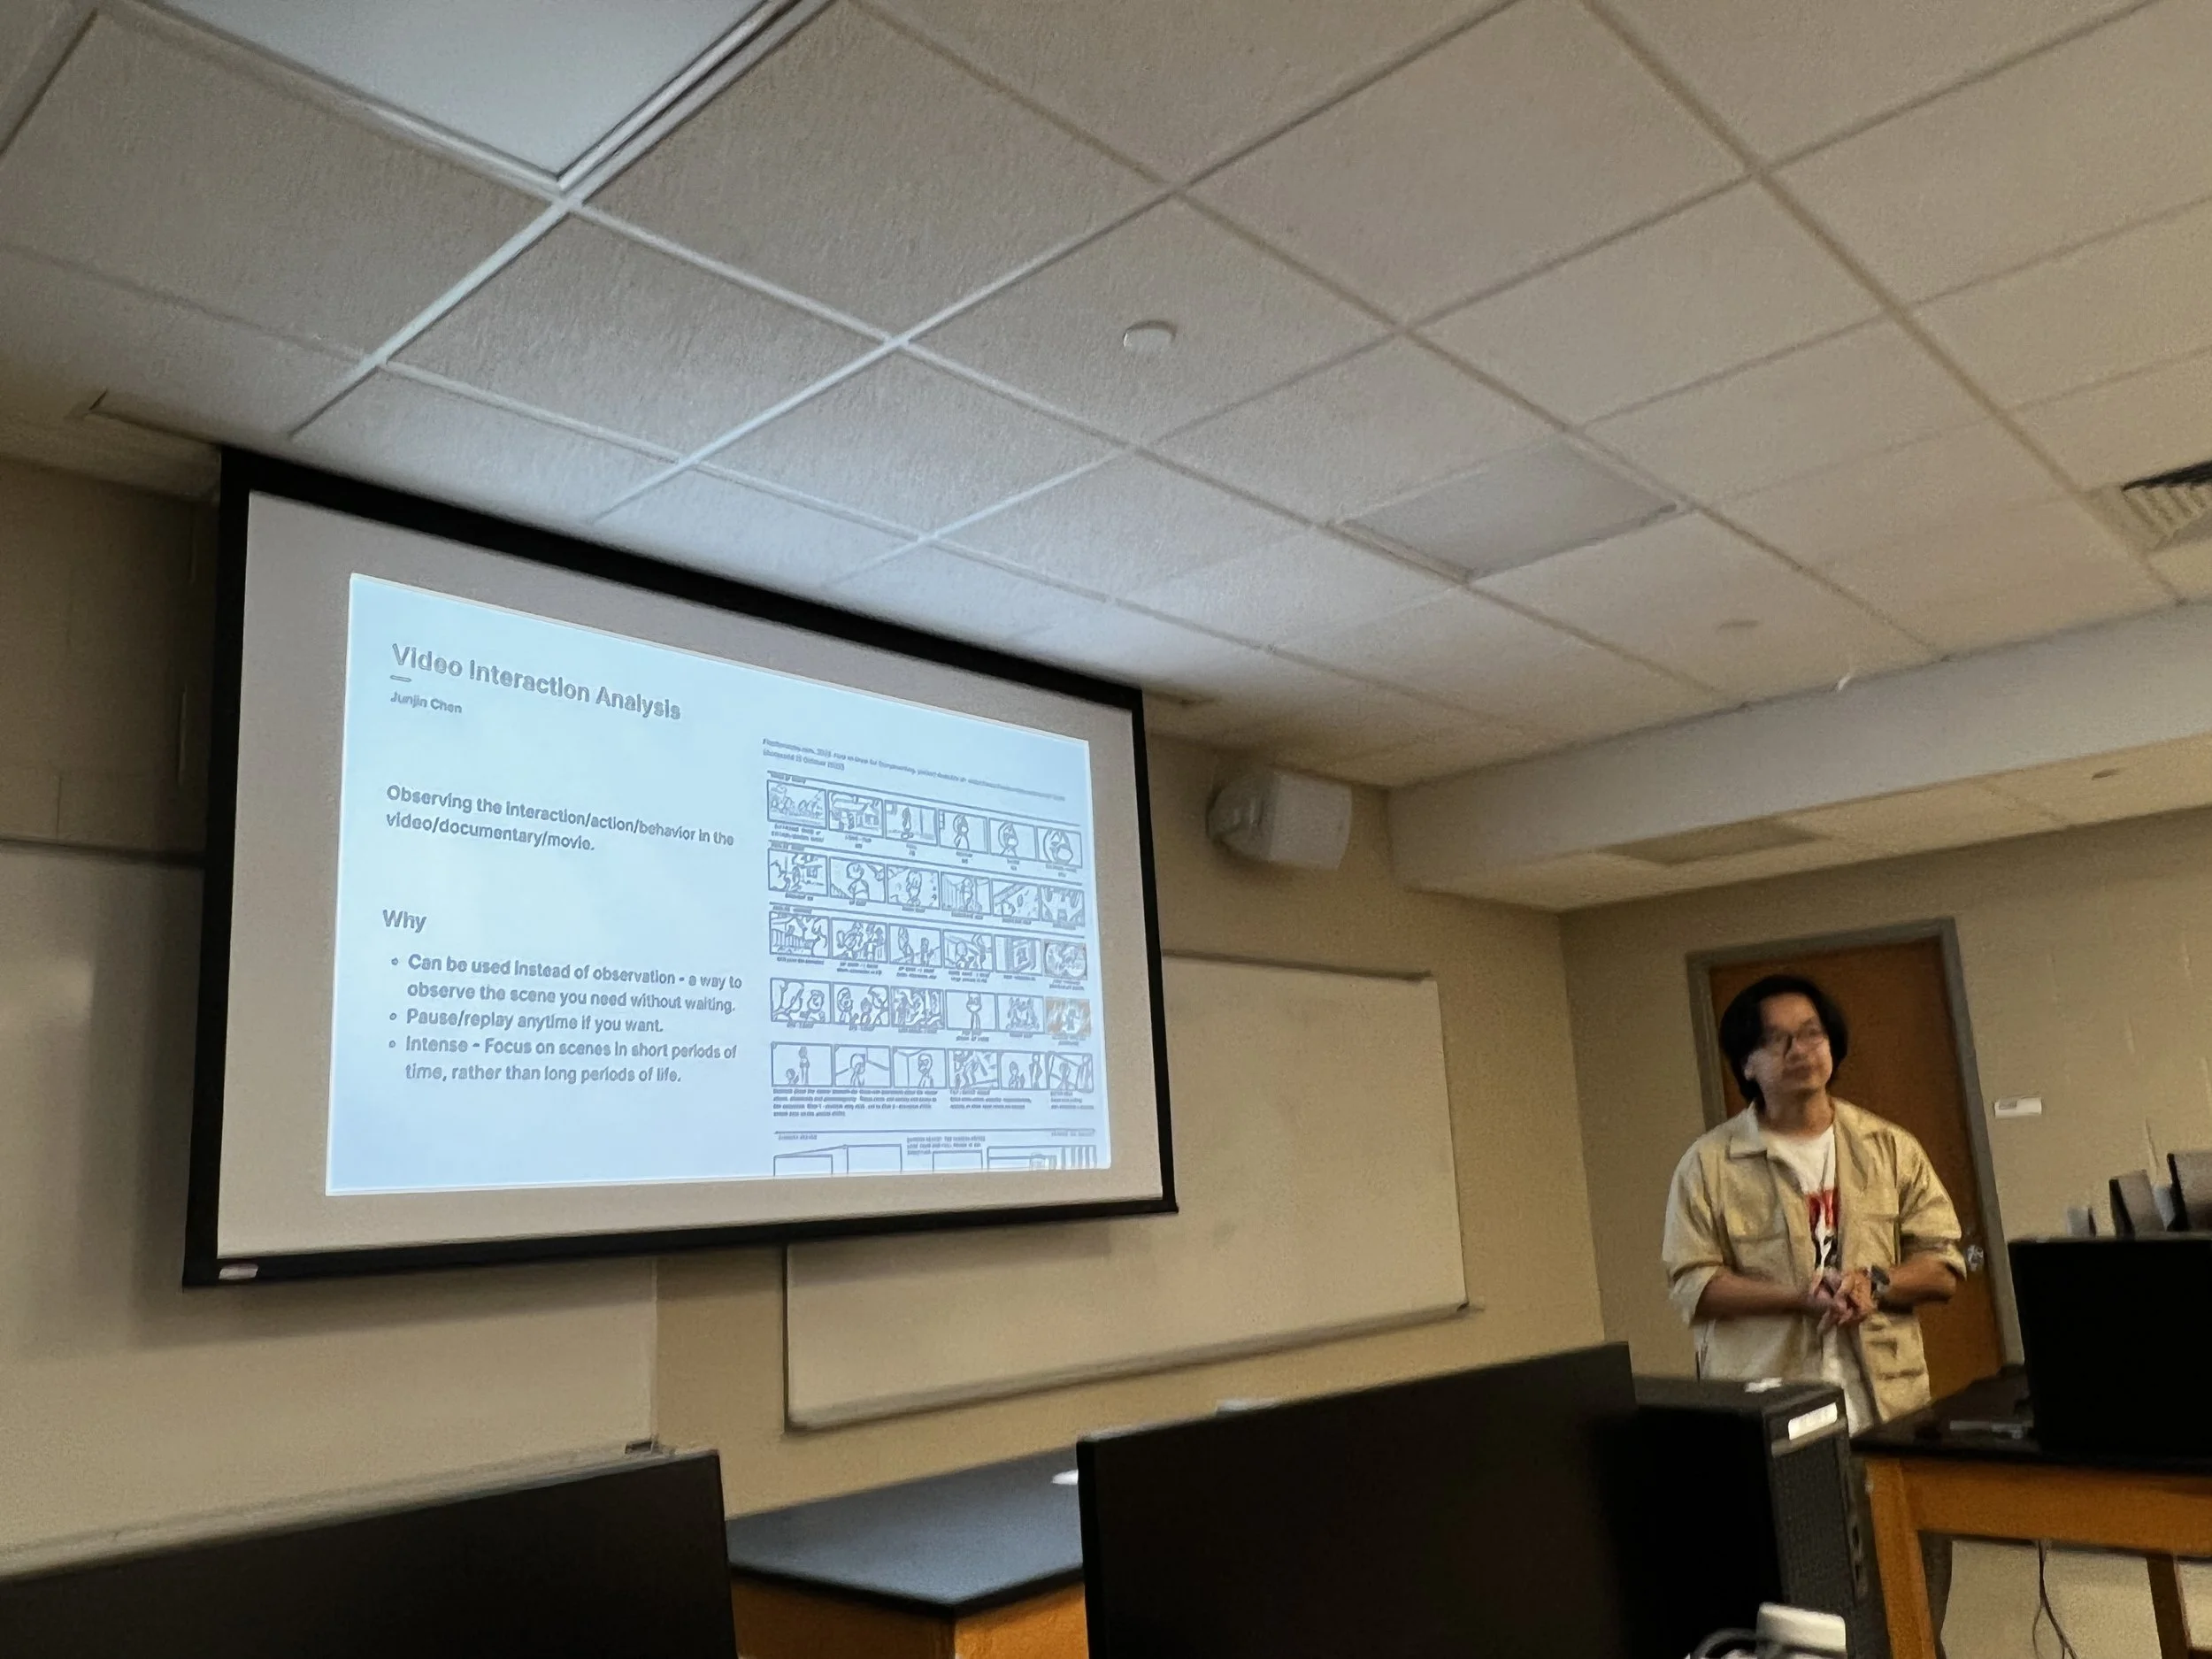
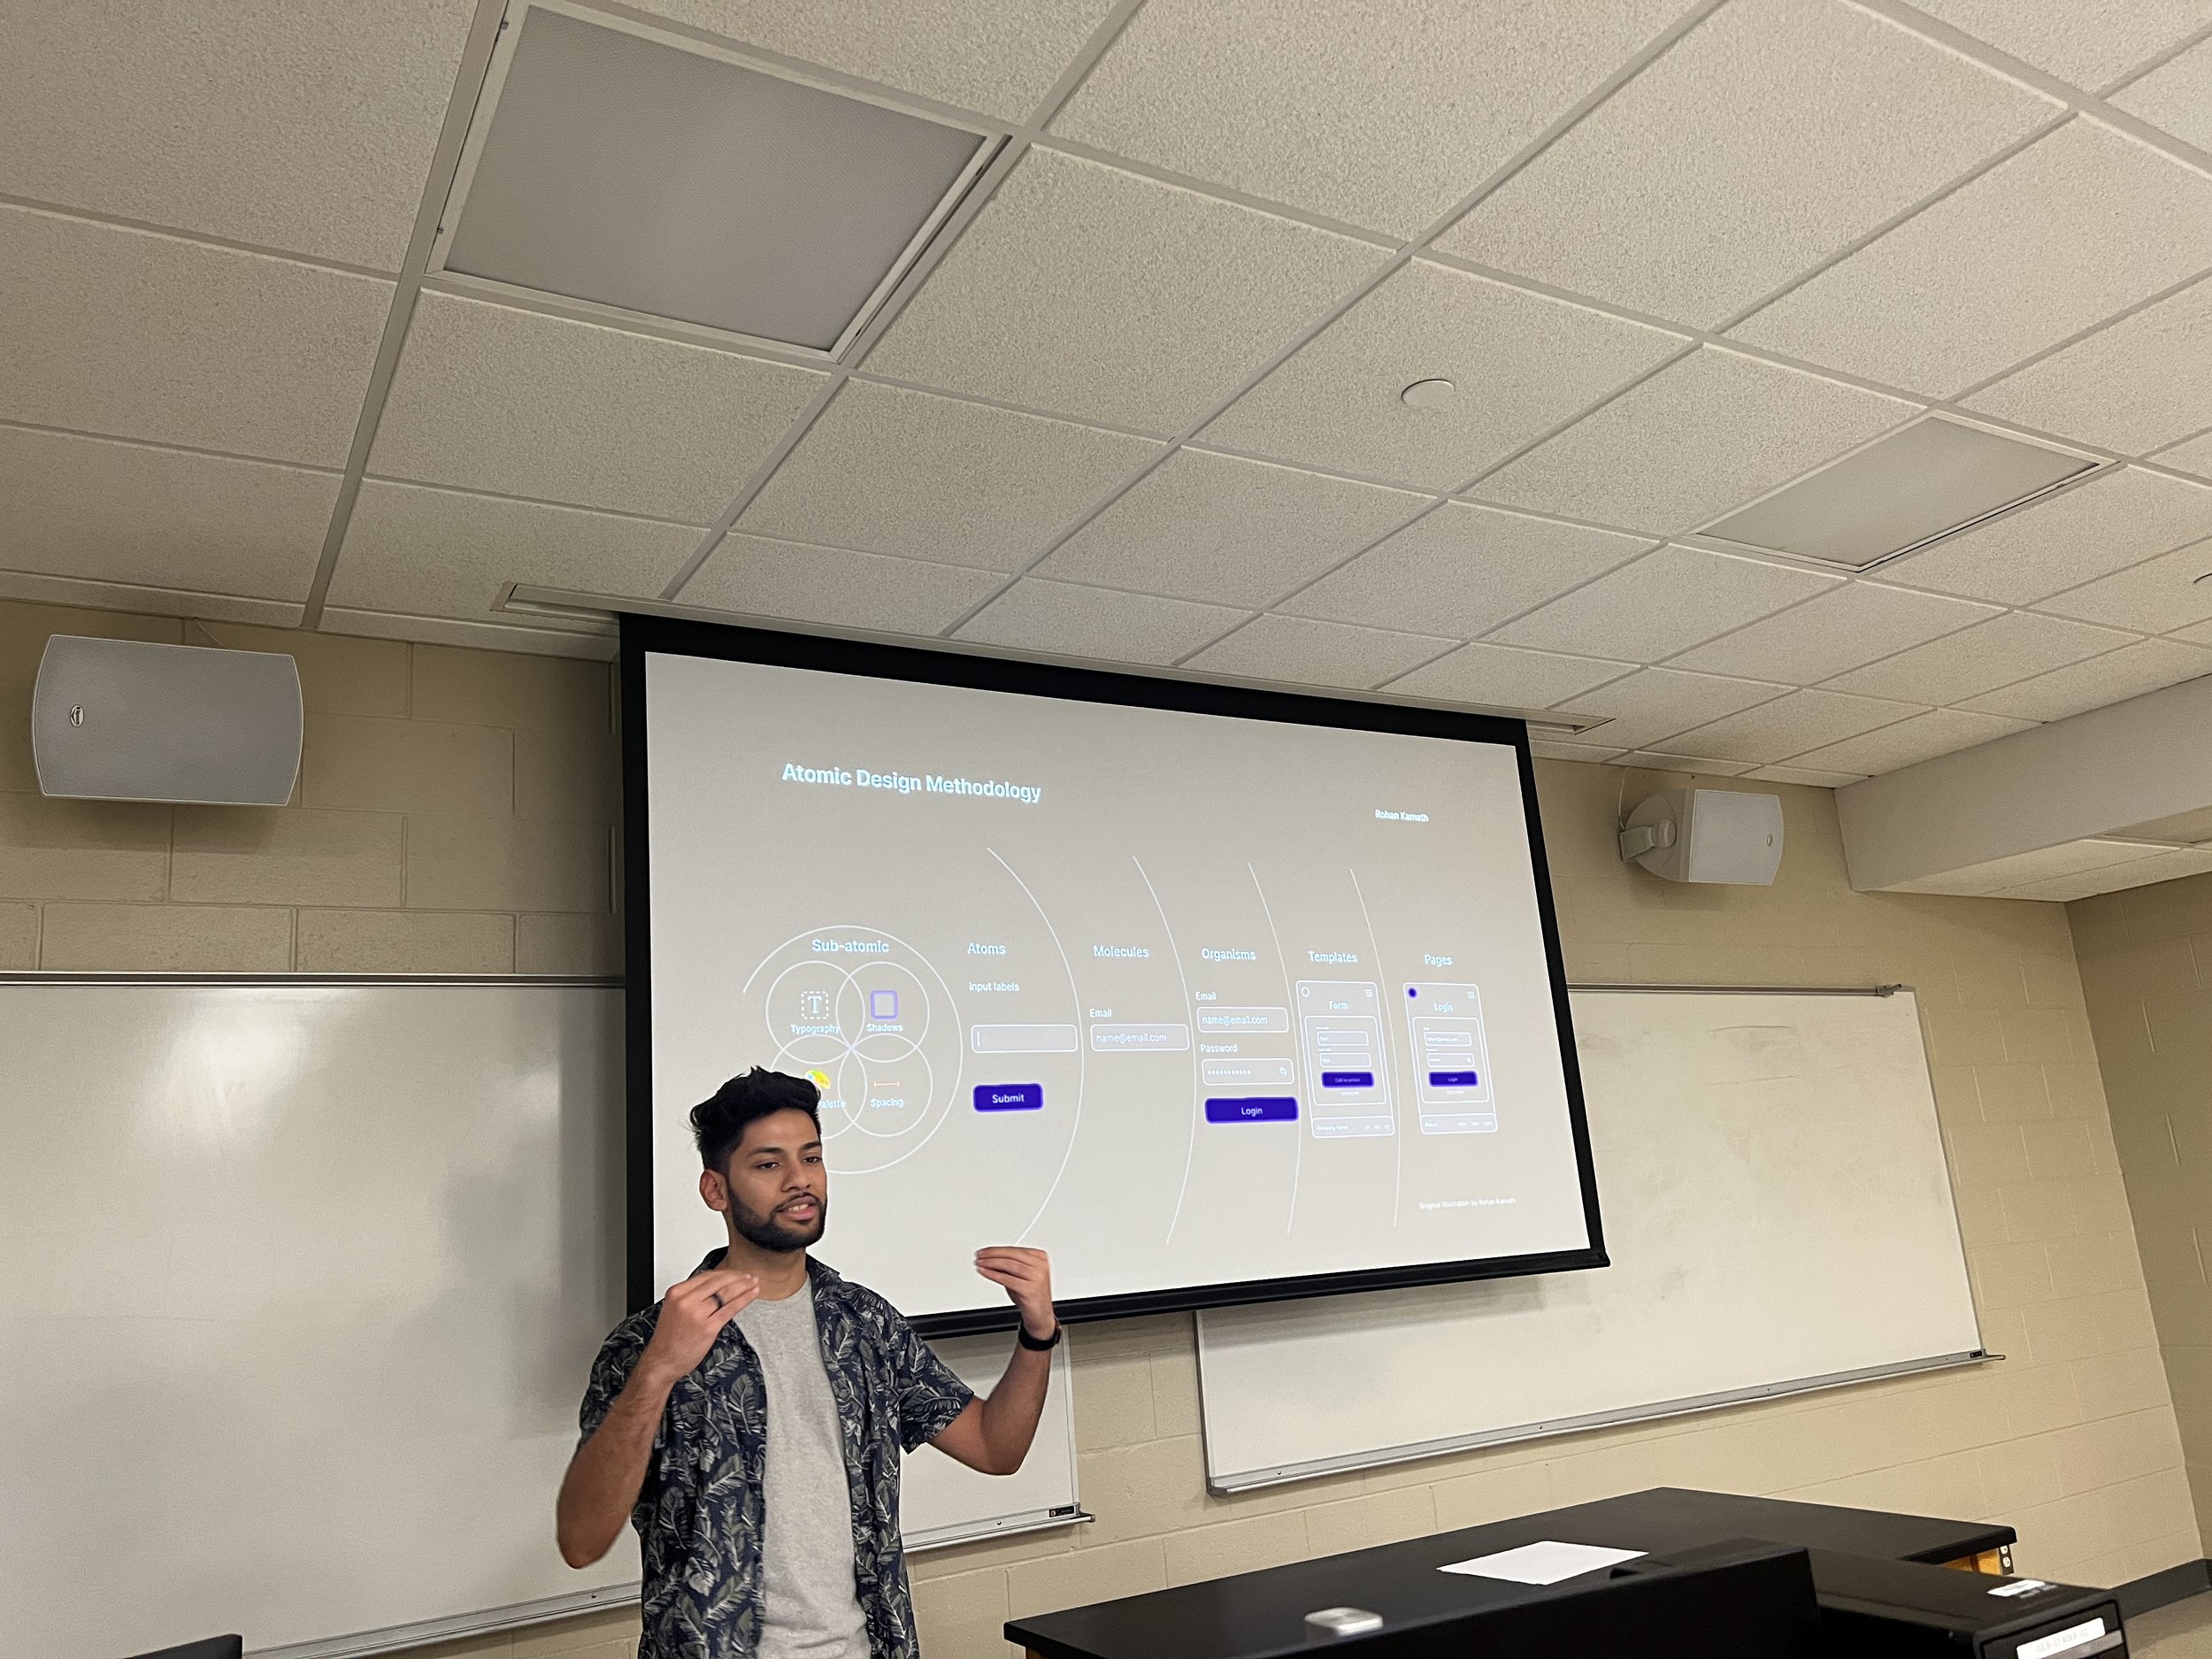
One-Thing Presentations
In the second session of the week, Wednesday, we did “One-thing” presentations in class. During these presentation, students were given 2 mins to present one slide about “ONE THING” in relation to their thesis/project from their experience till mid-term. I incorporated this as a practice for students to reflect back on their process and as a sign for all of us to celebrate each other’s hard work!
“I feel one thing the rest of the peers will benefit from knowing as a designer is…”
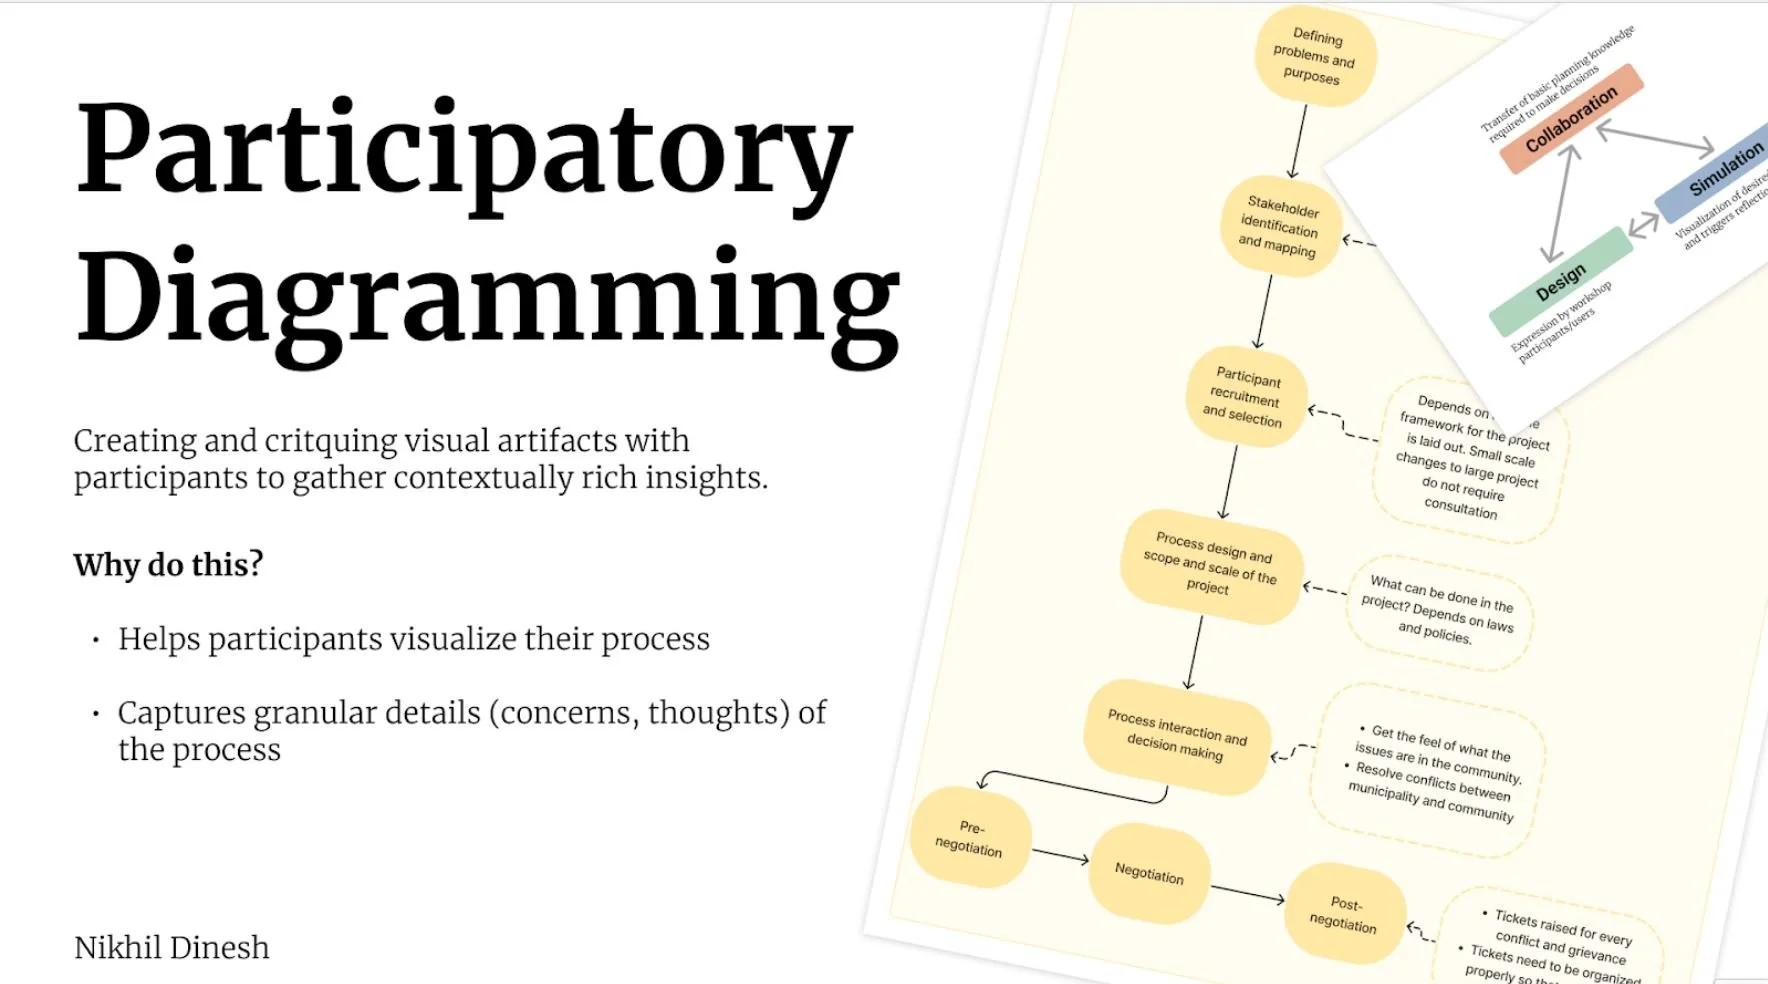
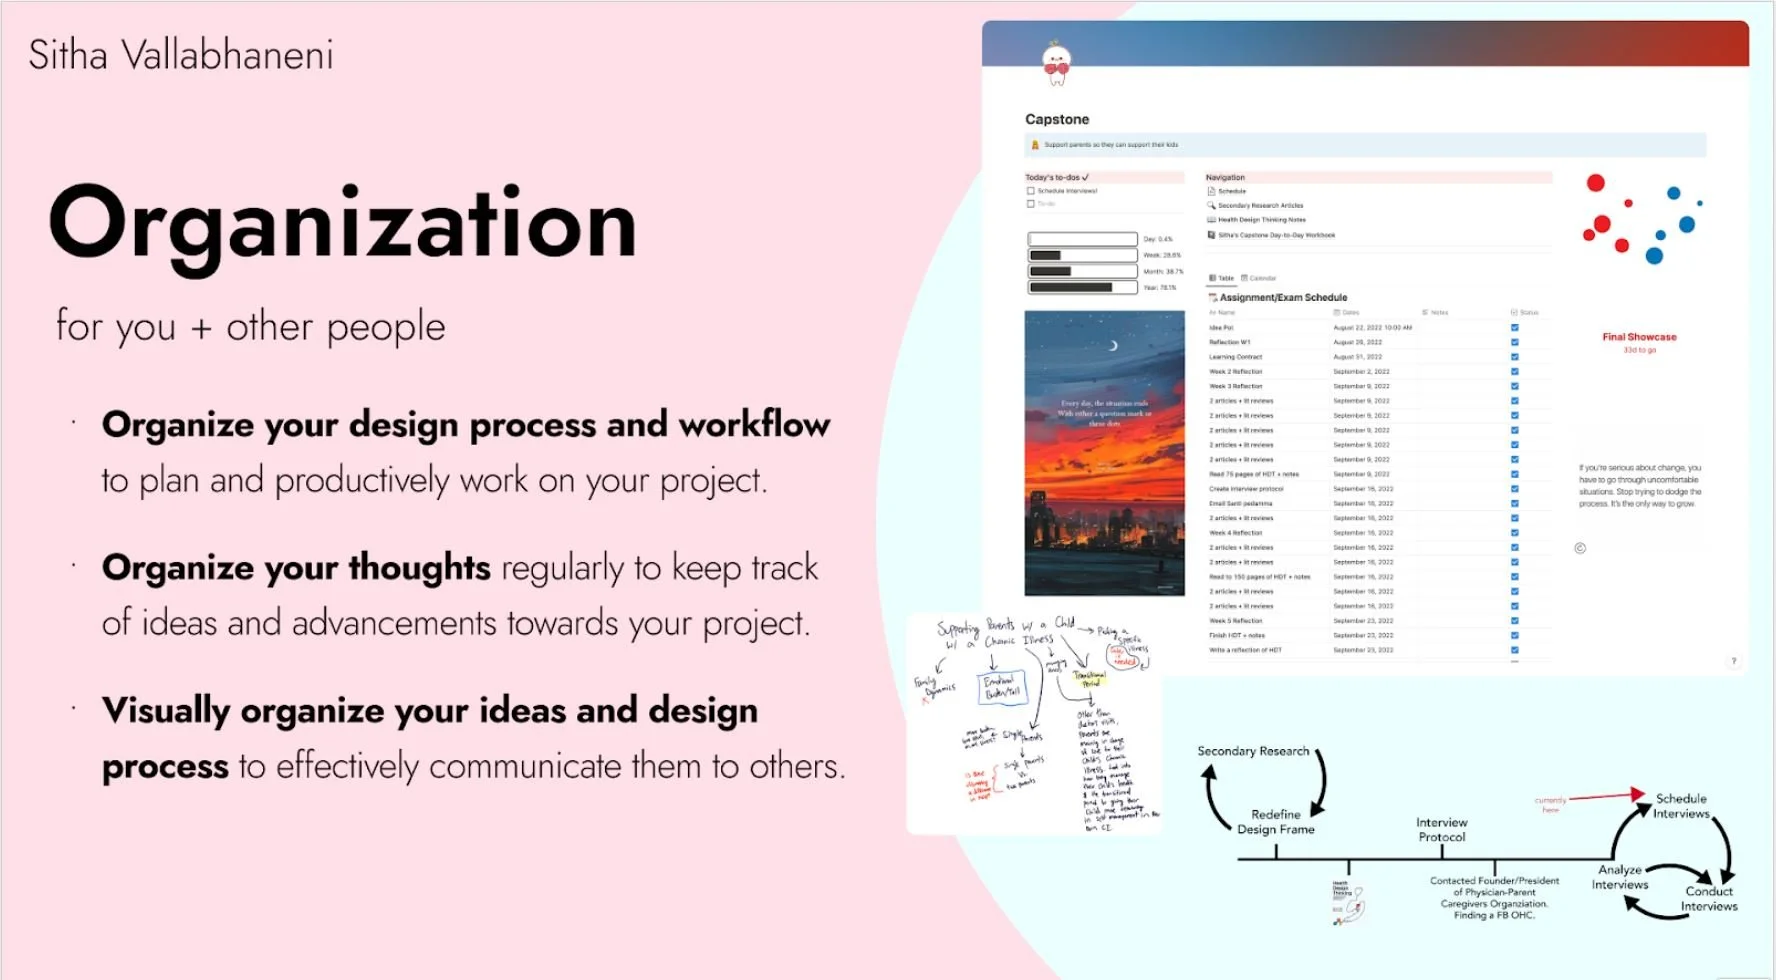
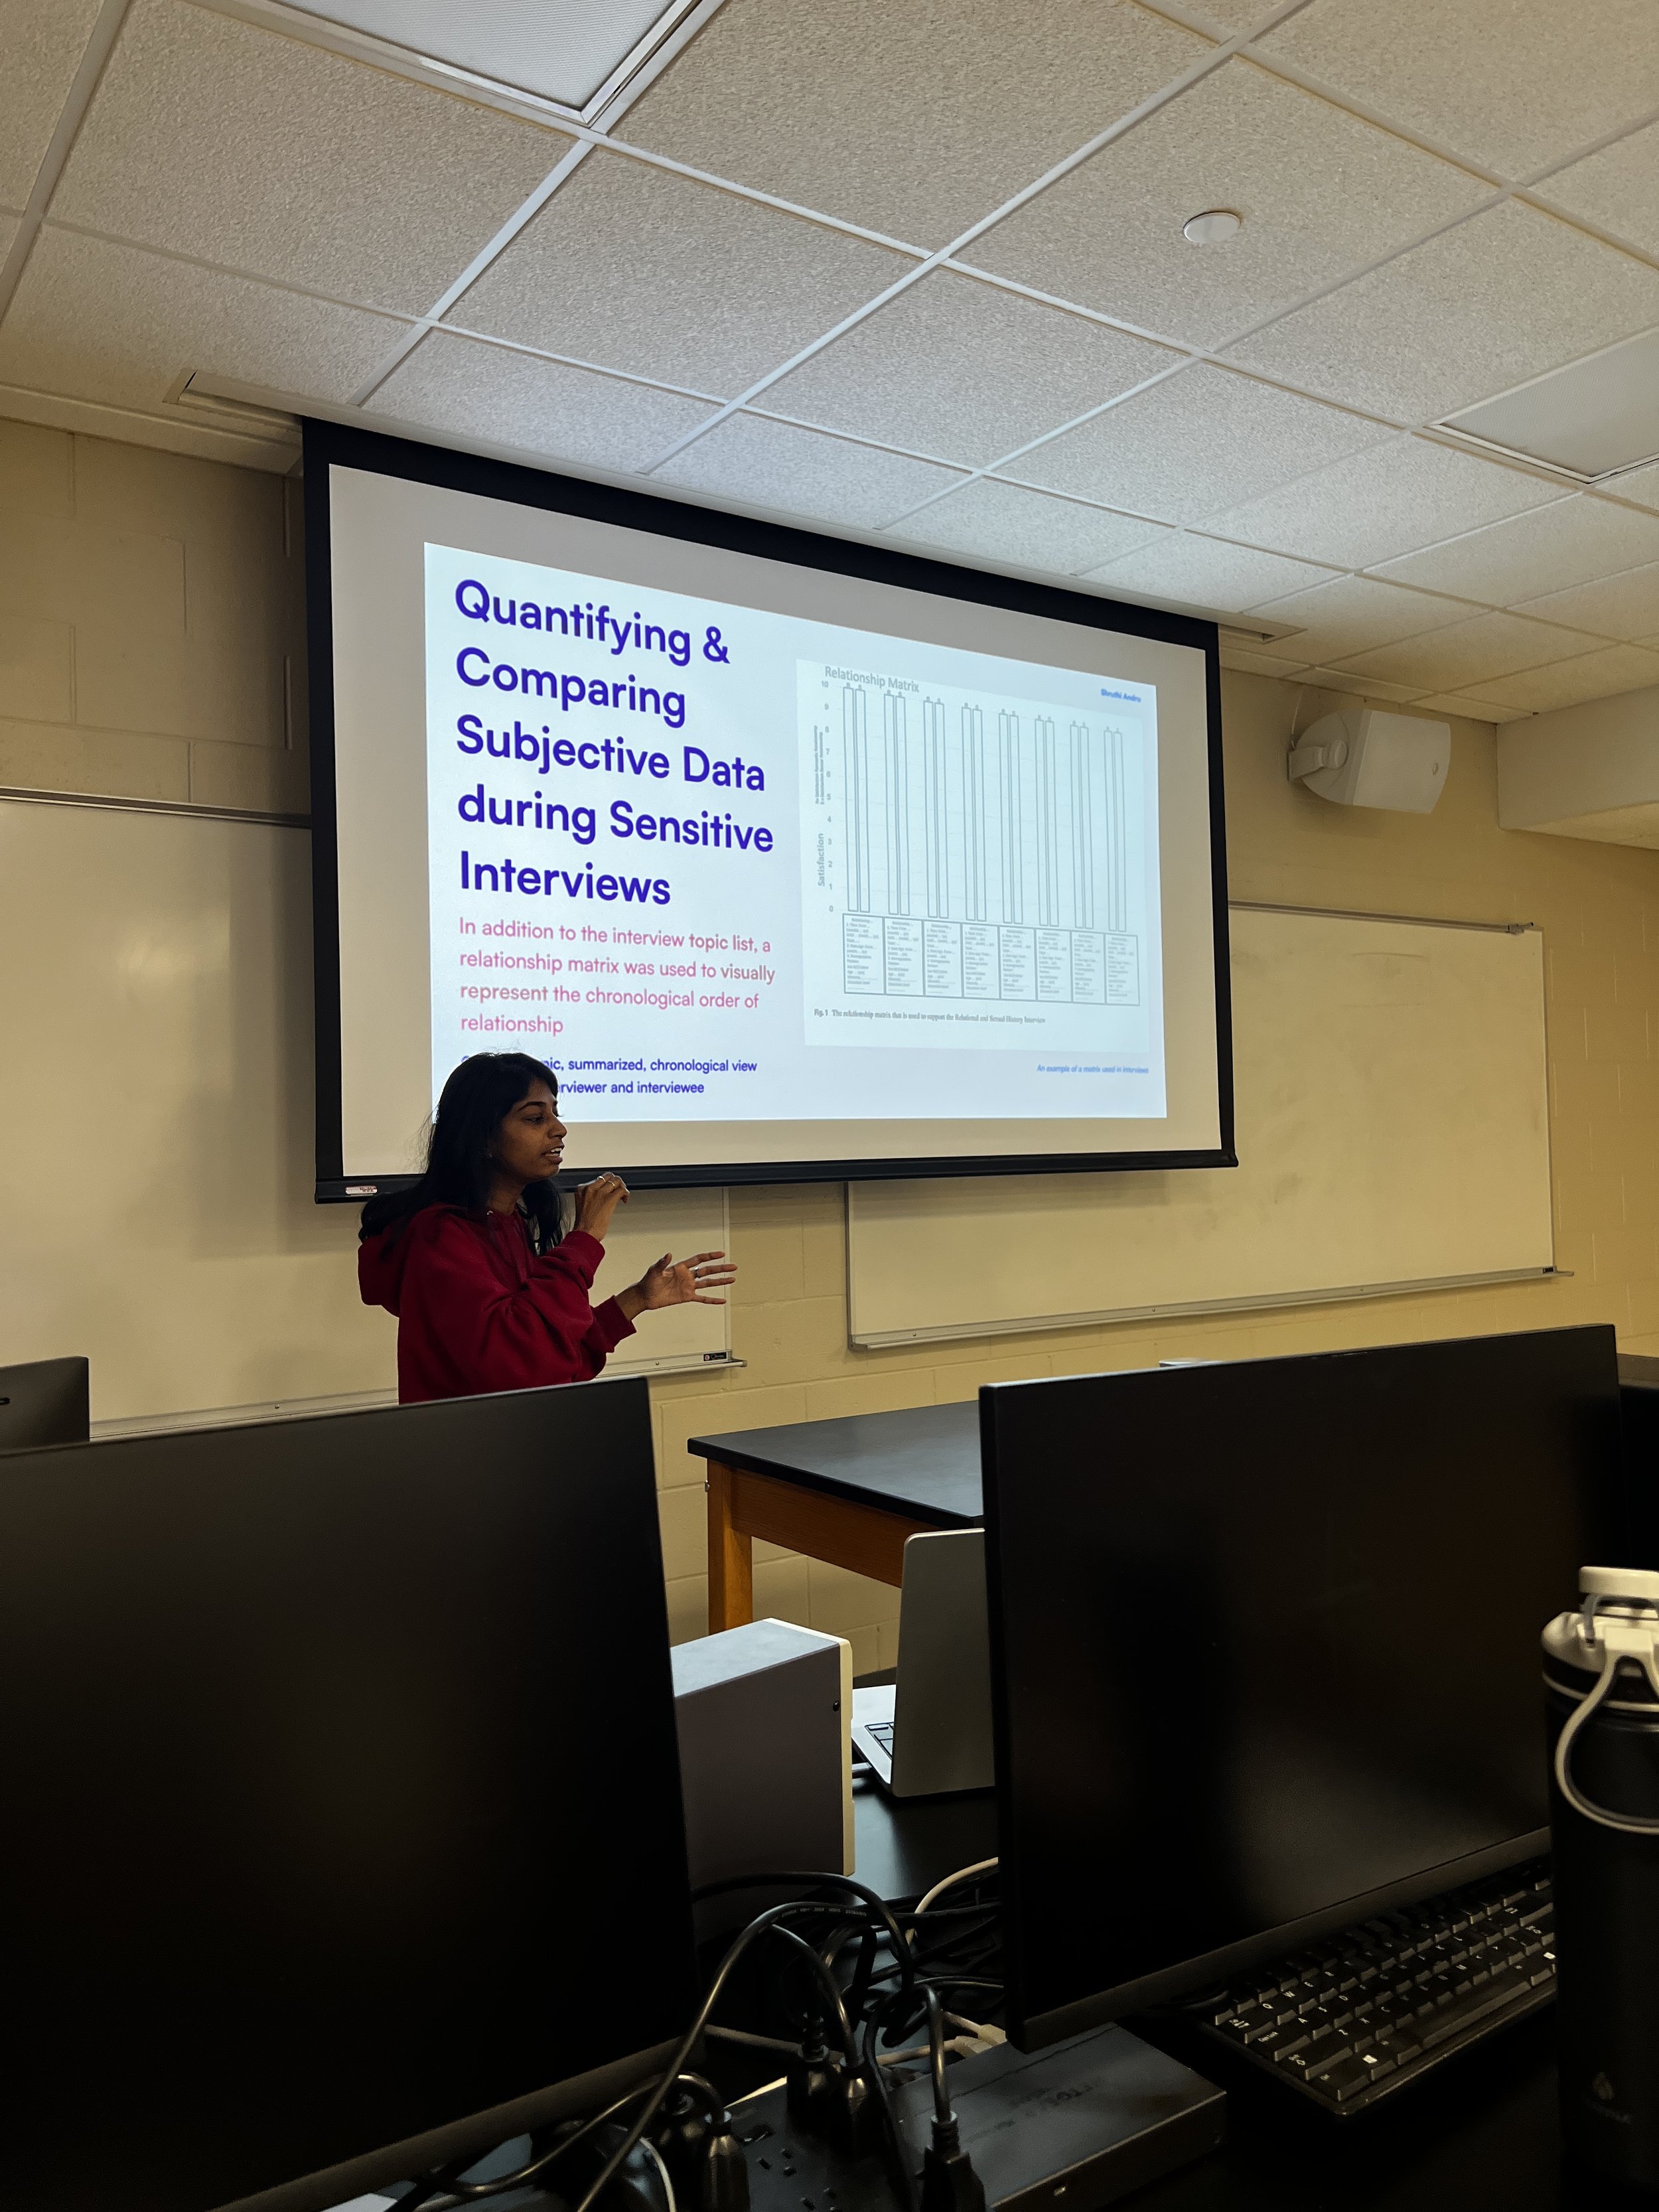
Examples of some student’s One Thing presentation Slides
How can you define One Thing?
It MUST be a part of your design process that you feel rest of the peers will benefit from knowing as a designer
It CANNOT be "I did an interview", "I did IDM-related things", "I found this insight from contextual inquiry", etc. and as direct as it. But, something that you feel no one might have tried or have knowledge about.
It is NOT a research insight, it IS something related to your design process, design philosophy, design methods, etc.
It CAN be a new method you tried (other than interviews, observations, affinity diagramming journey maps, etc.), an interesting way you handled your design process, a new thing you discovered about yourself, a proud moment, a definition of a design concept (that can help other designers in their design process), an interesting approach, philosophy, or framework that helped you frame your design project, etc. as a designer doing a thesis.
It will be great if you can tell us where you learnt it from or credit the source (link to website, heard from someone, etc.
It CANNOT be your learning activity that included reading a blog/article/book. It MUST be related to your mainstream of design process.
It MUST just wow and grasp interest of everyone in the room (just saying! haha).
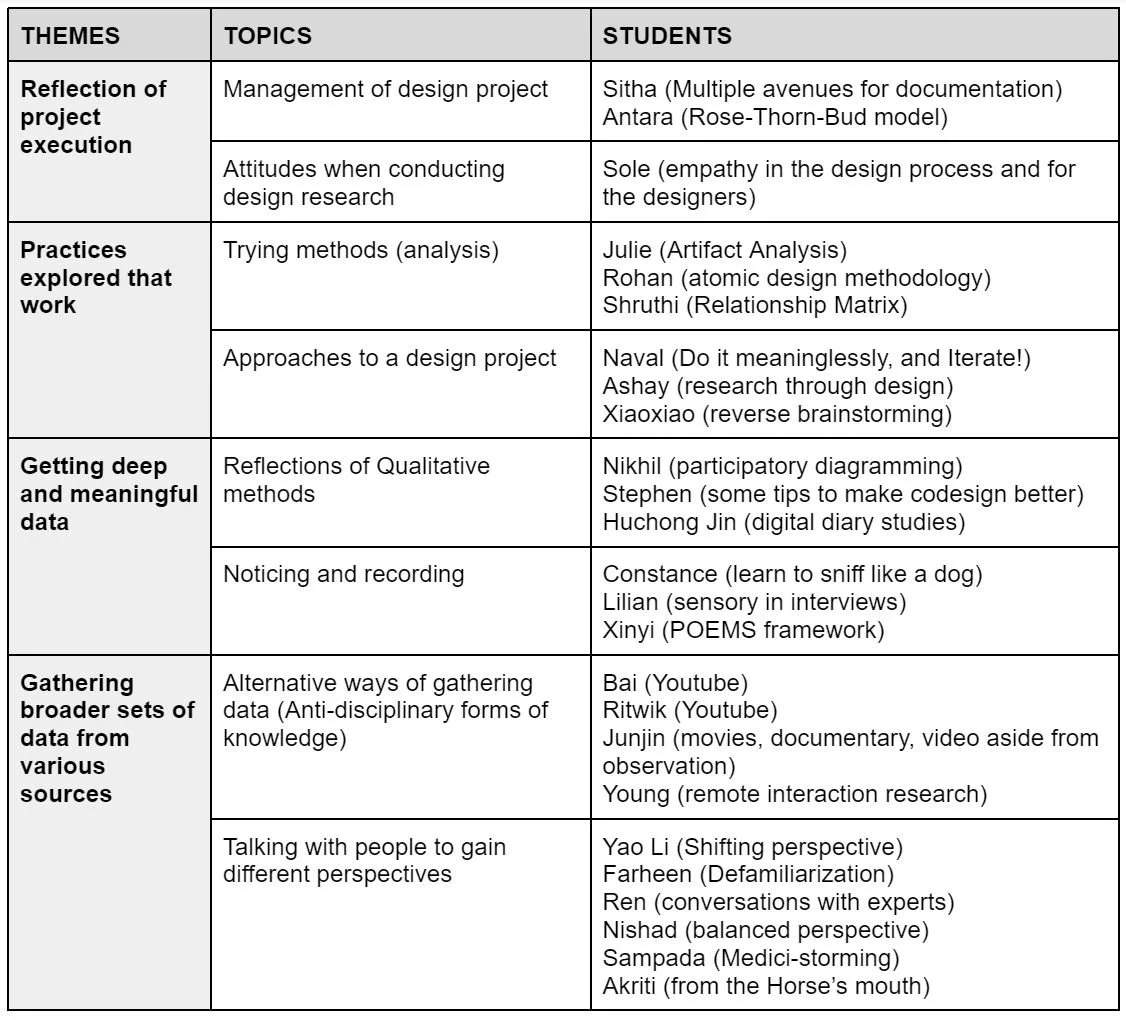
Summary of all the students’ One-Things by Ariel Wang.
One-Q Gallery Walk
The semester is almost ending and I feel like I am running out of all different ways of making this class more interactive and fun. Is that really necessary though? Maybe, maybe not!
It is Week 11 and given the rigorous Gallery Walks, I changed the model a little bit so that was less energy-consuming and more open to the entire class with a “One-Q” Gallery Walk model. Similar to the weekly Gallery Walk model, but with a small twist of students not having to talk to multiple people stopping by at their whiteboards. The concept was for the student to quickly present their progress in 2 mins and just ask ONE QUESTION that they need answers to move forward in their design process. The purpose of this model was four-fold:
Make students prioritize the one question that is most important and needed guidance;
Save the energy of the entire class (students are working hard and looked tired!) to not have too much physical movement in the class and provide a change of energy in the class;
Engage the entire class in everyone’s project for once where all students get a chance to listen to each of their peer’s work (we did not have regular open presentations in the class); and finally,
Instigate questions across all the students about some trivial design process-related questions.
It was a very interesting model as students mostly asked over-arching questions that were helpful to the rest of the students, as they related to the design process stages. Some examples of questions students asked and we openly discussed in class included:
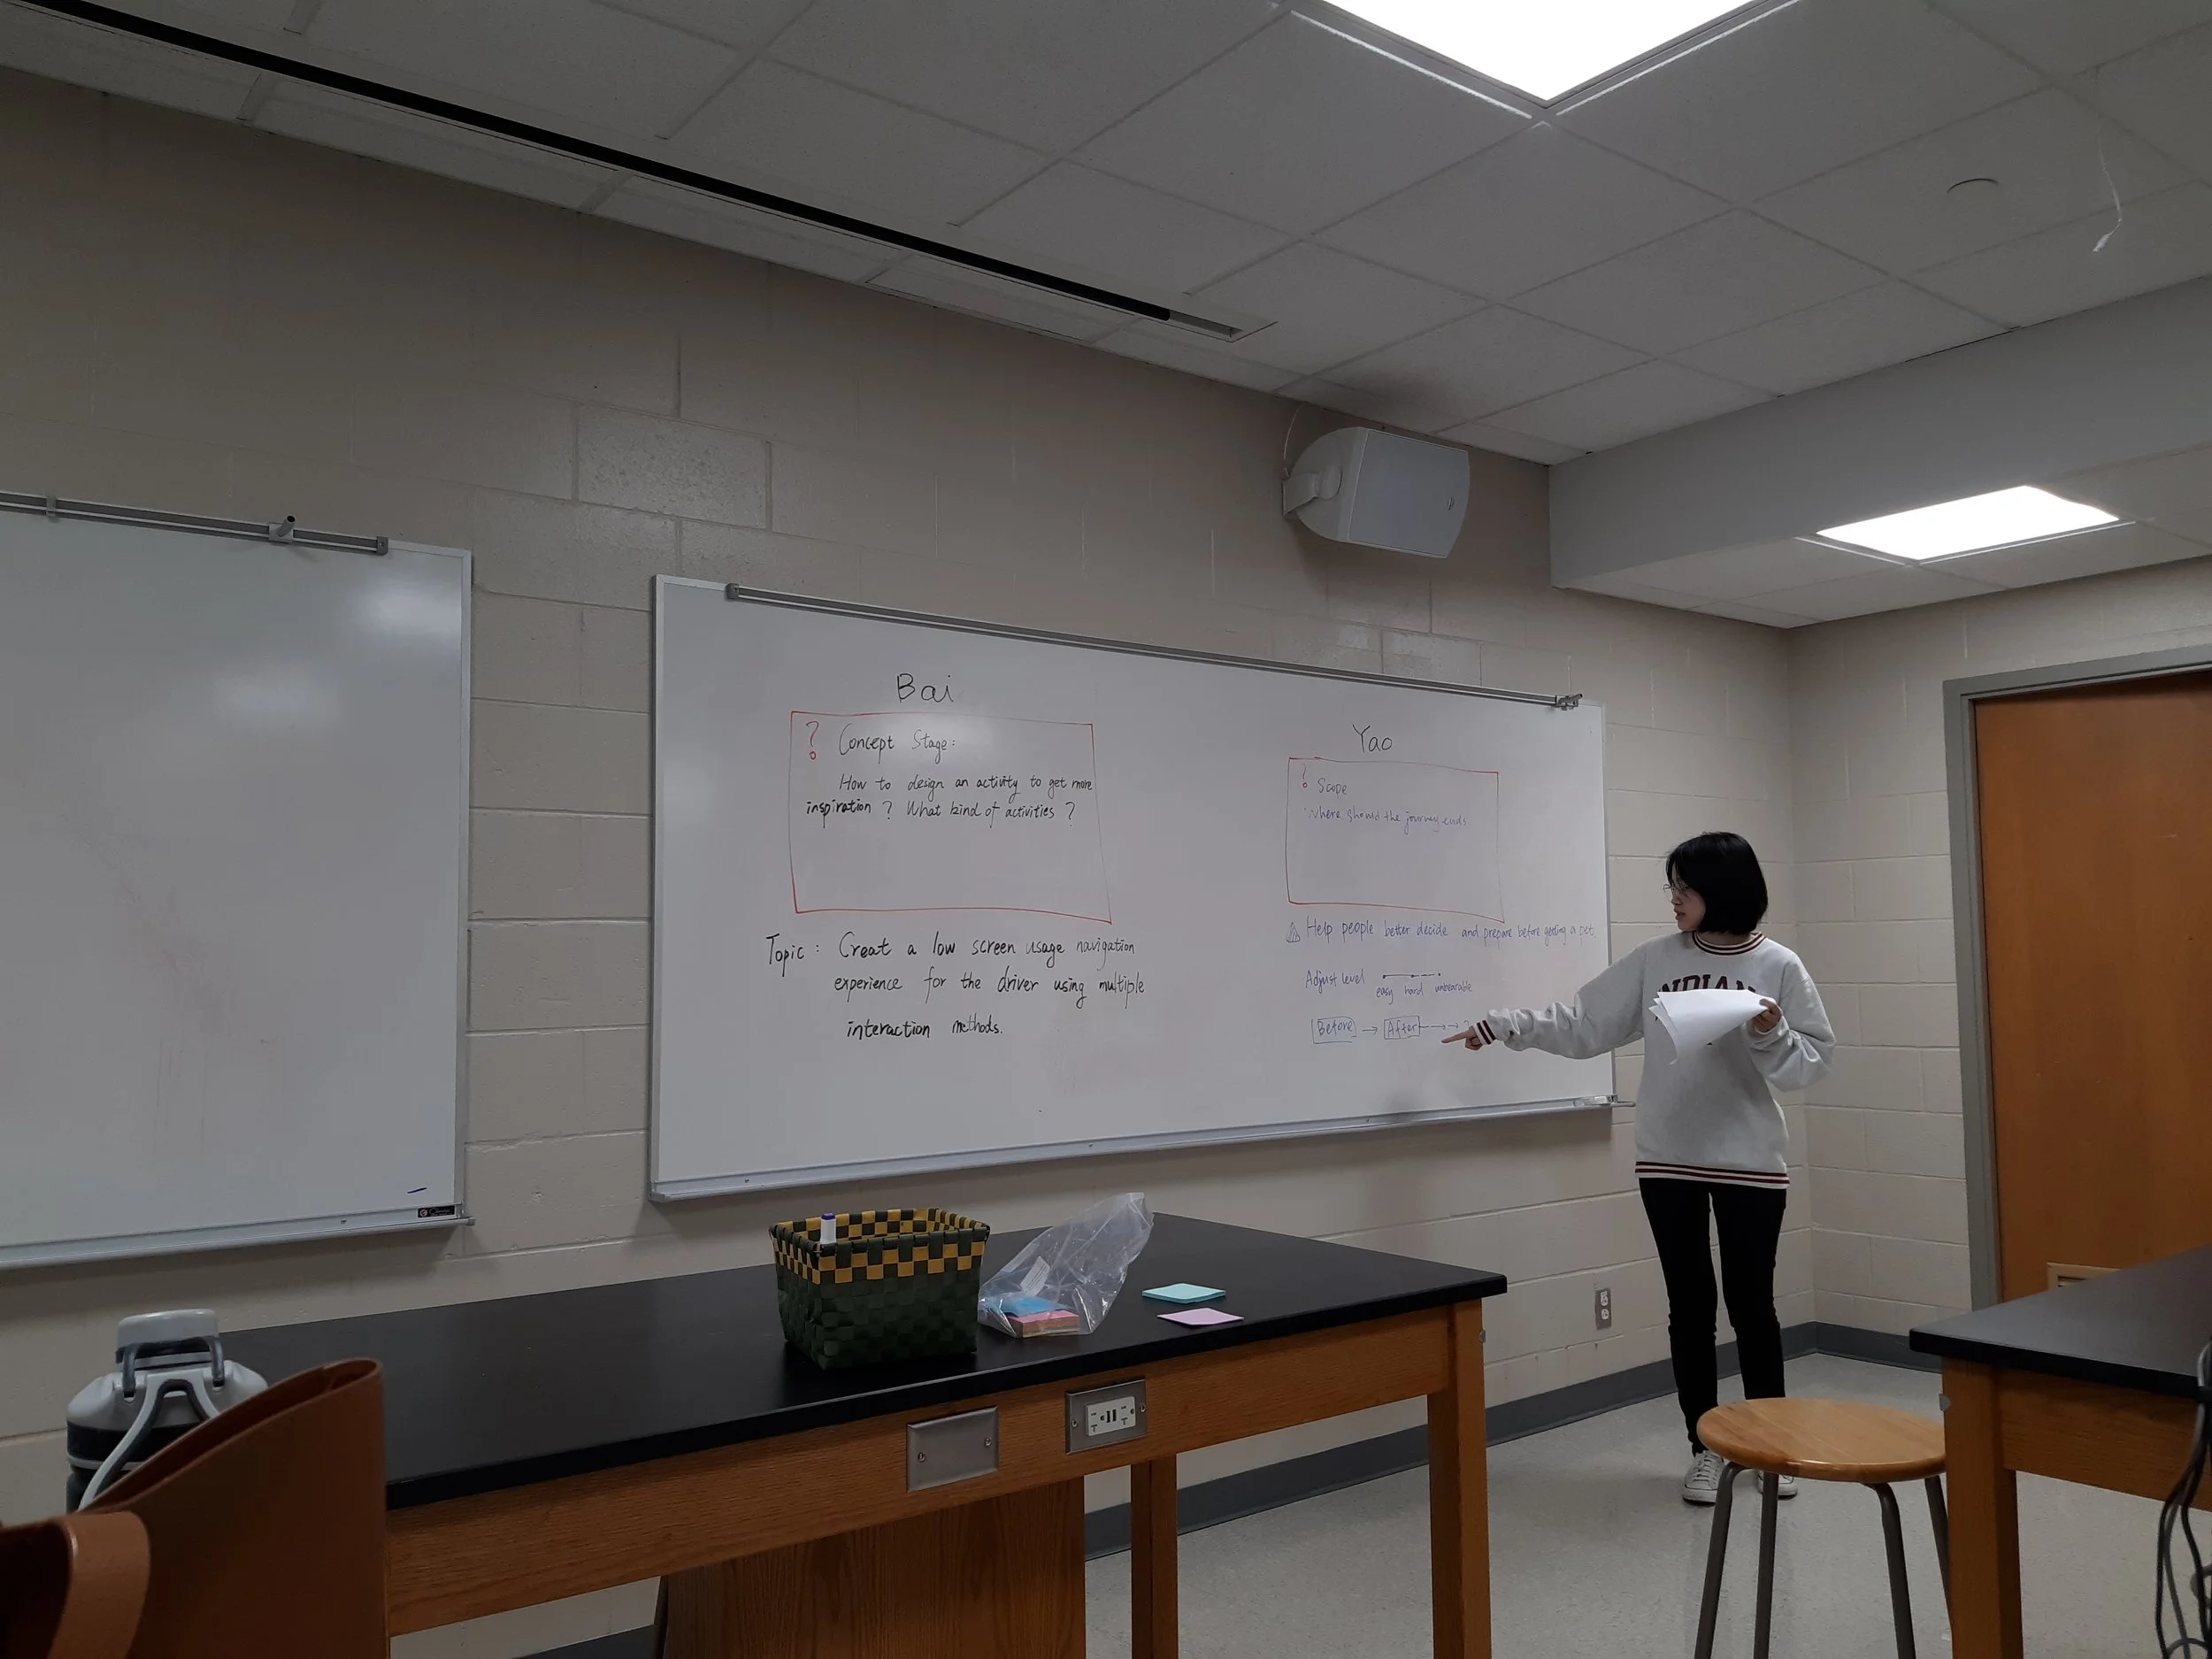
In the concept stage, “How to design an activity to get more inspiration? What kind of activities?”
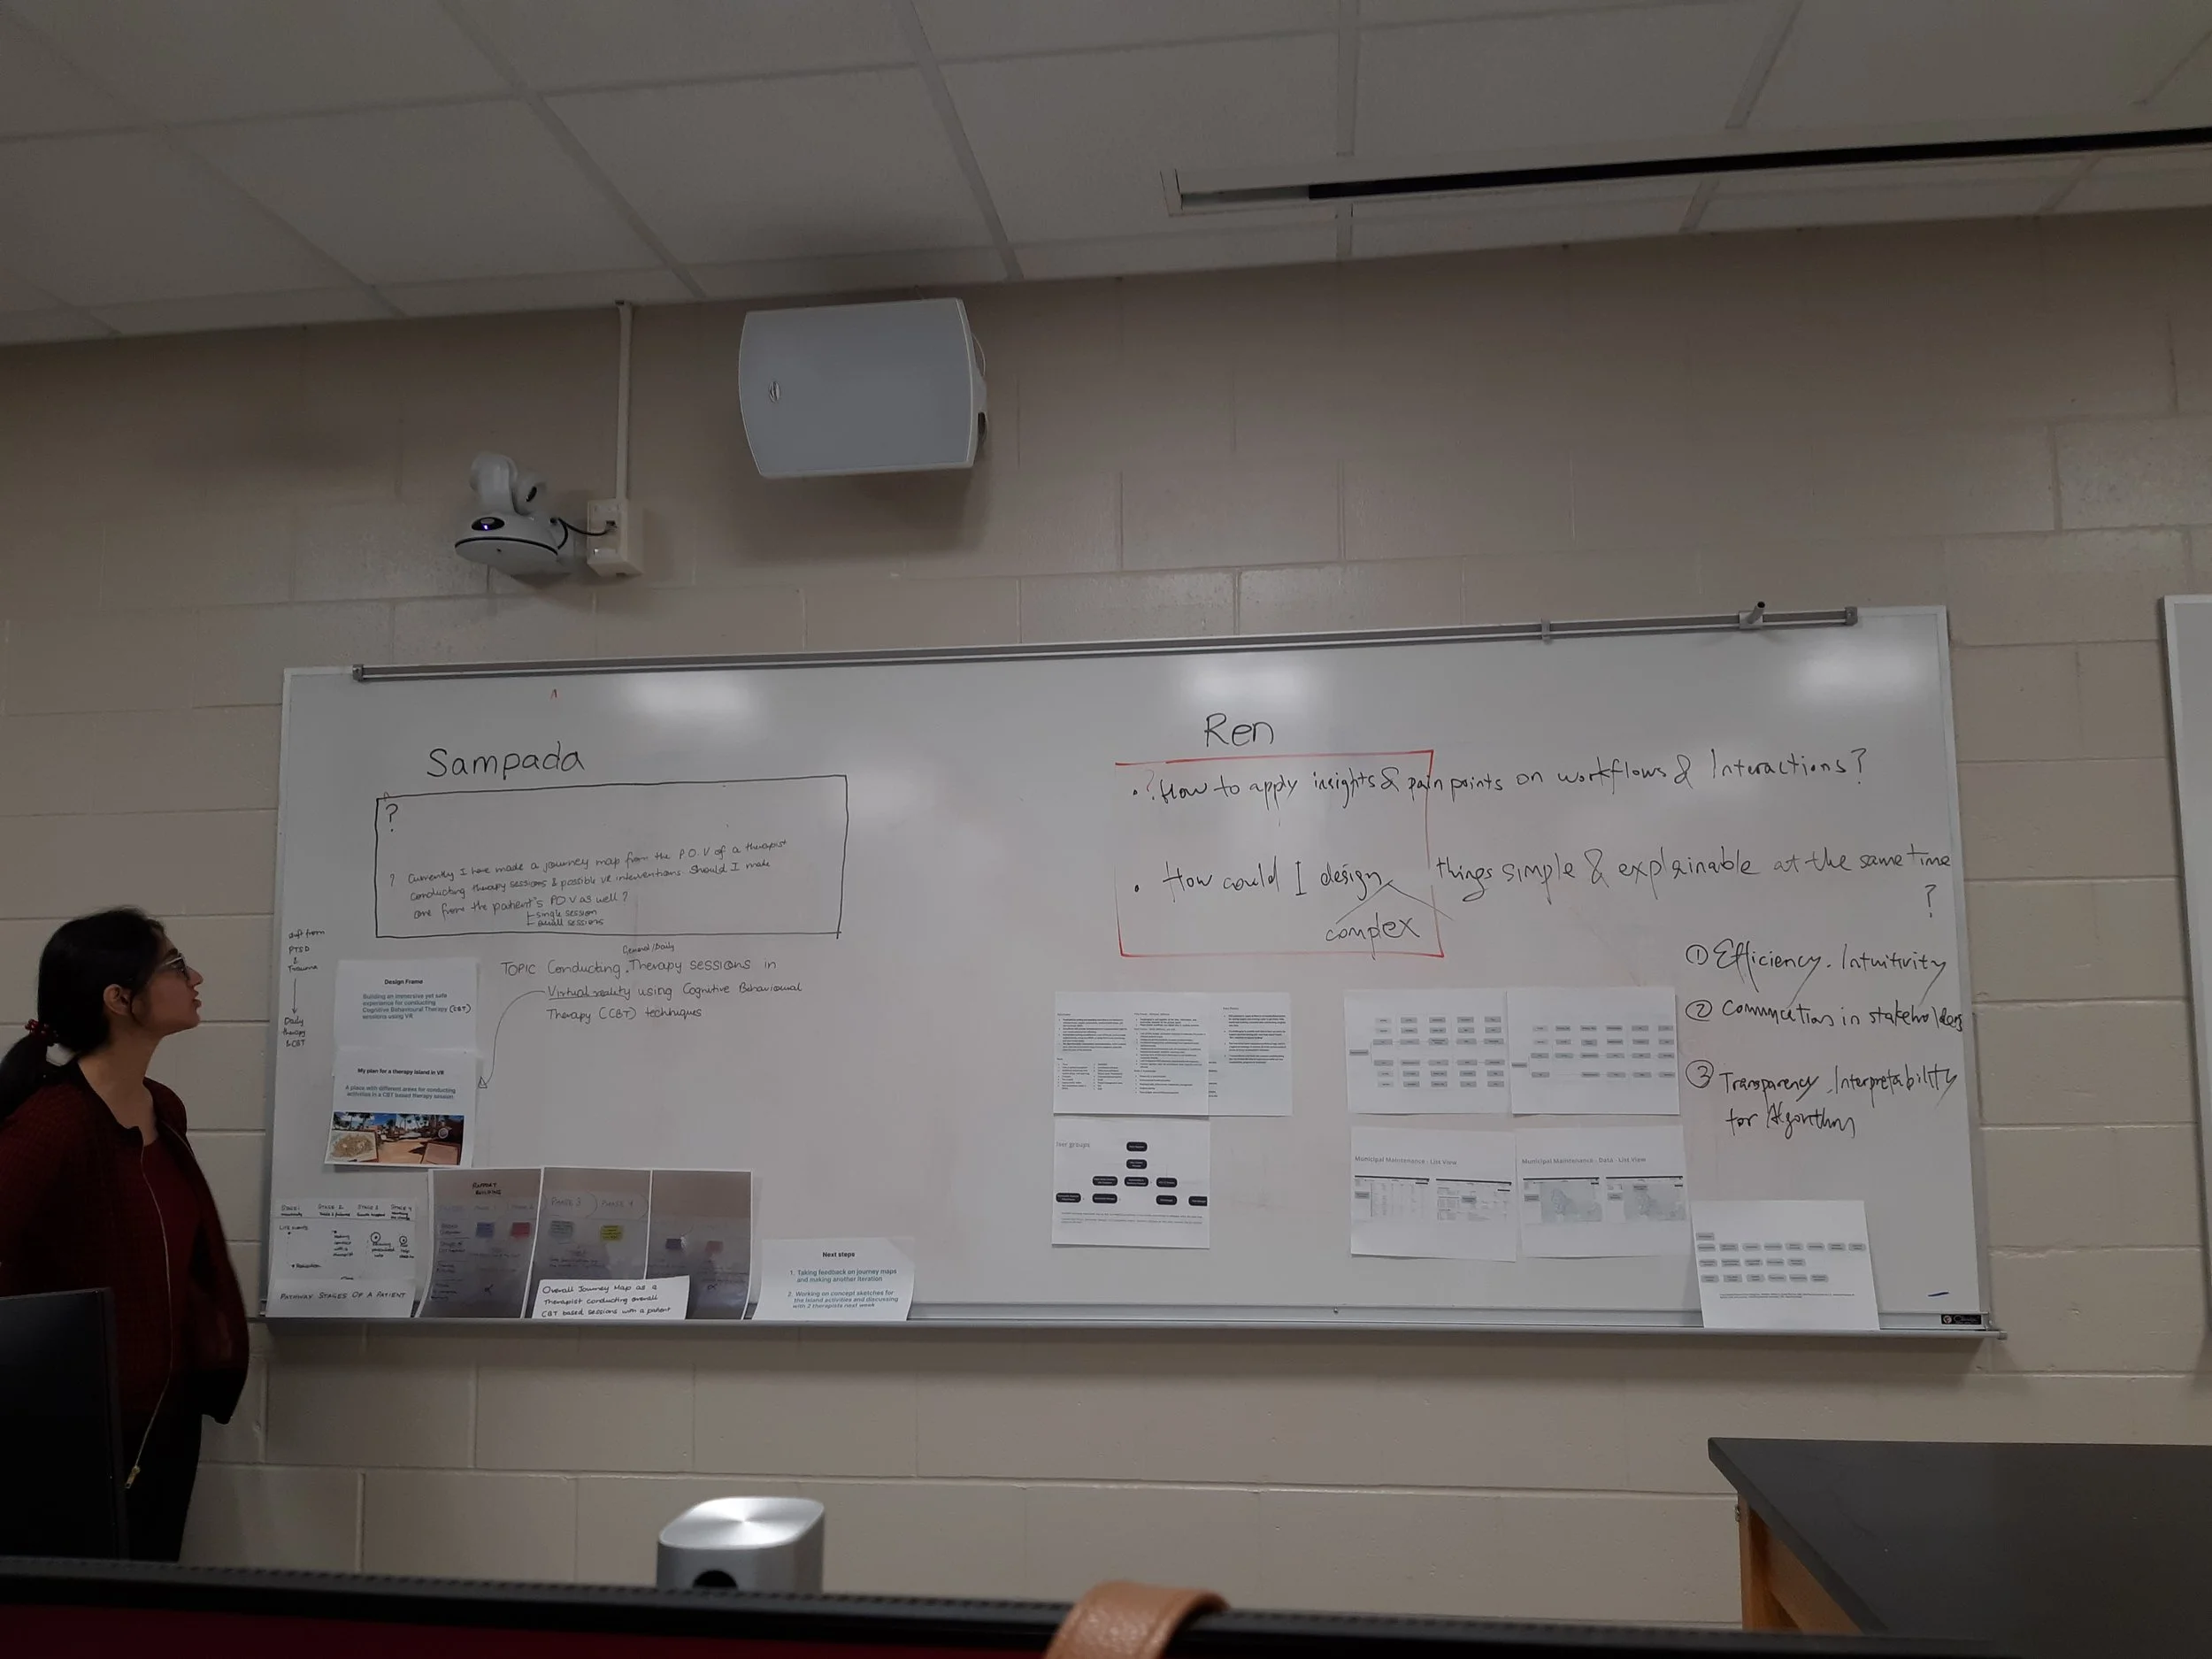
To scope, “Where should a user journey map end? How can I know when to stop?”
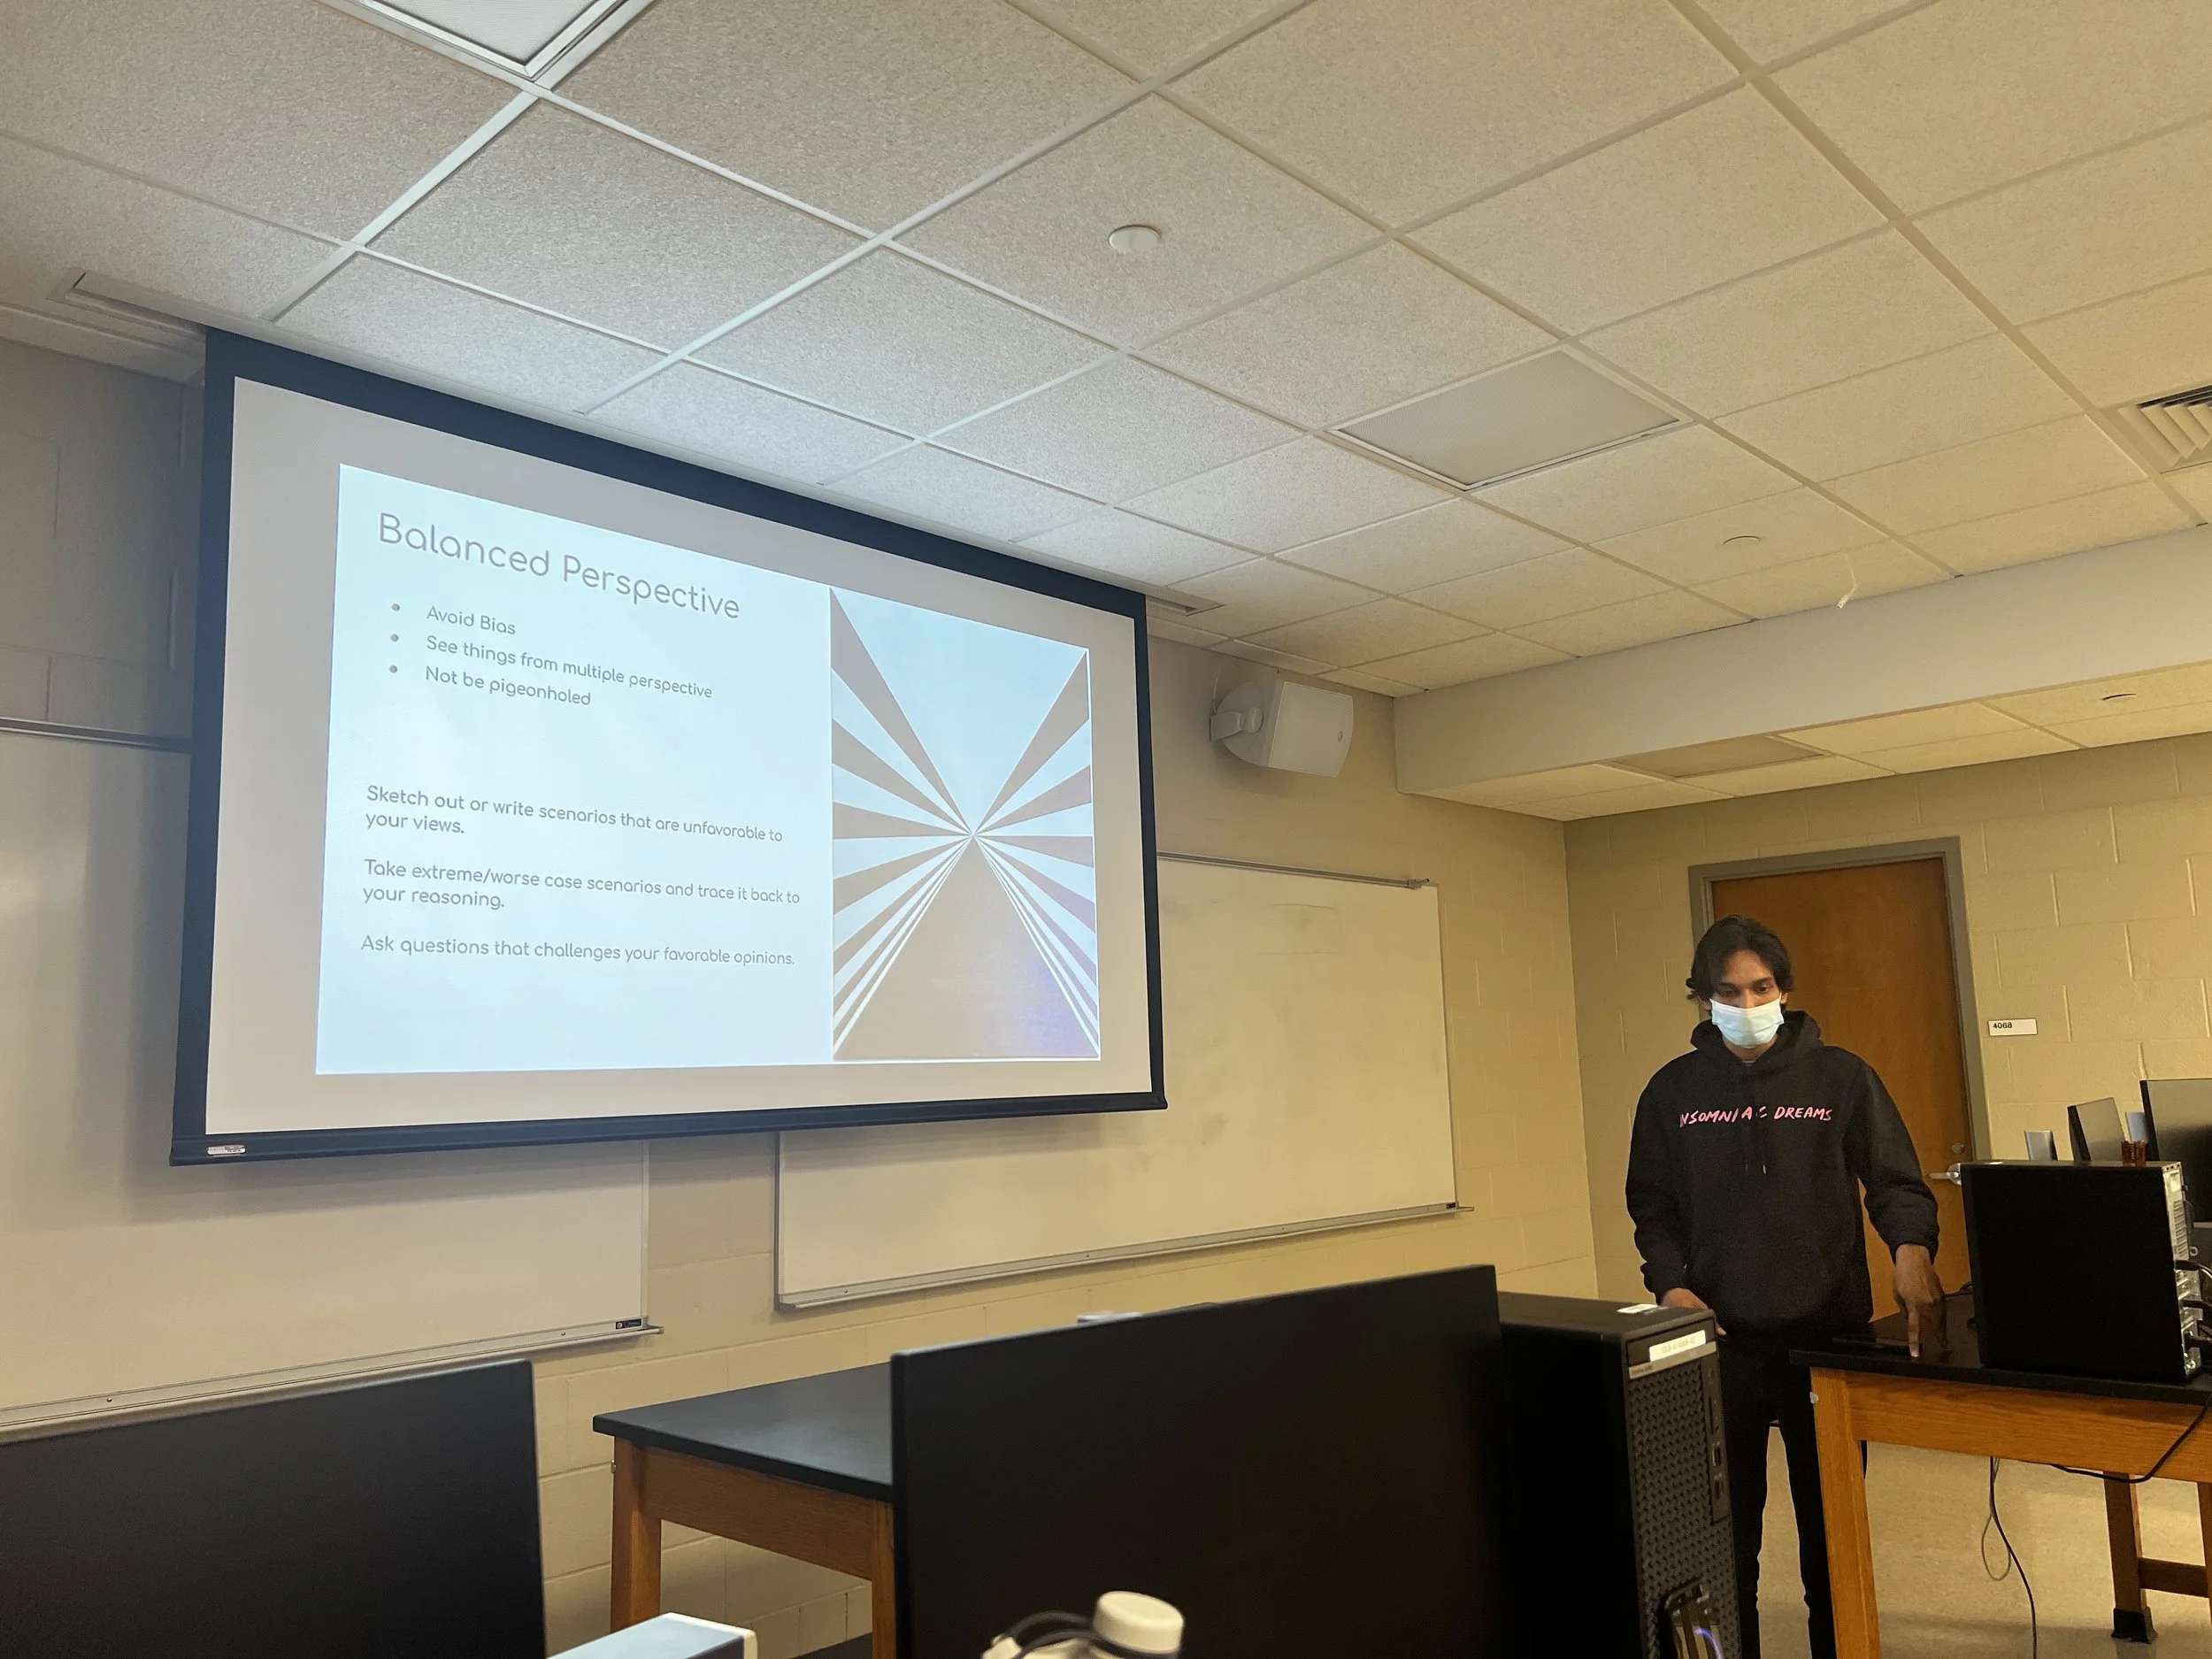
While designing, “When and how do you determine that a design is complete?”
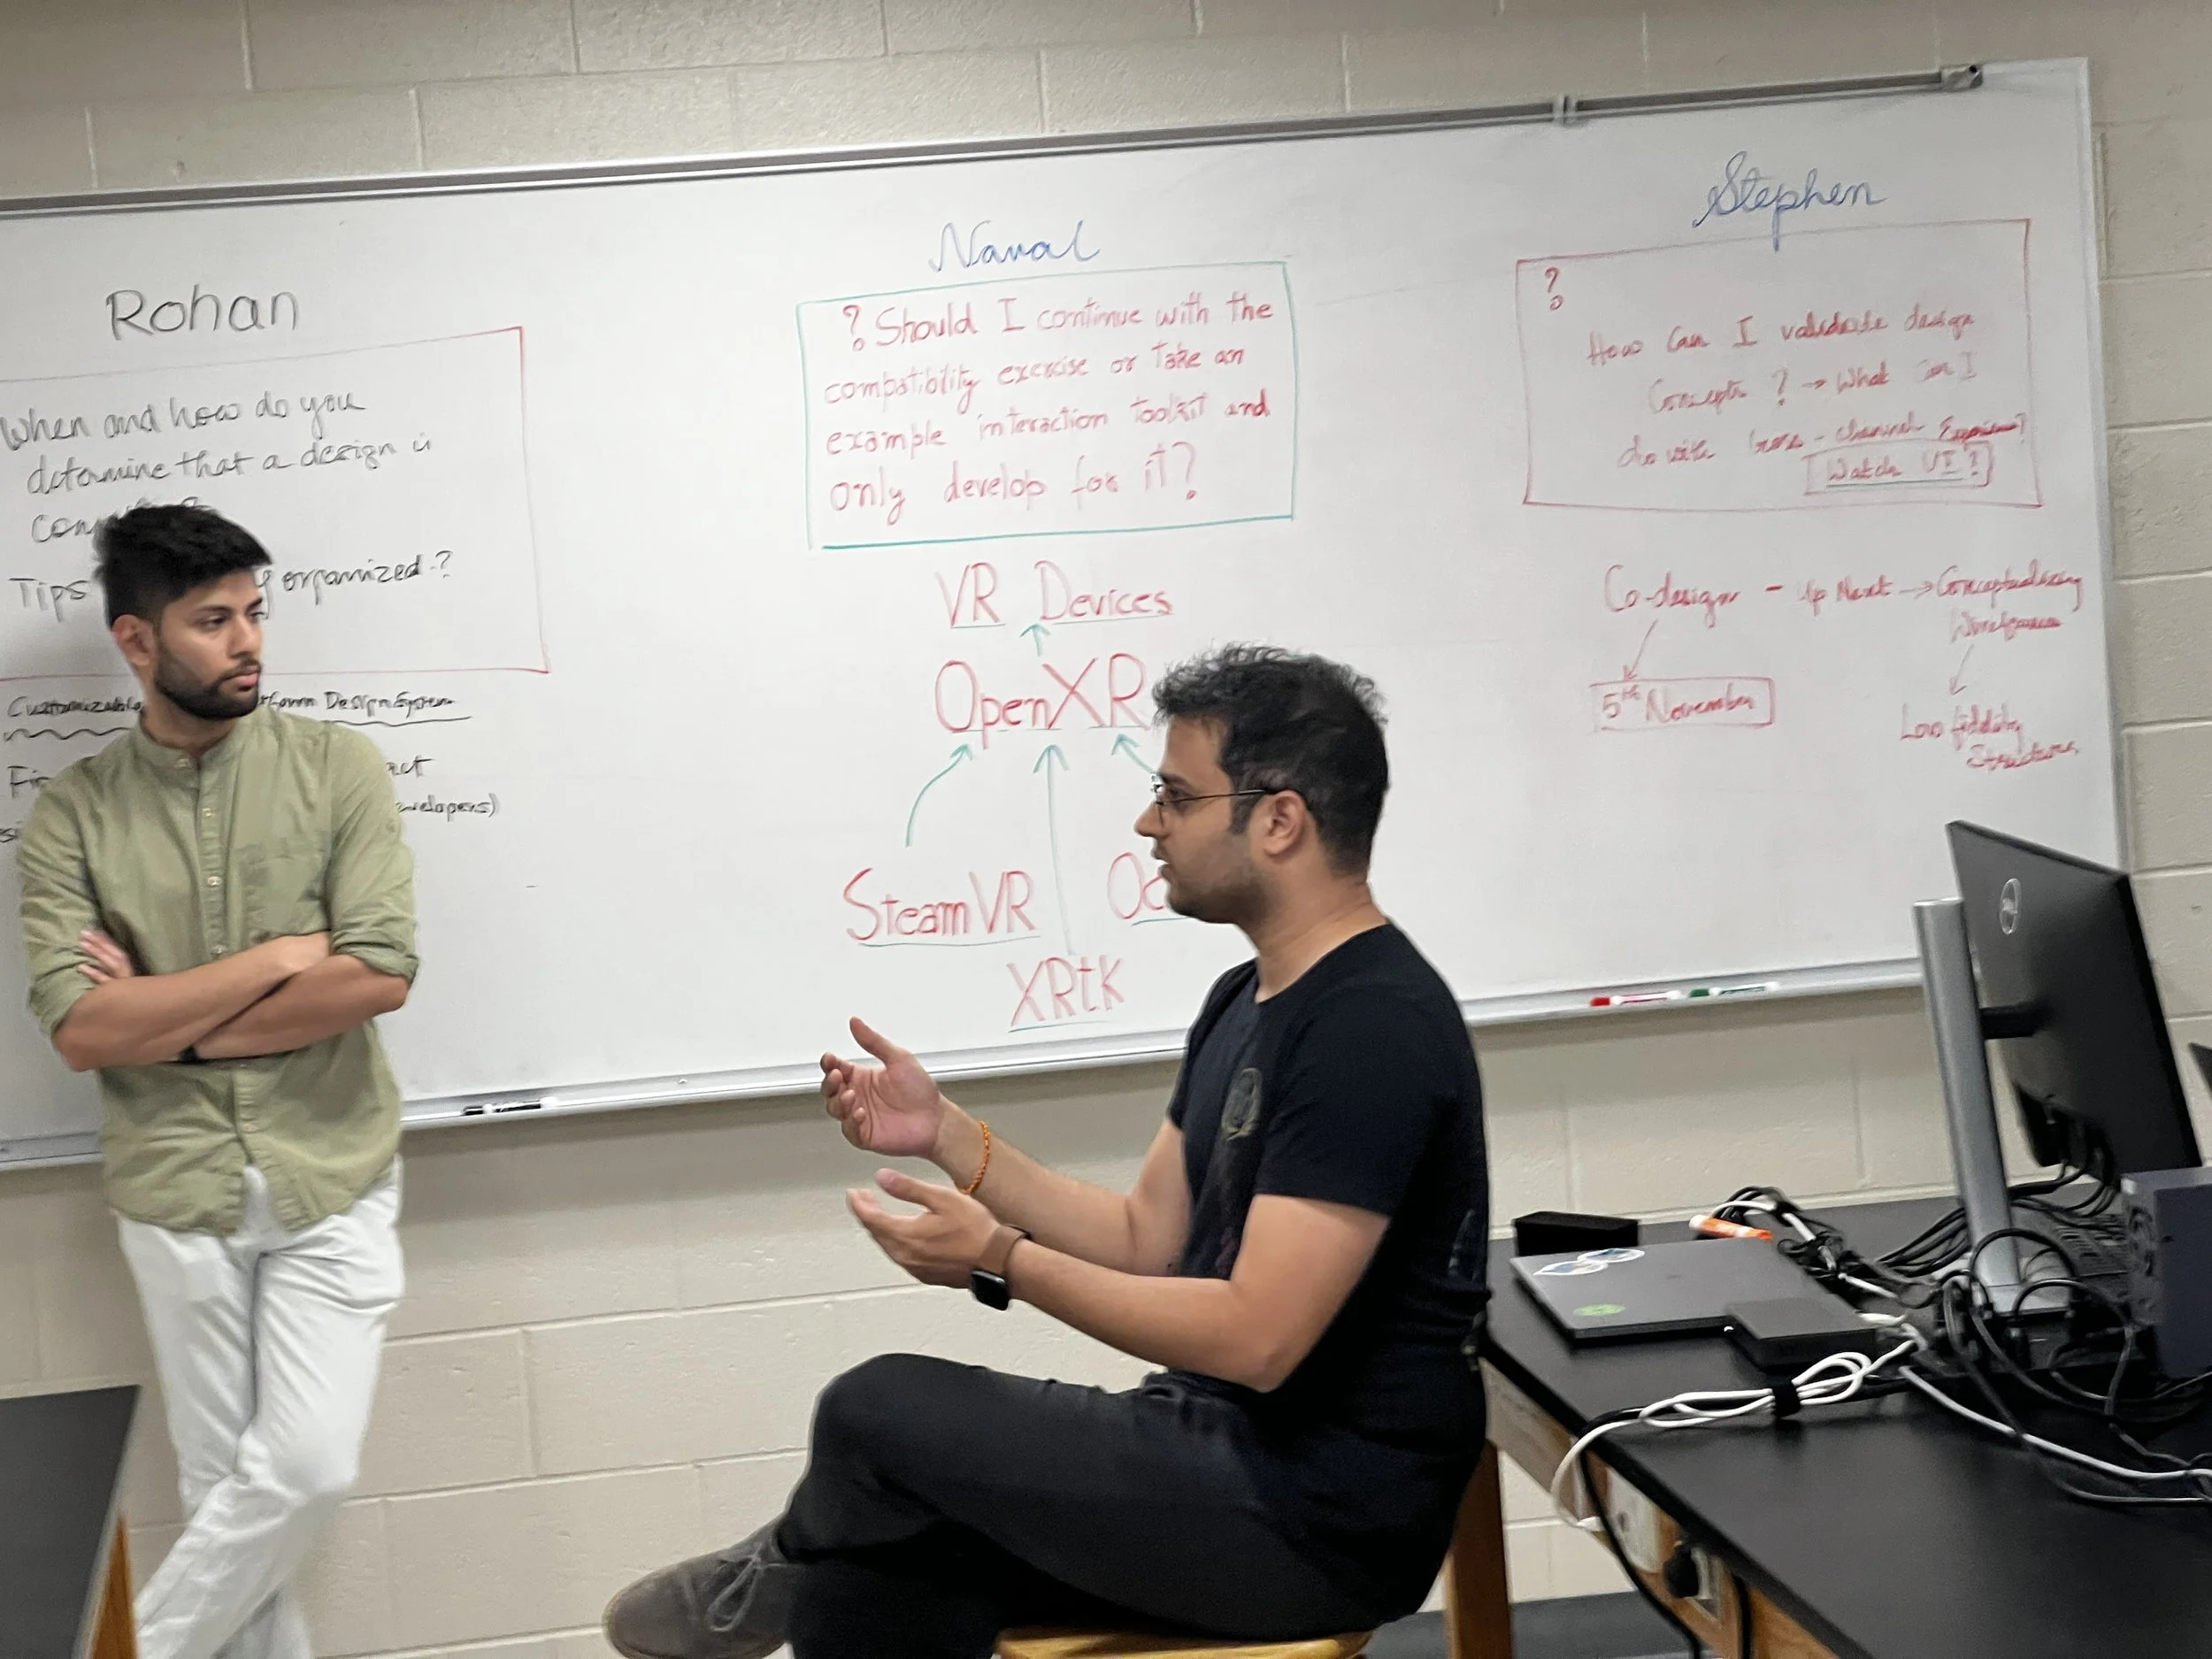
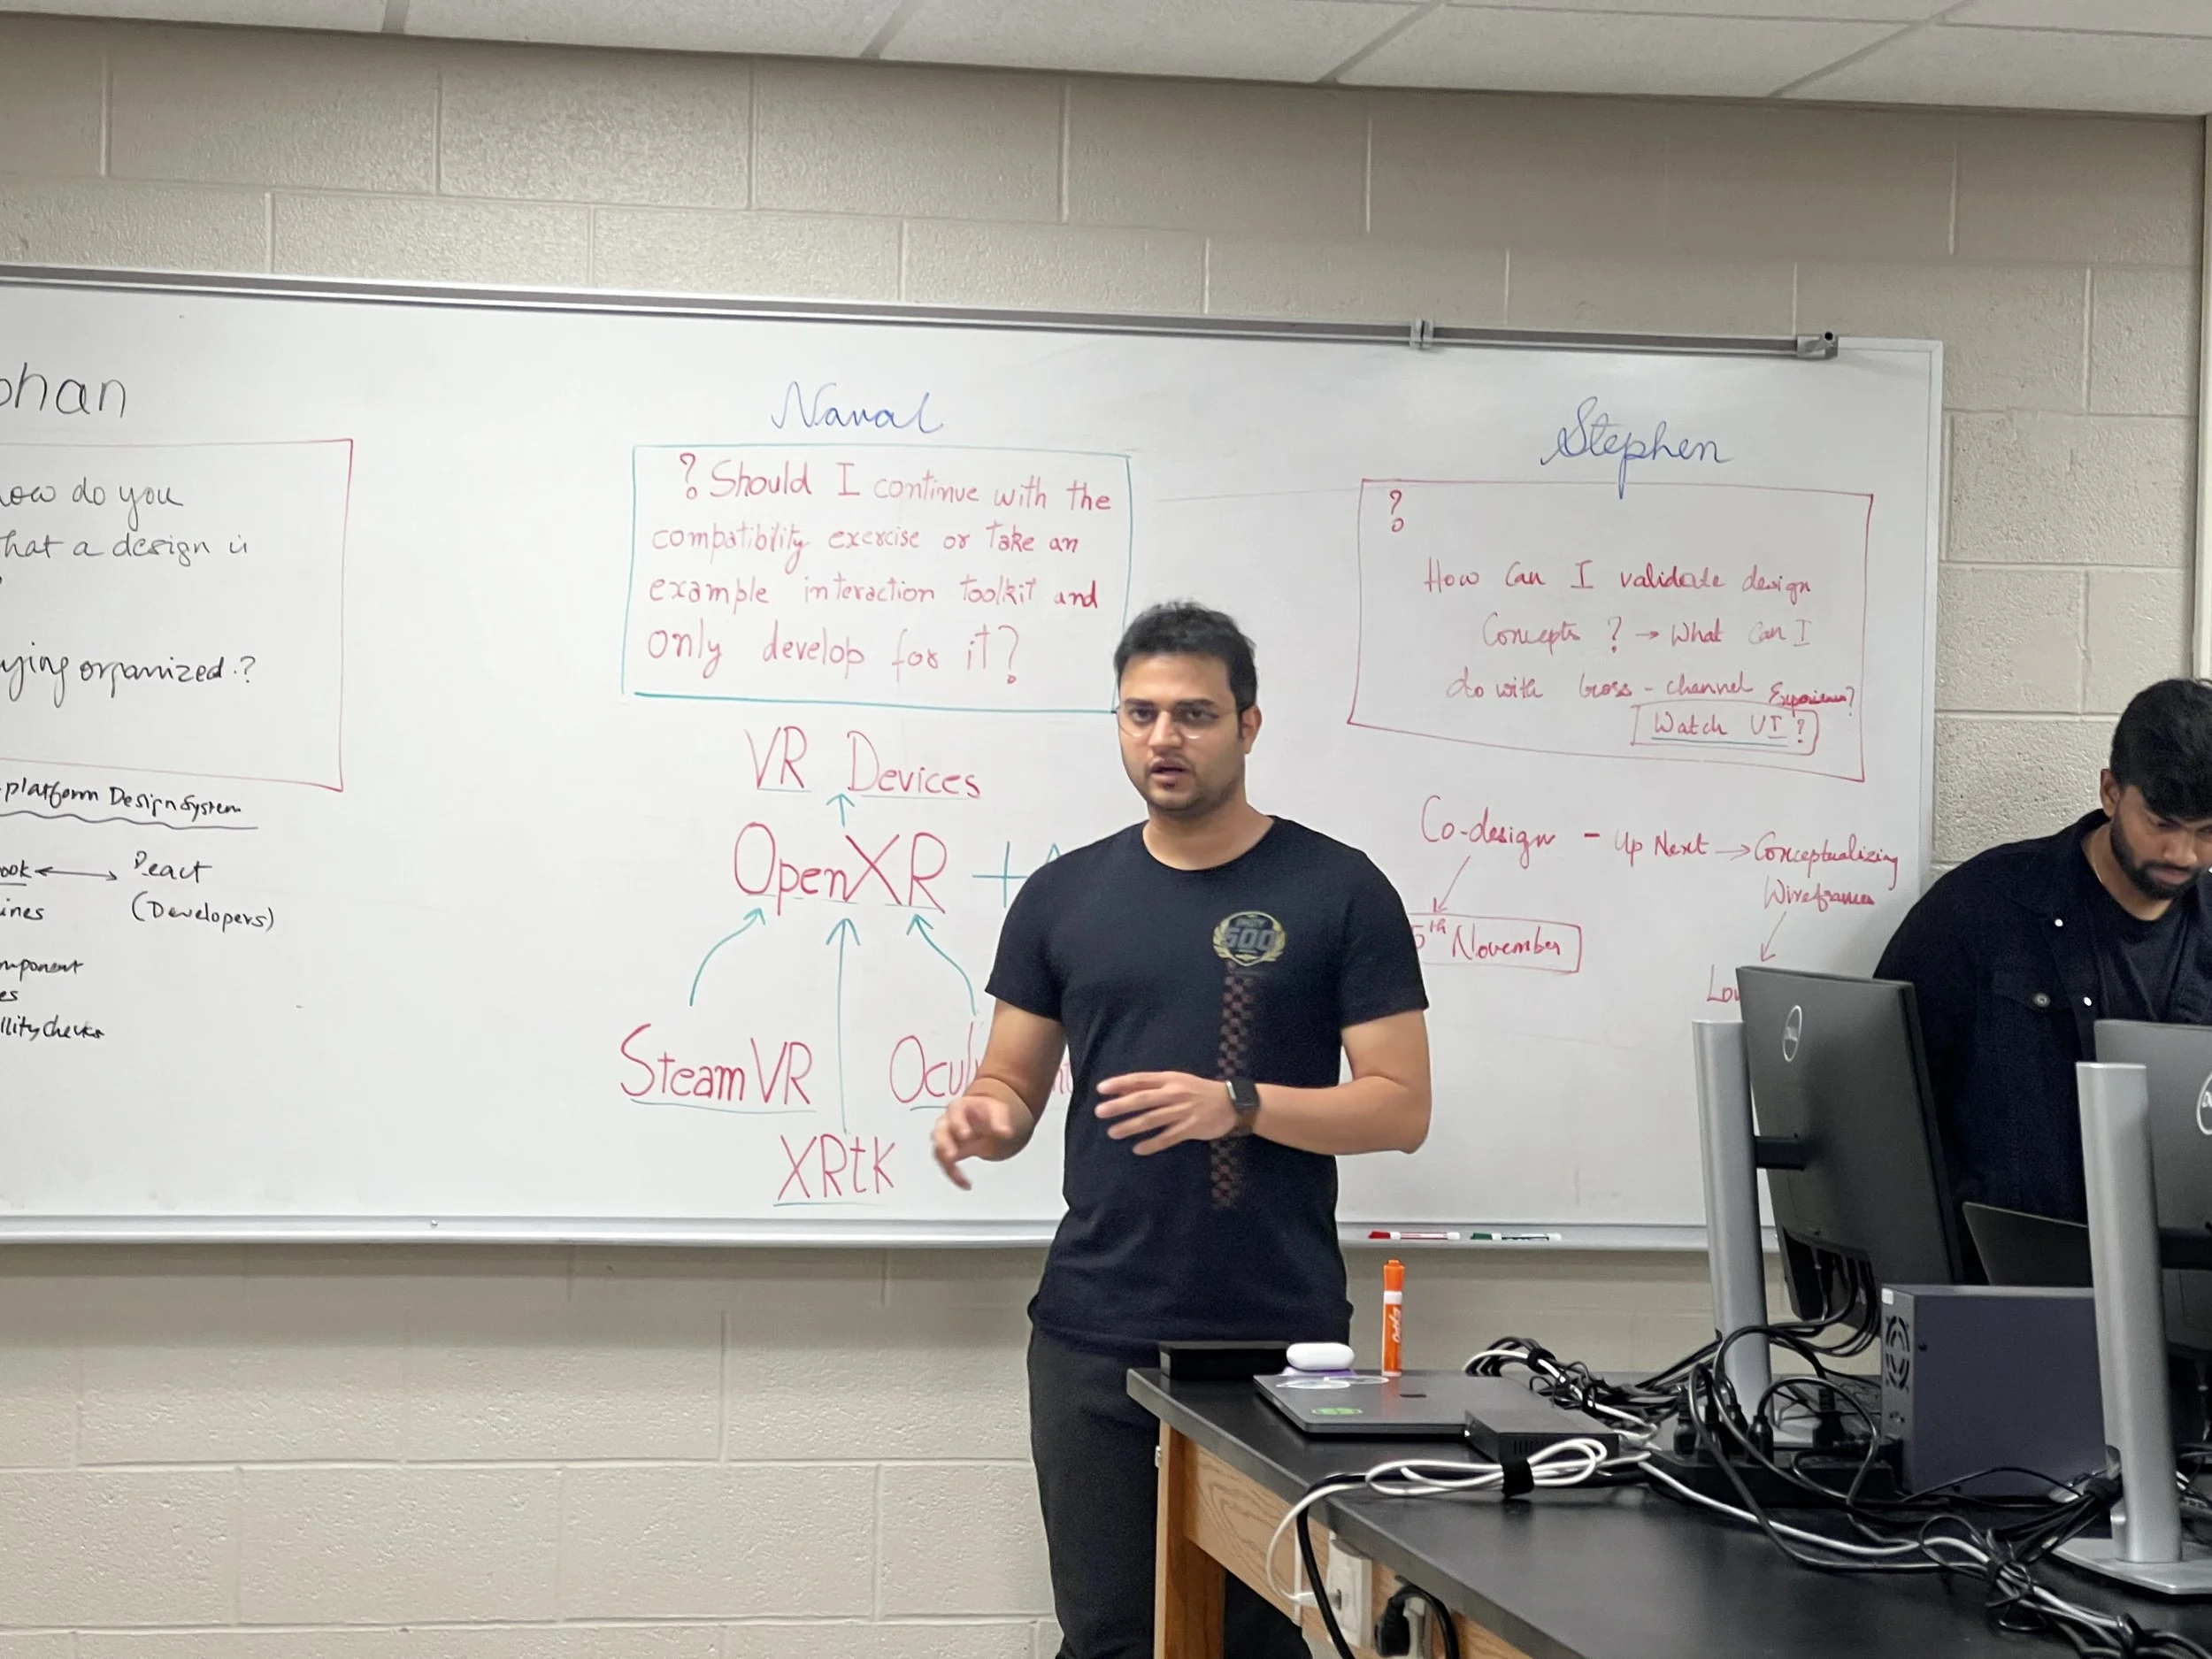
Specific to a design project on designing for VR testing regime, “Should I continue with the com[patibility exercise or take an example interaction toolkit and only develop for it?”
“How can I validate design concepts? What can I do with cross-channel experience (with Watch UI)?”
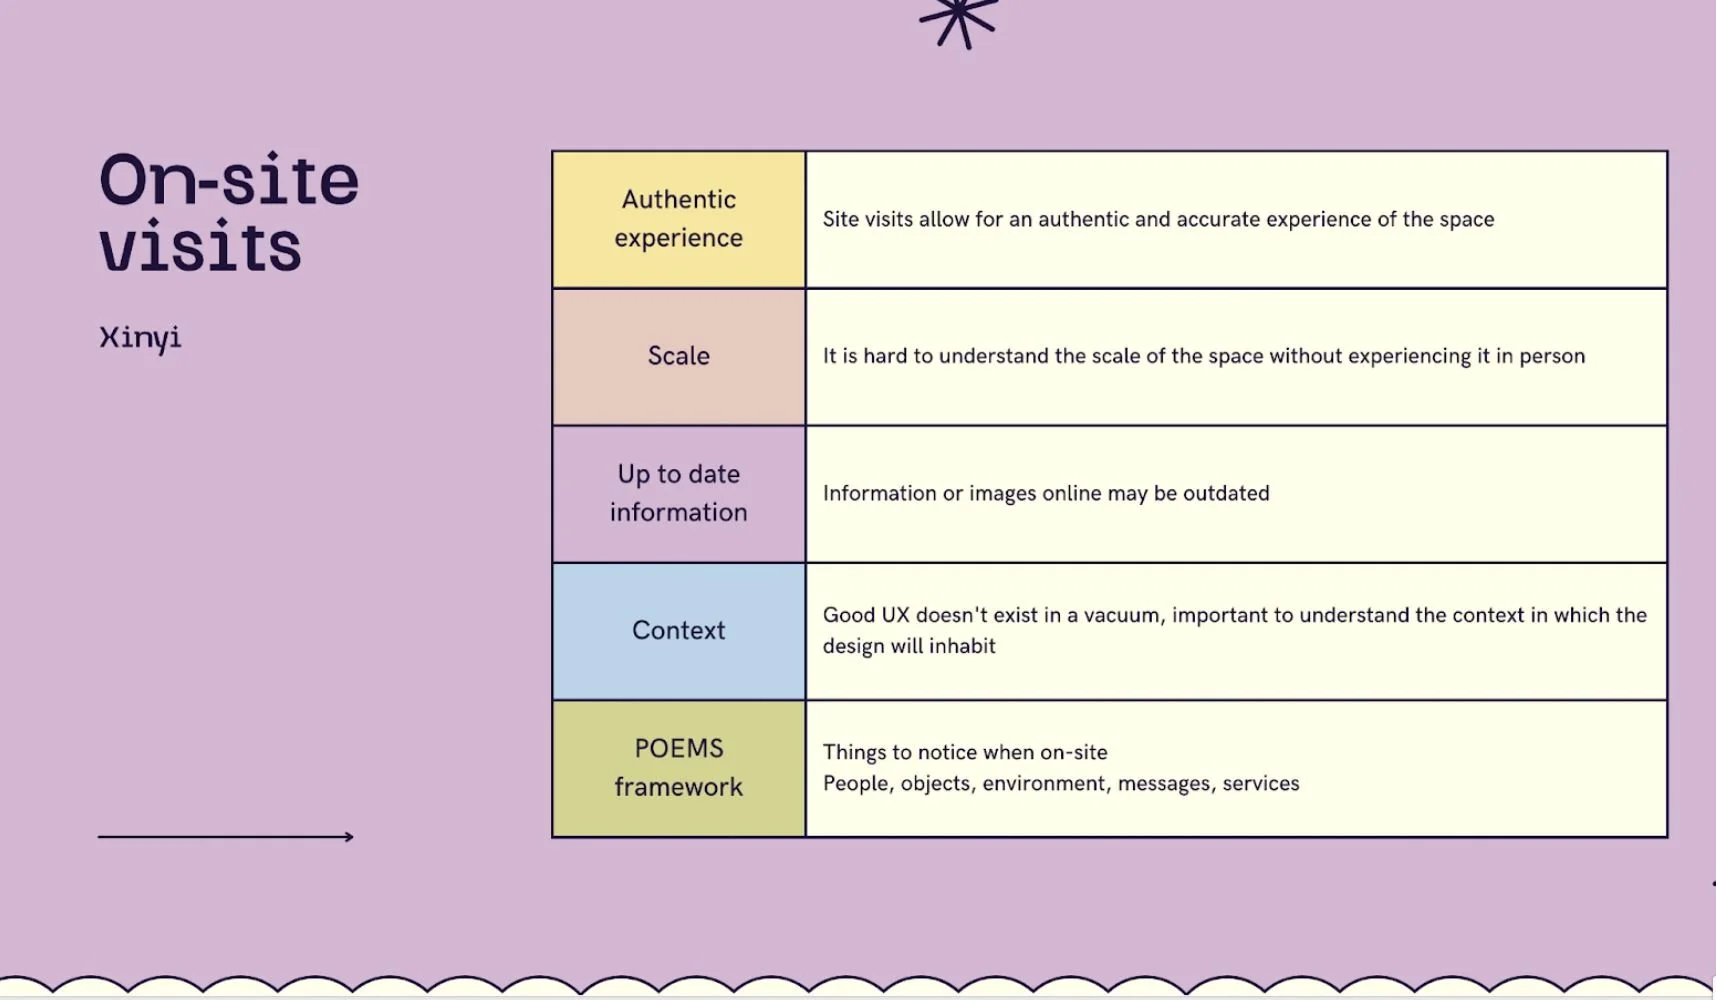
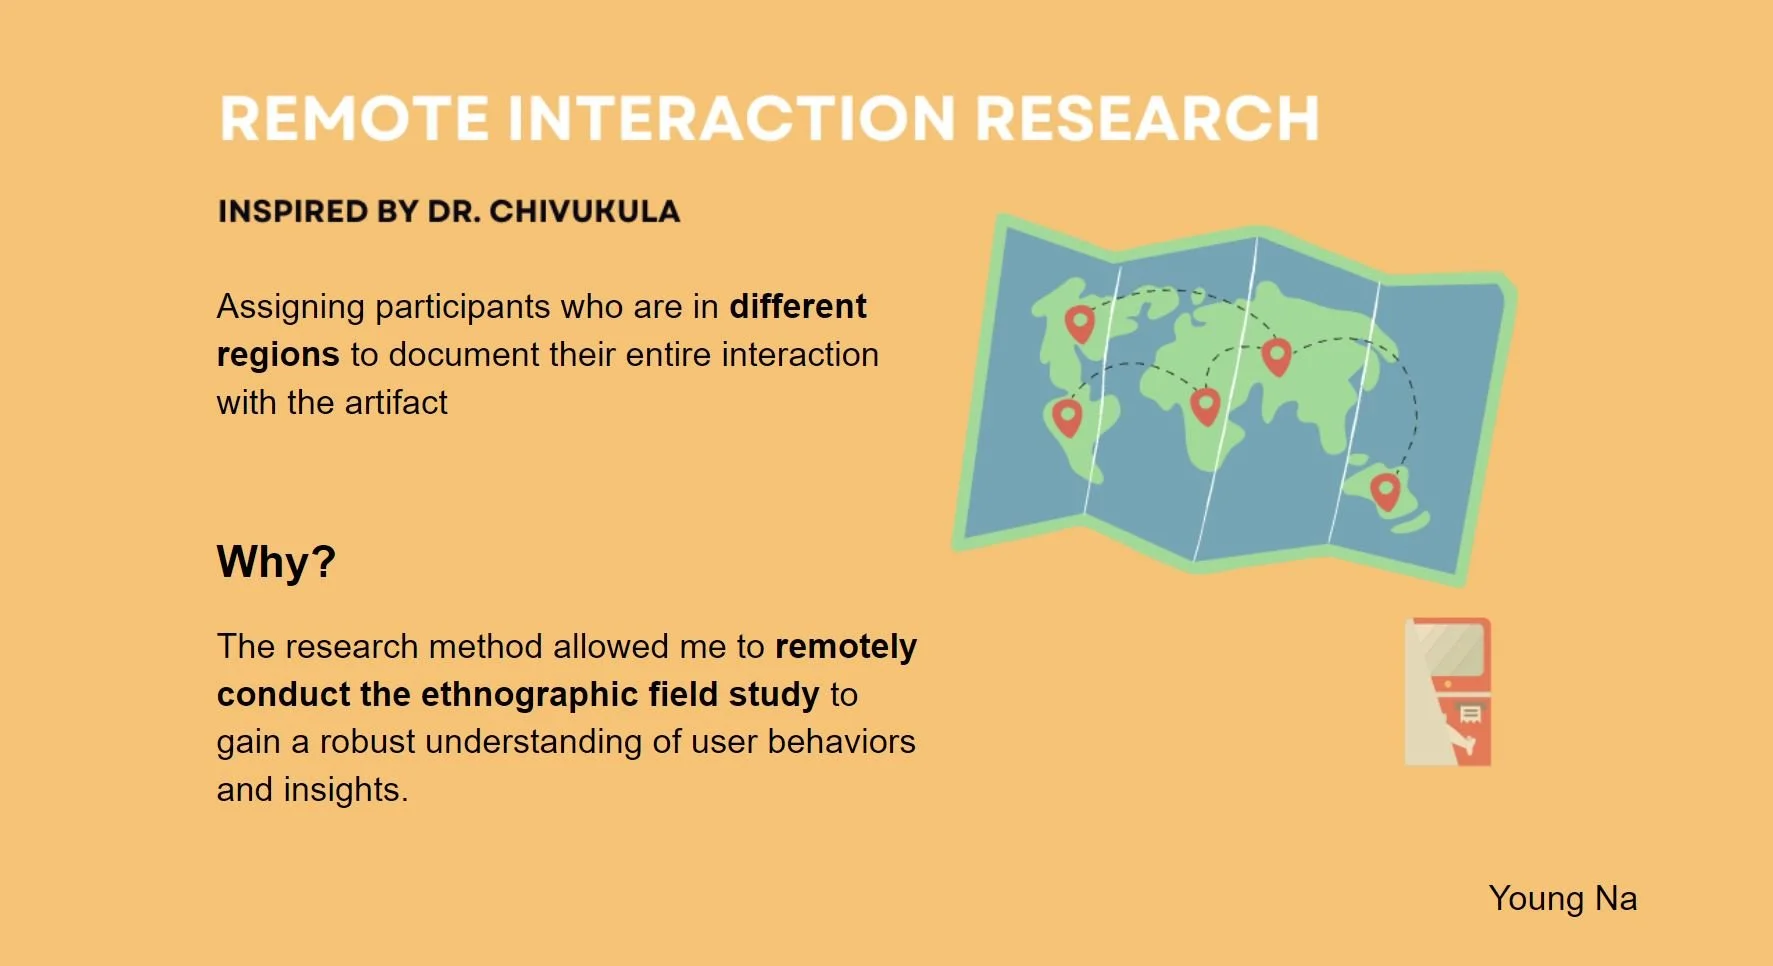
In general, “Tips on staying organized”
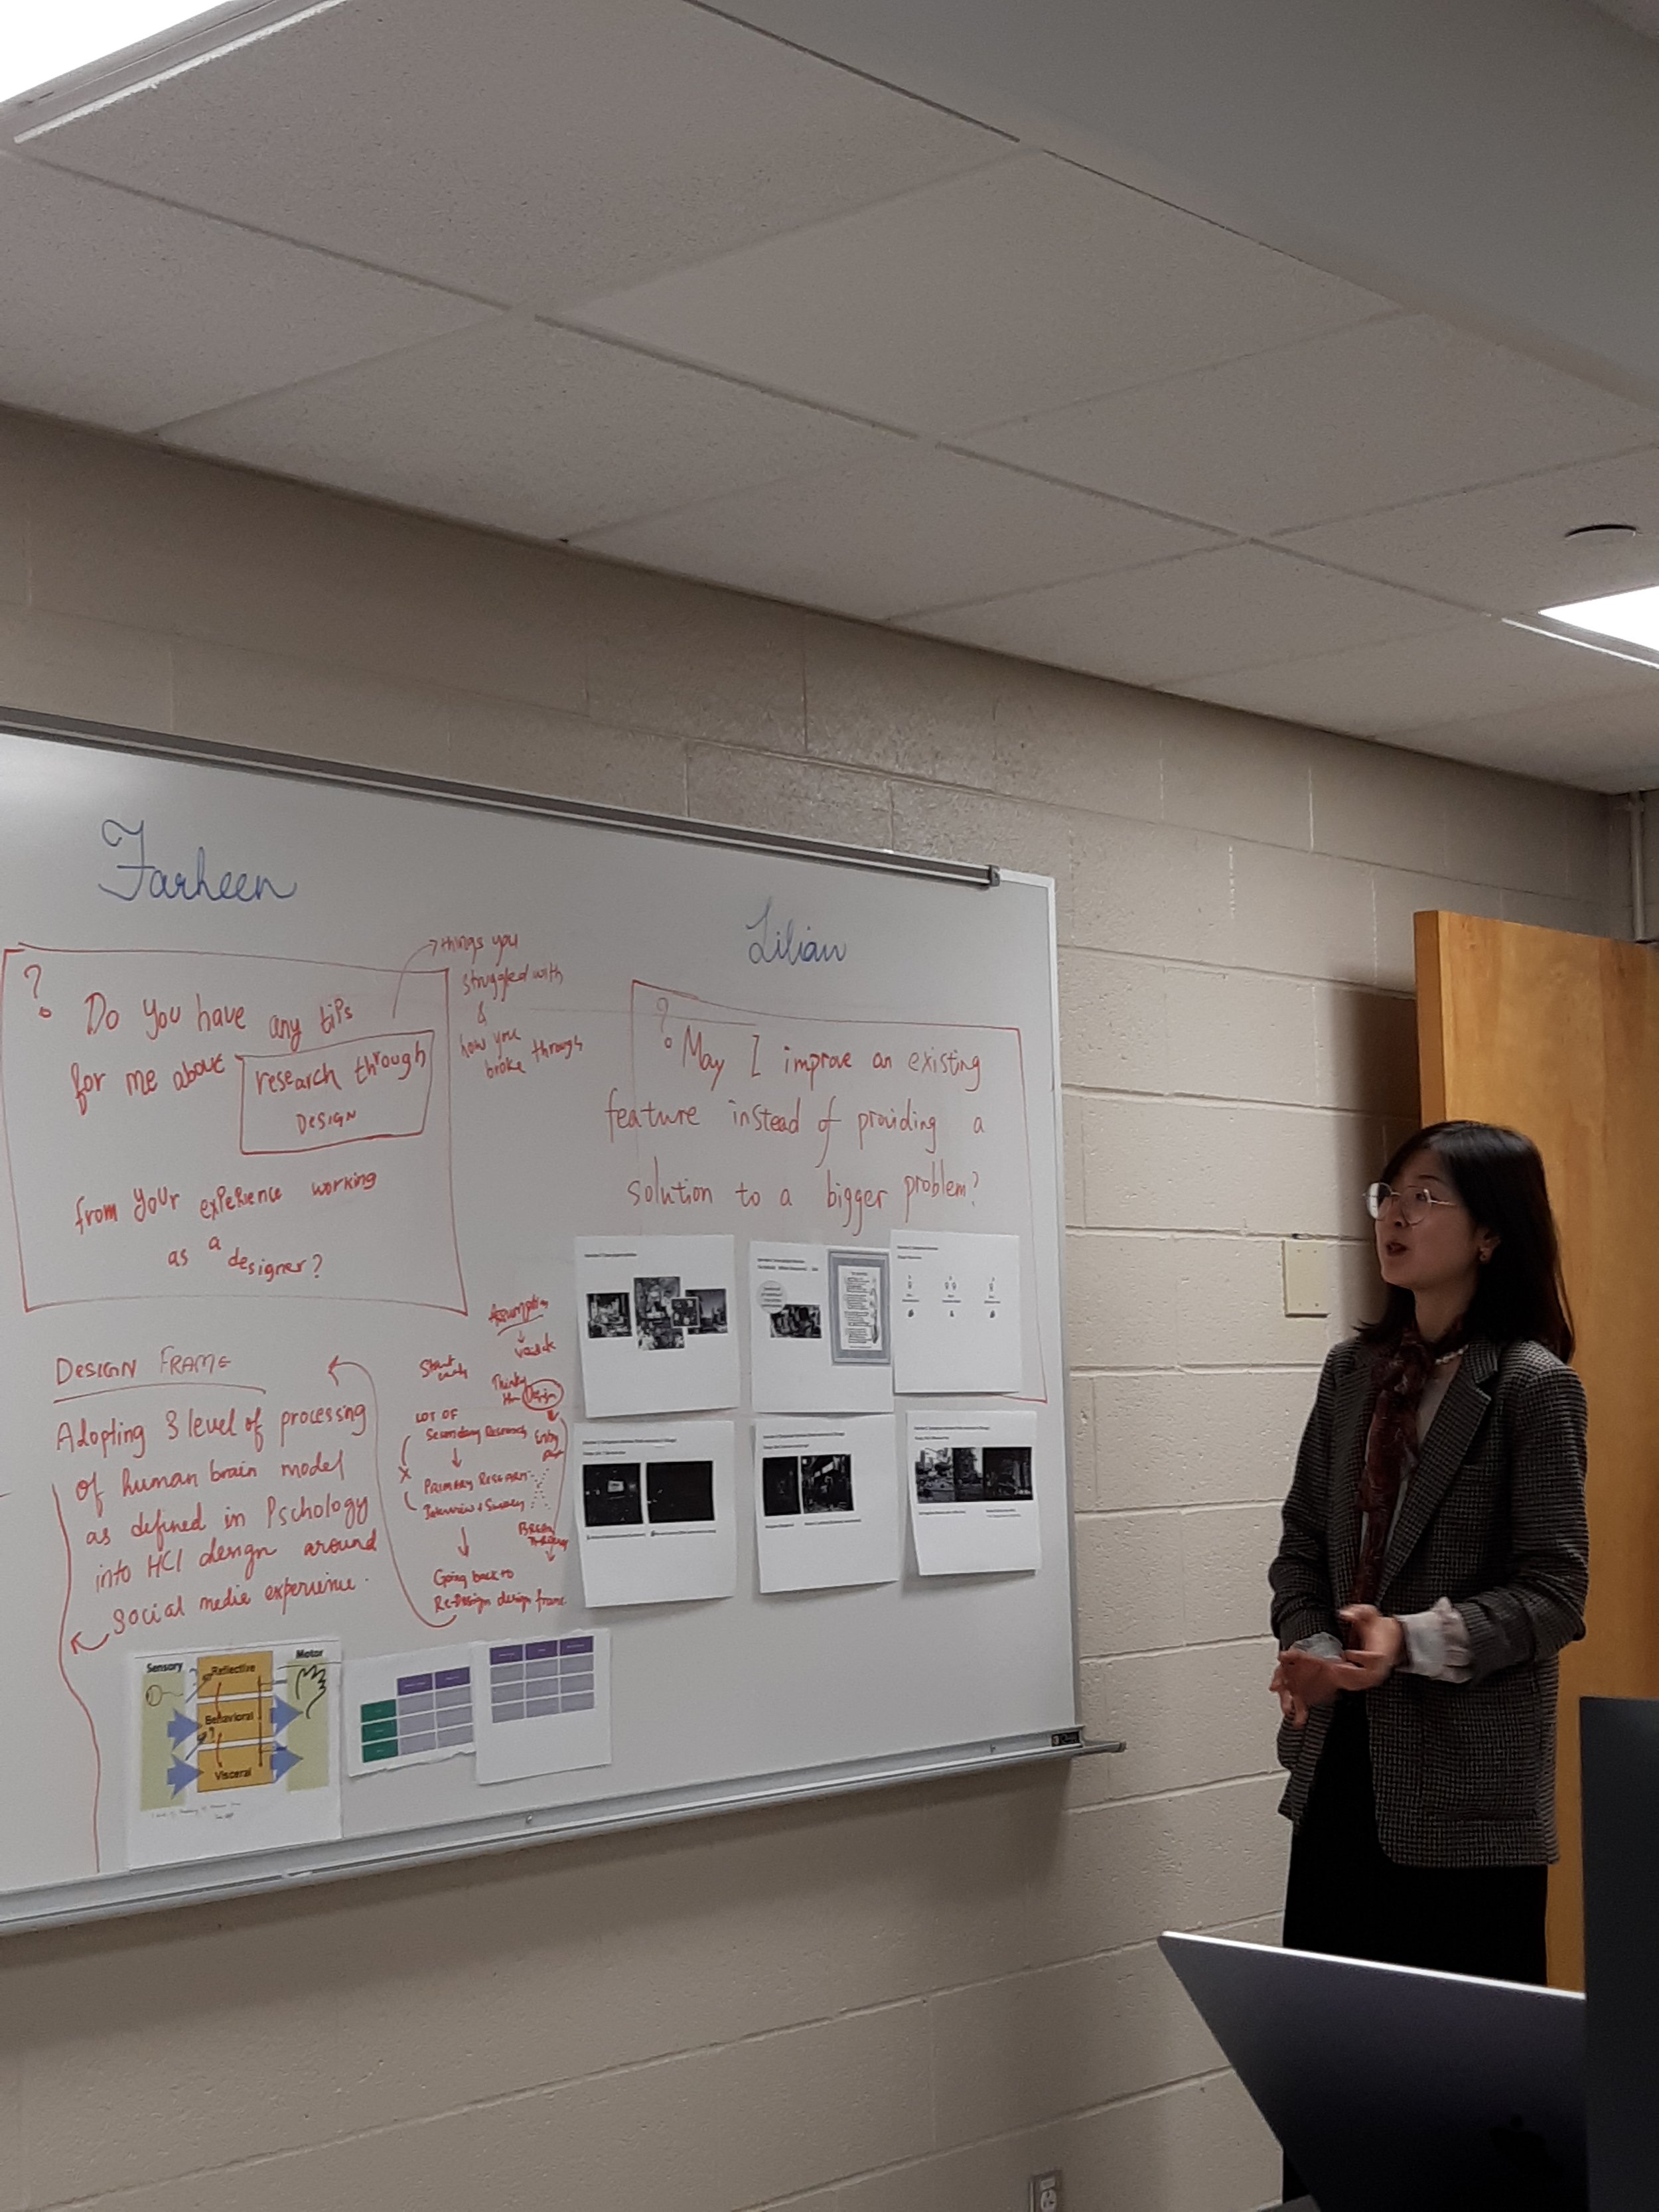
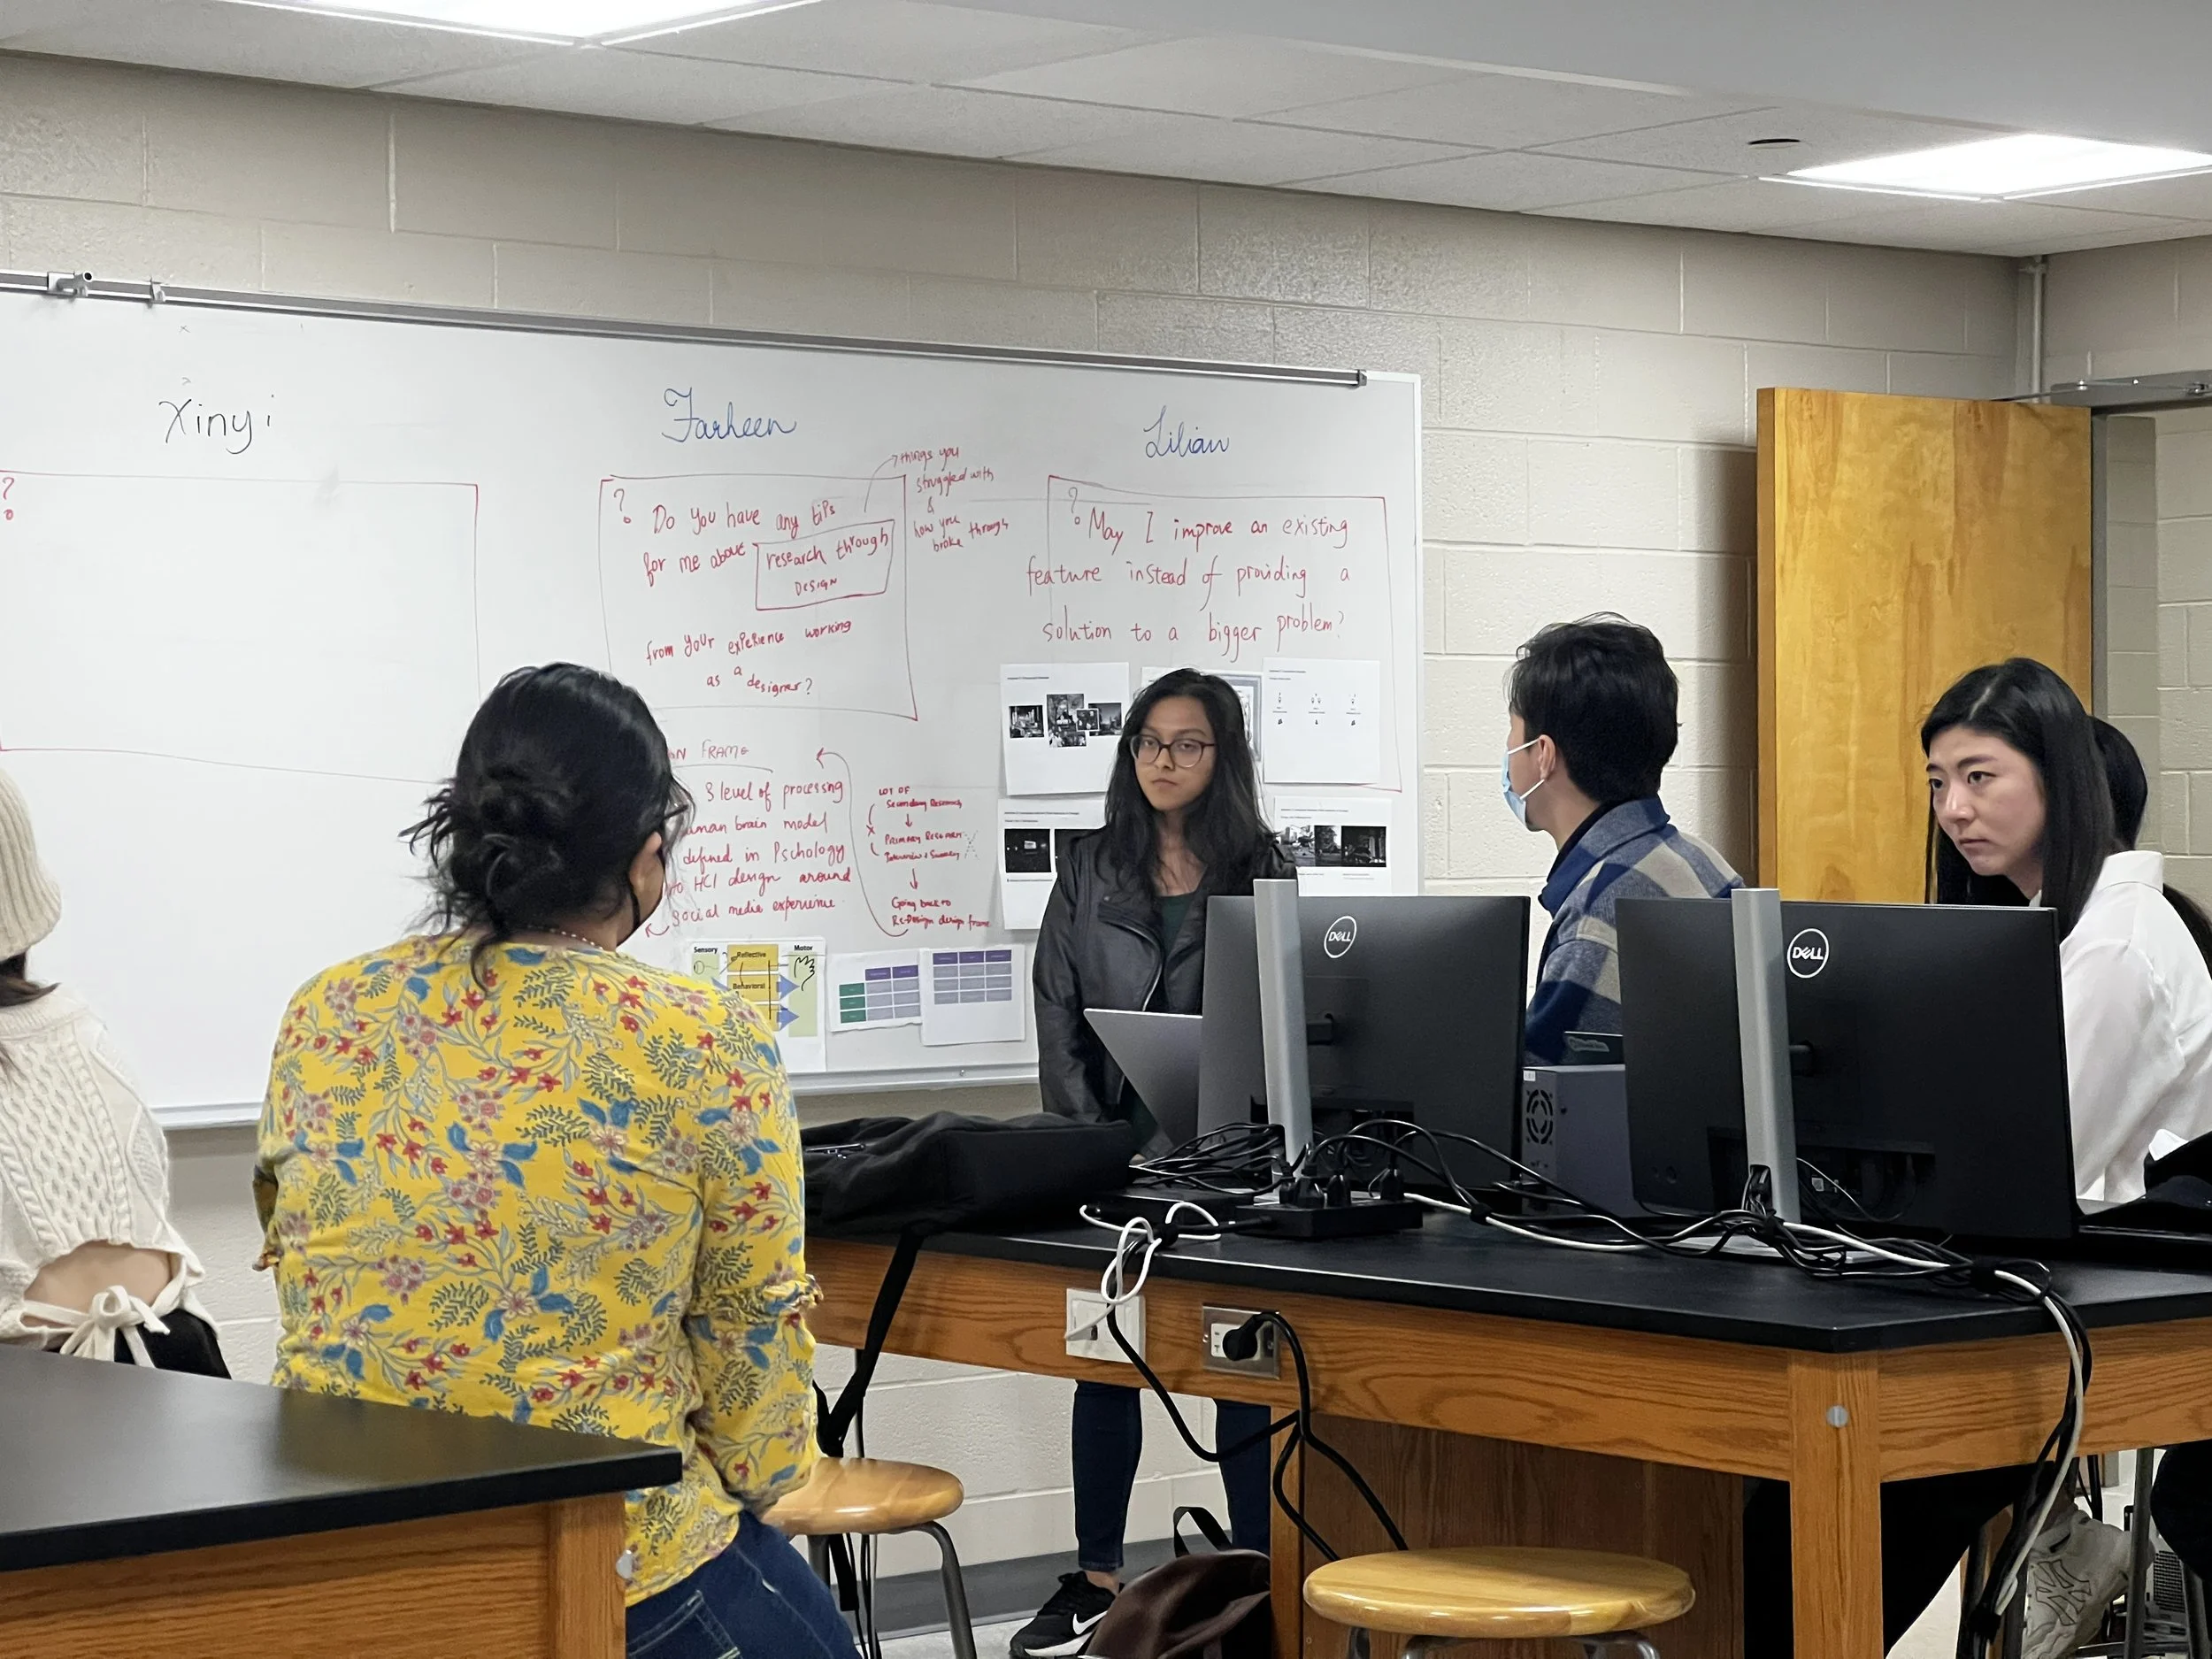
“Do you have any tips for me above research through design from your experience working as a designer?”
“May I improve an existing feature instead of providing a solution to a bigger problem?”
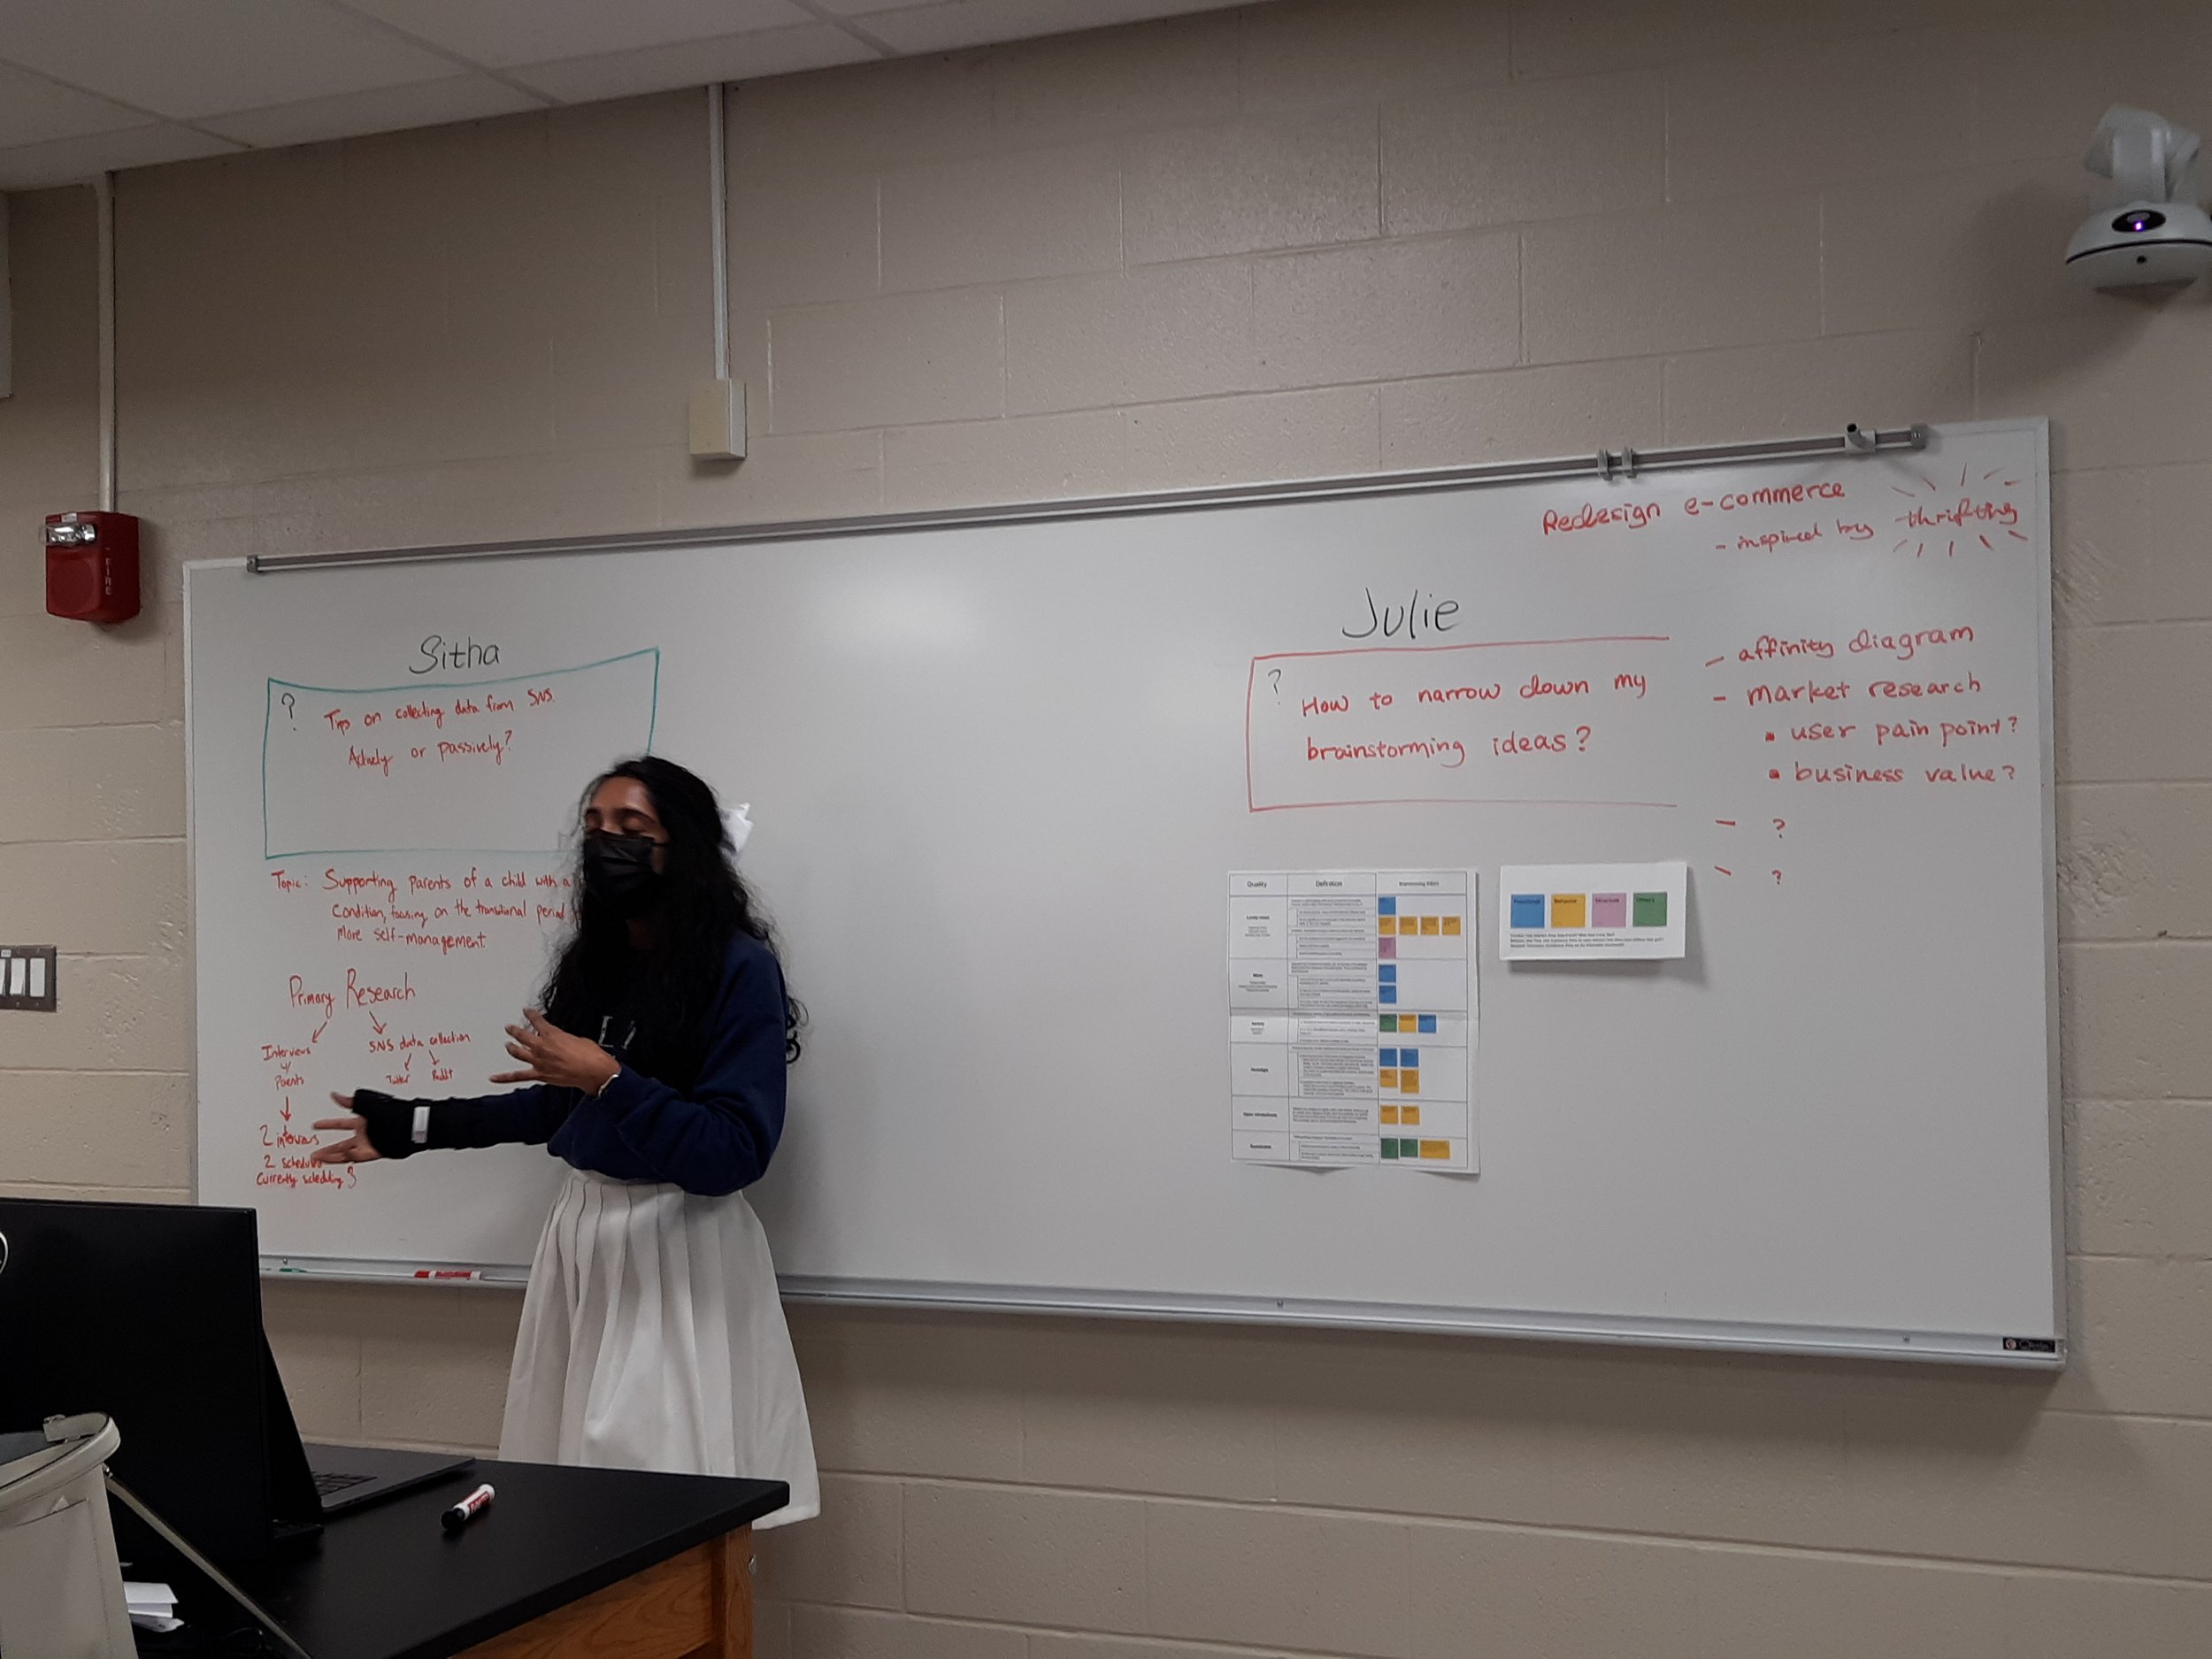
“Tips on collecting data from SNS actively or passively?”
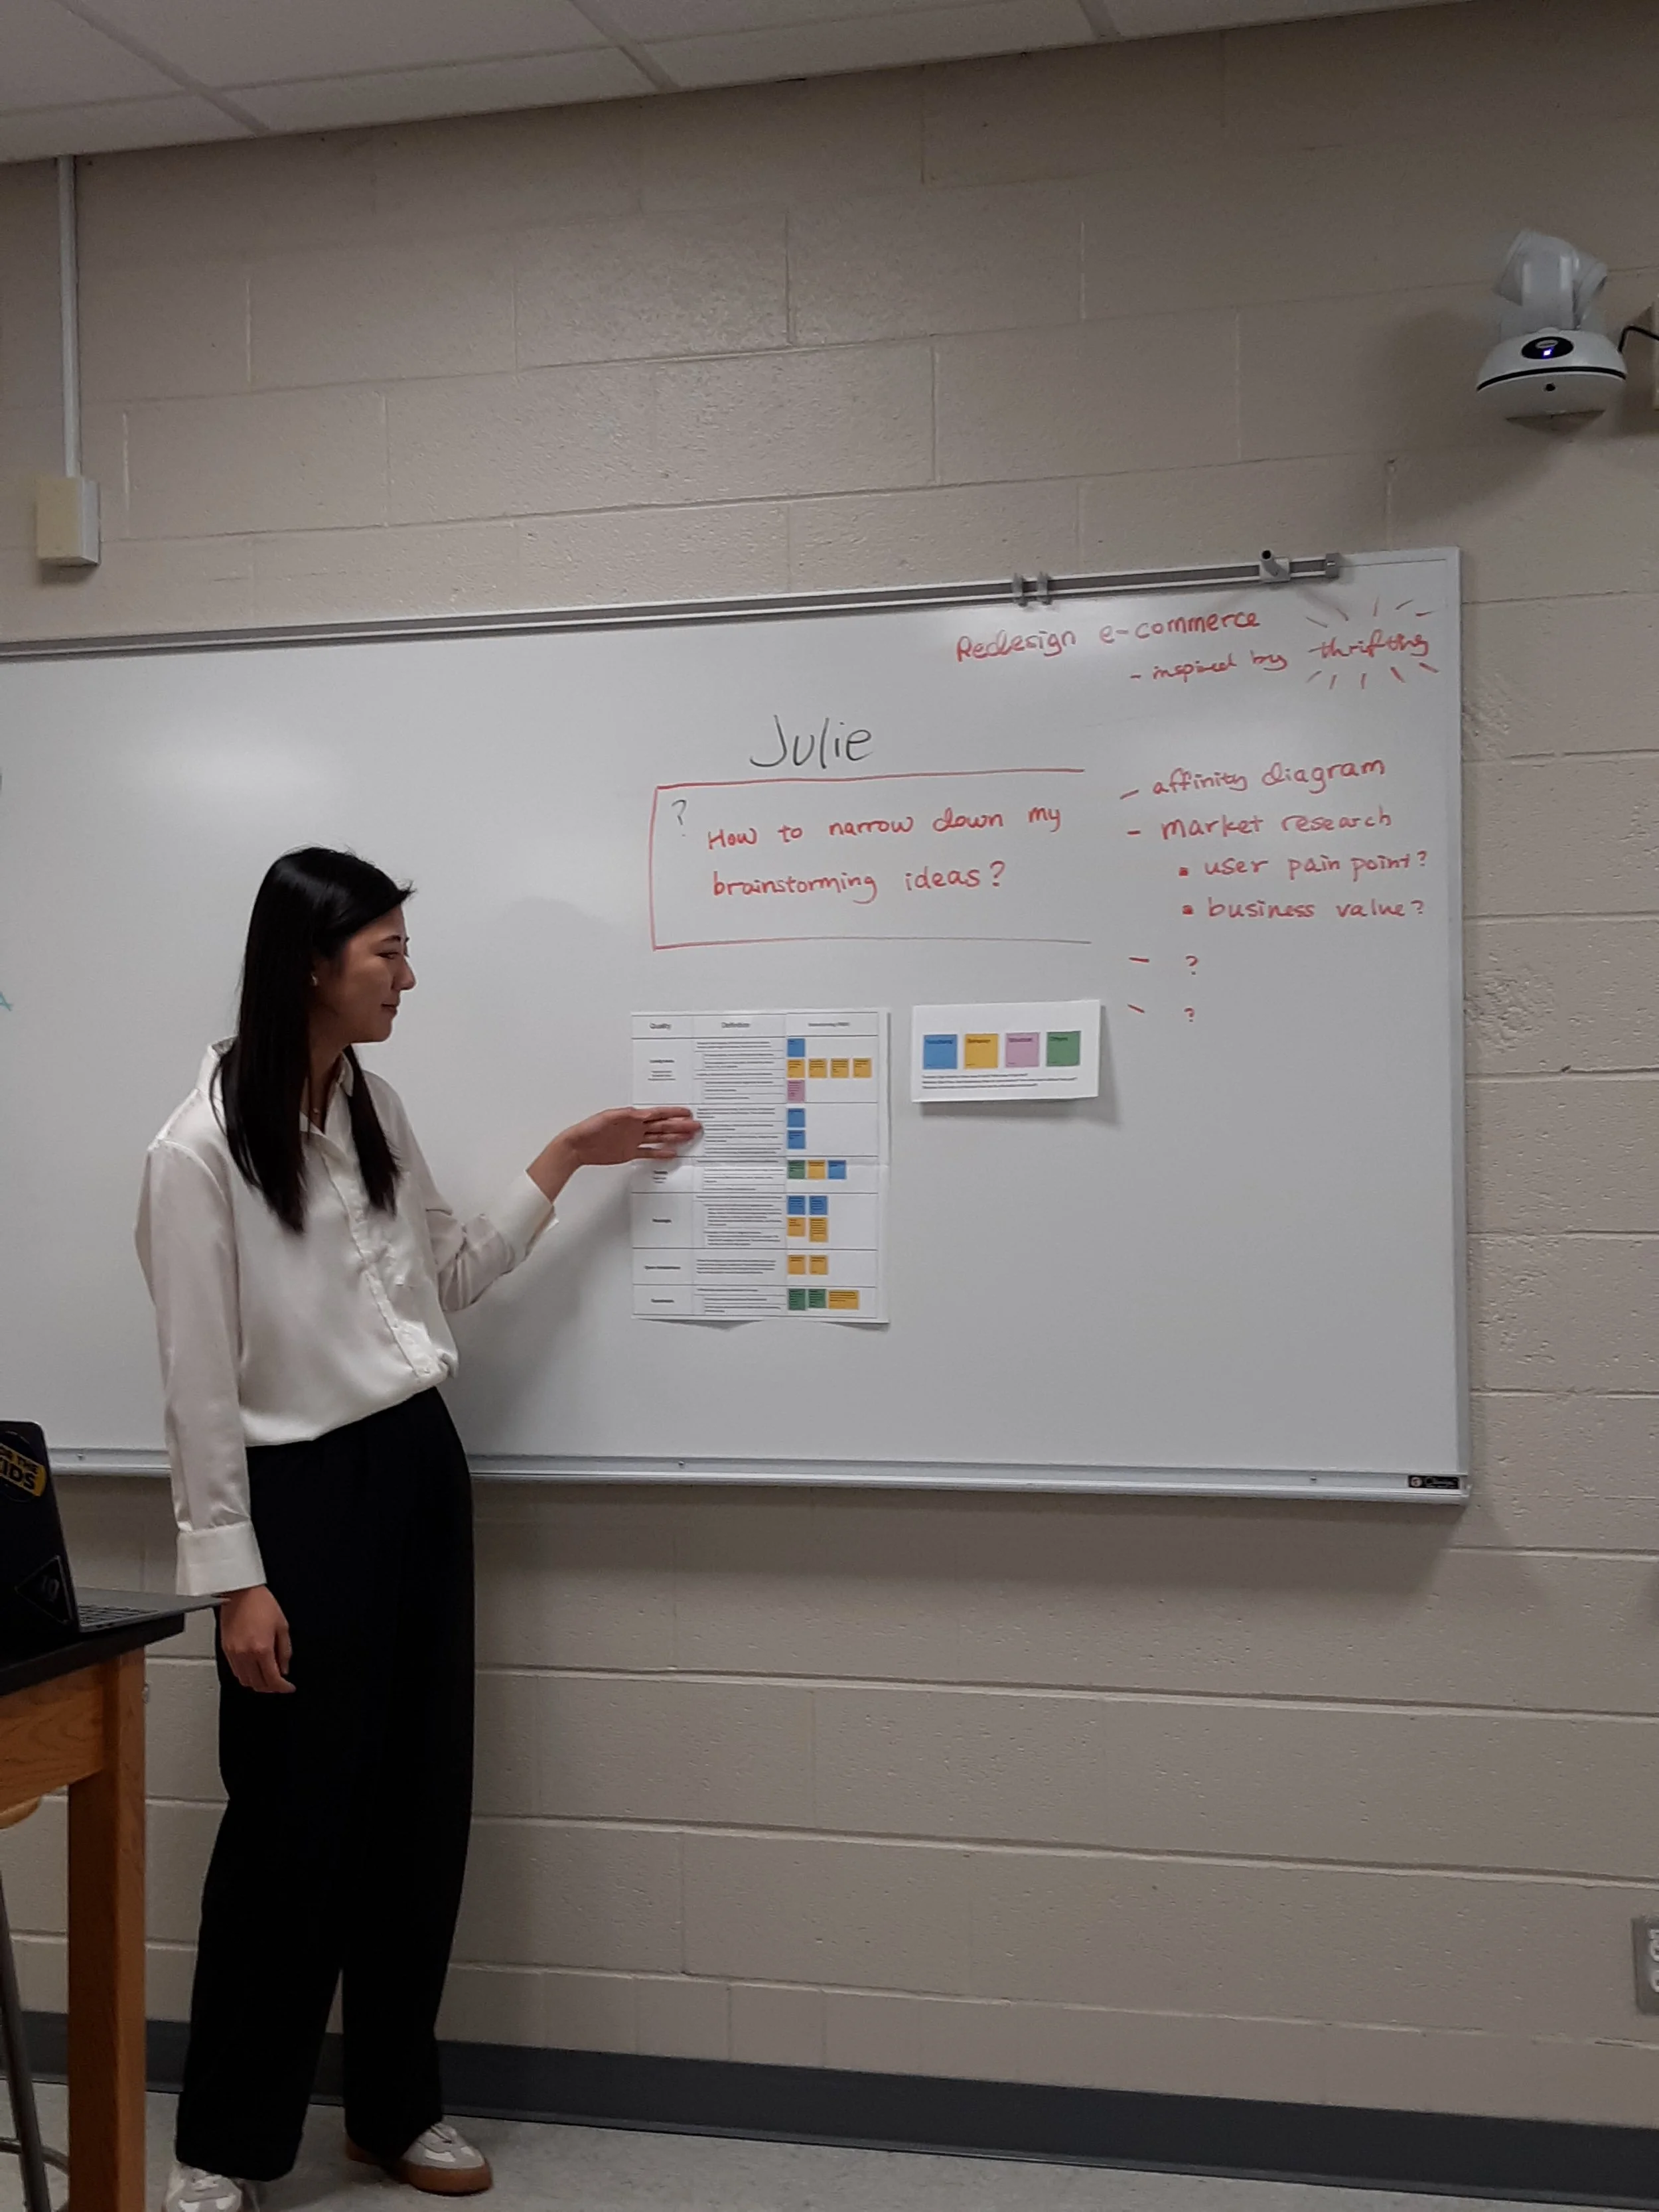
“How to narrow down my brainstorming ideas?”
“How do I approach designing a toolkit”
Interesting!
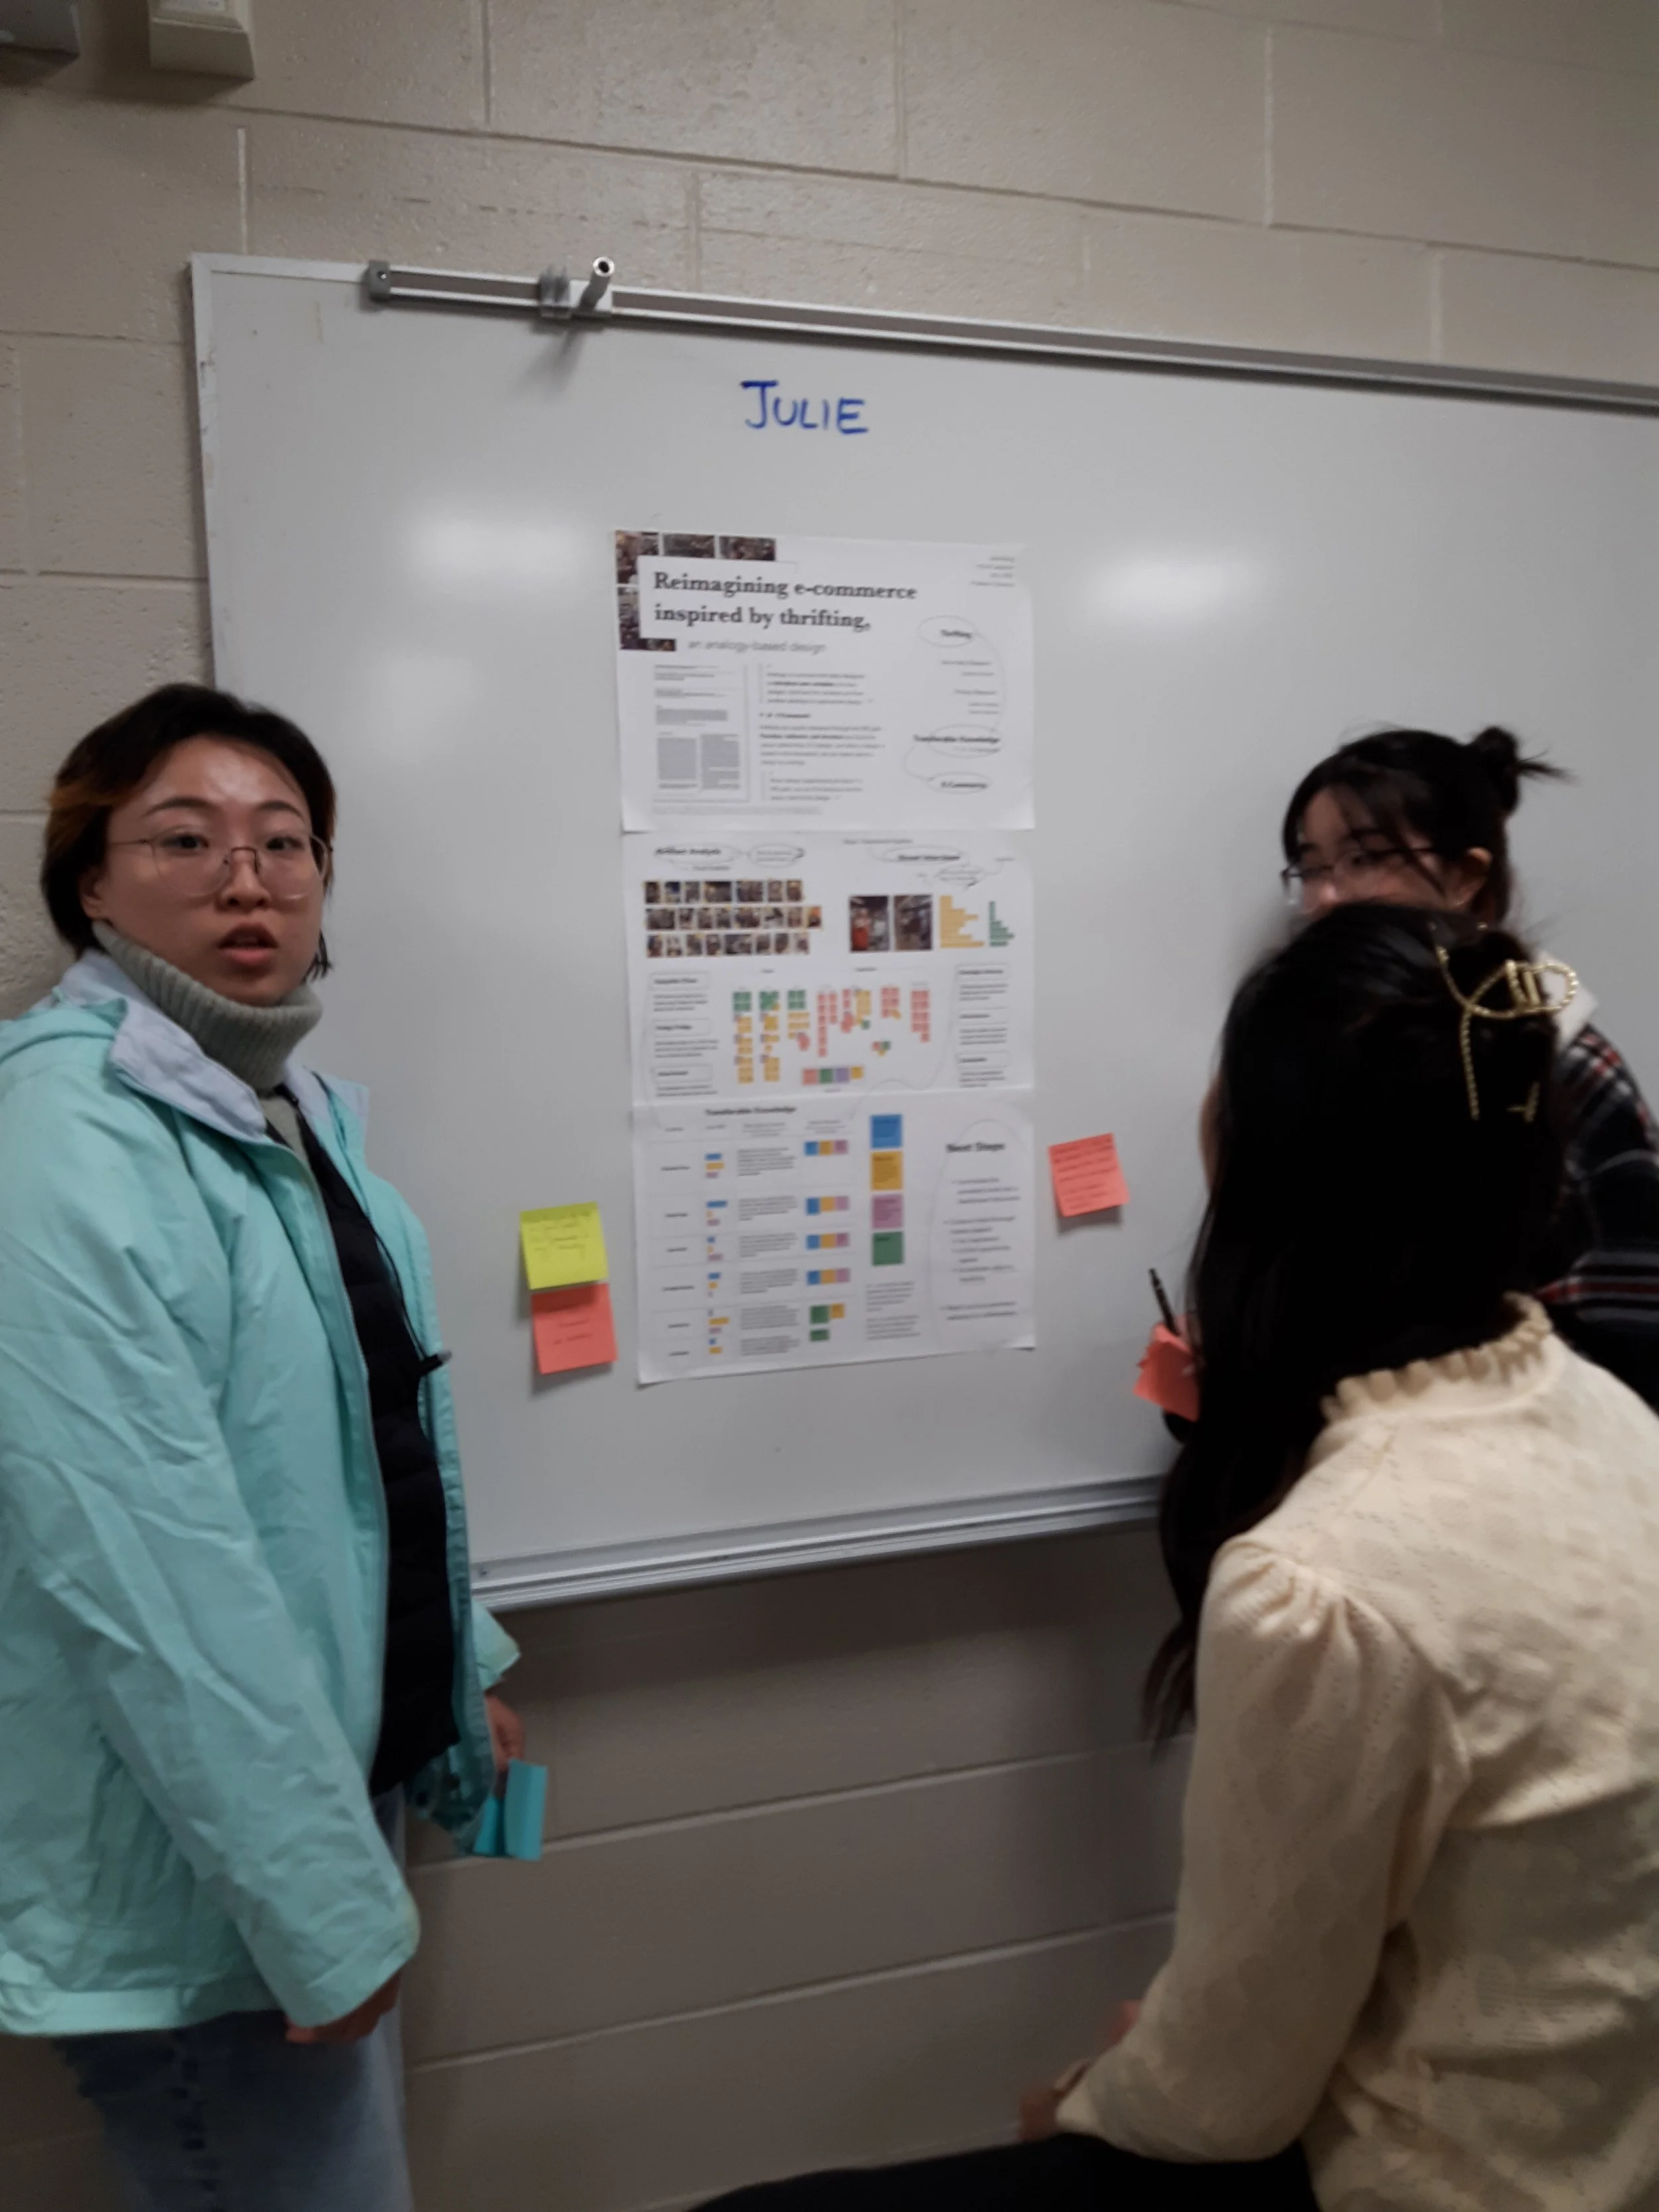
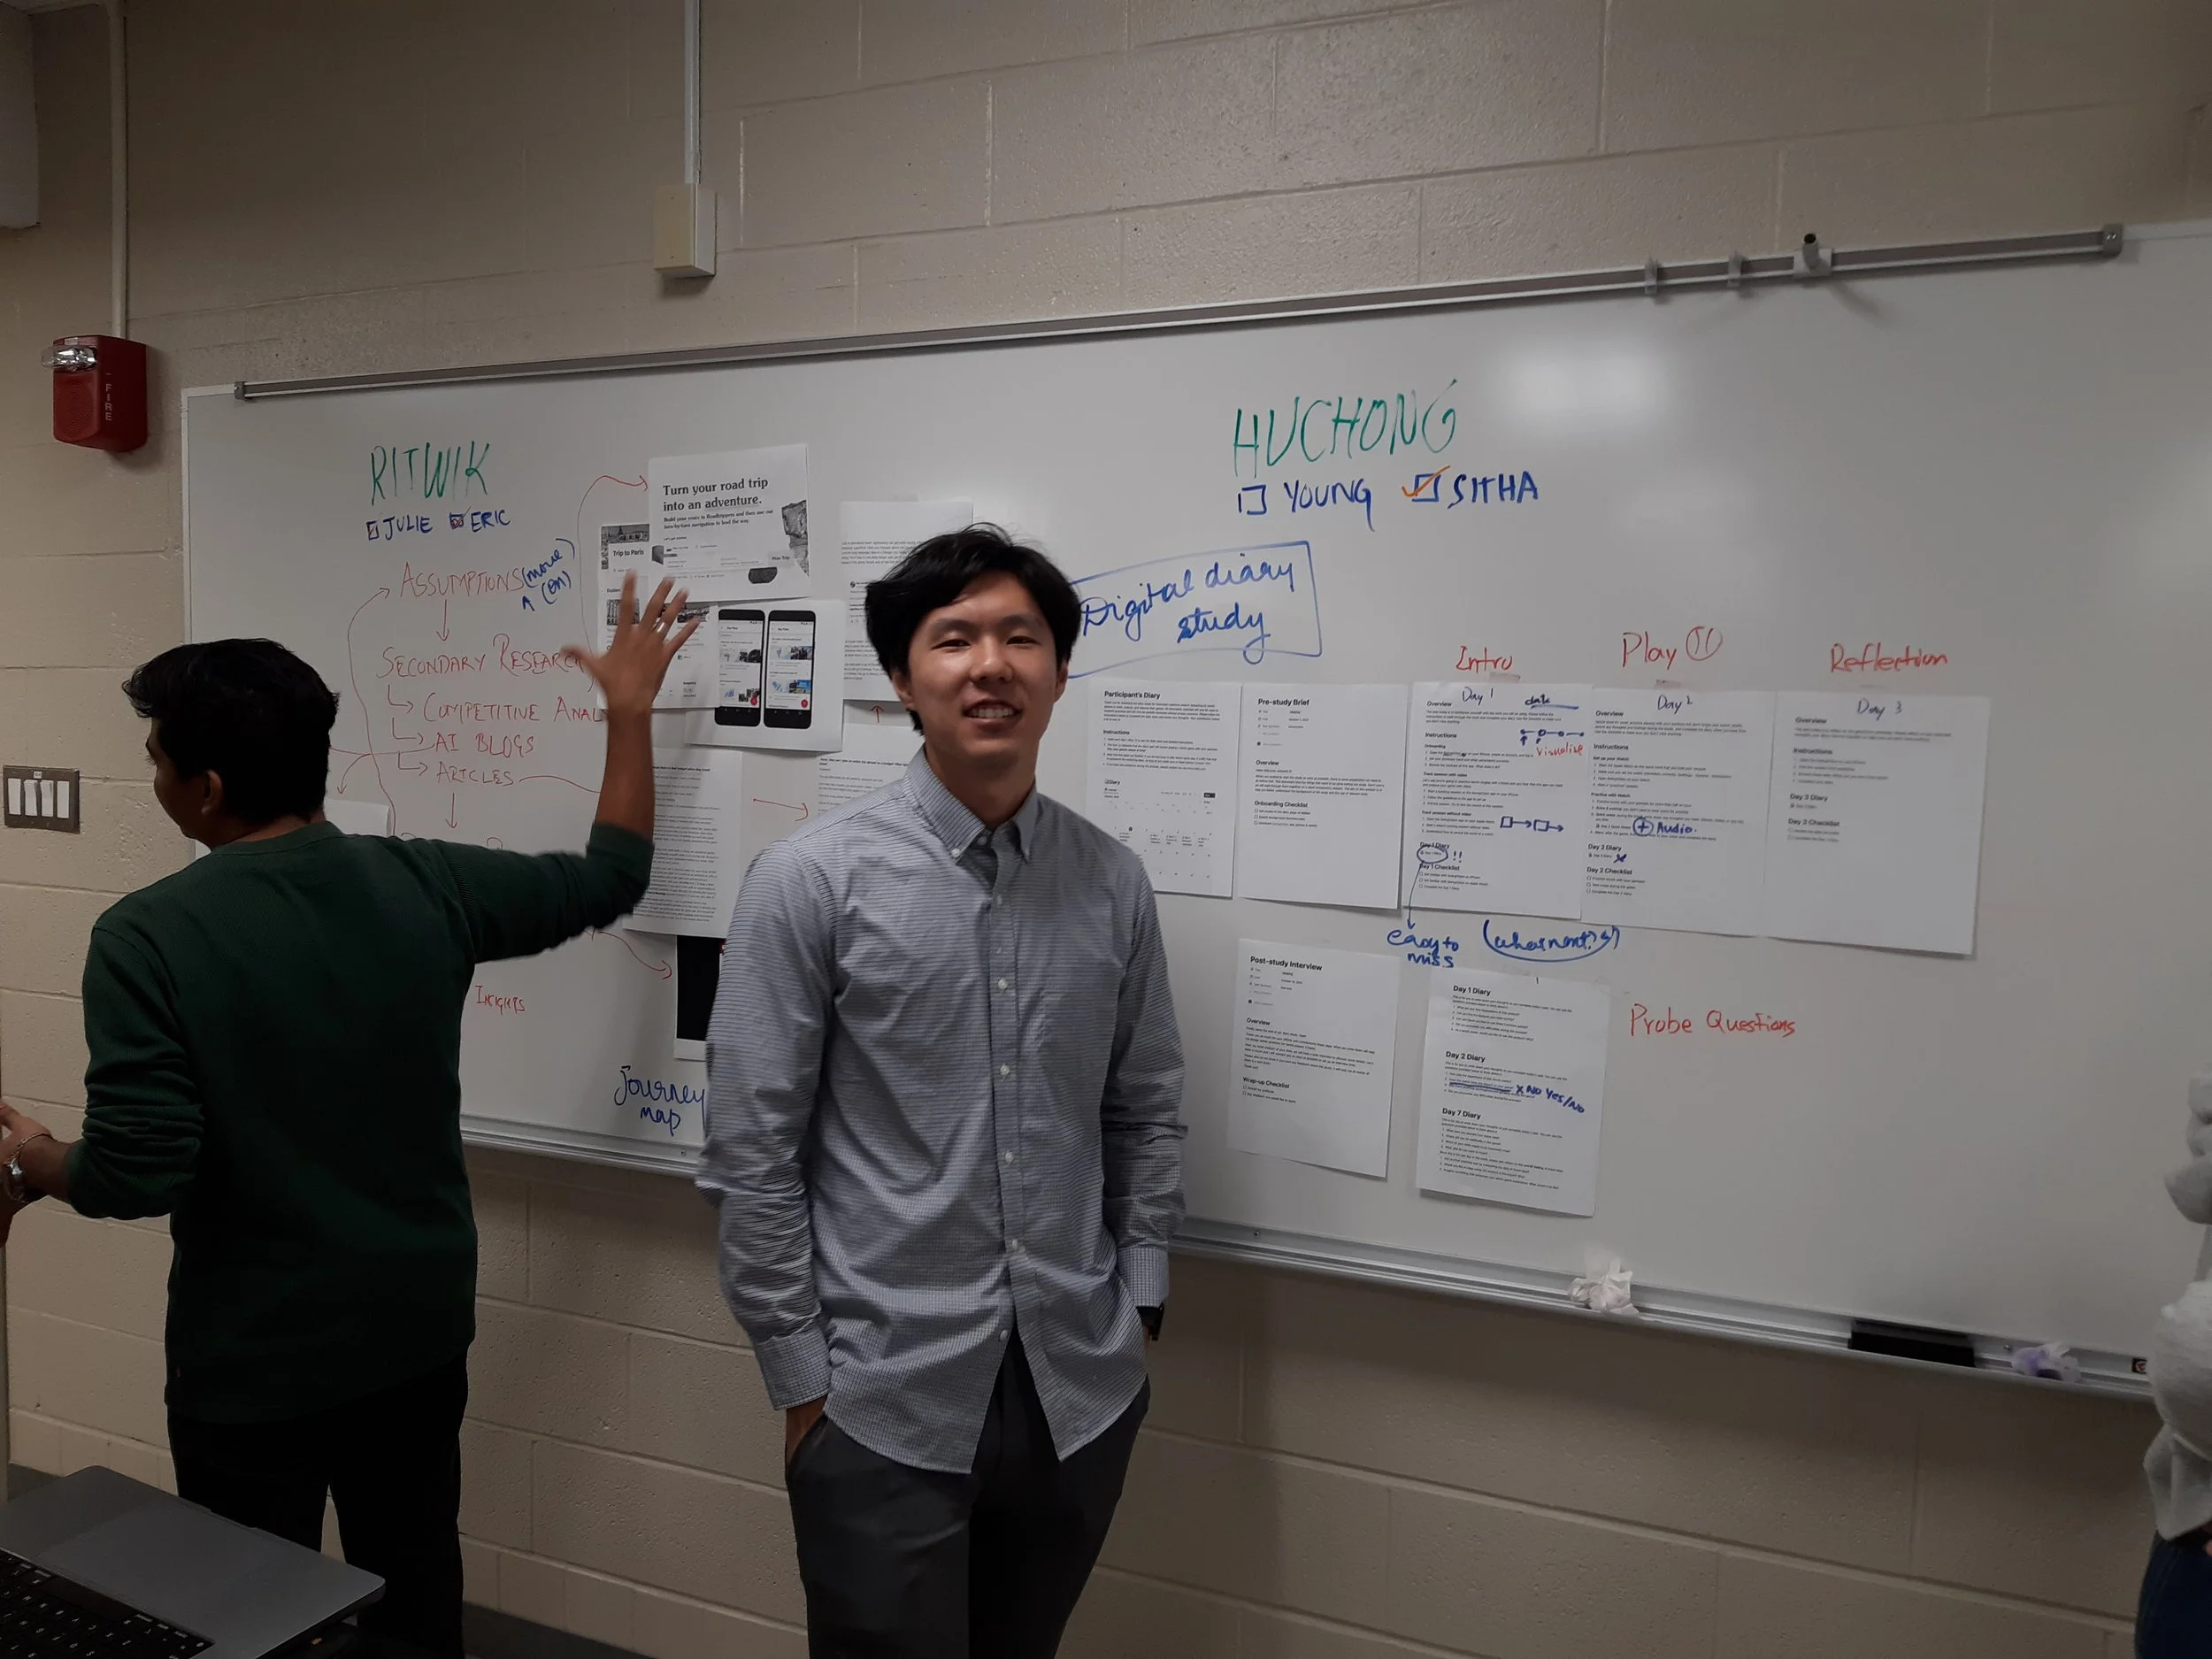
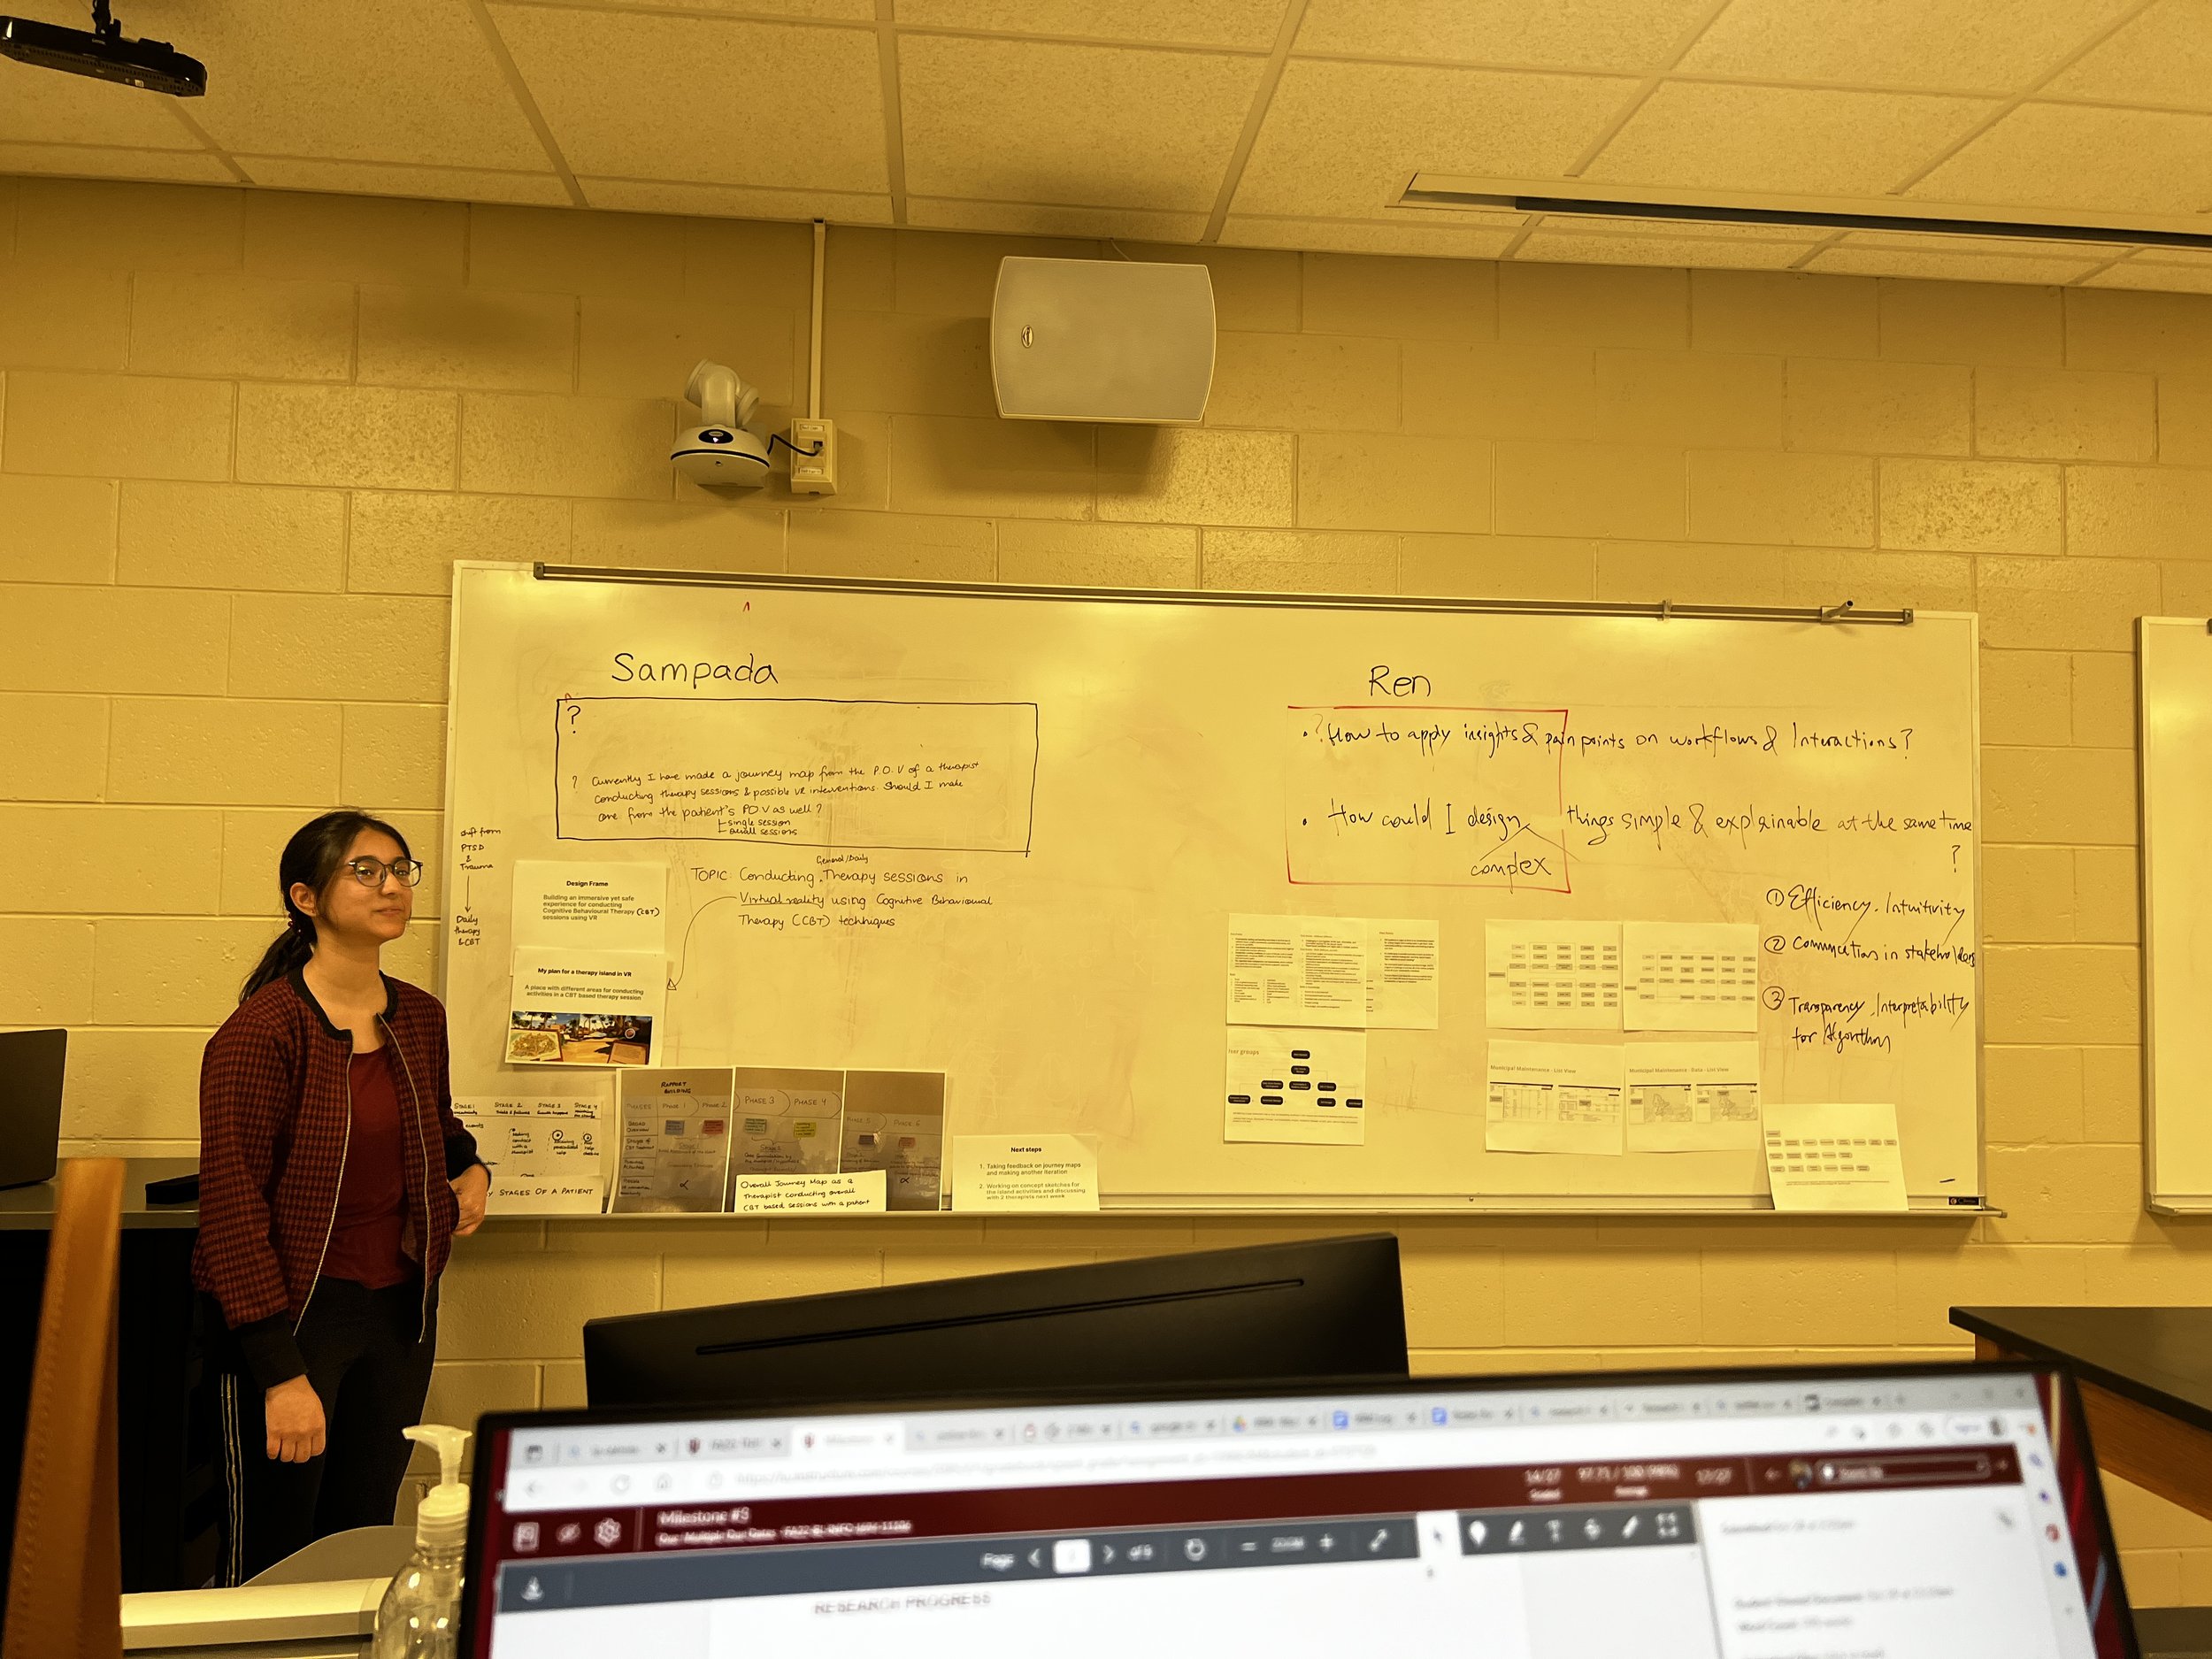
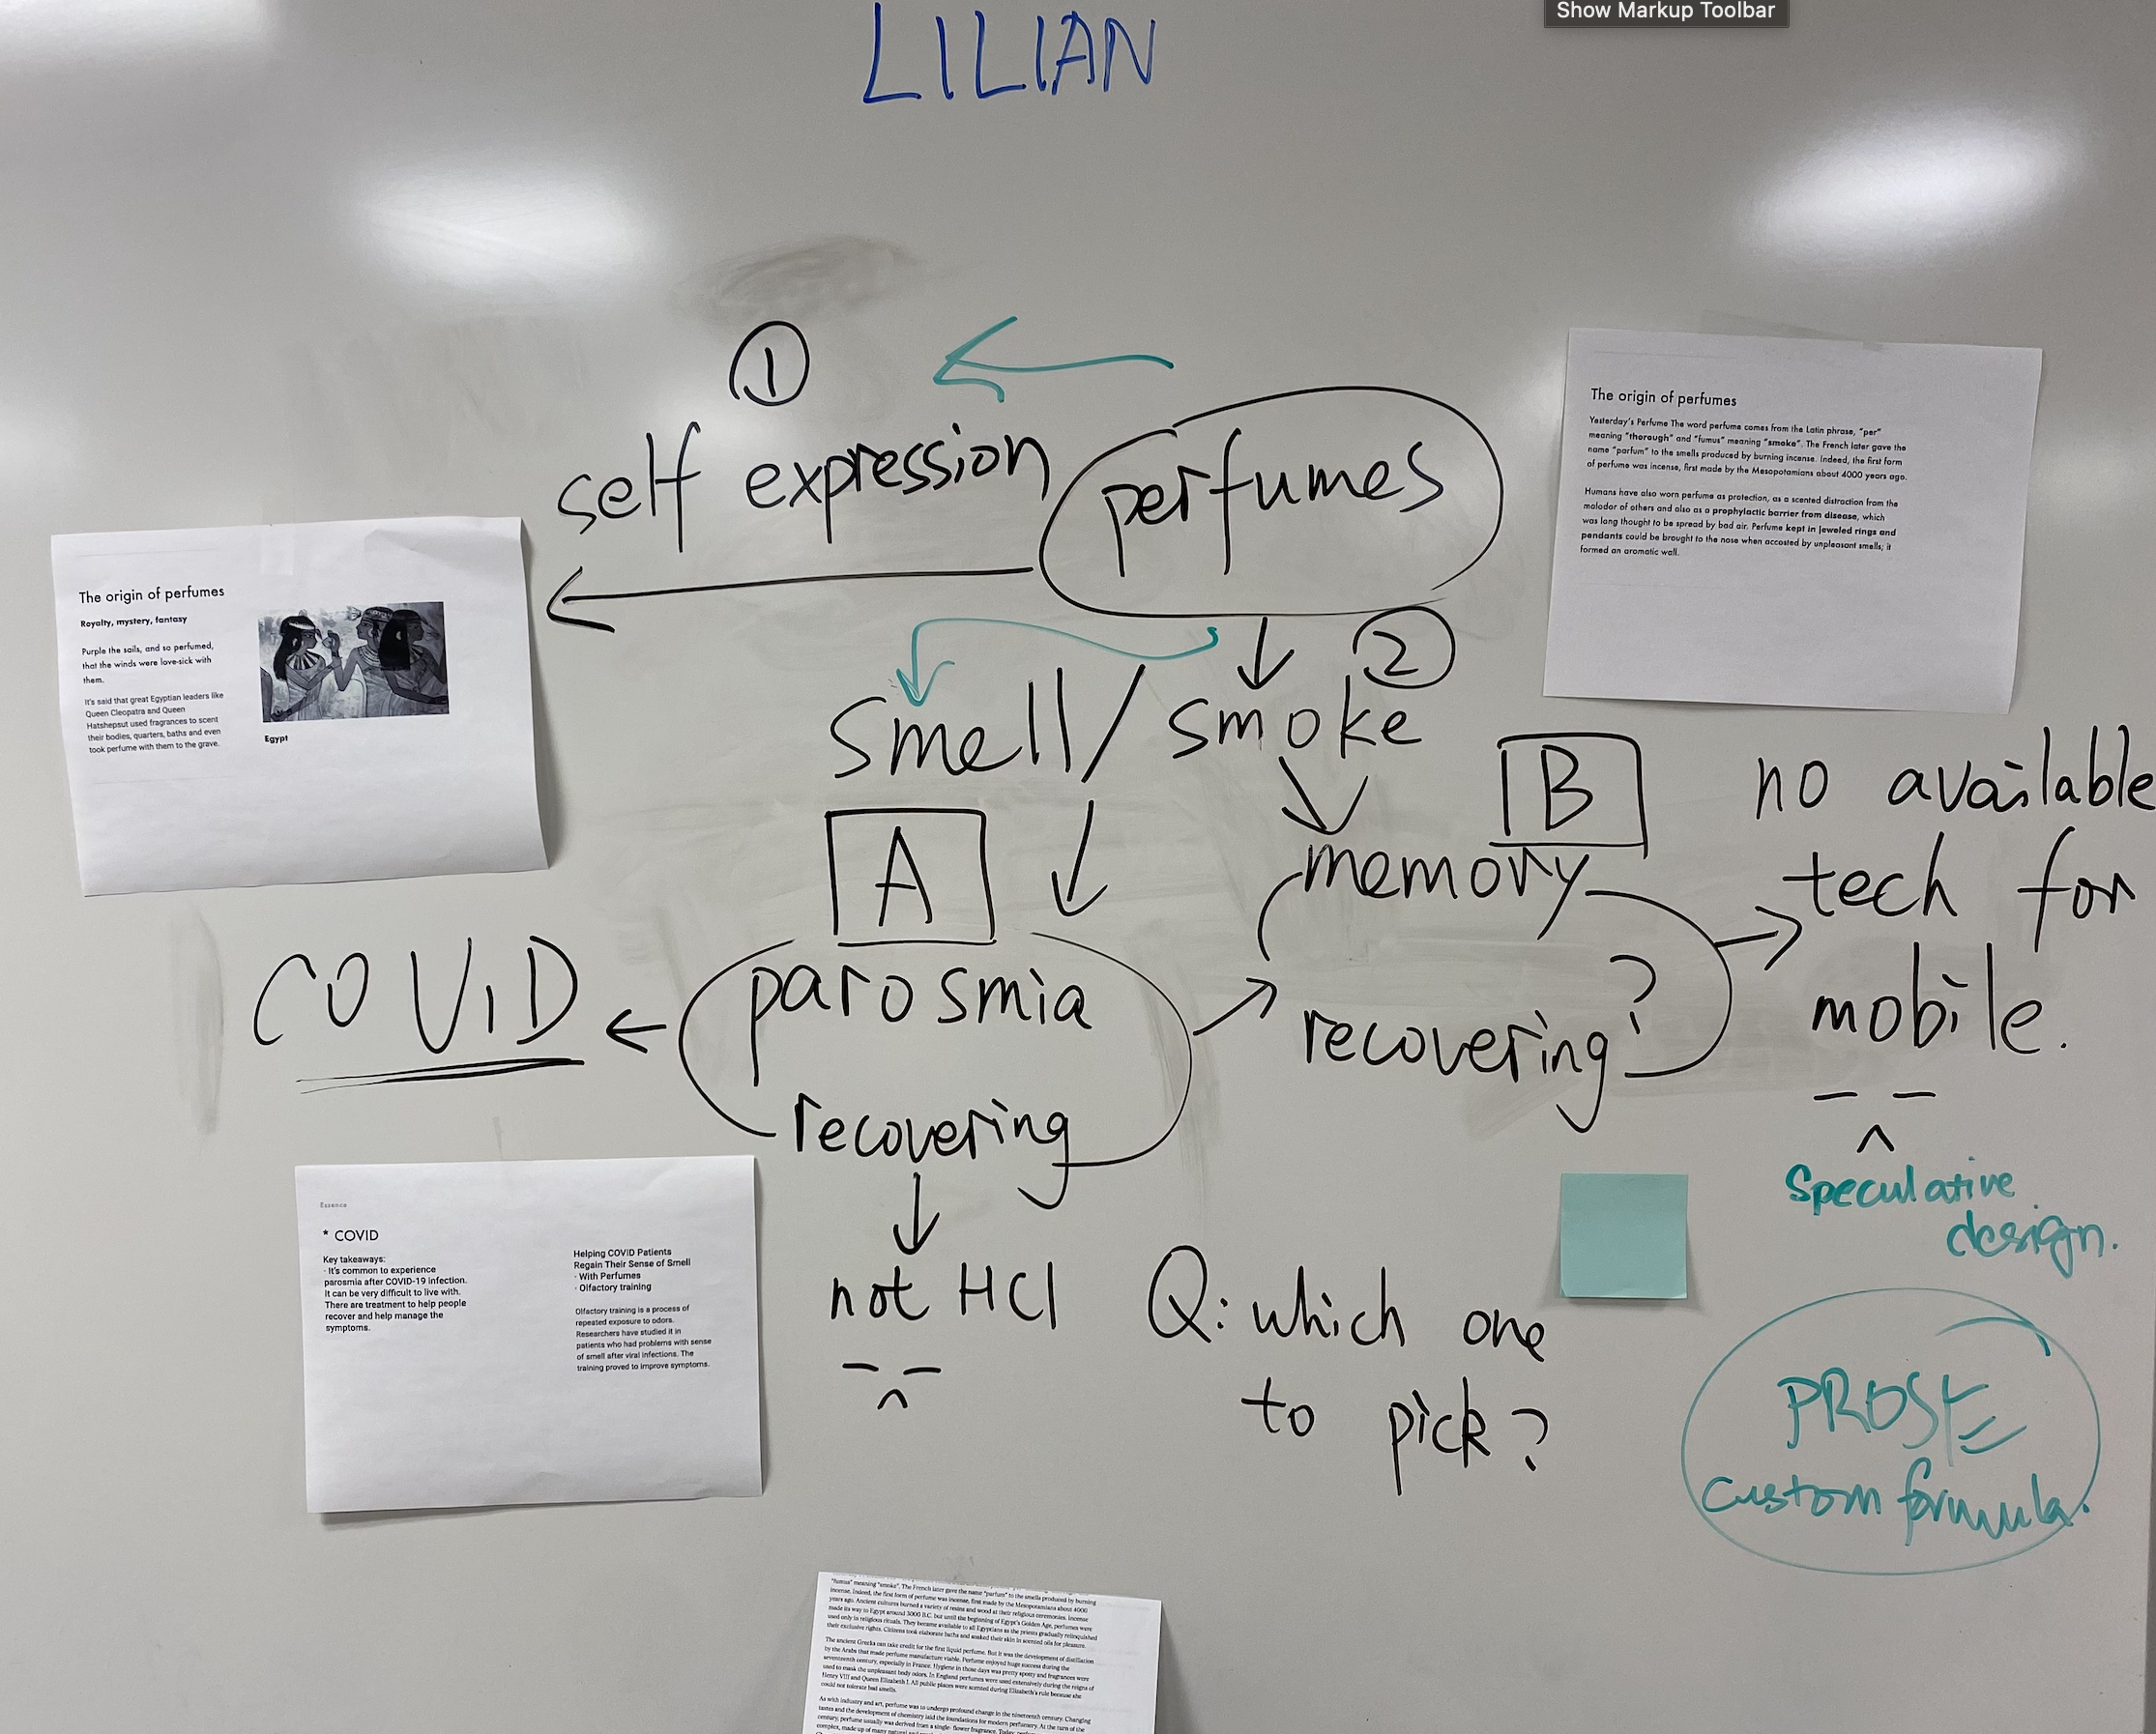
Interestingly, in Week 12, couple of students have re-purposed their Gallery Walk sessions to get initial concepts/ ideas from their peers. They turned their boards/ presentation into a brainstorming session where they were providing peers with post-its to post their ideas based on the presenter’s design frame/ conjectures. I felt that was very interesting ways students appropriate the Gallery Walks as they felt fit based on their design process stage.
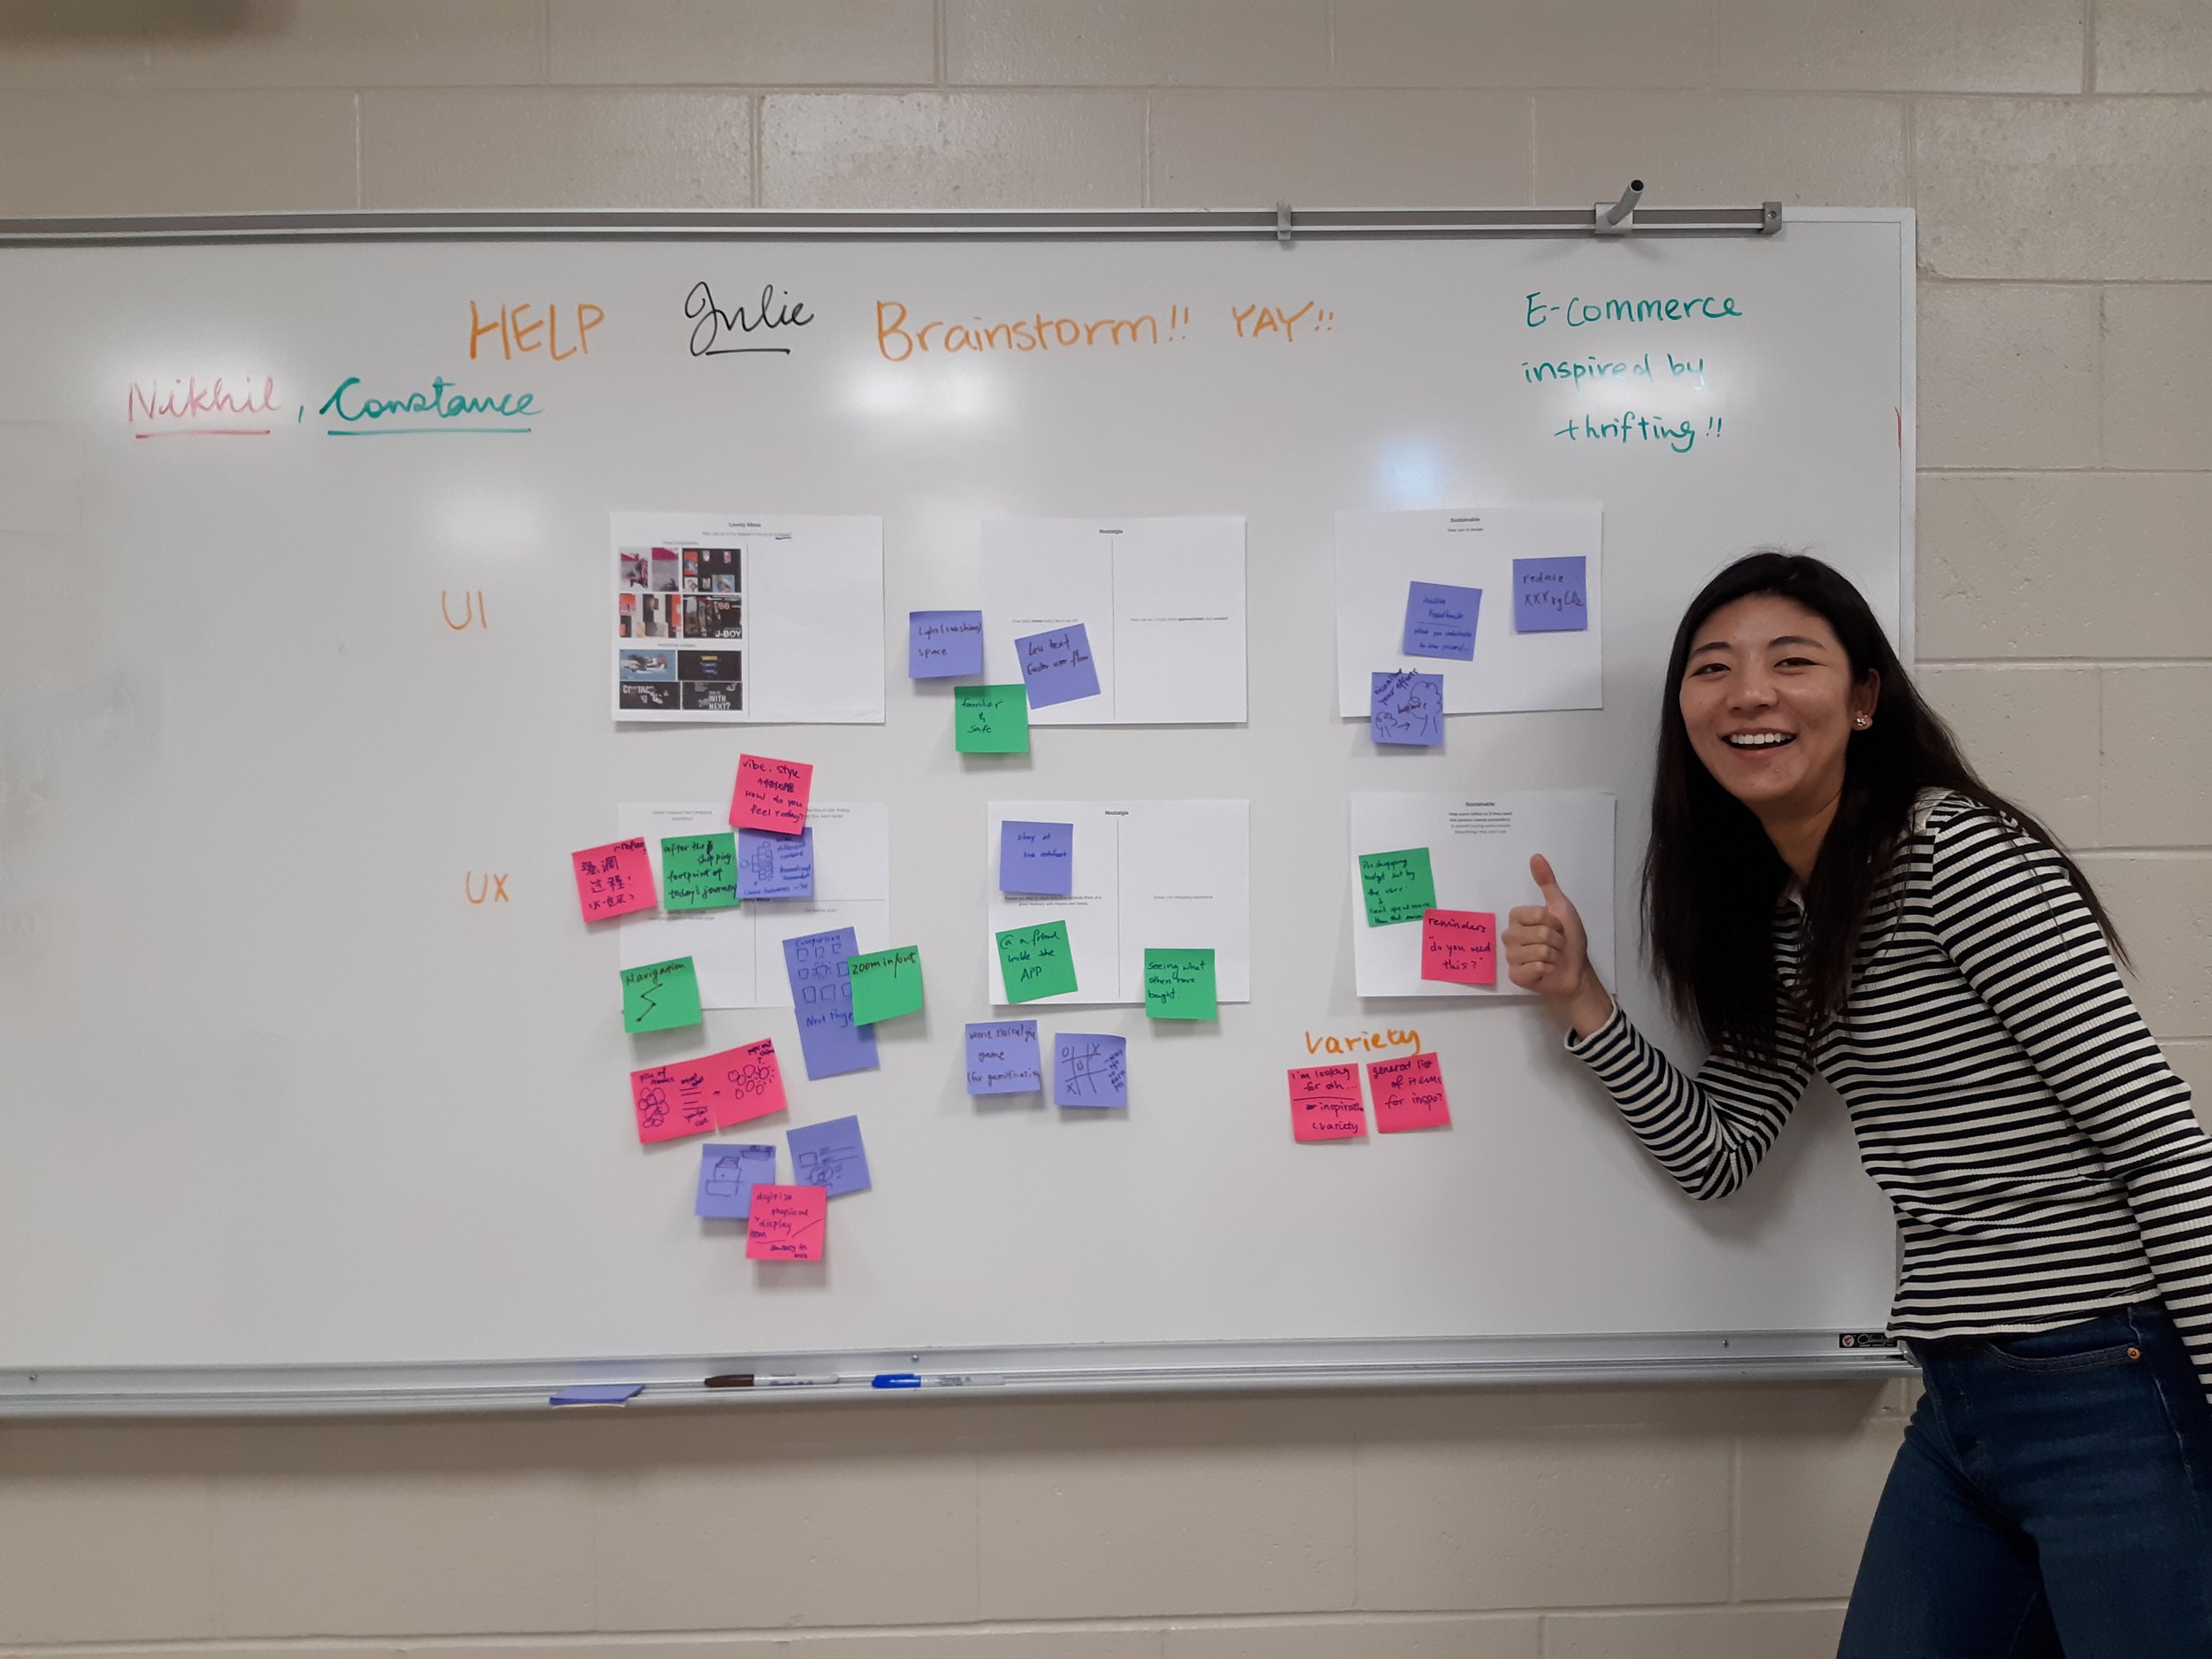
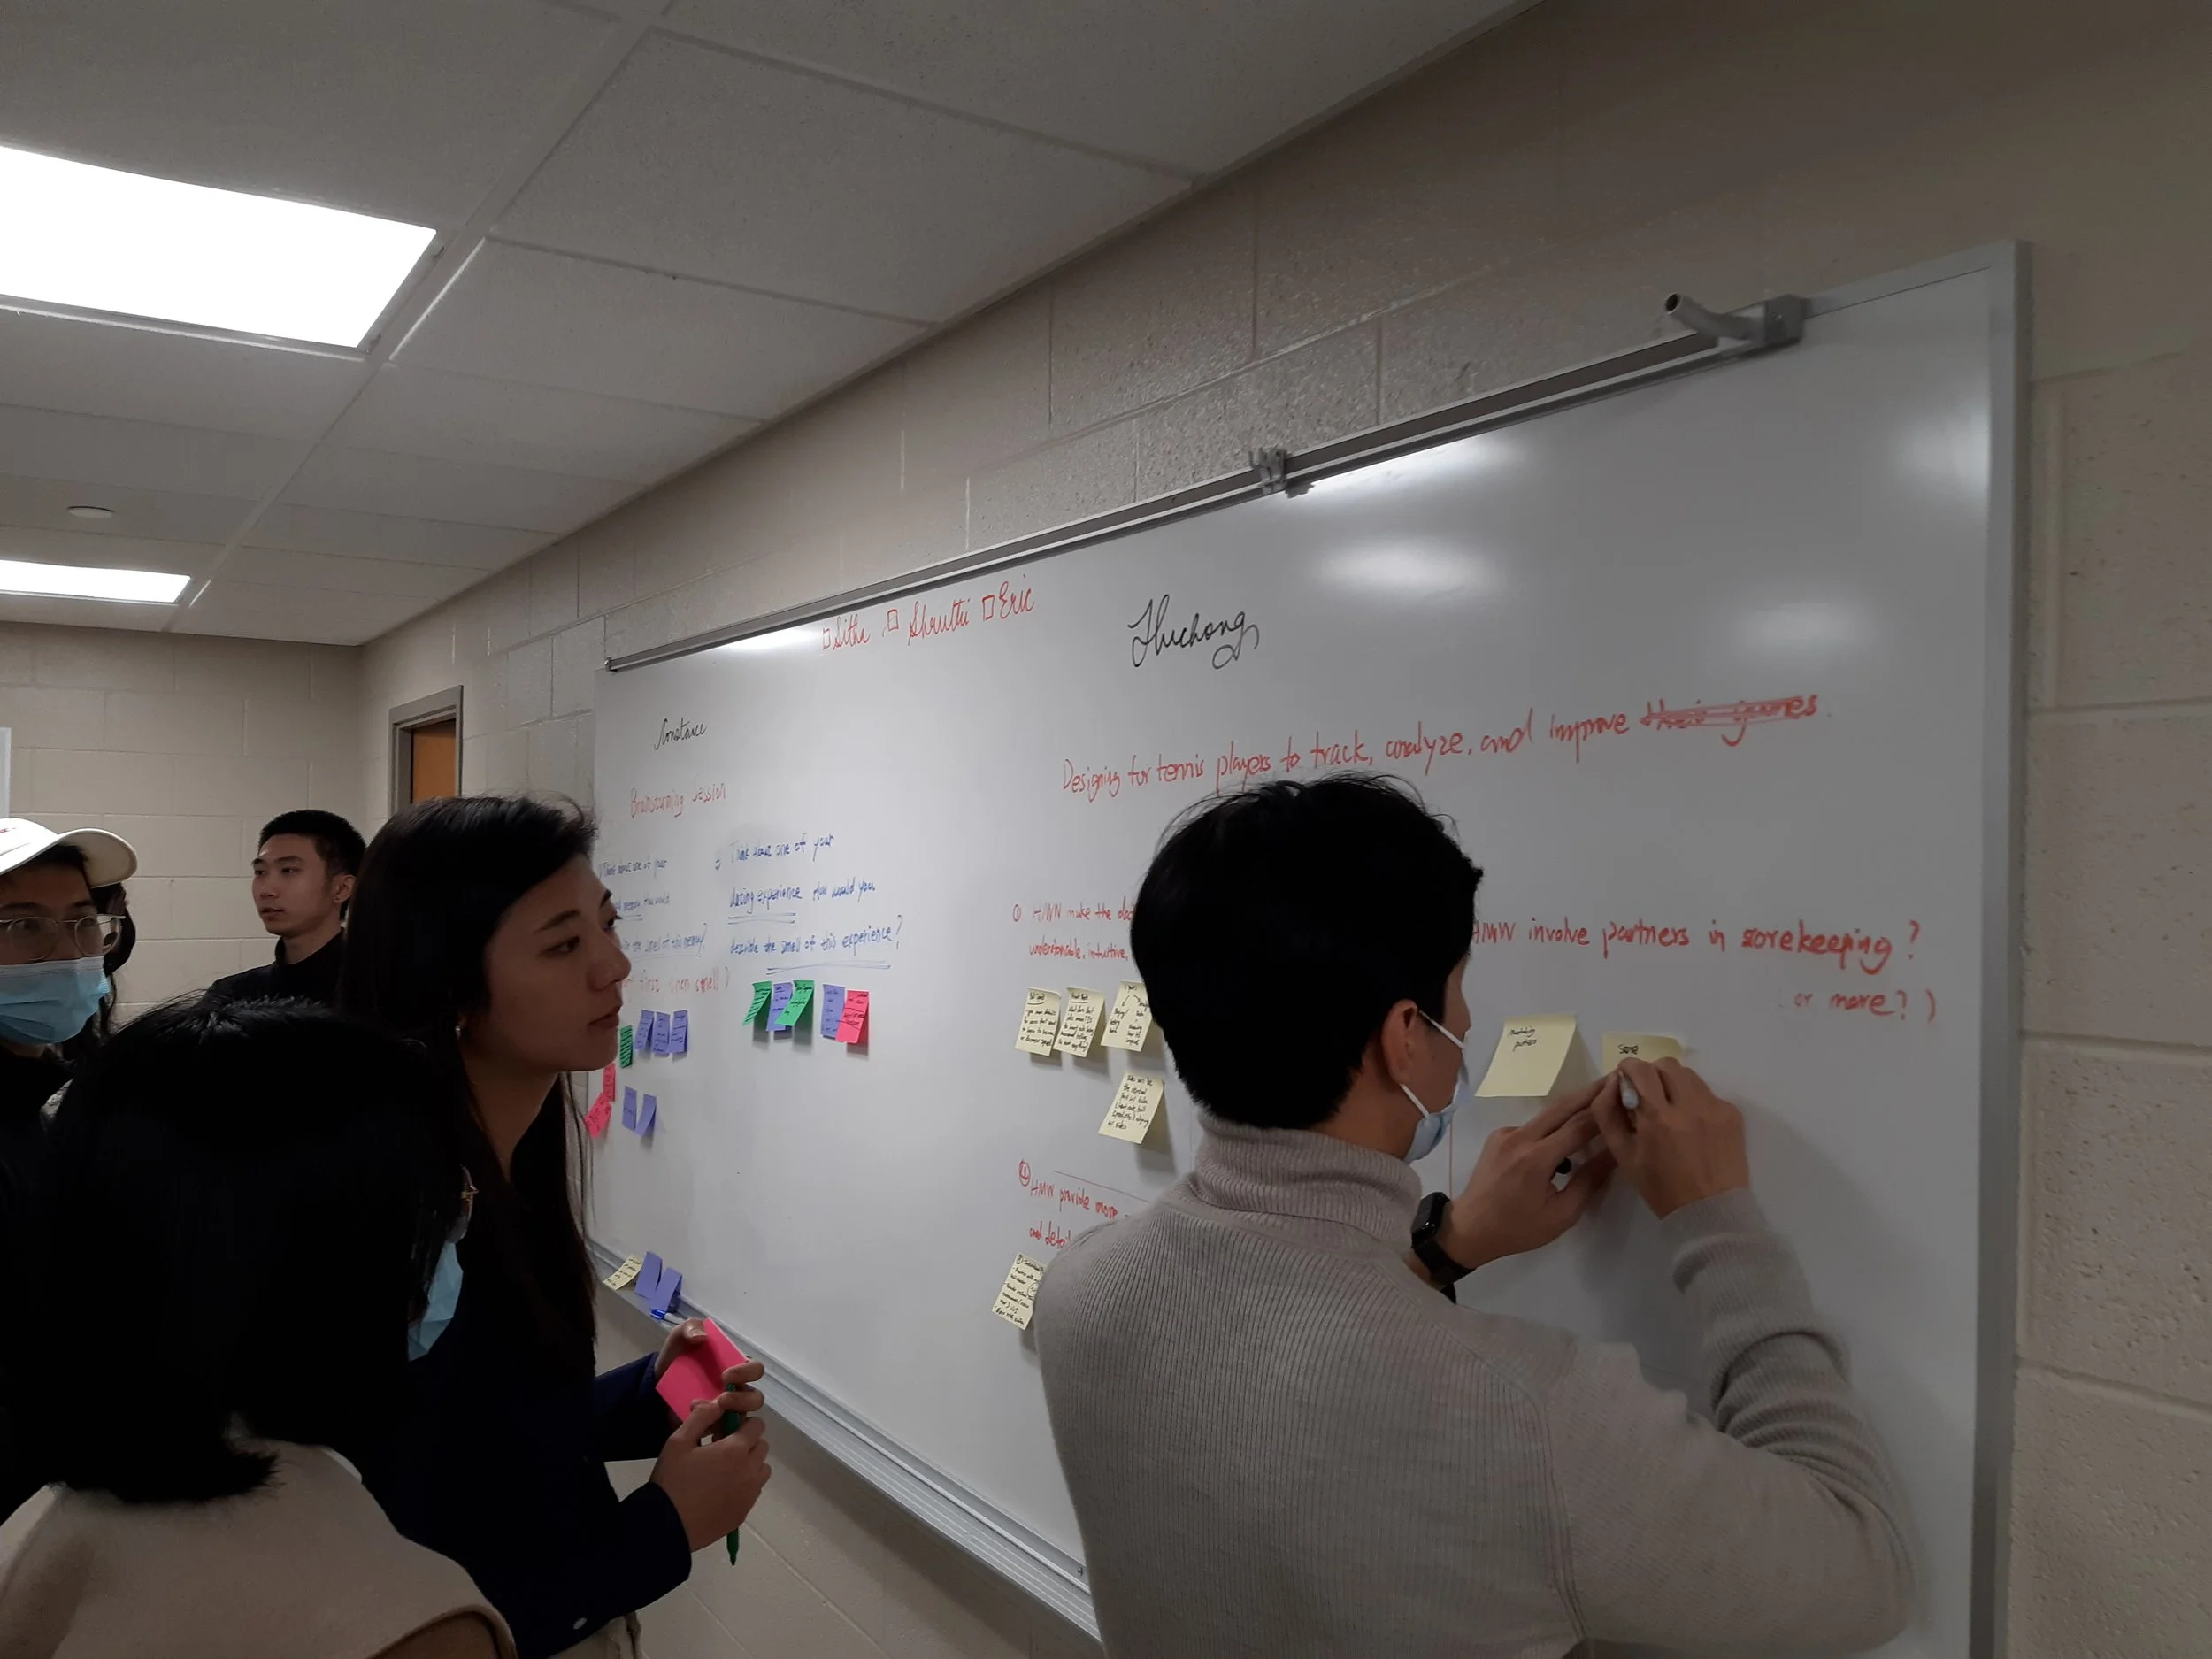
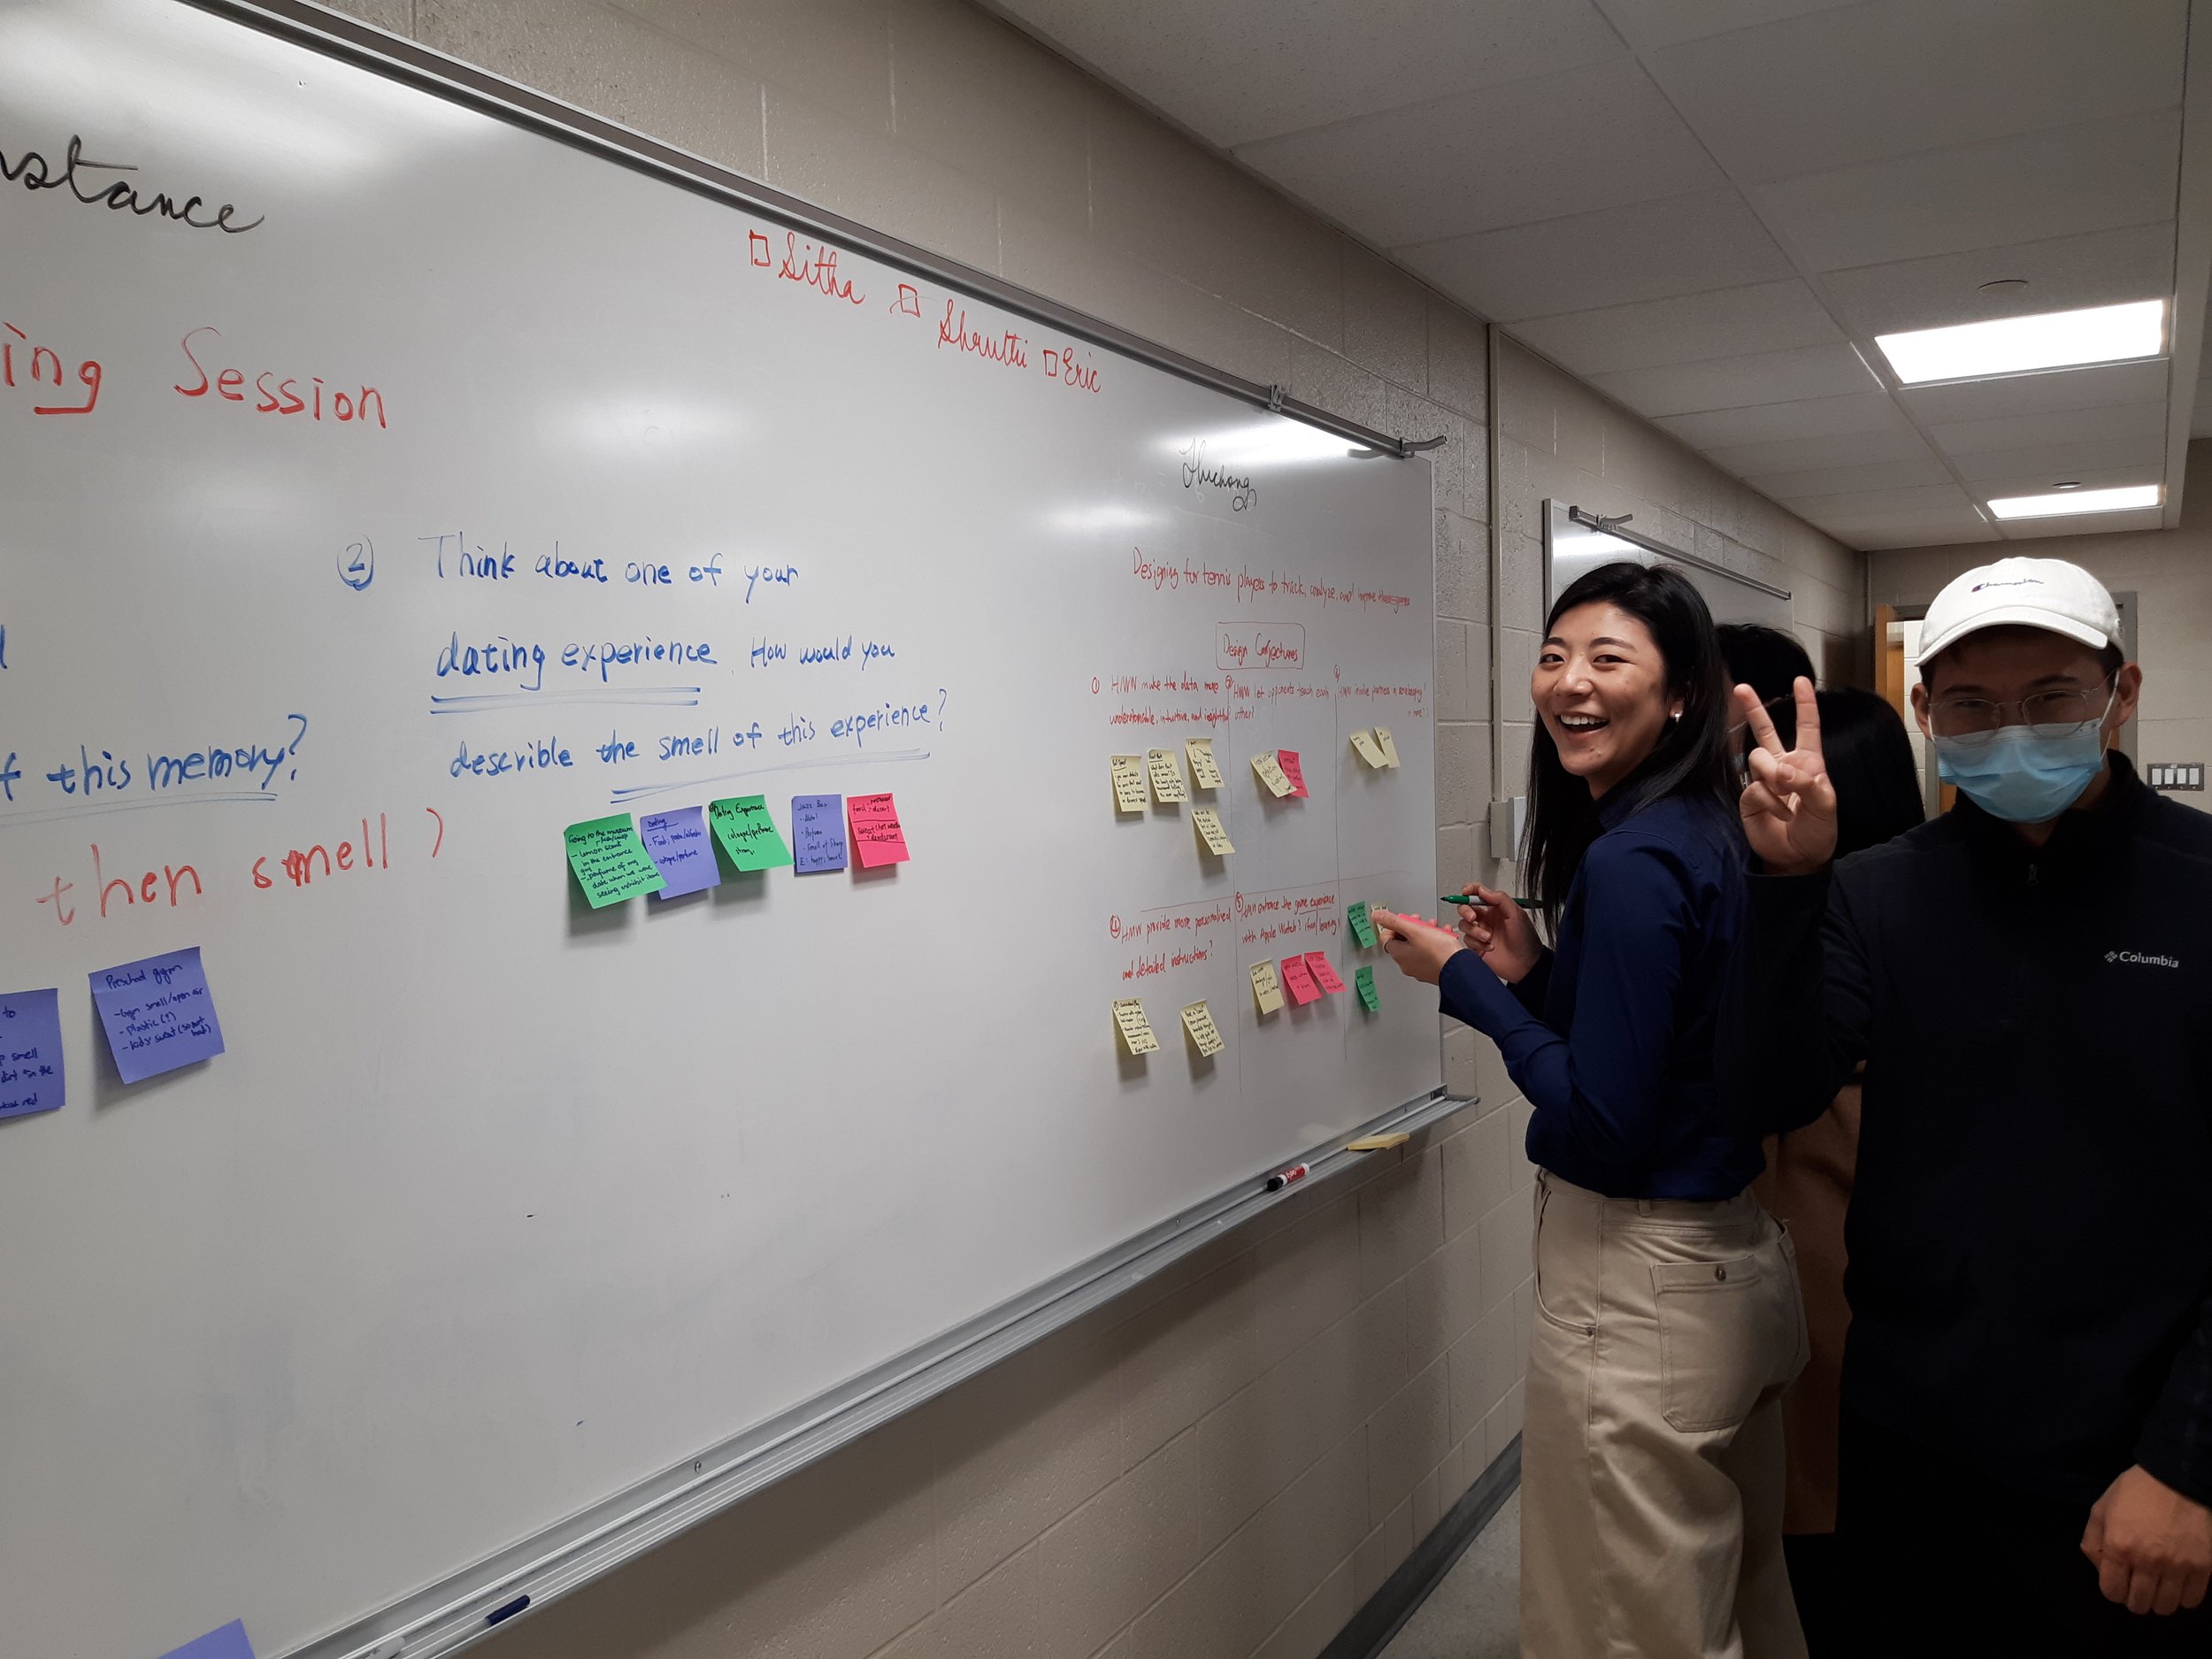

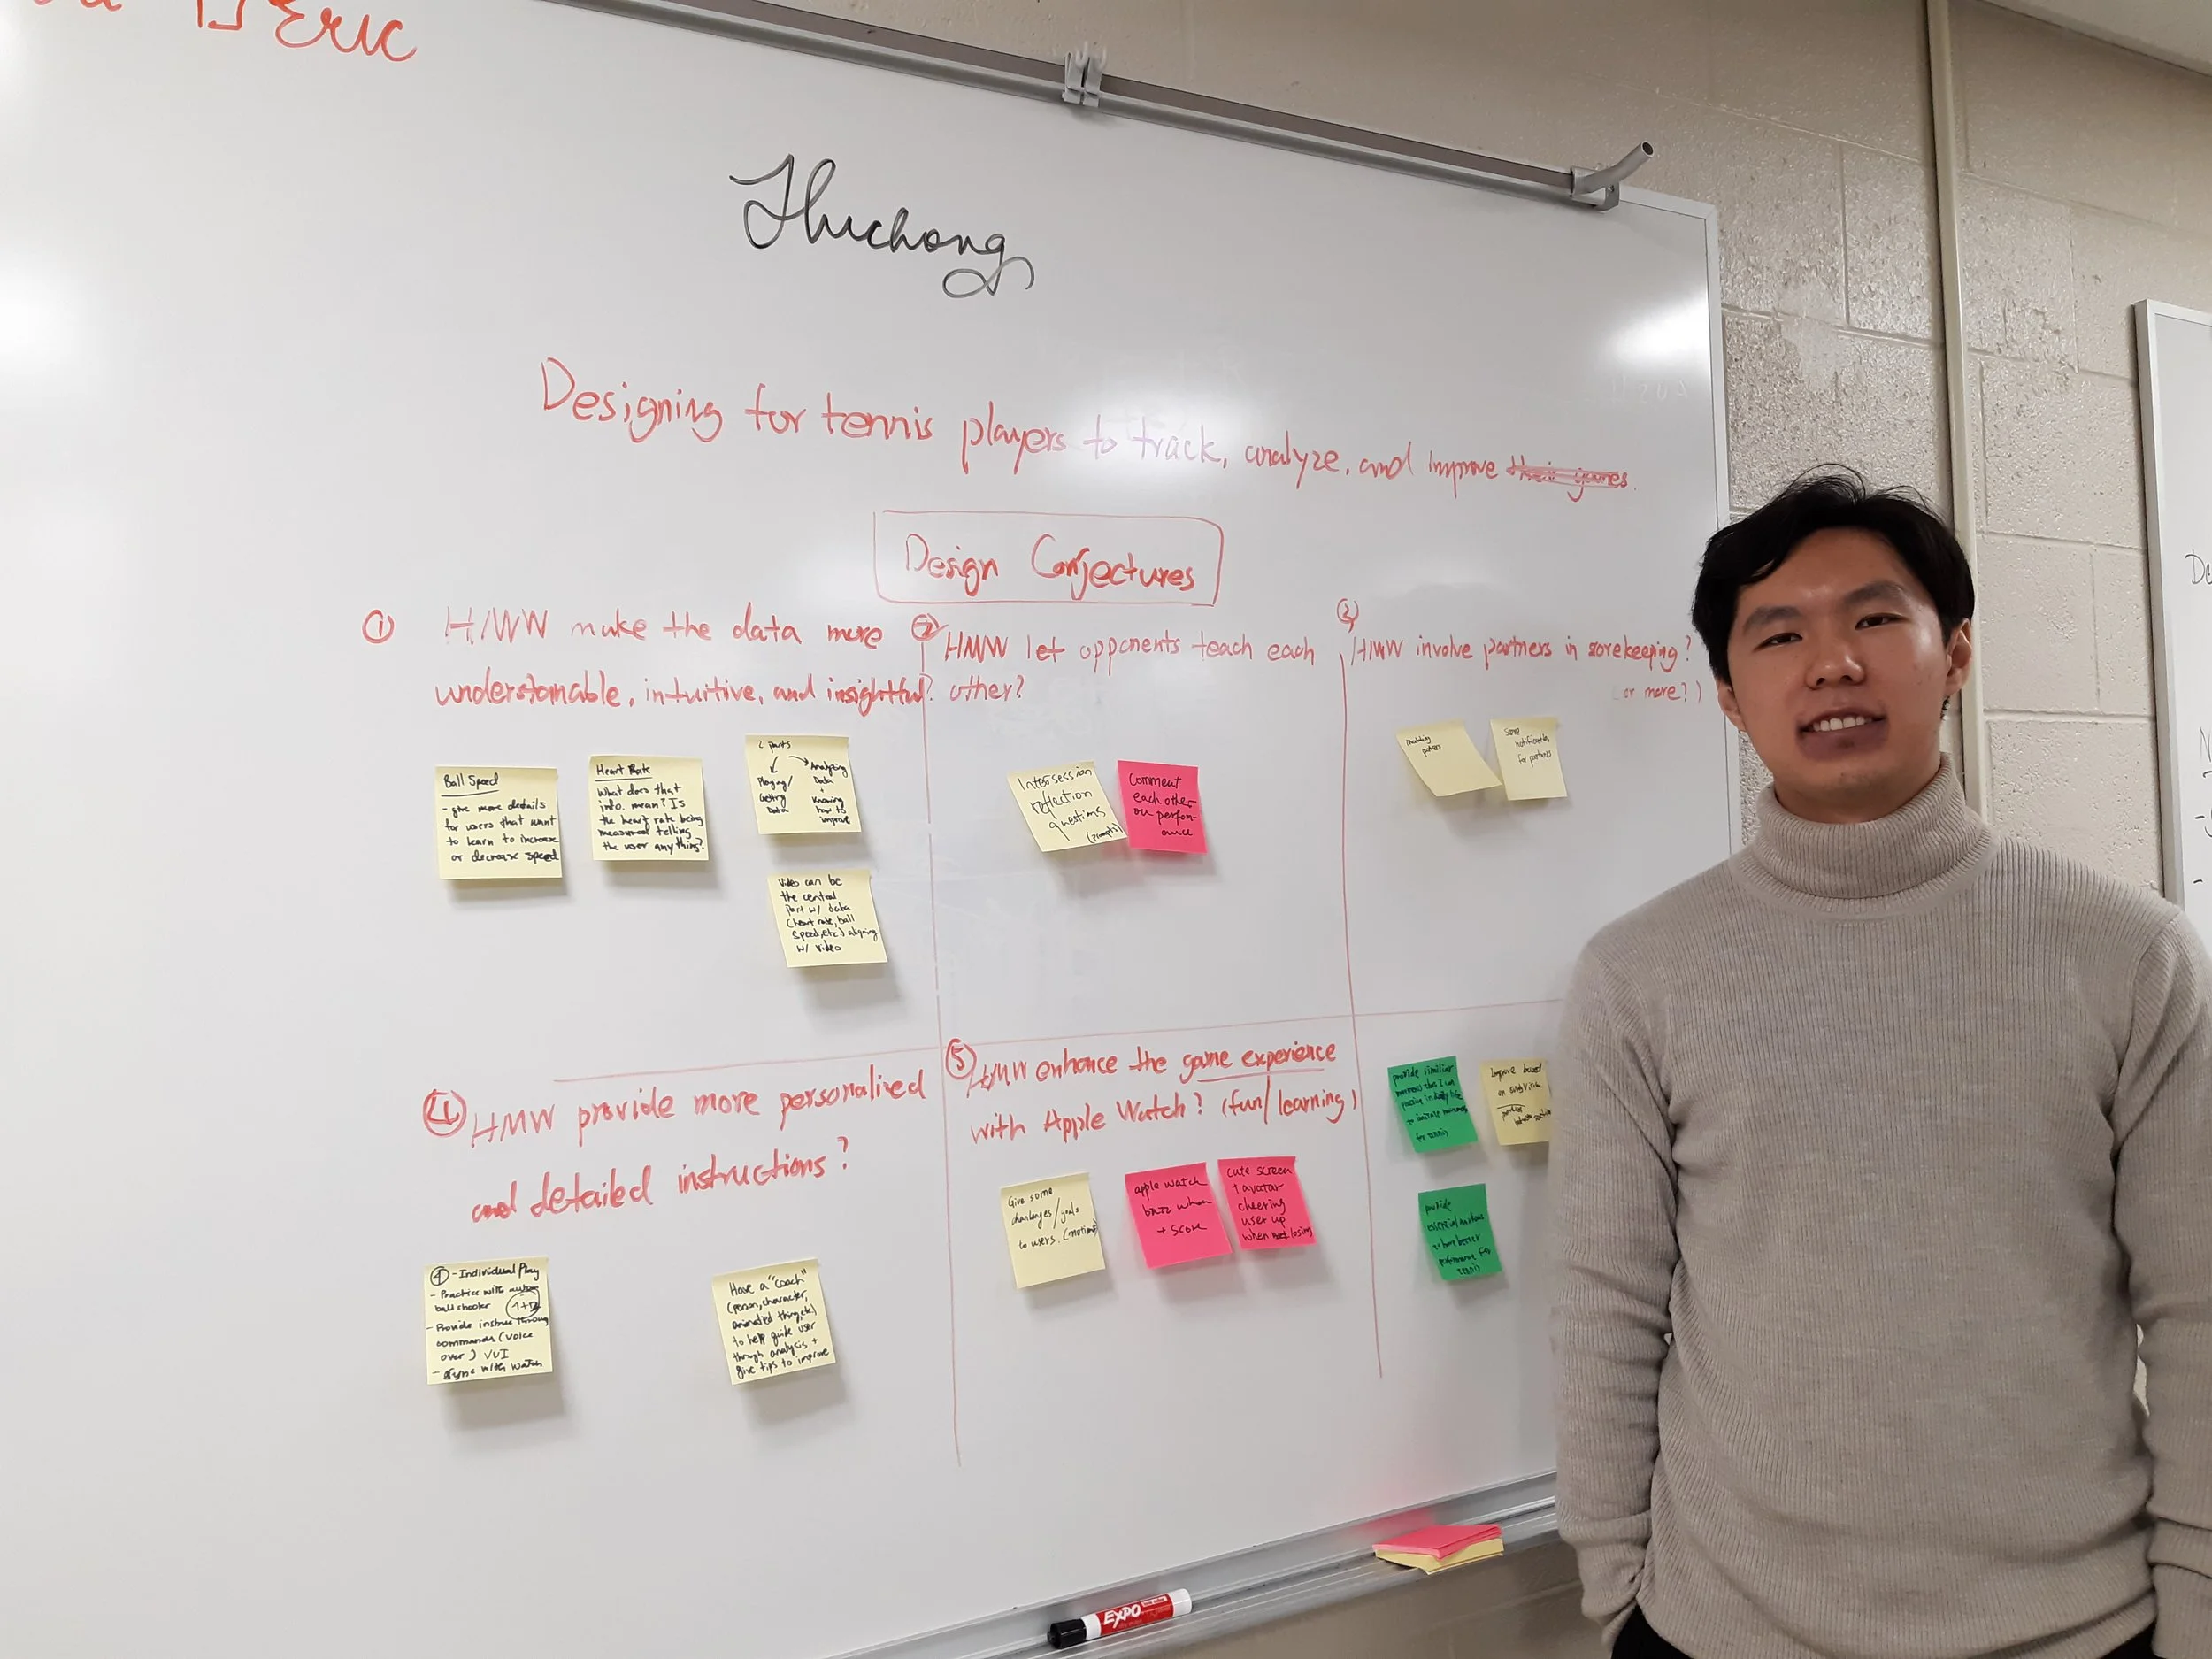
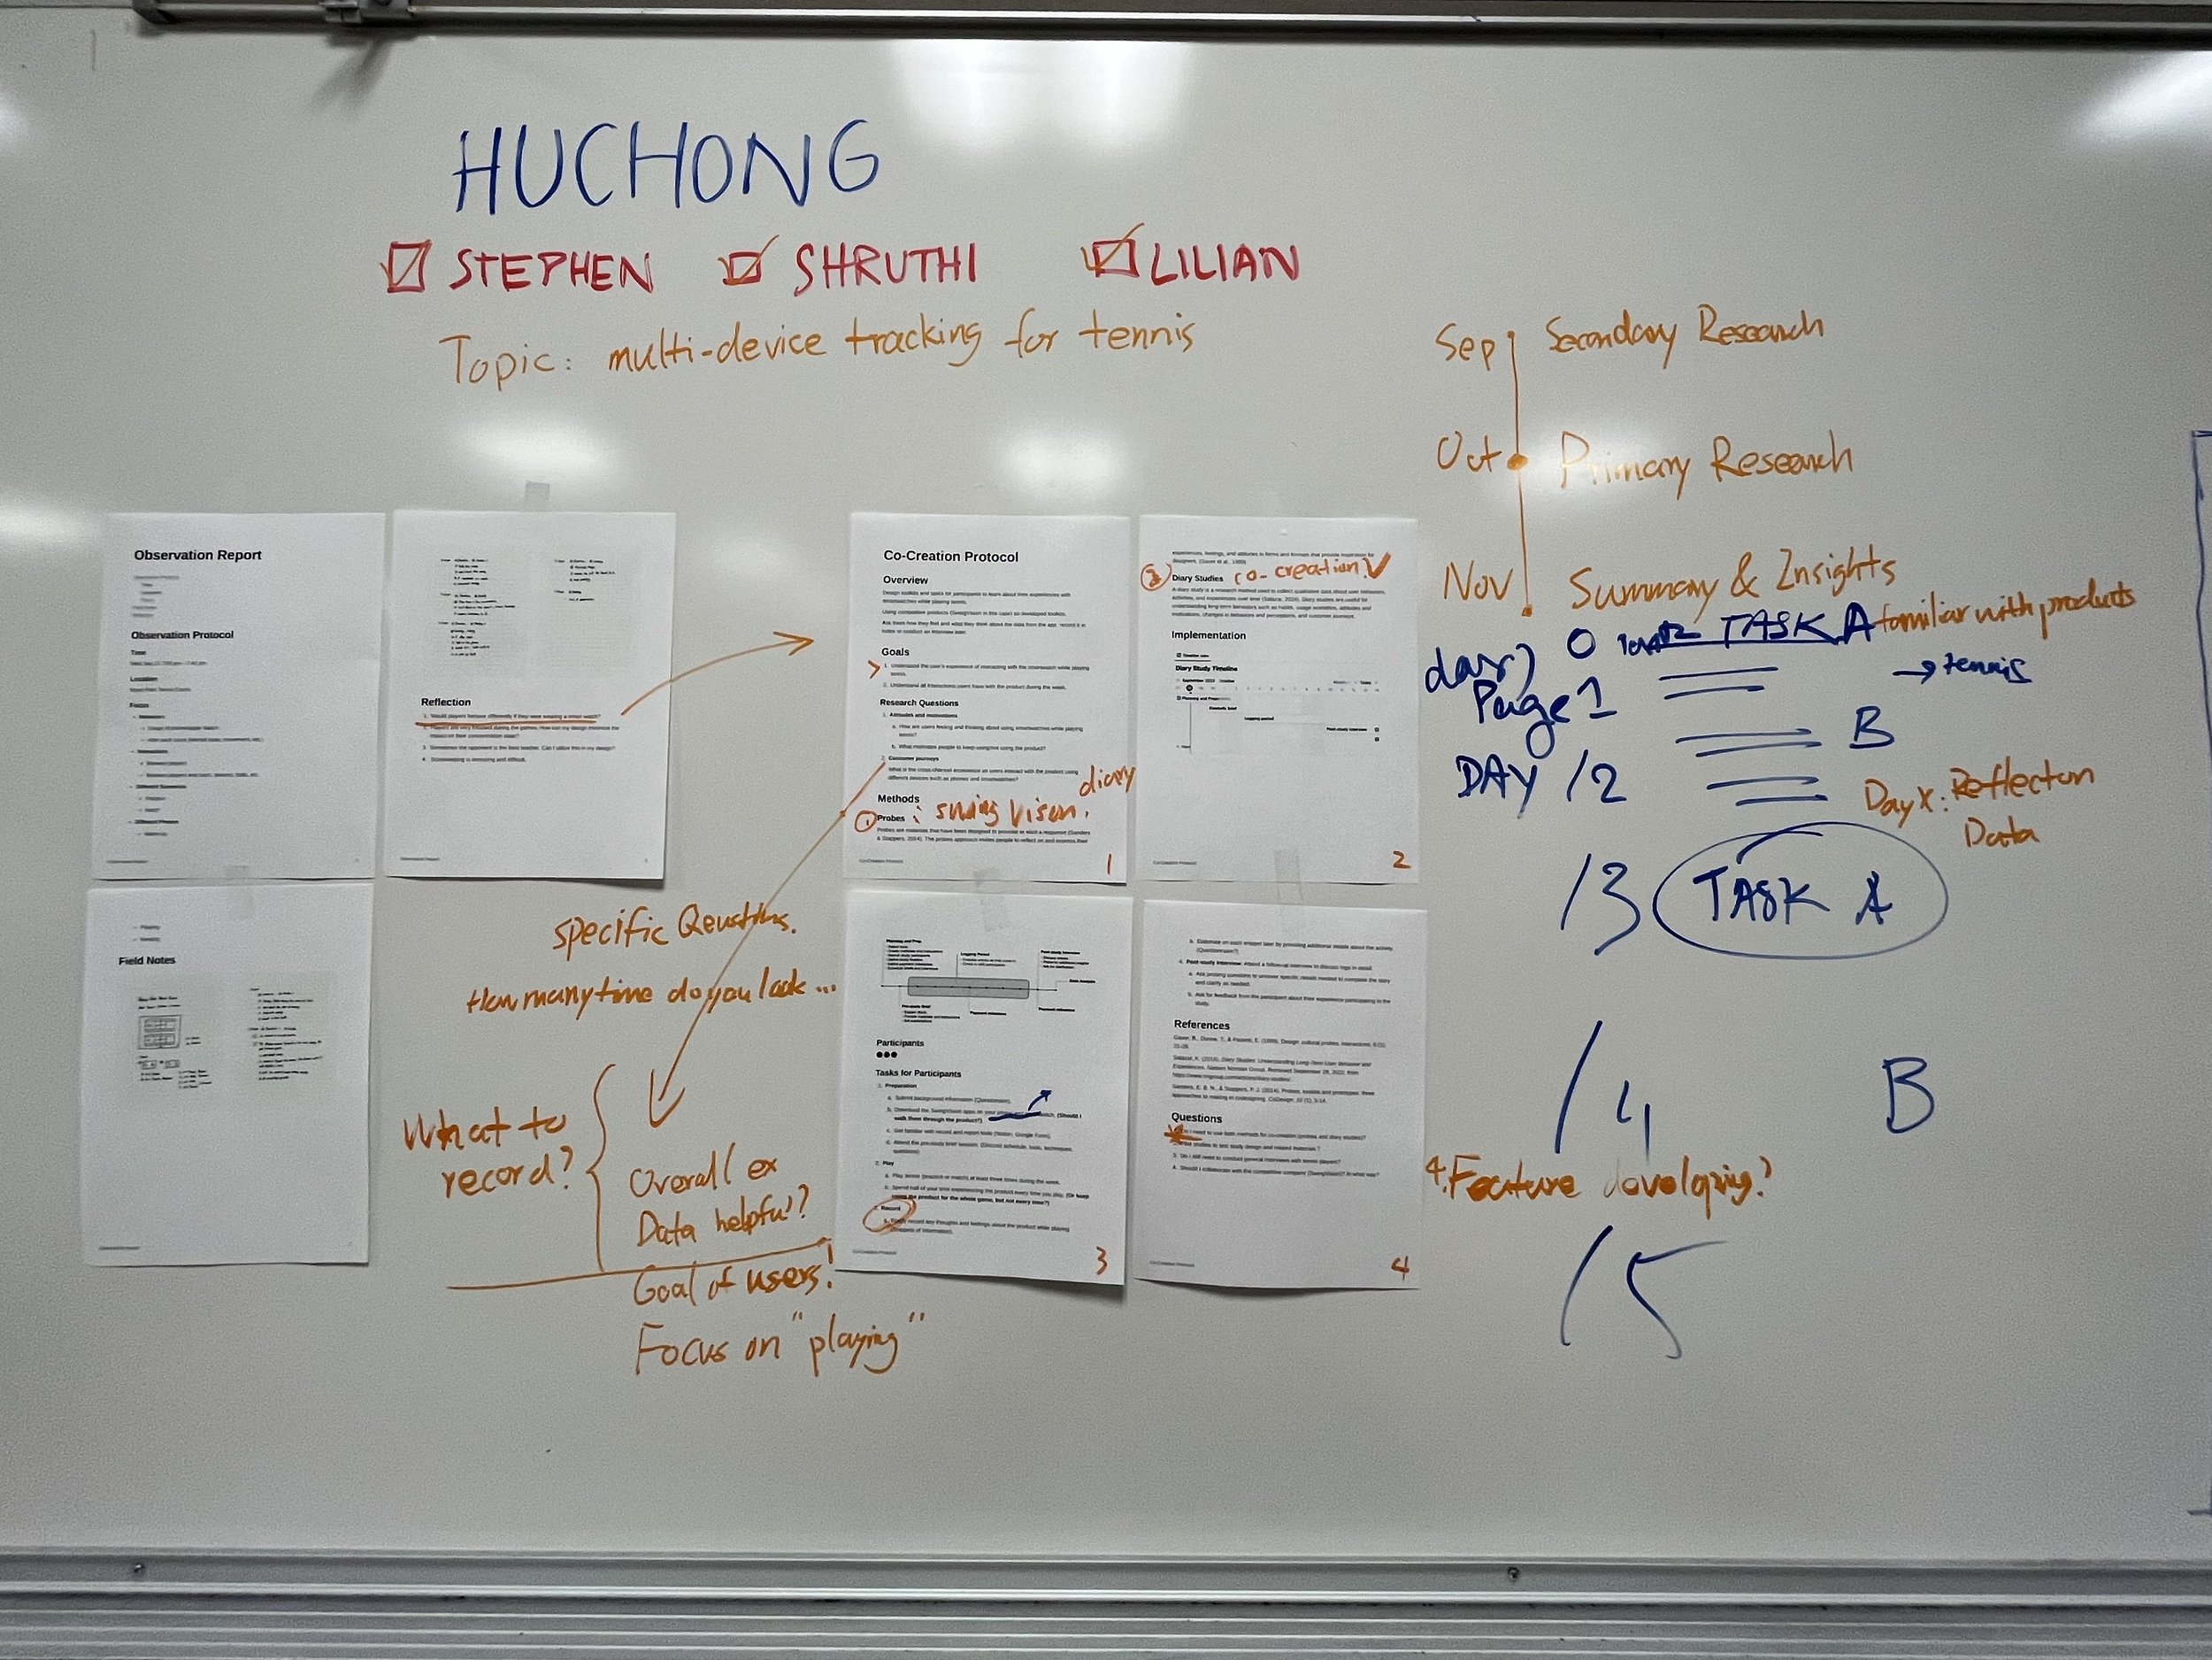
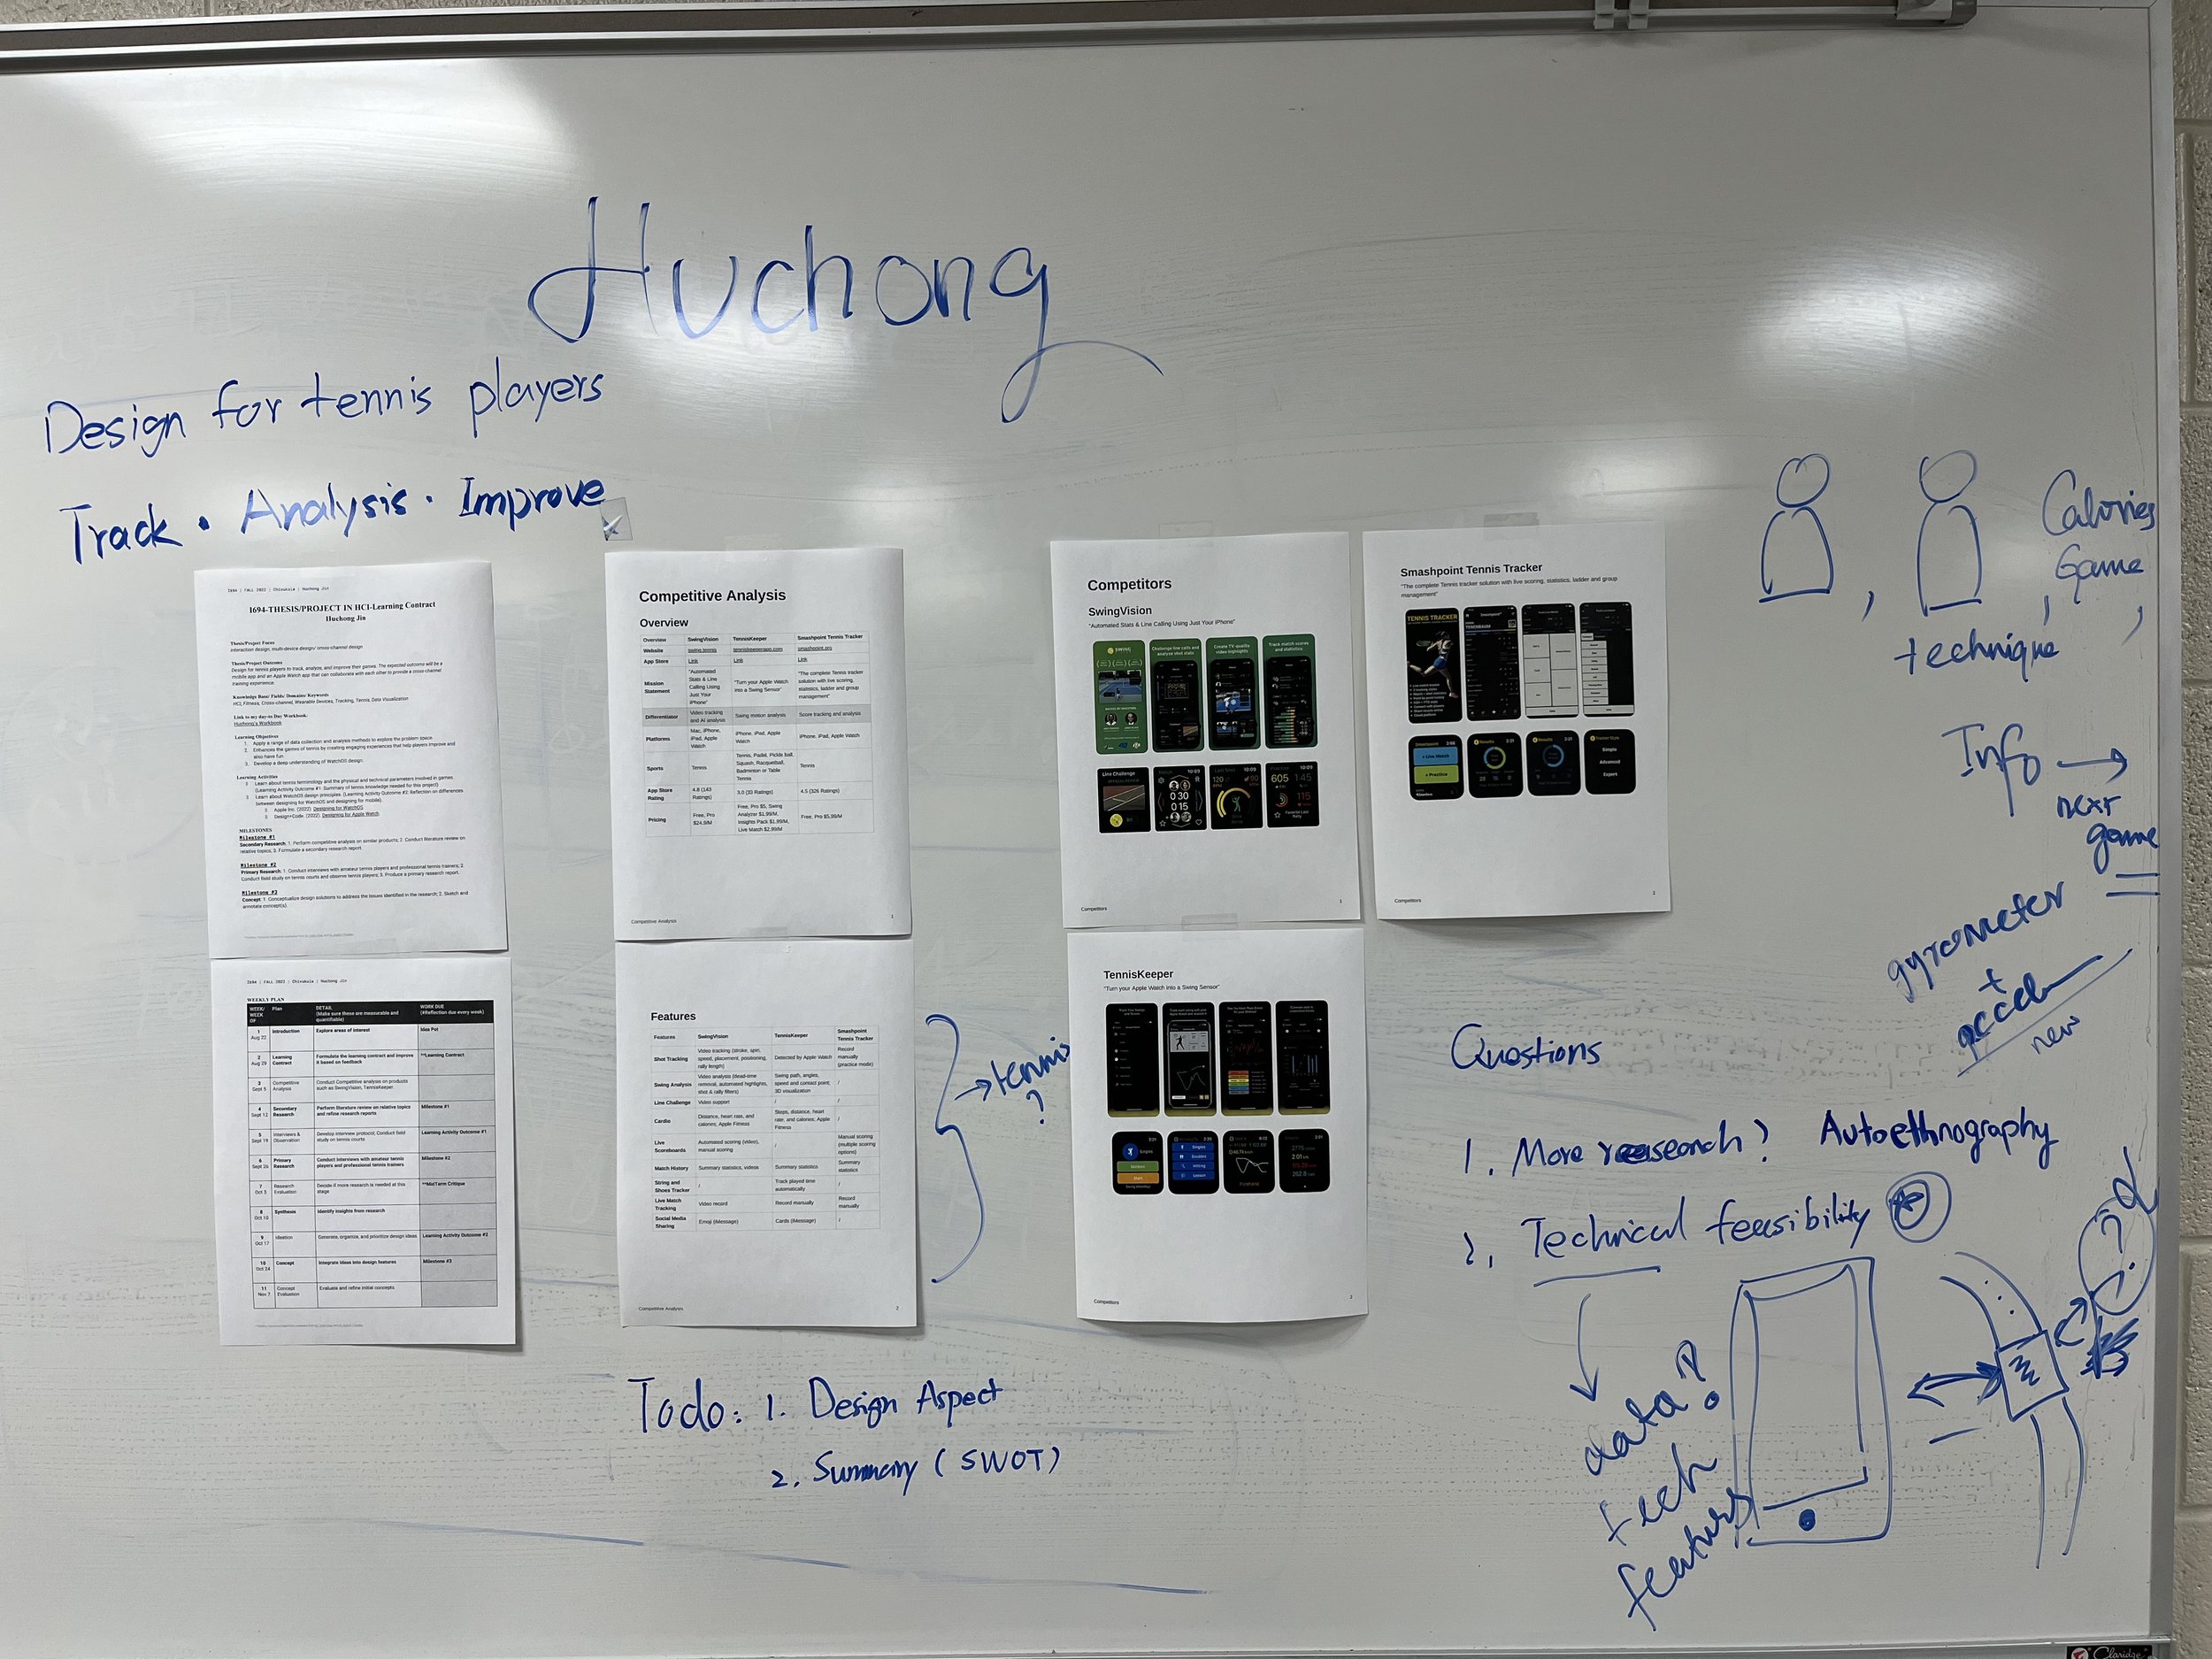
Brainstorming boards by Julie, Constance, and Huchong
What to do for Final Showcase?
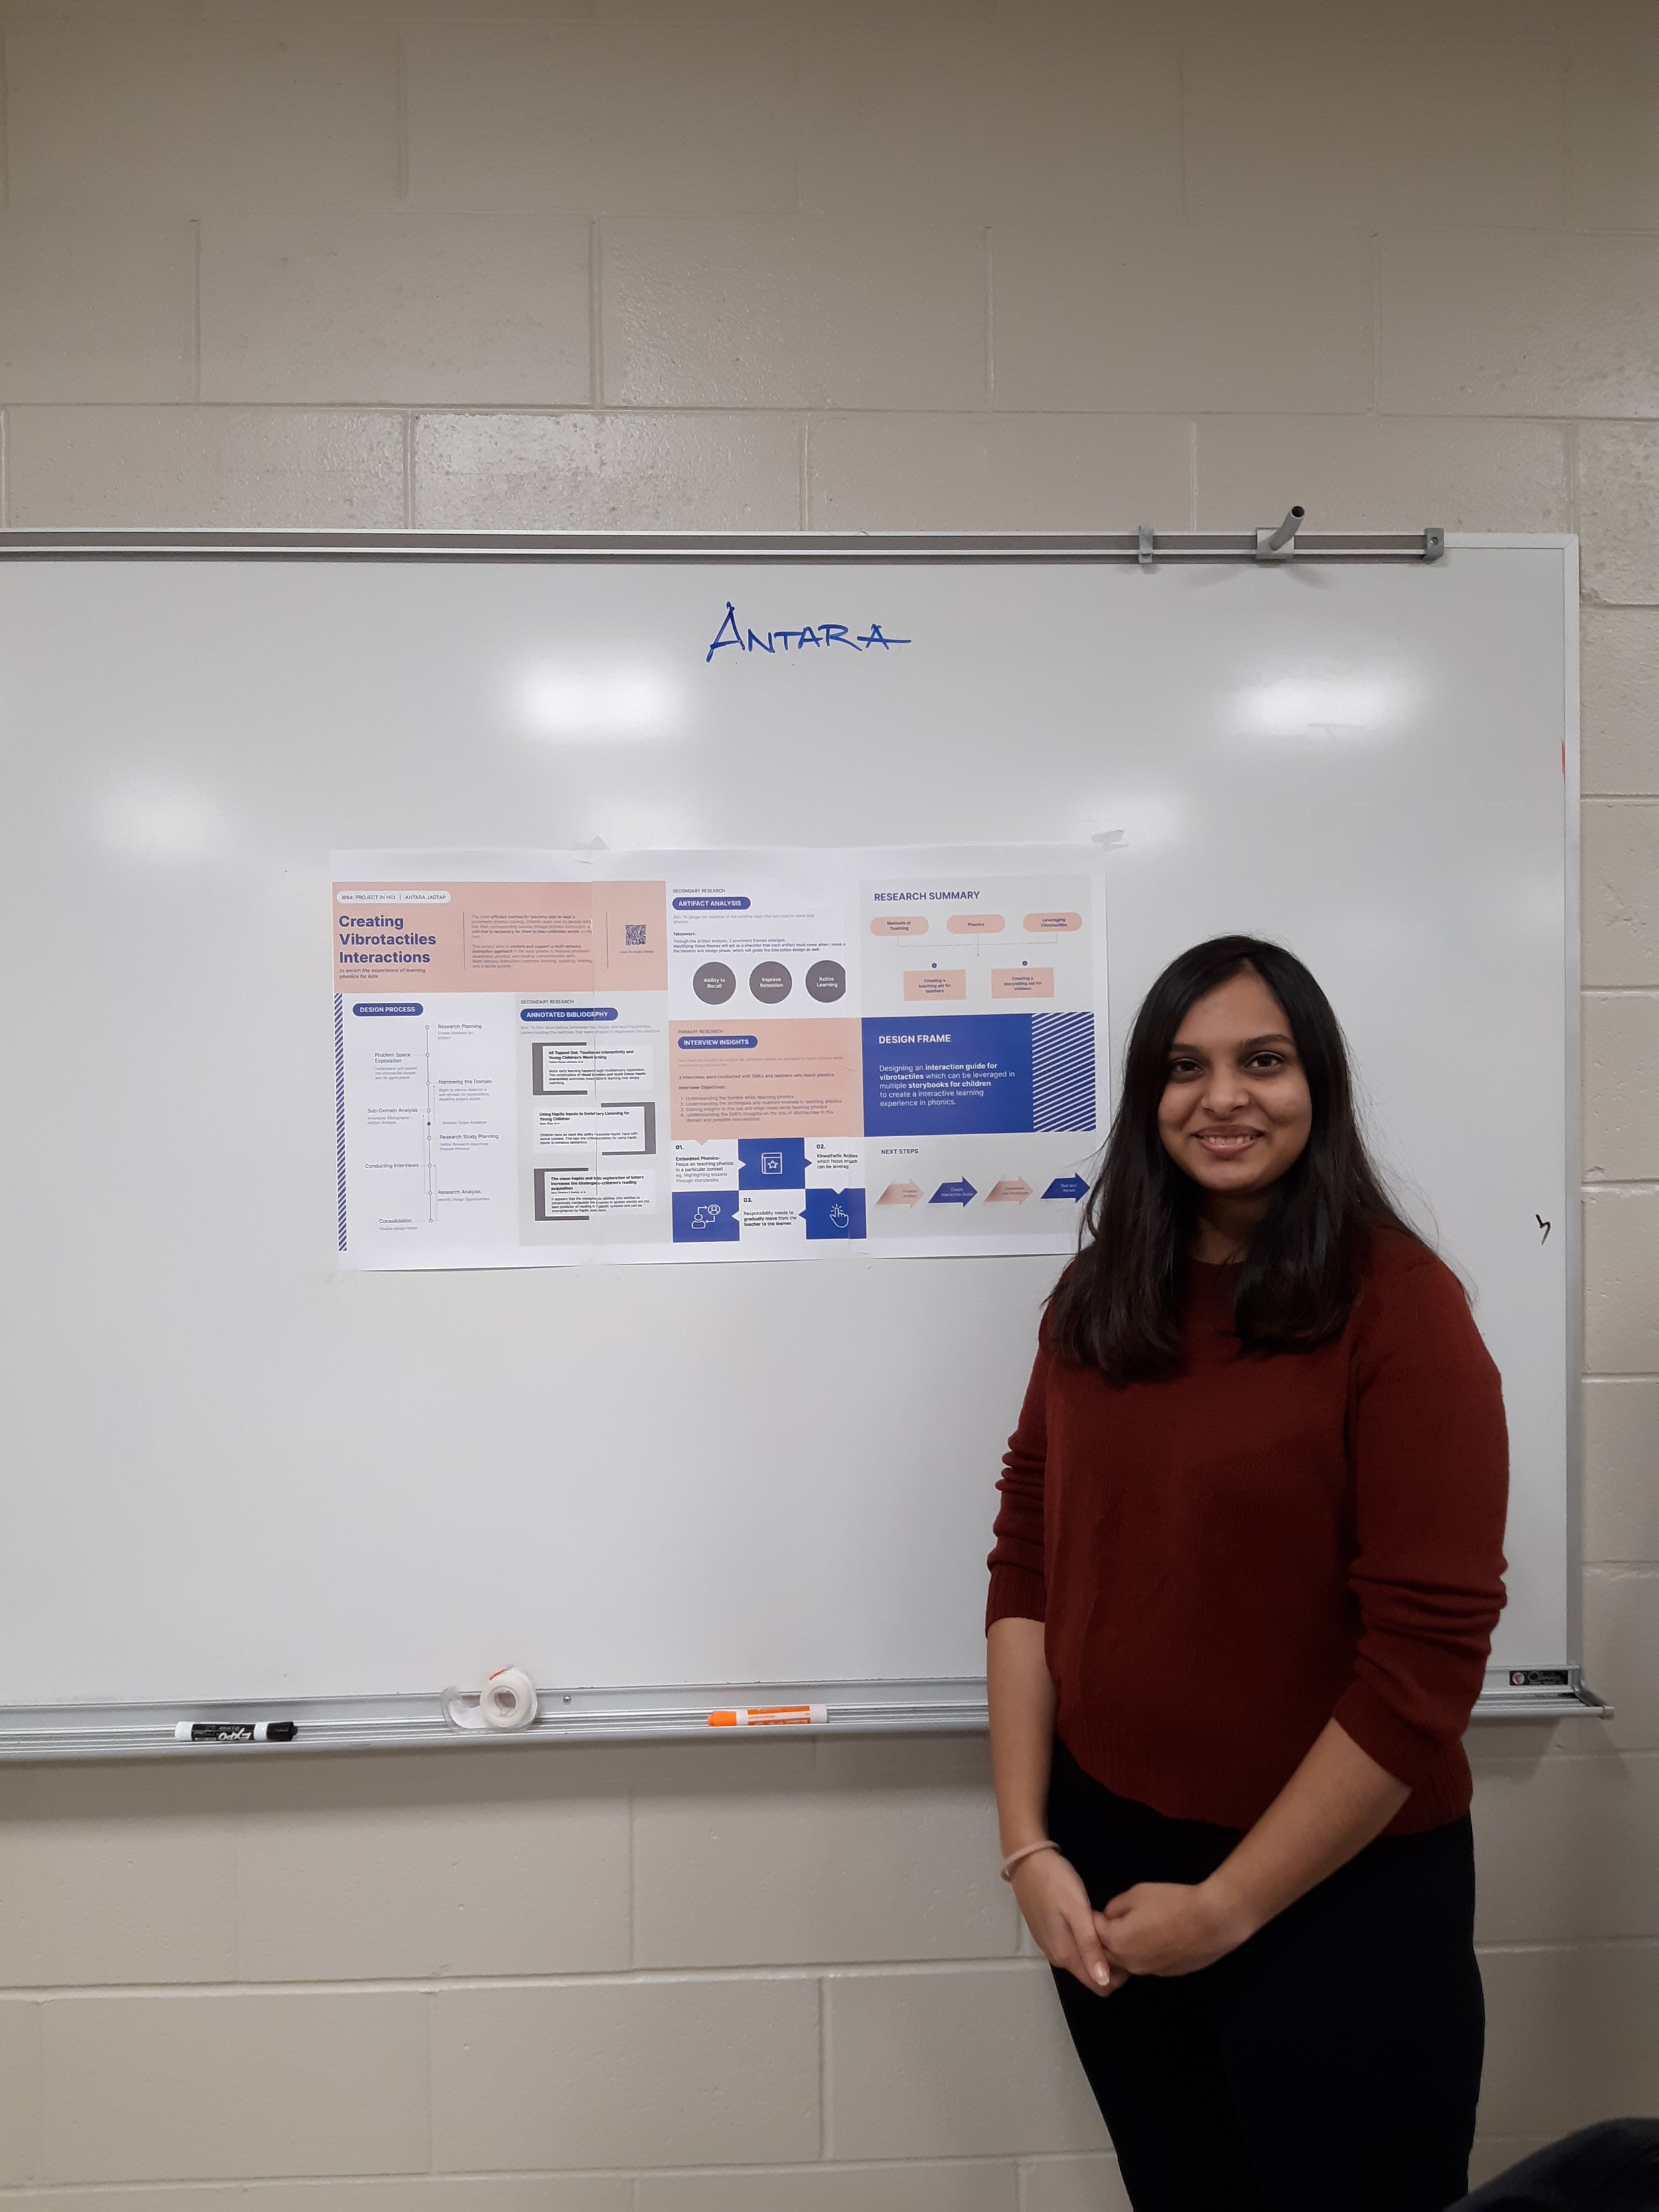
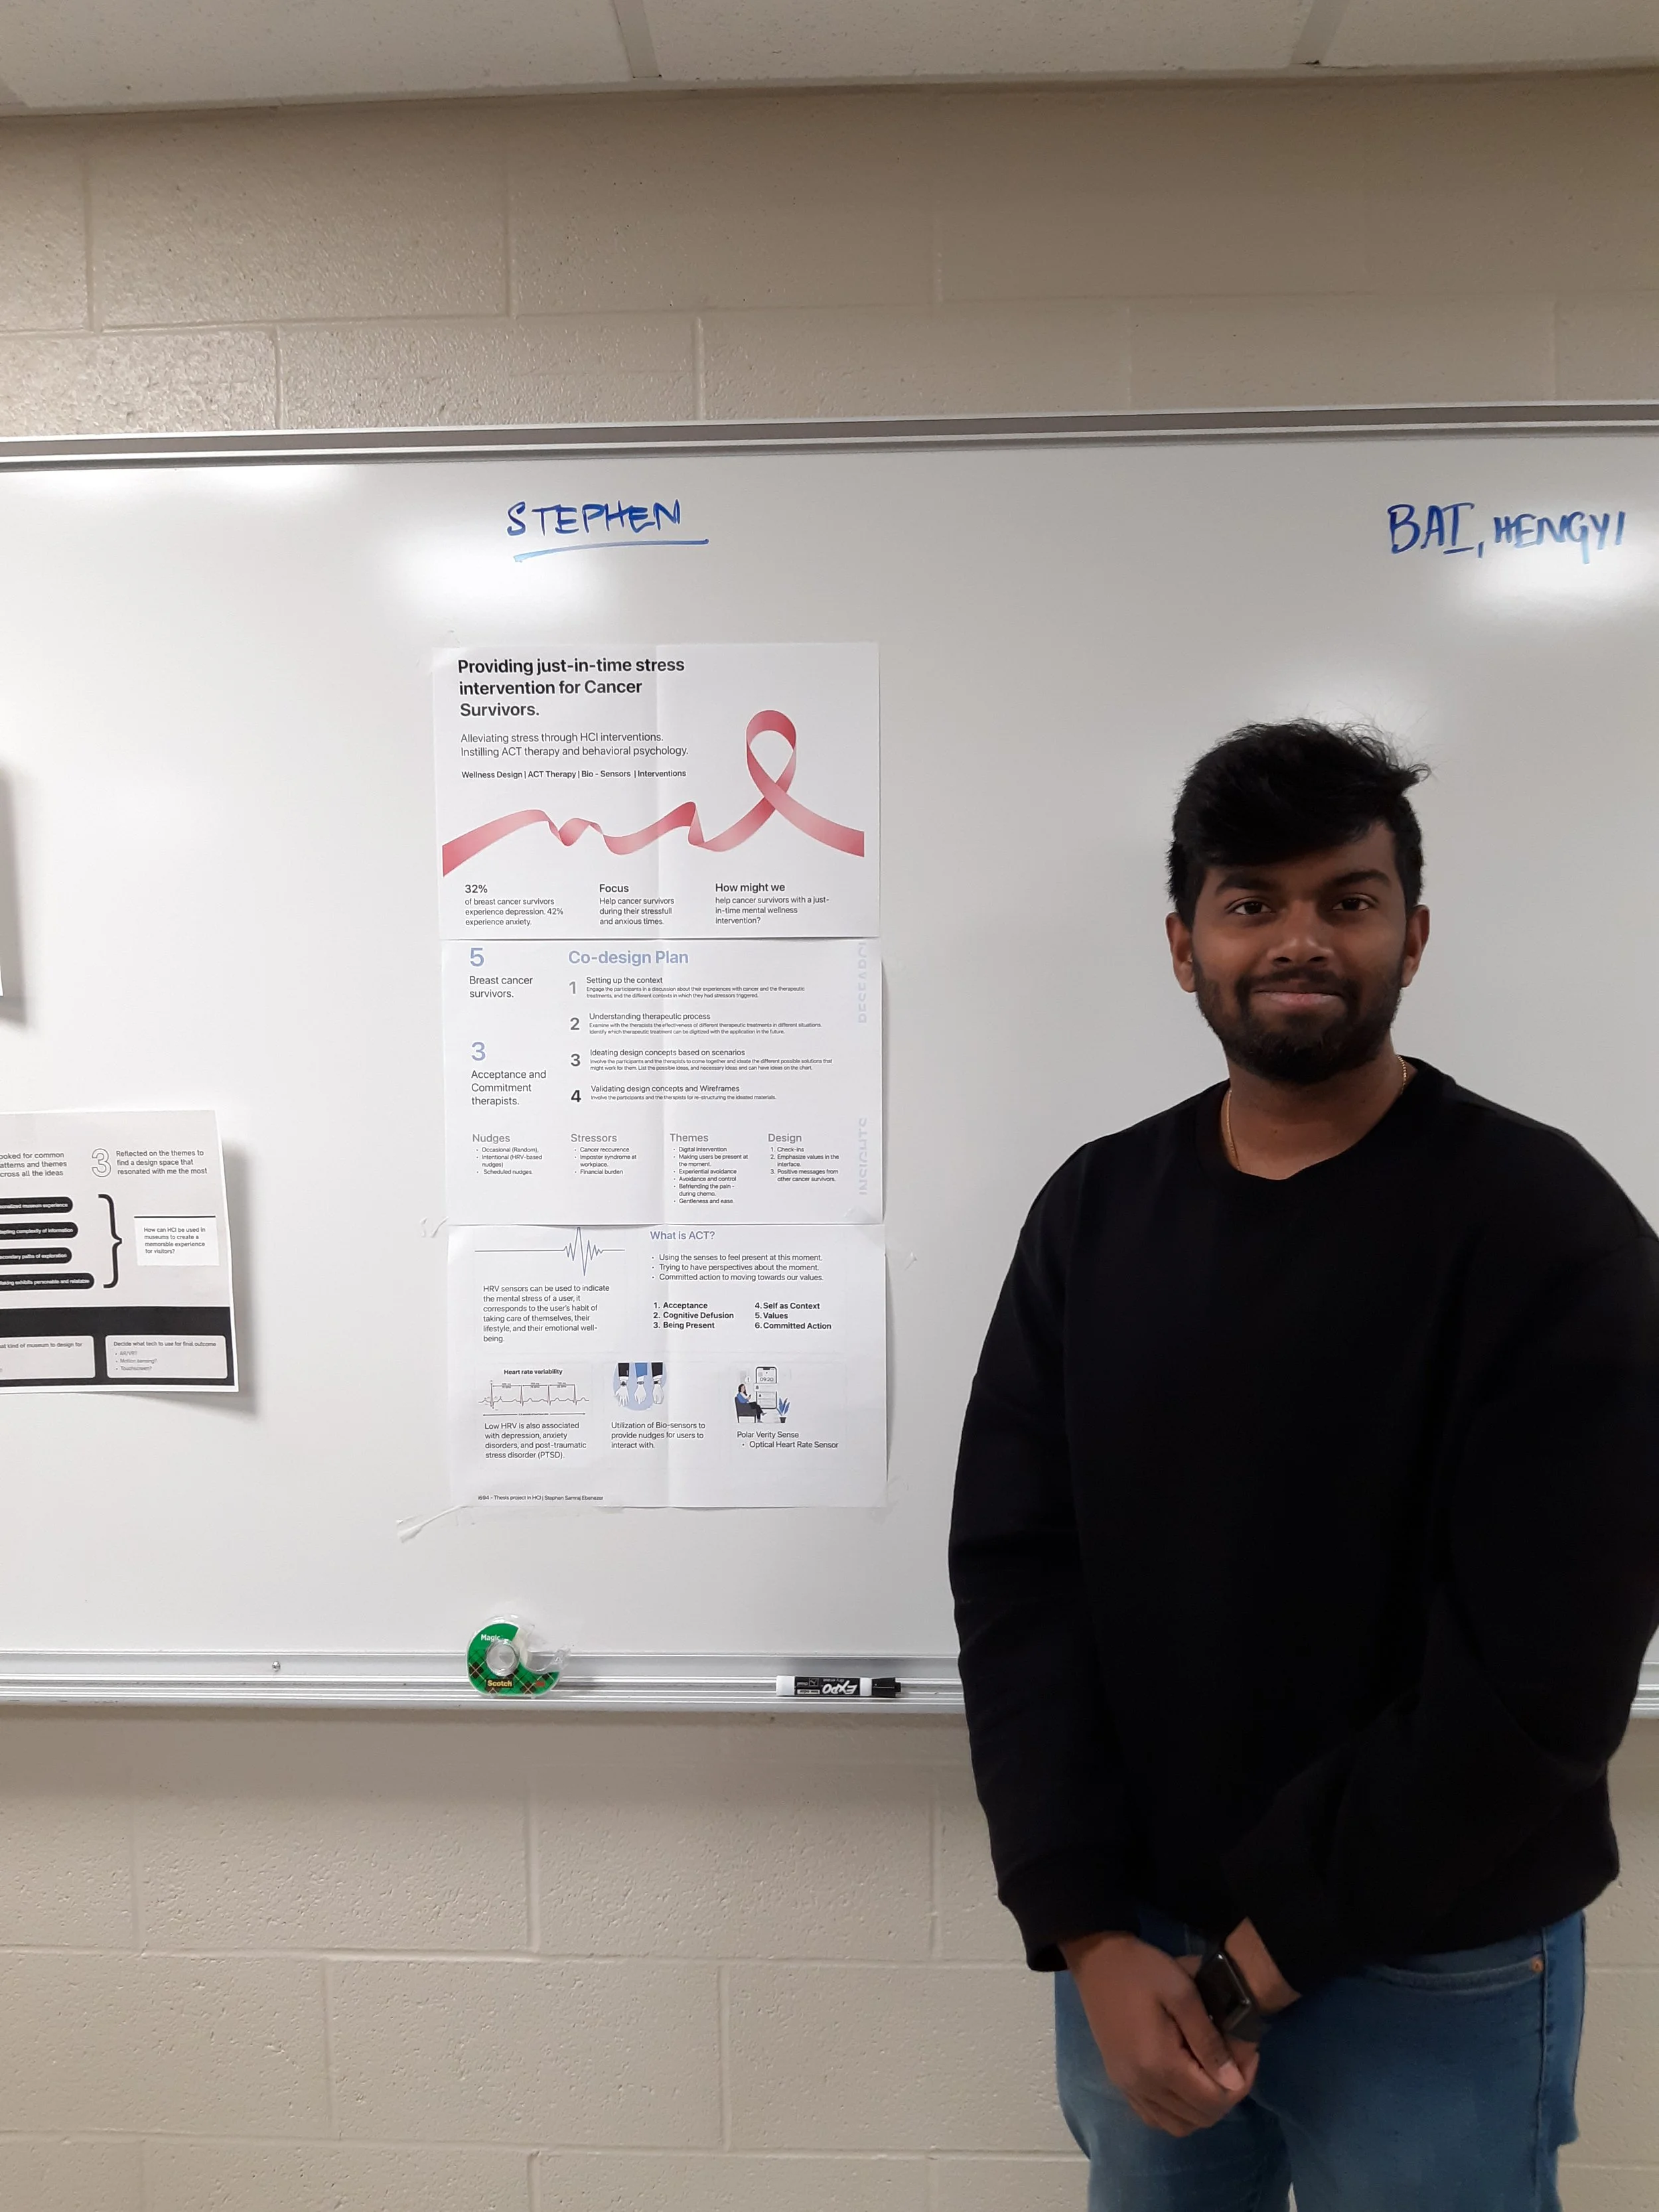
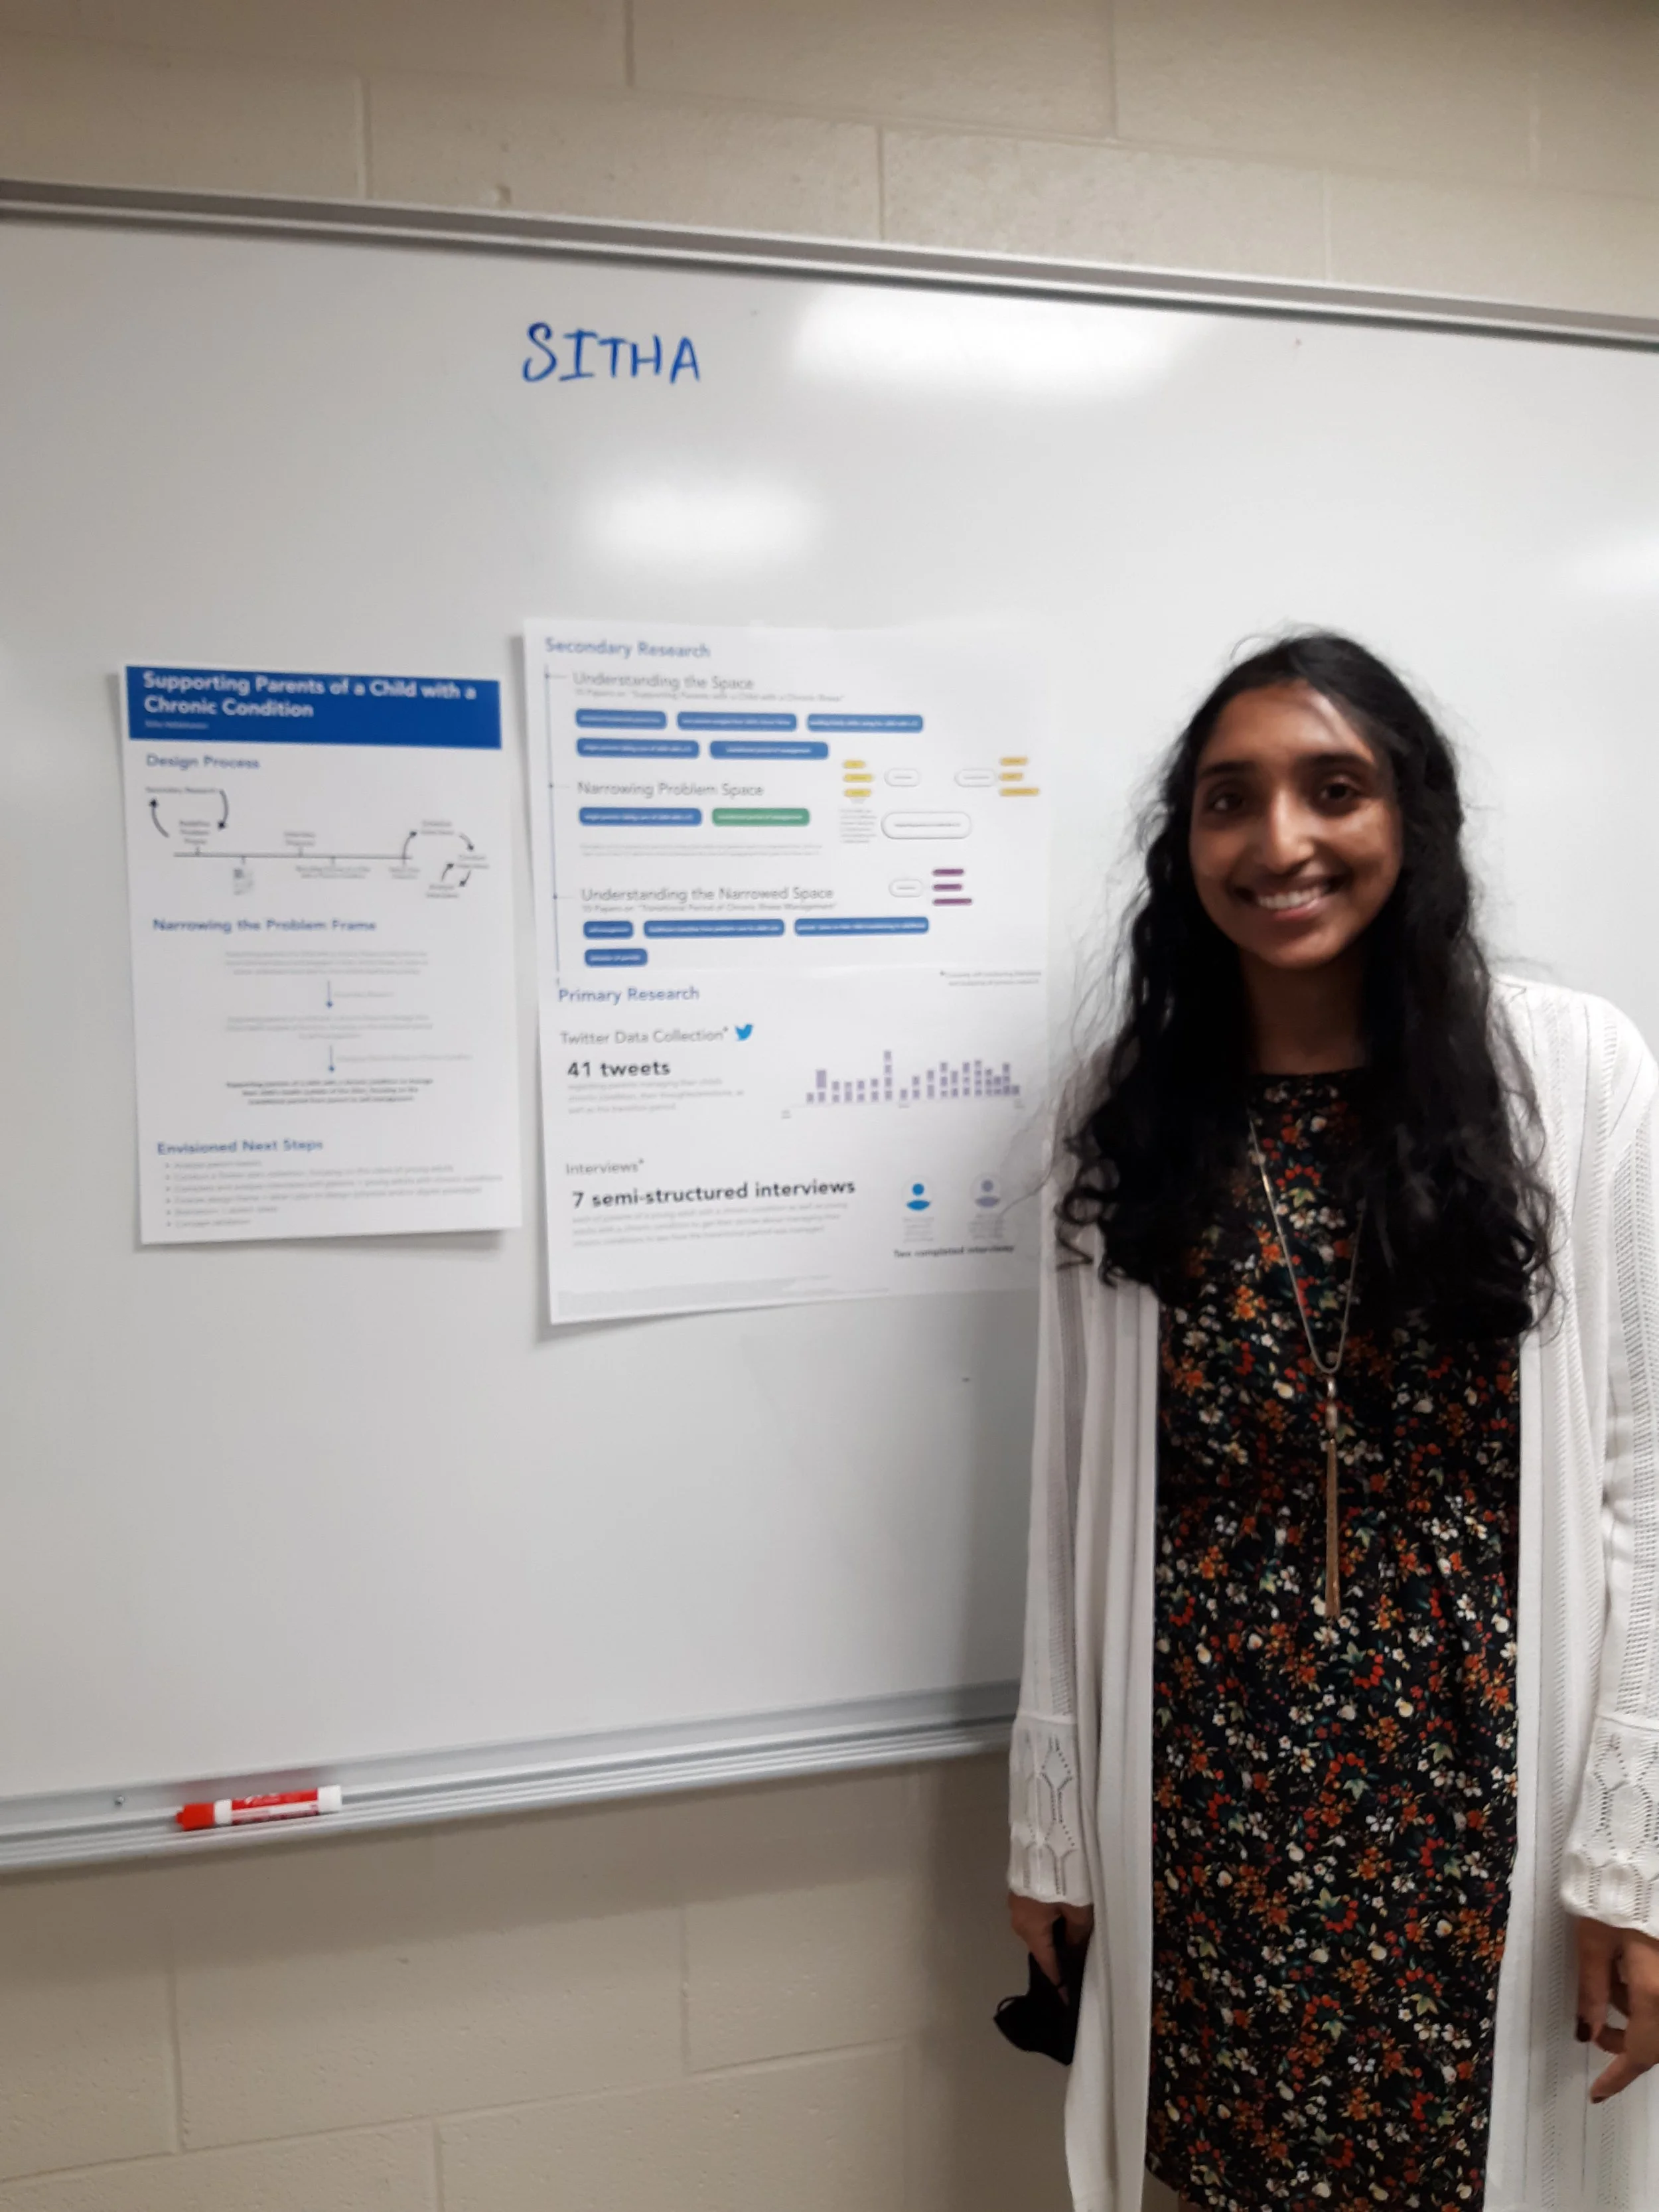
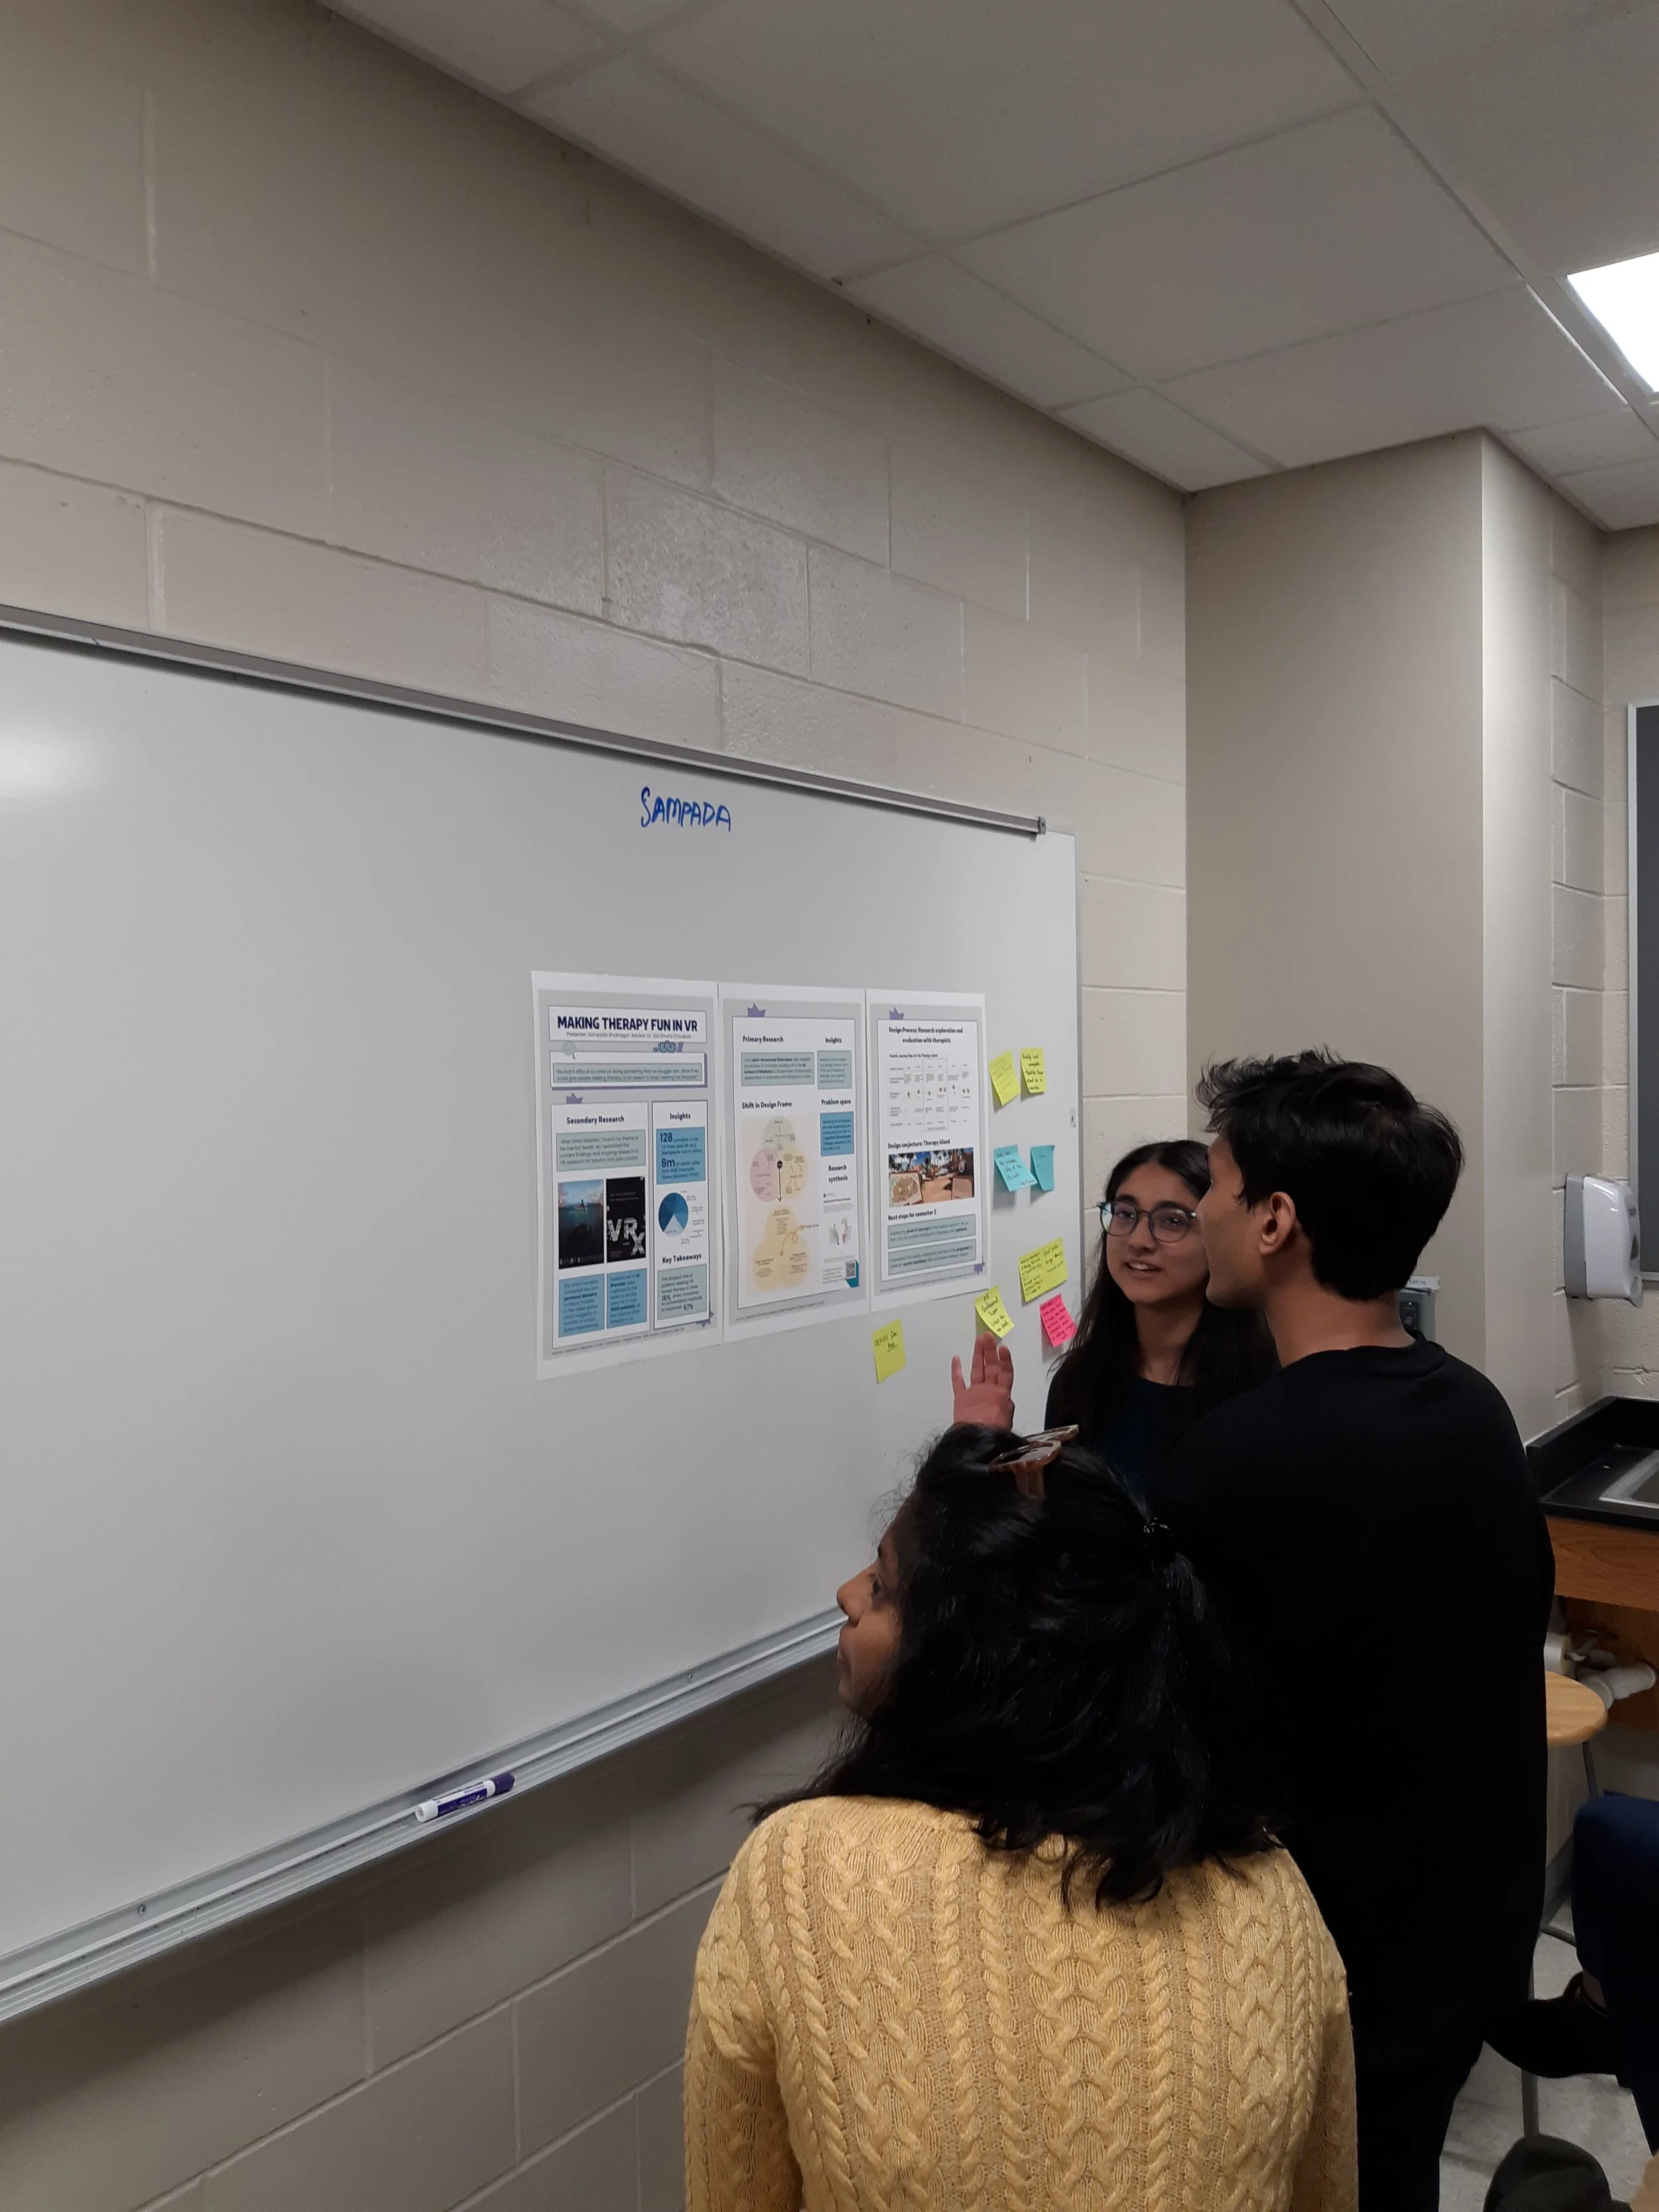
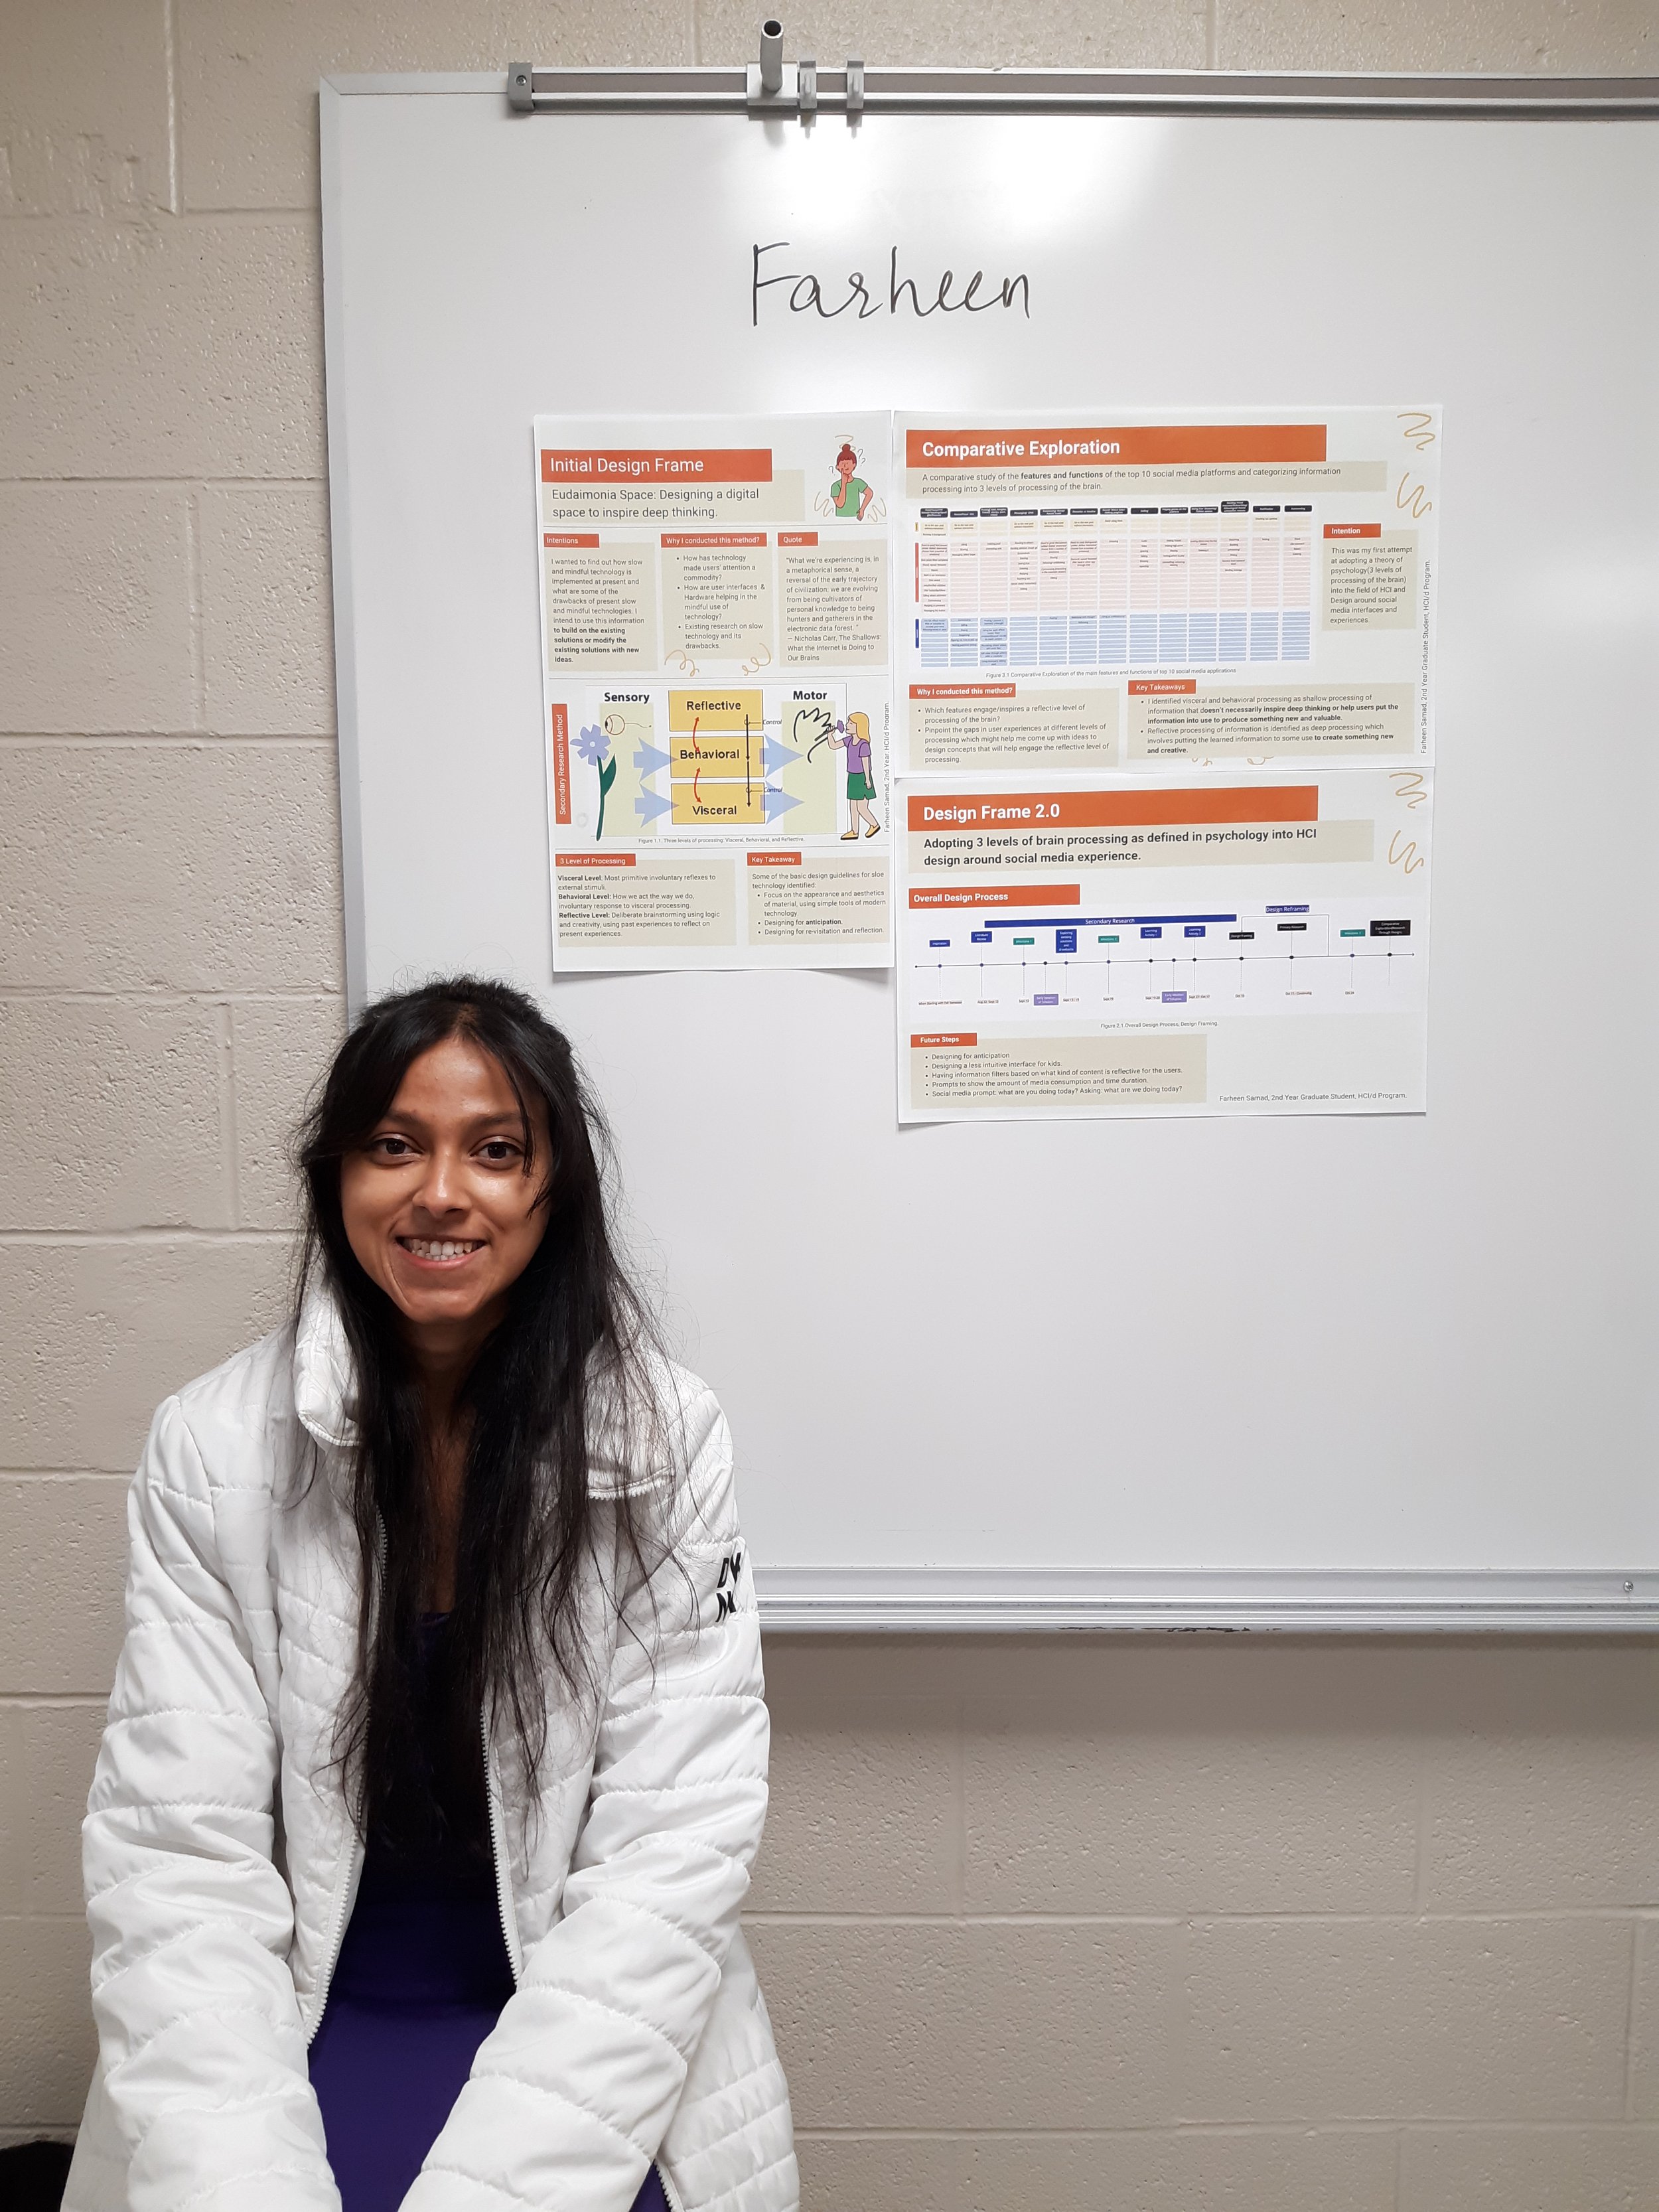
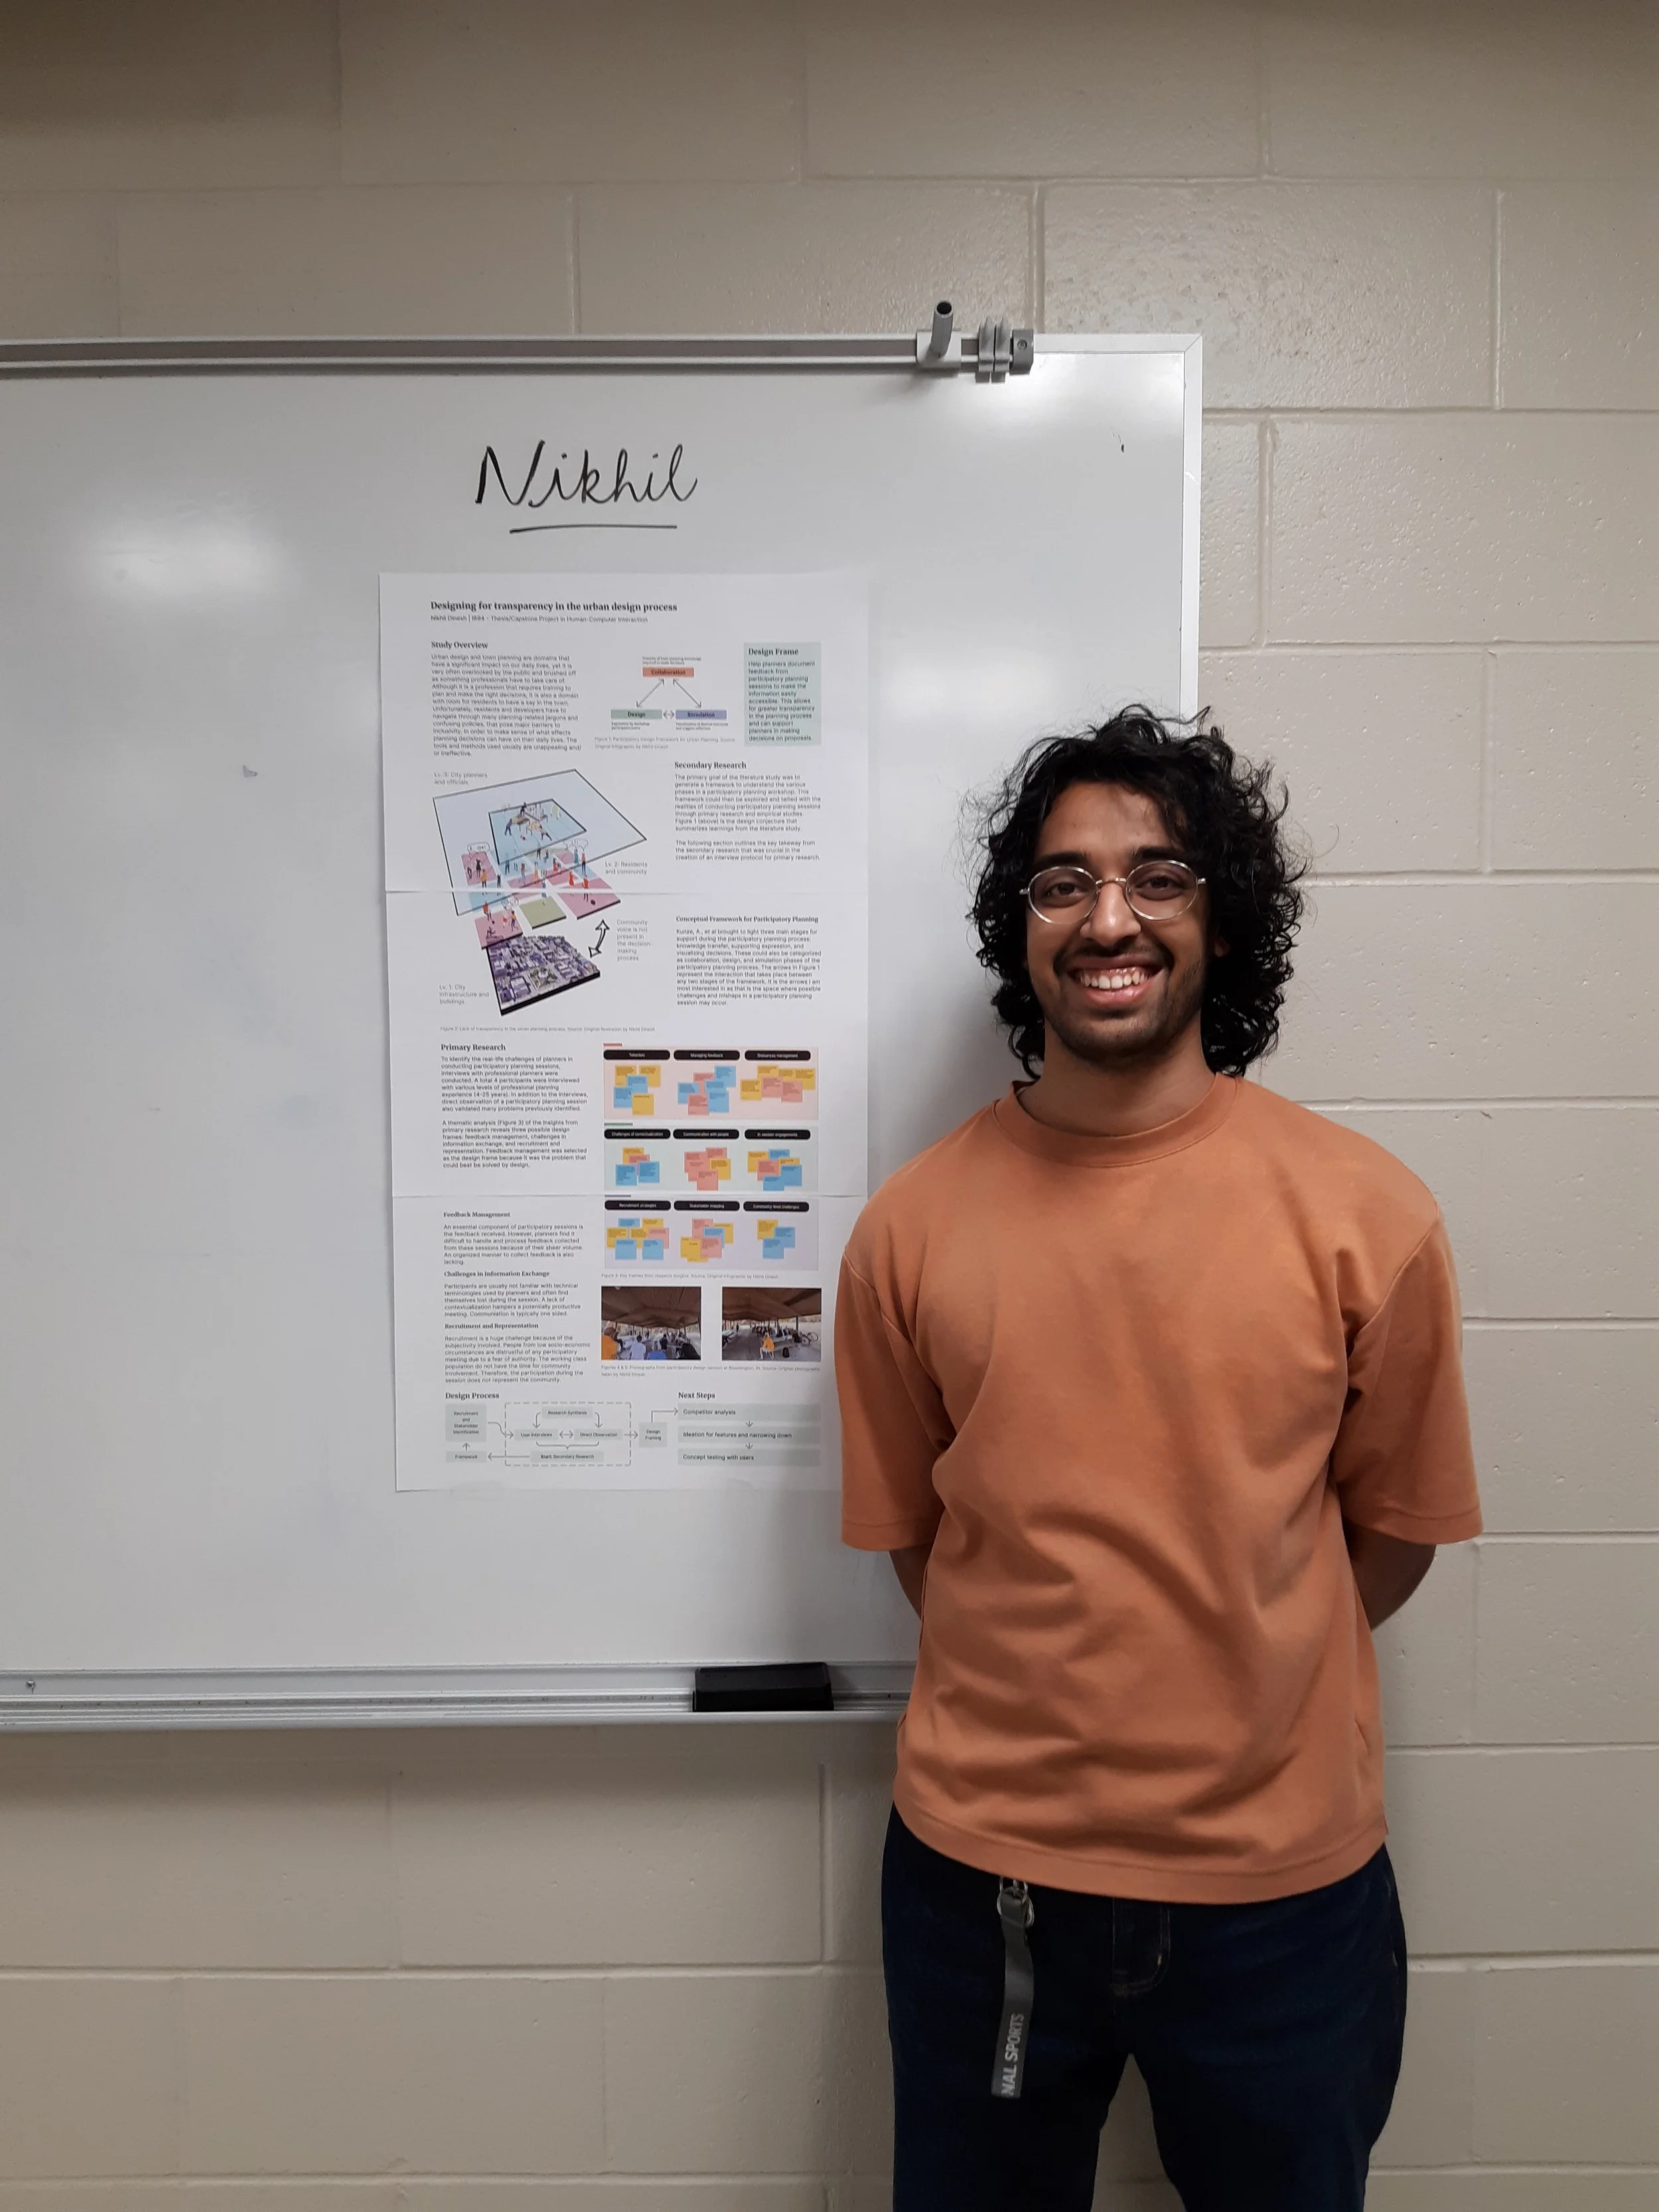
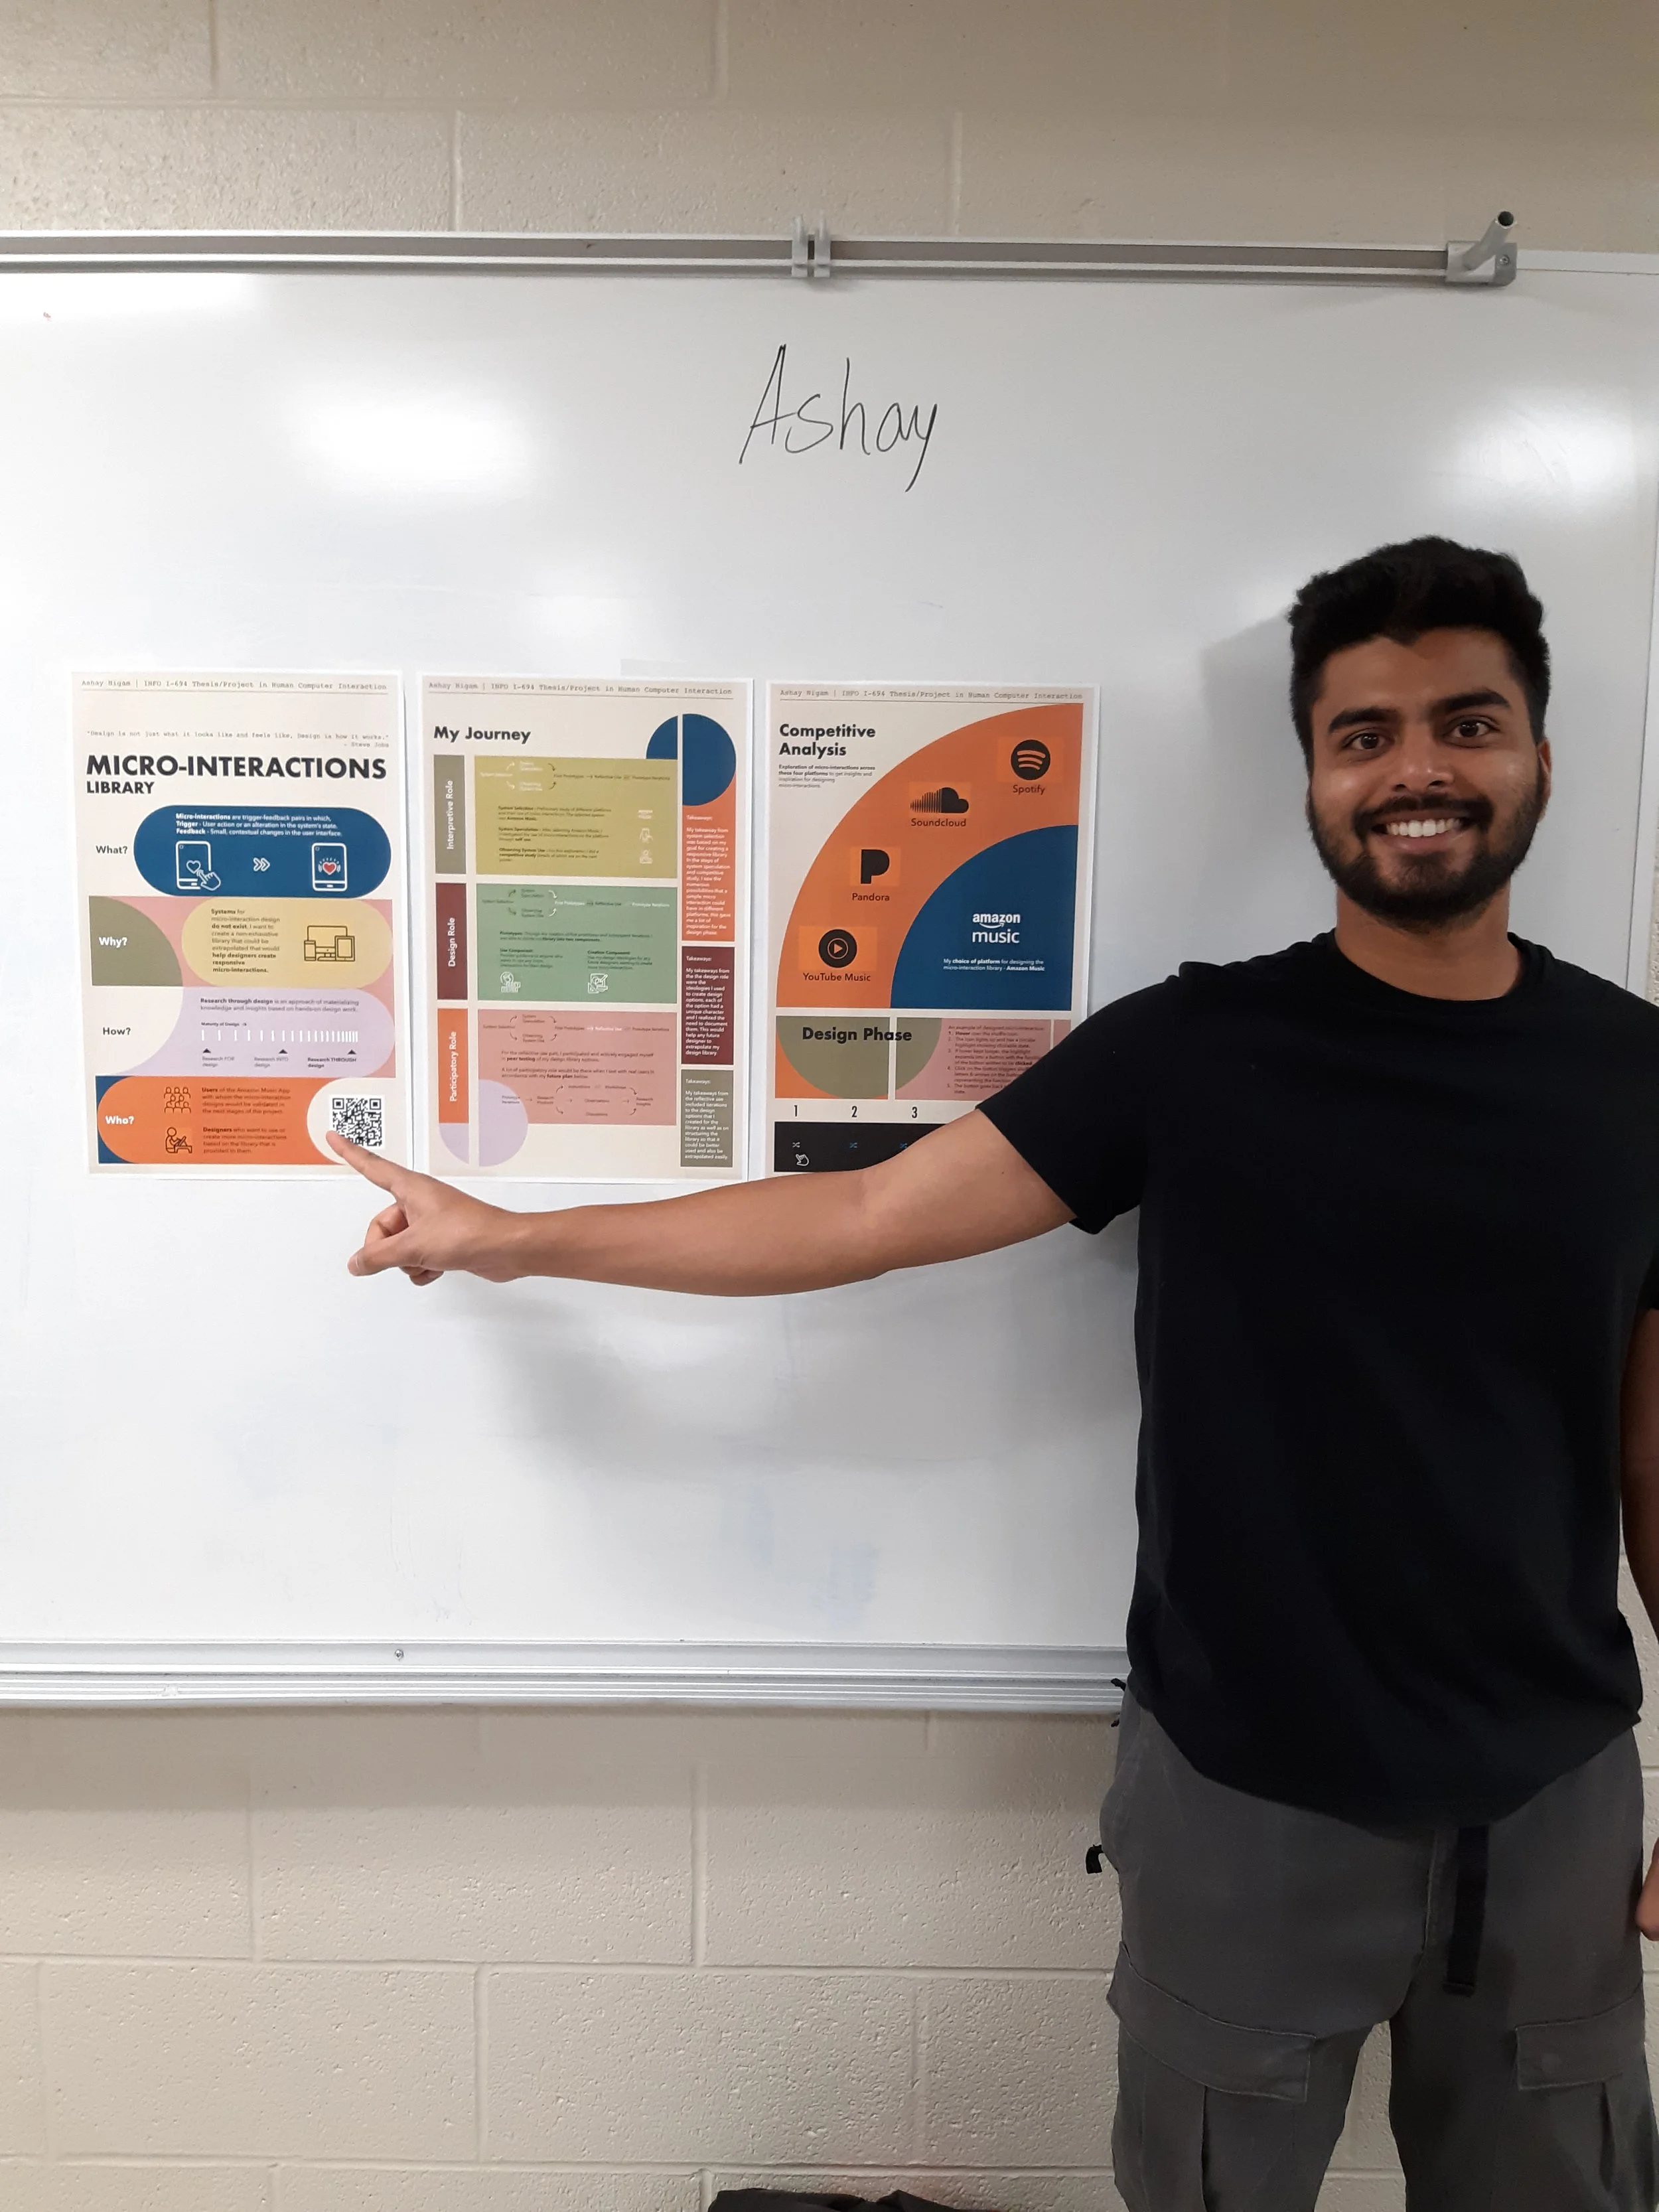
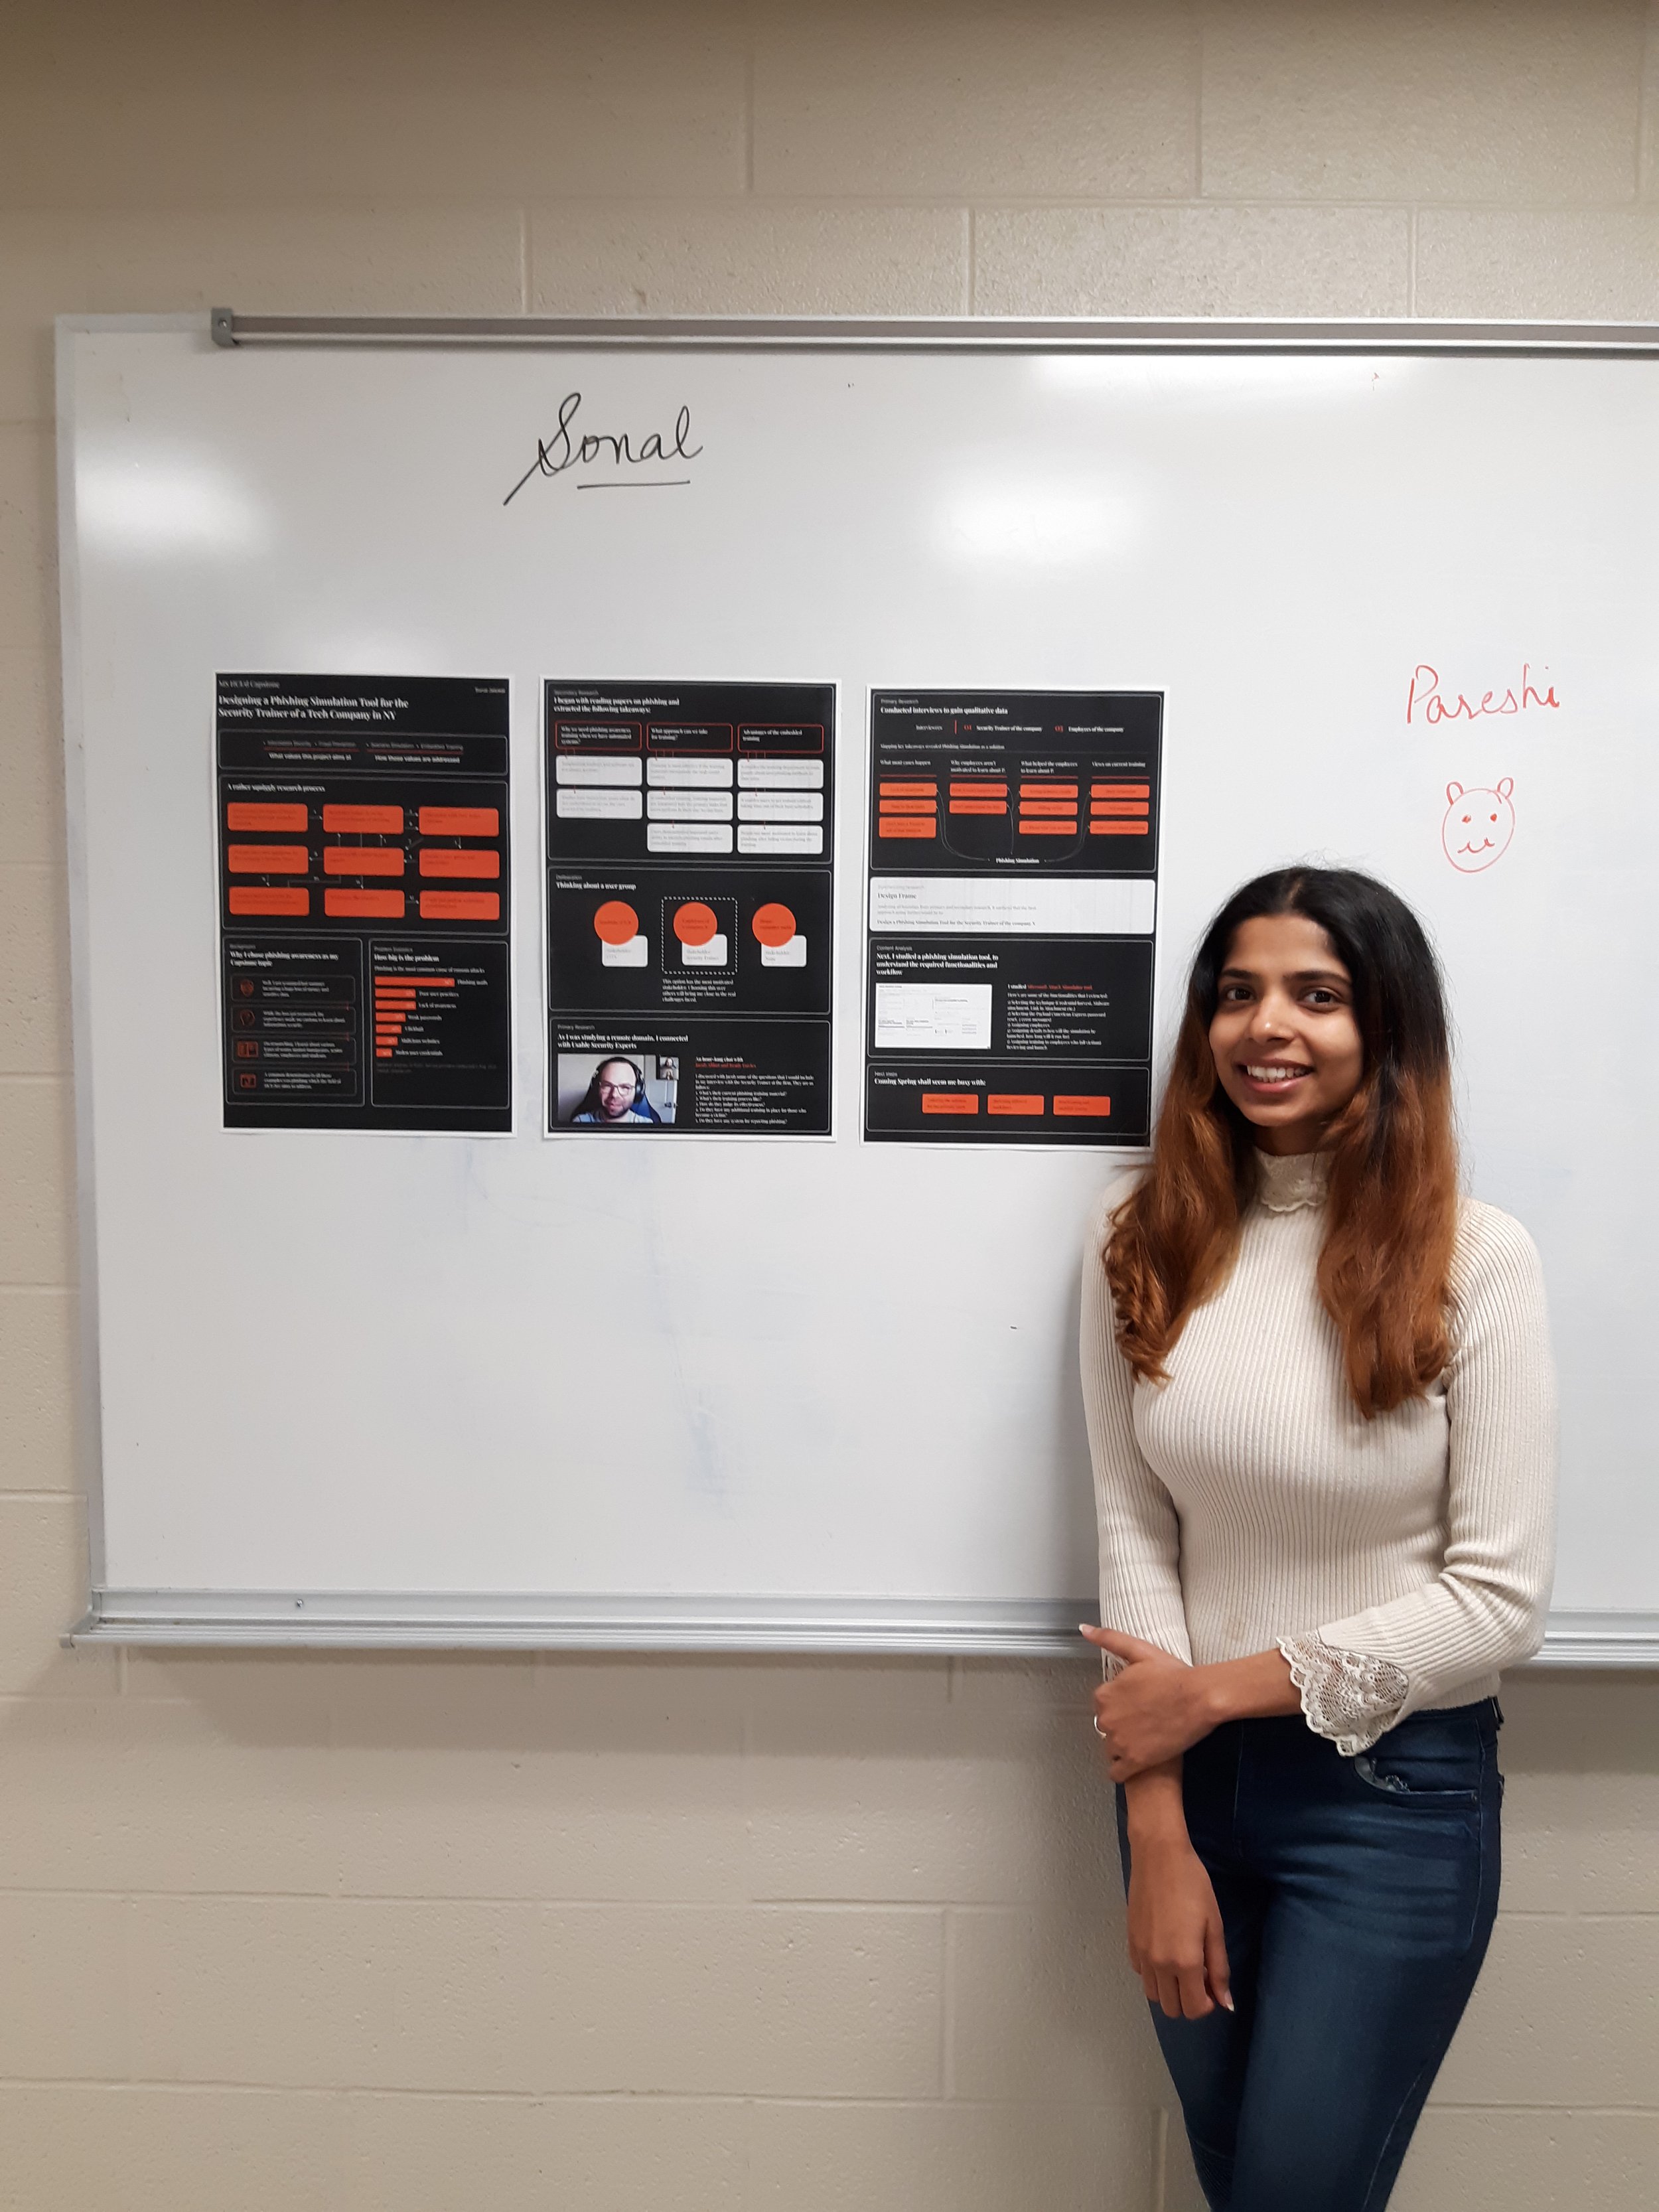
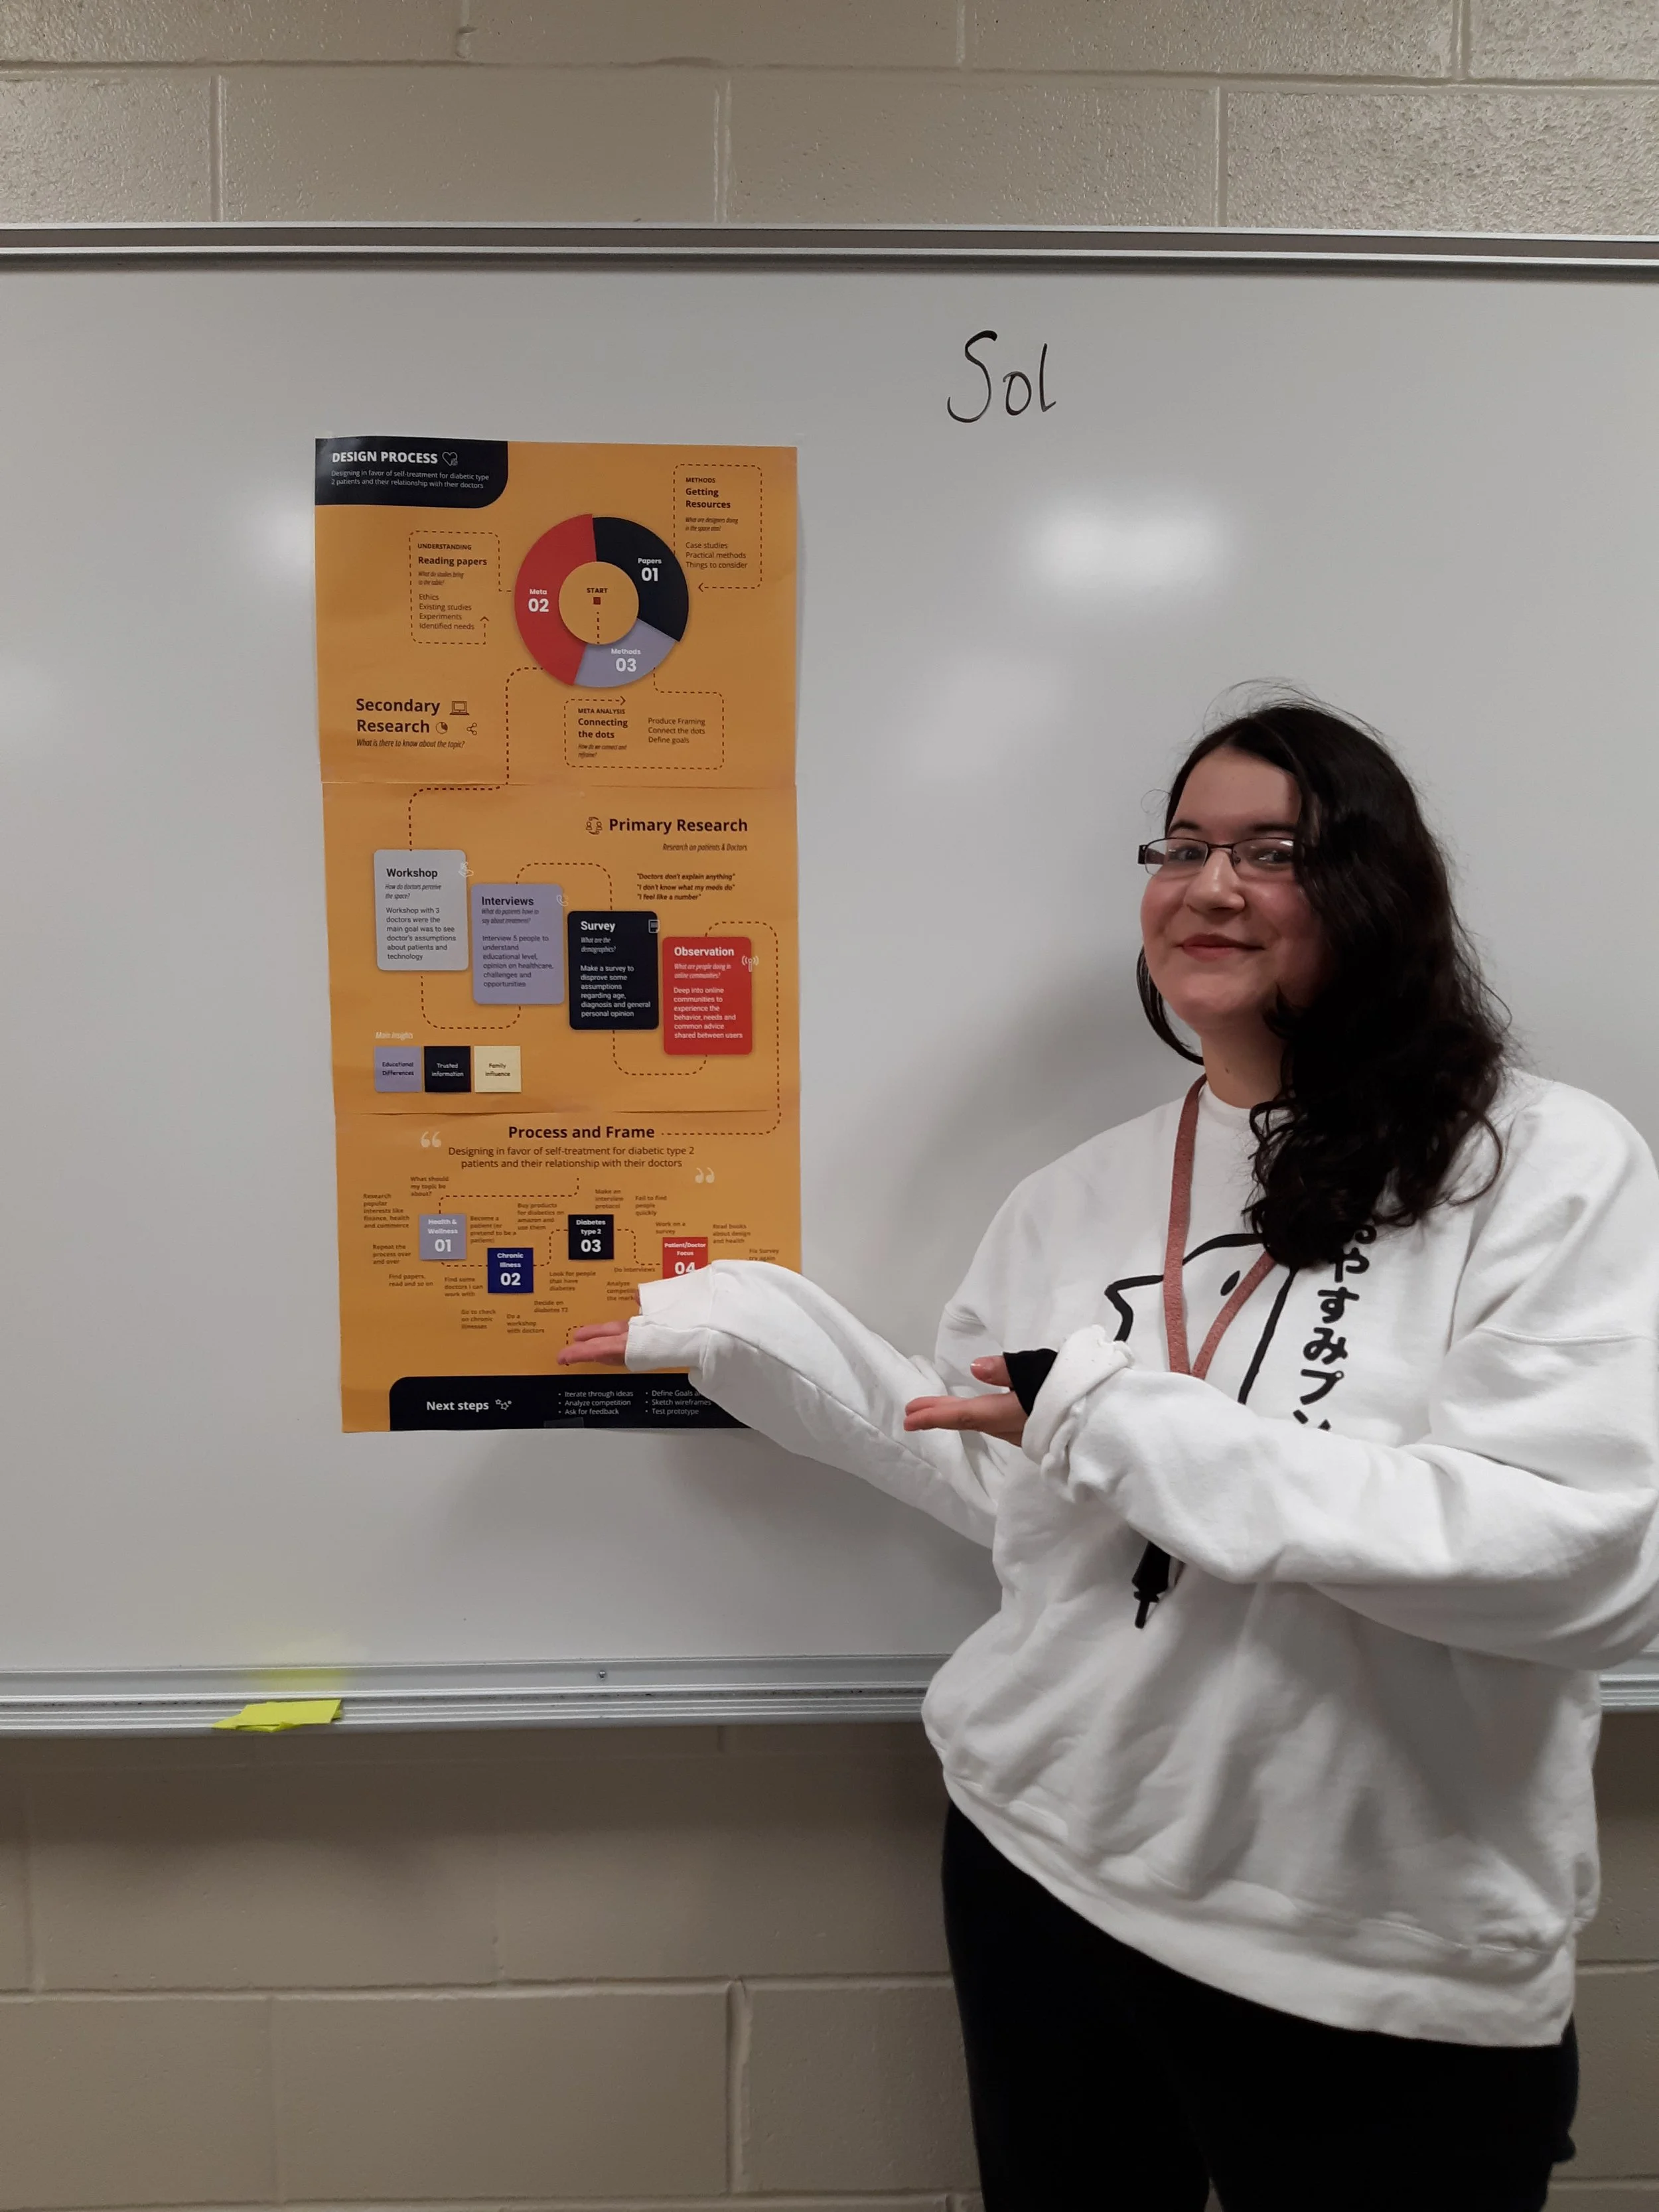
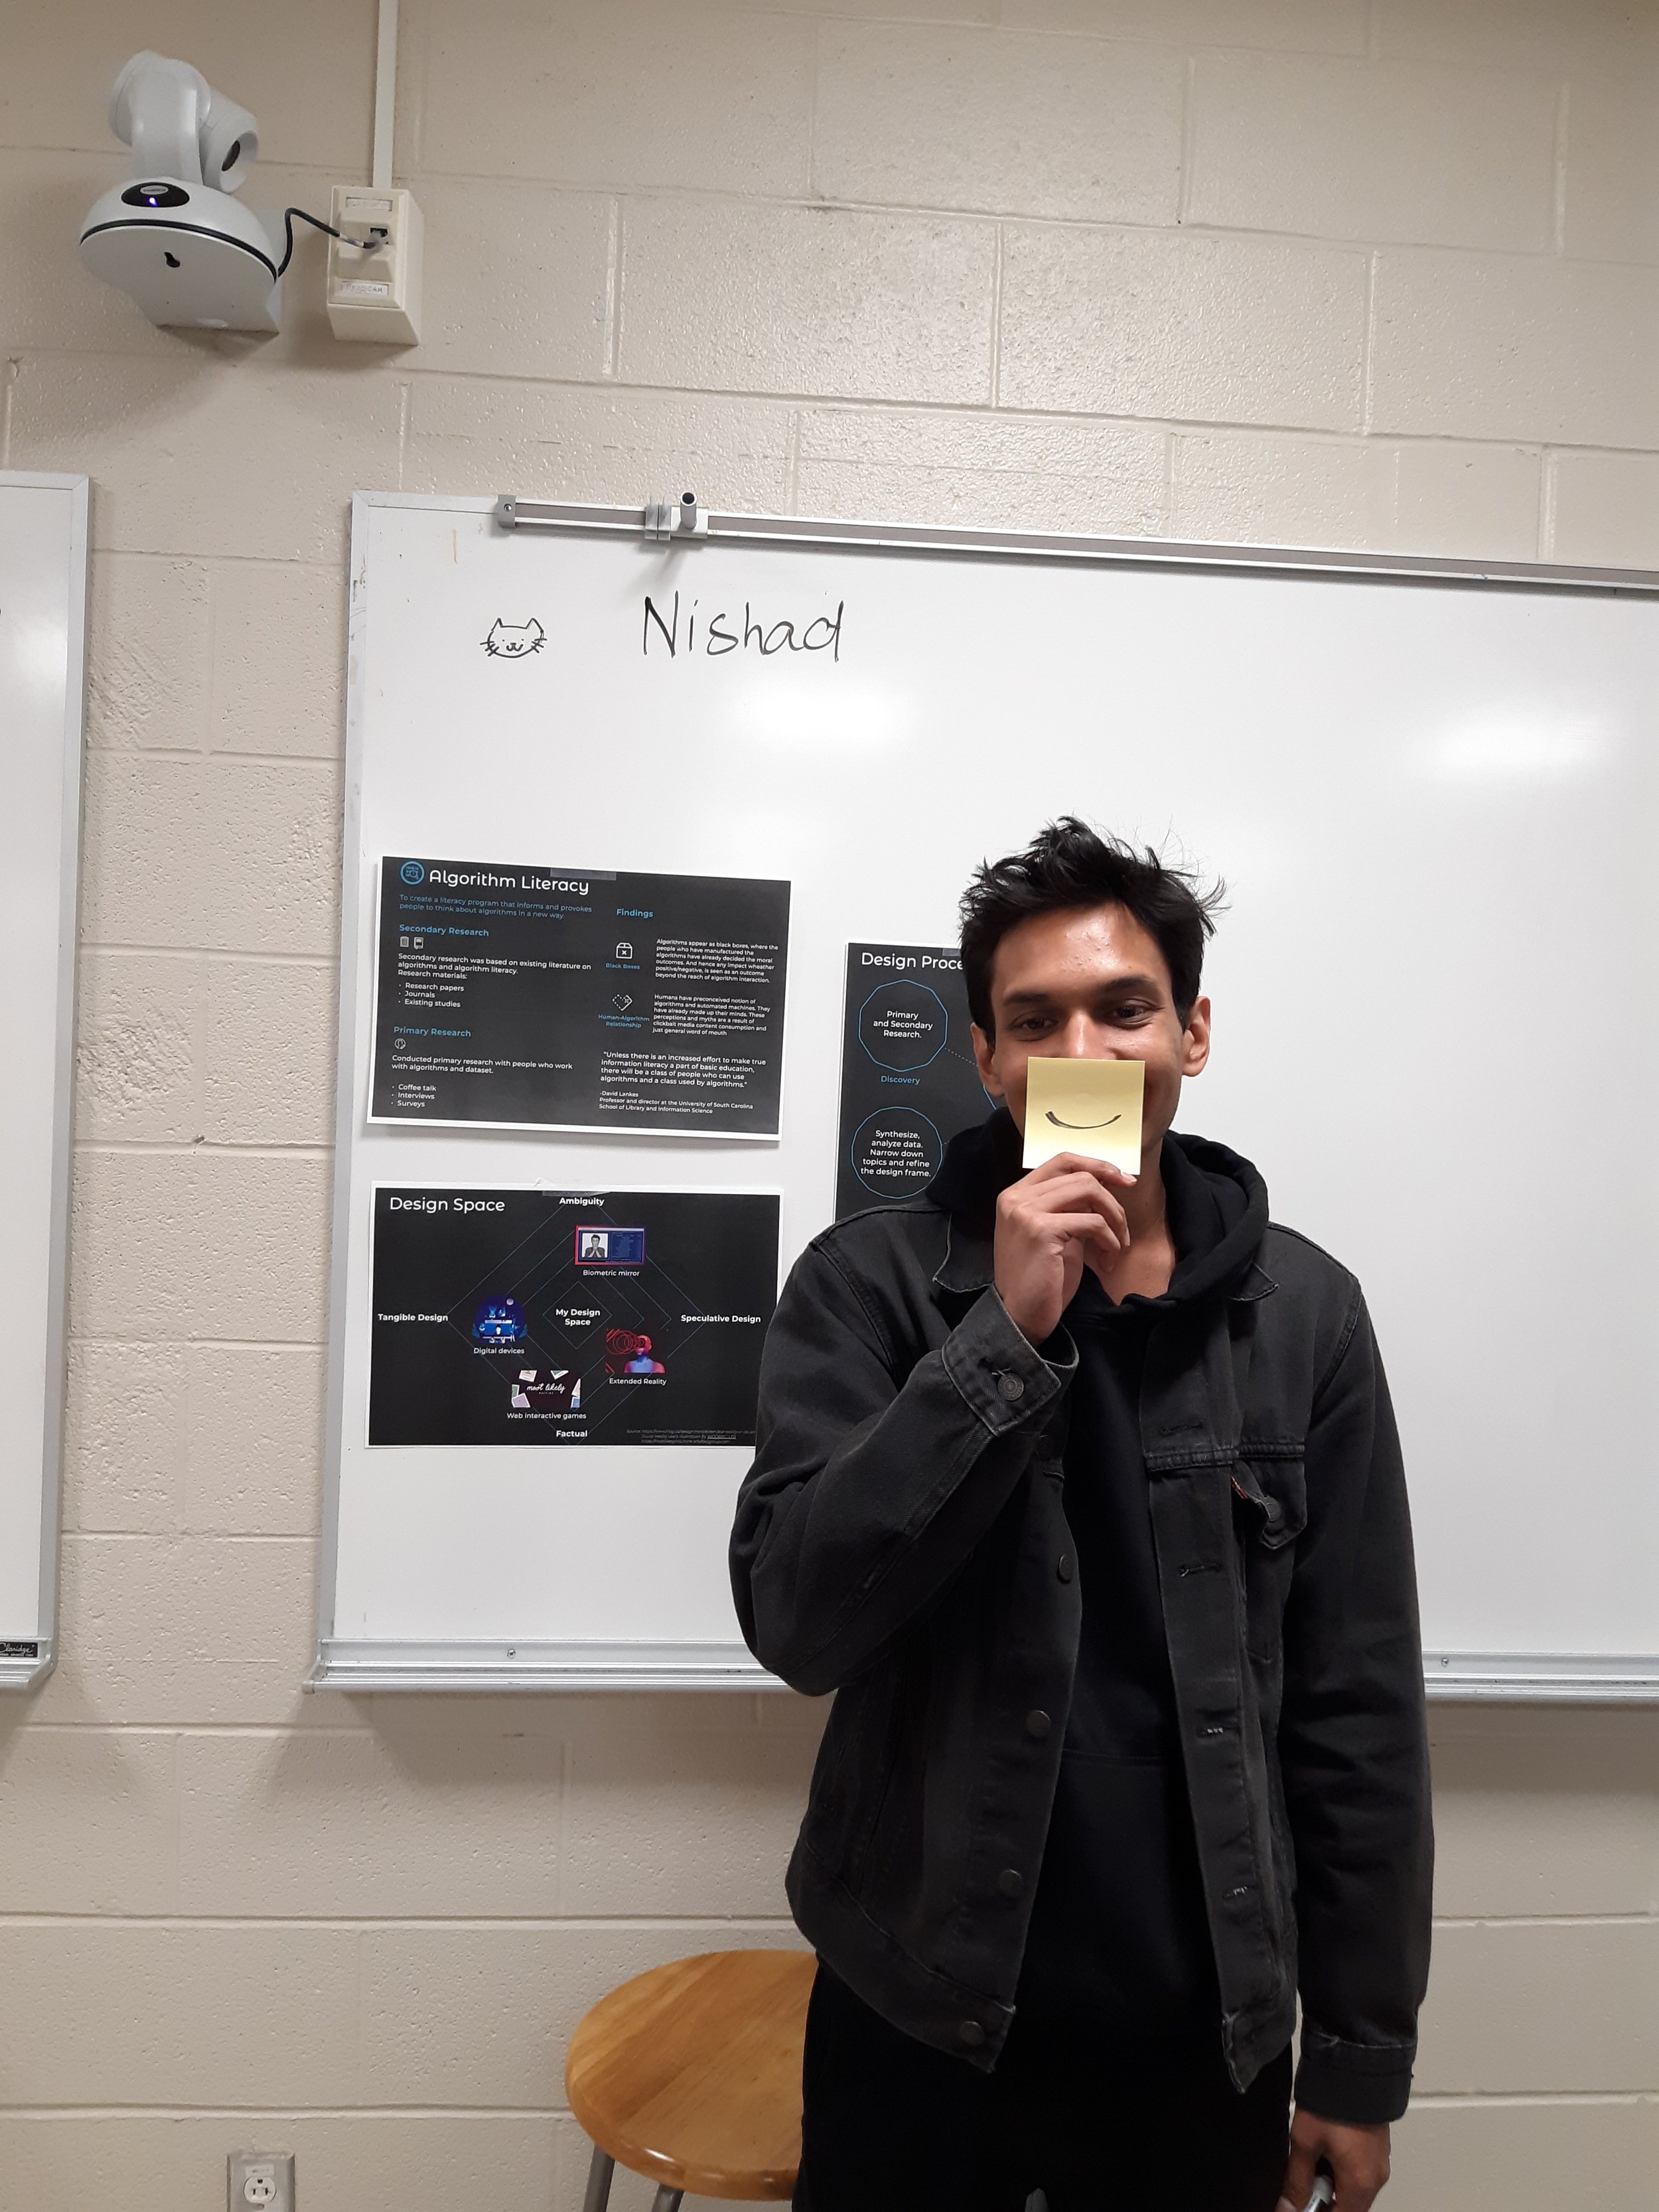
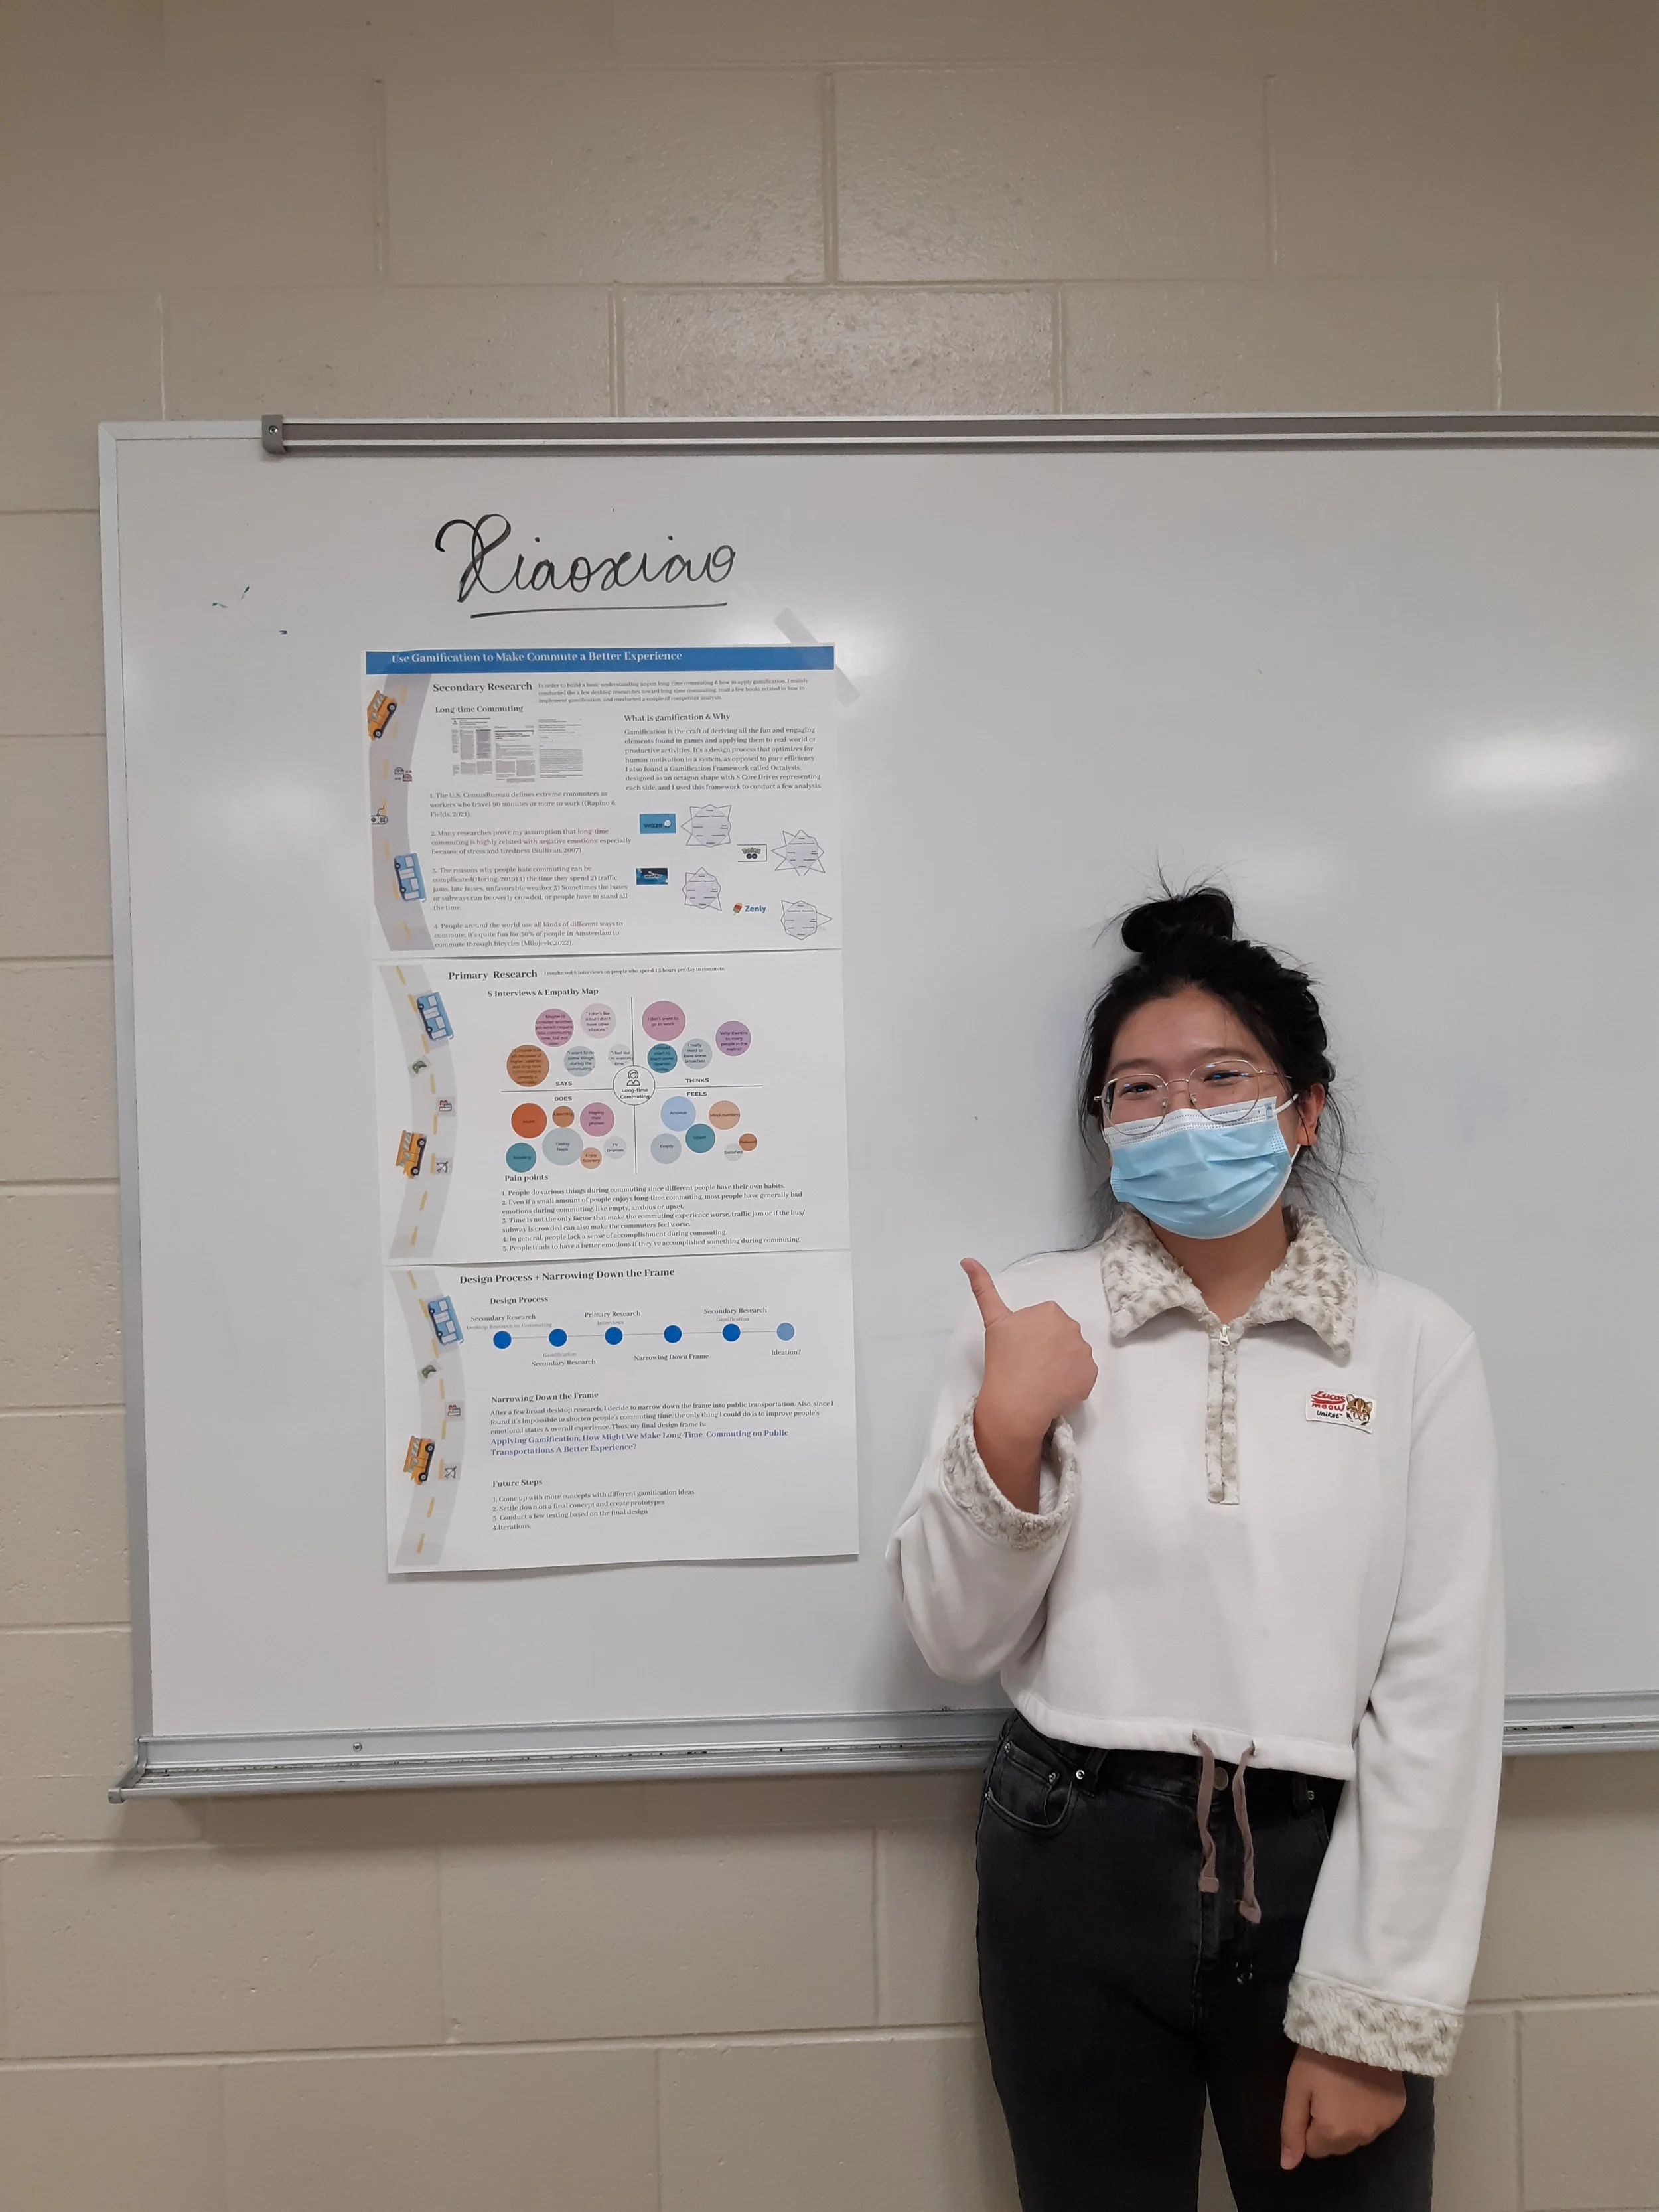
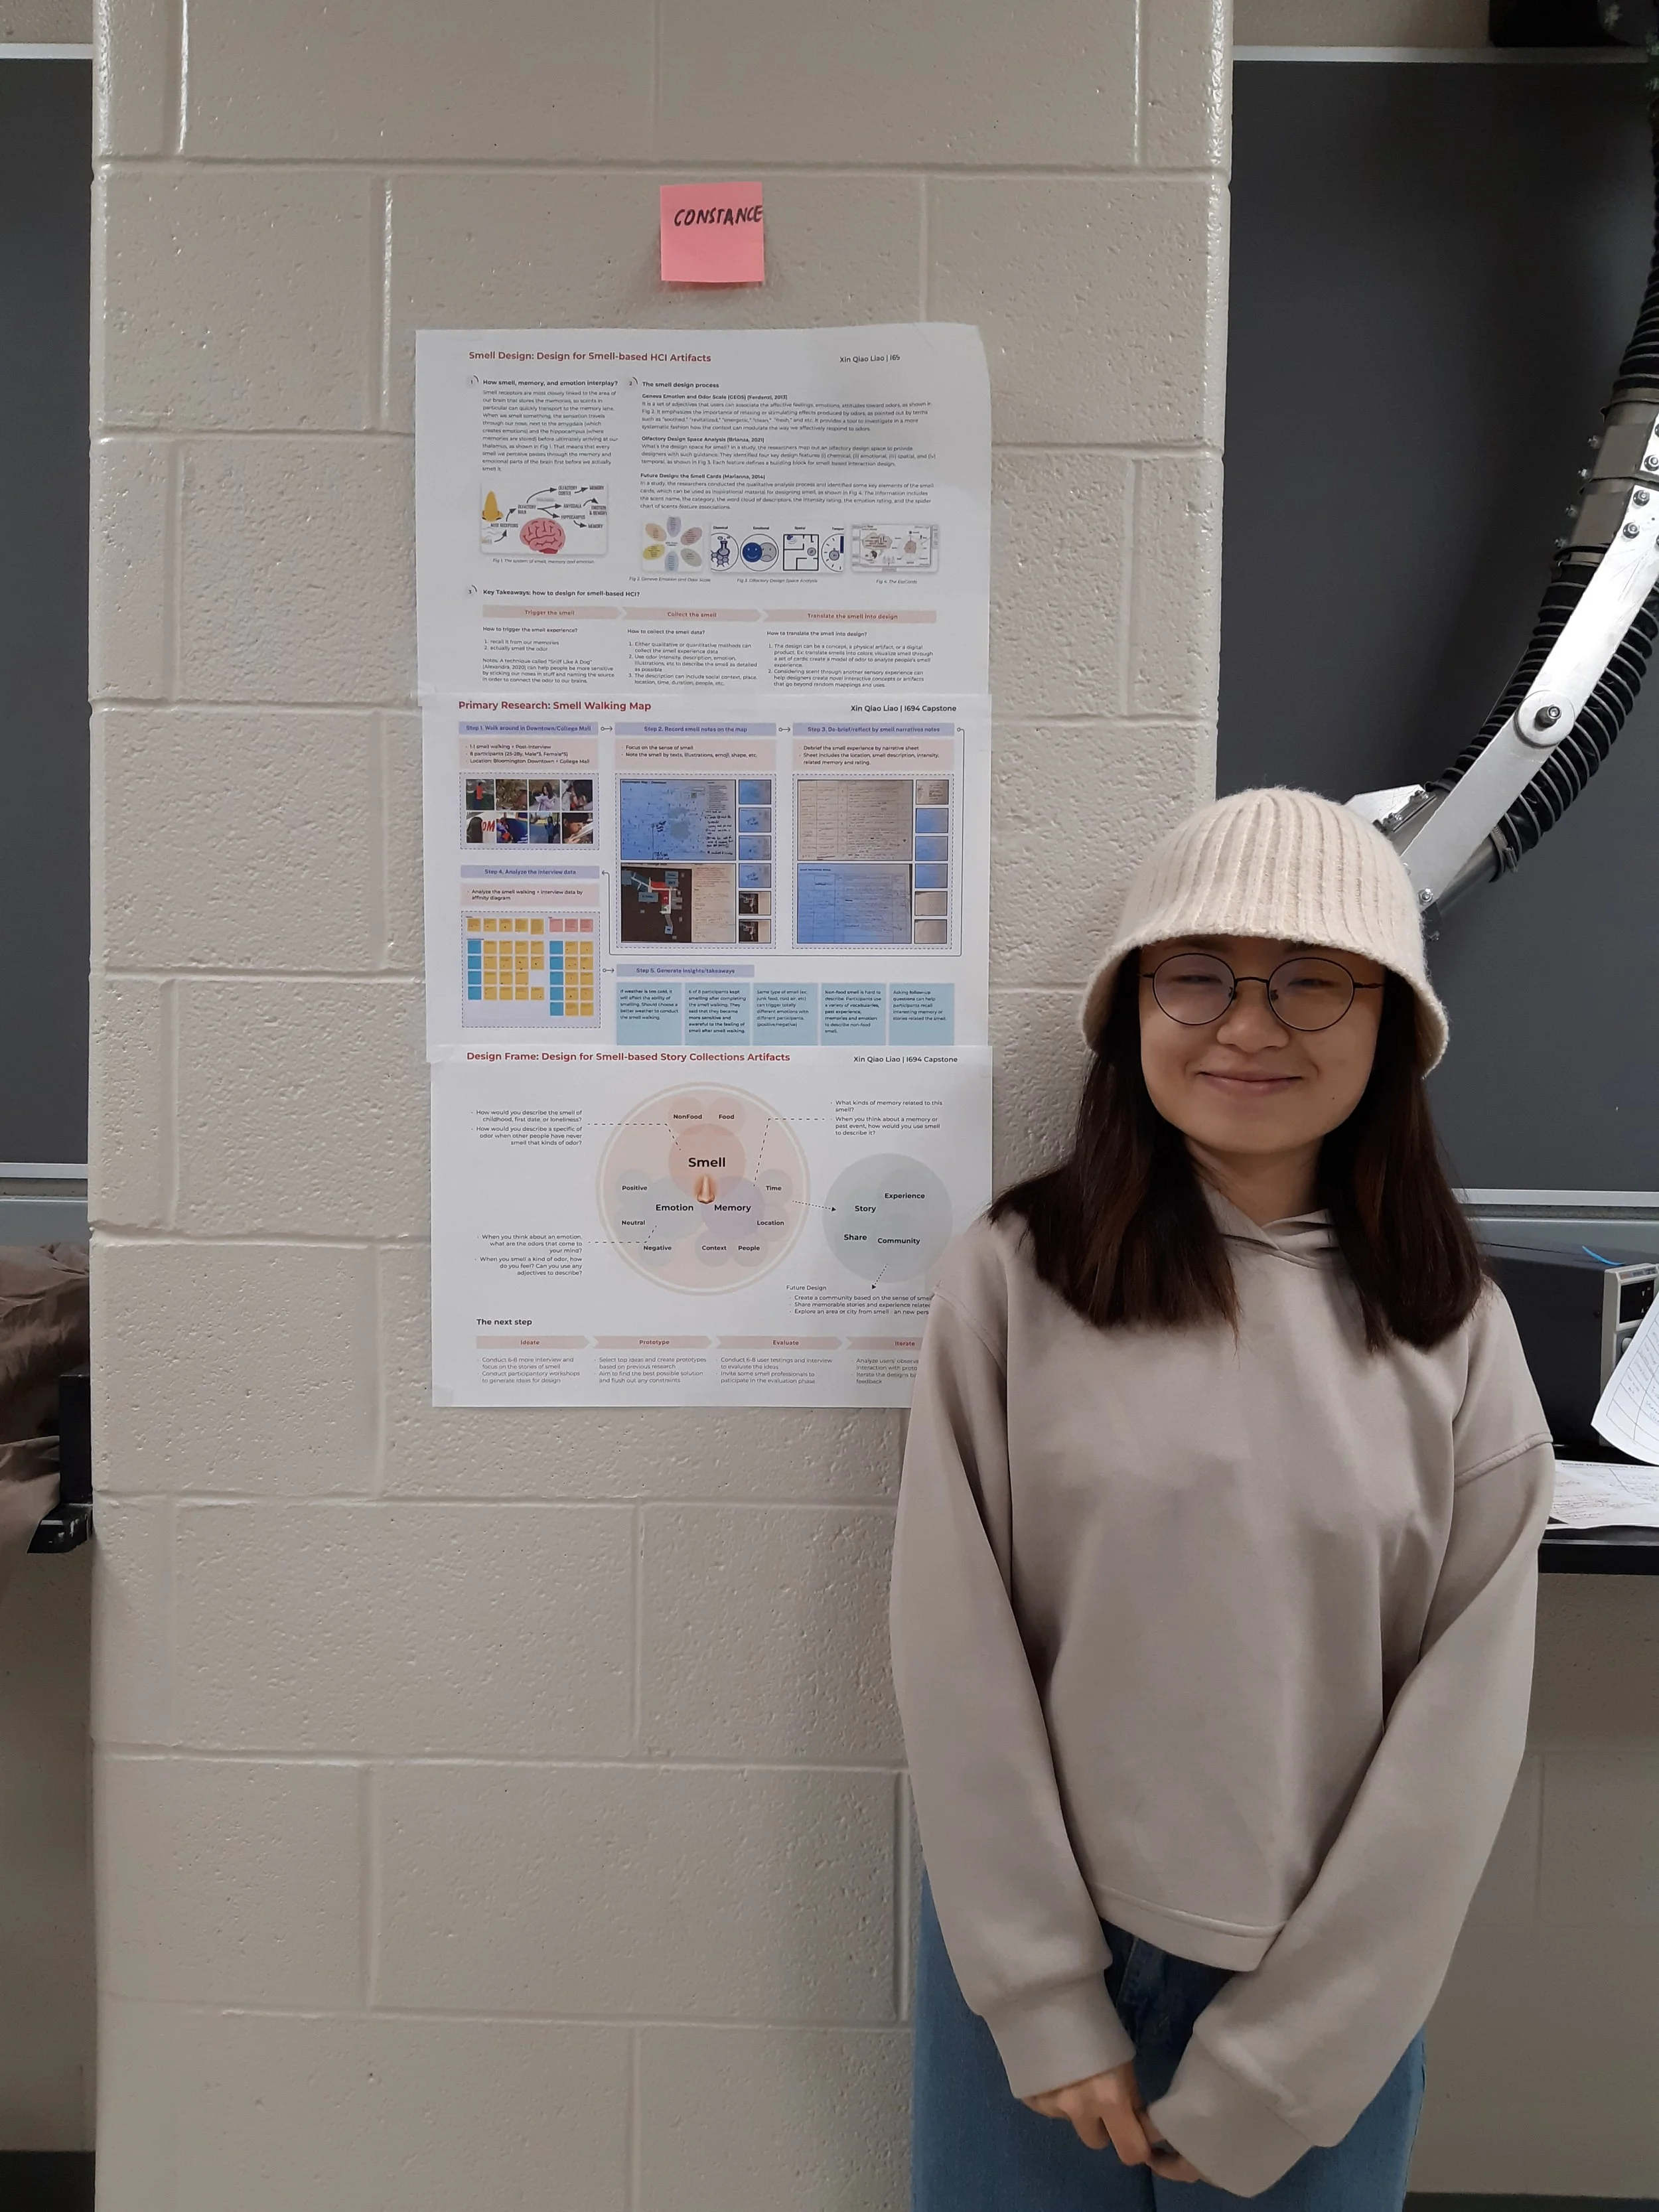
It is almost the end of the semester and it was time to plan for how to frame the final submissions/ presentation. A student commented: “we did not have a formal full-deck presentation for this class, if we were to present it to recruiters” (para-phrased). I had a similar thought throughout the semester, but I was balancing it with the requirements of design documents. To balance the time, logistics, and conventional slide-deck format (which is moved as a kick-off for next semester), I came up with a poster-showcase with certain instructions. The requirement was to design three A3 posters to represent secondary research, primary research, and synthesis in the form of design frame, design process, and envisioned next steps.
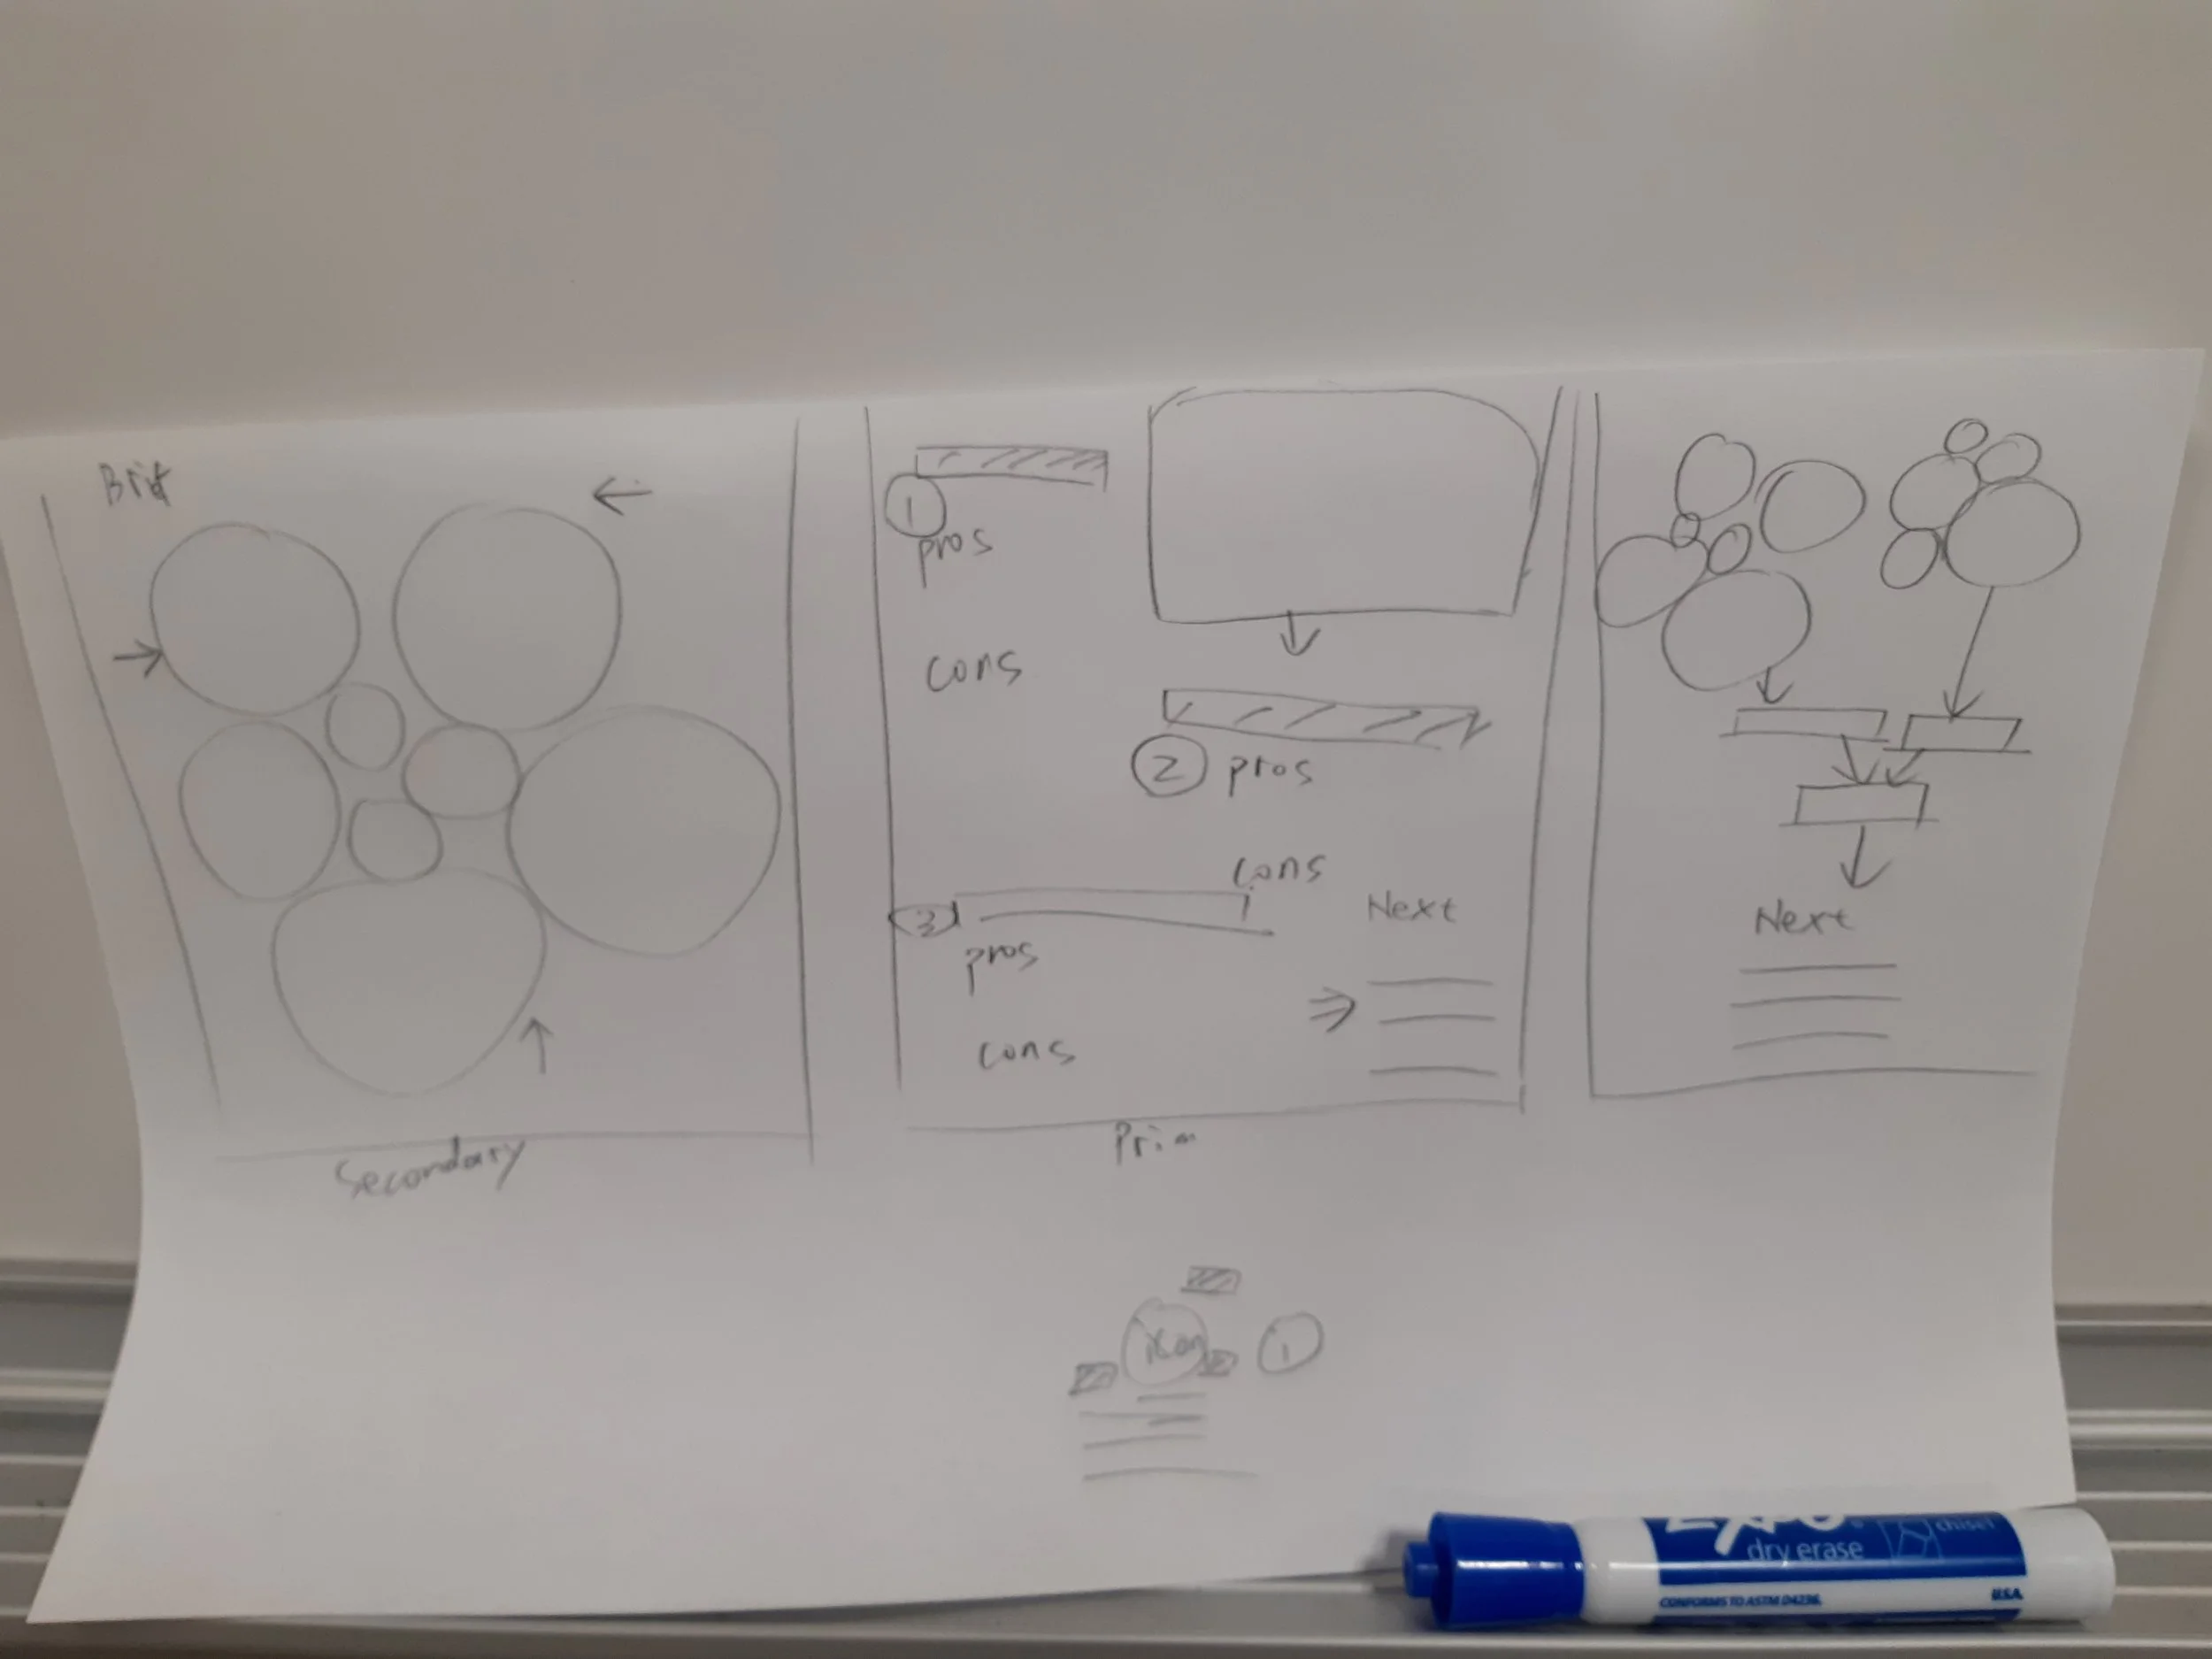
Before the final showcase, I ideated some potential ways the three A3 footprint could be used to design the presentation (as sketched int he image below).
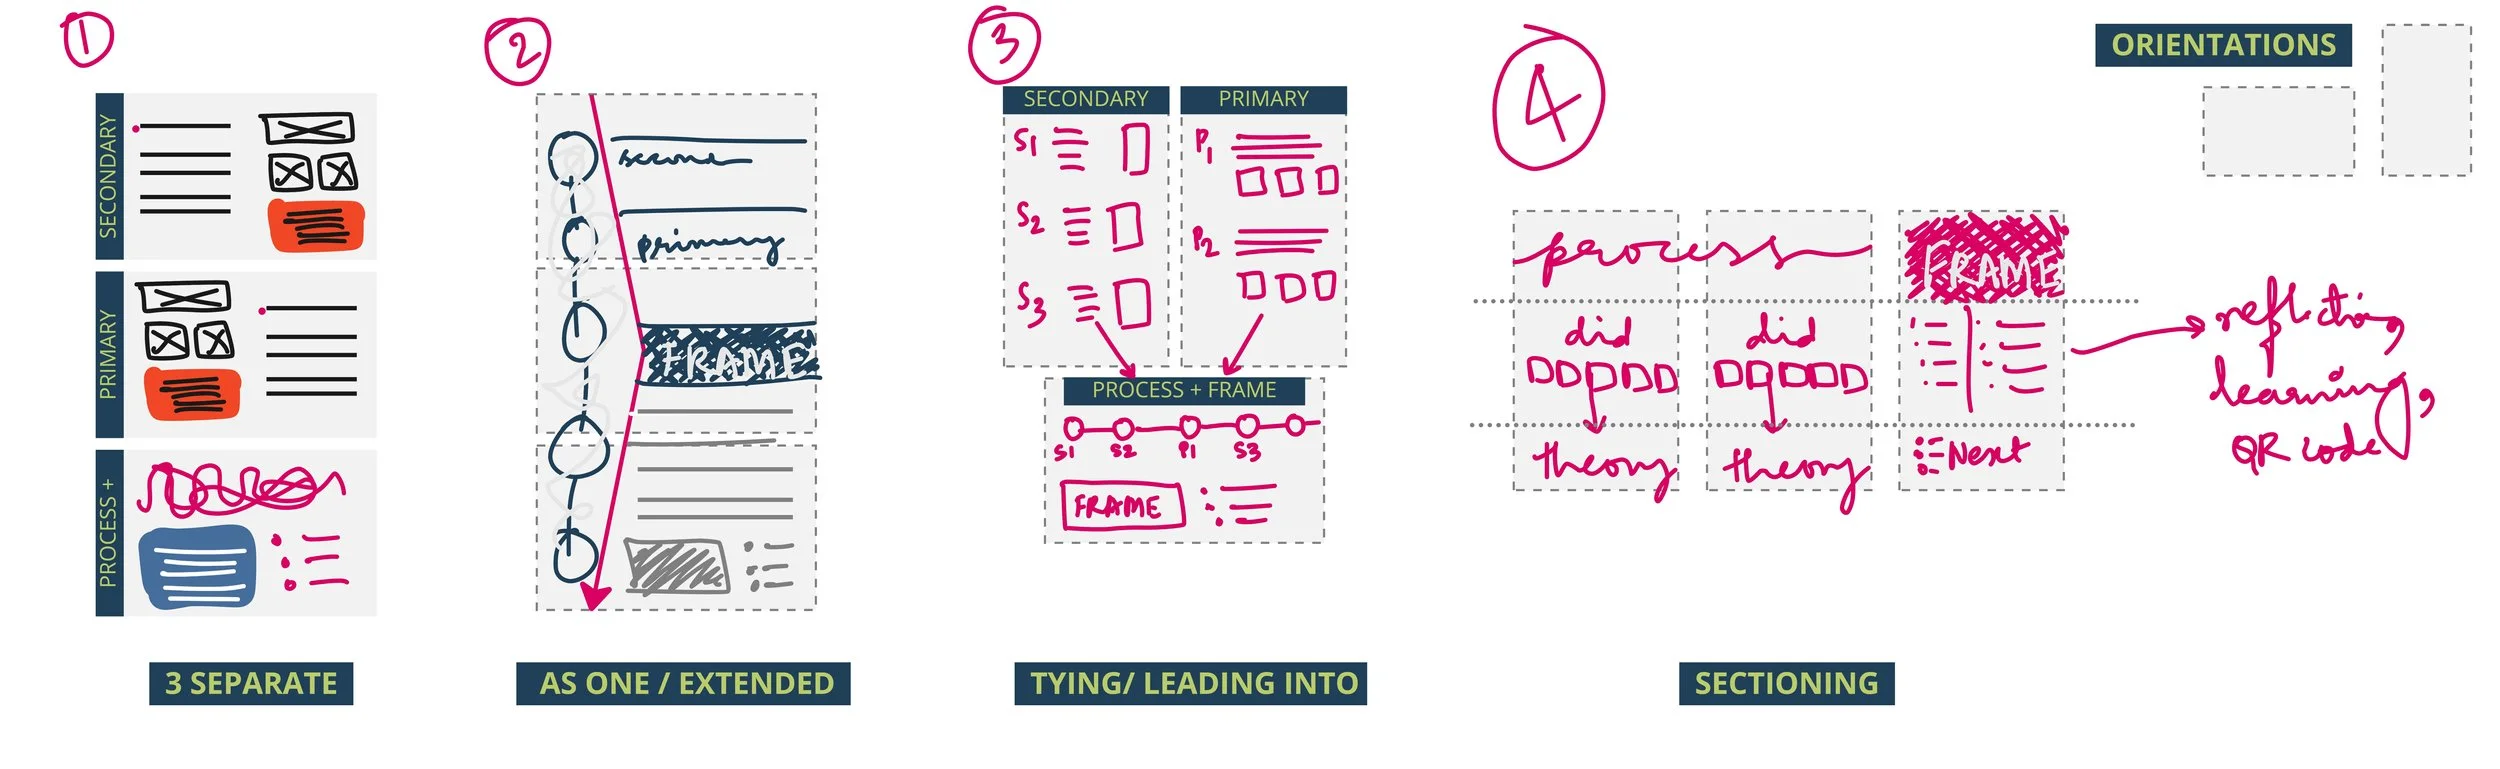
Shruthi’s quick ideation on different ways A3 footprint could be used.
In Week 12, I did a quick 20 mins group class activity for students to begin ideation on their poster design or structure.
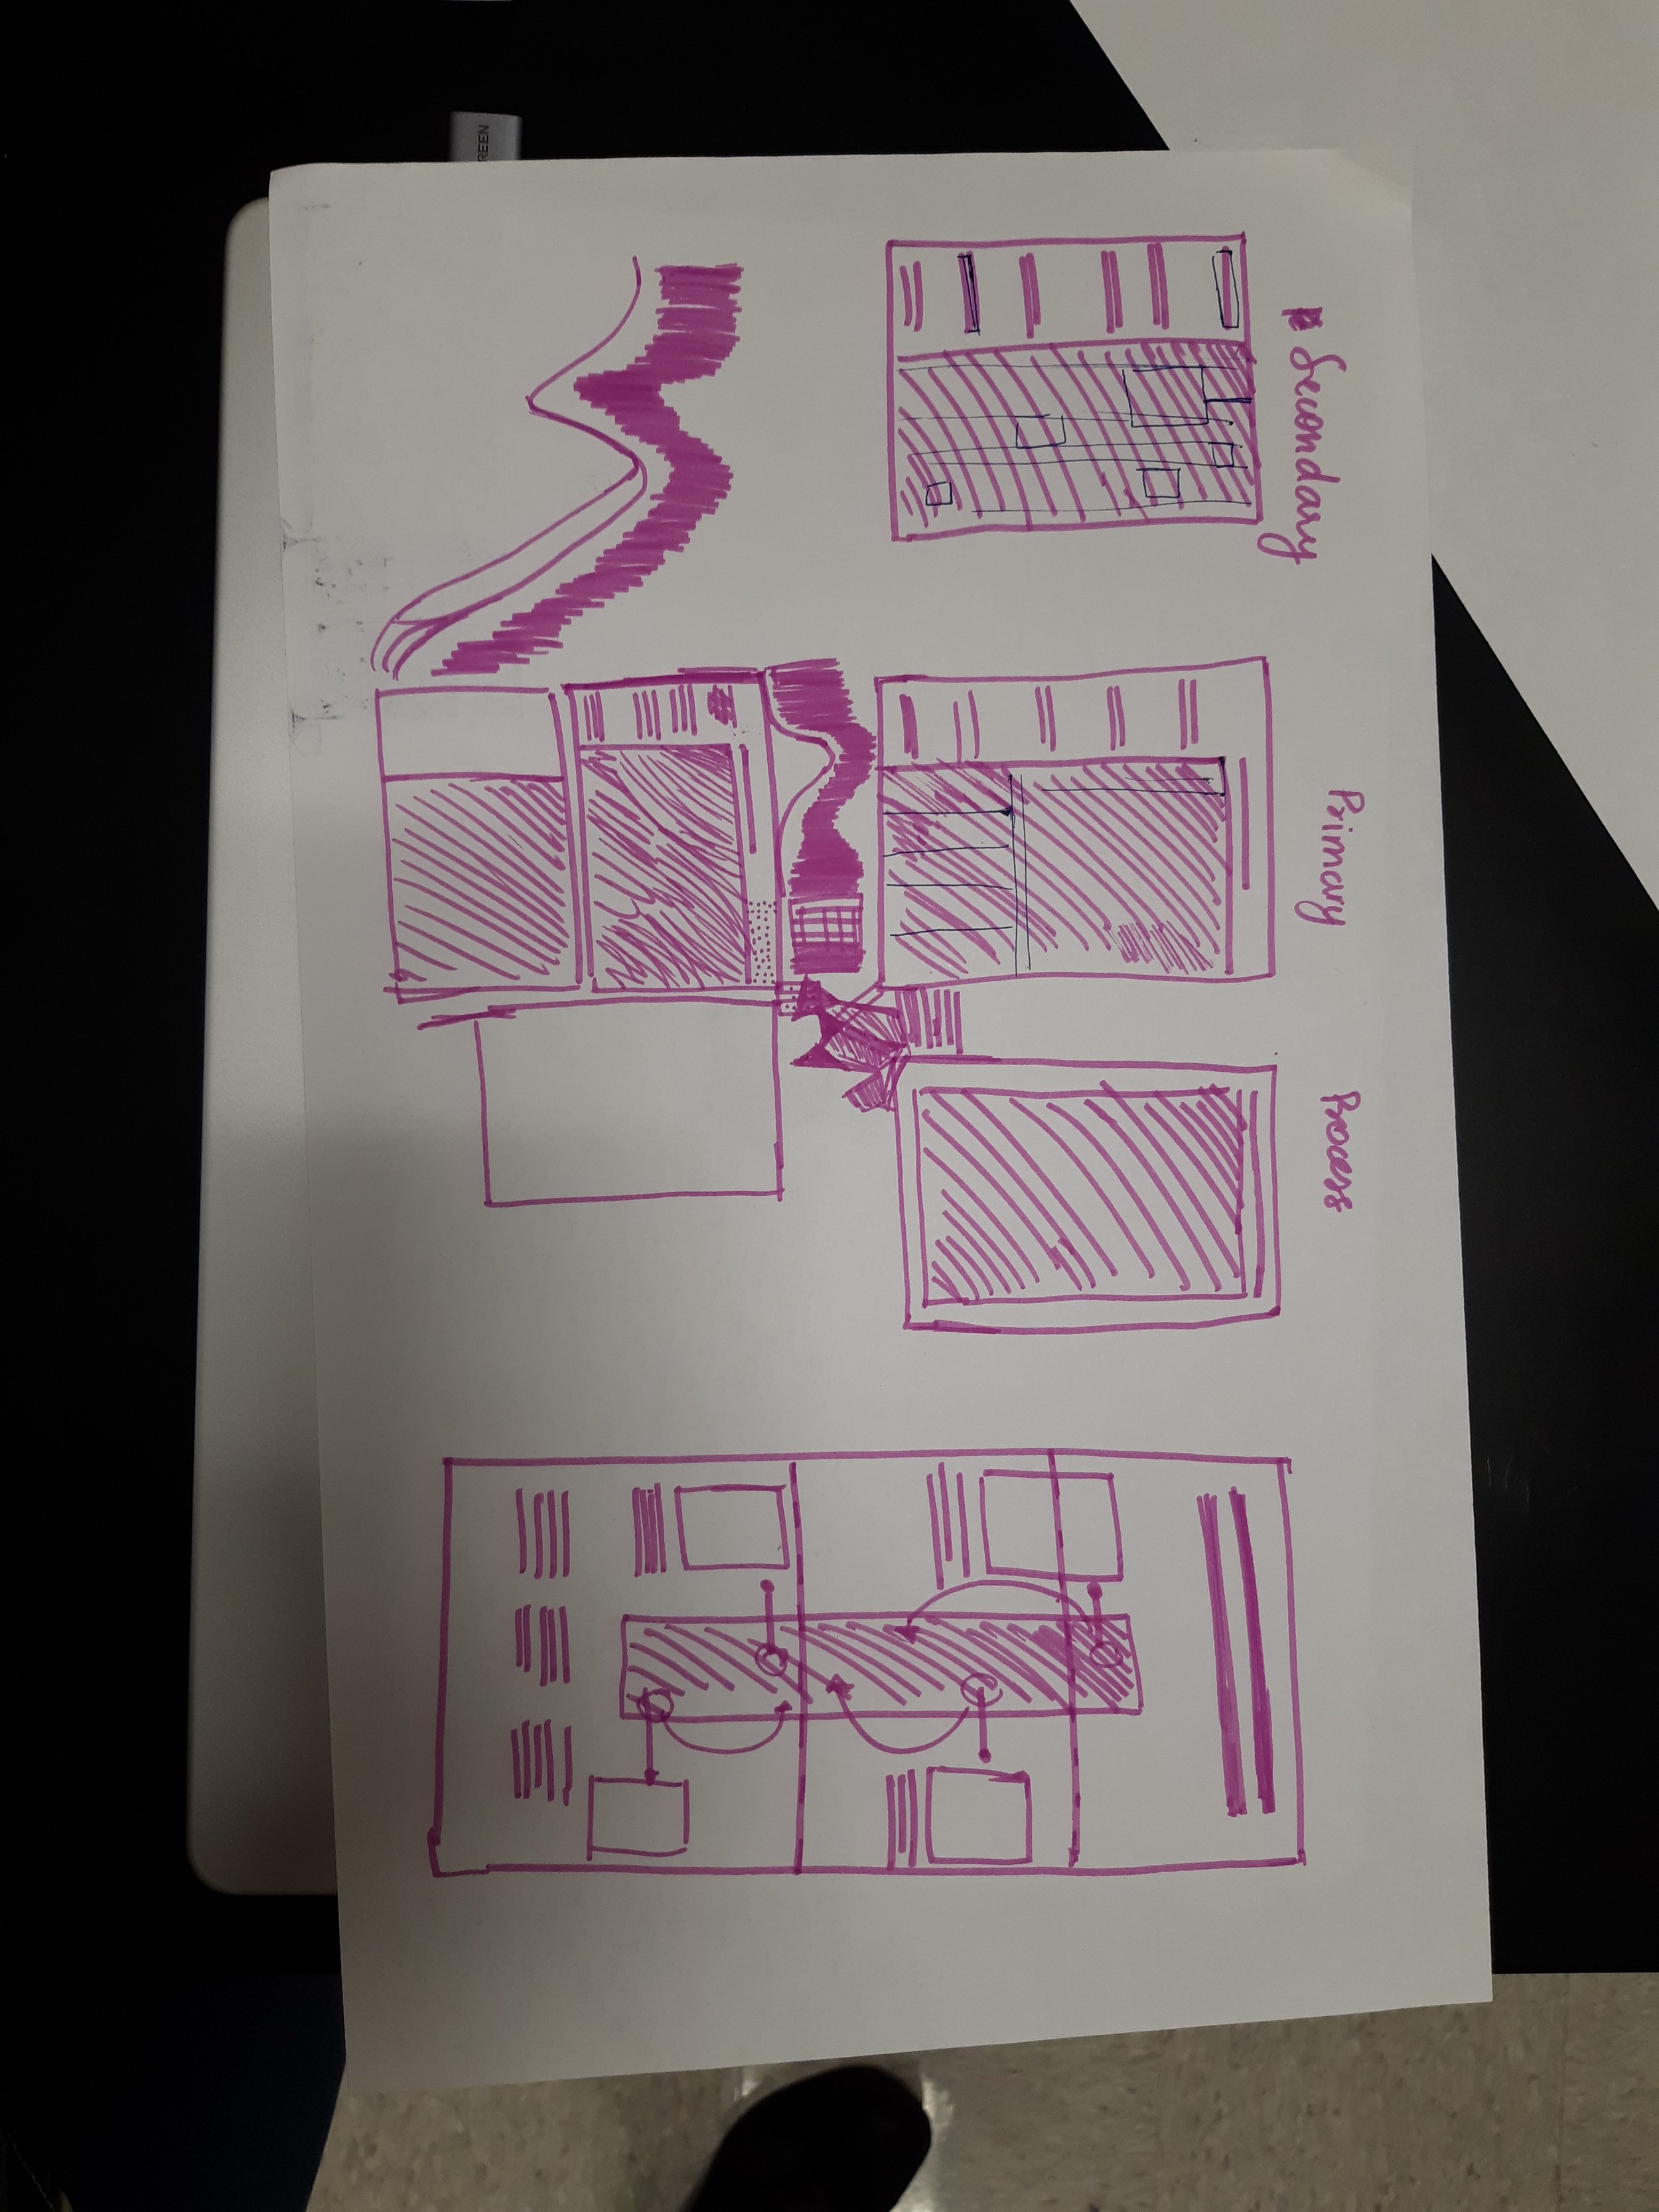
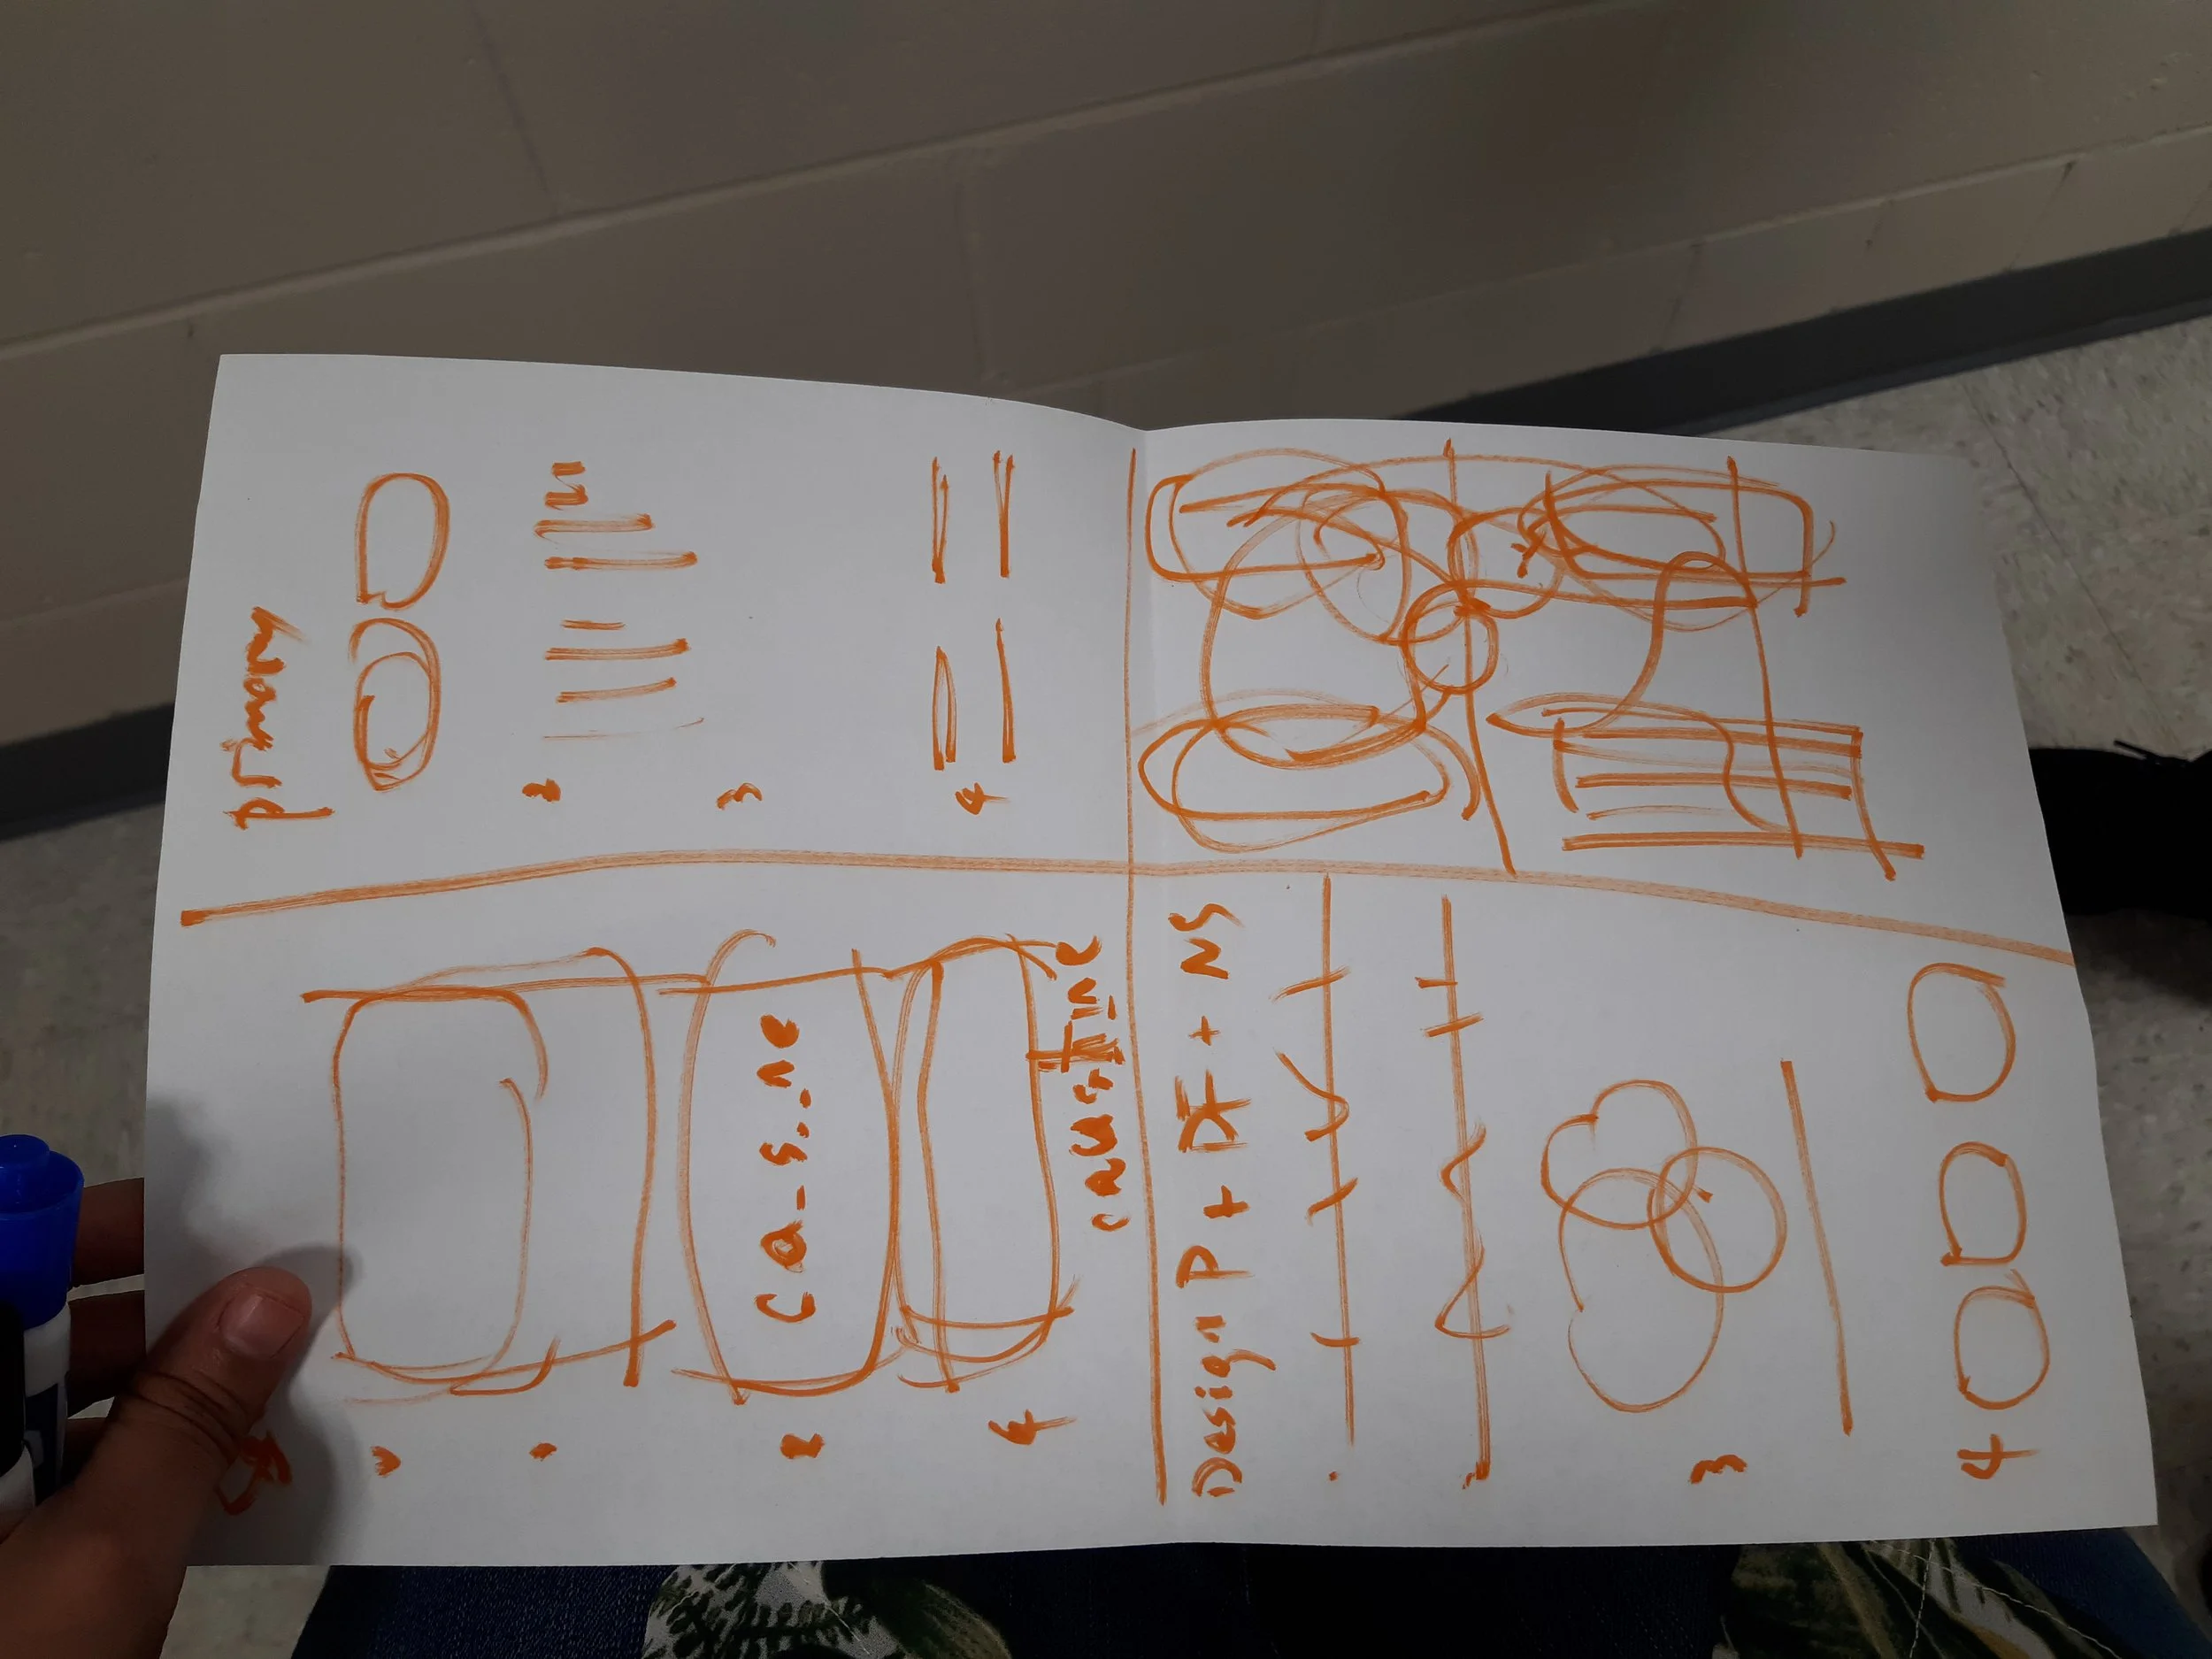
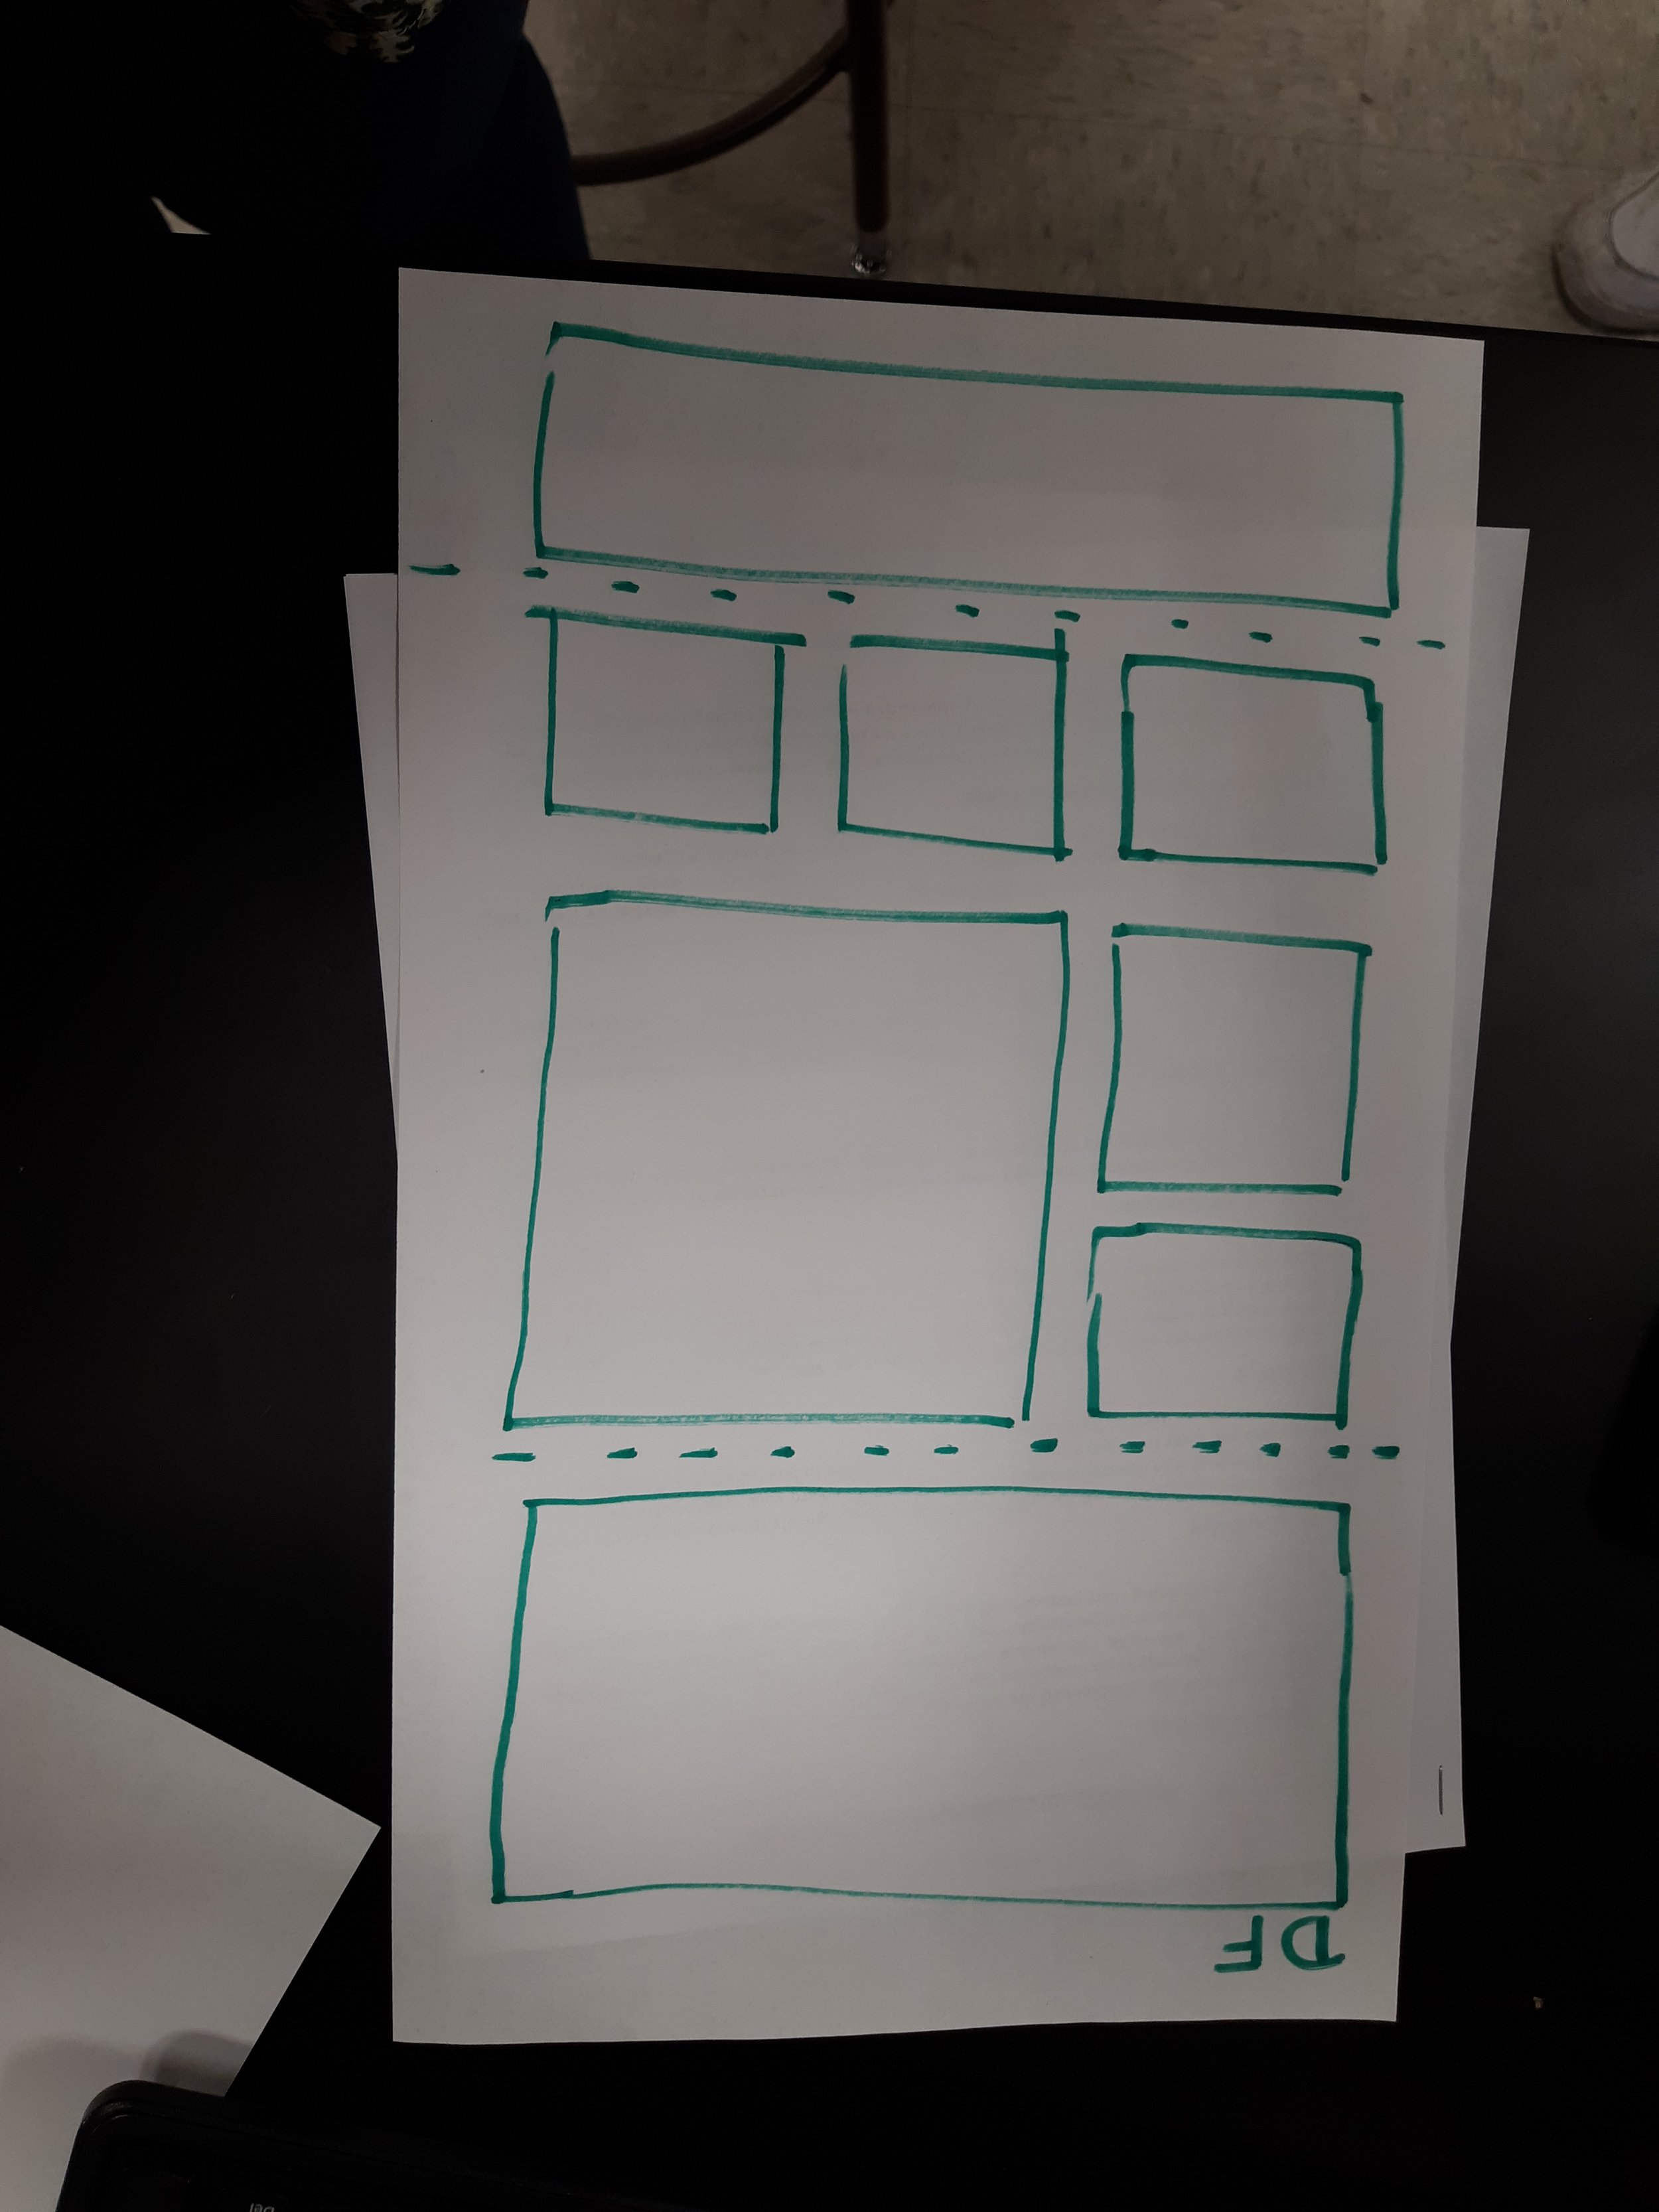
Couple of examples of students wireframing their poster structures
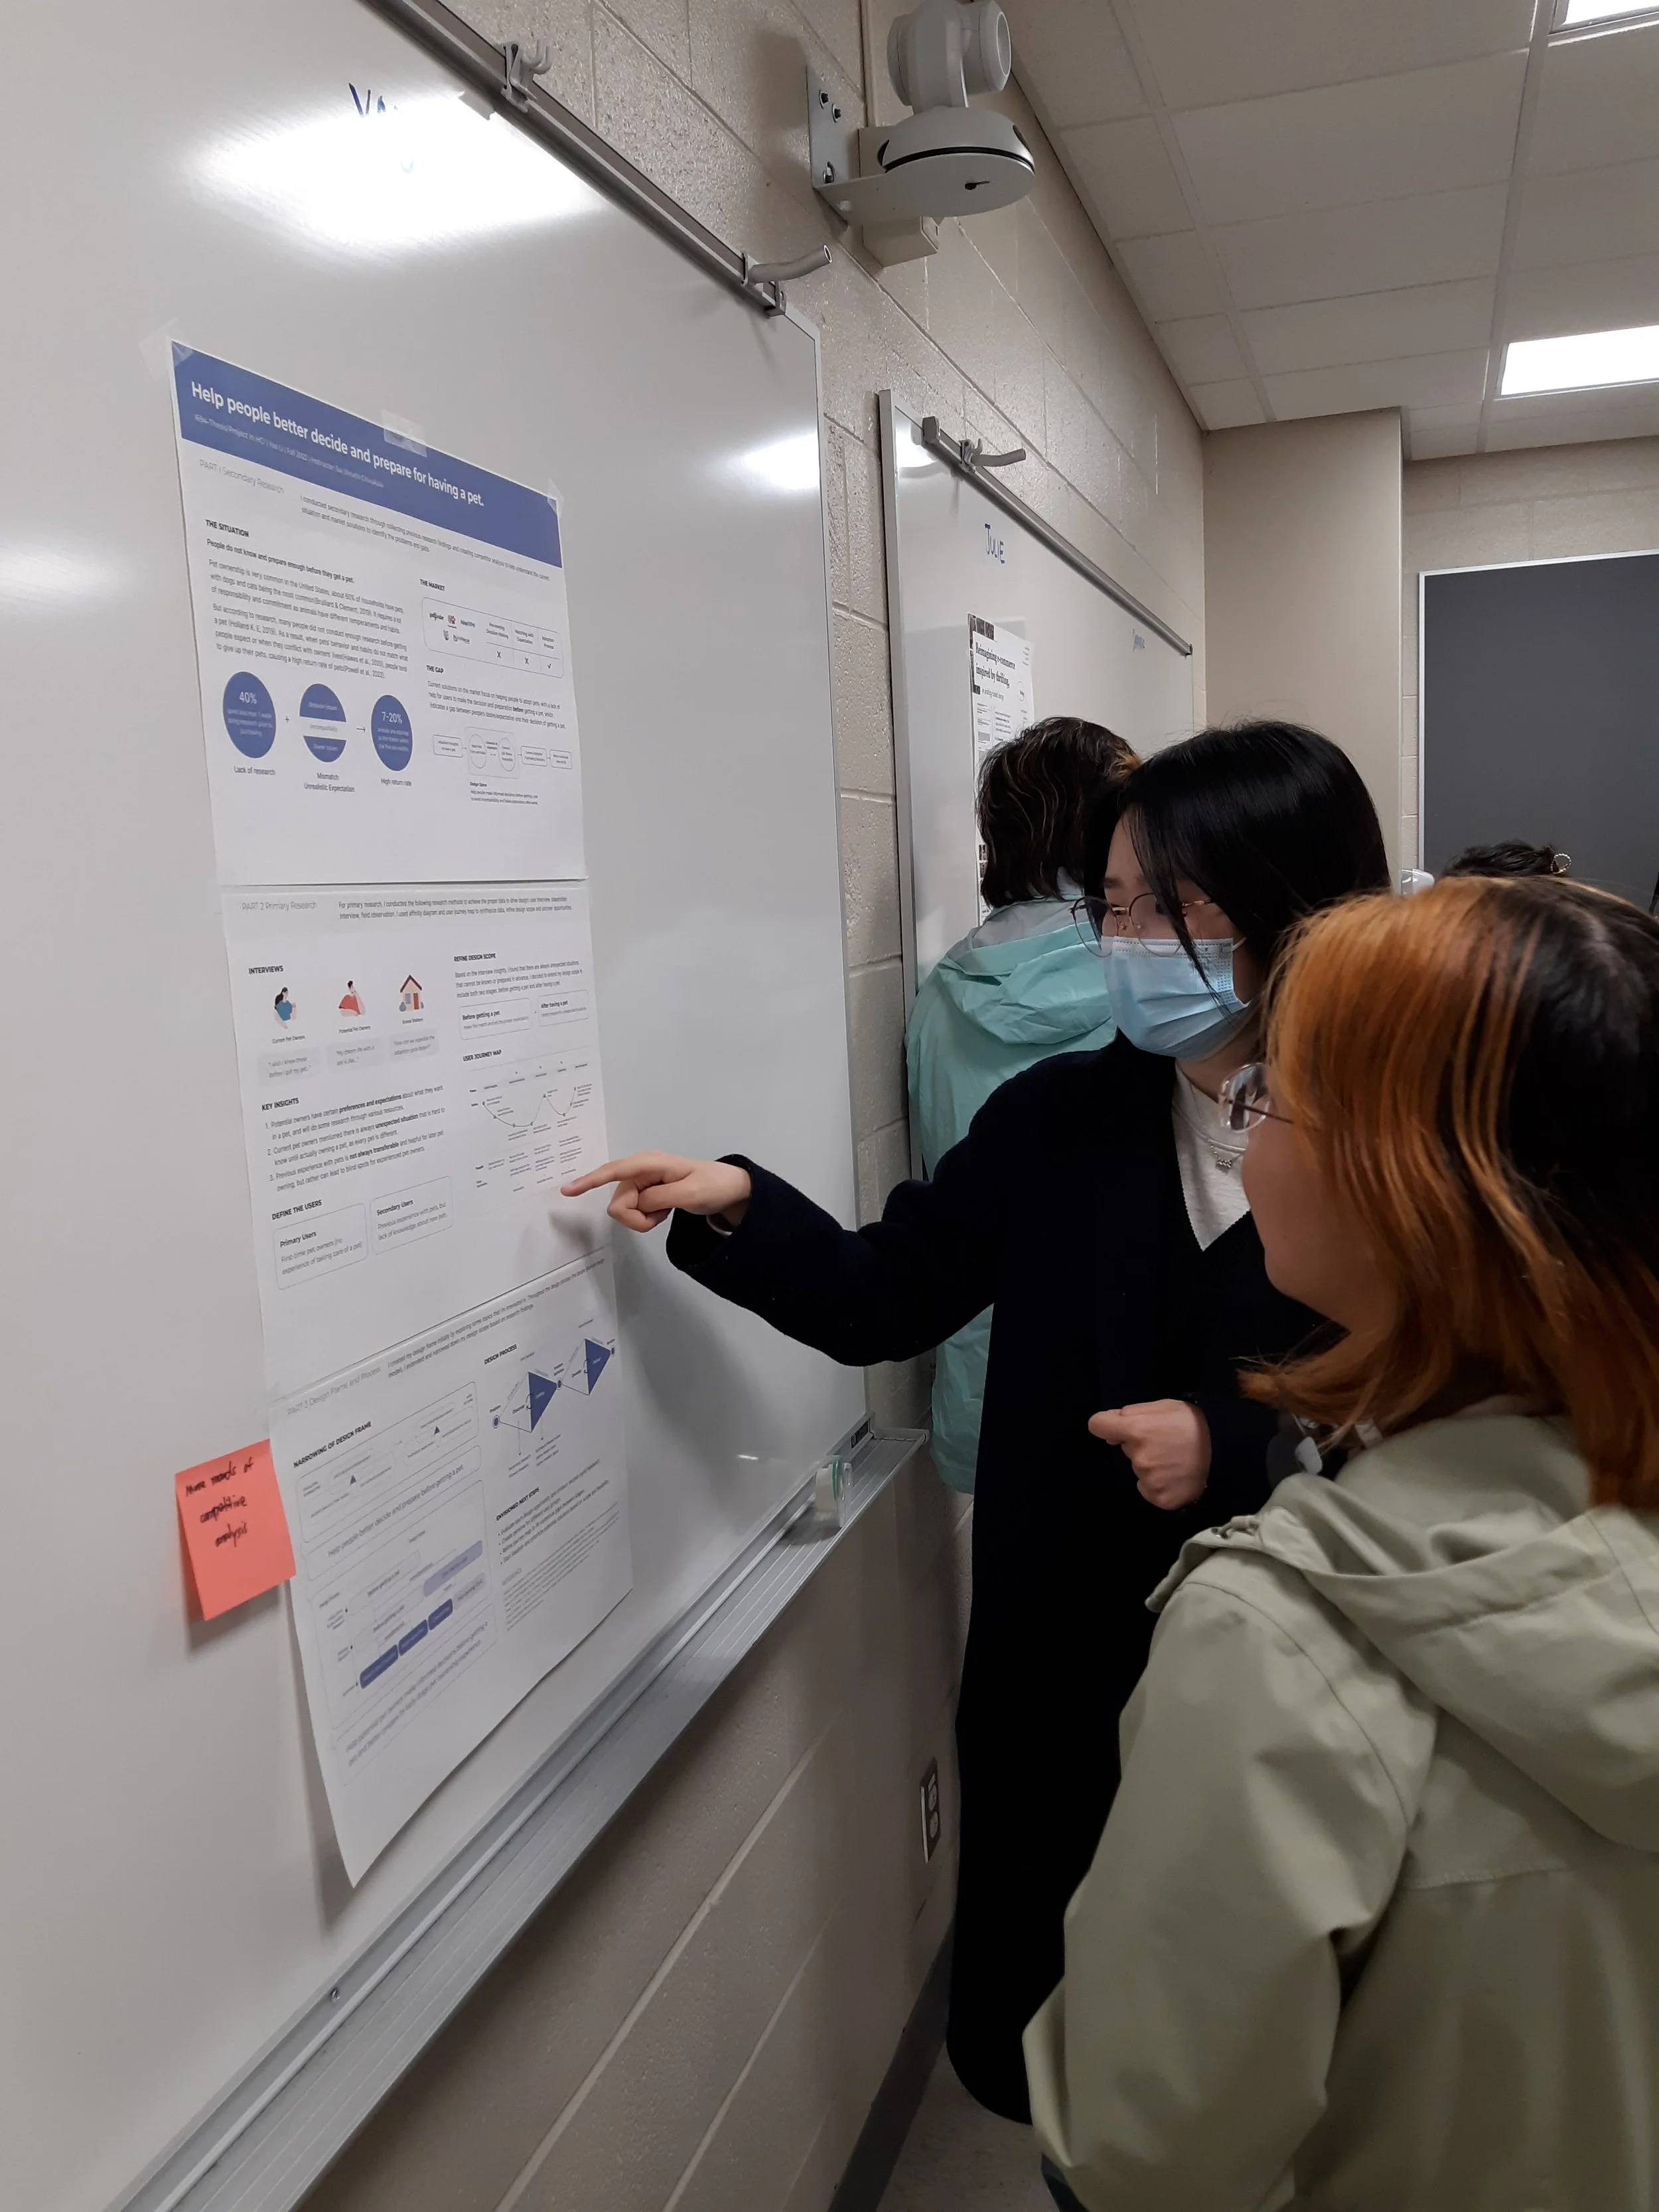
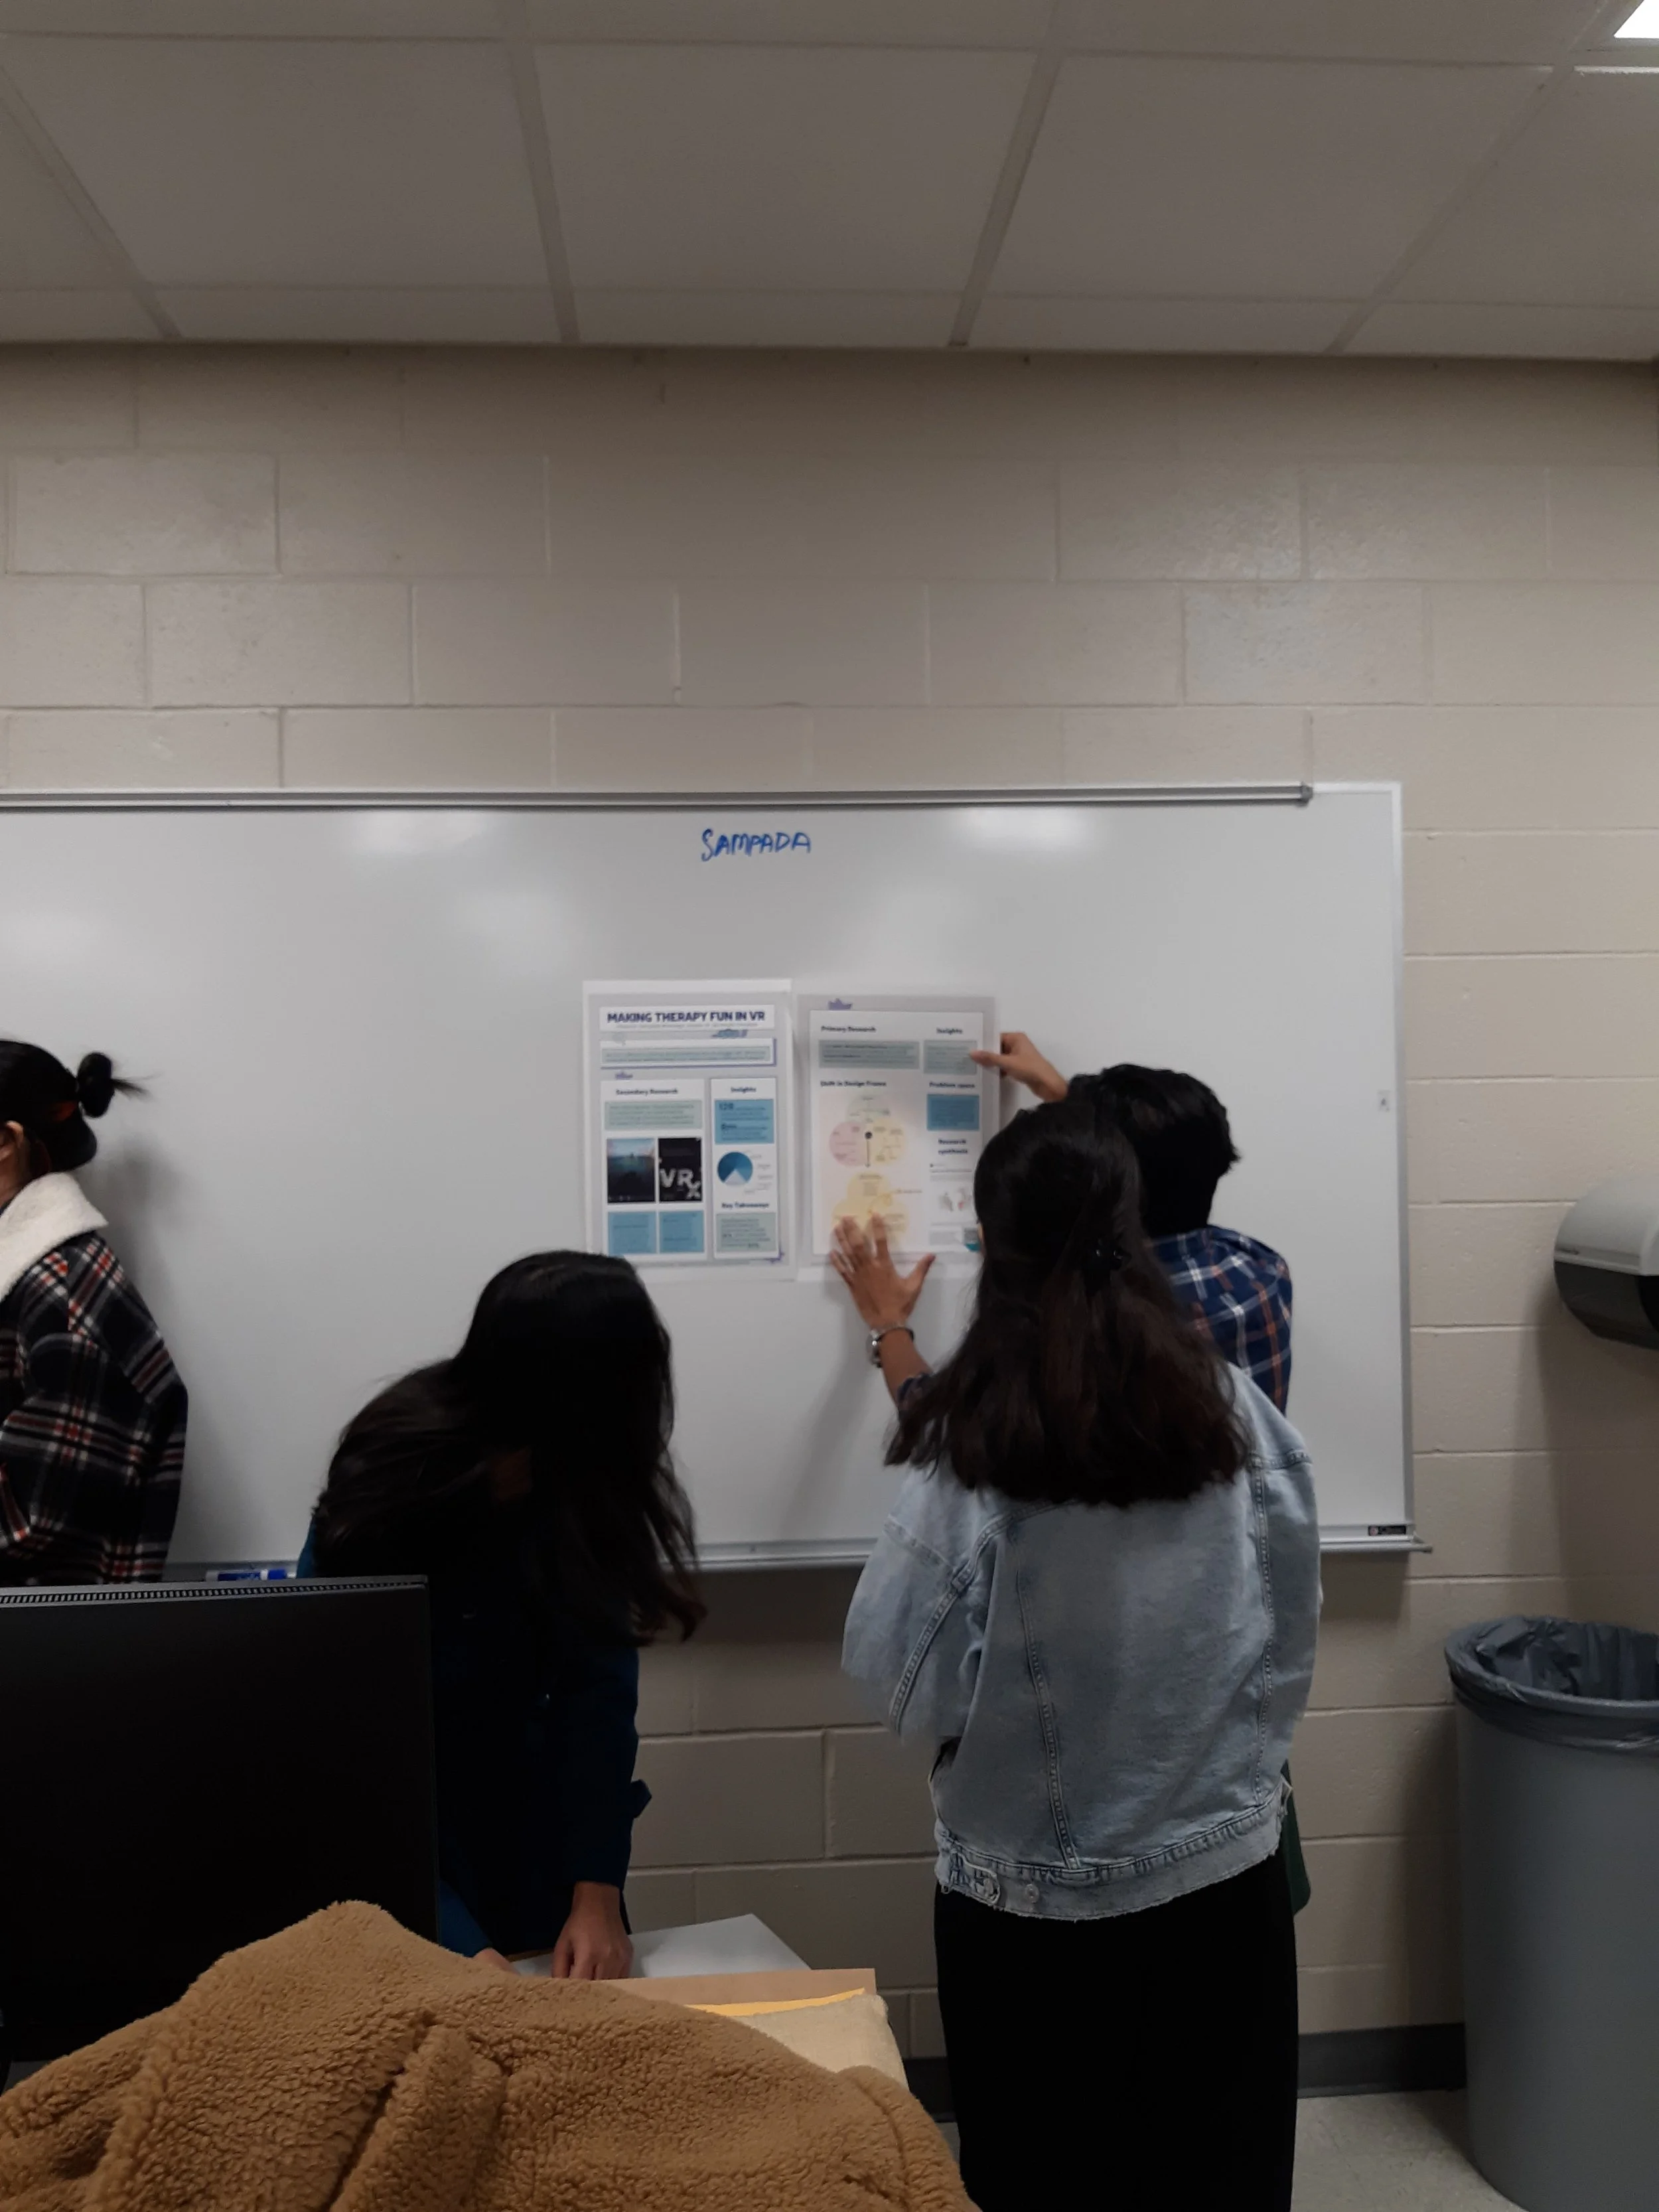
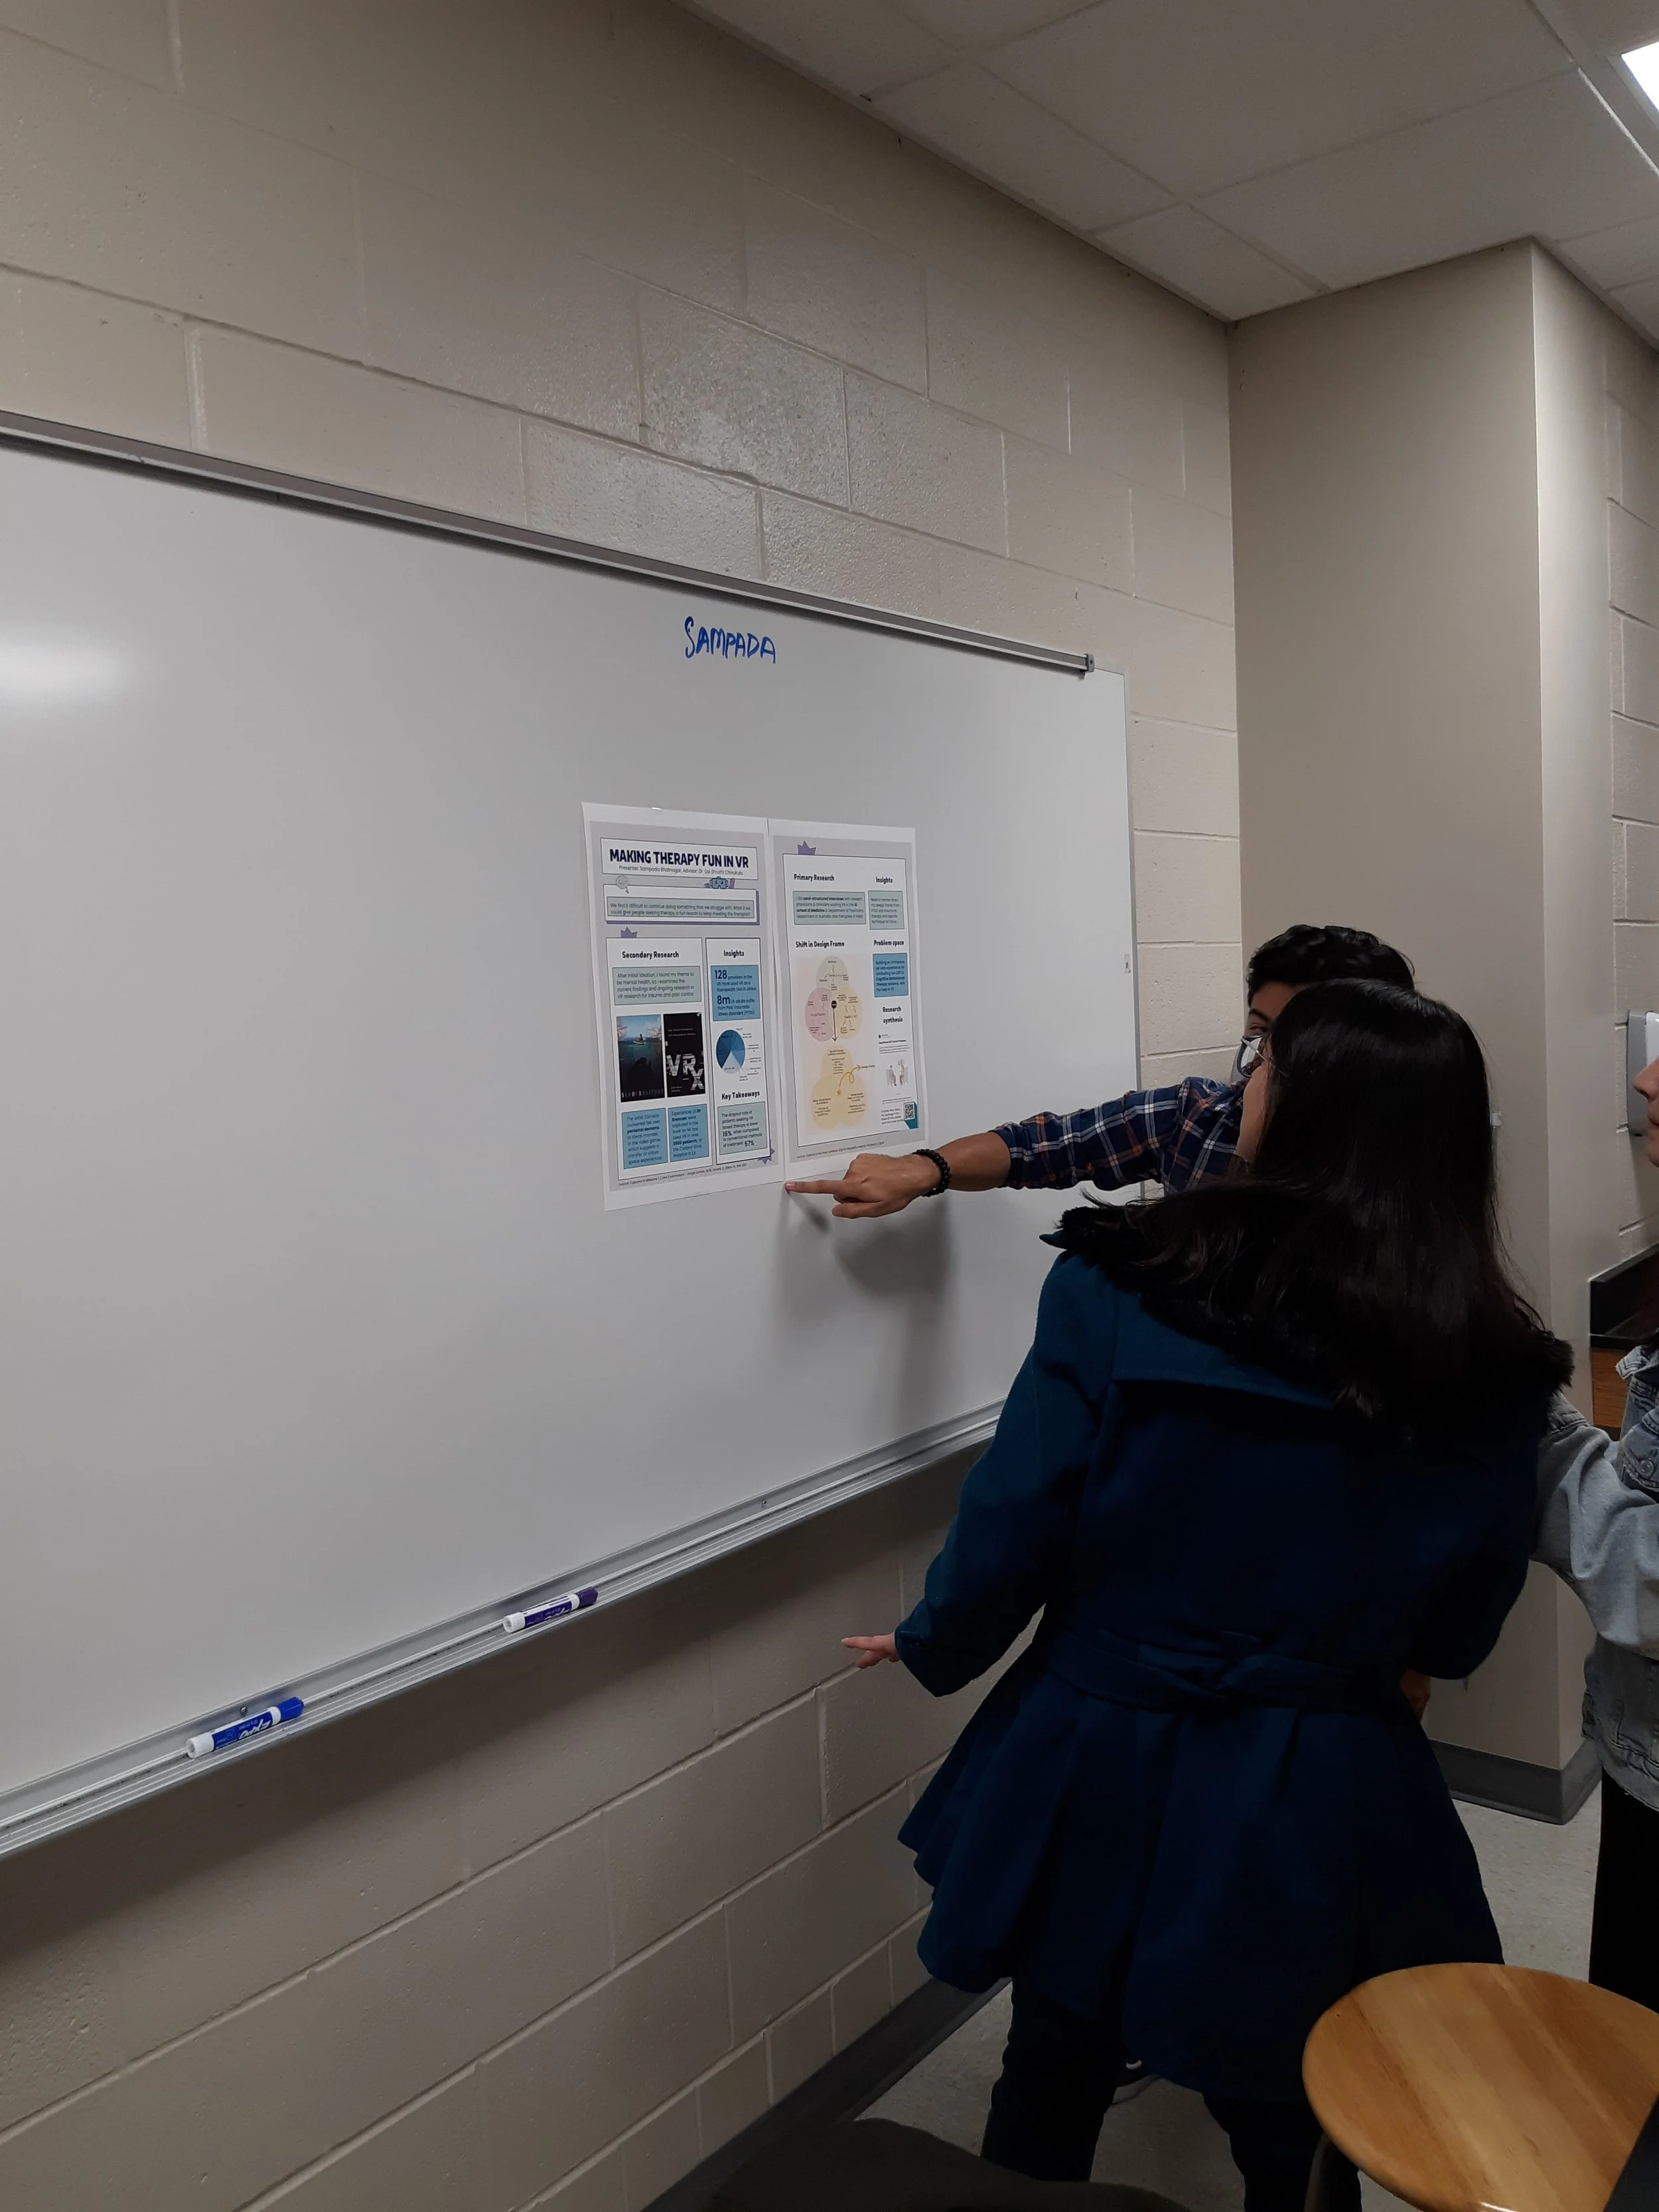
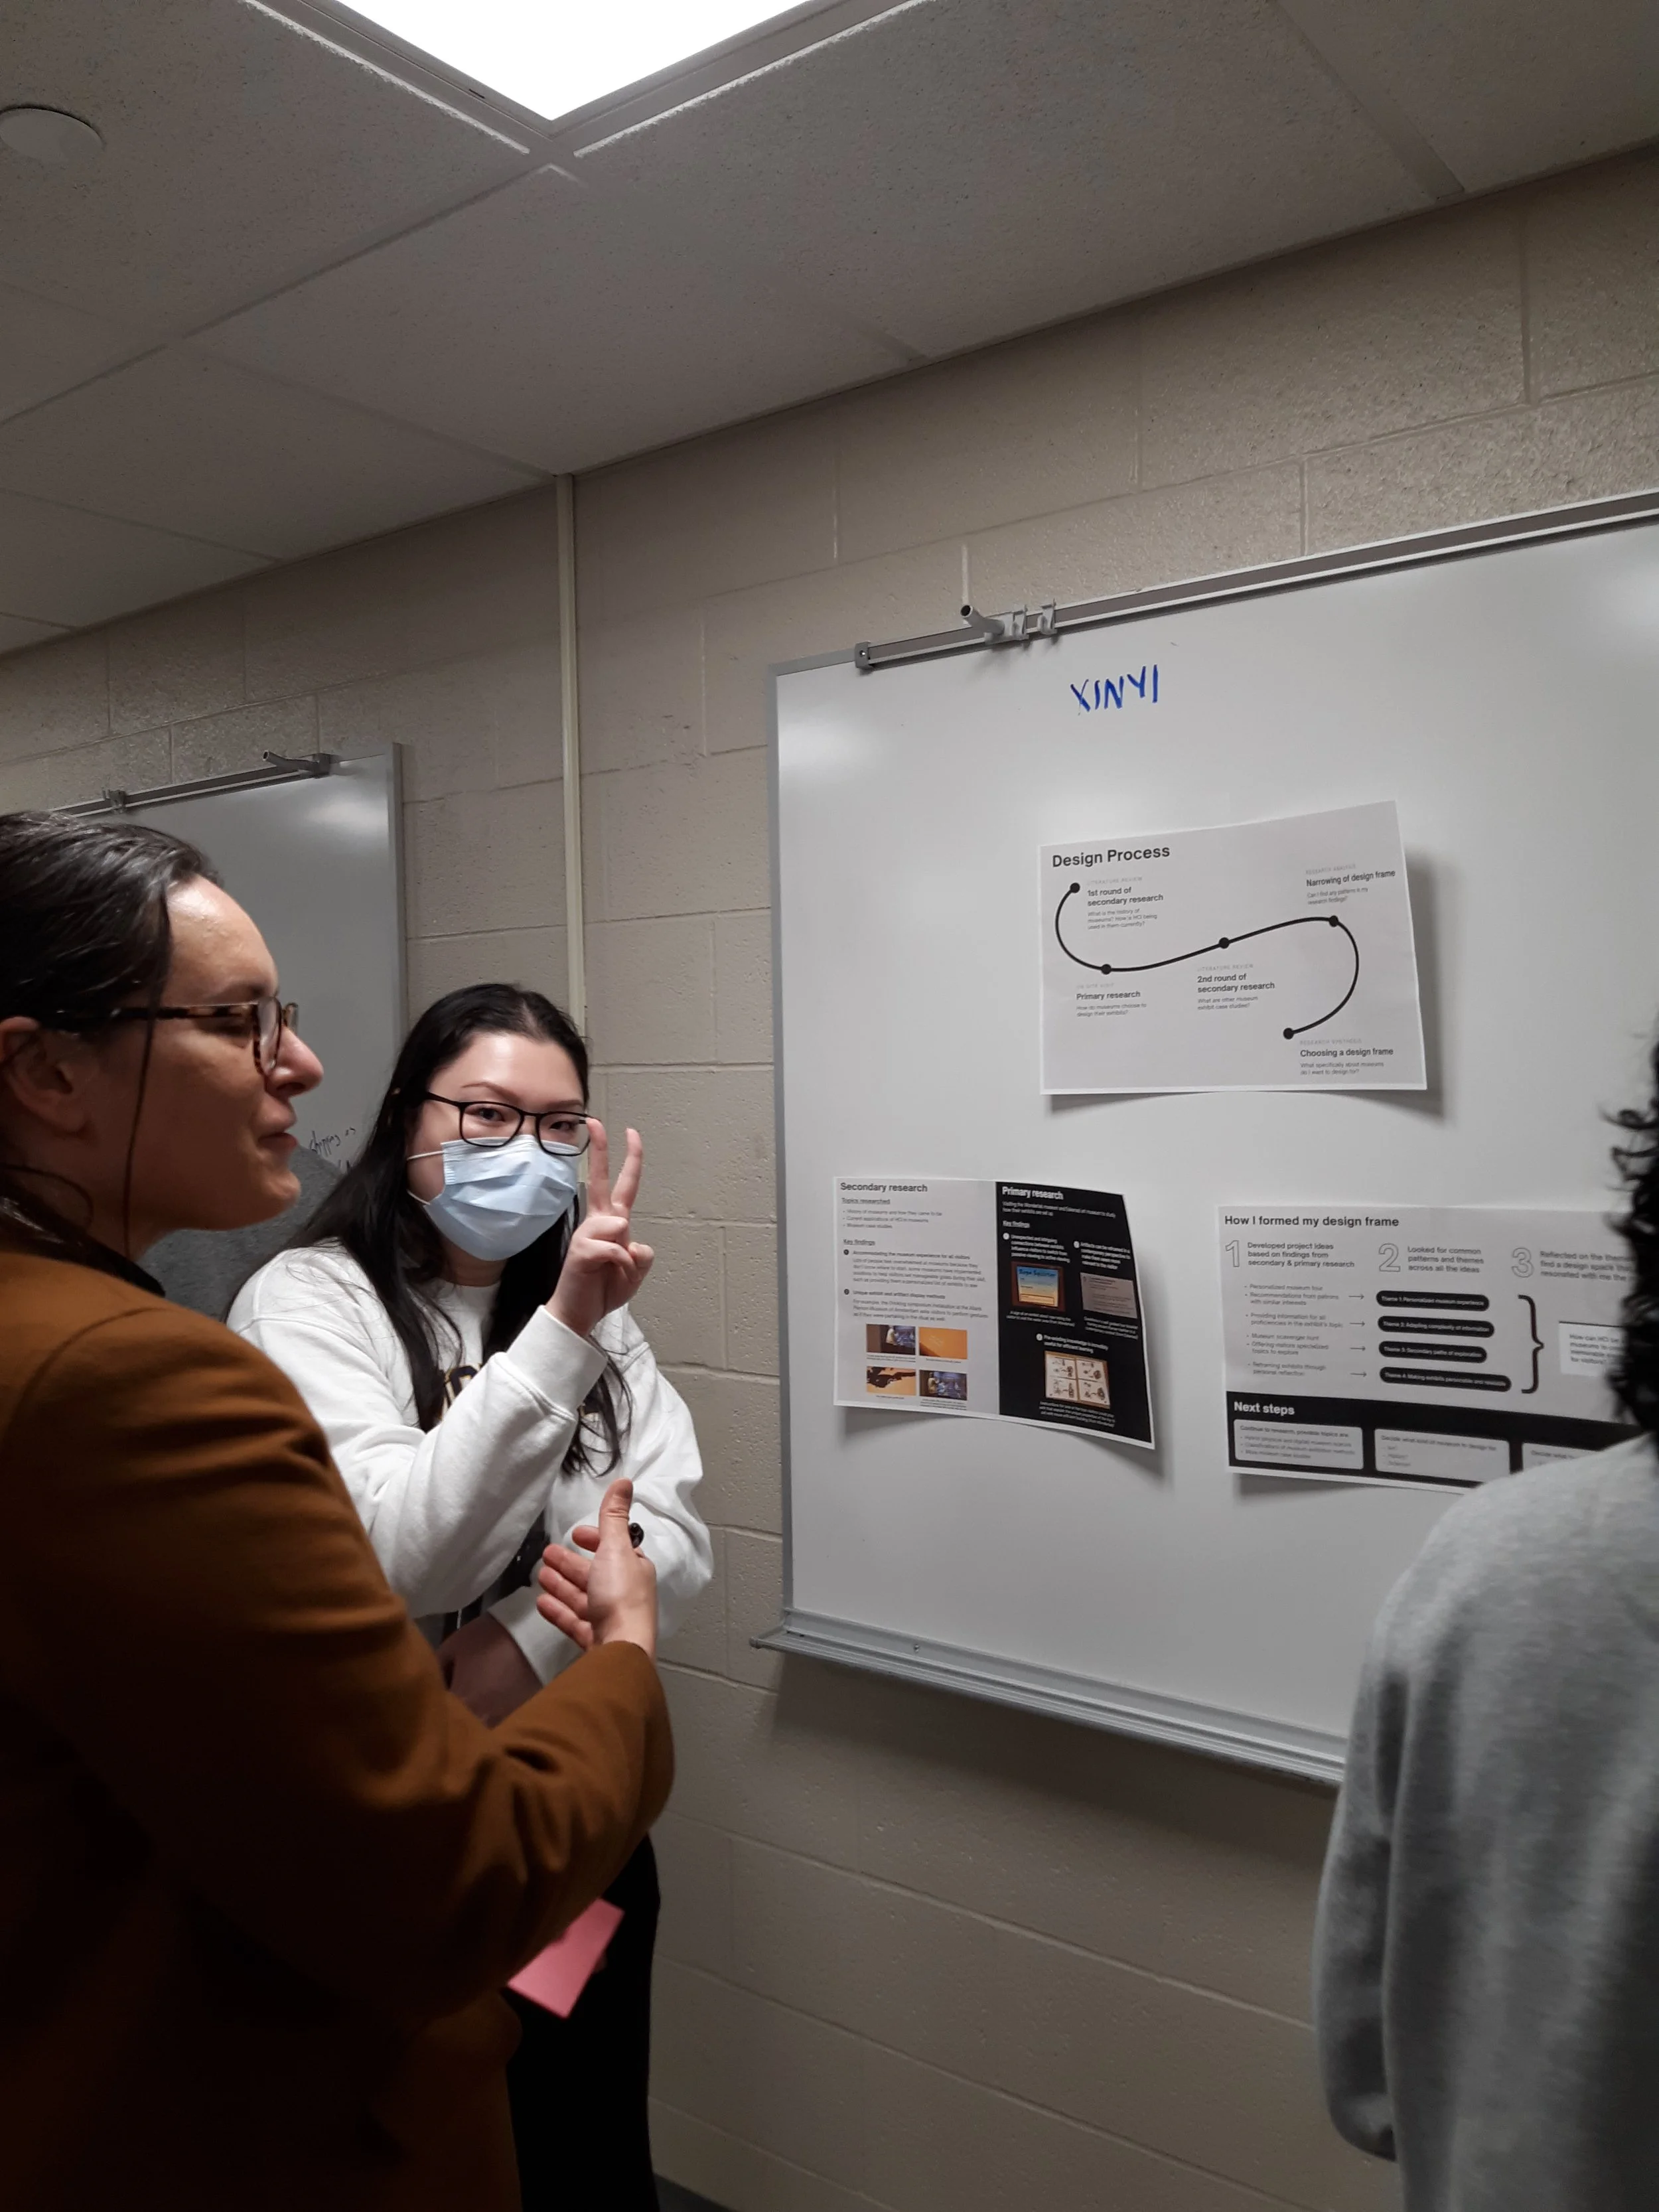
Final Poster Showcase